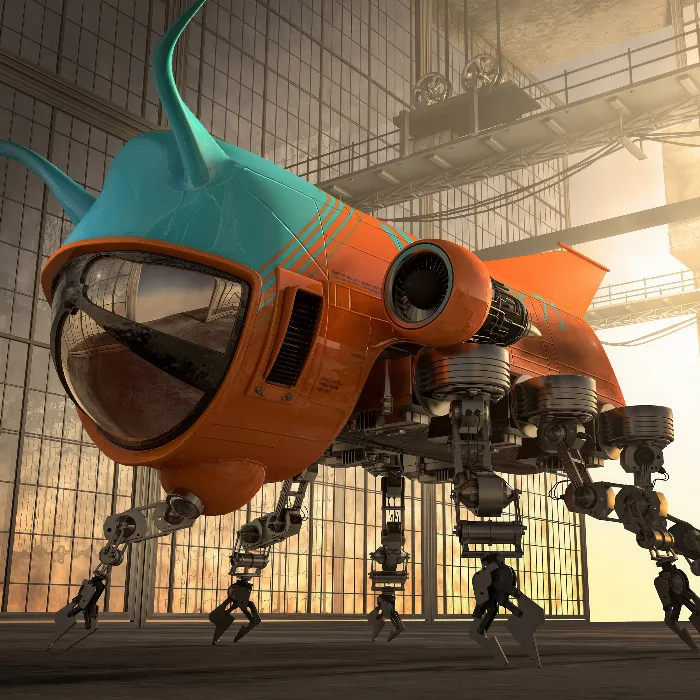
Digital painting and texturing of 3D models is an art form in itself. With Maxon BodyPaint, you can design your objects to be more realistic using creative techniques. In this tutorial, I will discuss how you can effectively use the relief and diffusion channels to bring details and depth to your model. Let's dive in without further ado!
Key Takeaways
- The relief channel allows you to texture the model, creating depth and structure.
- The combination of the relief and diffusion channel is crucial for achieving realistic details and material effects.
- By working properly with layers, you can maintain control over your textures and their appearance.
Step-by-Step Guide
Set Up Materials and Channels
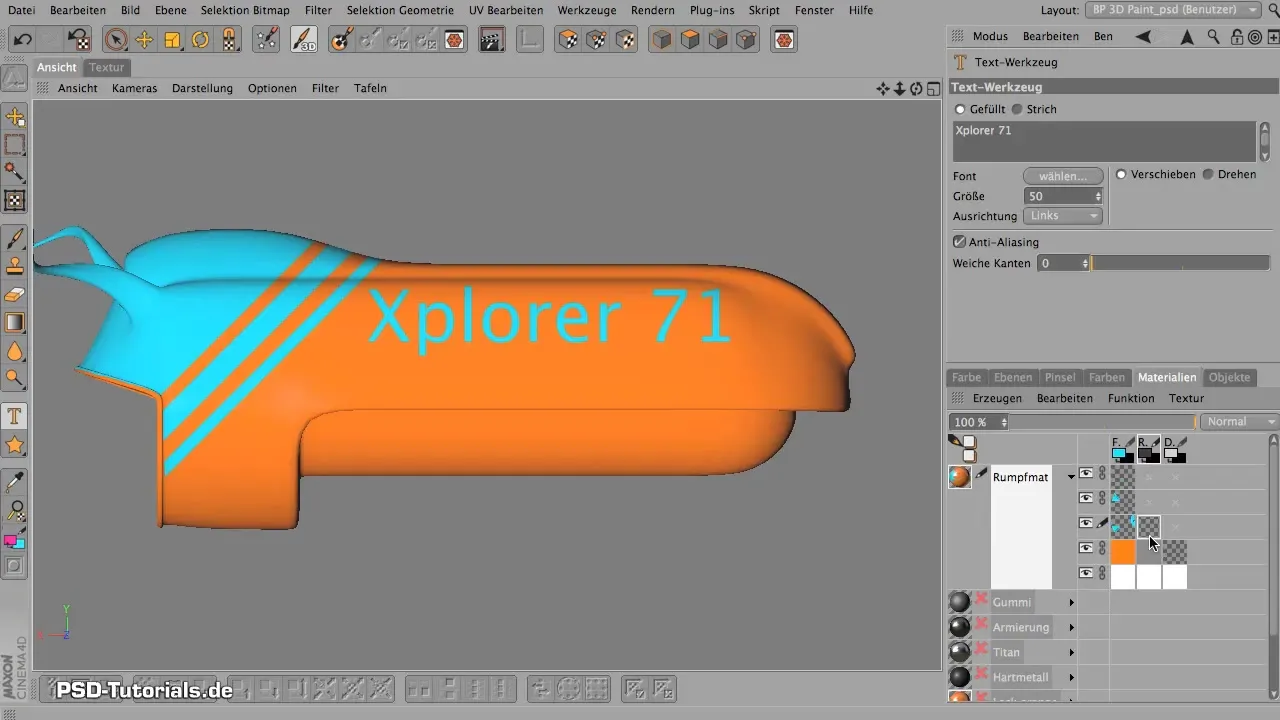
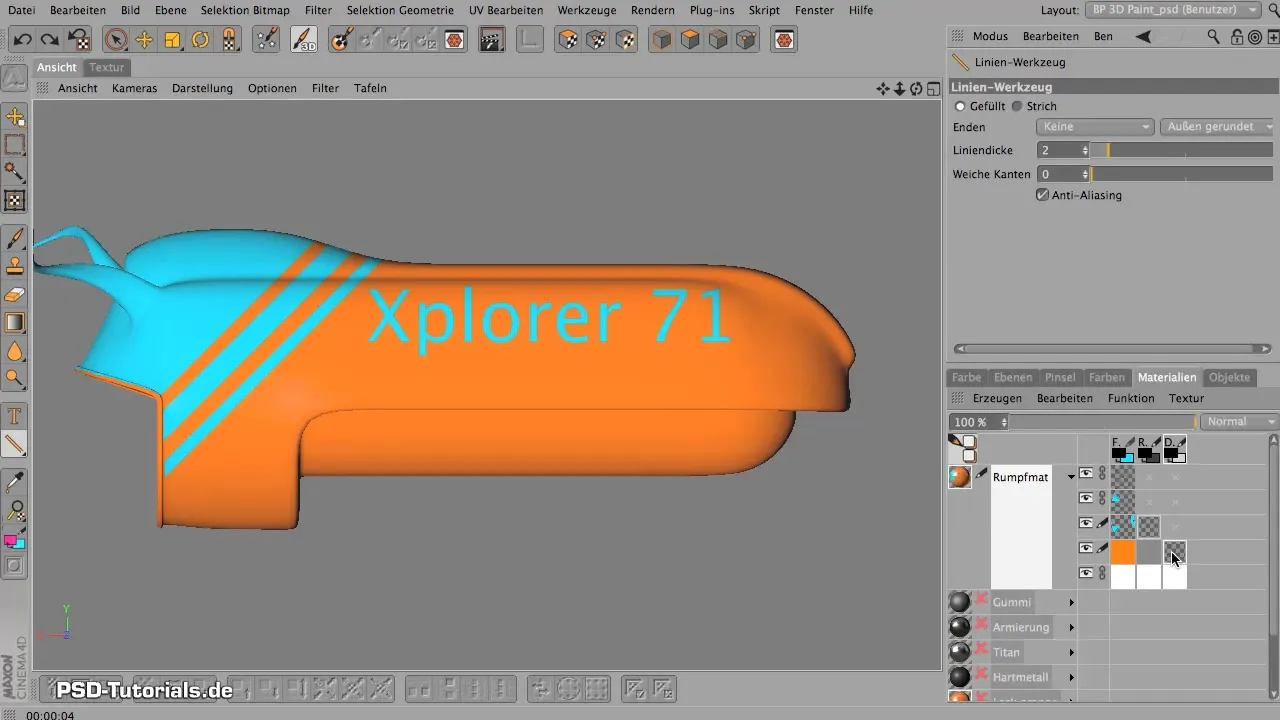
To start texturing, you need to ensure you are working in the correct material and on the right channel. Therefore, go to the materials and select the relief channel. Here you can see which channels are active and available for your model.
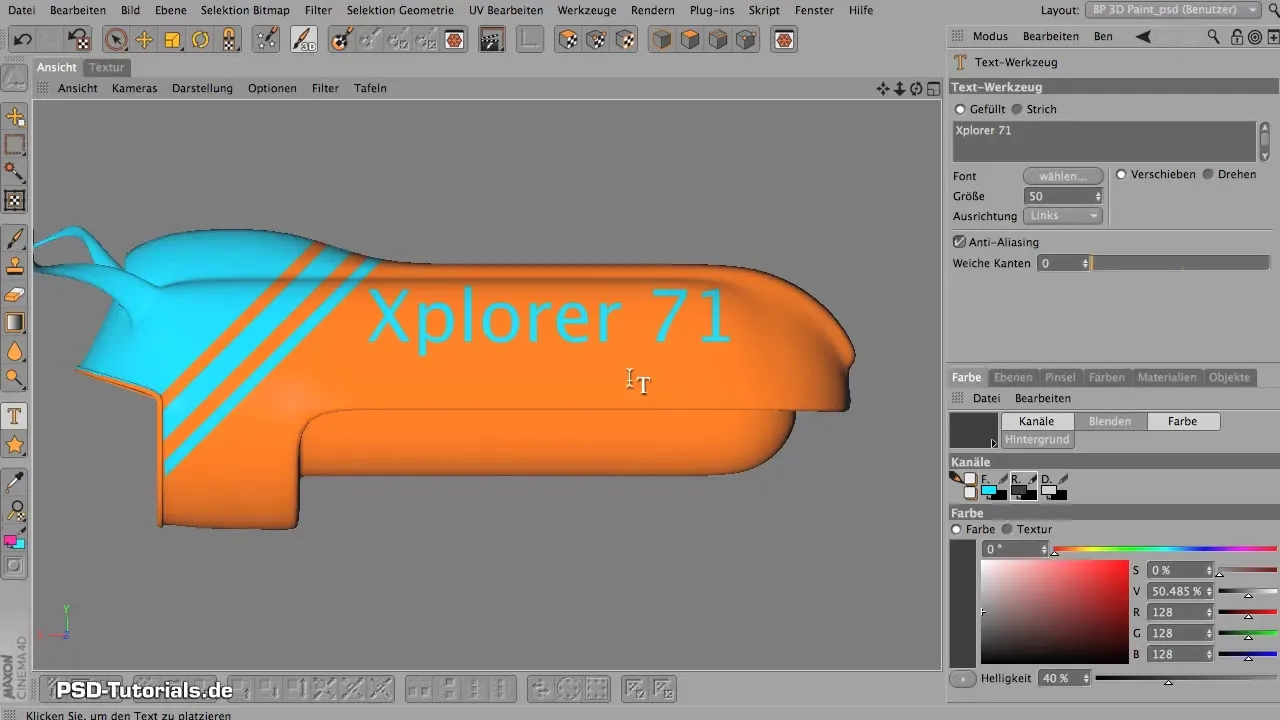
To ensure everything is working, you can activate the diffusion channel right away. This allows you to work with both channels simultaneously, giving you more flexibility in your design options.
Painting for the Relief Channel
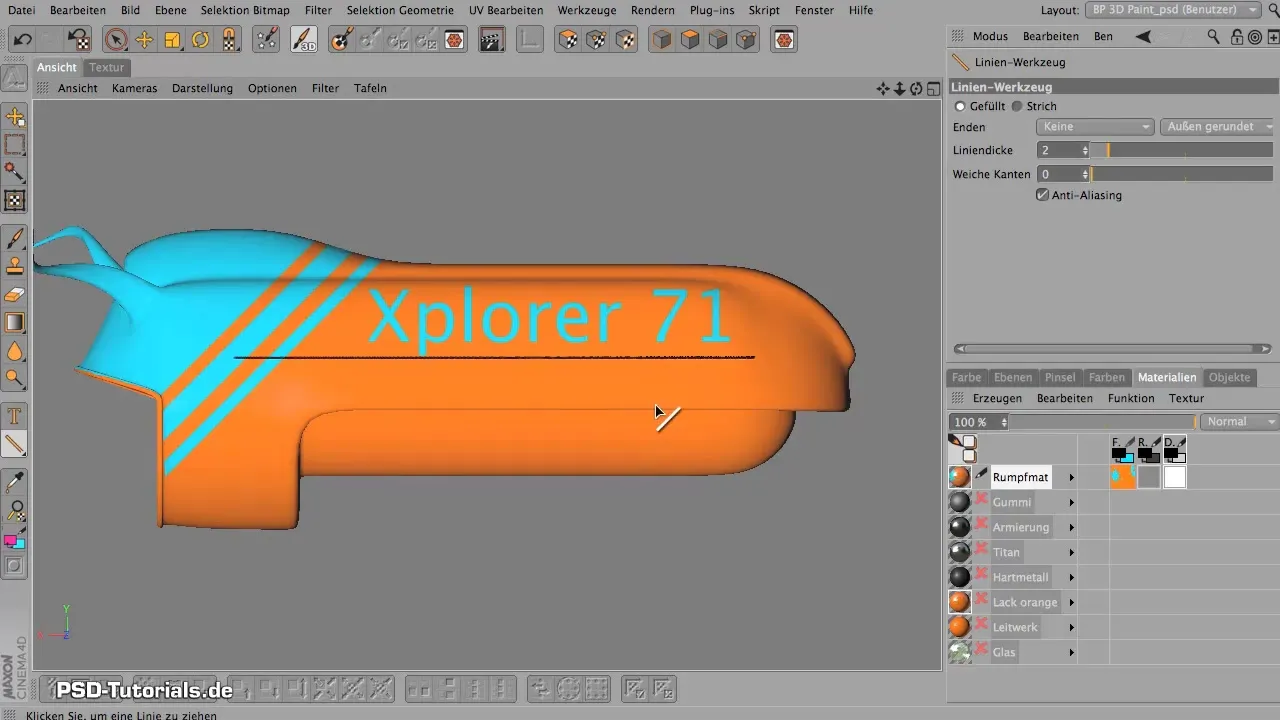
Now it's time to start painting. You will first work in the relief channel. Choose the line tool for precise drawing and make sure you have an appropriate line thickness set. Test a few strokes and pay attention to how the lines and indentations appear on your model.
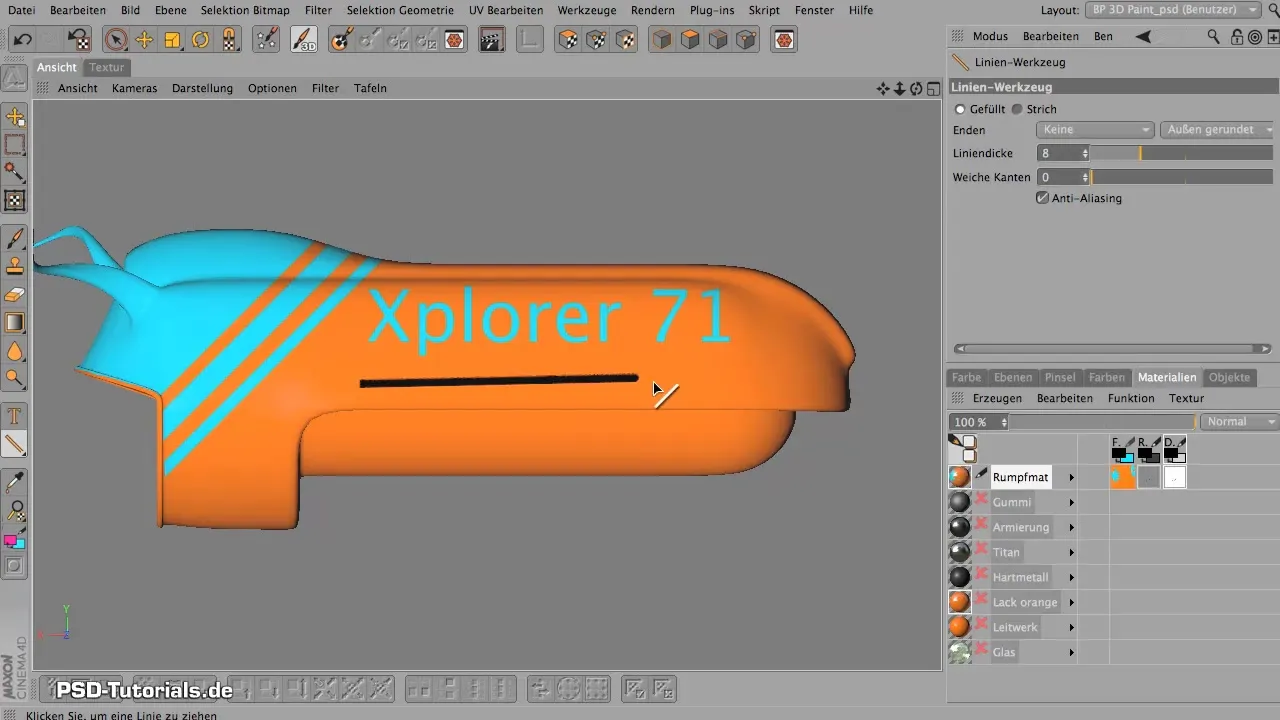
With the Shift key pressed, drag the lines to create long and even indentations. This helps to create a structure that adds more depth and detail to the model.
Add Highlights and Details
After creating the basic structure, you can add highlights to enhance the depth. This is done by working selectively in the diffusion channel. Here you should ensure that not all areas are uniformly dark to achieve a realistic effect.
You can adjust the opacity to achieve different visual effects. When painting with black, you can better control the brightness in the subsequent development.
Using the Blending Tool
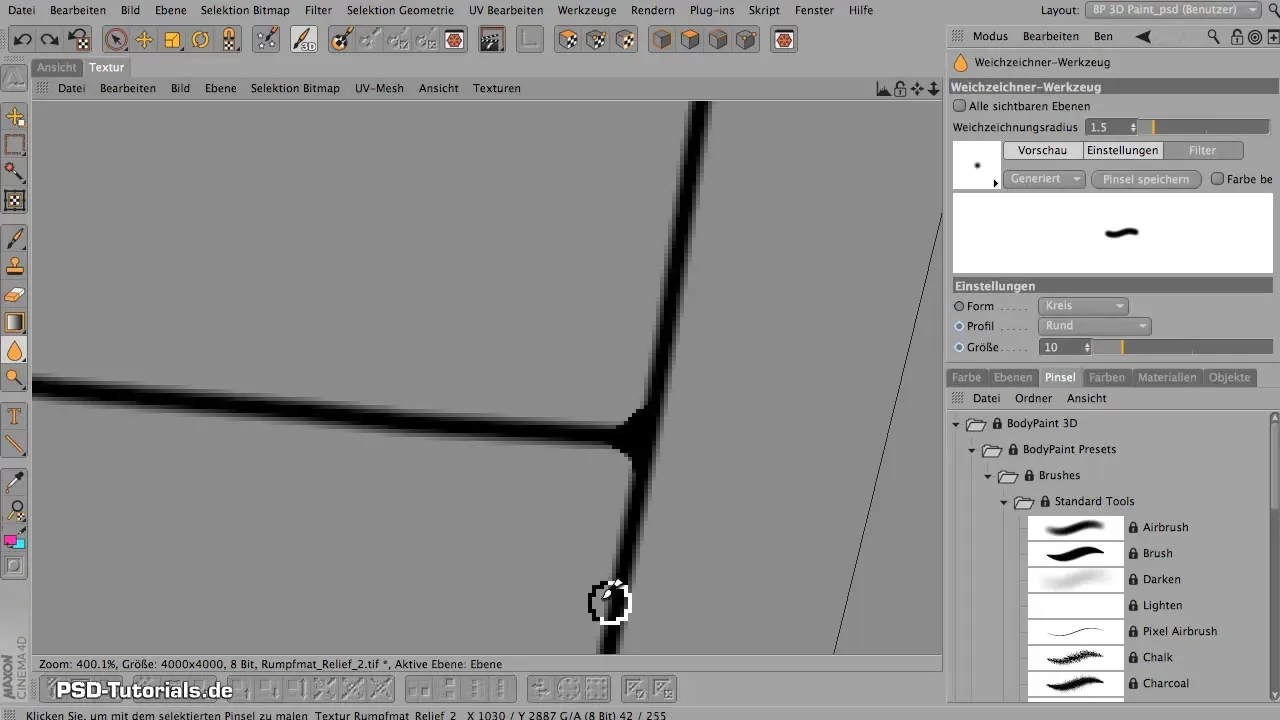
To smooth out edges and create a softer transition between lines, the blending tool is the right instrument. Set the opacity of the blender to a low value and make small, controlled movements over the edges. This step enhances the overall appearance of the model and ensures that no hard edges remain visible.
Create Weld Seams and Additional Details
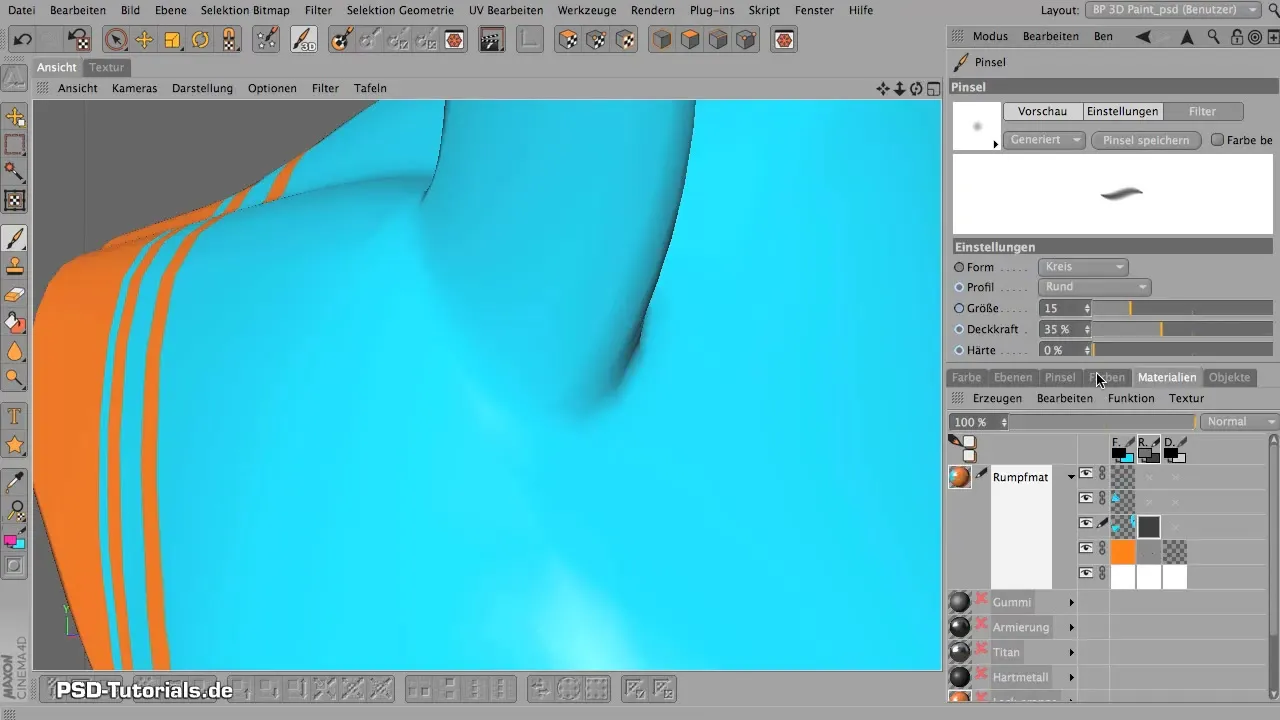
Deliberate weld seams are also crucial for giving the model an authentic look. You can create a new layer in the relief channel and apply the weld seams with a lighter color, like white. Be sure to slightly reduce the opacity so that the weld seams do not appear too dominant.
Projection Painting for Optimal Effects
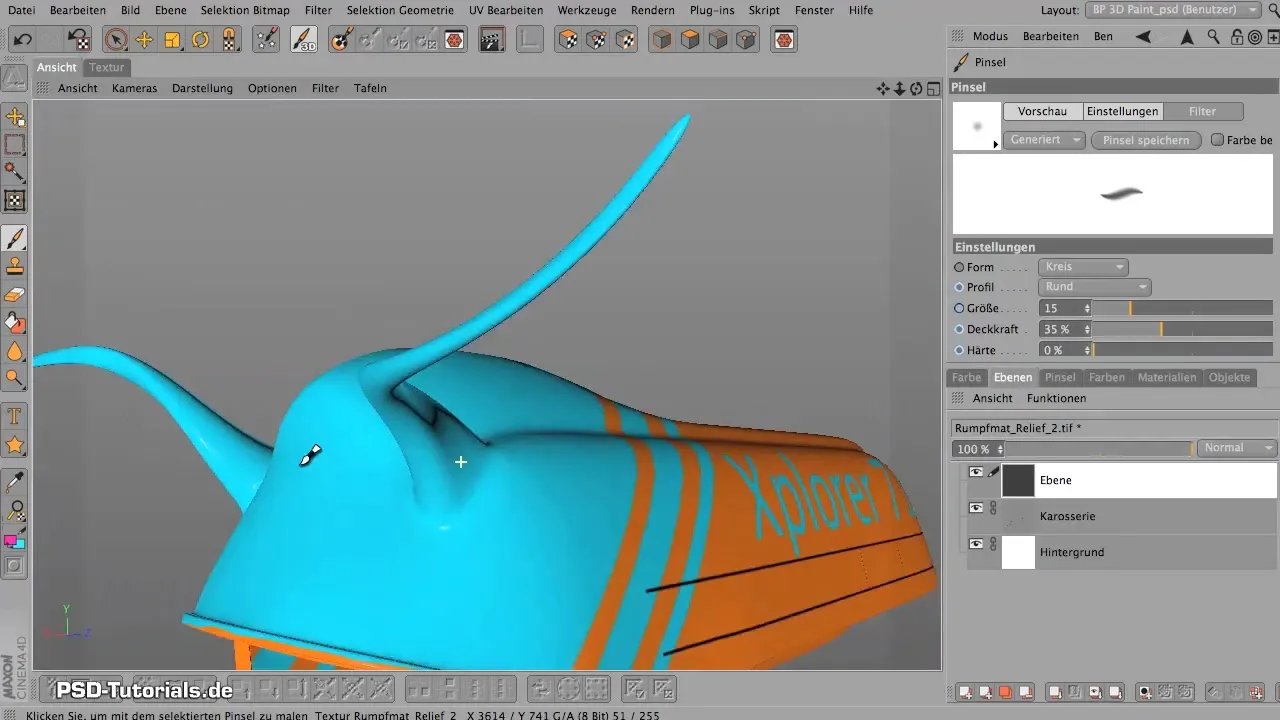
A powerful tool in BodyPaint is Projection Painting. This allows you to bypass distortions from UV coordinates. When you use this technique, you will notice that you have much more freedom in designing your textures while maintaining the original structure of the model.
Activate the mode and start applying details. When you turn the mode off again, the information will be applied to the underlying model.
Add Final Touches and Dirt
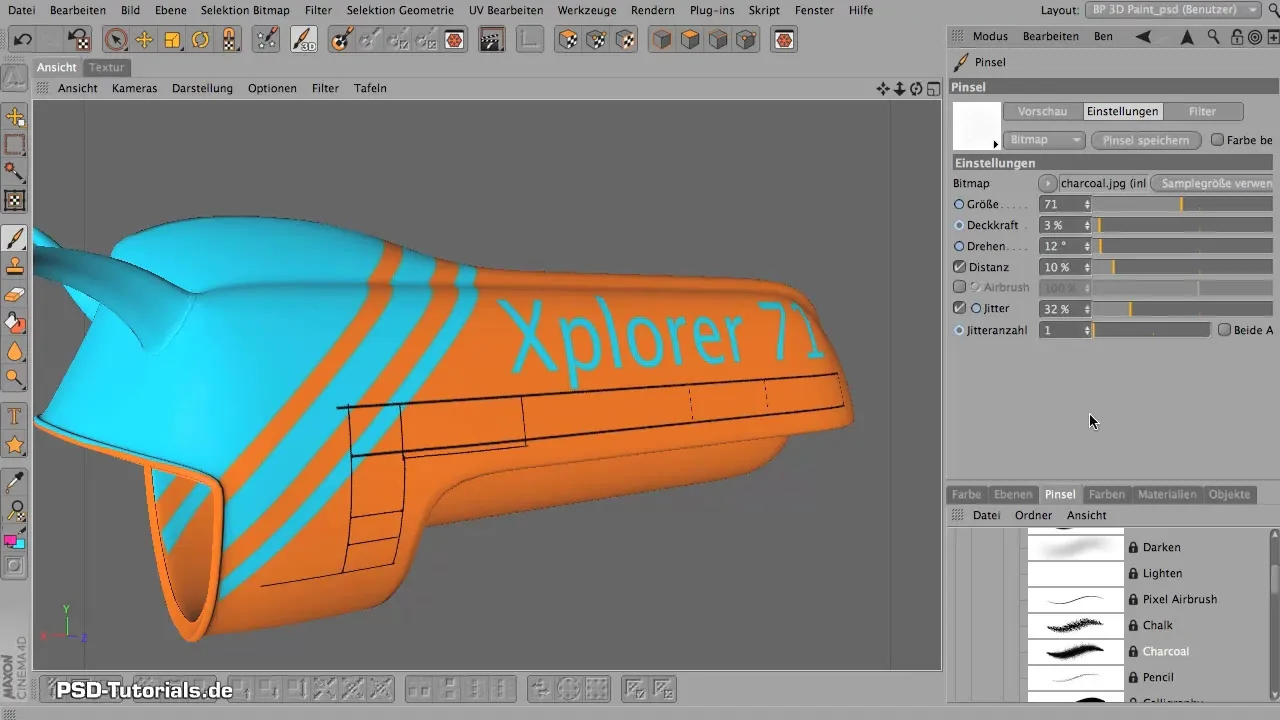
To give the model a realistic look, you can also add various effects like dirt or soot in the diffusion channel. Create a new layer in the diffusion channel and choose an appropriate brush. Start to make the areas where dirt would accumulate look more realistic. Consider where dirt might gather, such as underneath or in corners.
Final Steps and Save the Result
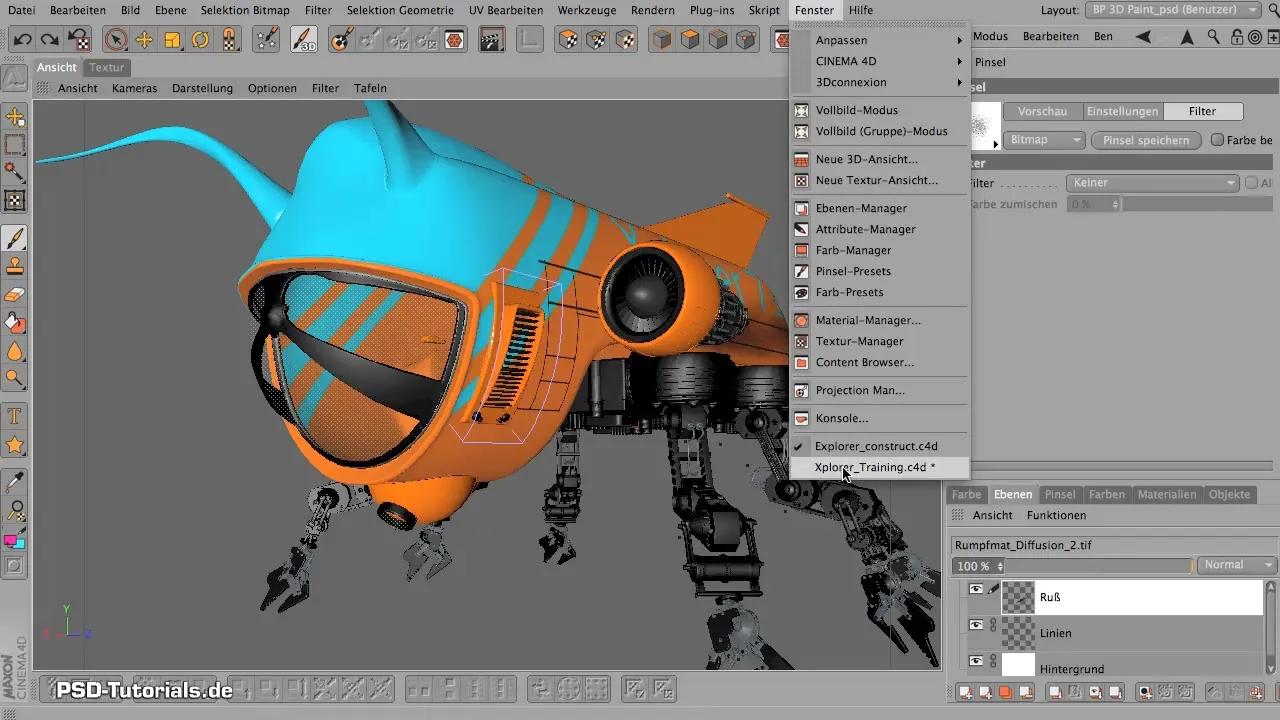
After adding all the desired details, save your project. Go to the "File" menu and save all files with the textures so that you can recall the changes made later. It is important to save regularly to avoid losing work.
Summary - Creating Realistic Relief and Diffusion Effects in Maxon BodyPaint
In this tutorial, you learned how to work with various channels in Maxon BodyPaint to achieve impressive relief and diffusion effects. With the right materials, the selection of tools, and iterative adjustments, you can create realistic details and textures that breathe life into your 3D model. Experiment with different techniques and enjoy the creative process!
Frequently Asked Questions
How can I find the right materials in BodyPaint?Navigate to the material manager to view the available materials and their channels.
Can I edit the relief and diffusion channel simultaneously?Yes, you can activate both channels and work in parallel to create complex textures.
Why do my textures disappear when rotating the model?This can happen if you are still working in UV mode. Check your mode and switch to Projection Paint mode to avoid this.
How can I smooth the edges of the textures?Use the blending tool with a low opacity to create soft transitions and avoid hard edges.
Can I make changes to the textures at any time?Yes, by using different layers, you can make adjustments without losing previous work.
