
3D composing in Photoshop (Tutorial): "Take-off"

- 3D in Photoshop: two-hour practical tutorial by trainer Uli Staiger
- Step by step: how the spectacular steeple rocket launch of the tutorial cover is created
- 3D workflow: creating, importing, aligning, texturing and lighting objects
- Numerous image editing techniques to prepare and refine the artwork take-off
- Among other things: Convert a daytime image into a nighttime image, add clouds in the sky
Would you like to finally go into depth in Photoshop and master the 3D functions? This tutorial offers you exactly that and, on top of that, pure inspiration with every editing step. Watch and learn now!
18 Videos, 123 minutes
Preparation
Photoshop 3D tutorial "Take-off": 01 | Intro
In this video, you will find out what it's all about from a technical and creative point of view. We start with the photography of the initial motif and see how the entire artwork takes shape and becomes reality in time lapse.
Photoshop 3D tutorial "Take-off": 02 | Mask tower
As the church tower is to be shot into space, we need it on a separate layer. The tower is cut out in two steps, the first of which is the creation of a rough mask.
Photoshop 3D tutorial "Take-off": 03 | Optimize mask
Optimizing a layer mask has almost become routine in Photoshop. But you will also see where improving the mask does not work properly and learn how to do it manually instead.
Photoshop 3D tutorial "Take-off": 04 | Retouching the sky
Where the church tower used to be, we now have a "hole" in the sky. This can be quickly repaired with a clever combination of traditional and modern tools.
Photoshop 3D tutorial "Take-off": 05 | Underbody
Adding a stone floor at the bottom using Photoshop's 3D function is a little tricky. If you don't want to take this step, you can add the finished "bottom floor" to the motif on a separate layer and skip the next video in this tutorial.
3D technology
Photoshop 3D tutorial "Take-off": 06 | Extrusion
In Photoshop, you can convert a selection, no matter how complex it is, into a 3D object. We take advantage of this and create an object that can be moved to the right place in the image by navigating in 3D space.
Photoshop 3D tutorial "Take-off": 07 | Texturing
The textures of the 3D block consist of a photographed stone wall of the church. They can be easily mapped onto the 3D object, scaled and moved.
Photoshop 3D tutorial "Take-off": 08 | Lighting
Although the lighting of 3D objects works a little awkwardly in Photoshop, just like texturing, it is easy to understand in principle. We adjust the direction of the light to the background so that everything appears as one piece.
Photoshop 3D tutorial "Take-off": 09 | Engine
You can get the Saturn V engine for free on the Internet. It requires some patience, but once you have understood how to move, rotate or scale a 3D object in space, it is quite easy.
Please note the information on the project files included in the first video of this training.
Photoshop 3D tutorial "Take-off": 10 | Rendering
If you zoom into the scene, you can see that the engine still looks quite unfinished. There are ugly staircase artifacts and illogical shadows. Rendering the scene fixes all these inconsistencies.
Light and Finish
Photoshop 3D tutorial "Take-off": 11 | Cloudy sky
The very clear, cloudless sky doesn't quite match the drama of the subject. We therefore use simple but effective means to draw a cloudy sky into the picture.
Photoshop 3D tutorial "Take-off": 12 | Nightfall
We now convert the daytime shot into a night-time shot using an adjustment layer. This works quickly, but to show the explosive glow of the start, the adjustment layer is masked very cleanly. Not difficult, but labor-intensive.
Photoshop 3D tutorial "Take-off": 13 | Cropping
Instead of a real photographed take-off, we add a white cloud to the scene. However, we first have to mask it. You can learn how to do this very realistically in this video.
Photoshop 3D tutorial "Take-off": 14 | Explosion
The cropped cloud is now inserted and placed logically in the image by scaling and rotating. A duplicate of the layer completes the impression of a rocket taking off.
Photoshop 3D tutorial "Take-off": 15 | Exhaust jet
We build the three exhaust jets that hiss out of the engines from a small rectangular selection, which we firstly scale one-dimensionally and secondly brighten up considerably. A simple solution - but an effective result.
Photoshop 3D tutorial "Take-off": 16 | Exhaust lights
Now comes one of the highlights of this training: with just two layers, we paint a realistic glow in the scene that looks incredibly bright and radiant due to the twilight. Be excited!
Photoshop 3D tutorial "Take-off": 17 | Color lights
The previously added cloud also needs some of the warm glow. However, we need another layer based on neutral gray and a soft, low-color brush.
Photoshop 3D tutorial "Take-off": 18 | Finish
If you try to imagine the scene spatially, you can see where light is still missing. This creates the light on the brightened grass verge and the inconspicuous but important reflections on the cars parked in the foreground.
Examples of use
-
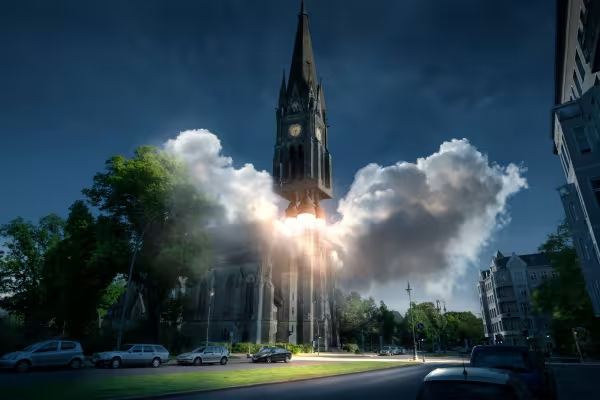 Look over your trainer's shoulder as they create the artwork take-off.
 -
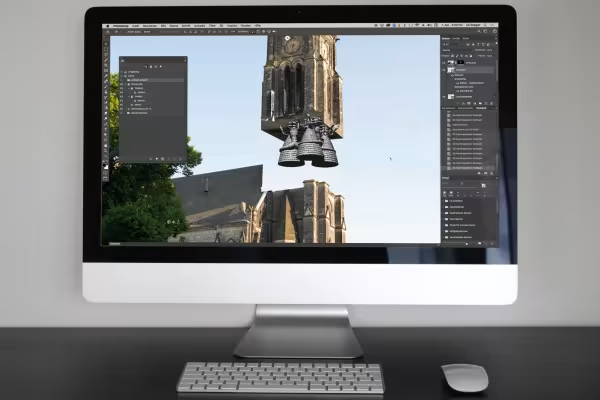 Learn how to create, place, texture, light and render 3D objects in Photoshop.
You might also like
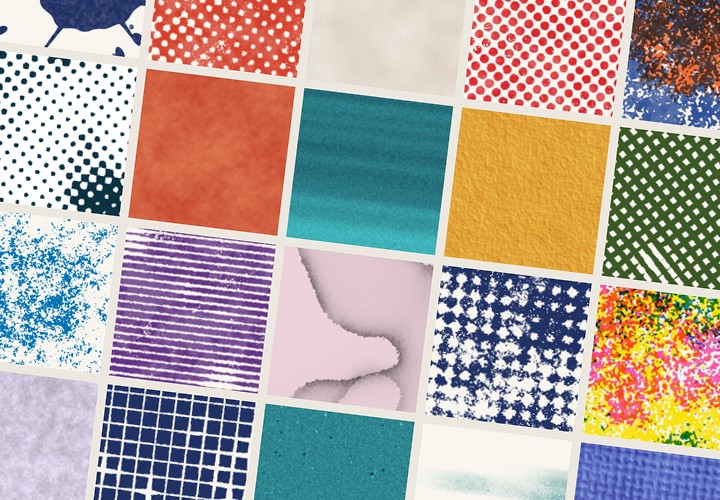
20 sets in 4K (4096 × 4096 px, 300 DPI) as JPG plus Photoshop patterns, calibrated to the fill method

More style, more power, more templates!

Edit films, transitions, animations, and more

Full power, more inspirations, maximum WOW effect!
Comment now „3D composing in Photoshop (Tutorial): "Take-off"“