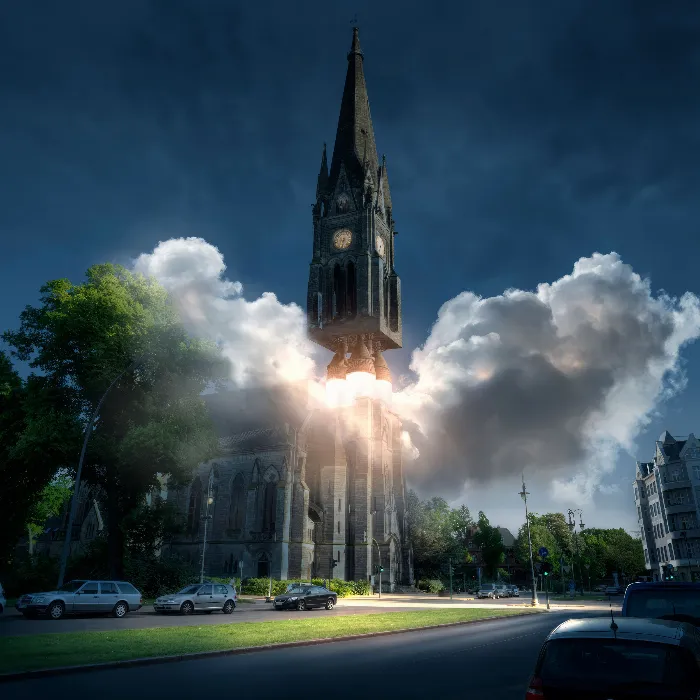
You are faced with the challenge of creating a realistic 3D scene with Photoshop and want to ensure that your image has consistent image logic. It’s easy to get lost in the great parts of your work and miss a few critical aspects. This guide will help you specifically add light and reflections to your scene to optimize the overall picture and make it look natural.
Key Insights
- Pay attention to image logic: Light sources must appear realistic.
- Use special layers for light and reflections to create details and depth.
- Small adjustments in opacity and brush tools can have a big impact on the overall effect of your image.
Step-by-Step Guide
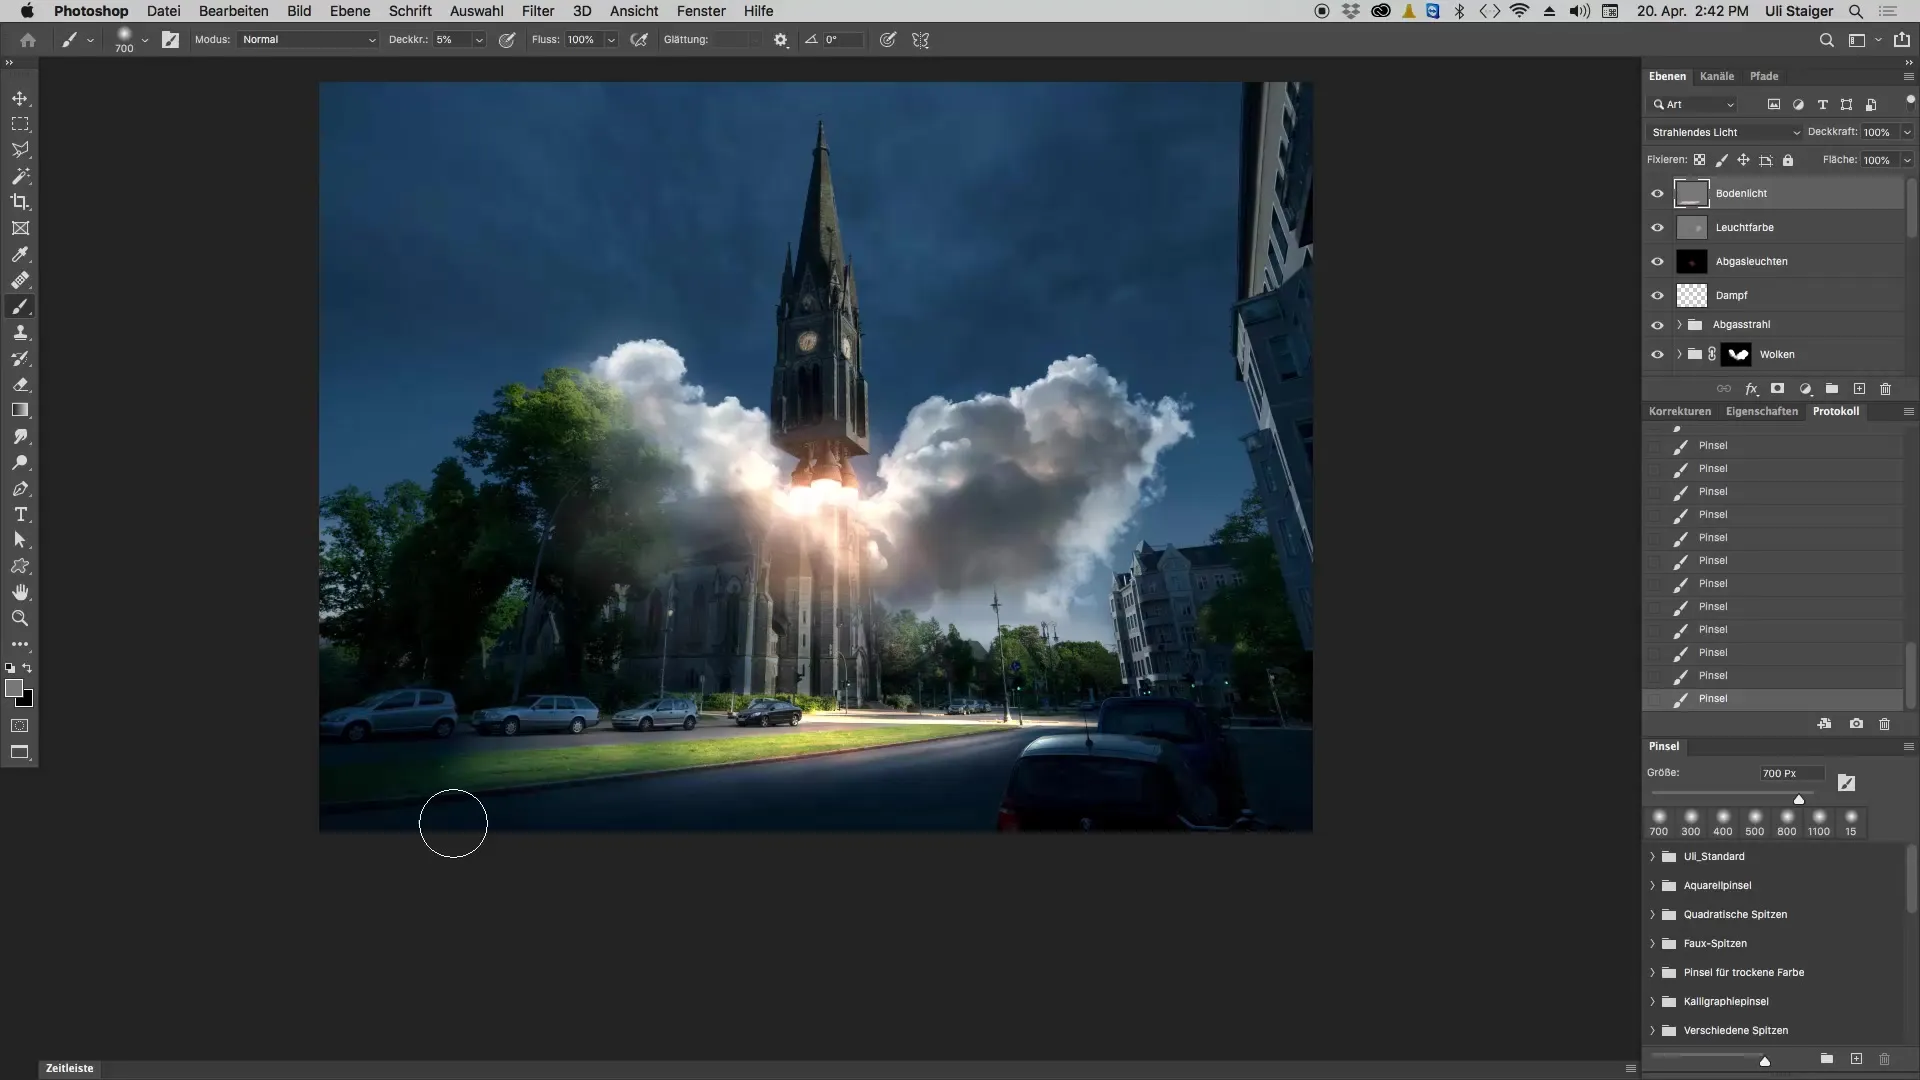
To achieve a realistic lighting setup, we begin by adding a new layer for the ground light.
Step 1: Create a New Layer Create a new layer and select the mode "glow light". Set the fill color to a pale orange (#FFB500), which is not too saturated to avoid an overly colorful appearance.
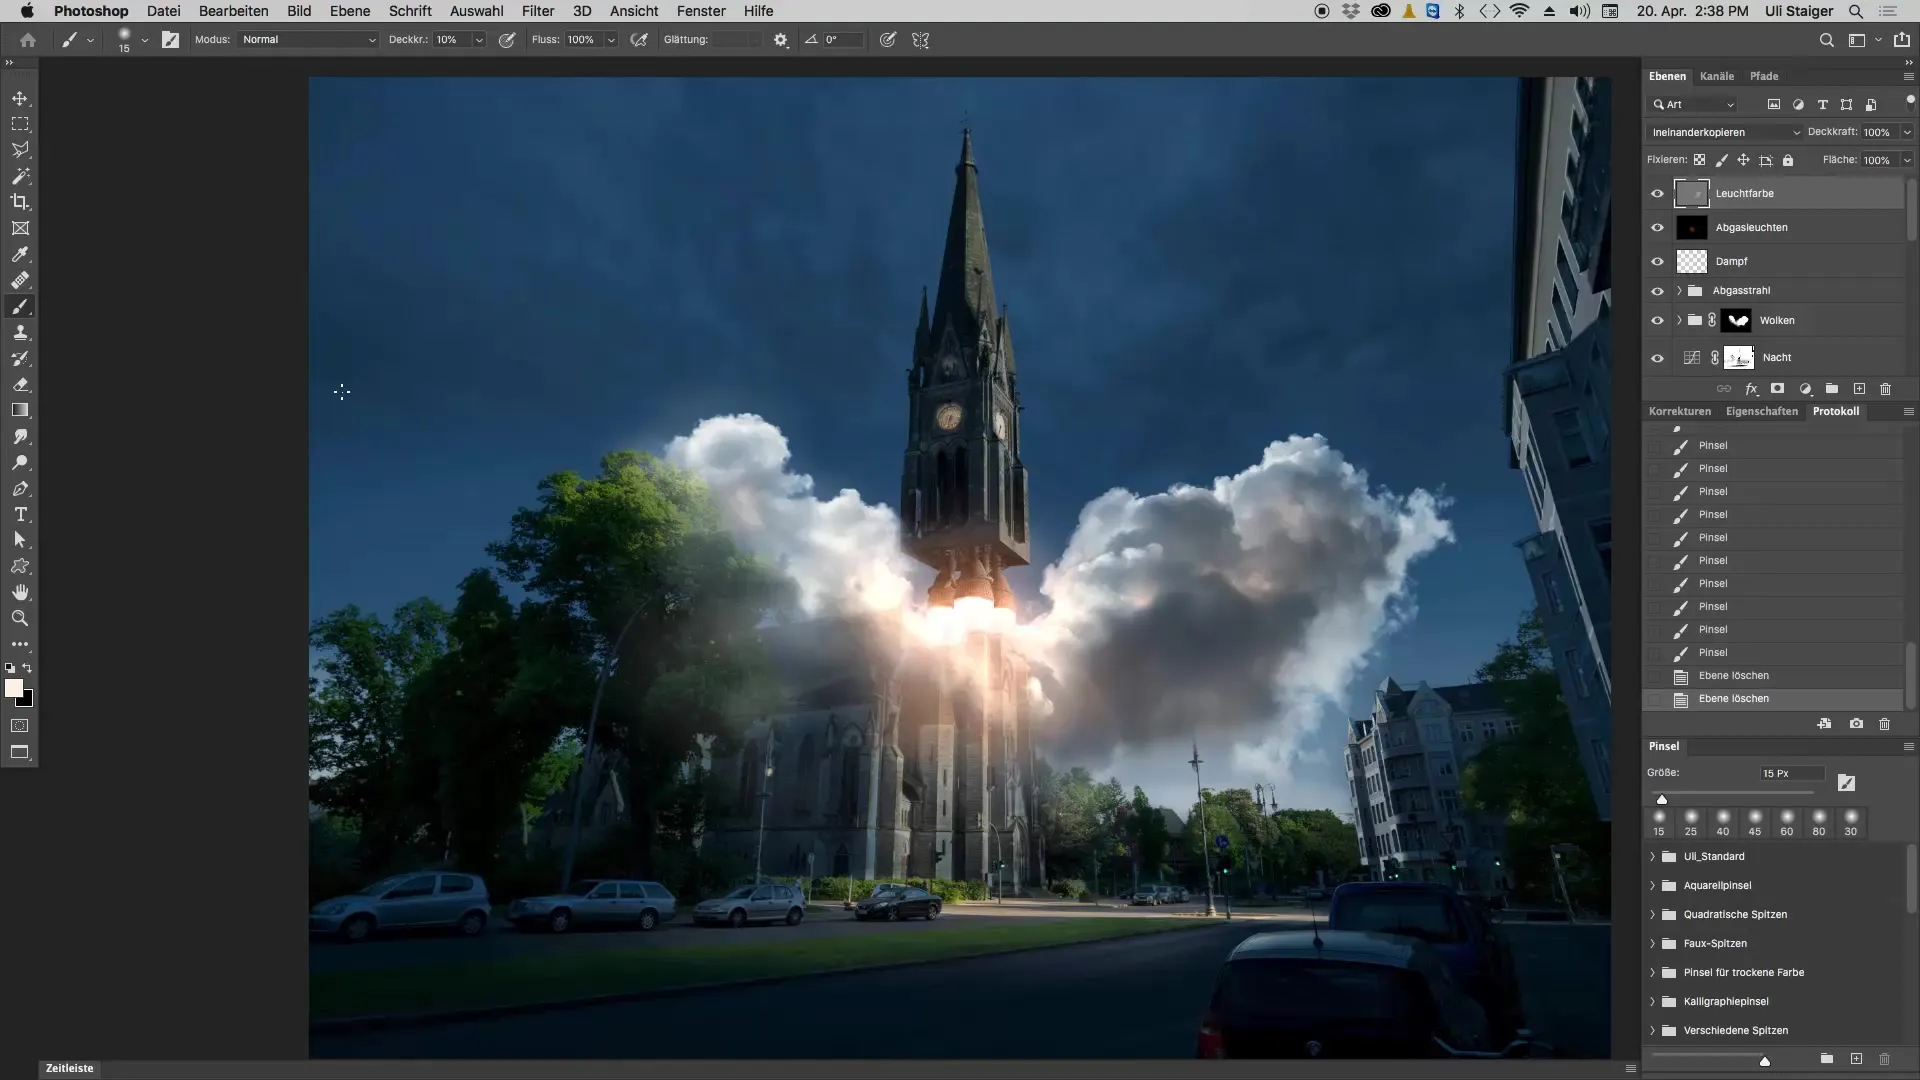
Step 2: Prepare the Brush Use a large brush with an opacity of 5%. This value allows you to build up soft light without appearing too strong right away.
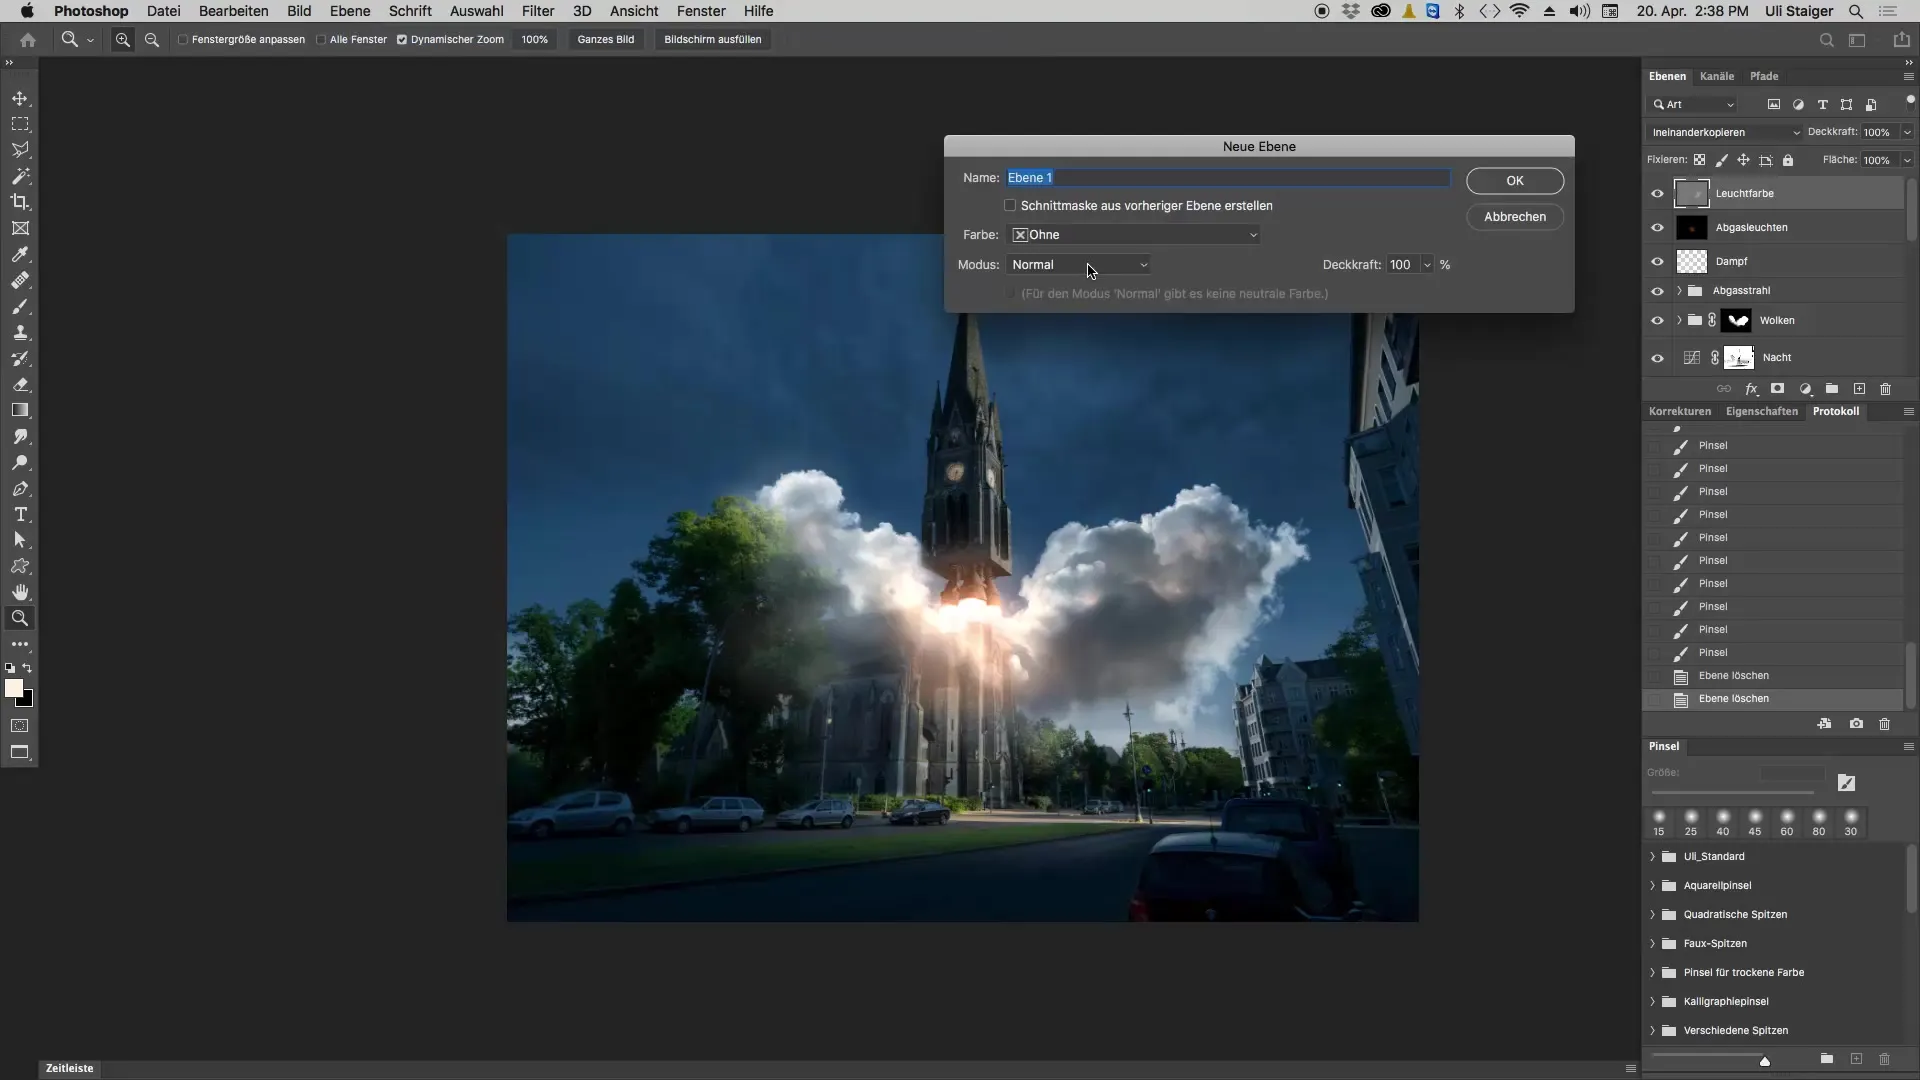
Step 3: Paint Light on the Ground Start by painting light on the grass. Apply it layer by layer by going over the same spot multiple times to gradually increase the brightness. Make sure not to lighten the entire edge of the image.
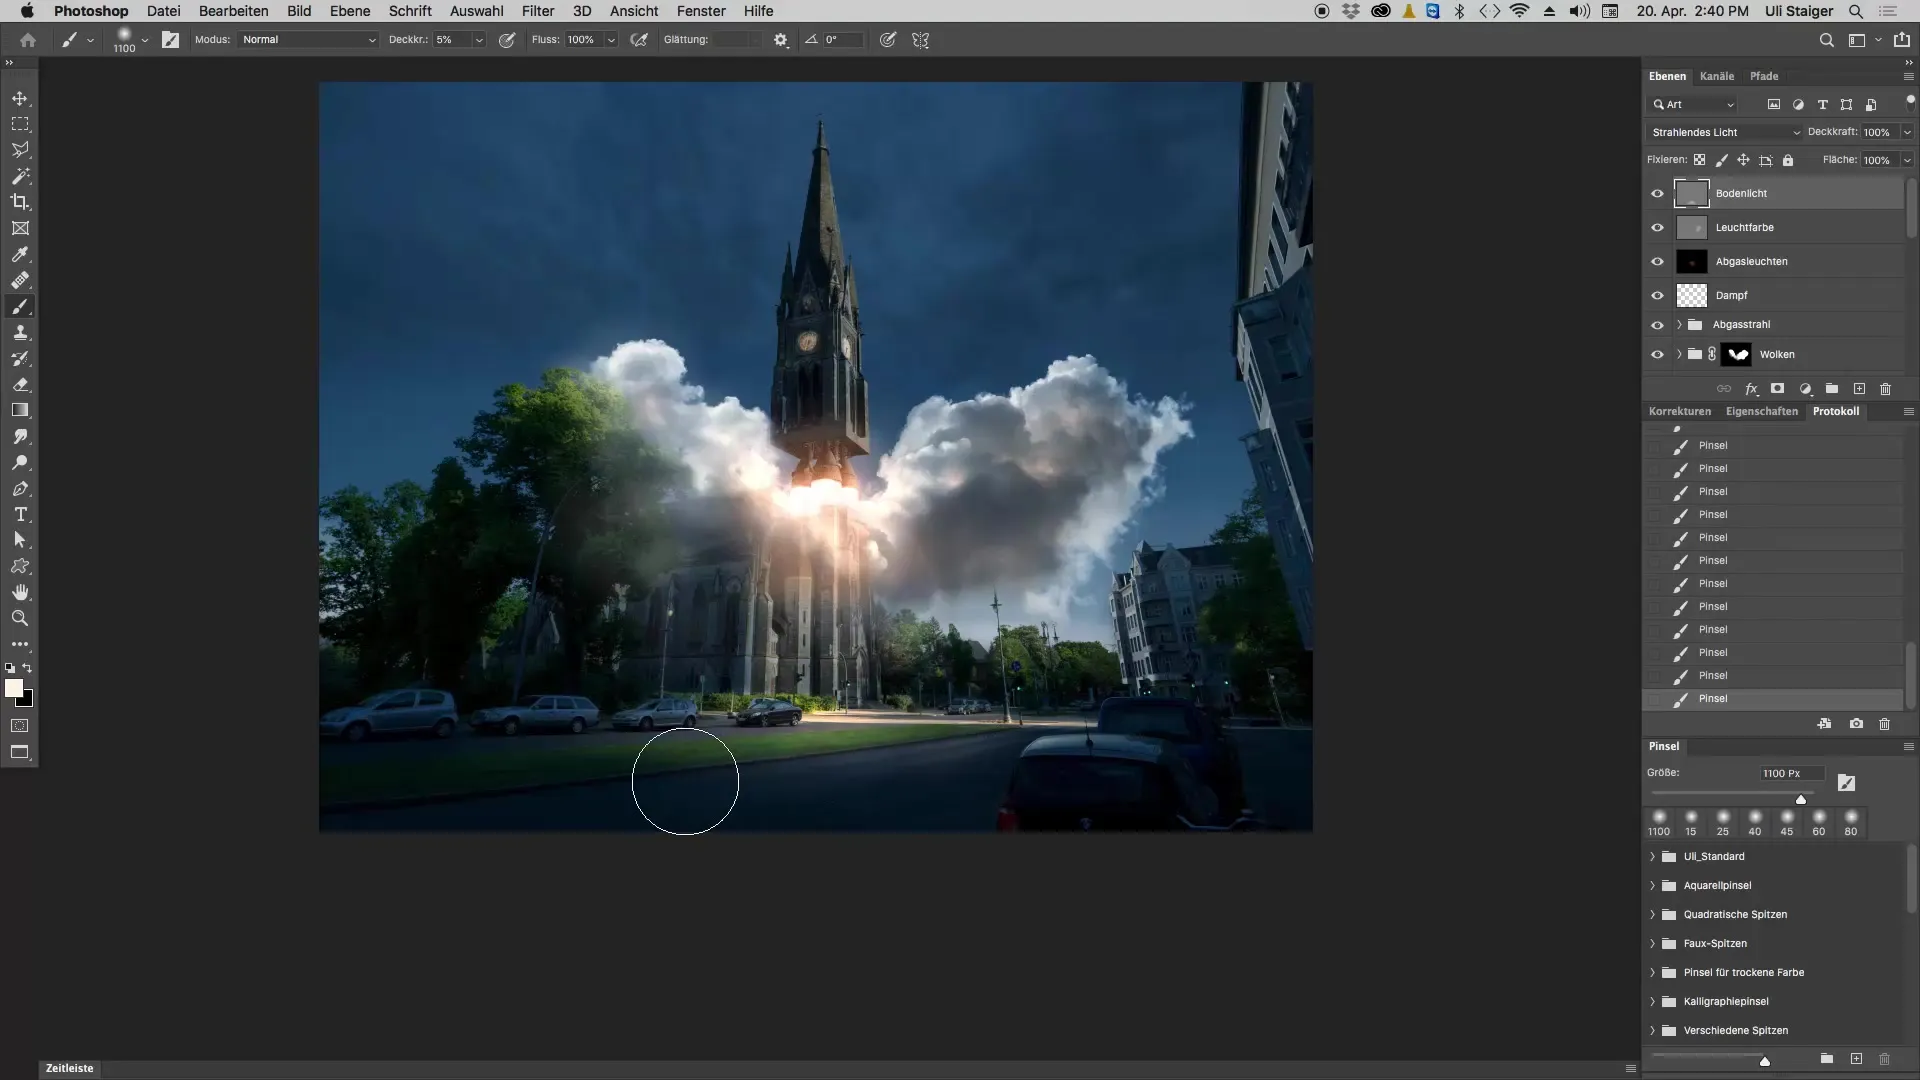
Step 4: Adjust Brightness If you find the brightness too strong, you can paint over it with medium gray (RGB: 128) to dampen the brightness and achieve a more harmonious look.
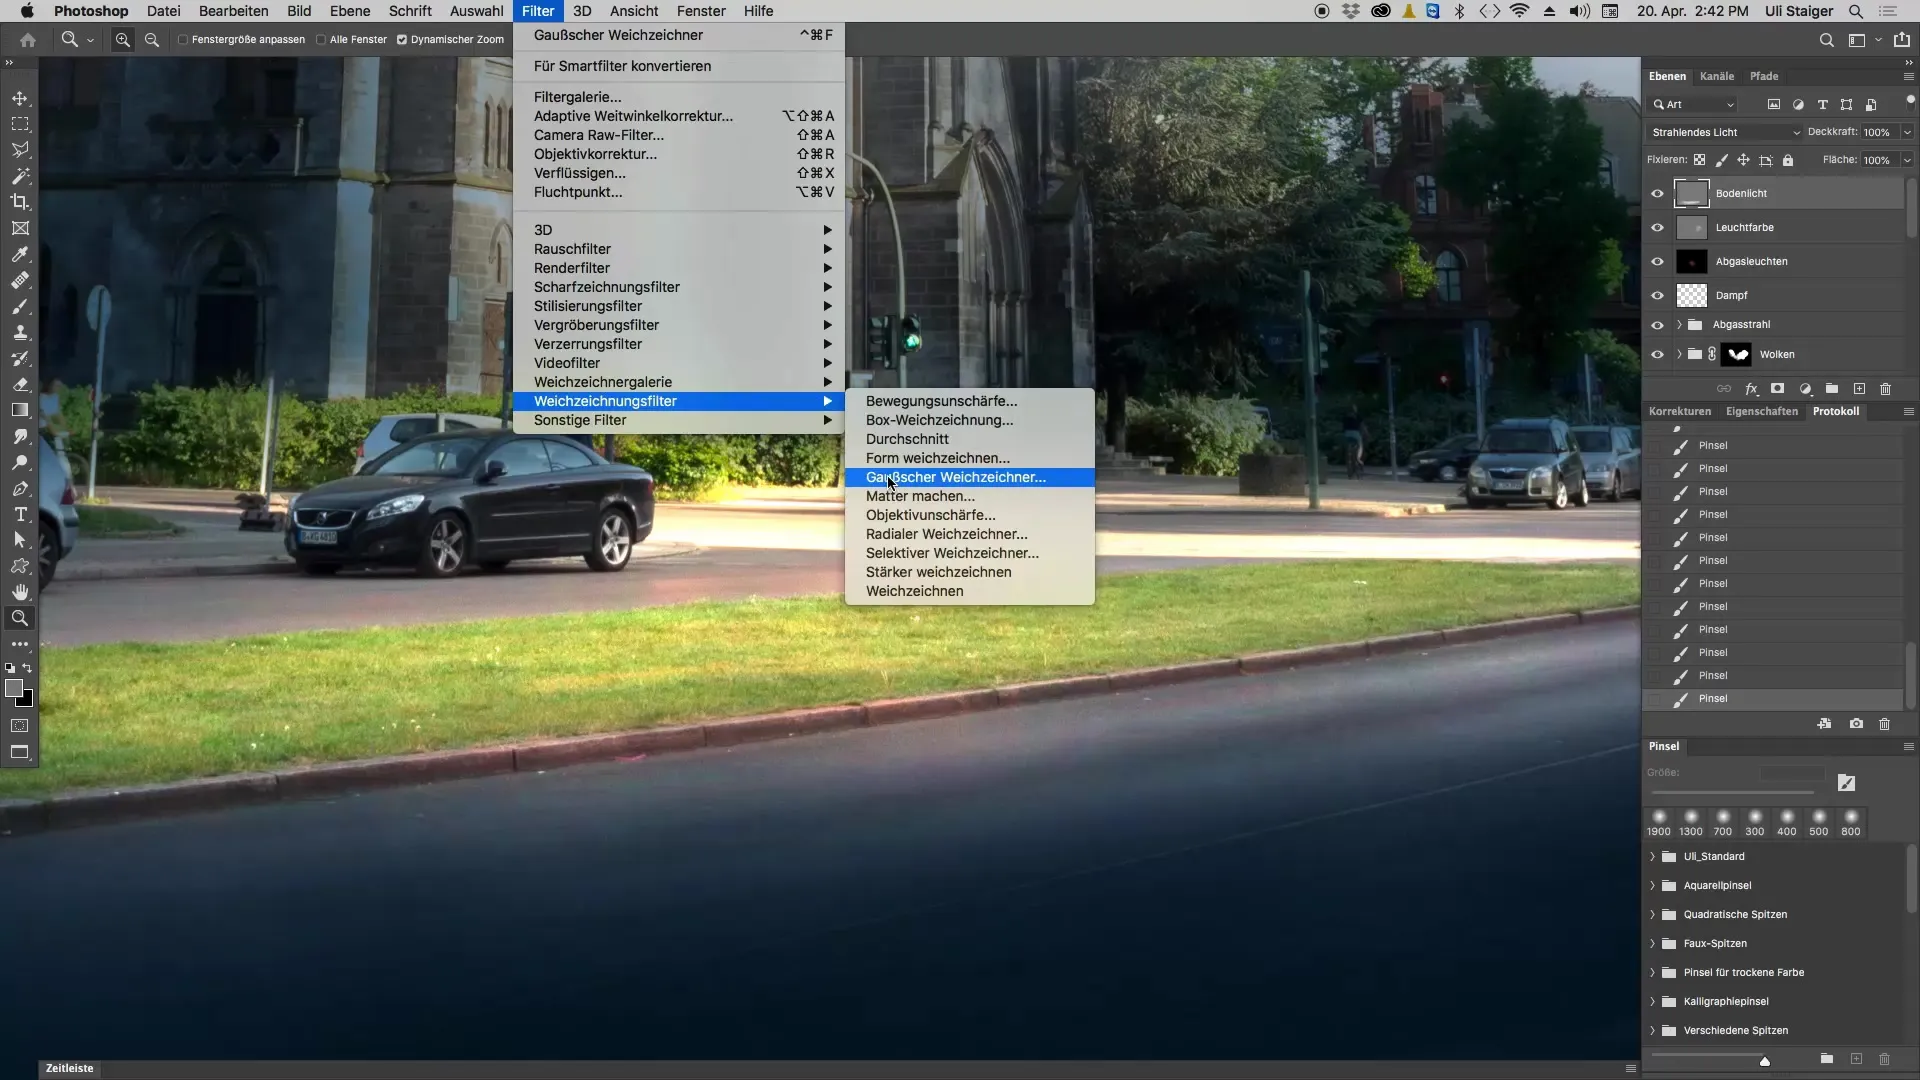
Step 5: Smooth Structures If you see unwanted structures, you can apply a blur filter. Use the classic Gaussian blur with a strength of about 70 pixels to improve the transitions.
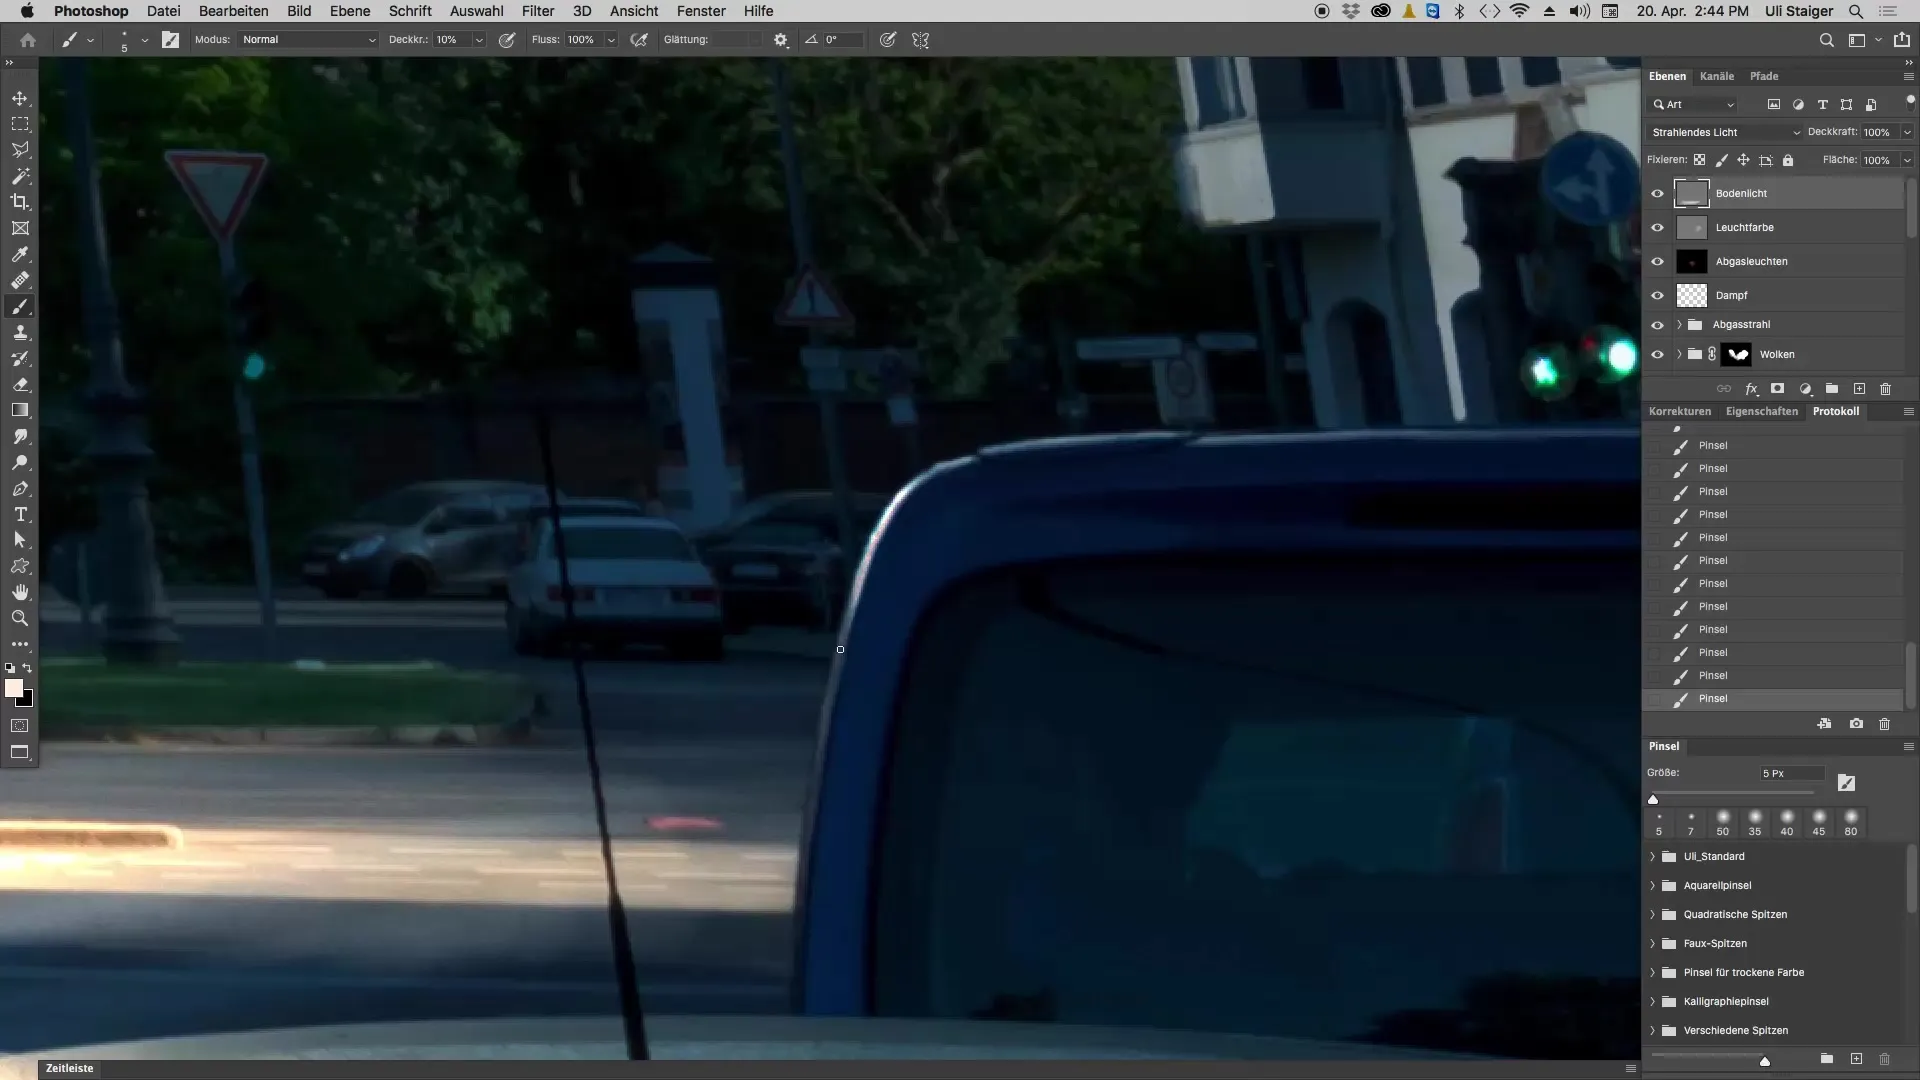
Step 6: Add Reflections on the Cars Switch to the layer with the ground light and use a small brush to paint reflections on the parked cars. Keep the opacity around 20% and go over it multiple times to enhance the light without it becoming too dominant.
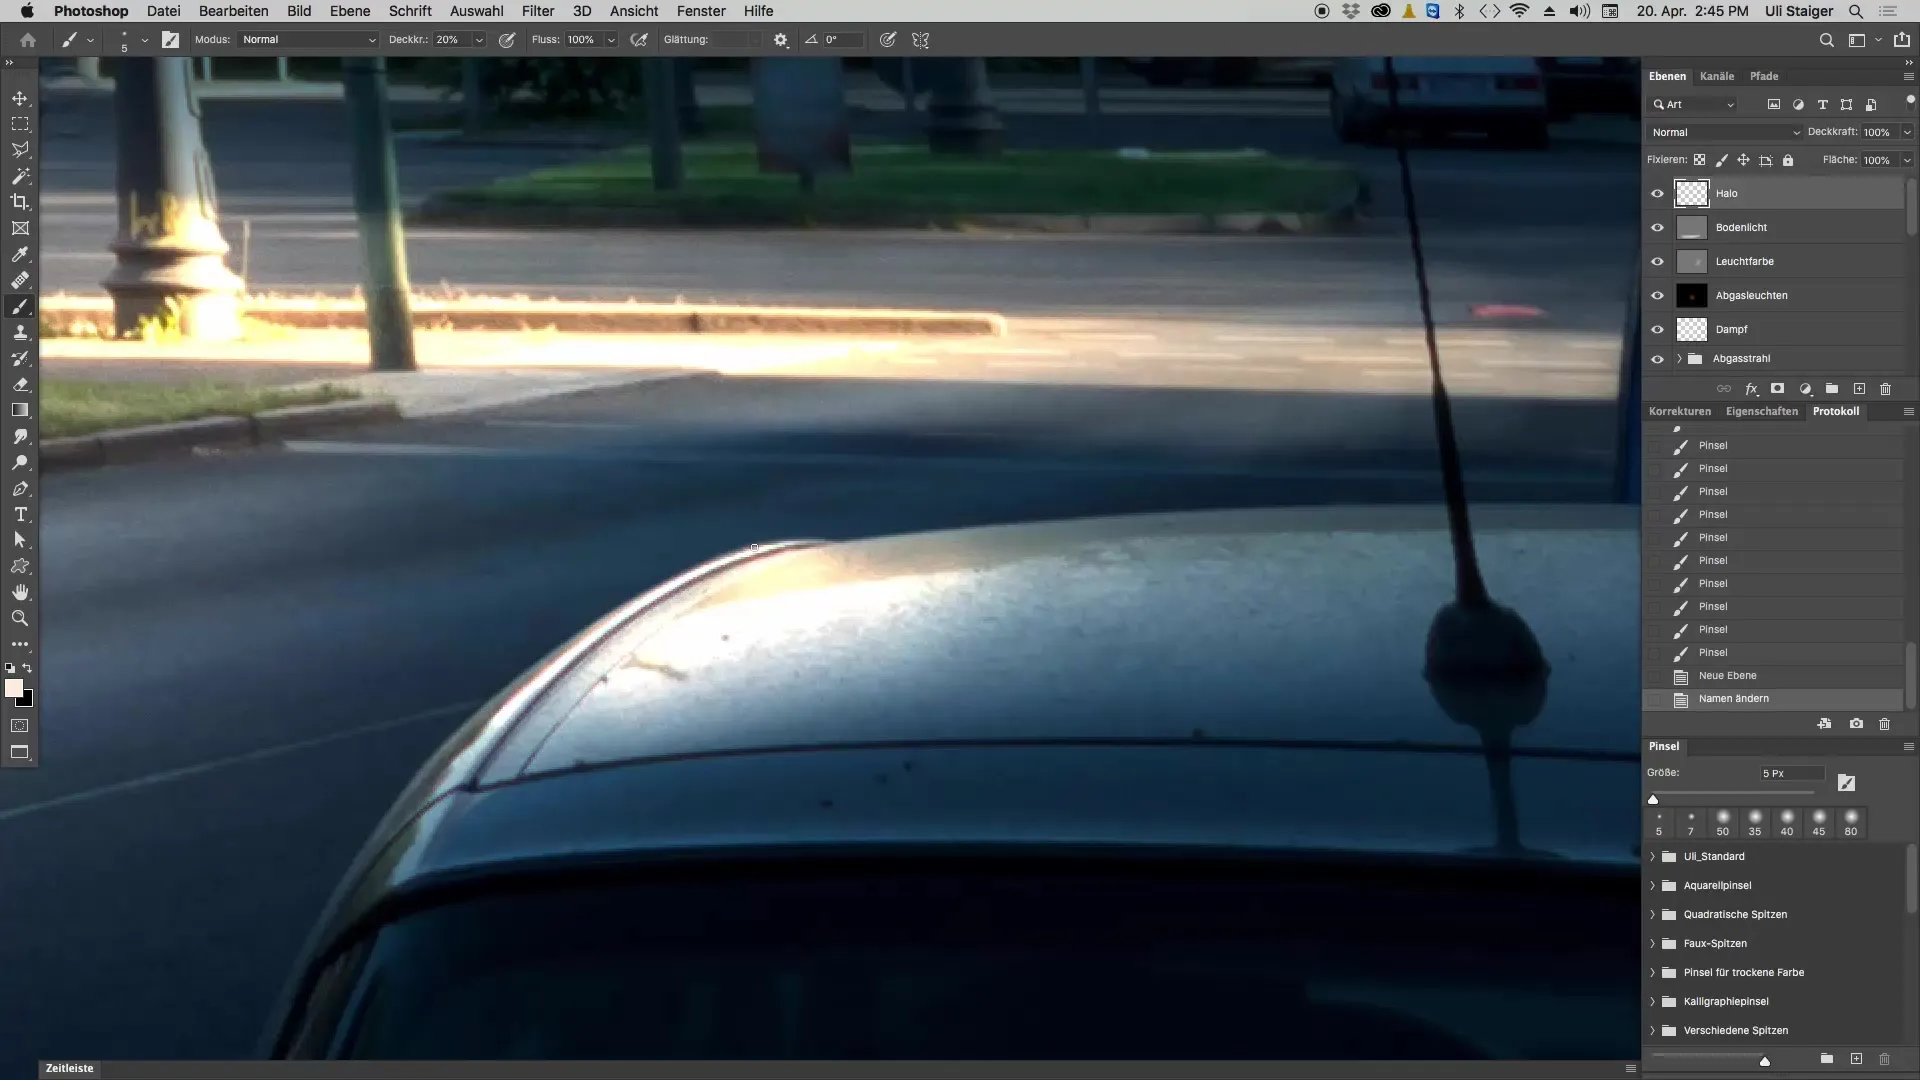
Step 7: Create Halos To create realistic reflections, add a subtle halo by painting over the reflection areas again with the same color. Make sure the center becomes super bright to reproduce the effect of a light glow.
Step 8: Darken the Upper Edge of the Image Use a curve adjustment to slightly darken the upper area of the image and avoid visual clutter. Create a gradient that transitions from dark to light for a smooth transition.
Step 9: Check the Image Look at the image and check the image logic. Should the upper area really be that bright, or does it make the image look flat? You should play with darkness and lighting conditions until everything looks harmonious.
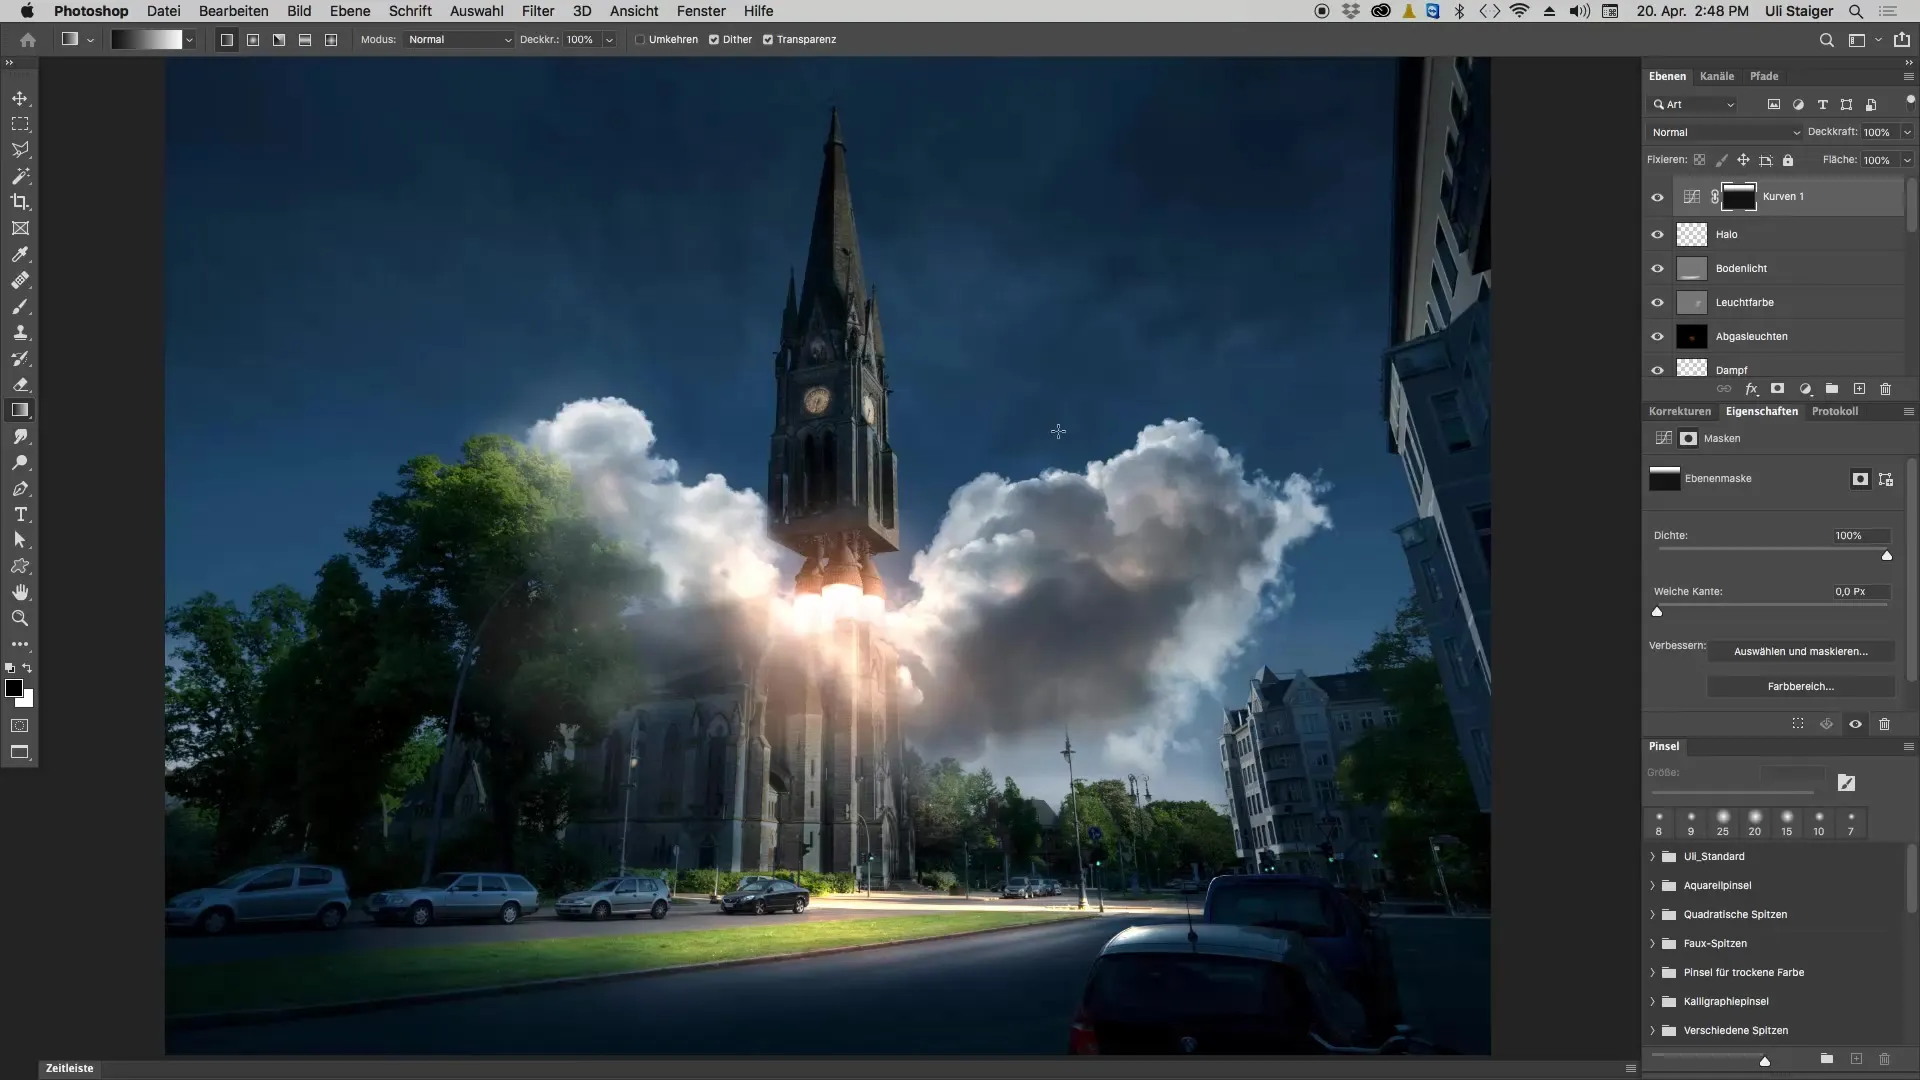
Summary - Guide to Lighting Setup in Photoshop 3D - Optimizing Image Logic
In this guide, you learned how to effectively add light sources and reflections to your 3D scene in Photoshop. Pay particular attention to image logic to create a realistic and appealing image. Use the nuances in brush technique and opacity values to achieve the desired result.
Frequently Asked Questions
How can I ensure that my image has logical light sources?Make sure that the light effects are in relation to the light sources of the scene to achieve a realistic effect.
Can I use other colors for the light?Yes, you can try different hues; however, saturation should be kept low to avoid colorful effects.
Do I have to use a new layer for every edit?It is usually advisable to use new layers for specific effects to make changes easier to undo.
