Before you start texturing your 3D object, it's important to understand the basics to achieve a convincing result. In this tutorial, we will focus on applying a stone wall texture to a 3D model of a church. You will learn how to replace, scale, and adjust the texture so that it fits harmoniously into your 3D object.
Key Insights
- Selecting the right texture is crucial for the realistic look of your model.
- Correctly editing the UV properties of the texture significantly influences the final result.
- With targeted adjustments like scaling and shifting, you can perfectly match the texture to your object.
Black Spots - Texture Creation
Start by ensuring your 3D model in Photoshop has the desired shape. First, we will open the 3D panel. Once you have selected your 3D object, you will see the material properties. The goal is to replace the gray plastic surface with a stone wall texture that is visually appealing.
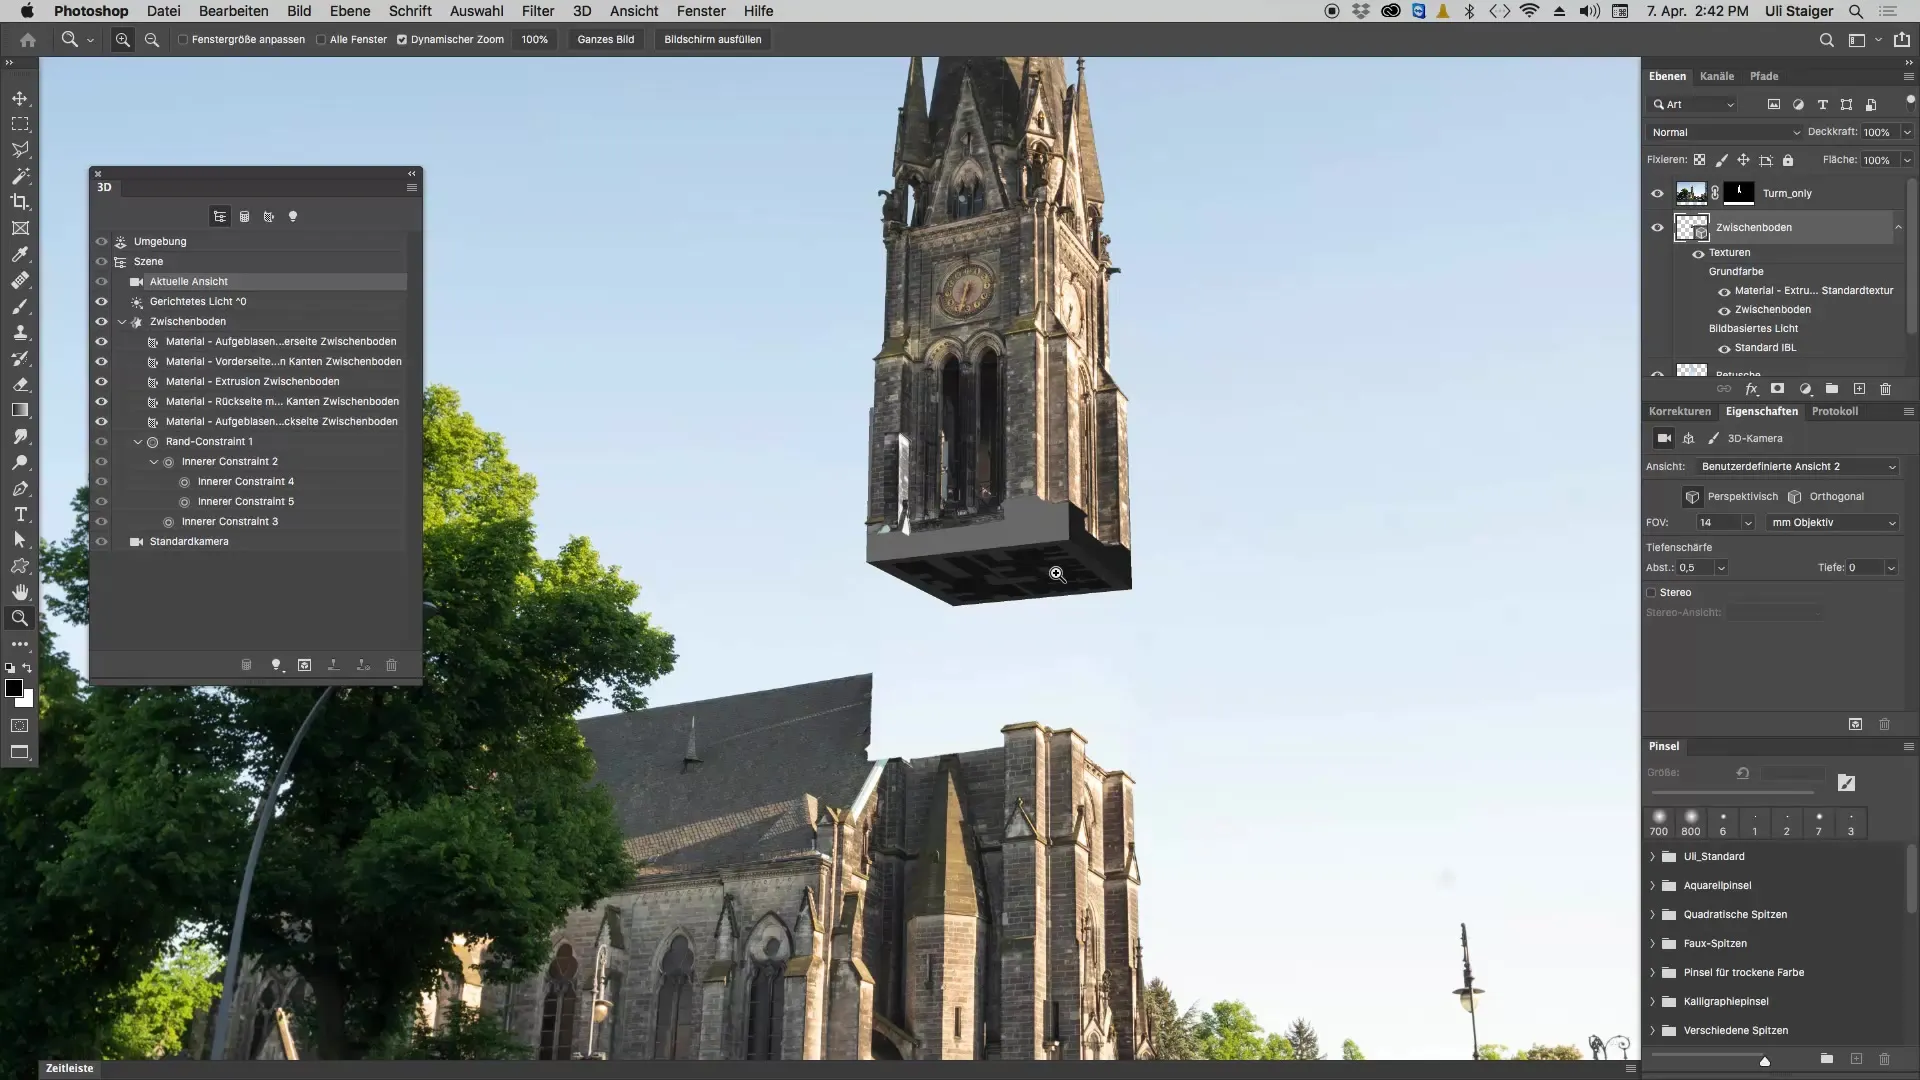
Select Material
Click on the “Extruded Material” option in the 3D panel. Here, you will see the properties of the material currently in use. Check the base color, which in this case is gray. To change the texture, go to the small folder icon in the material property window and select “Replace Texture”.
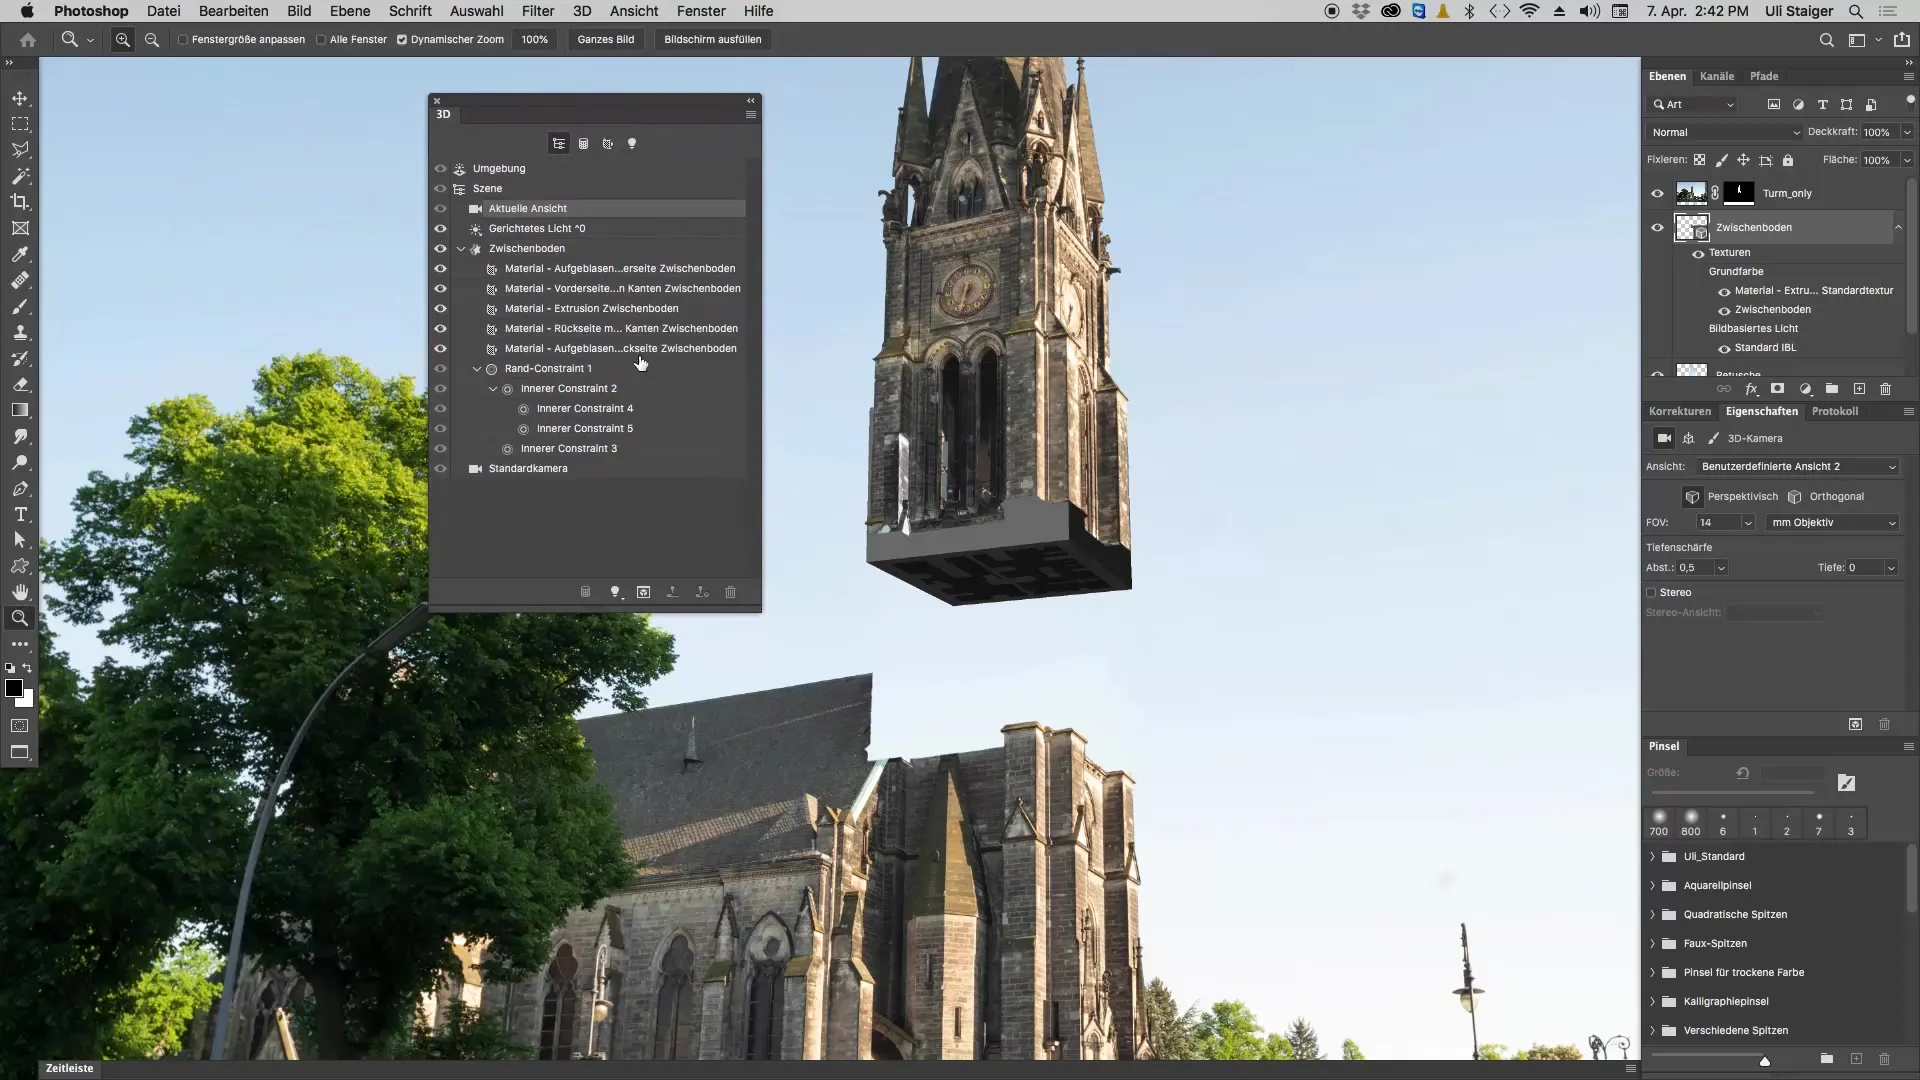
Import Texture
Now it gets exciting: Load the stone wall texture from your project files. This texture is based on photos you took of the church. Click “Open” to import the texture. You will immediately see that the texture has been applied to your 3D model, but the result may still not be optimal.
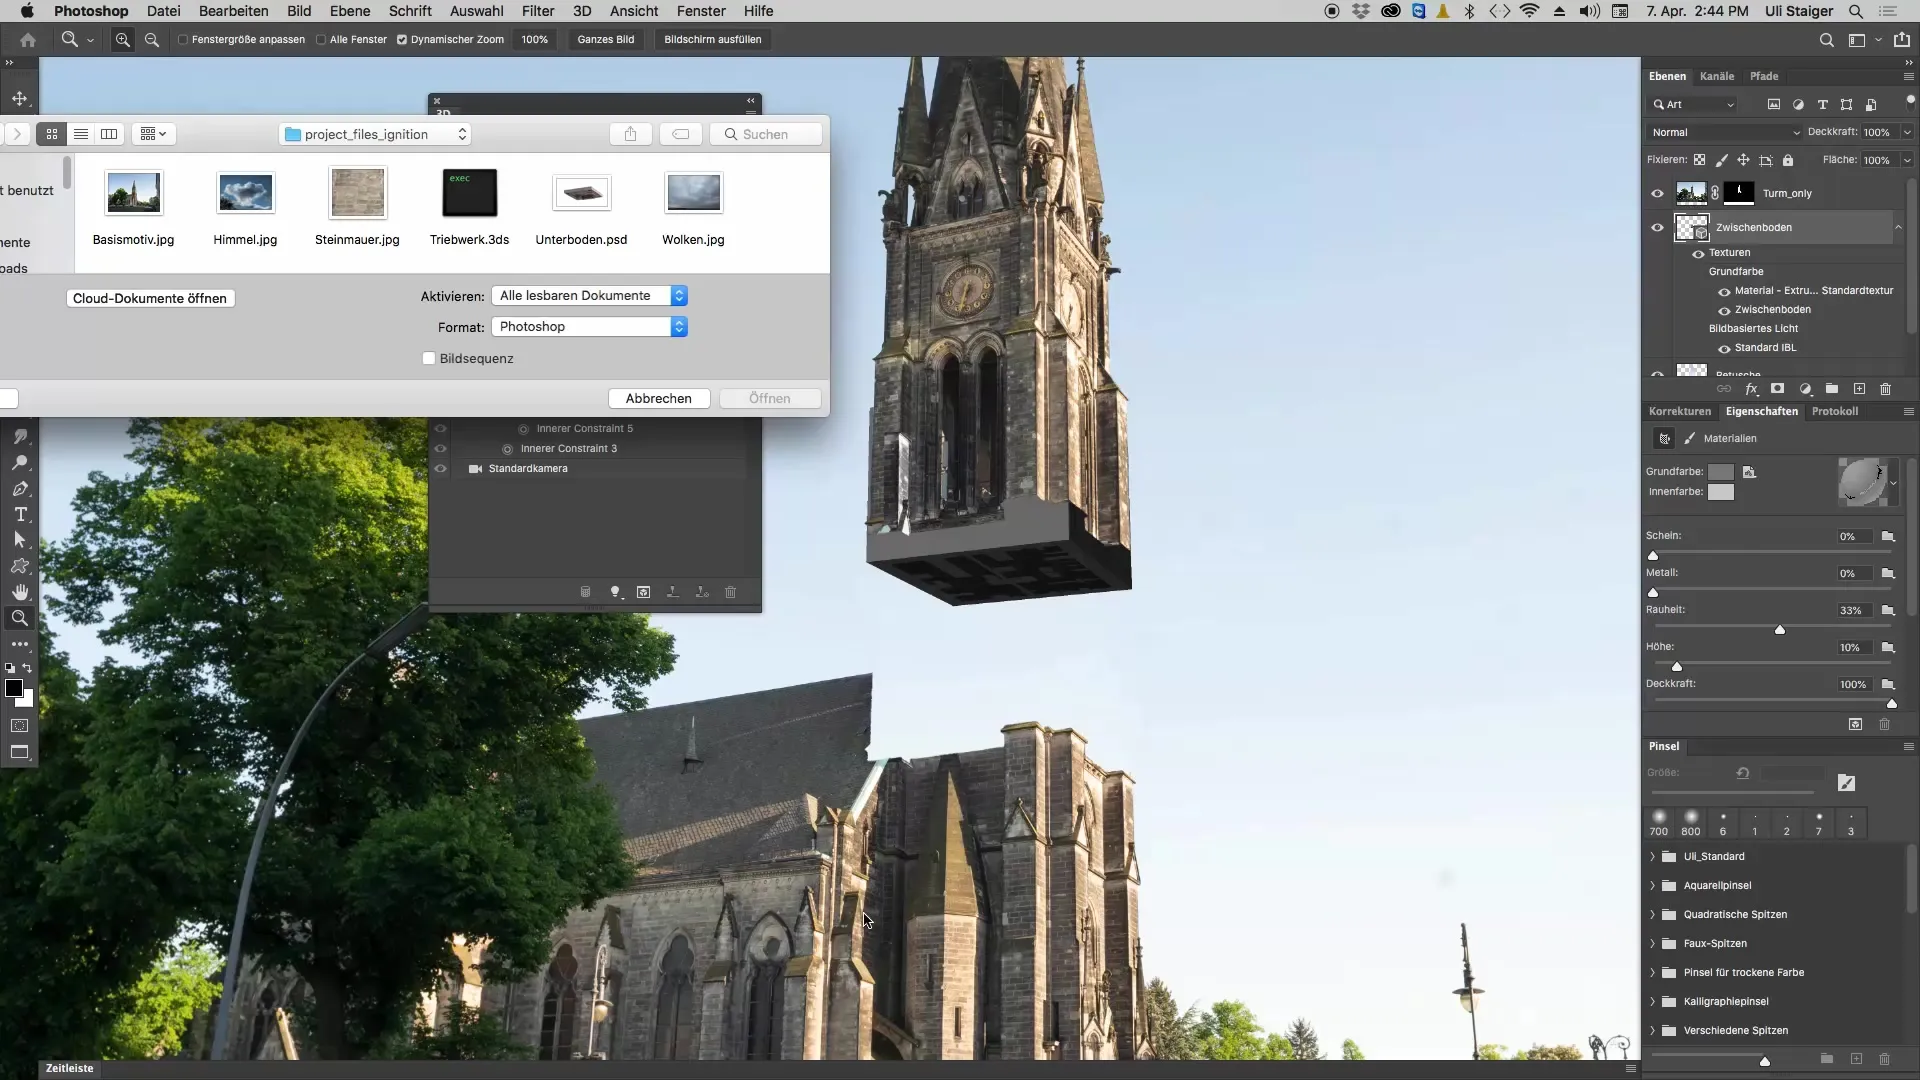
Edit UV Properties
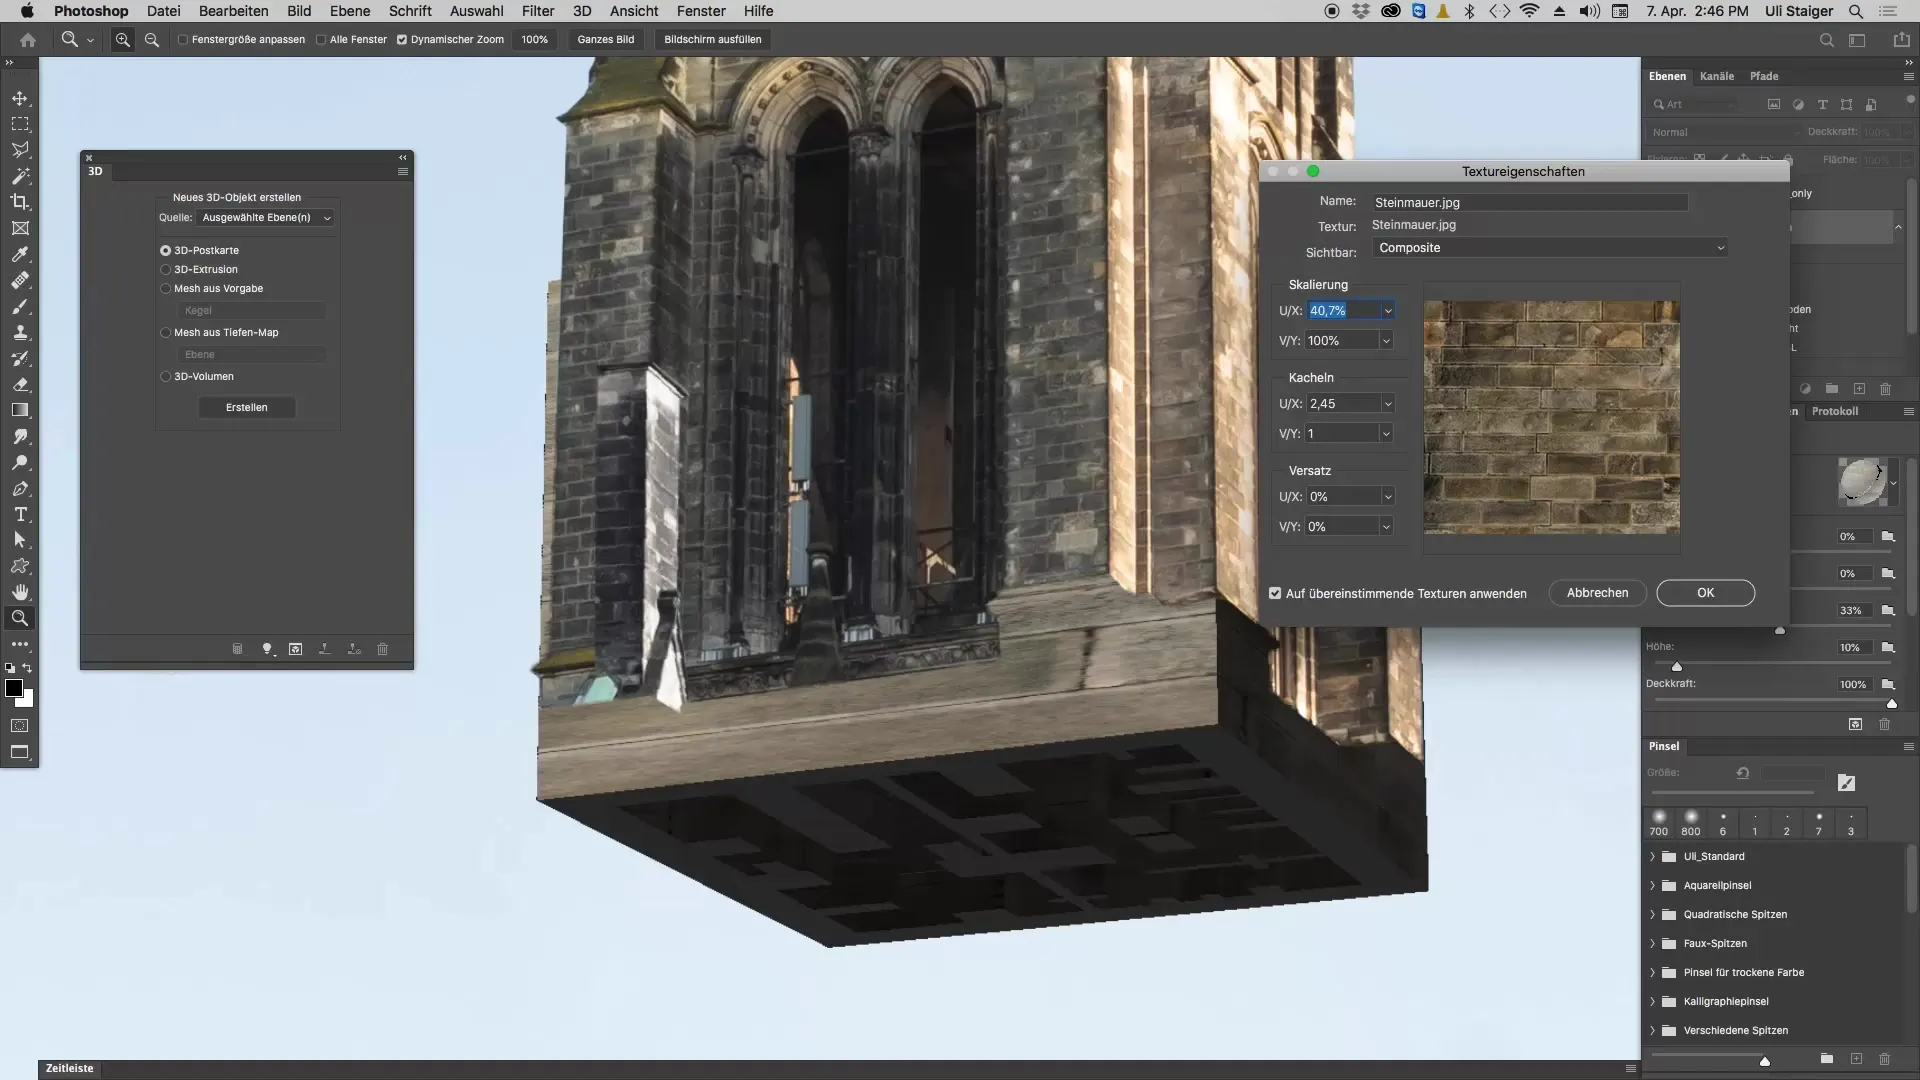
An important way to refine is by editing the UV properties. Make sure to save your project beforehand before using this function, as it can sometimes lead to crashes. In this area, you can adjust the scaling of the texture. The sliders for the UV properties allow you to change the texture size.
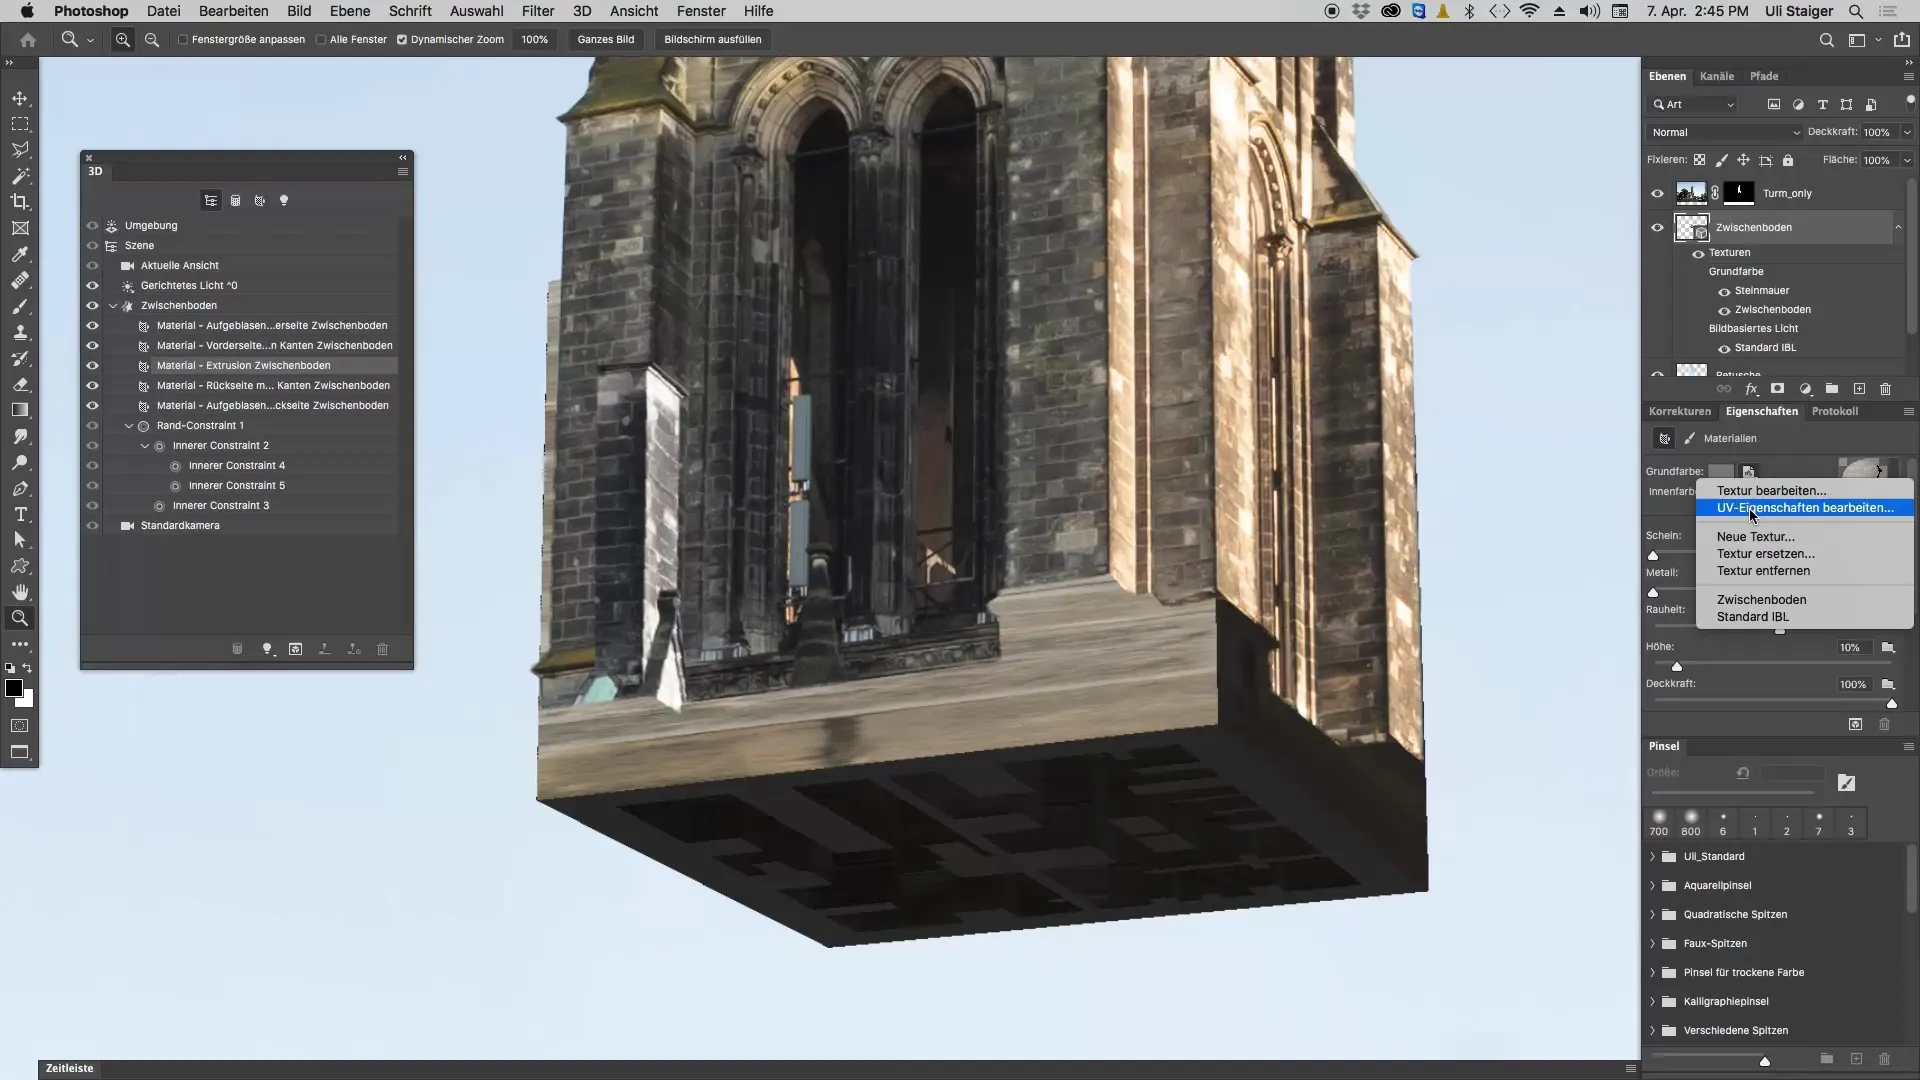
Texture Scaling
Start with the adjustment of the scaling to adapt the texture to your model. Experiment with the values for horizontal and vertical scaling. If you reduce the value to 40%, you will notice that the texture looks more like stone. Also try 10% to see how the visual result changes.
Fine-tuning and Shifting the Pattern
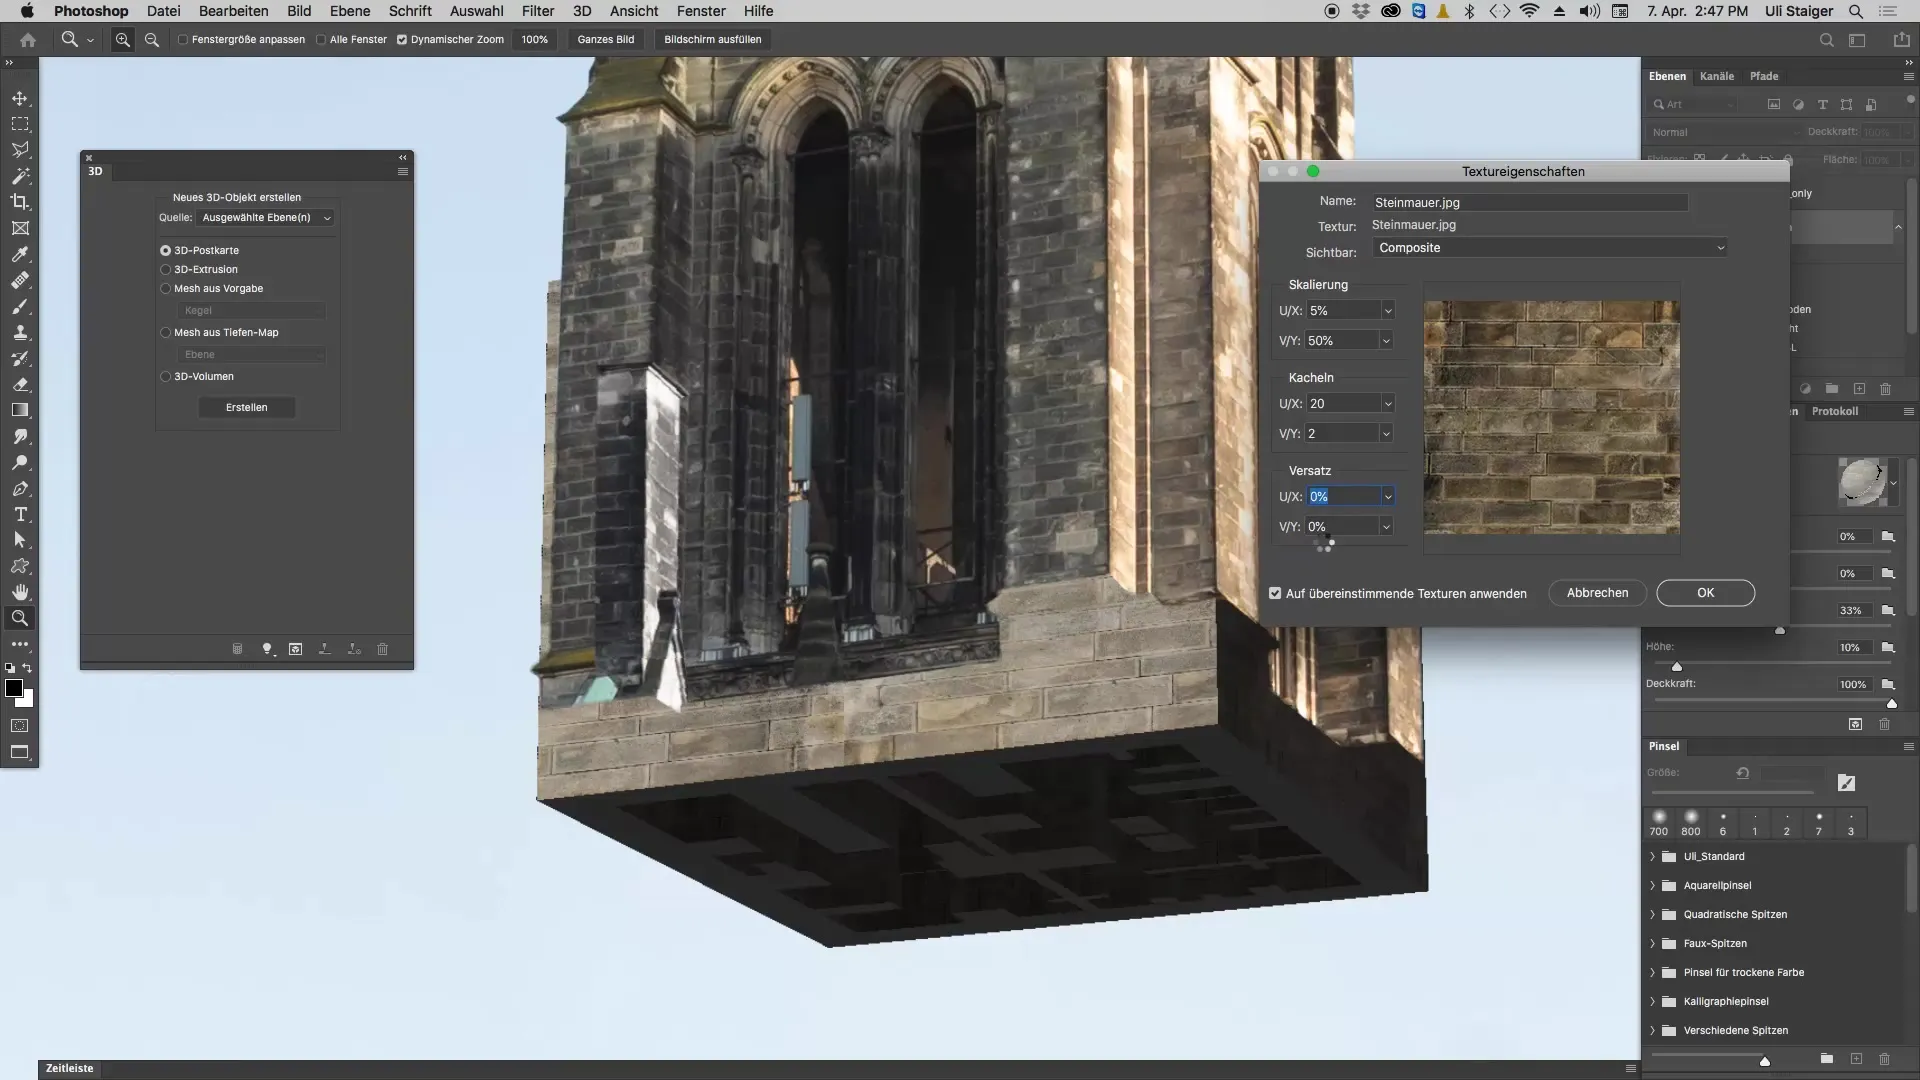
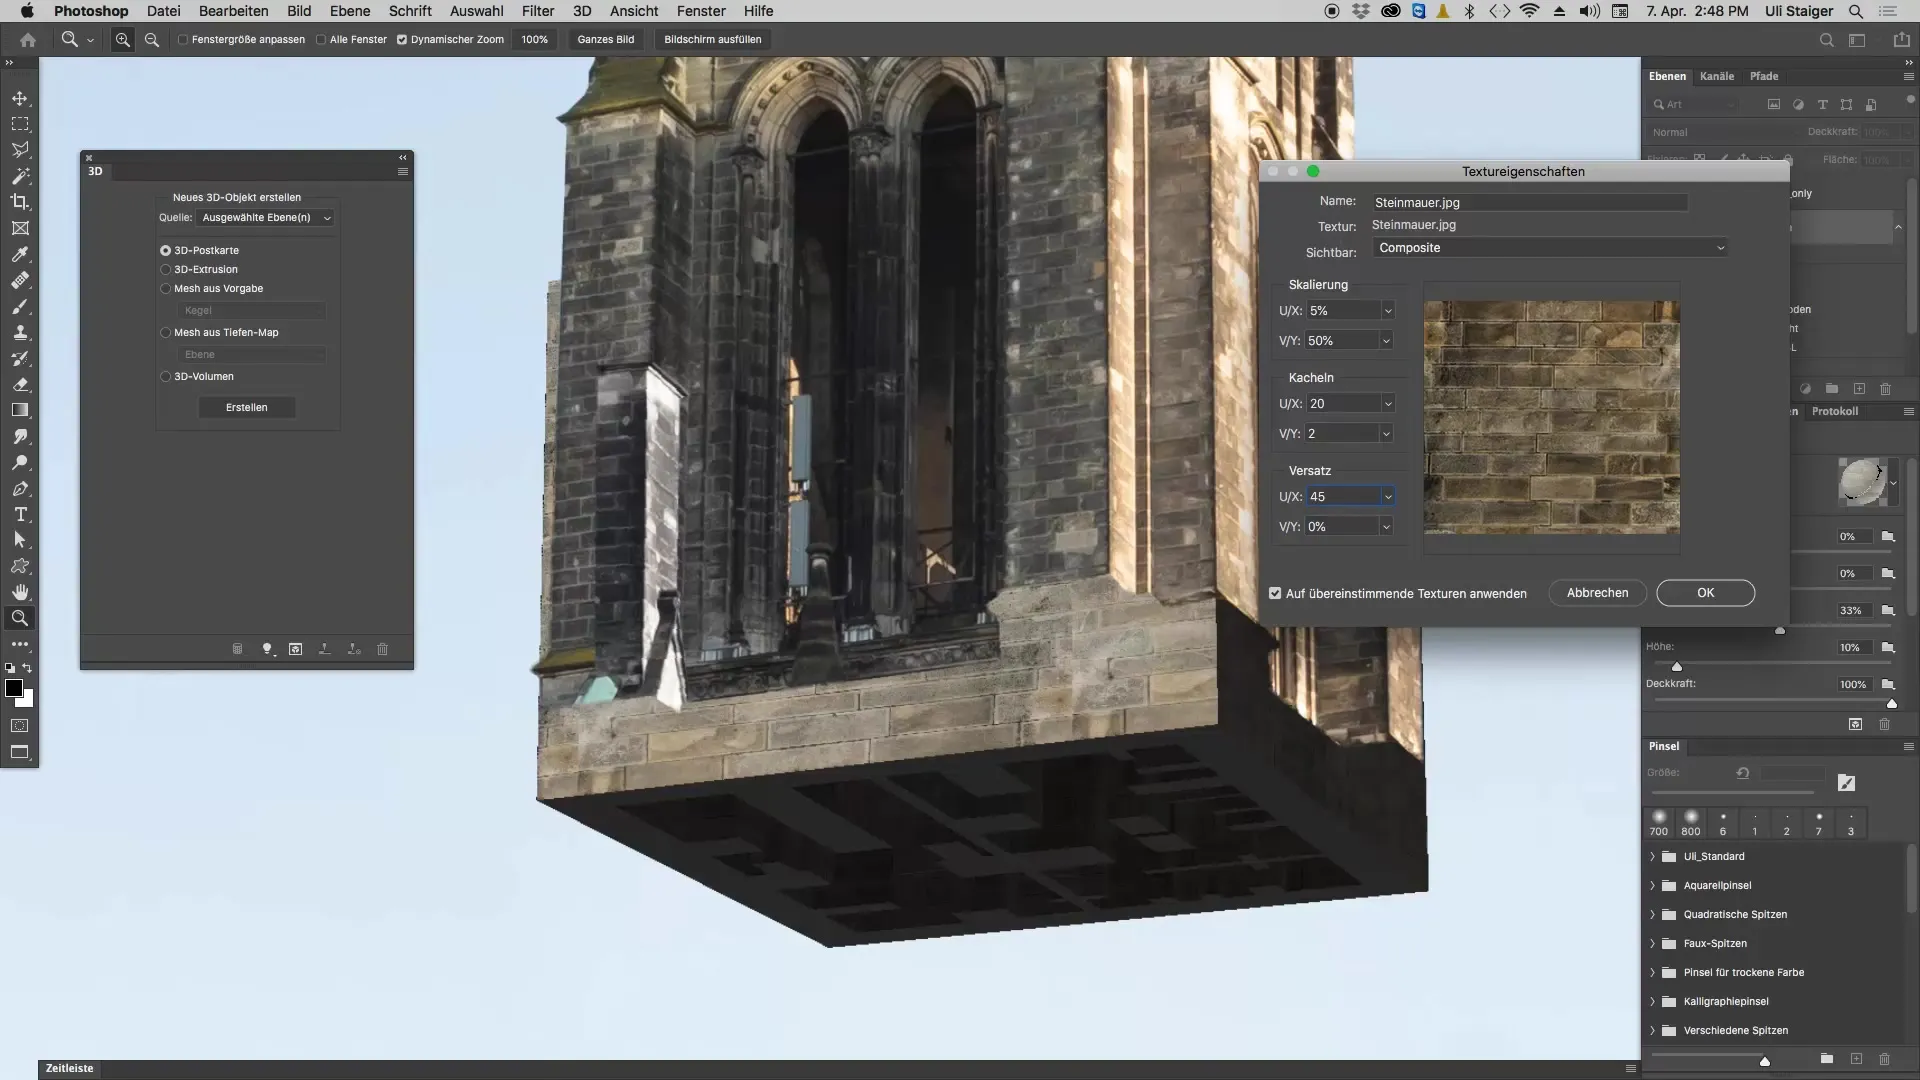
Sometimes the same value is not enough. Sometimes it is necessary to shift the texture to hide the seams. Through the UV controls, you can optimize the seamless interaction of the textures. Use the smallest adjustments to appropriately shift the “seam” - the transition point of the texture.
Final Adjustment of Lighting Conditions
After adjusting the texture, it may be necessary to change the brightness and color of the texture. Through the light sources in your scene, you can further refine the appearance of this stone wall. Make sure the lighting conditions are consistent with the theme of the church.
Summary - Texturing a 3D Object in Photoshop
By selectively replacing, scaling, and adjusting your texture, you can give your 3D representation the finishing touch. The most important thing is to approach the editing with patience and a keen eye for detail to achieve the best visual result.
Frequently Asked Questions
What is a UV property in Photoshop?UV properties determine how a texture is projected onto the surface of a 3D model.
How can I replace a texture in Photoshop?Click on the material in the 3D panel, select the folder icon, and click “Replace Texture” to choose the desired file.
Why should I save my work before editing UV properties?Editing the UV properties can lead to software crashes, so it's advisable to save beforehand.
How can I make the stones in the texture smaller?You can decrease the scaling value in the UV property window to change the size of the stones in the texture.
Can I adjust the texture later as well?Yes, you can return at any time to modify the texture or the UV properties afterward.


