Are you looking for ways to give your 3D renderings a fascinating glow? In this tutorial, you will learn how to create impressive colored light accents in clouds using a gray layer and a soft brush. Let’s go step by step through the process to dramatically improve the appearance of your clouds.
Main insights
- Use a gray layer for soft color accents.
- Choose a less saturated hue to achieve more realistic lighting effects.
- Experiment with opacity to achieve the desired light effects.
Step-by-Step Guide
To begin editing your clouds, you should understand beforehand that the light reflected inside a cloud is crucial for the representation. This means that the clouds should not only appear flat but must have a certain depth and dynamism.
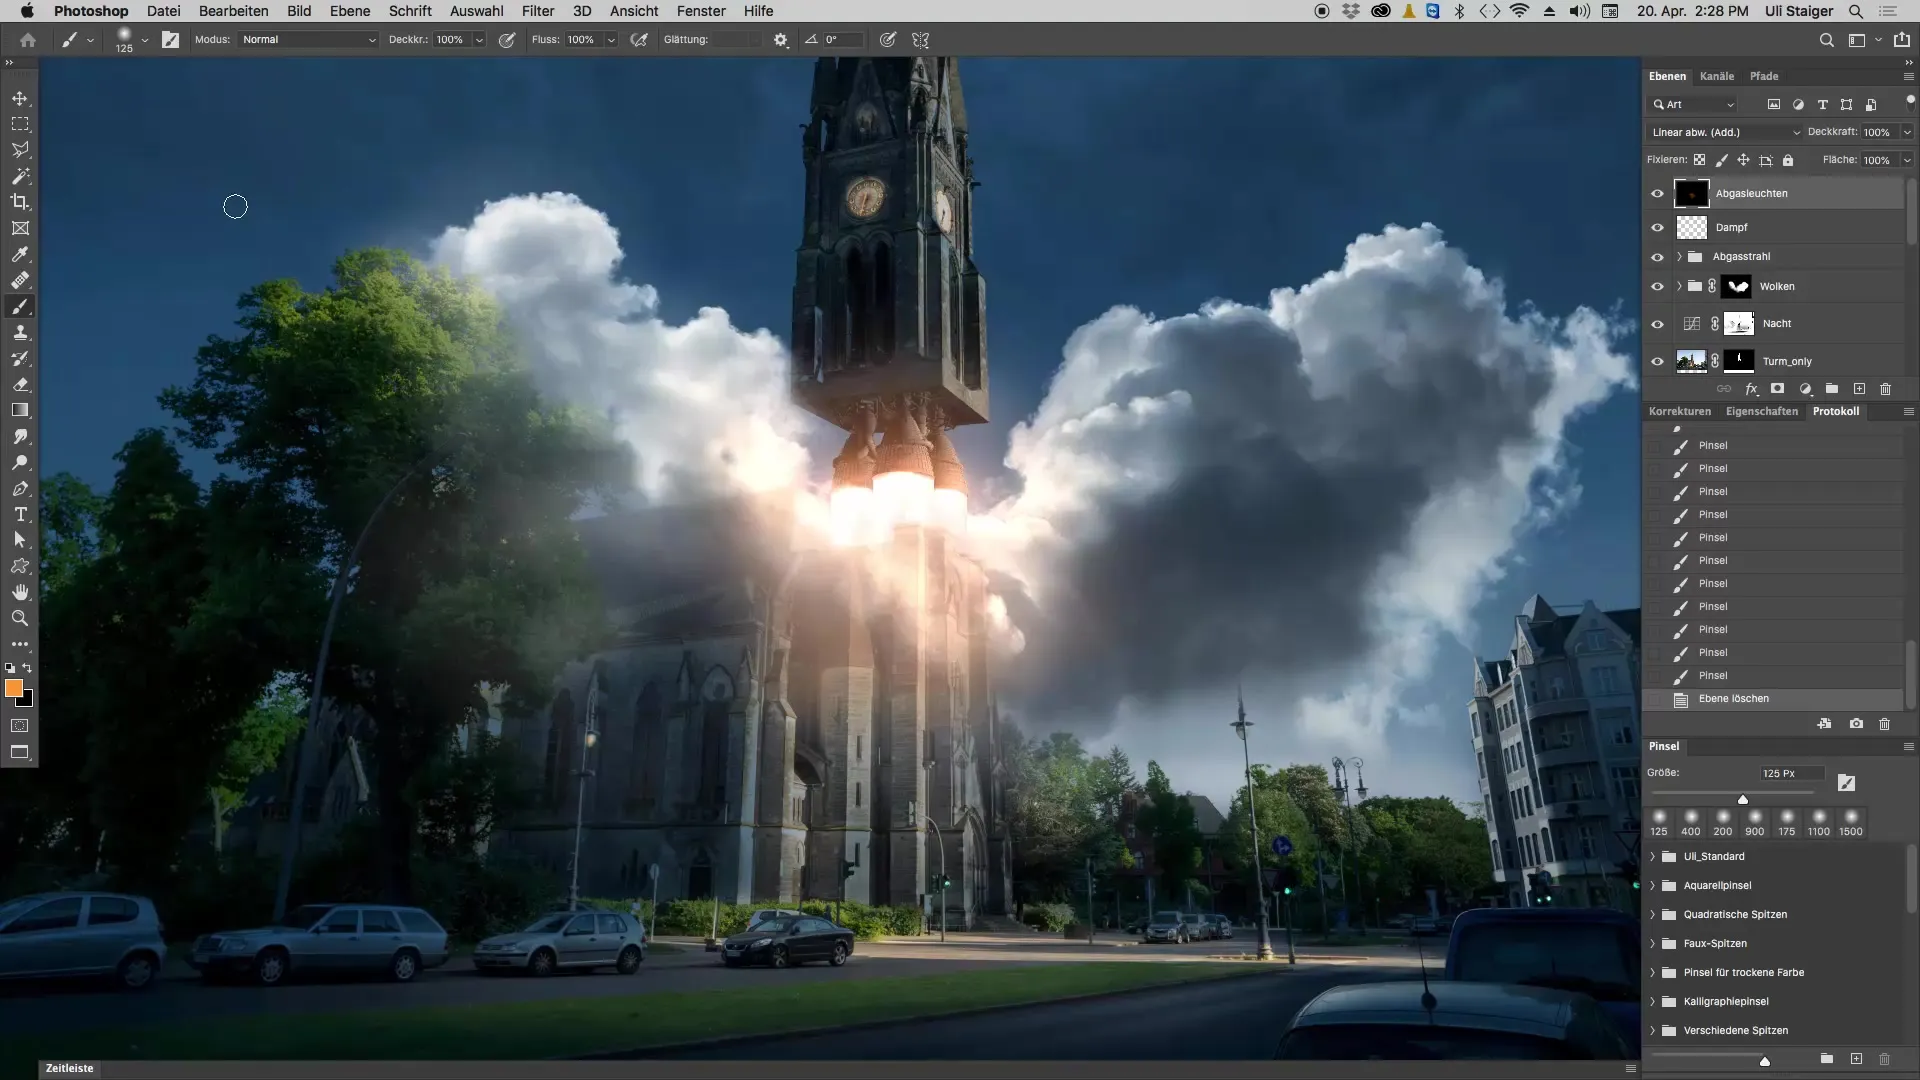
Step 1: Create a Gray Layer
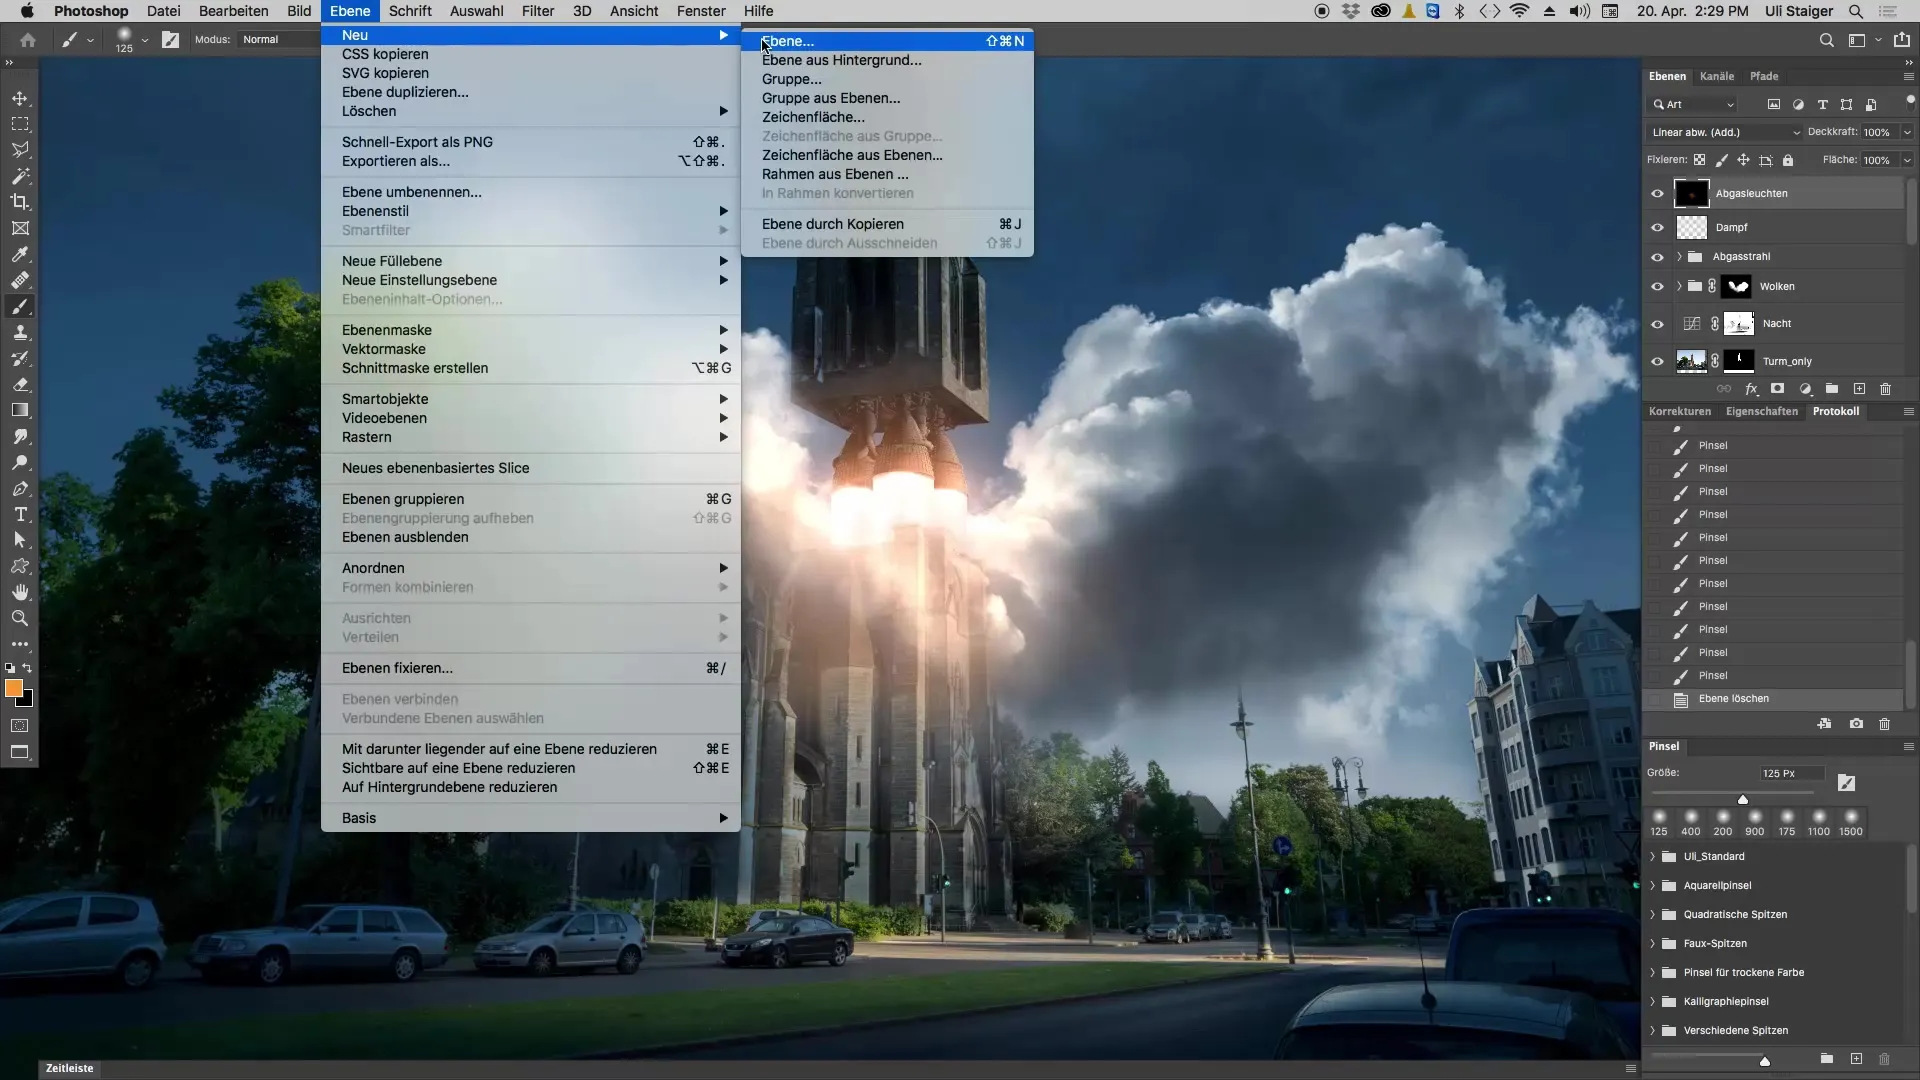
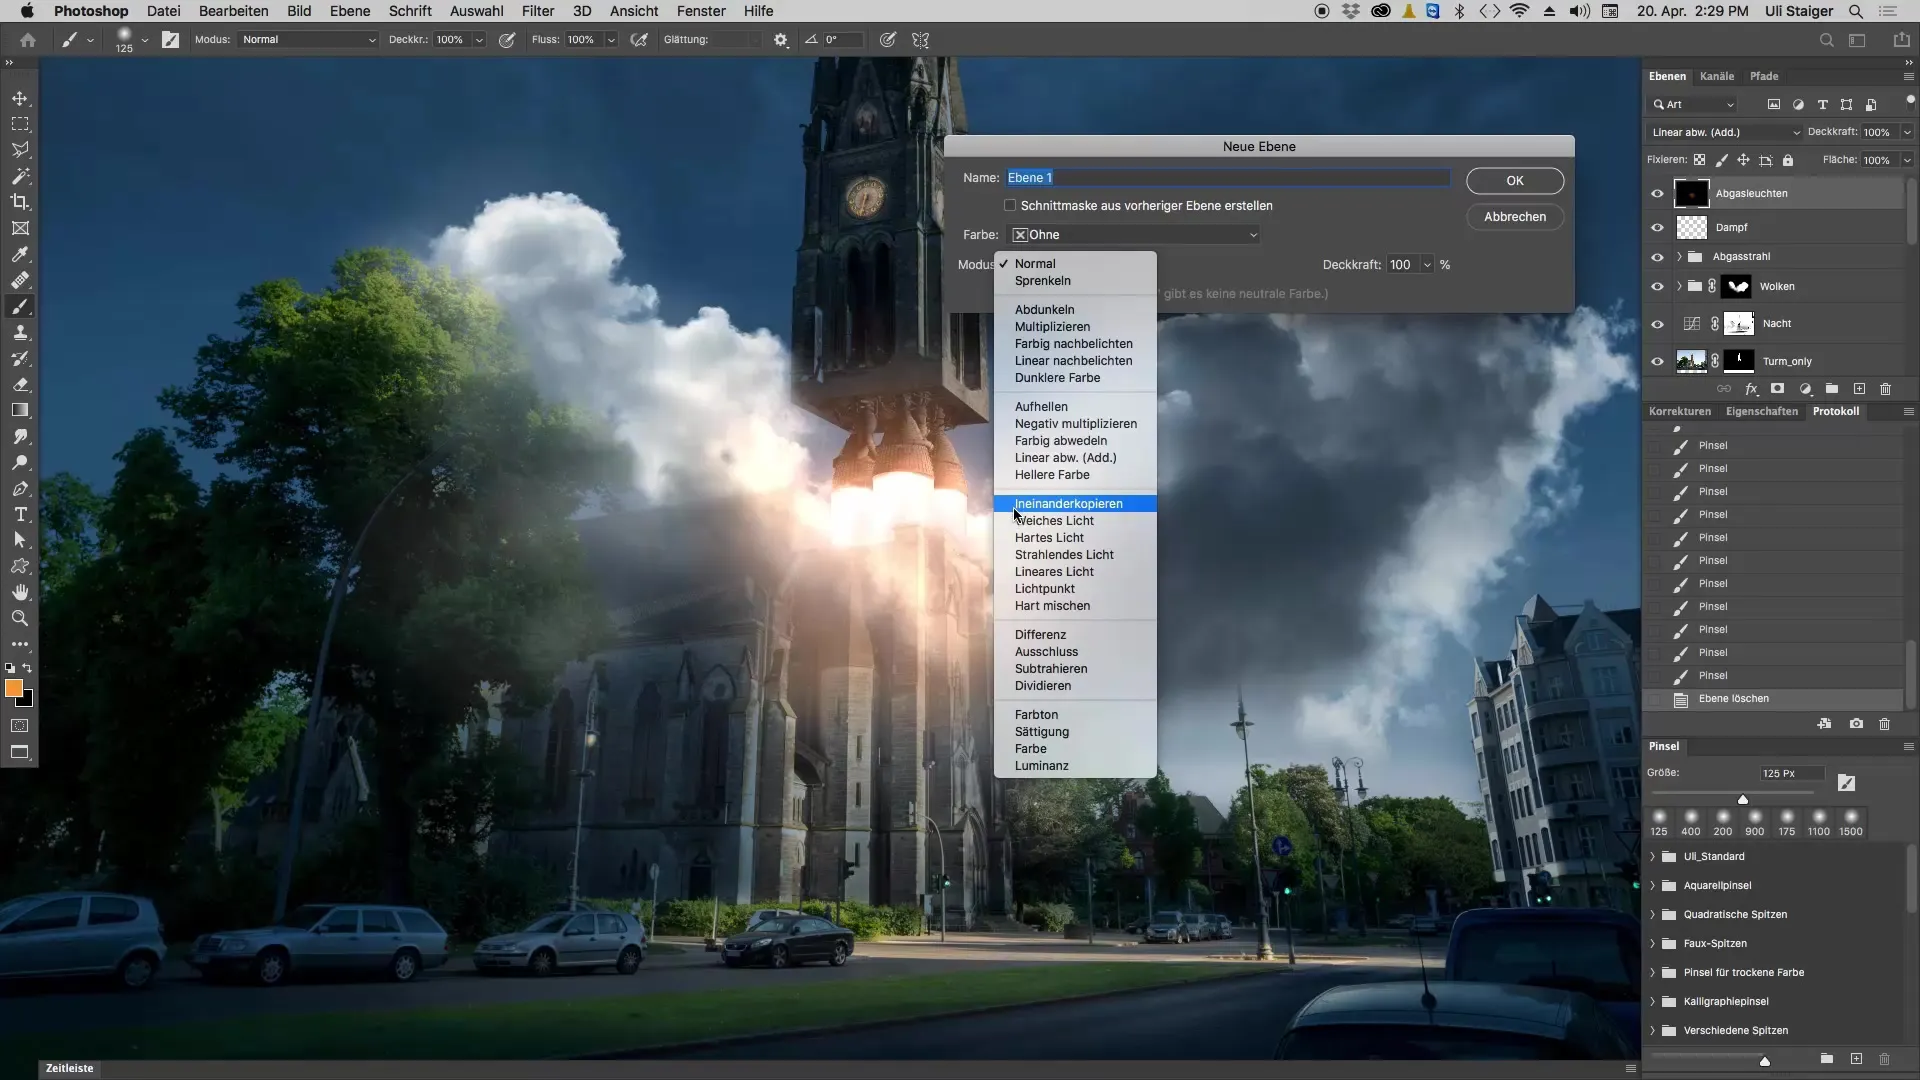
To create realistic light and color effects, start with a new gray layer. Create a new fill layer above the cloud area and select the “Gray Fill” option from the fill methods. This gray base will help you create soft light accents without the colors appearing too intense.
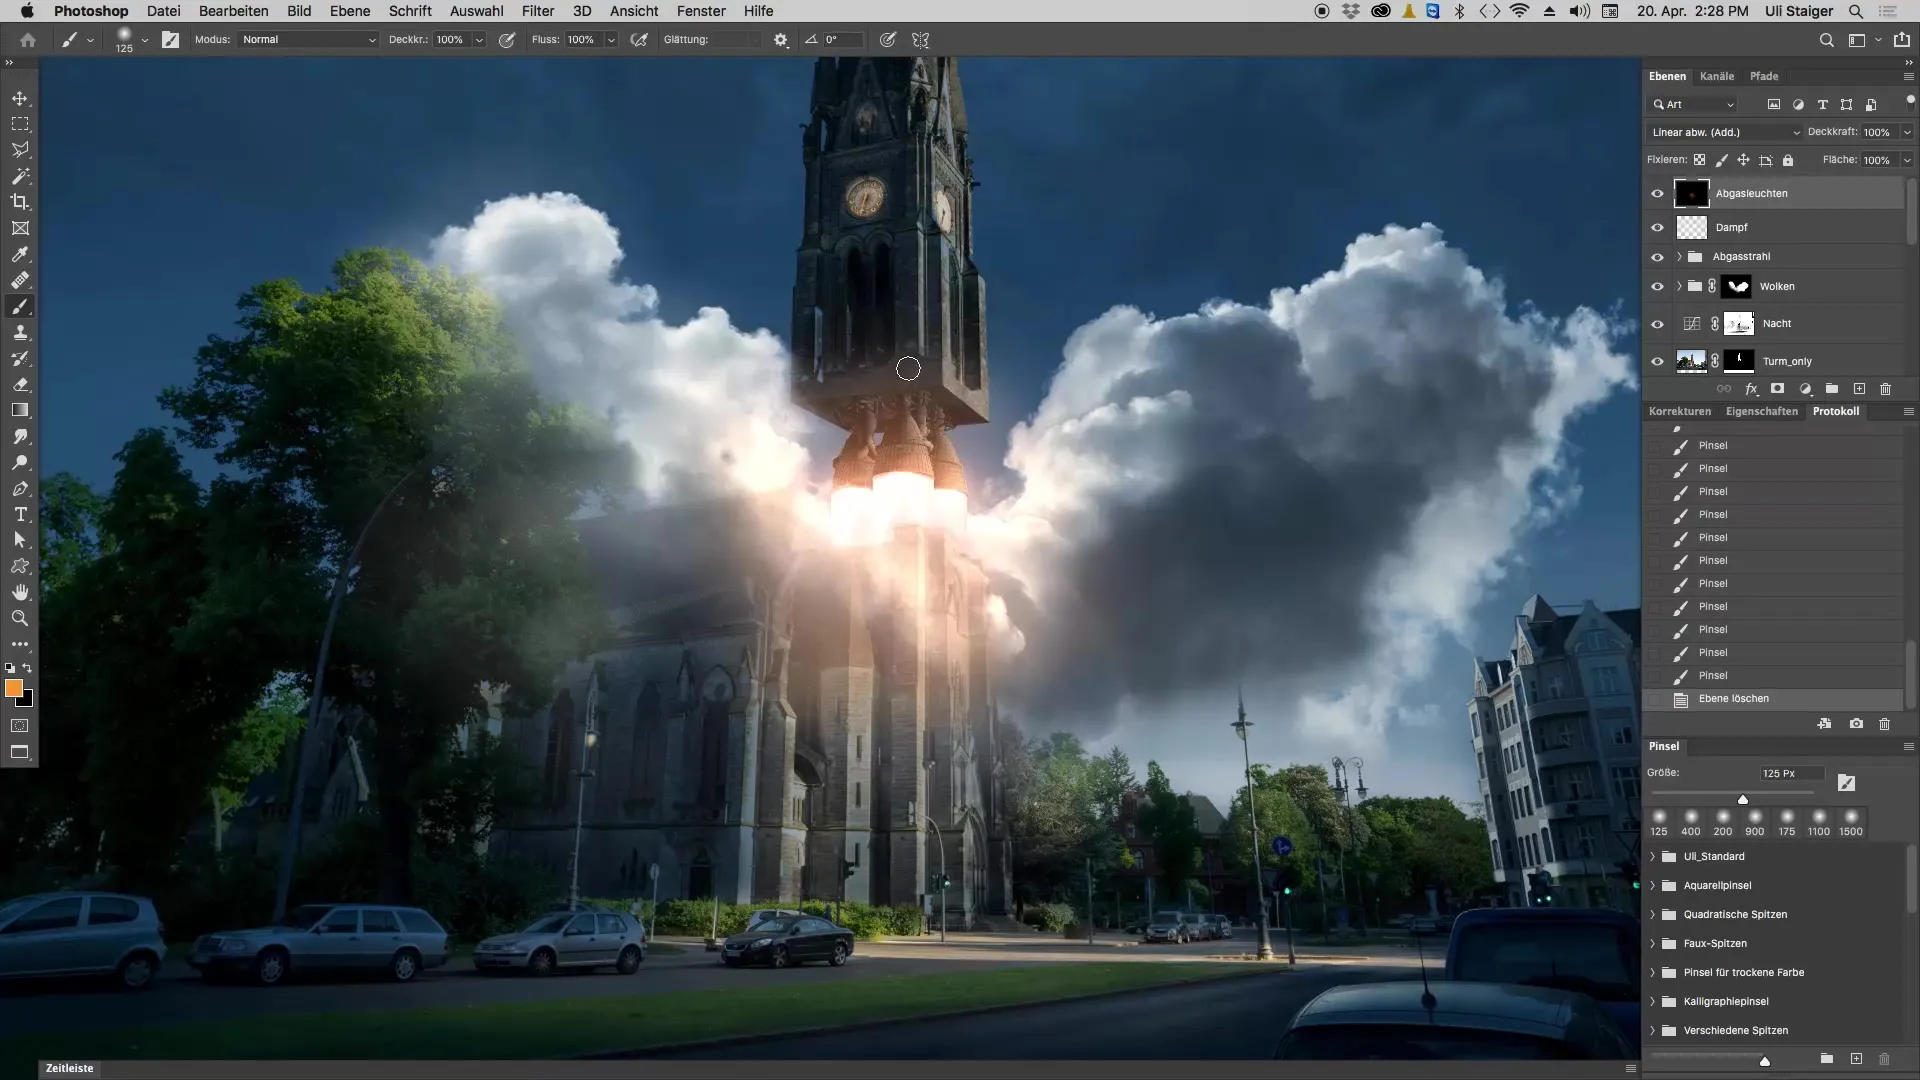
Step 2: Choose the Right Brush
For editing your clouds, you should use a soft, low-saturation brush. Choose a brush with lower hardness so that the colors can blend smoothly. Be mindful of the brightness thresholds to avoid excessive lightening.
Step 3: Adjust Hue and Saturation
Set the hue of your brush to a soft orange tone. It is advisable to choose the hue to be less saturated, about a third or a quarter of the maximum saturation. Play around with the values to find the perfect hue for your cloud.
Step 4: Working with Opacity
Setting the opacity to 10% is ideal for achieving a subtle effect. Start painting in the lighter areas of your cloud to create the impression of light gently breaking through the clouds. A bit of patience is required here to find the right spots.
Step 5: Refine Fine Details
Use smaller brushes in the bright spots to enhance the structure in your cloud. Pay attention to where the cloud is thinner and paint with a small brush to create the feeling that light or sparks are shining out from these spots.
Step 6: Enhance Light Accents
To create additional dimensions, form areas where the light should appear particularly strong with large brush strokes. Paint over it and ensure that the transitions look soft and natural. This will give your cloud a vibrant, radiant appearance.
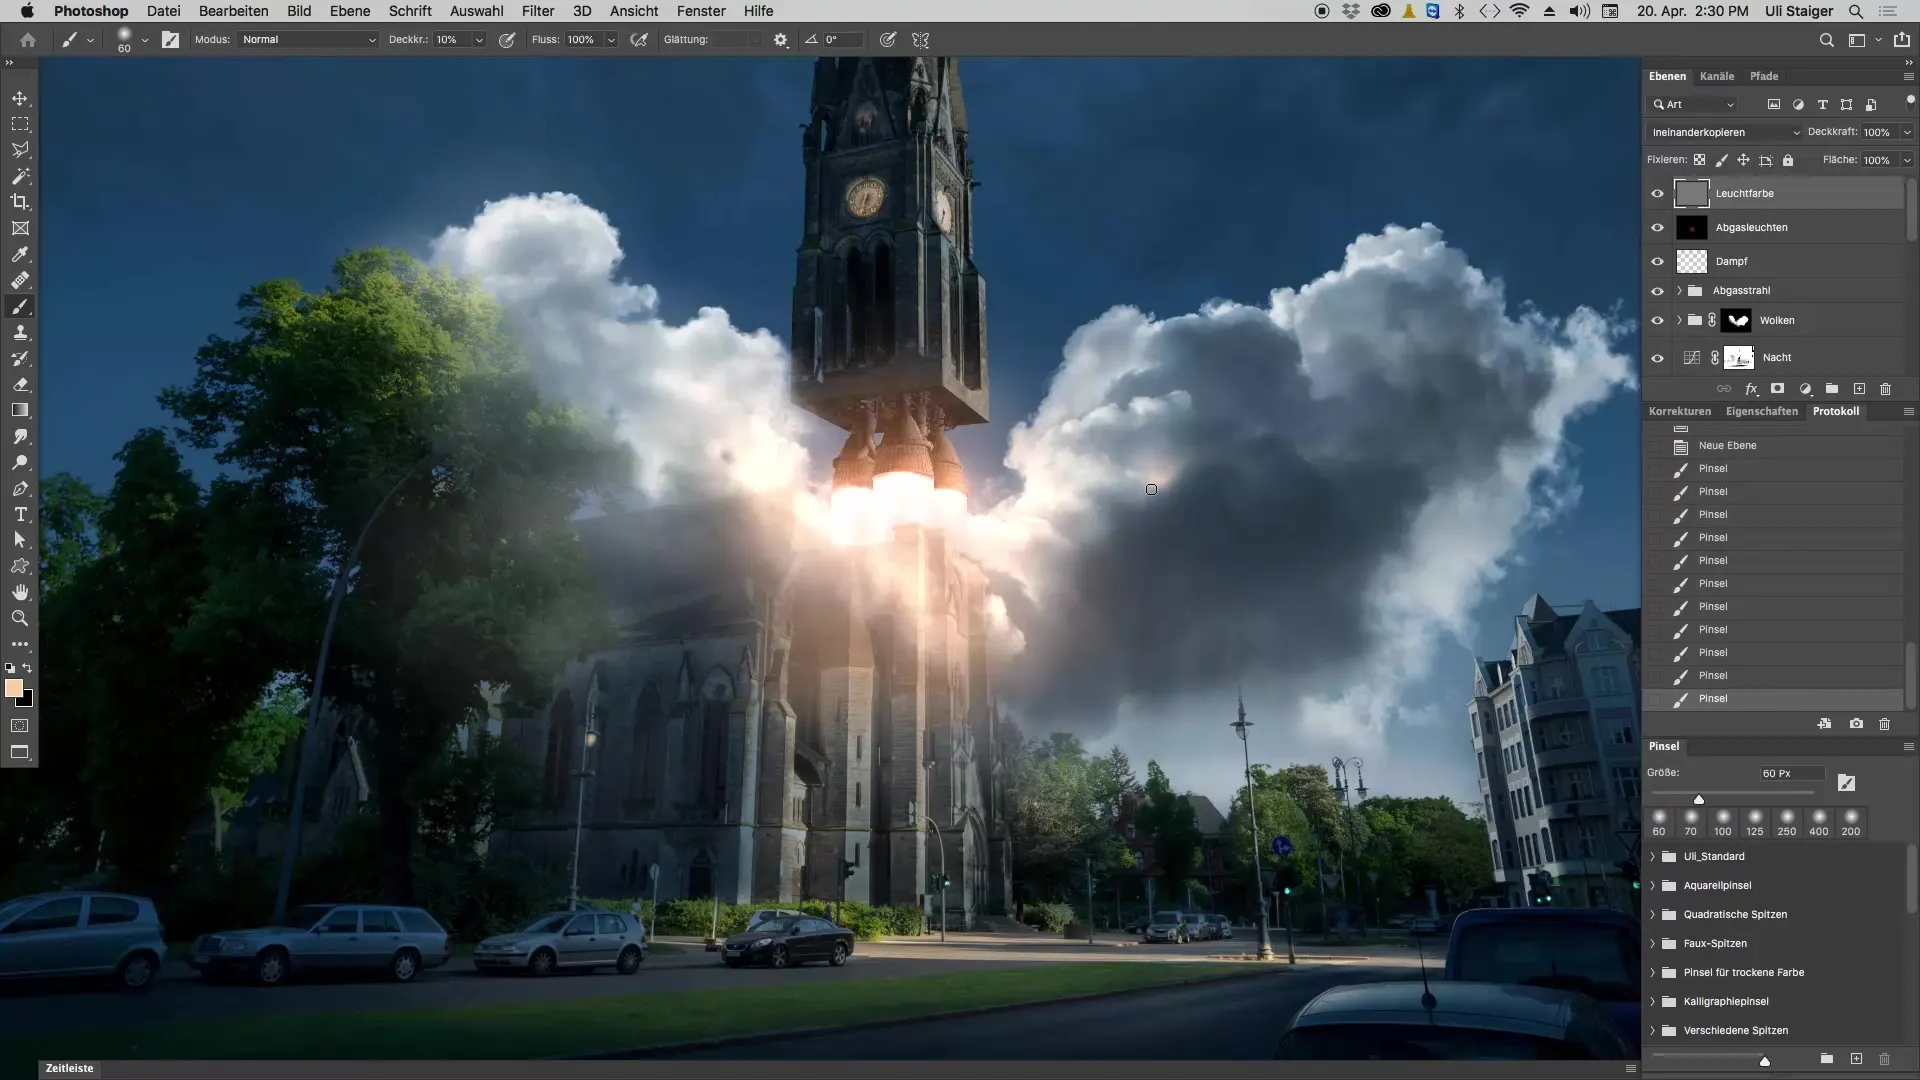
Step 7: Final Finish
Take a look at your result: The cloud should now give the impression that the light is actually radiating from it, rather than just appearing to be painted on. By blending the various color and light accents, you create a stunning effect.
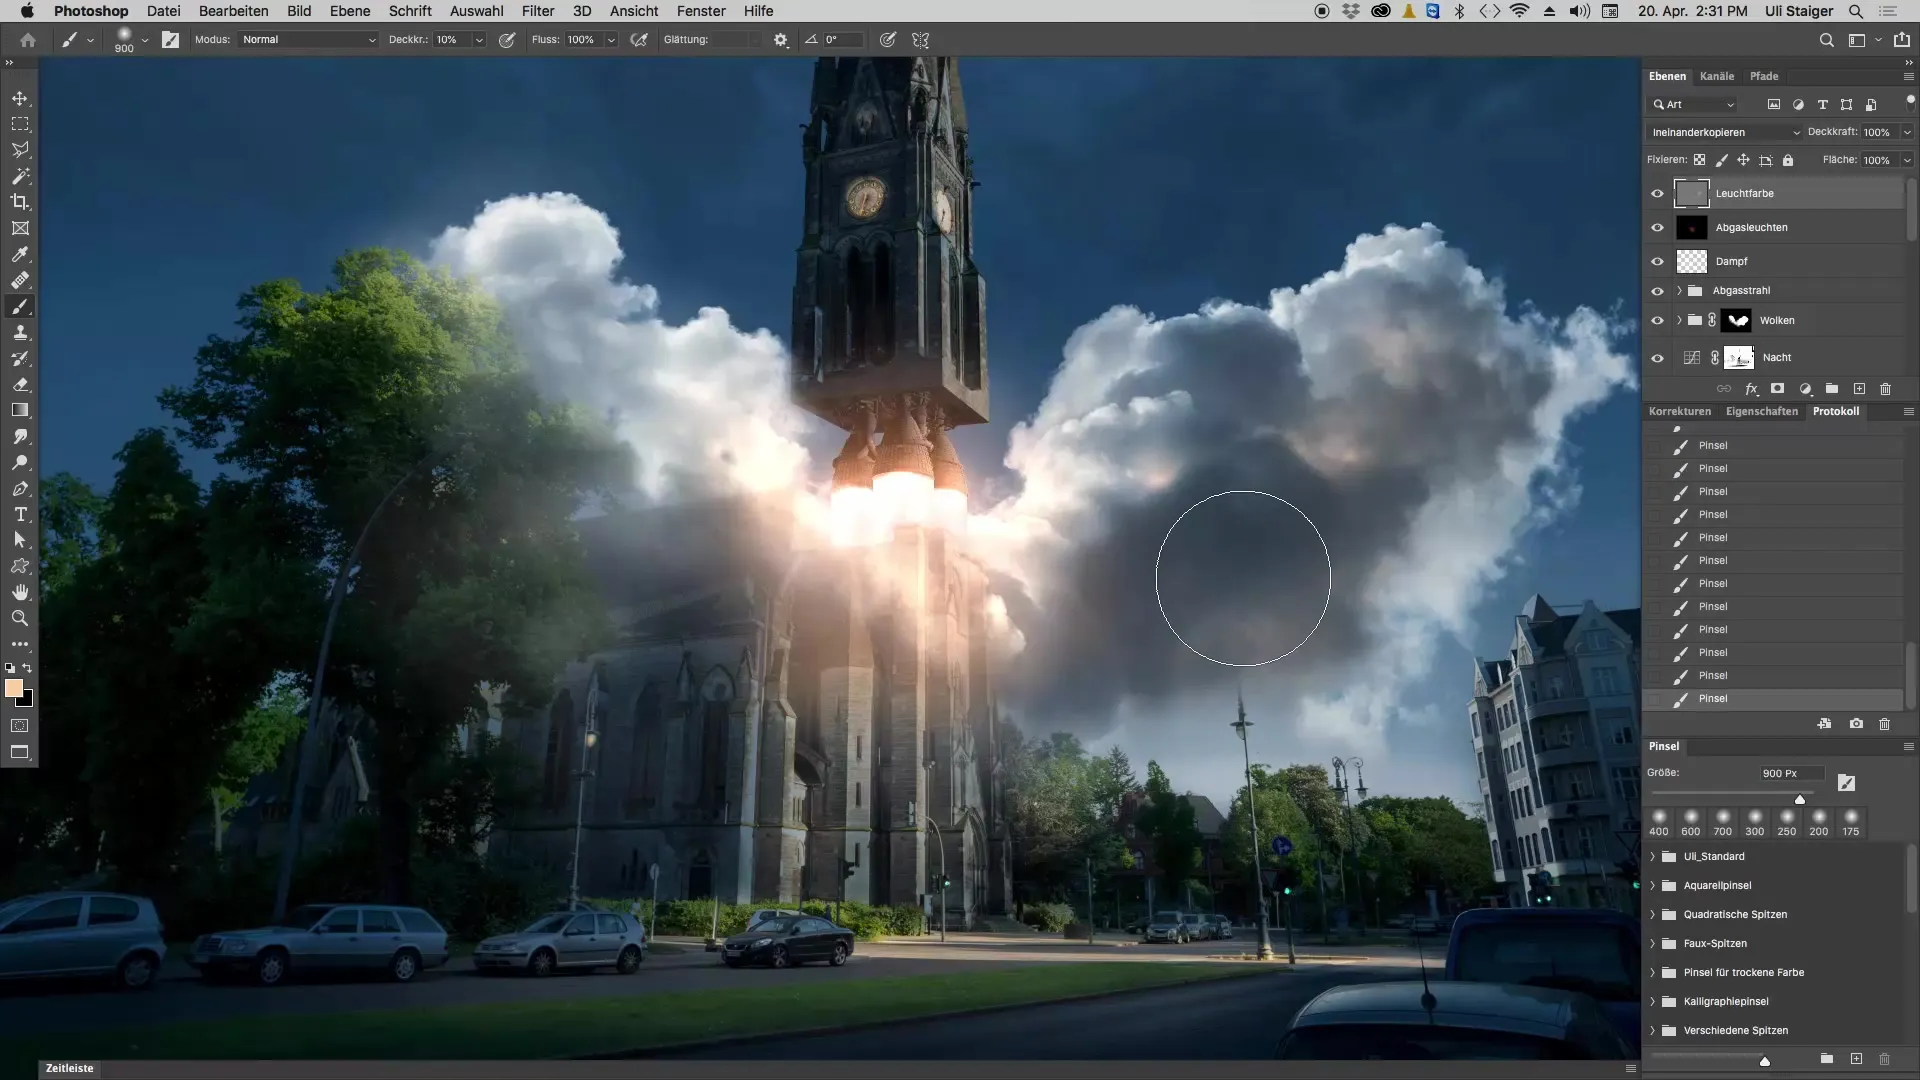
Summary – Glowing Clouds with Color and Light Accents in Photoshop
In this tutorial, you learned how to create impactful light accents in clouds using a gray fill layer and a soft brush. You discovered how important understanding light and color is in your art and how you can achieve impressive results through simple adjustments in opacity and color saturation.
Frequently Asked Questions
How do I create a gray layer?Go to “Layer” > “New” > “Fill” and select “Gray Fill”.
Why should I use a less saturated hue?A less saturated hue provides more realistic light accents and prevents the clouds from appearing too bright.
How does opacity affect the final appearance?By adjusting the opacity, you can control the intensity or subtlety of the light effect, leading to a natural appearance.
Can I use other colors?Yes, experiment with other colors, but keep the saturation low to avoid overwhelming the clouds.
Are there specific settings for the brush?Use a soft brush with low hardness for smooth transitions in your color mixing.


