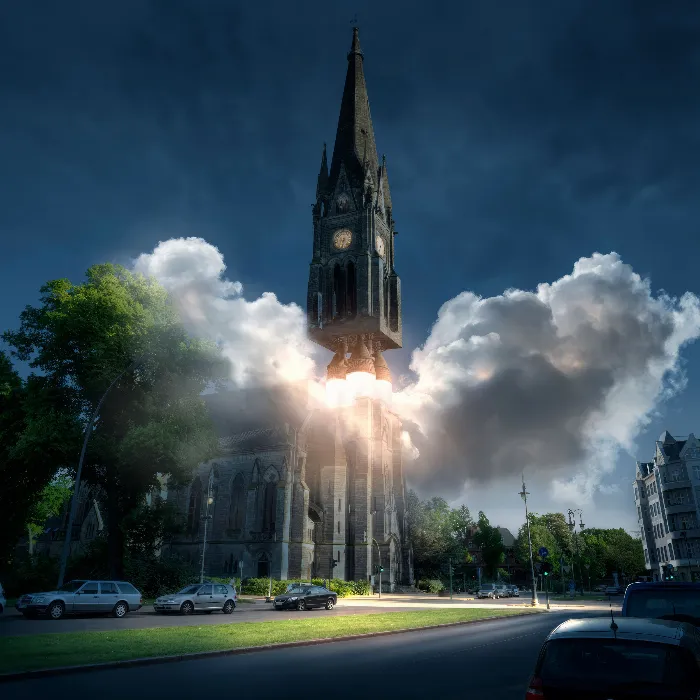
Do you want to transform your daylight pictureinto an impressive night shot? With some skillful adjustments in Photoshopand a little patience, you can combine the perfect darkness with the fascinating light of nightlife. In this guide, I will show you step by step how to turn your image into a magical night landscape.
Key Insights
- Using a curves layer to adjust brightness
- Adding blue tones for a realistic night scene lighting
- Applying masks to selectively edit areas and highlight light
Step-by-Step Guide
First, you need to ensure that you have opened the image you want to transform into a night shot in Photoshop. Your starting image clearly shows daylight, with sunny illumination and bright colors.

Step 1: Creating a Curves Adjustment
The first step is to reduce the brightness of the image with a curves adjustment. Go to adjustments and select "Curves." At the beginning, you should ensure that the settings affect the entire shot and not just a part.
Drag the curve down significantly to reduce brightness and emphasize the dark areas. It's not about bending the curves linearly, but achieving a drastic effect. The goal is to make the image appear as dark as possible.
Step 2: Adding a Blue Tone
Another important aspect of a night shot is the hue. Make sure your image gets a blue tint. Select the red tones in the curve and drag them down. This will reduce the red component in the image and create a cooler, bluish picture.
You can also experiment with the green curve by slightly reducing the green tone to create a deeper blue.
Step 3: Masking for Light Sources
To effectively represent the light from the main source, such as a turbine engine, you need a mask in the curves layer. This mask allows certain areas of your image, such as building facades, to appear brighter than others.
Start by masking the areas where you want to highlight the light using a brush tool. Make sure the brush size is appropriate for the details of your image. A soft brush tip helps to create smooth transitions and achieve a subtle effect.
Step 4: Fine-tuning and Detail Adjustments
Details are crucial for a successful night shot. Zoom in on the image and work on the facades of the buildings to ensure that the right areas are lighter. Use the shift-click method to mask straight lines accurately.
When you move to the next facade, use the mask again to create light and shadow effects. Make sure to apply the illusion of shadows with soft brush tips to achieve a realistic look.
Step 5: Checking the Overall Image Impact
Finally, it is important to look at the entire image with fresh eyes. Make sure the sun is no longer visible and that the image looks like a natural night shot. Toggle the adjustment layers on and off to check the difference.
If everything looks good, make sure your adjustments are saved. Play with the brightness and color curves to achieve the best result for your night shot.
Summary - Guide to Transforming a Daylight Picture into a Night Shot with Photoshop
Be creative and experiment with colors and masks to achieve the desired outcome. It is advisable to work patiently and continually check the details to achieve a convincing result.
FAQ
How can I ensure my transitions look natural?Use soft brush tips and be careful that the opacity is not set too high.
Can I use colors other than blue?Yes, experiment with different hue and saturation settings to achieve the desired mood element.
What brush size should I use?Choose a size that fits the details of your image and use both large and small brushes for different areas.
Do I need special equipment?A graphics tablet is helpful for more precise work but is not strictly necessary.
What version of Photoshop do I need?The guide works with most current versions of Photoshop, make sure that the correction options are available.


