The lighting of 3D objects in Photoshop can be challenging, but it is crucial for the visual quality of your projects. It's important to position the light sources correctly to create the desired ambiance. In this guide, I will show you step by step how to adjust the lighting of your 3D objects so that they are harmoniously integrated into the scene.
Main takeaways
- The position of the light source has a significant impact on the perceived three-dimensionality of your objects.
- Adjusting the light color can change the overall mood of your composition.
- Different light sources can be used simultaneously to create a balanced lighting ratio.
Step-by-Step Guide
First of all, it is important to prepare your geometry and texture for the 3D object. Once these aspects are correctly set up, the challenge of lighting begins.
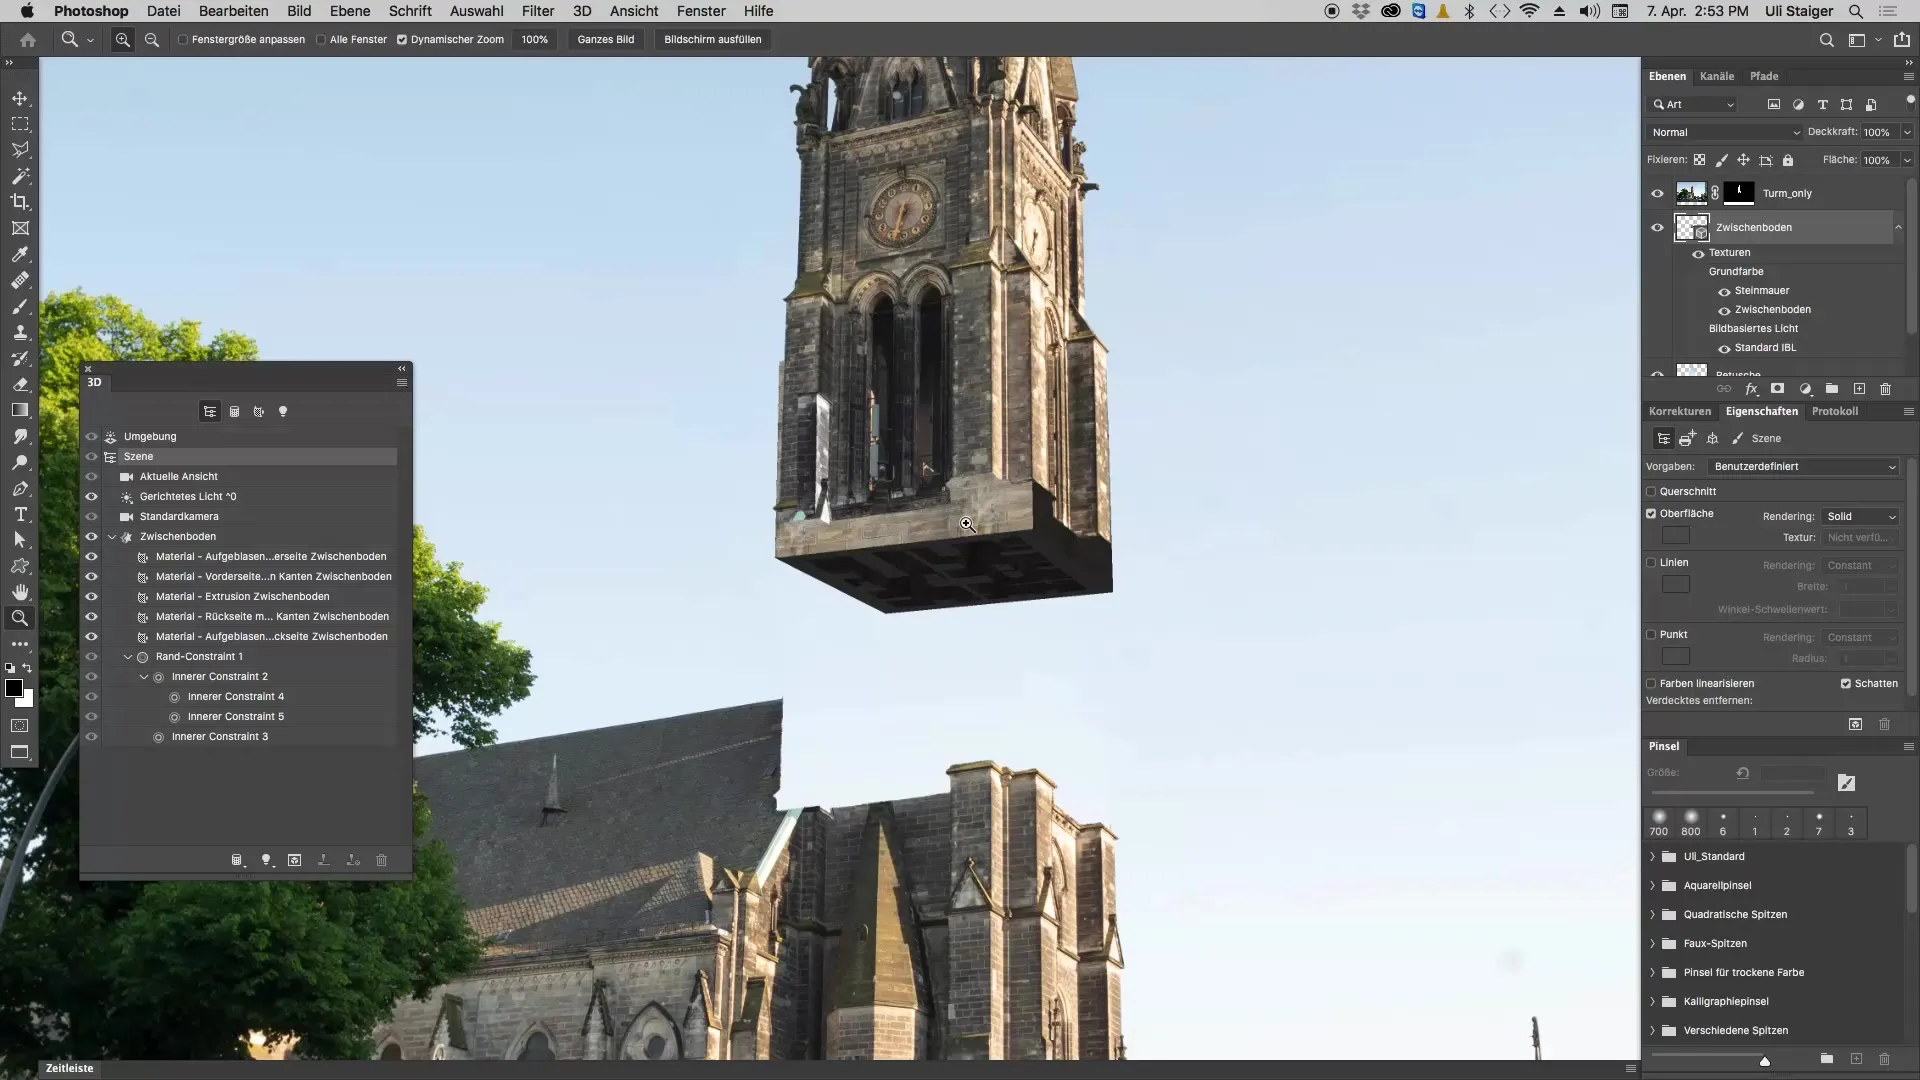
To adjust the light, first click on the light sources. If nothing appears, it might be due to a missing active Move Tool. Make sure you have the Move Tool active before you begin adjusting.
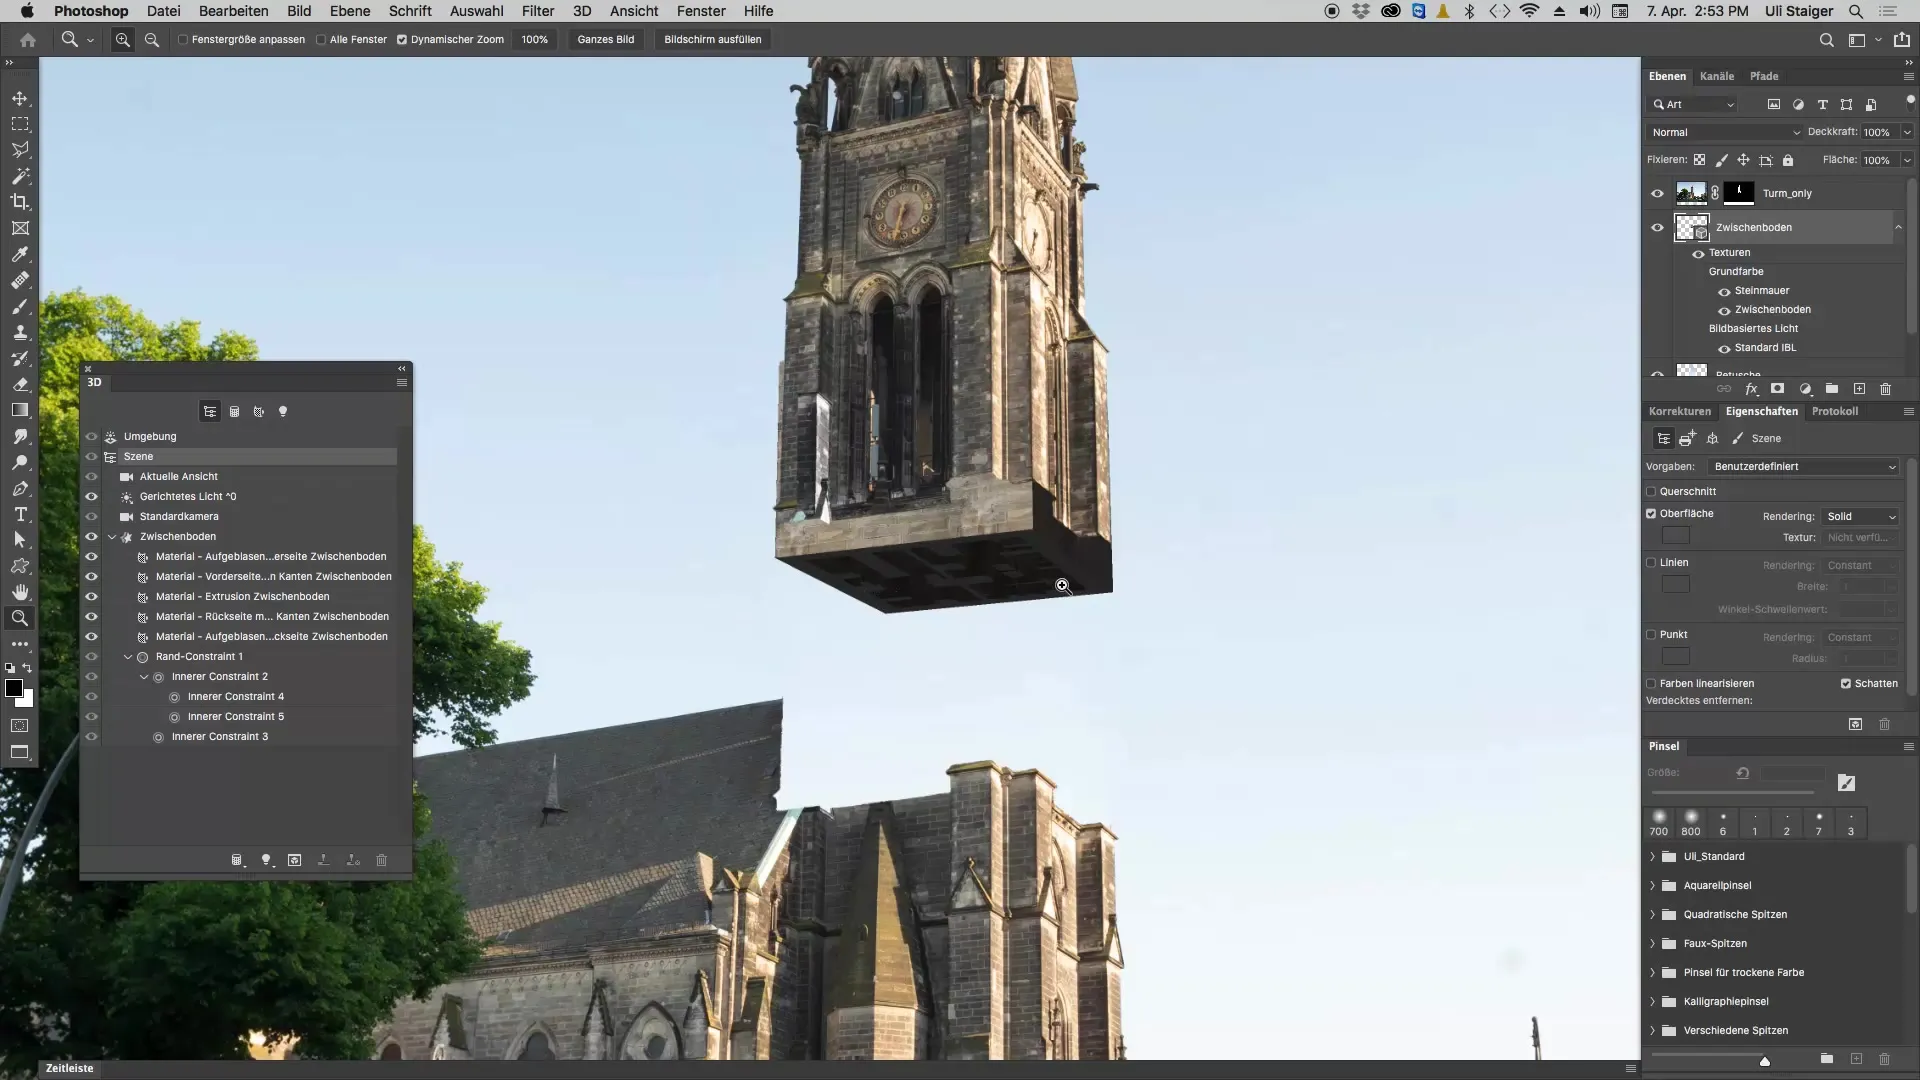
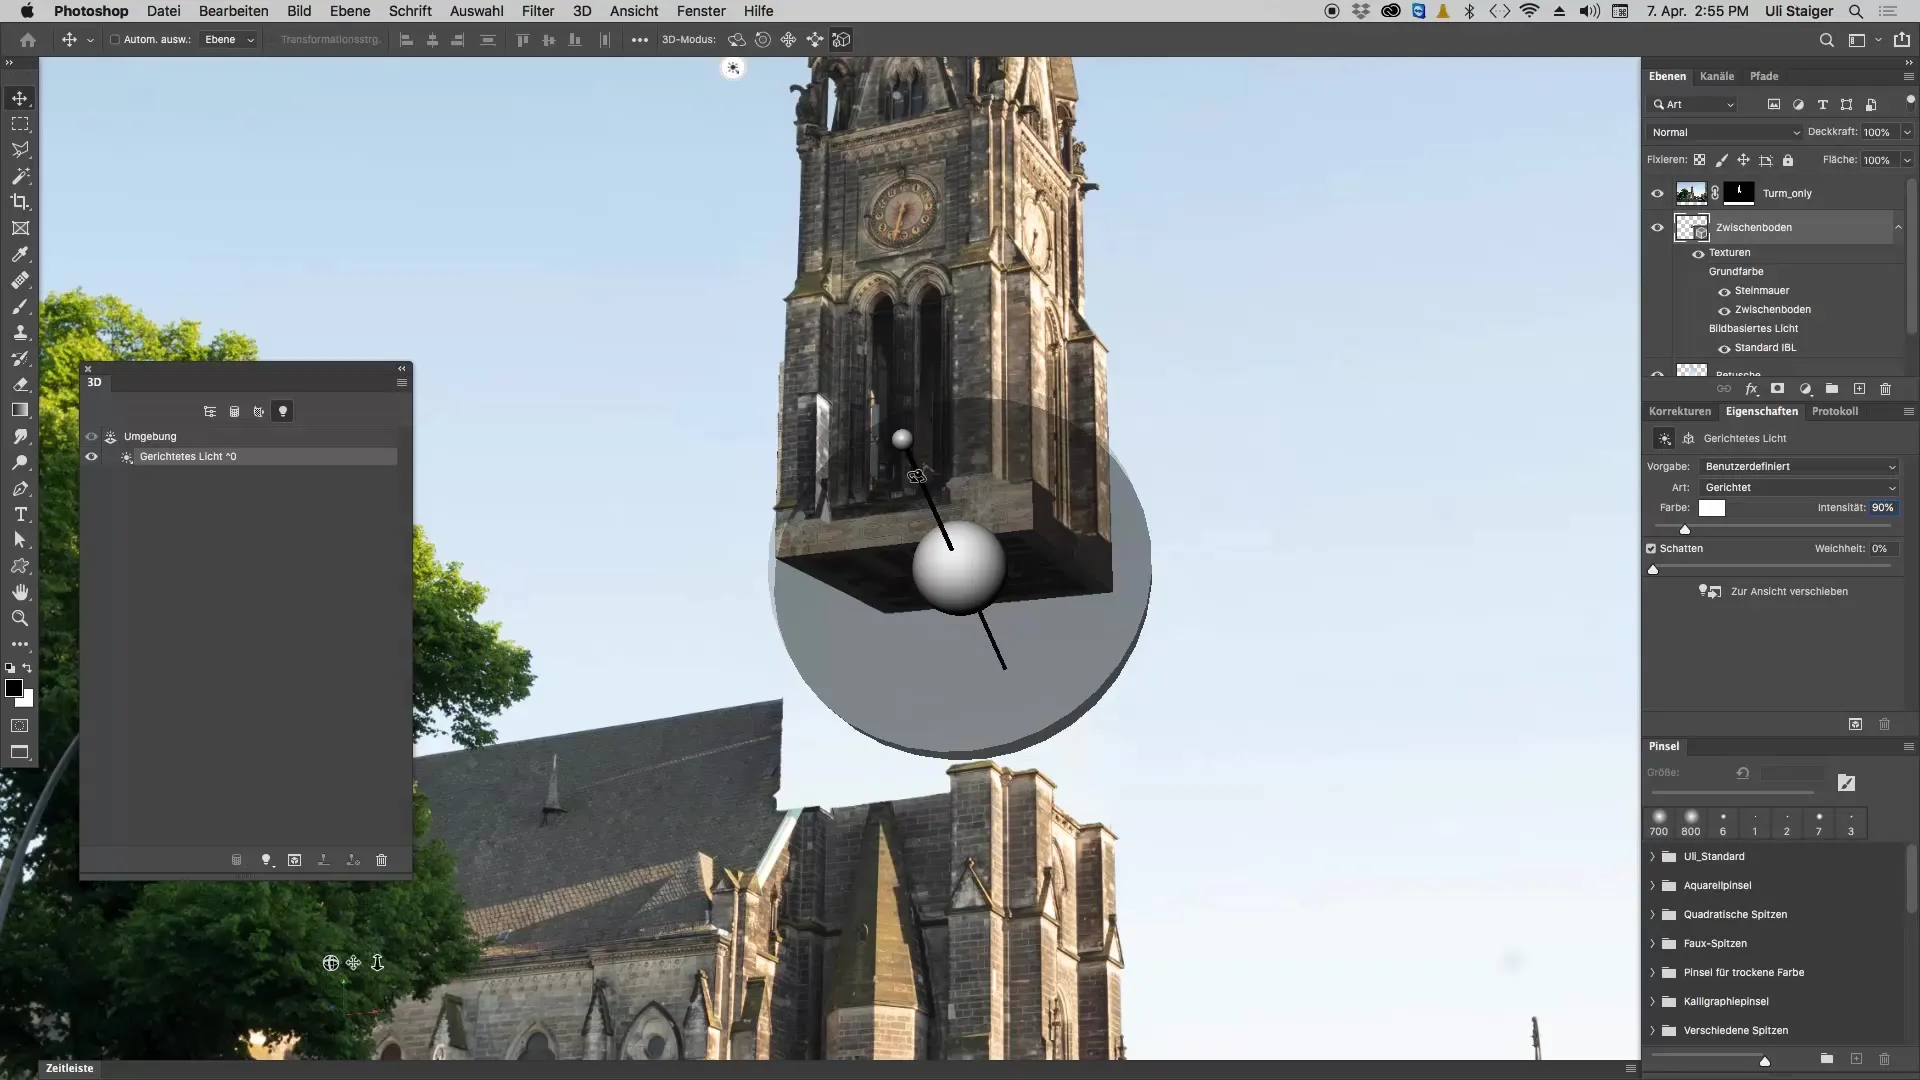
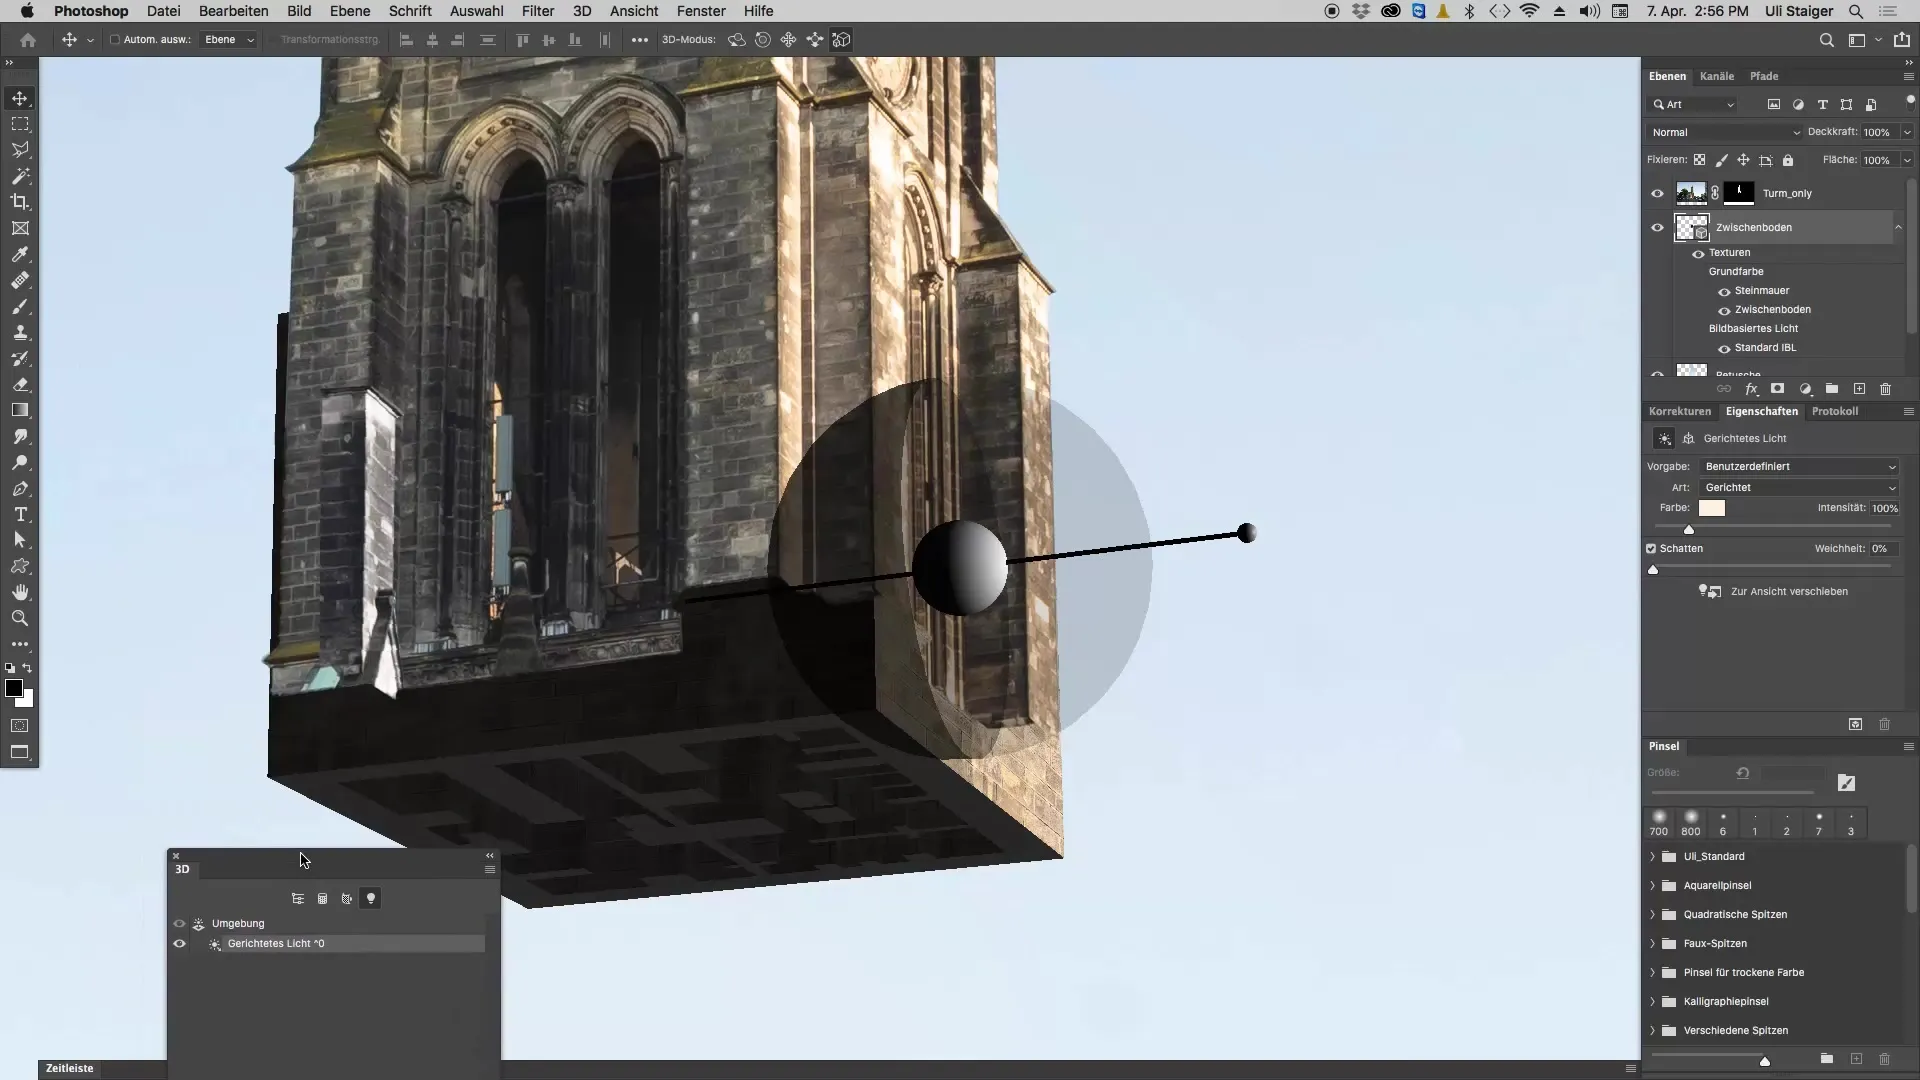
Once the tool is active, you will see the light sources that you can adjust. A large round symbol should appear, which is easy to move. Move the light source so that it illuminates the desired side of your object.
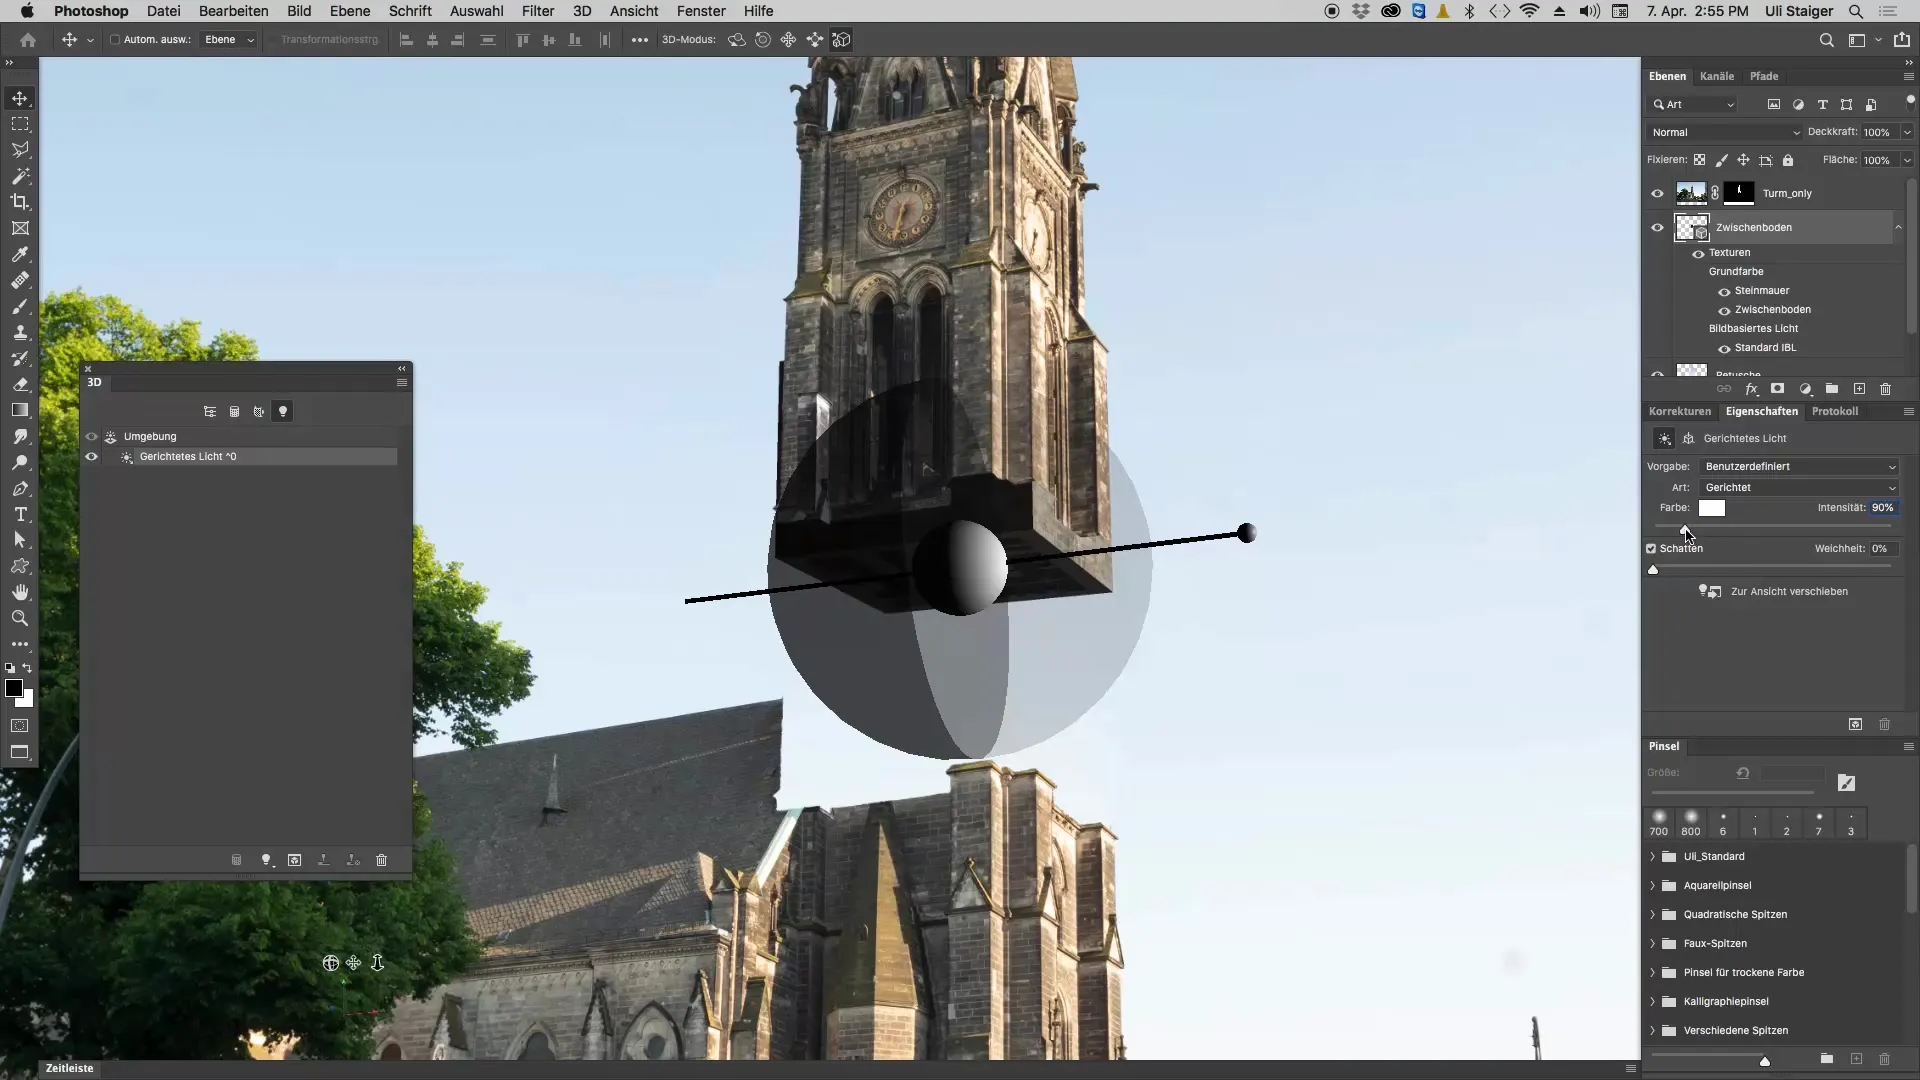
In our case, the light currently comes from the left side. We want it to come from the right side to place the shadow correctly. Move the light source until you see the desired result.
If the brightness is not sufficient, you can increase the intensity of the light source. For example, you can increase the brightness to 90% or 100% to ensure that the illuminated side stands out well.
In addition to intensity, the light color is important. Choose a warm hue to enhance the mood of the object. Go to the properties of your light source and select a sunset color tone. Experiment with different tones until you achieve the desired result.
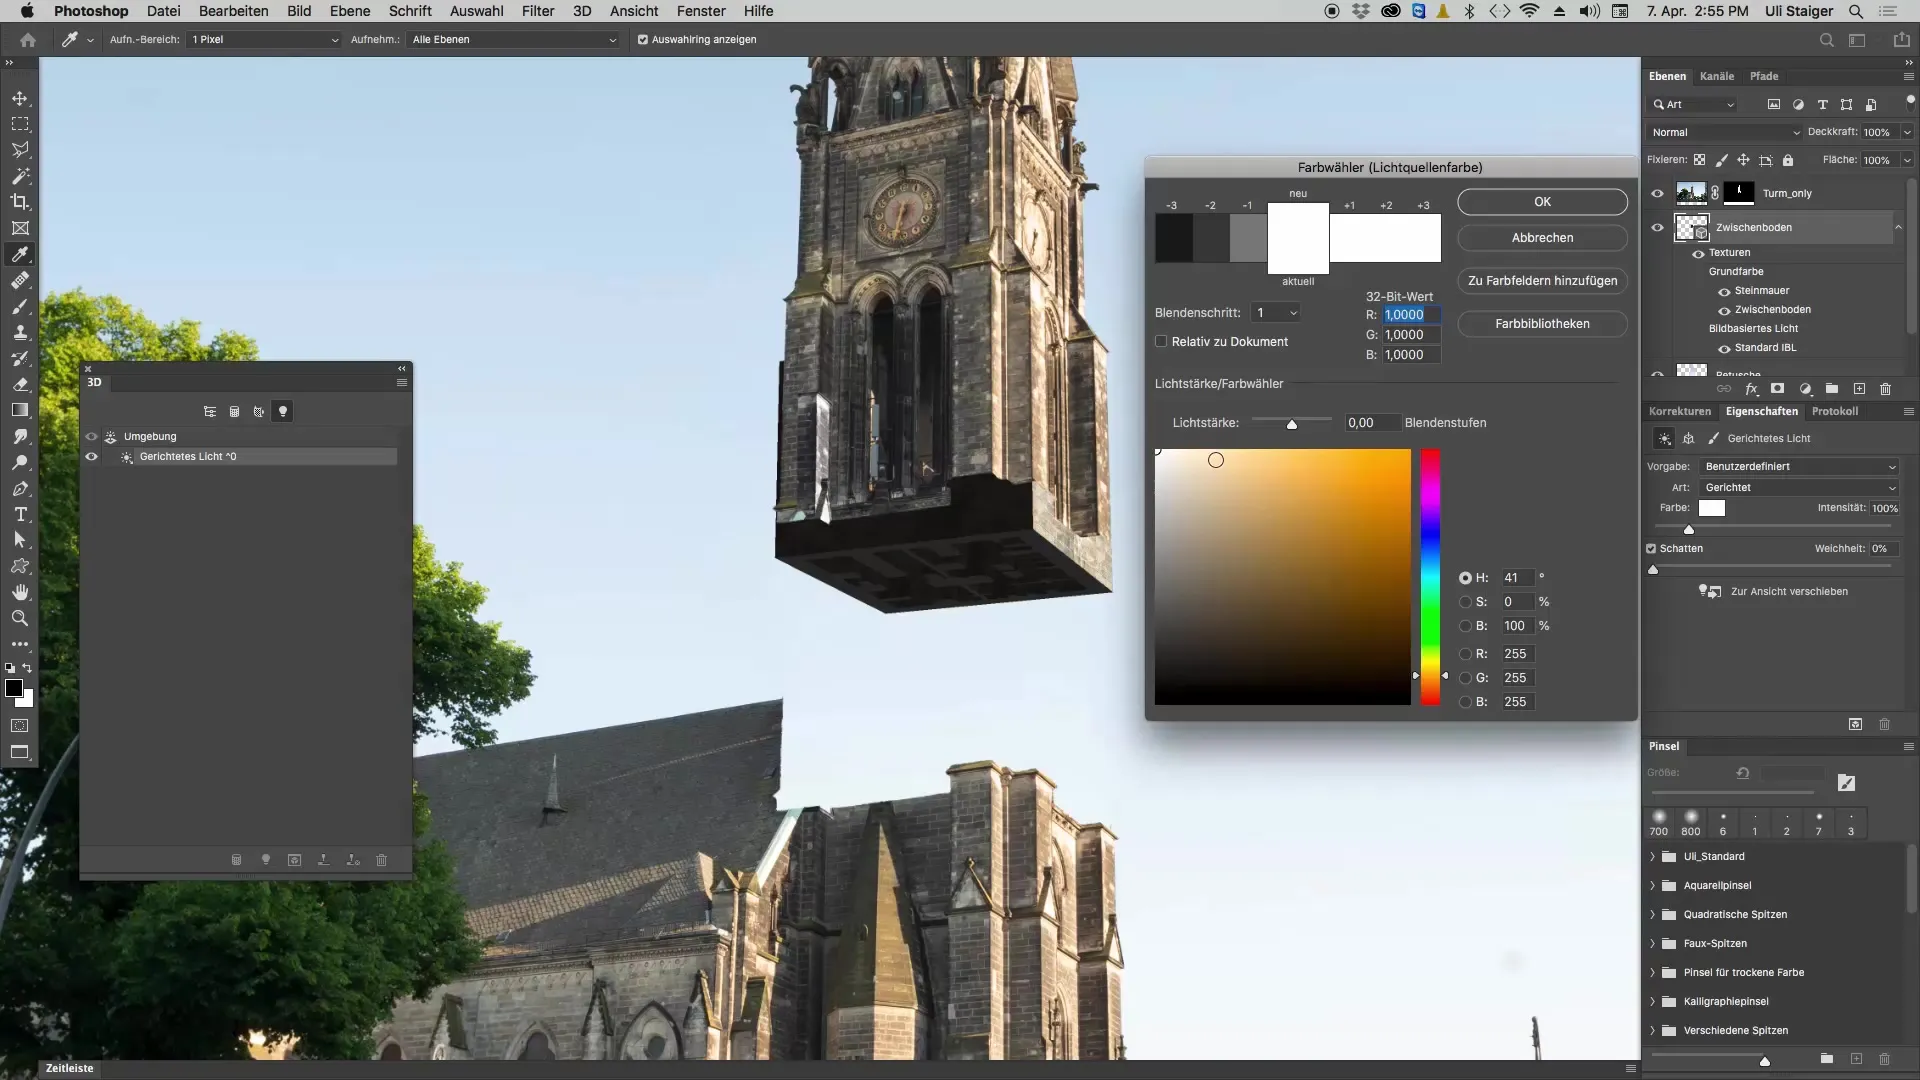
A well-chosen hue ensures that the light source integrates harmoniously into the entire scene. It can be helpful to change the settings multiple times to find out which shade works best.
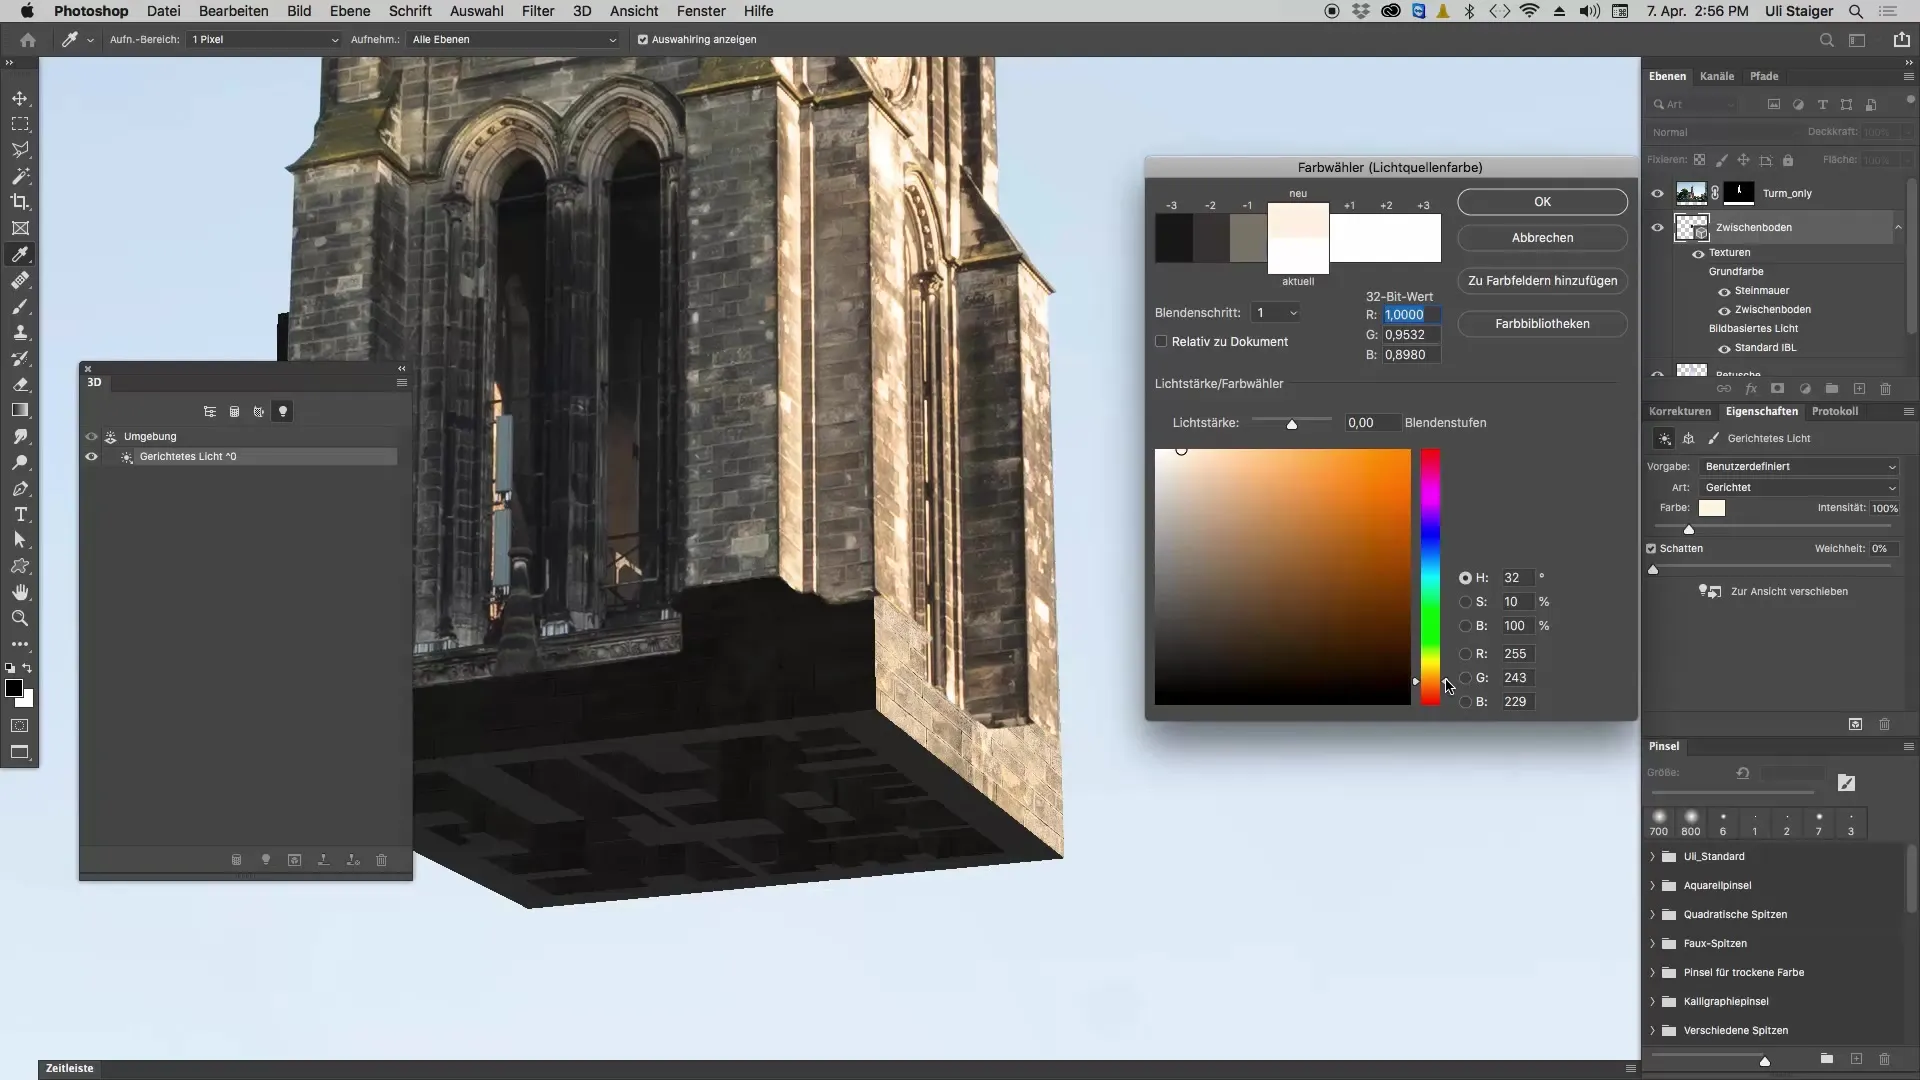
The light also casts shadows. If the shadow appears too strong or distracting, you can adjust the shadow settings. Also, consider whether the shadows should possibly be masked out later if they disturb the composition.
If one side of the object still does not look well illuminated, you can add a second light source. Click the button to create another directional light. Position the second light source so that it shines from another direction and illuminates the other side of the object.
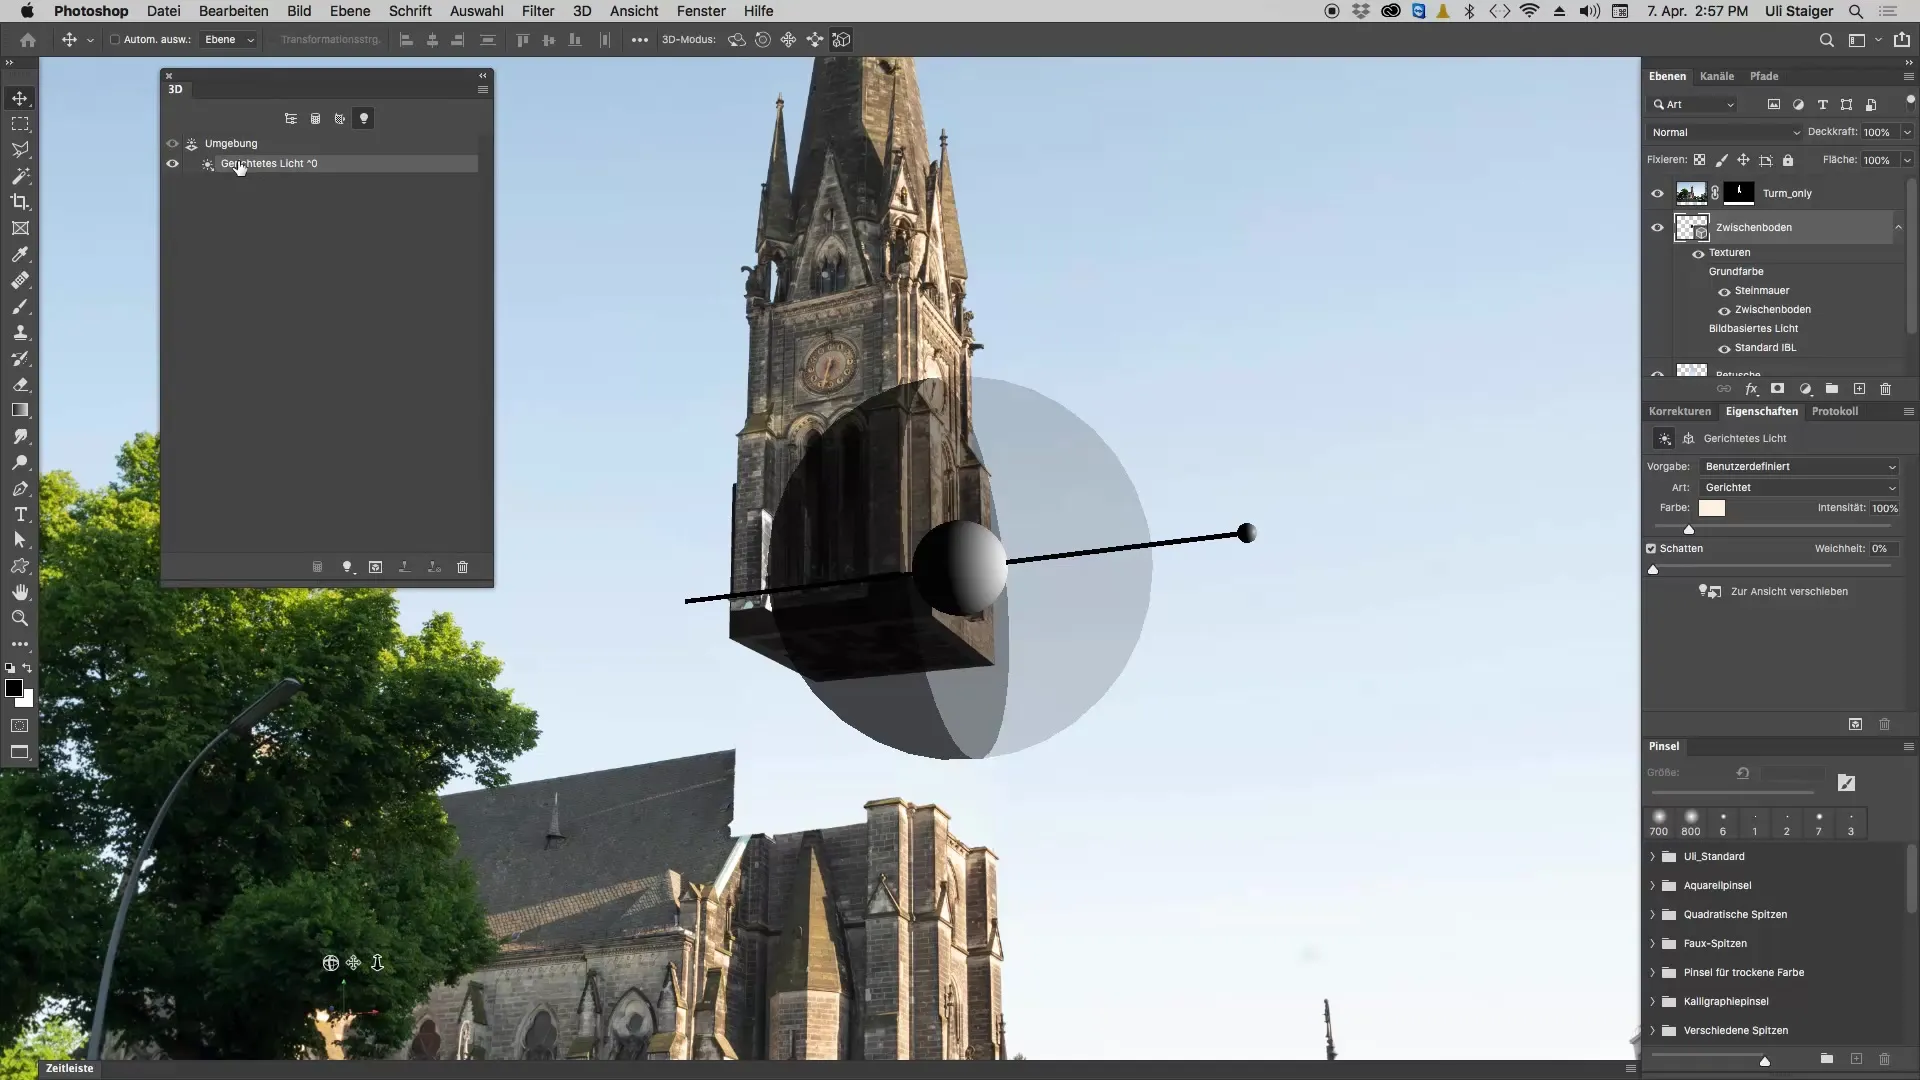
Start to reduce the intensity of the second light source so that the light does not become too harsh. Reducing it to 40% can often create a good balance.
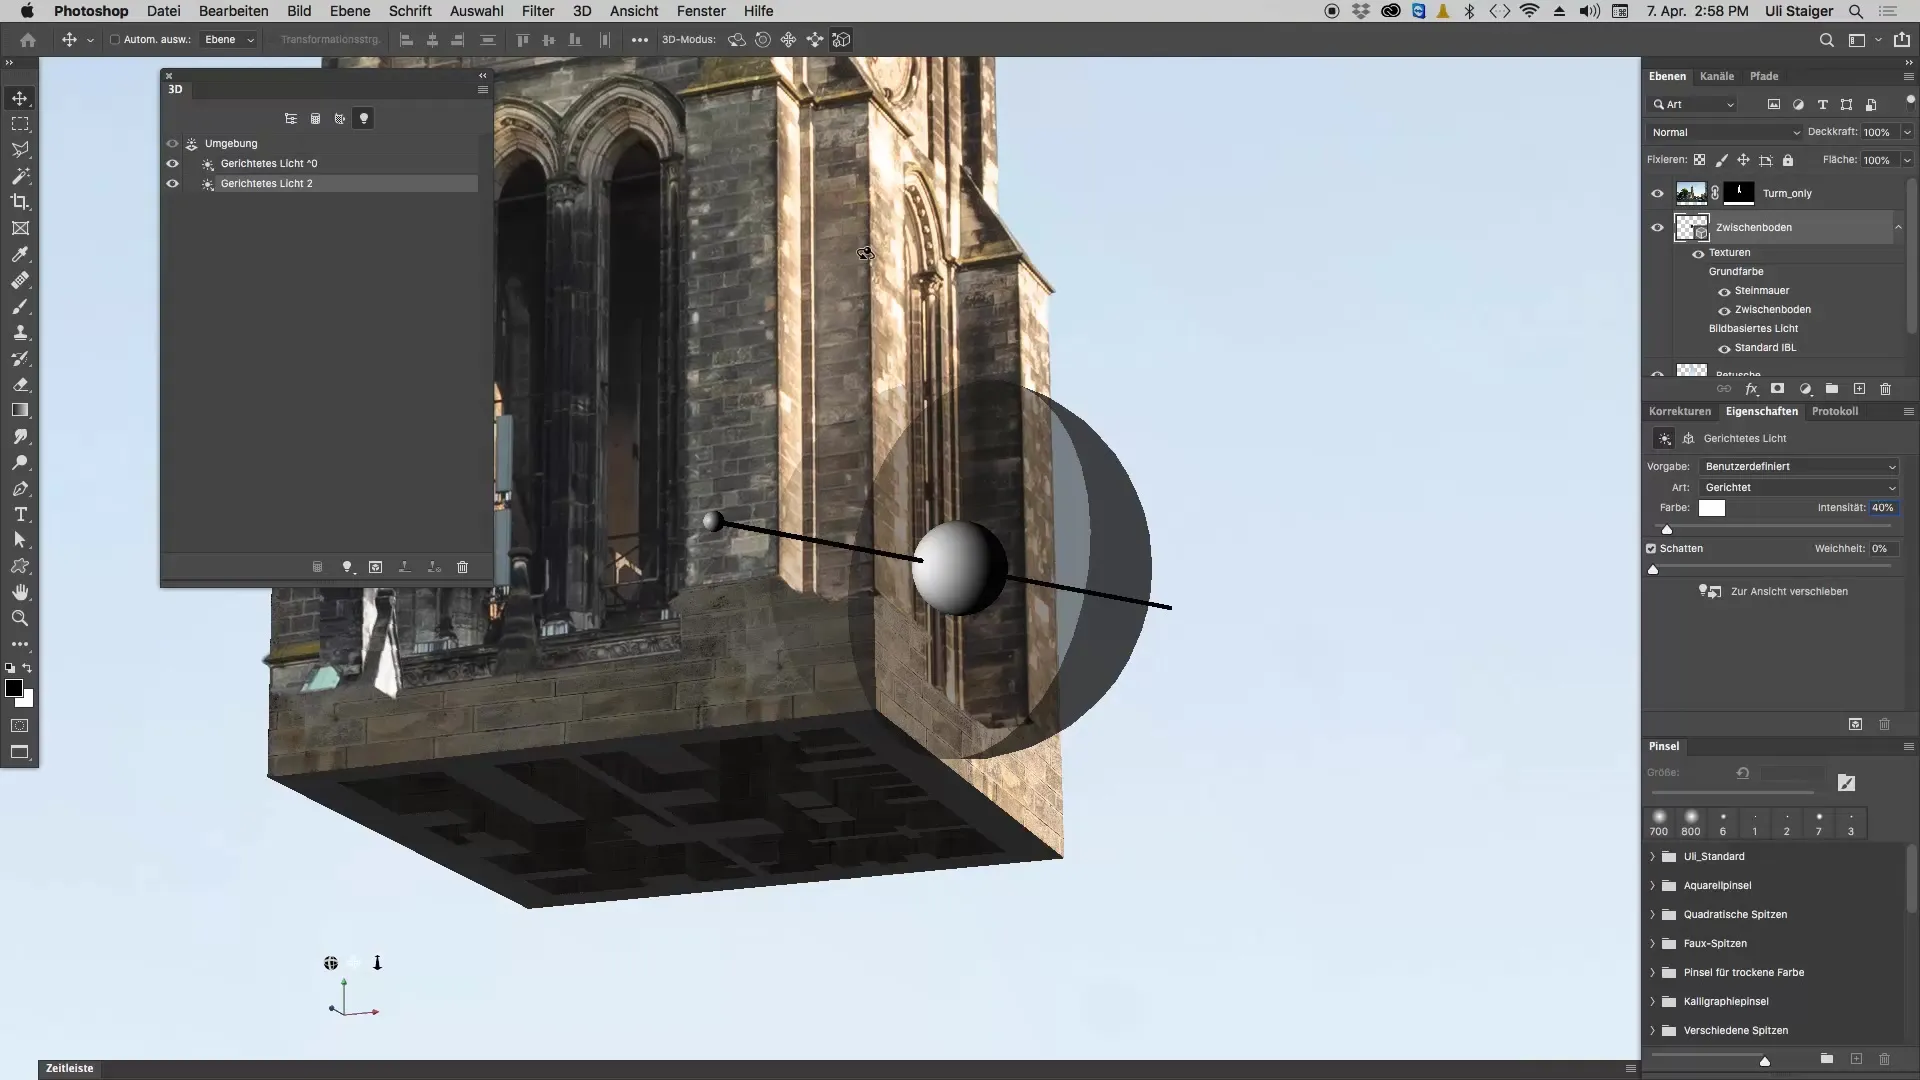
If everything looks good, it can be helpful to look at the entire scene and make adjustments. When you are satisfied with the result, the goal is achieved, and your 3D lighting is set!
Summary - Lighting of 3D Objects in Photoshop
In this guide, you have learned how to effectively adjust the lighting in Photoshop for your 3D objects. The correct positioning and color selection of light sources are crucial for a successful presentation of your models. Keep experimenting to bring the spirit of your creatives to life!
Frequently Asked Questions
How can I adjust the light source?Click on the light source and use the Move Tool to position it.
How do I deal with excessively strong shadows?Reduce the intensity of the light source or adjust the shadow settings.
Can I use multiple light sources?Yes, you can use multiple light sources in your 3D scene to improve the lighting ratio.
How do I select the right light color?Experiment with different hues to create the desired mood.
Are there specific settings for light intensity?The intensity should vary depending on the scene; starting values like 40% or 50% are often helpful.


