Photoshop offers amazing possibilities to create 3D objects from complex 2D selections. In this tutorial, I will show you how to easily extract a 3D object and achieve creative effects. This guide will take you through the entire process, from creating an intermediate layer to customizing and positioning your object in 3D space. Let's dive right into the work!
Main Insights
- You will learn how to convert a 2D selection into a 3D object.
- Using simple techniques, you can create and customize complex shapes.
- With this knowledge, you will be able to implement impressive creative projects in Photoshop.
Step-by-Step Guide
Step 1: Create a new layer and fill it
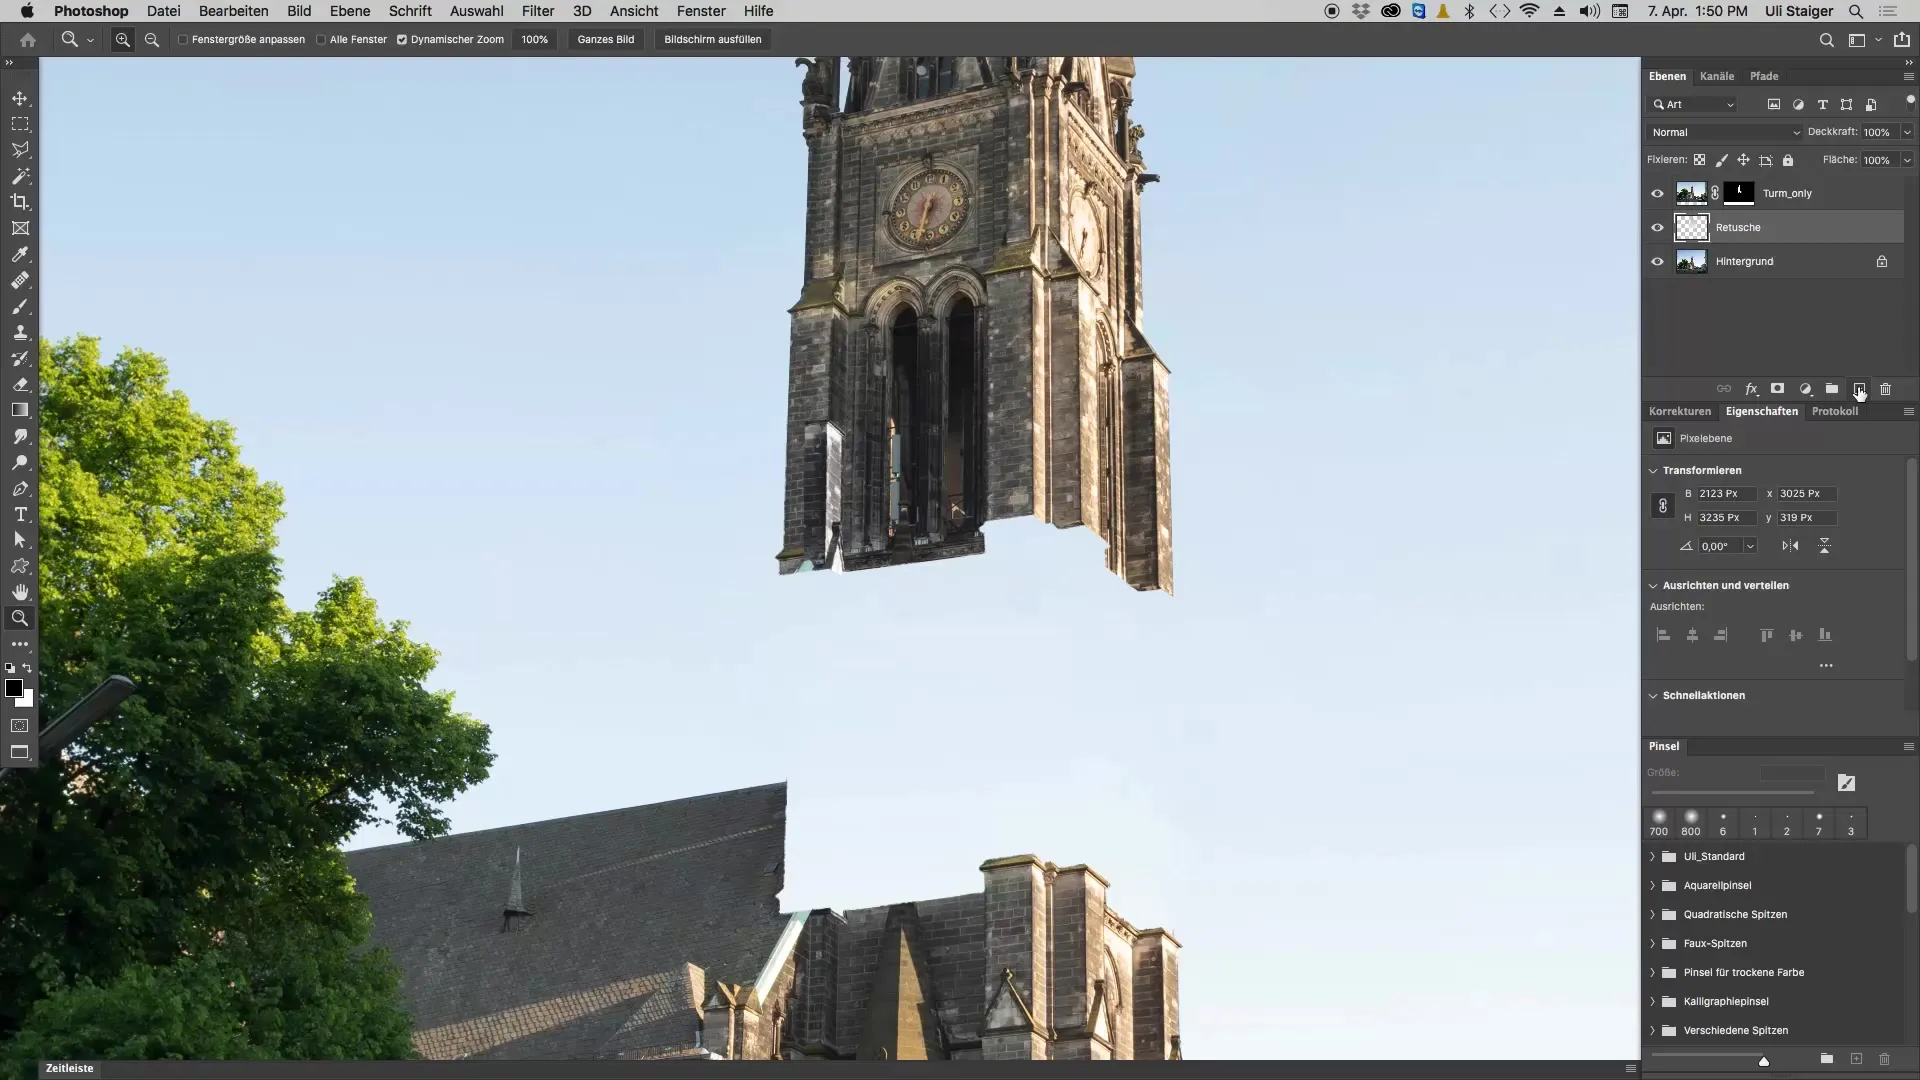
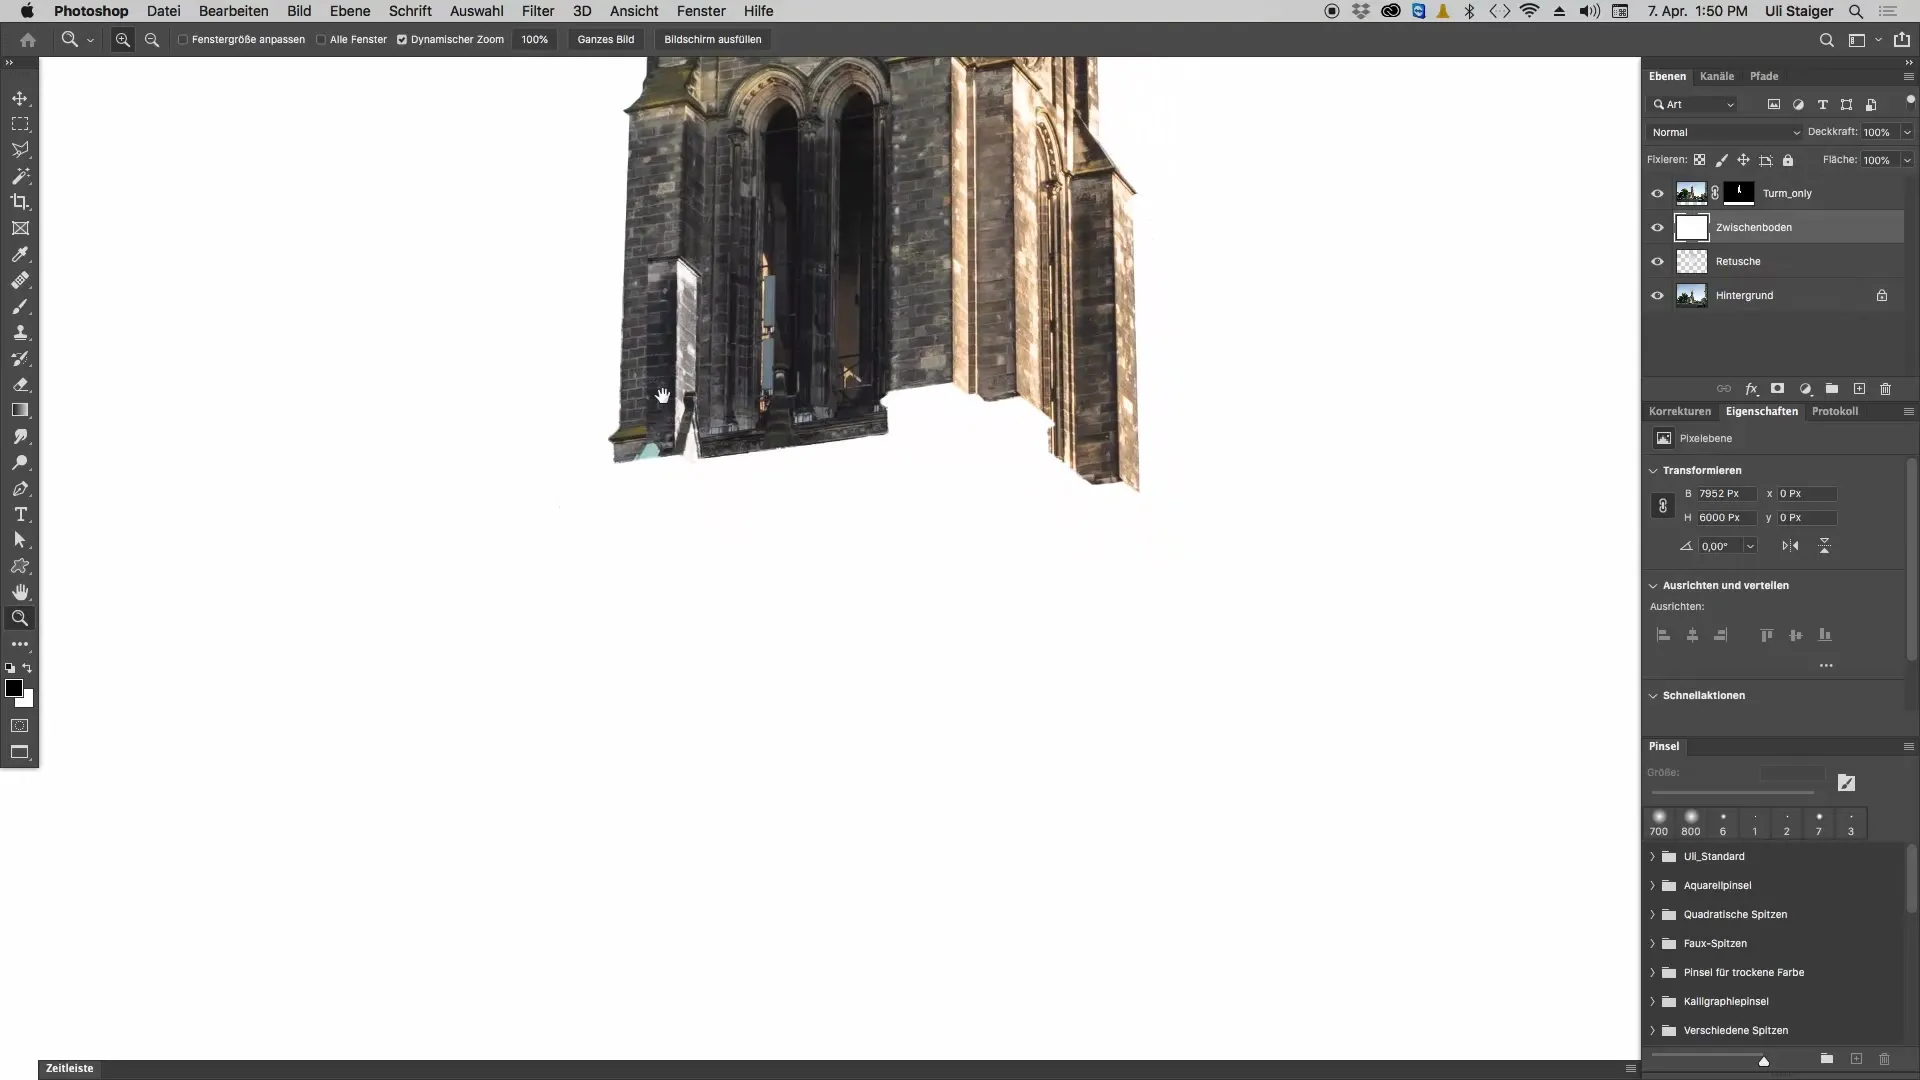
Create a new layer in your Photoshop document. To do this, click on the “New Layer” icon in the Layers panel. Name this layer “Intermediate Layer.” To enhance visibility, fill the layer with a striking color, such as white. To do this, go to “Edit” and select “Fill.” In the following menu, choose the color.
Step 2: Draw the basic shape with the rectangle tool
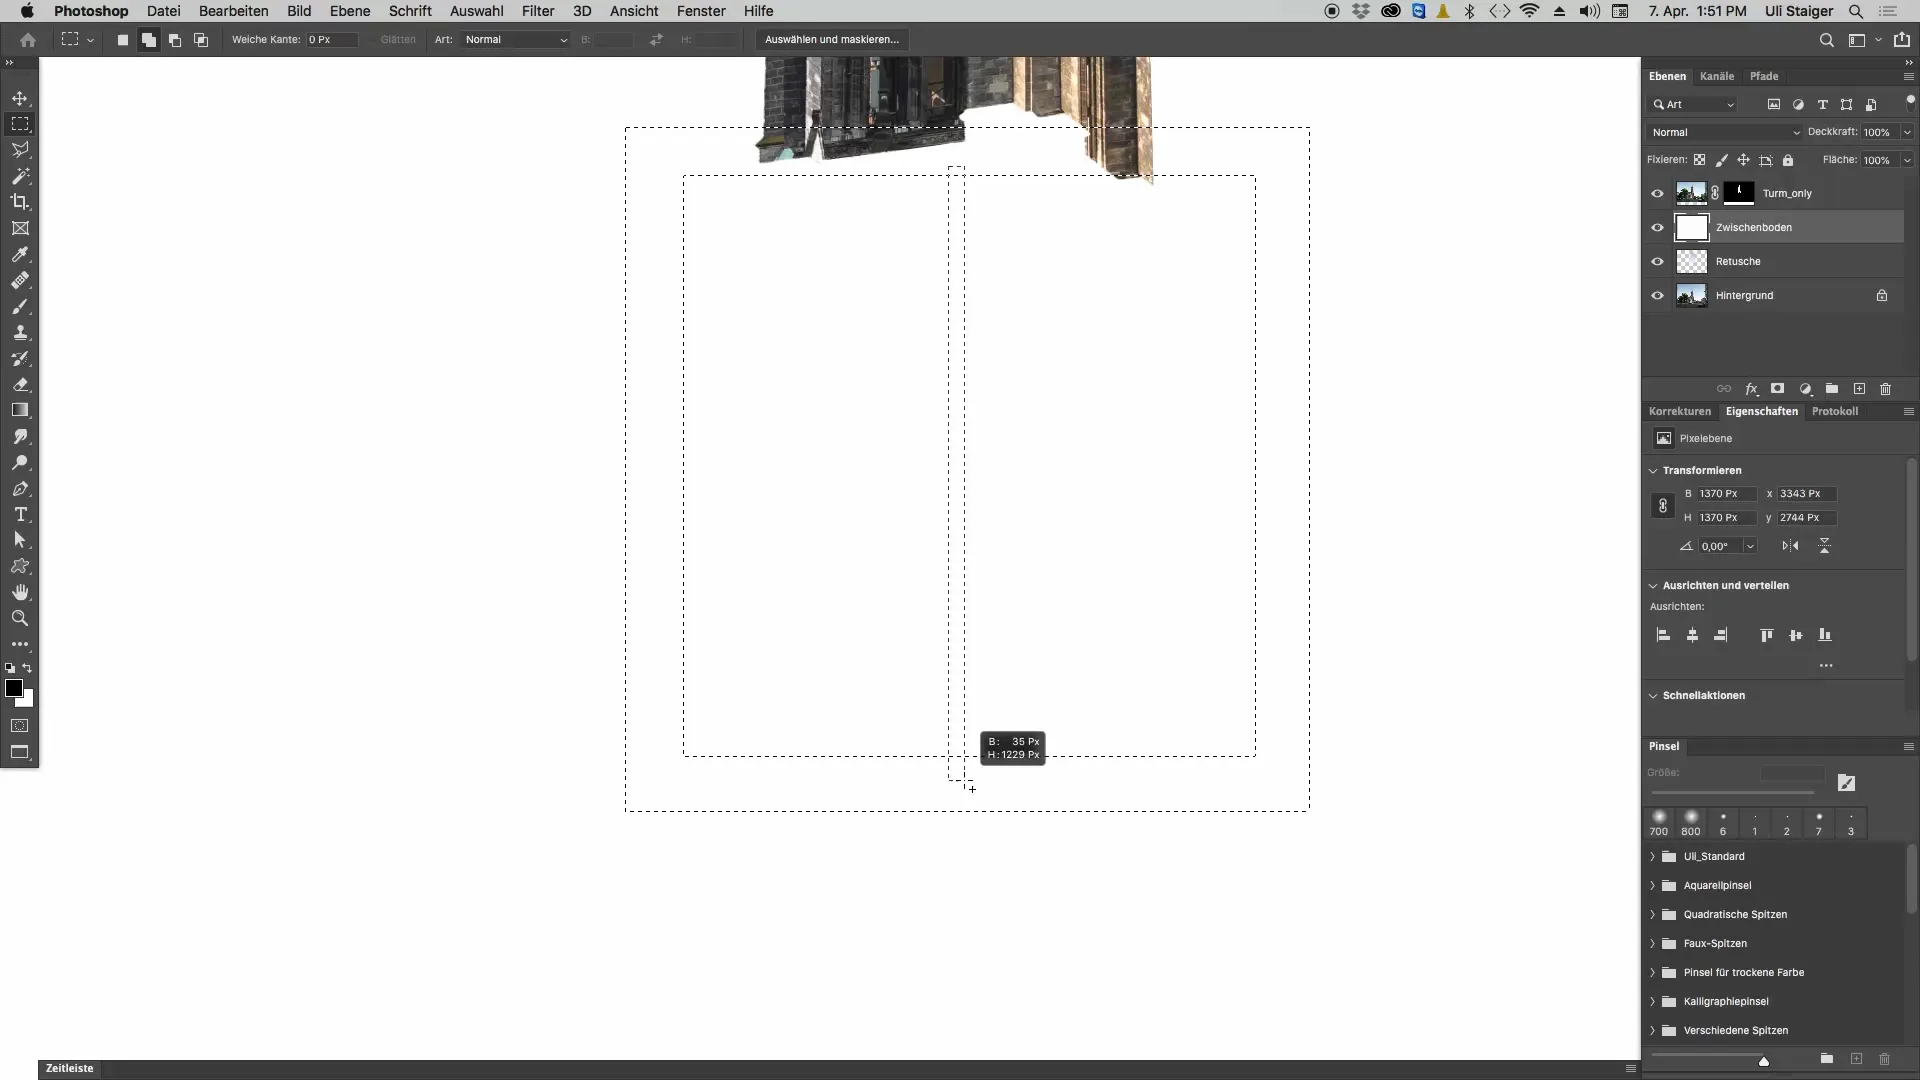
Using the rectangle tool, draw a rectangle that is slightly larger than the church tower you want to create later. Hold down the Shift key to ensure the rectangle is square. Leave a gap in the middle of the rectangle so that a wall can be simulated later.
Step 3: Create the protrusions for complex structures
To give your object more dimension, add random protrusions. You can use the rectangle tool again to place different shapes at random locations. These elements will later look like complex assembly features.
Step 4: Create the 3D extrusion
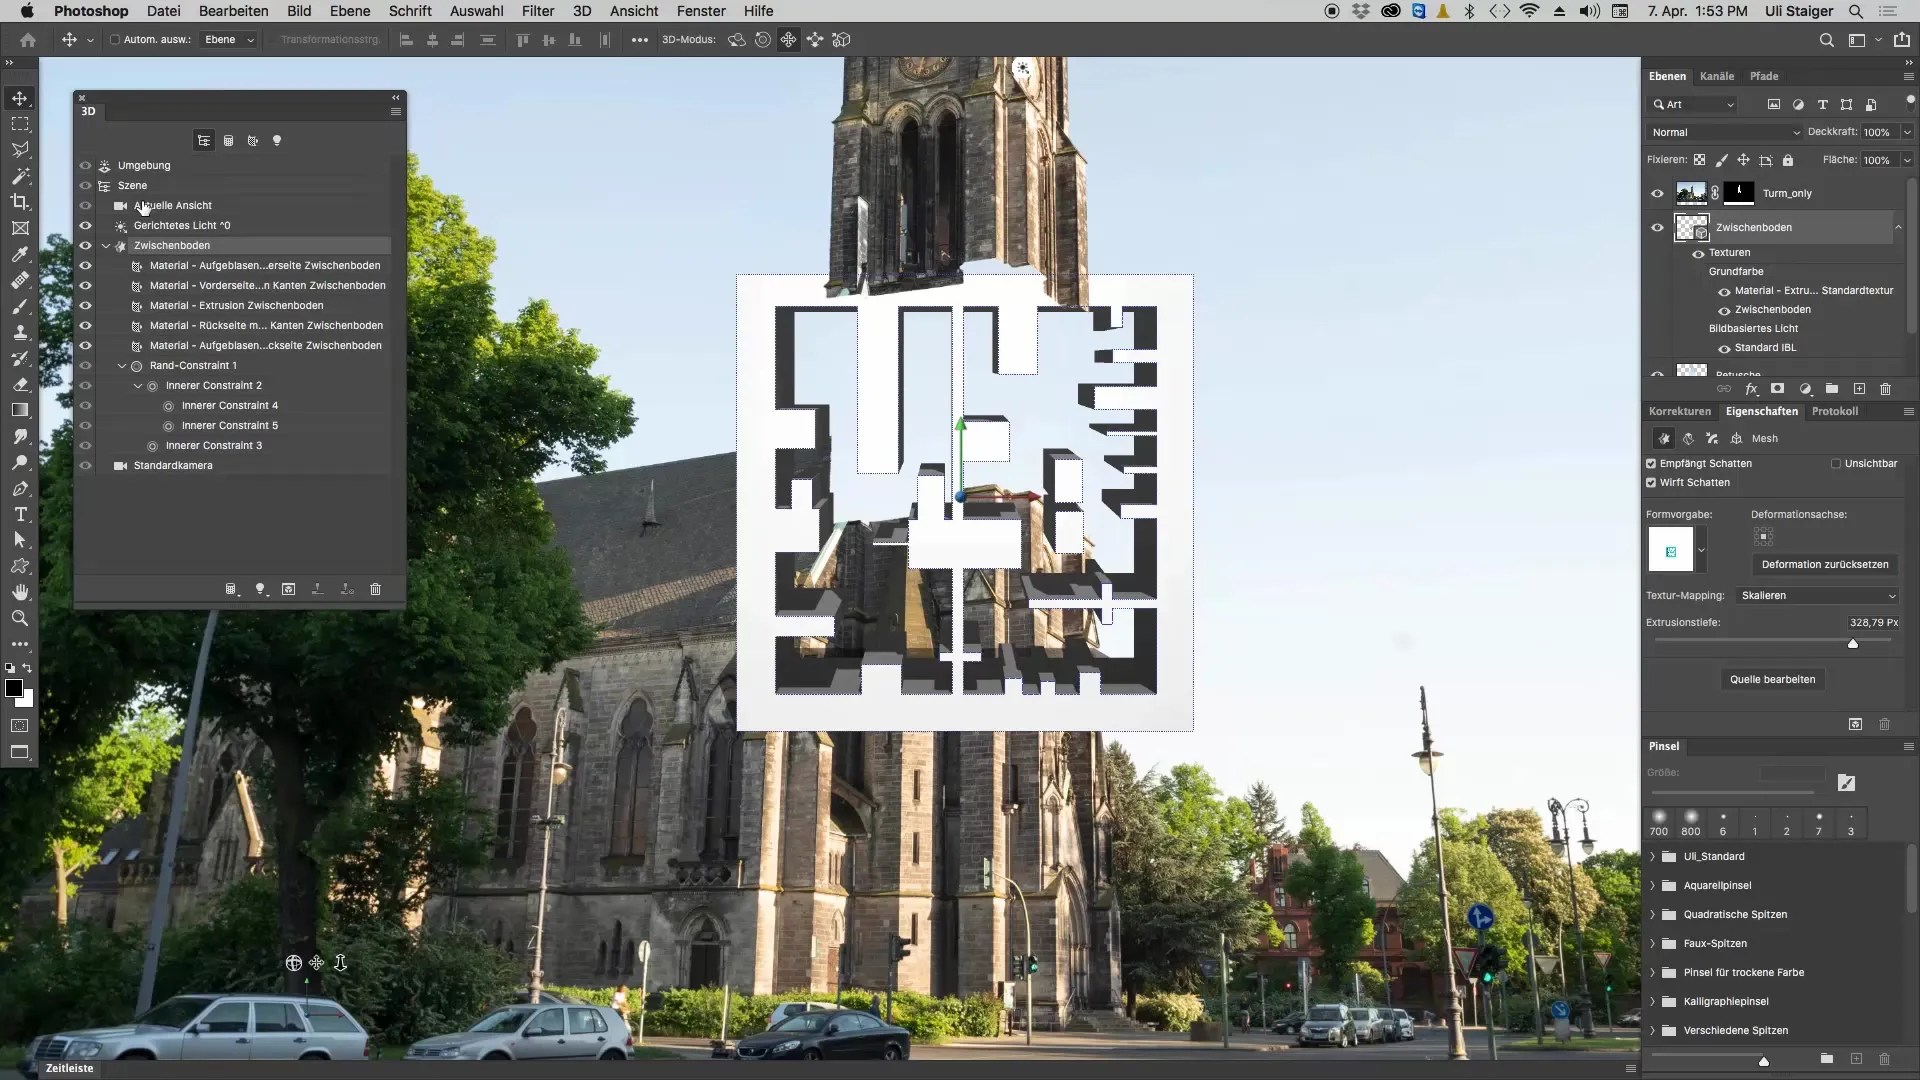
Switch to "3D" and click on "New 3D Extrusion from Current Selection." Photoshop will now generate a 3D object from your selected shape. Depending on the complexity of the selection, it may take a moment for Photoshop to create the object.
Step 5: Adjust the focal length
To display your 3D object in the correct perspective, you need to adjust the focal length. Go to the 3D view and click on “Current View.” There, you can change the focal length to achieve a wide-angle view (e.g., 14 mm). This will reduce the size of your object in representation and make it appear more realistic.
Step 6: Position the 3D object in space
Make sure you have the Move tool activated when editing the 3D layer. Click and drag the object to the desired position in space. Use the rotation tools to give your object the desired angle.
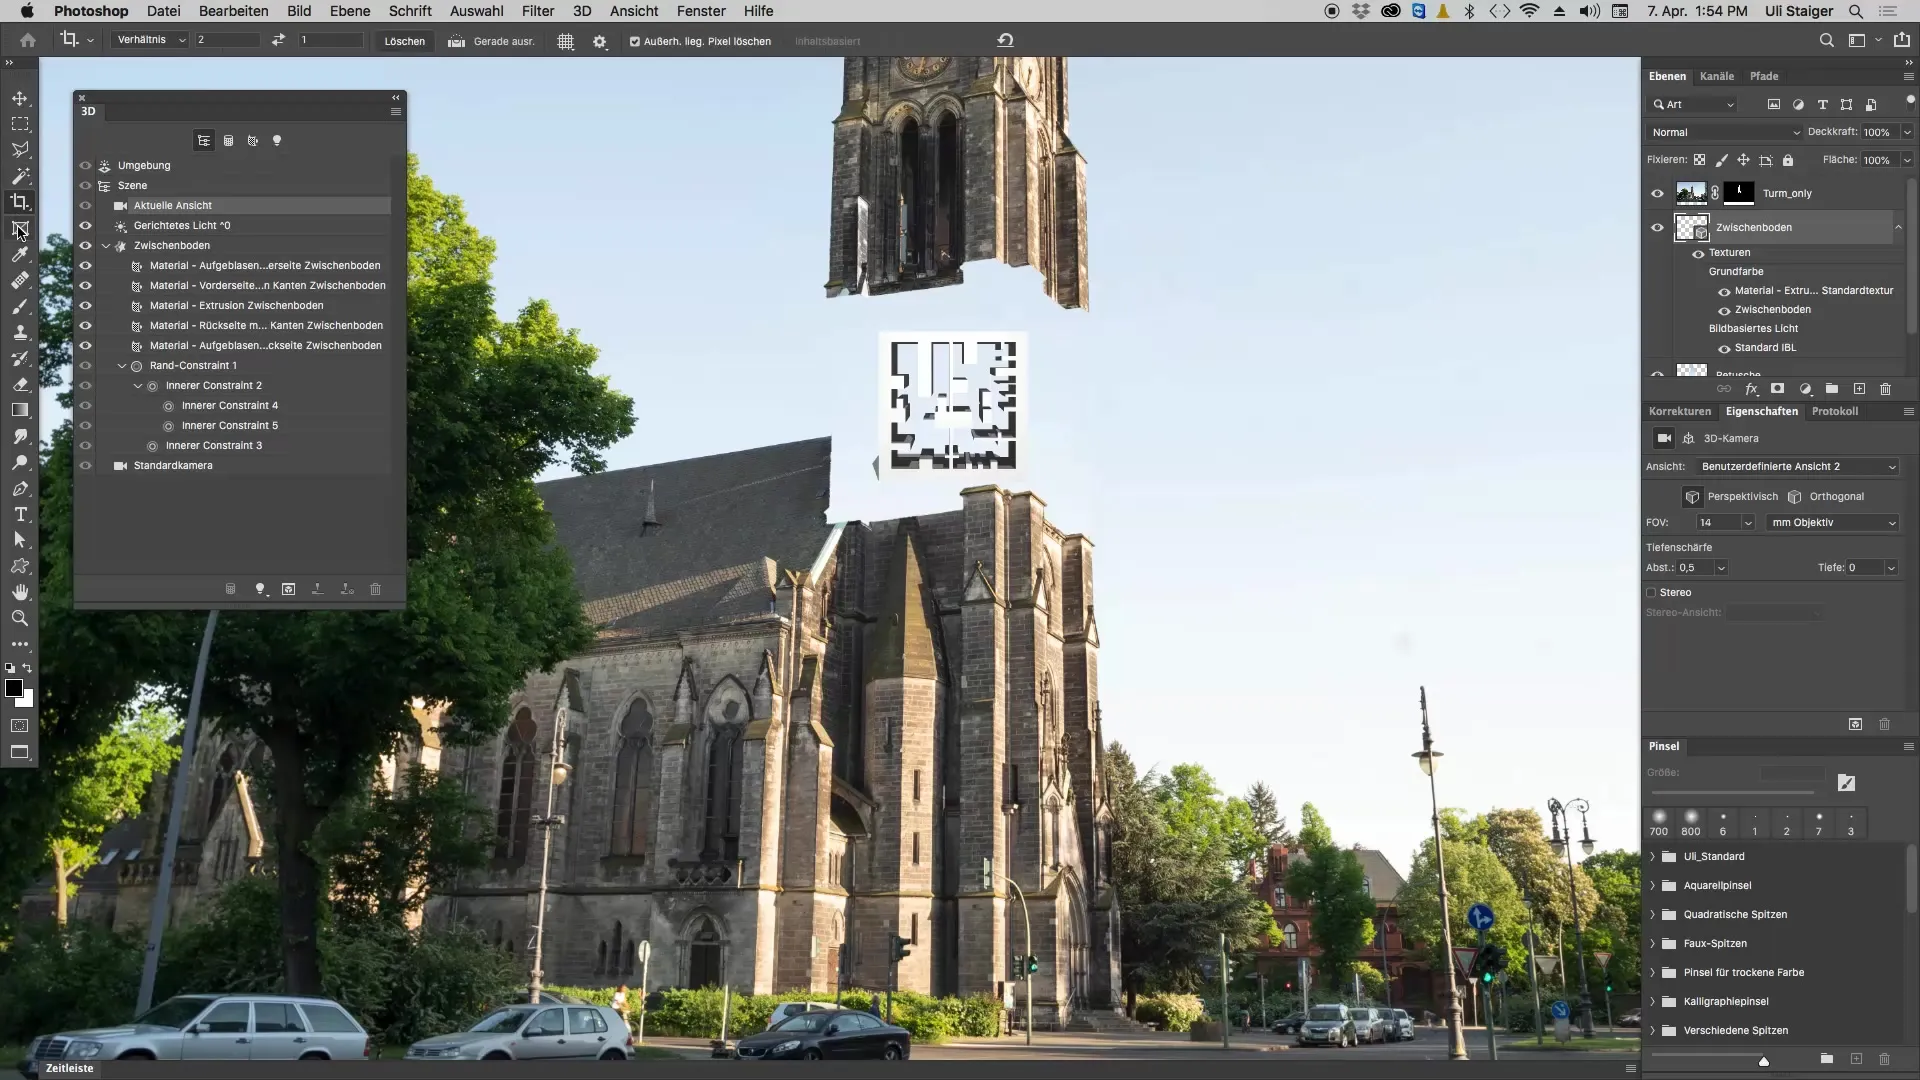
Step 7: Make fine adjustments
You can further change the size of your 3D object by clicking on the Scale tools in the Properties panel. Drag the corners to adjust the size so that the object fits well into the entire composition.
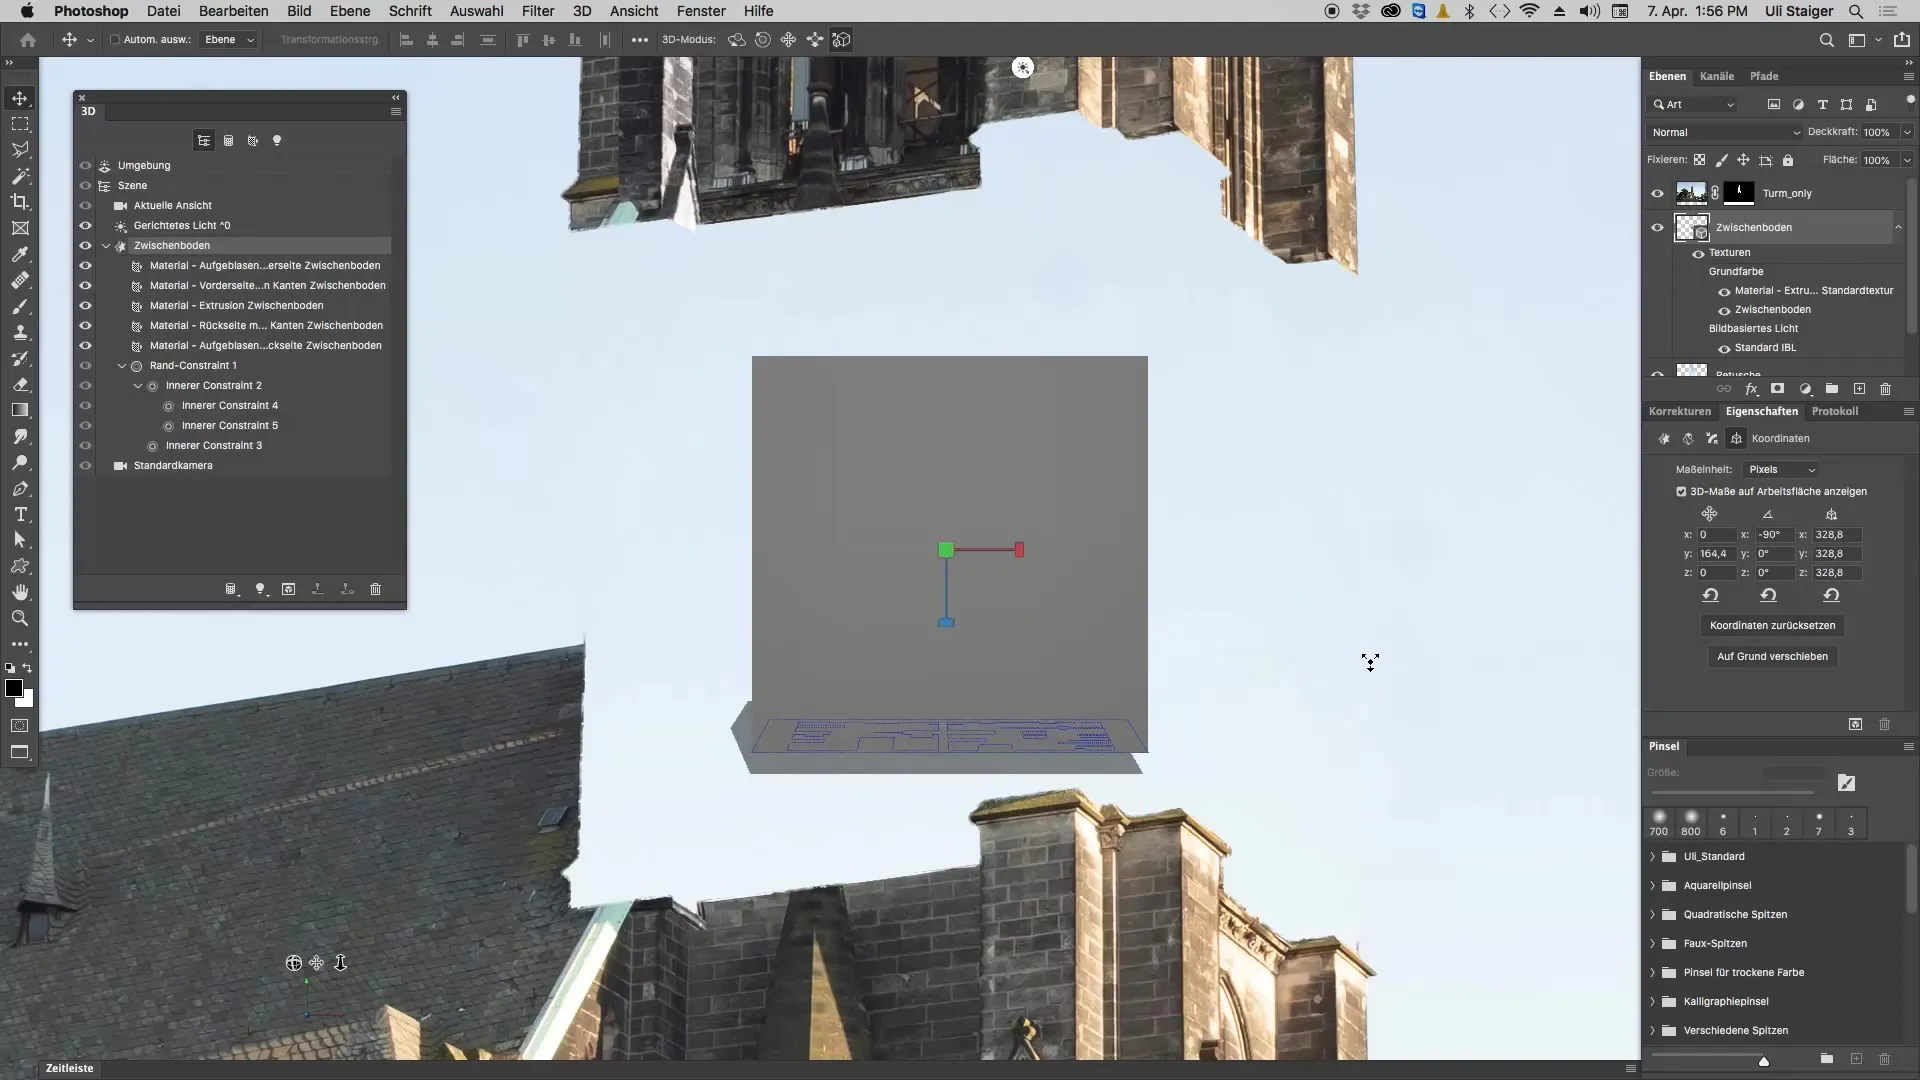
Step 8: Final adjustments of the position
Again, use the Move tool to reposition the object in space. Experiment with different angles and positions until everything looks good. It may help to zoom in on the corners for more control.
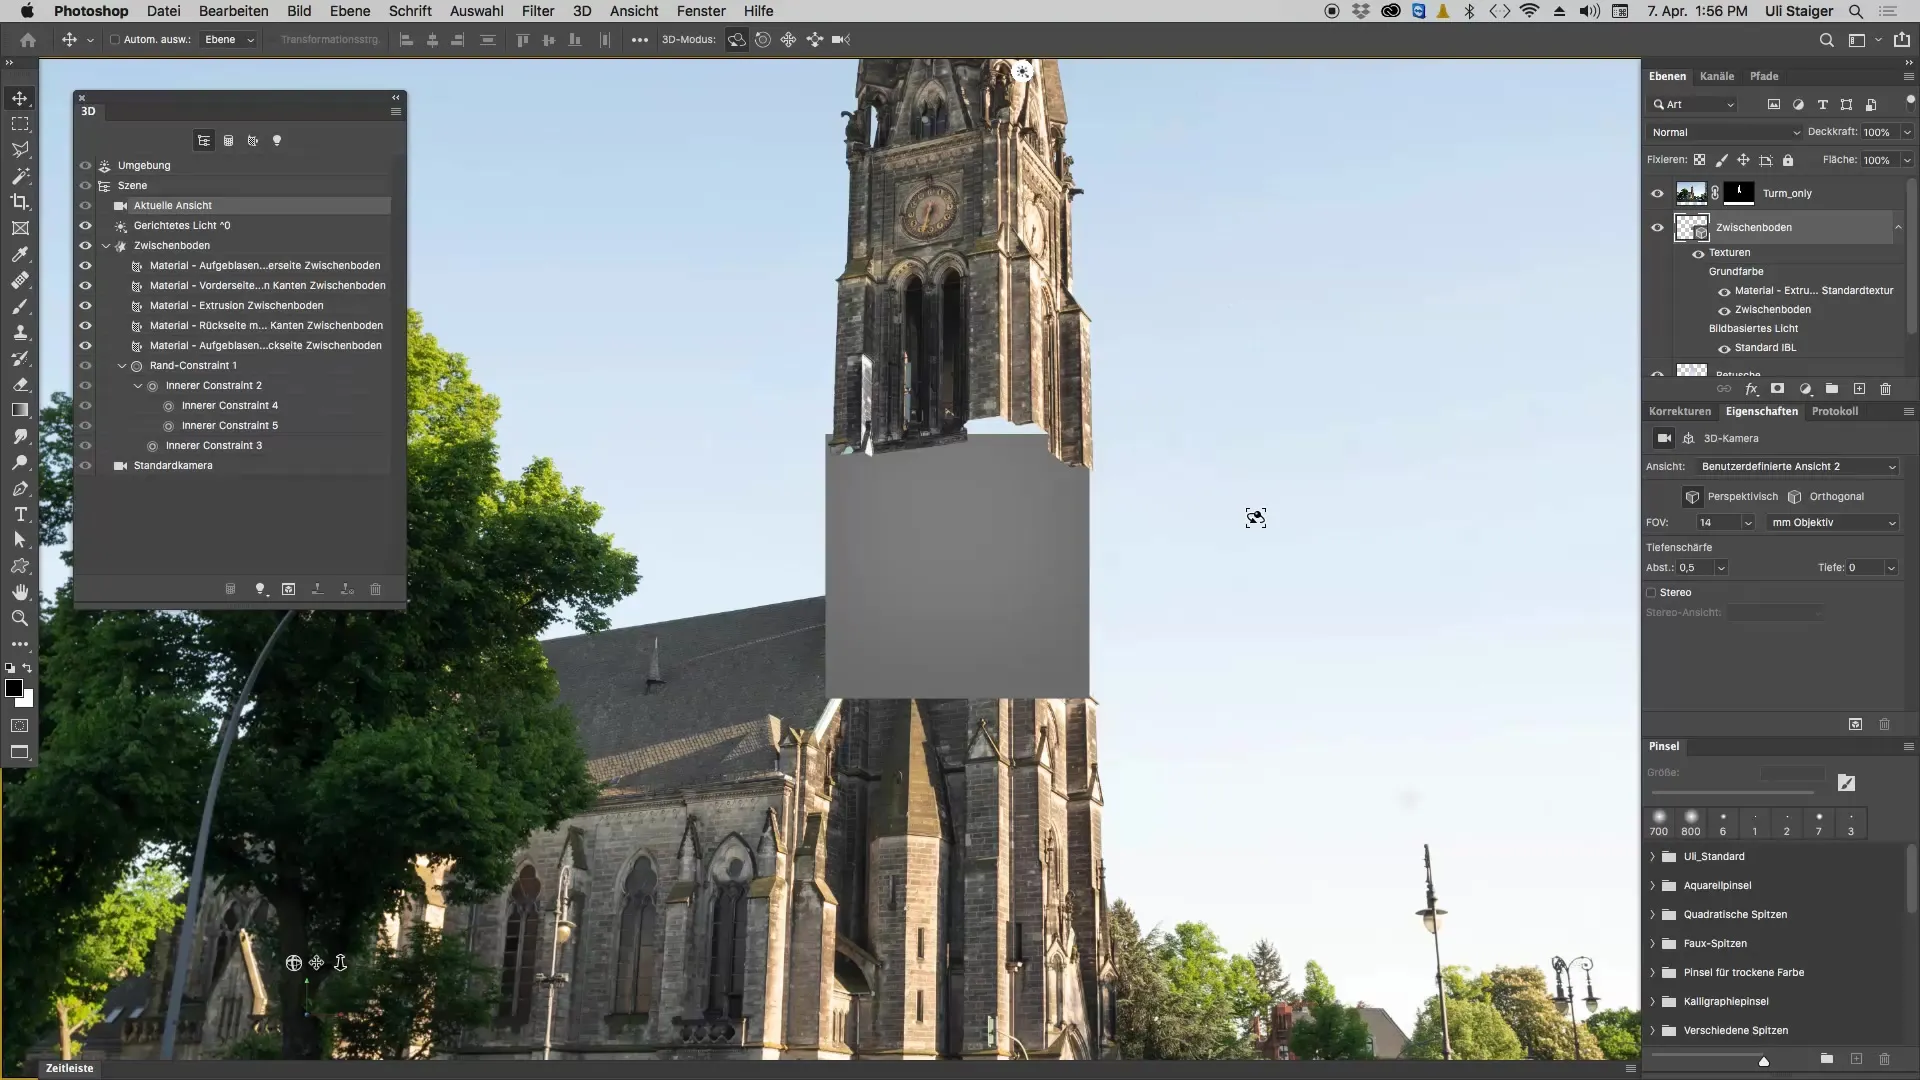
Summary - Efficiently Creating 3D Objects in Photoshop
In this guide, you have learned how to create complex 3D objects in Photoshop from 2D elements. Starting from drawing the basic shapes to extrusion and the final adjustments - all these steps are crucial for a successful result. With these methods, you can become even more creative in your artistic projects!
Frequently Asked Questions
What software version do I need for the 3D feature in Photoshop?You need at least Photoshop CS5 or a newer version that supports 3D functions.
Can I edit 3D objects in Photoshop after I have created them?Yes, you can adjust, scale, or reposition the objects at any time.
How can I apply textures to my 3D model?This is possible through the 3D panels in Photoshop, where you can select materials and textures.
Do I need prior knowledge of Photoshop to follow this tutorial?A basic understanding of Photoshop can be helpful, but this tutorial outlines the steps clearly and simply.


