With the right tools and a clever approach, a simple image can be transformed into an impressive work of art. In this tutorial, we focus on creating exhaust lights in Photoshop that look realistic and striking. You will learn how to create a radiant, captivating glow with just two layers, which has a phenomenal effect both at dusk and in other scenes. Let’s get started!
Main insights
- The use of two layers is crucial for the optimal presentation of exhaust lights.
- With the “linear dodge” mode, you can achieve a radiant light effect.
- Choosing the right colors is essential to create convincing light sources.
Step-by-Step Guide
To create impressive exhaust lights in your image, follow these steps:
Step 1: Create a new layer for the steam
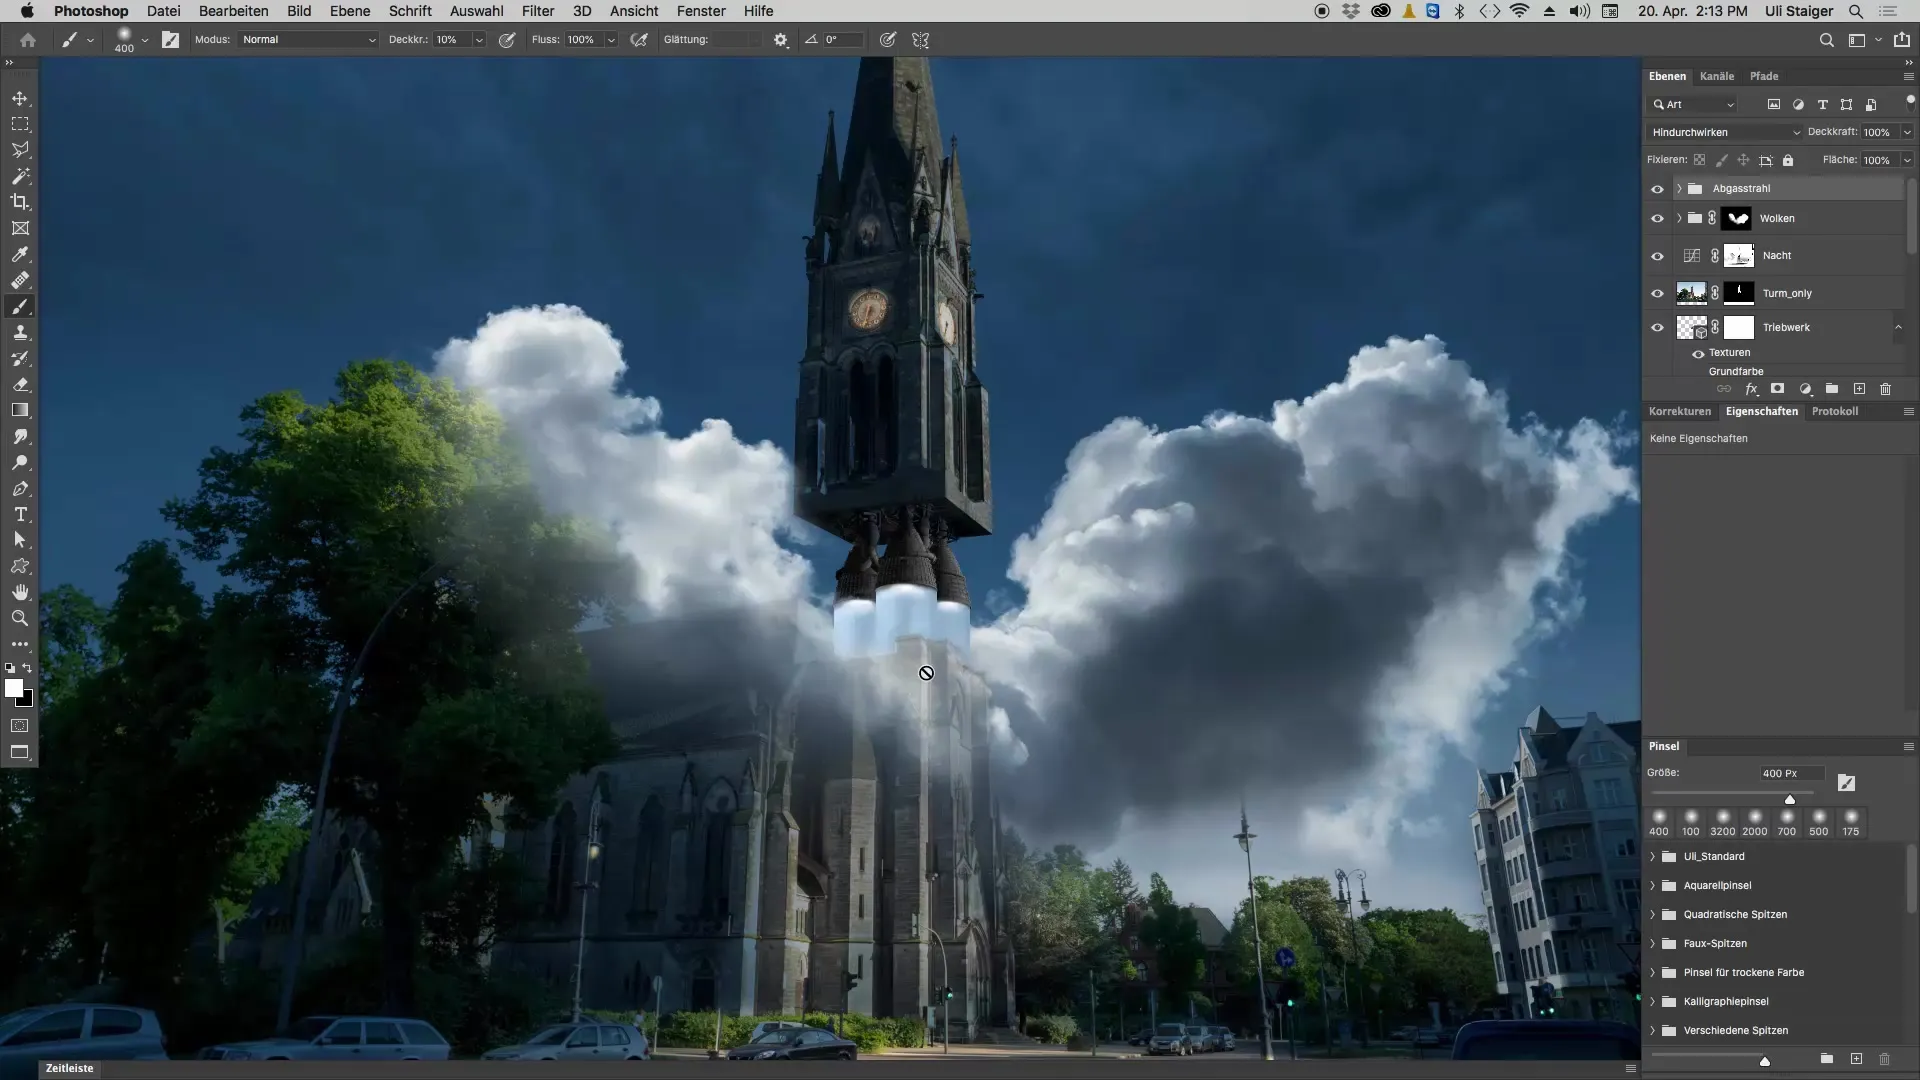
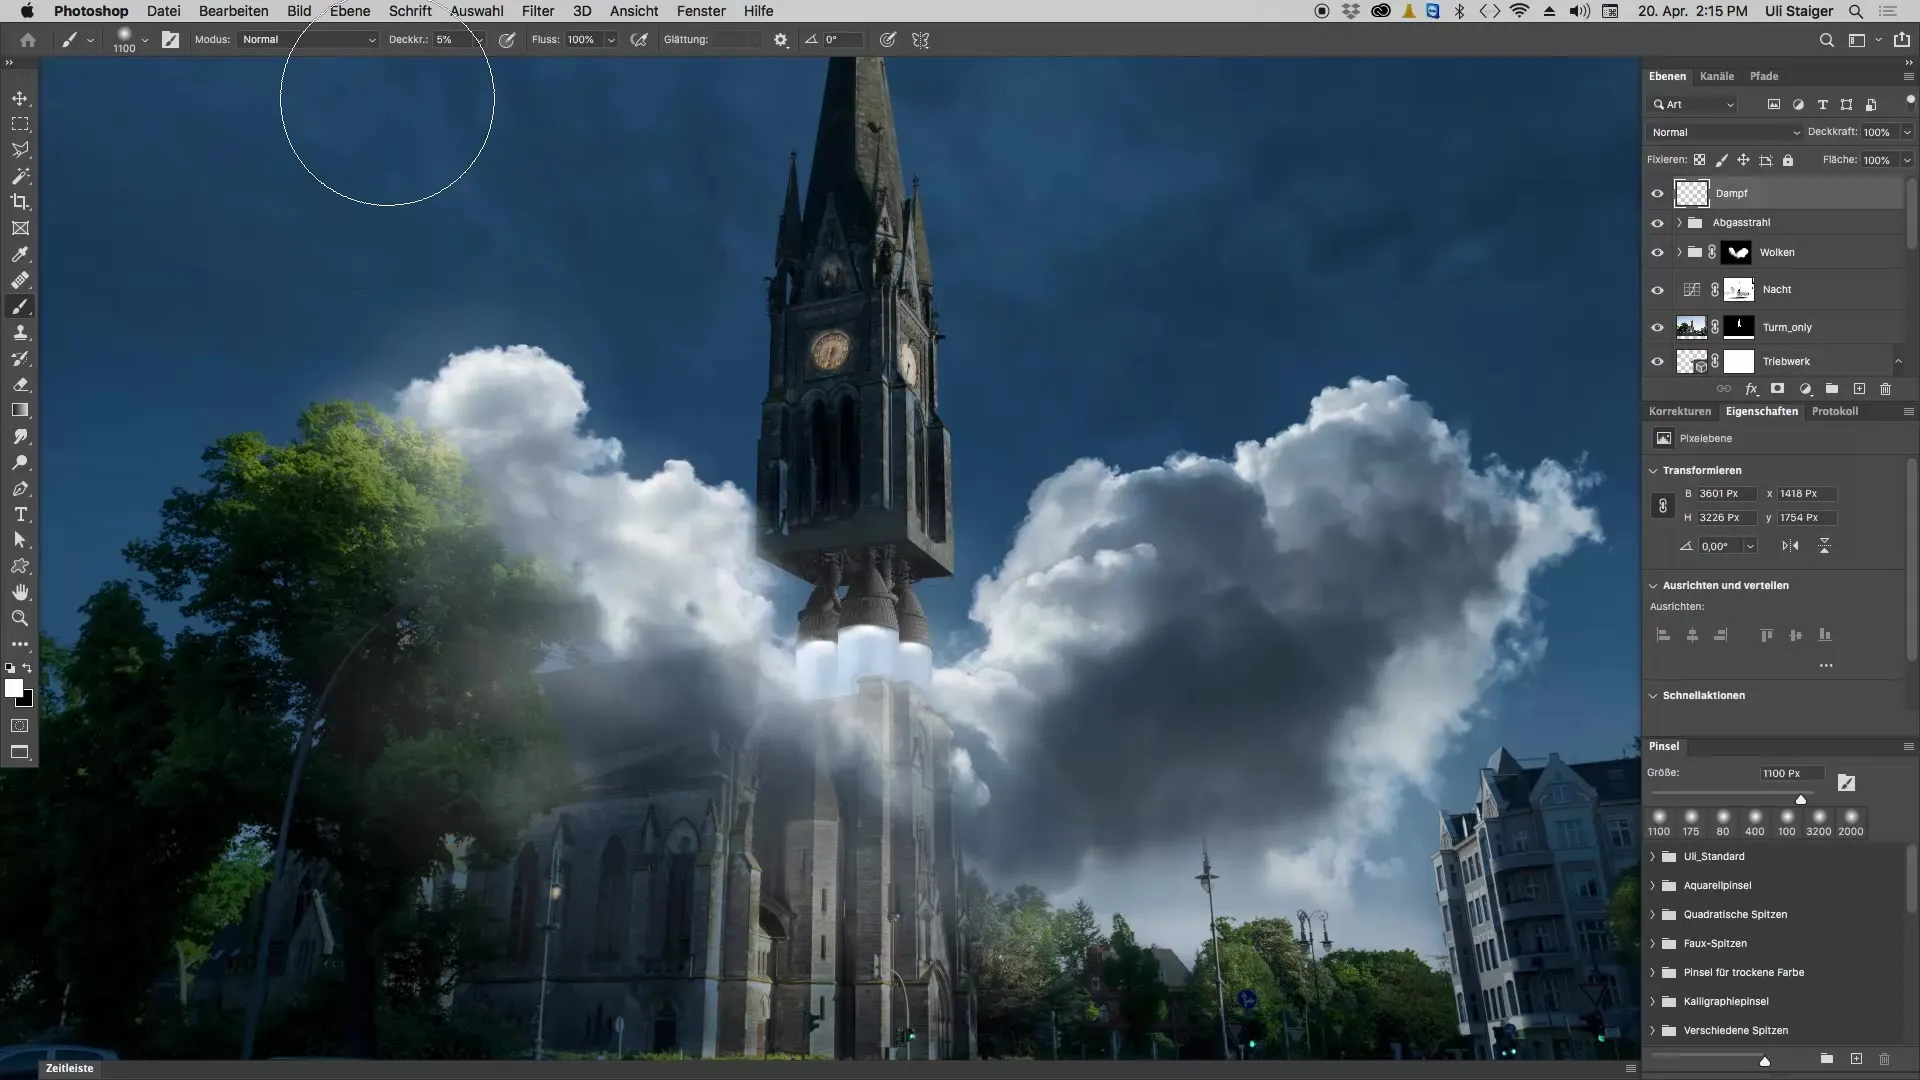
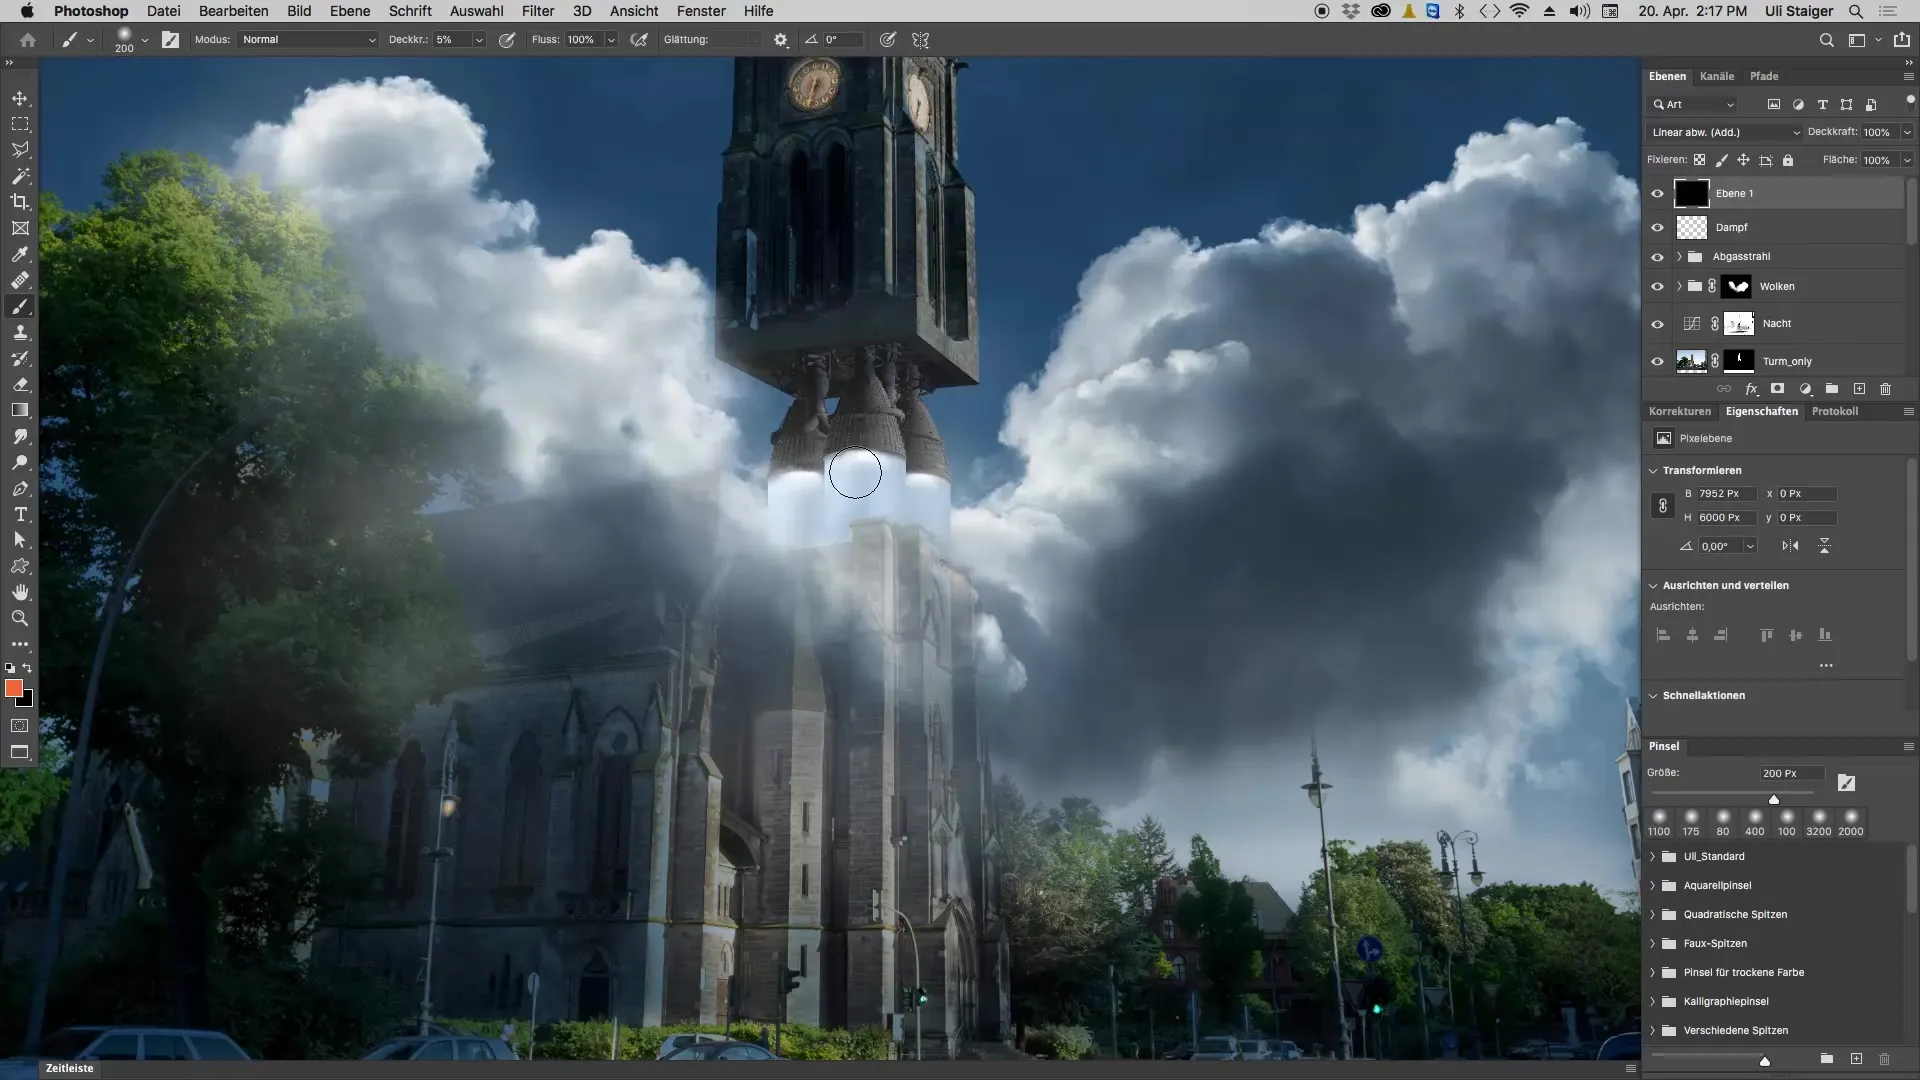
To make the transition between the exhaust beam and the cloud more realistic, create a new empty layer. Name this layer “Steam.” Make sure the foreground color is set to white and the opacity of your brush is set to 5%. Now start painting near the underside of your object to bring the image to life.
Step 2: Refining the transitions
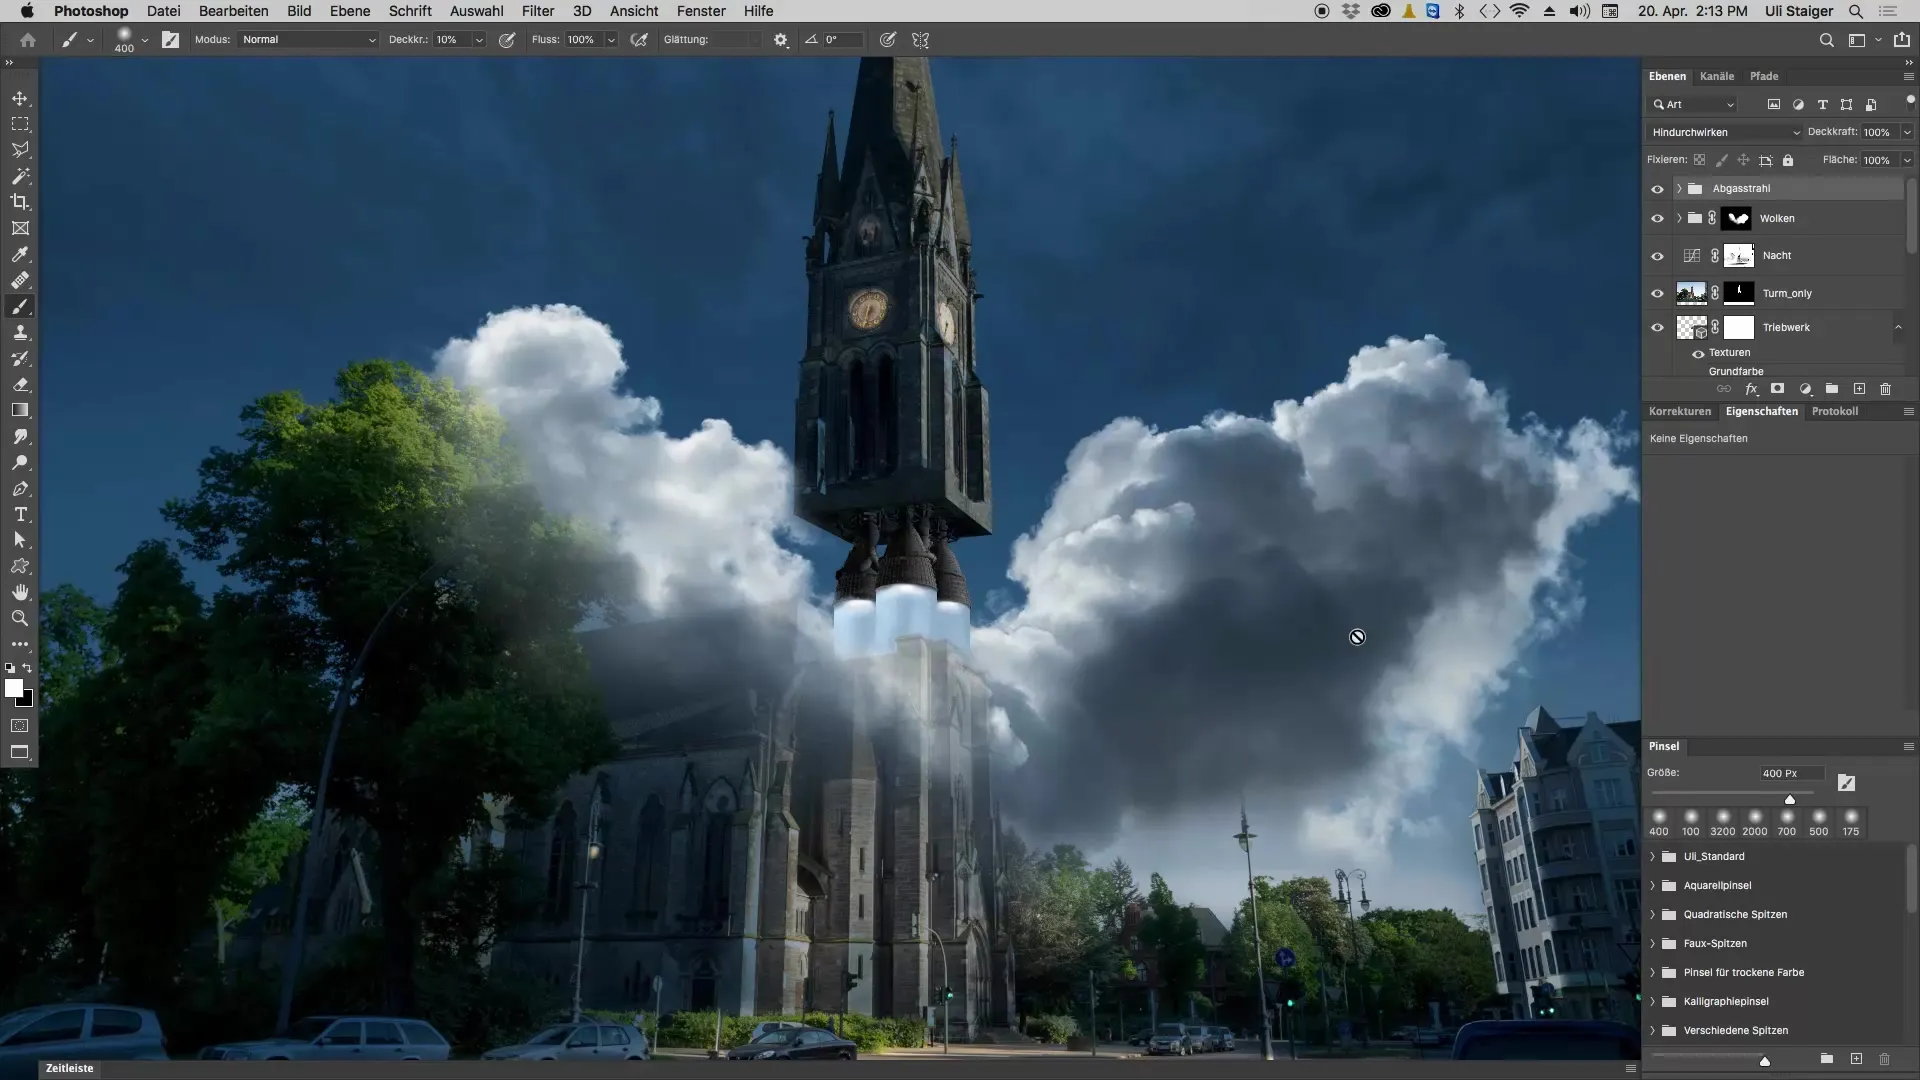
To ensure that the transitions between the colors appear soft and fluid rather than choppy, lightly paint over the edges of the steam. Be sure to place a few of the smoke wisps near the trees. This adds more depth and realism to the image.
Step 3: Adding a new layer for the light
Now it’s time to create the glow. Create a new layer while ensuring you set the mode to “linear dodge” in the layers panel. Make sure the fill color is set to black for this mode to work. This step is crucial to achieving the desired light effect.
Step 4: Choosing the right color
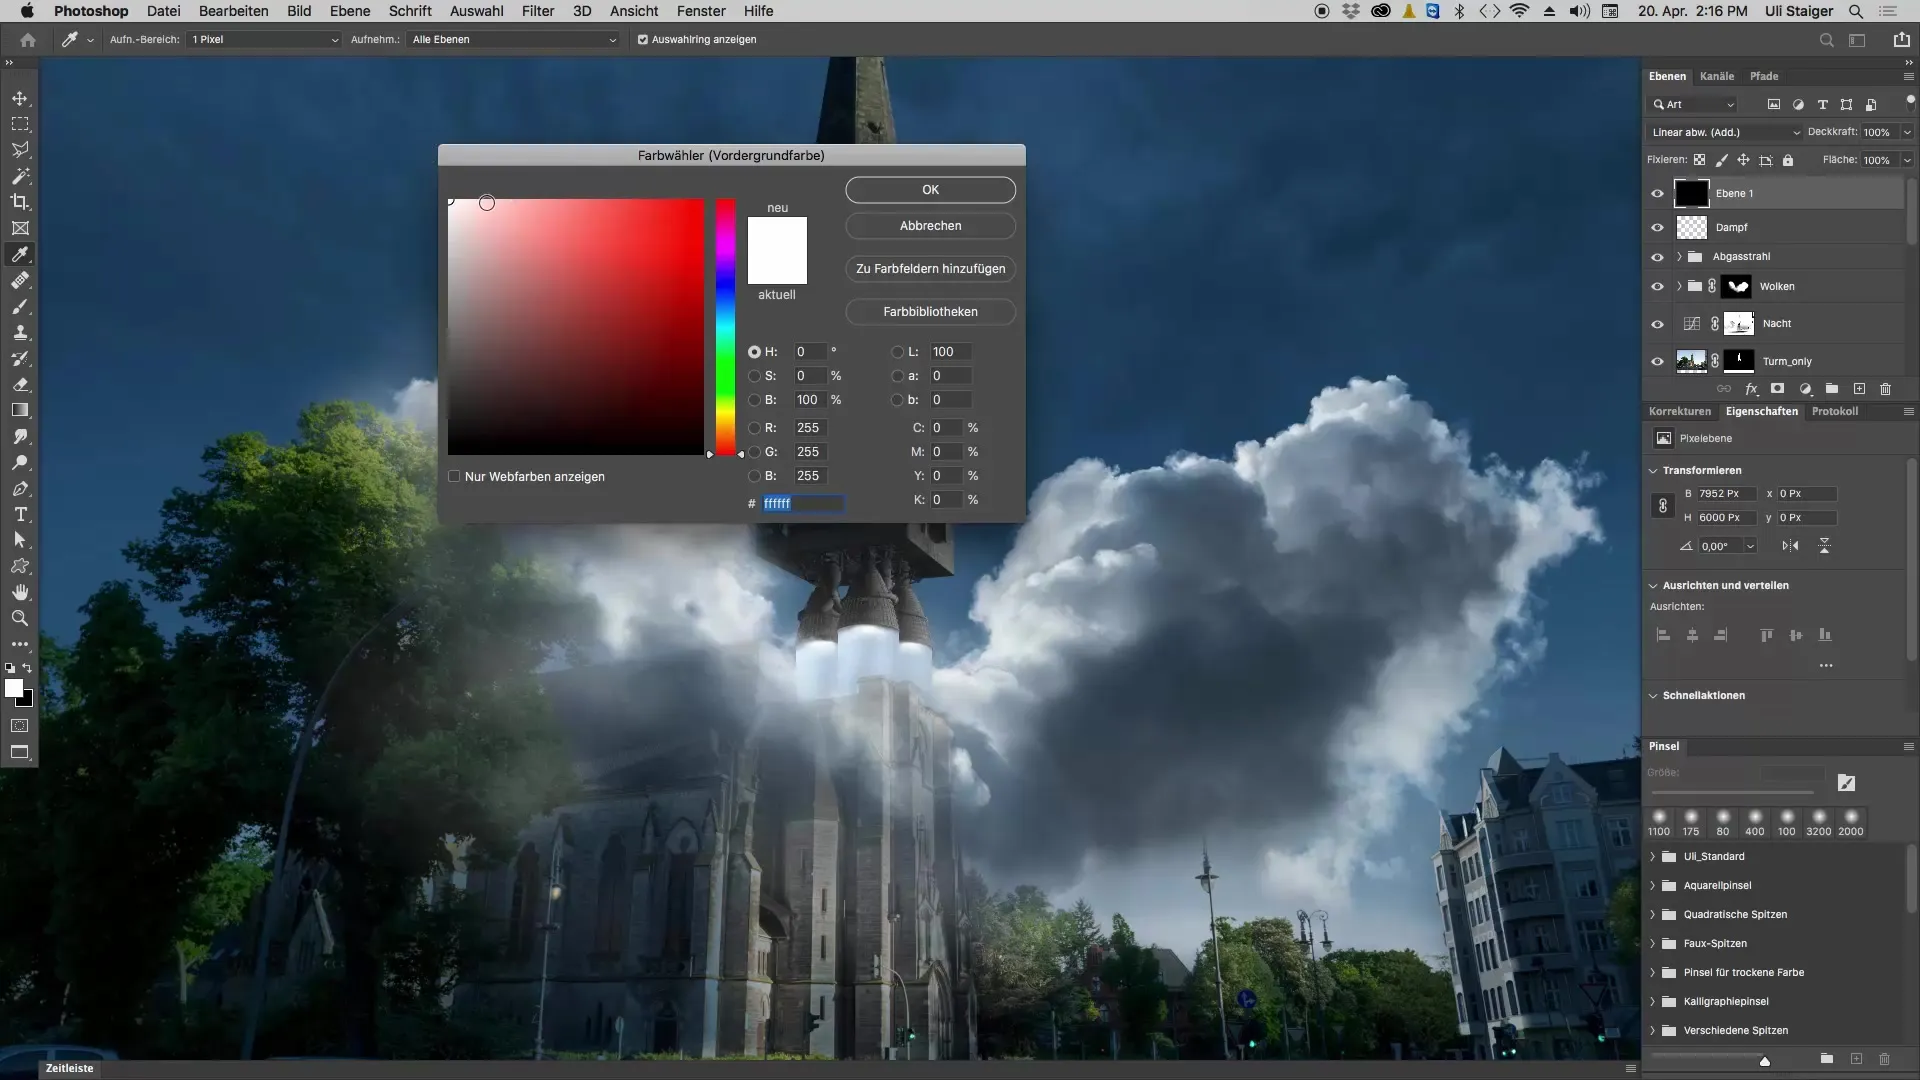
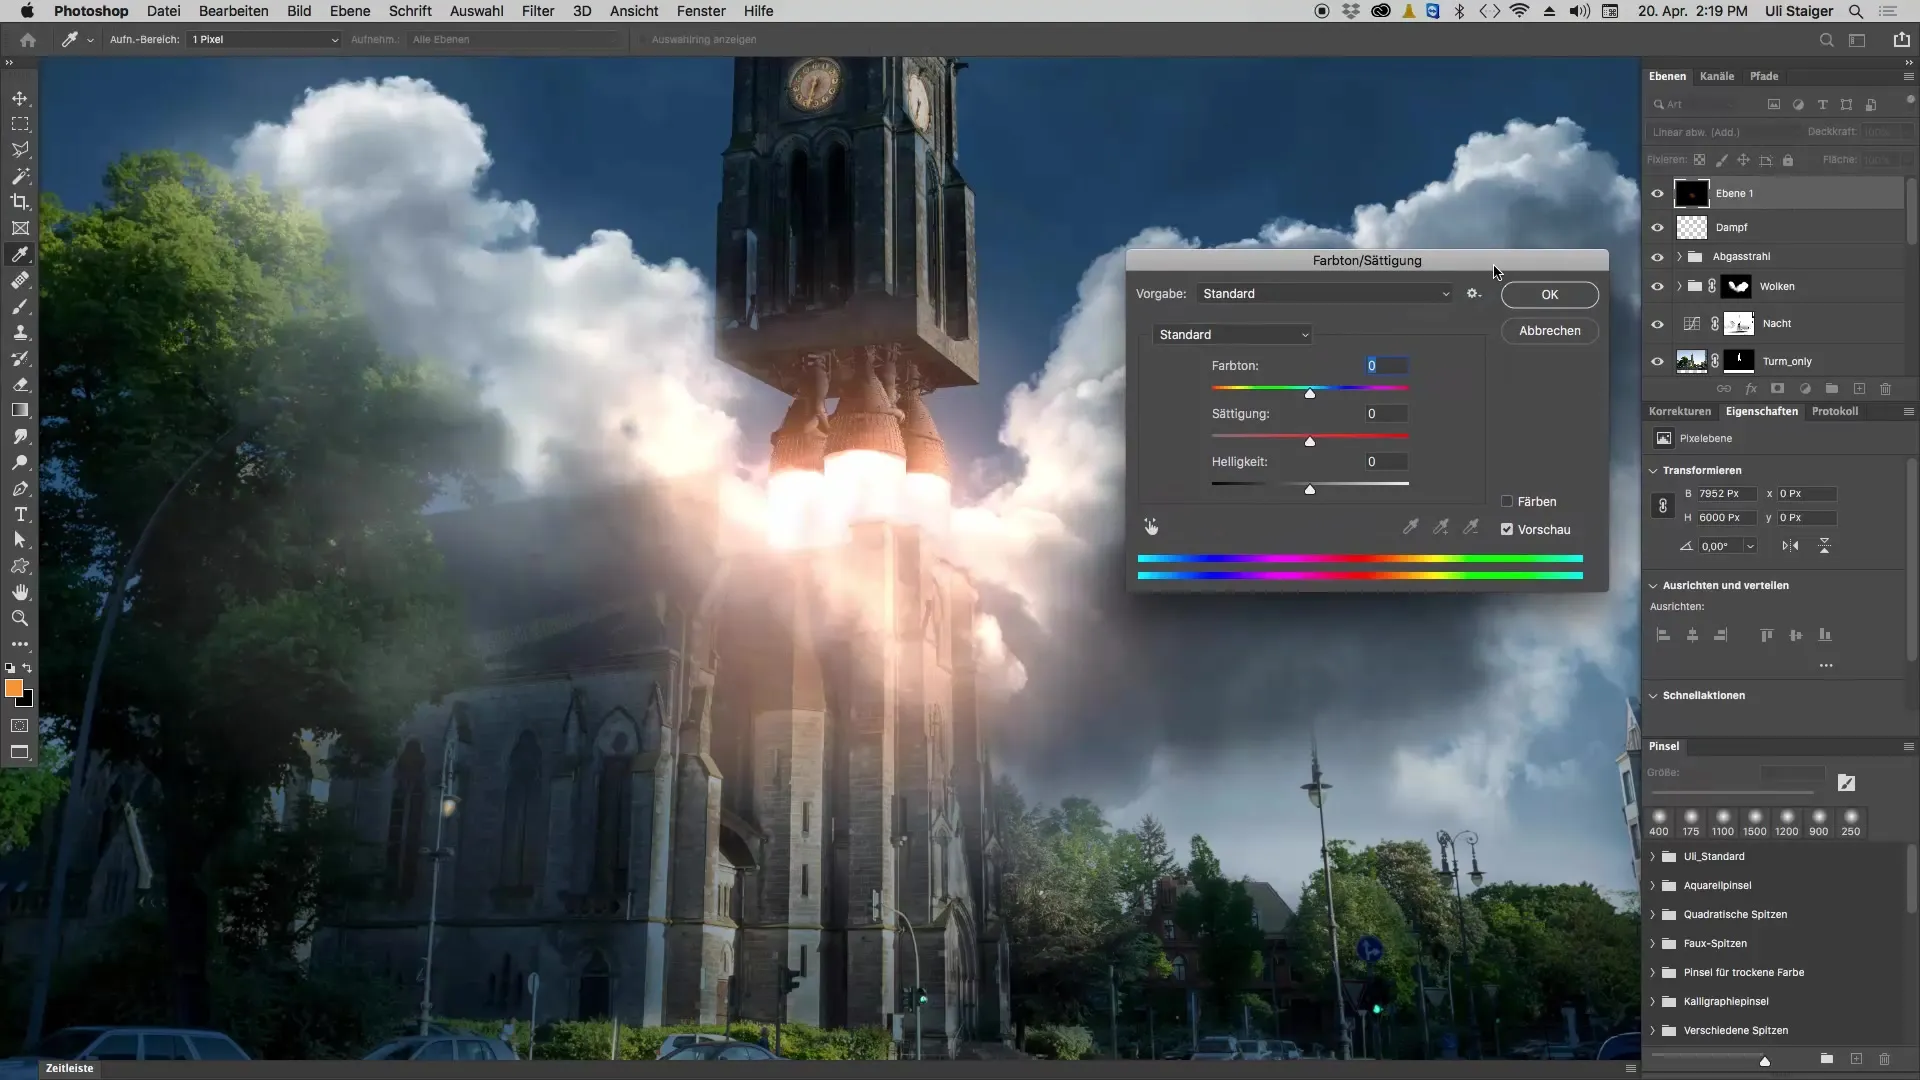
When working with light, it’s important to choose a color that is as pure as possible. You can find these colors at the top of the color square. Make sure to choose the color where the top edge of the square is visible. If you want to create a nice orange, be sure to use a slightly deeper red hue, as otherwise, the color can appear yellowish.
Step 5: Painting with the new color
Now grab your brush and start with a slightly light brush stroke at 5% opacity. Work your way through the exhaust beam and ensure enough of the new color is visible. Feel free to paint beyond the starting position to enhance the glowing effect.
Step 6: Adjusting the hue
If you find that the color is too red or too intense, you can adjust the hue using the control key and “U.” Choose a value that you like – a slight slider towards yellow can give the image a more natural look.
Step 7: Final adjustments
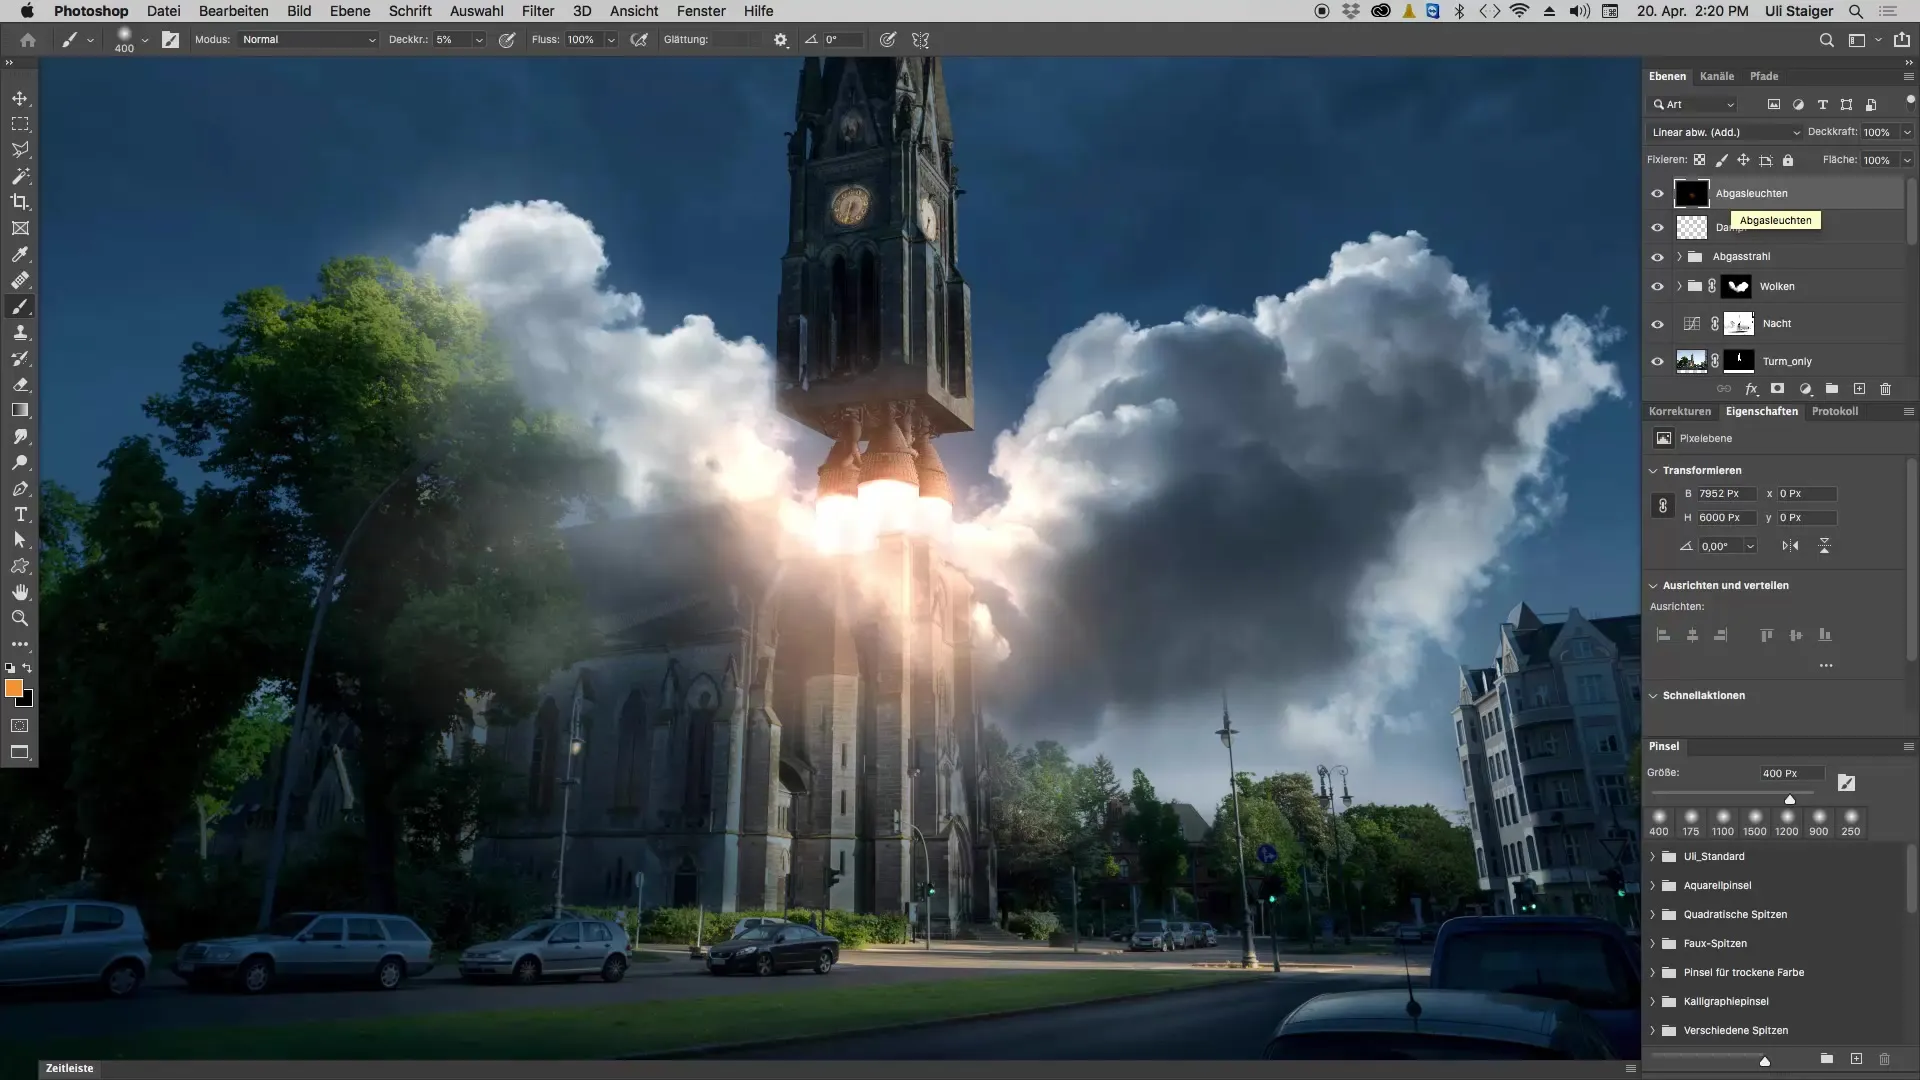
The lighting effects should now appear clear and appealing. You can further adjust the different layers to ensure that the light is emanating directly from the exhaust beam of the object and correctly reflecting both the surroundings and the clouds. Finally, rename the layers in a way that makes it easy for you to recognize what they represent.
Summary – Creating Exhaust Lights in Photoshop
Creating exhaust lights in Photoshop is a creative process that requires patience and precision. With just two layers and the proper use of colors and mode settings, you can achieve impressive effects that elevate your images to a new level.
Frequently Asked Questions
What color modes do I need for realistic exhaust lights?Use the “linear dodge” mode for optimal light effects.
How do I choose the right color?Use the purest colors at the top of the color square in Photoshop.
Can I rename my layers later?Yes, it’s advisable to rename them to custom names for better clarity.
How can I adjust the hue?Use the control key and “U” to change the hue to your liking.
Can I change the opacity of the brush at any time?Yes, you can adjust the opacity at any time during the painting process to control the intensity of your colors.


