If you're looking for a particularly atmospheric sky while editing photos in Photoshop, you're in the right place. In this tutorial, I will show you how to integrate a dramatic cloudy sky into your image with simple steps. This way, you create atmosphere and bring more depth to your shots.
Key takeaways
- The right choice of sky can significantly change the mood of an image.
- Make sure to align the horizon lines correctly for a realistic result.
- Use layer masks to seamlessly integrate the new sky.
Step 1: Getting started with the project
Your journey begins by launching Photoshop, where you open your image. Here, you focus on editing the sky. Once you've created your 3D elements, it's time to close the 3D panel, as it is no longer needed.
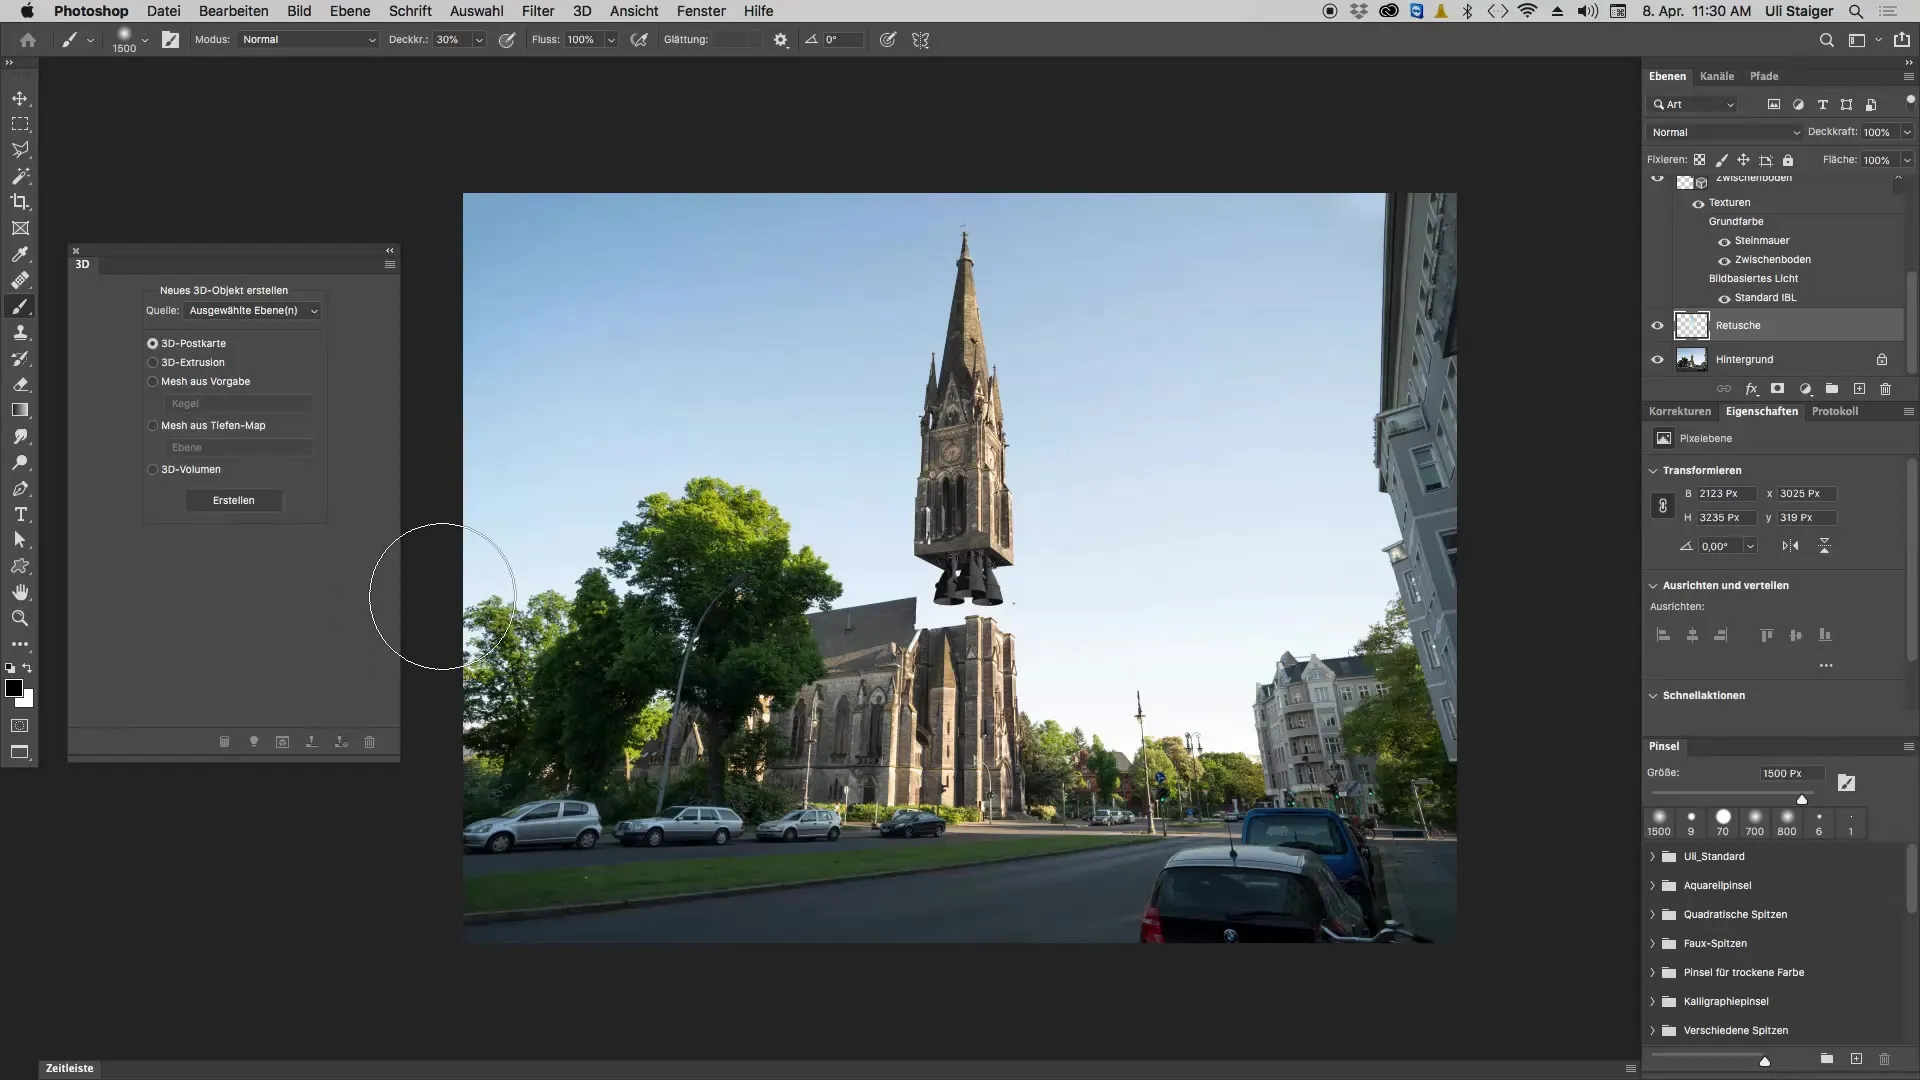
Step 2: Selecting the cloudy sky
Now comes the creative part: choose a suitable cloudy sky. Go to "File" and select "Place" and "Embed". Find the file of the cloudy sky you downloaded earlier. Place this sky exactly in the center of your image. A good alignment ensures a harmonious overall picture.
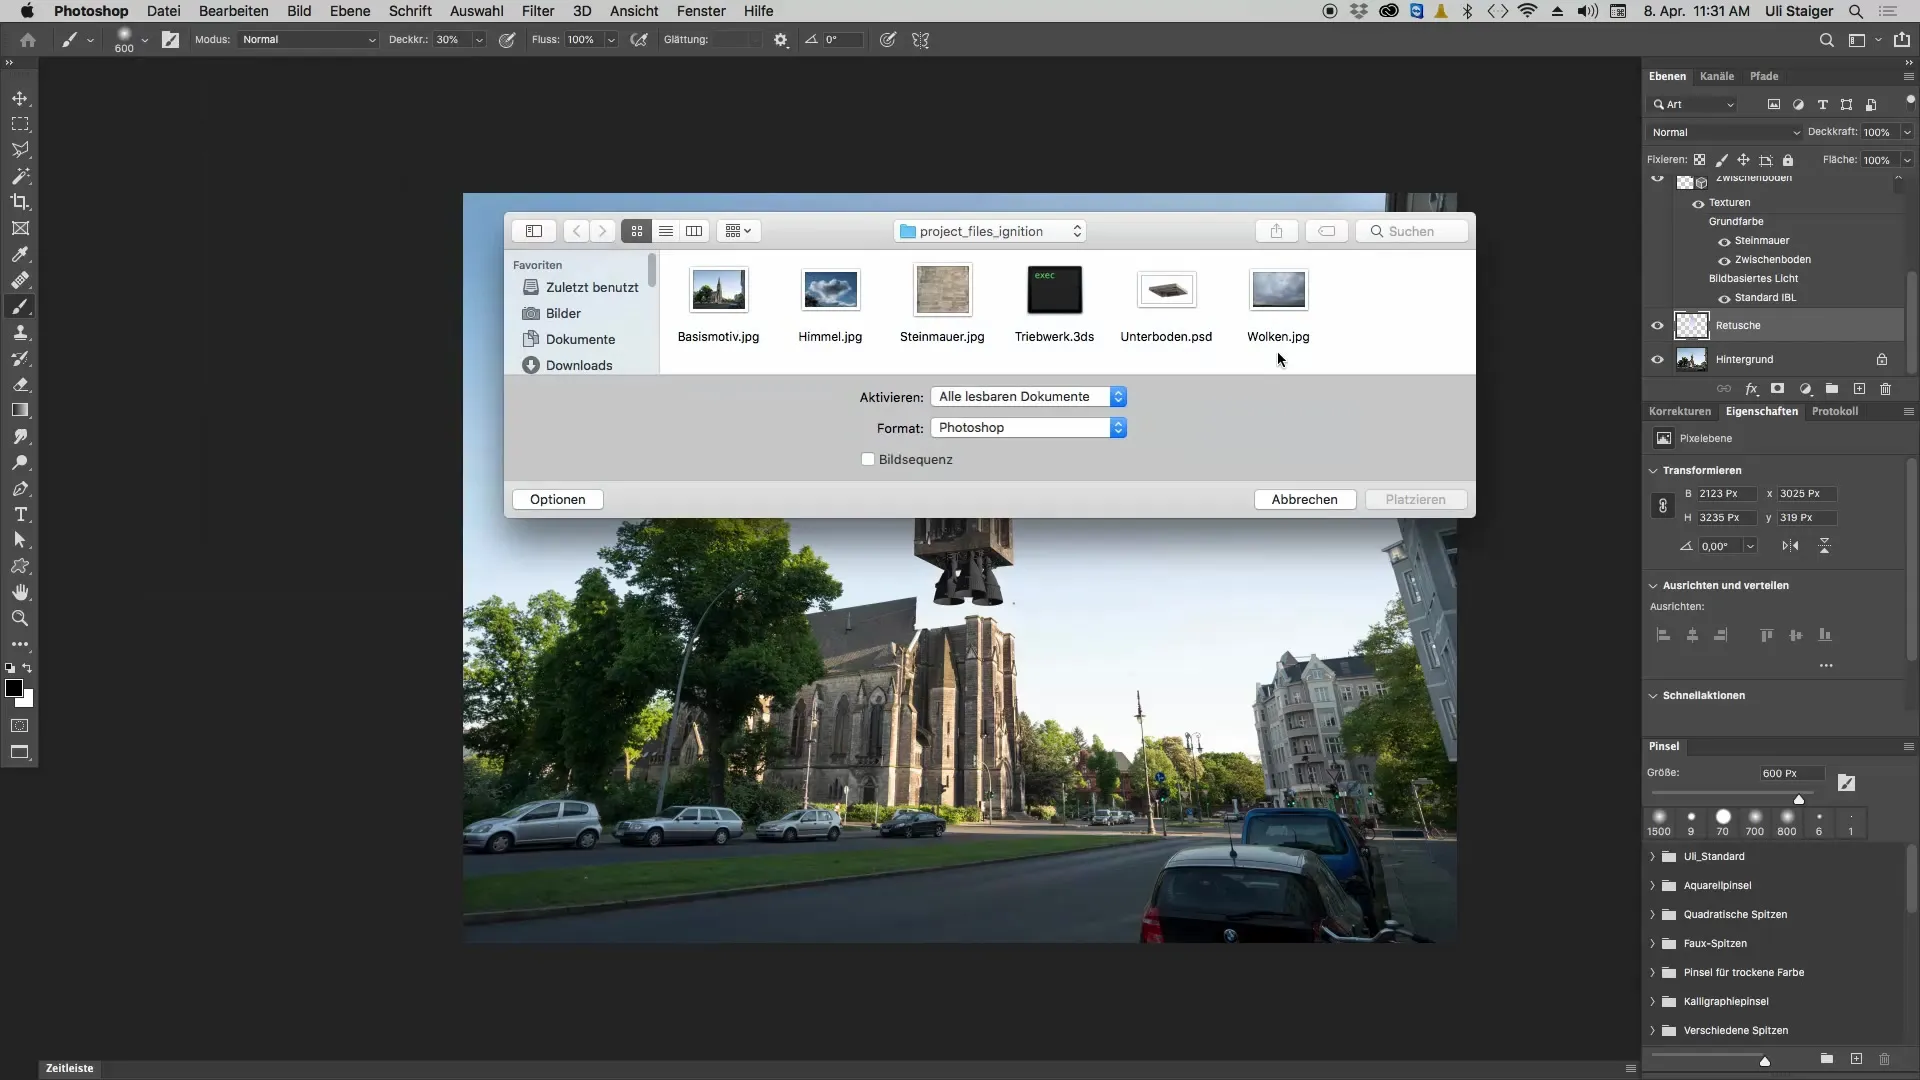
Step 3: Aligning the horizon
It is crucial that the horizons of the sky images align as closely as possible. This creates depth and credibility. Reduce the opacity of the cloudy sky to about 50% so you can clearly see the underlying horizon line. Shift the new sky so that the horizon lines match.
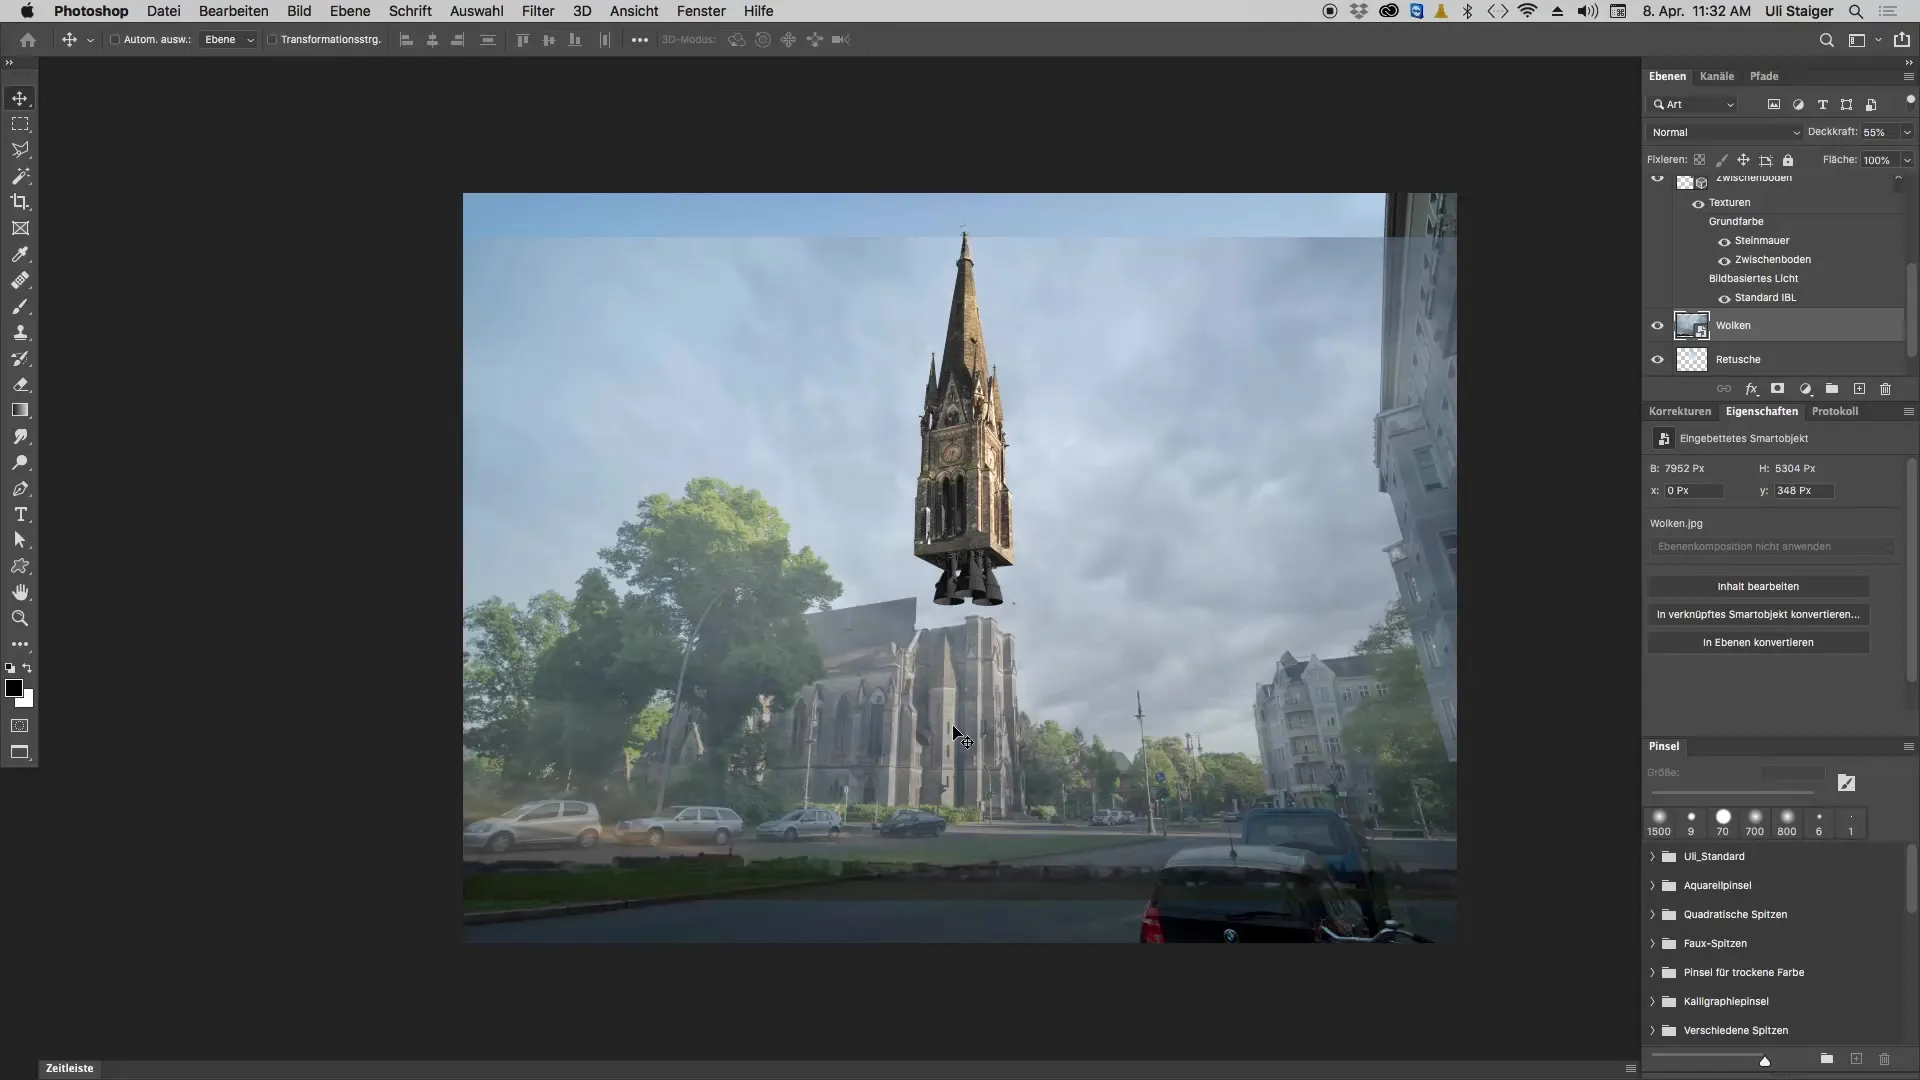
Step 4: Adjusting the opacity
After aligning the horizon lines, set the opacity of the cloudy sky back to 100%. Now you will see that the cloudy sky is quite pronounced in the image. However, in some places, the sky may be intrusive. To solve this, you need to make a selection that hides all unwanted elements in the image.
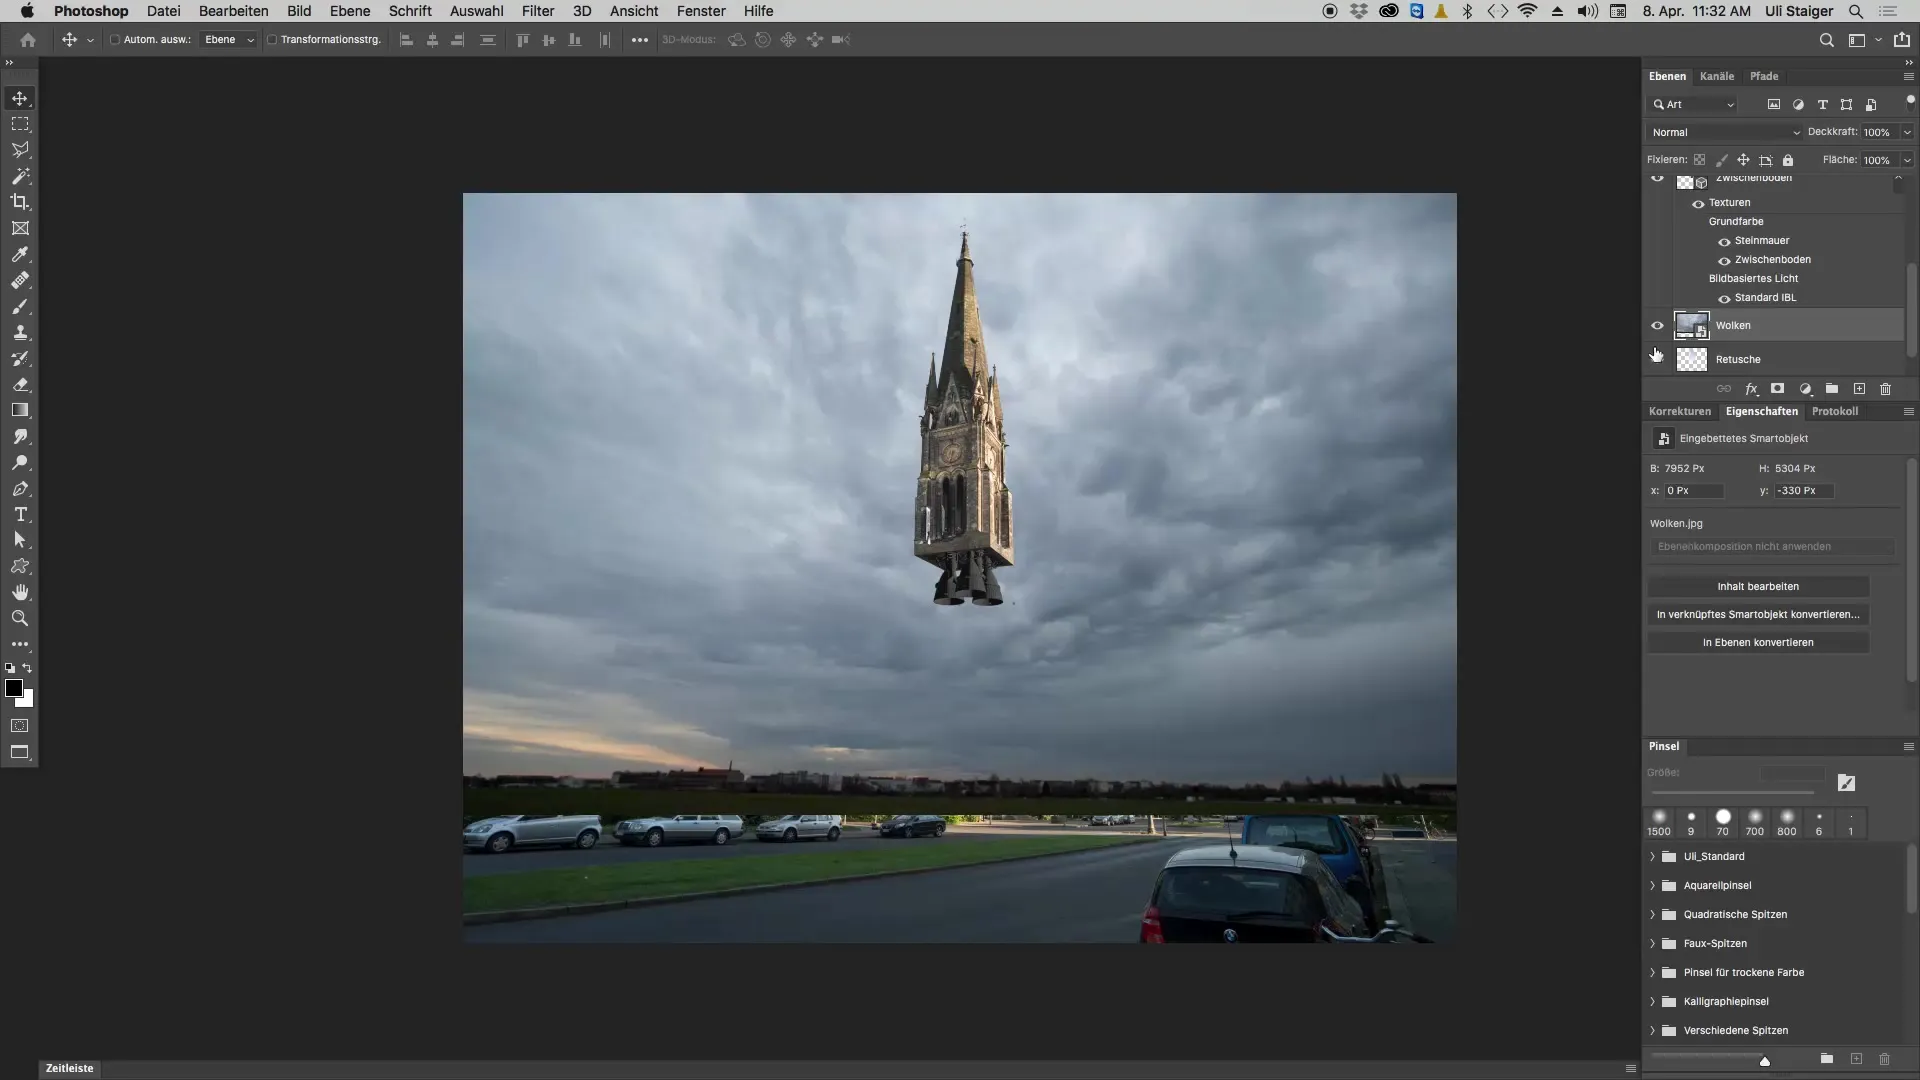
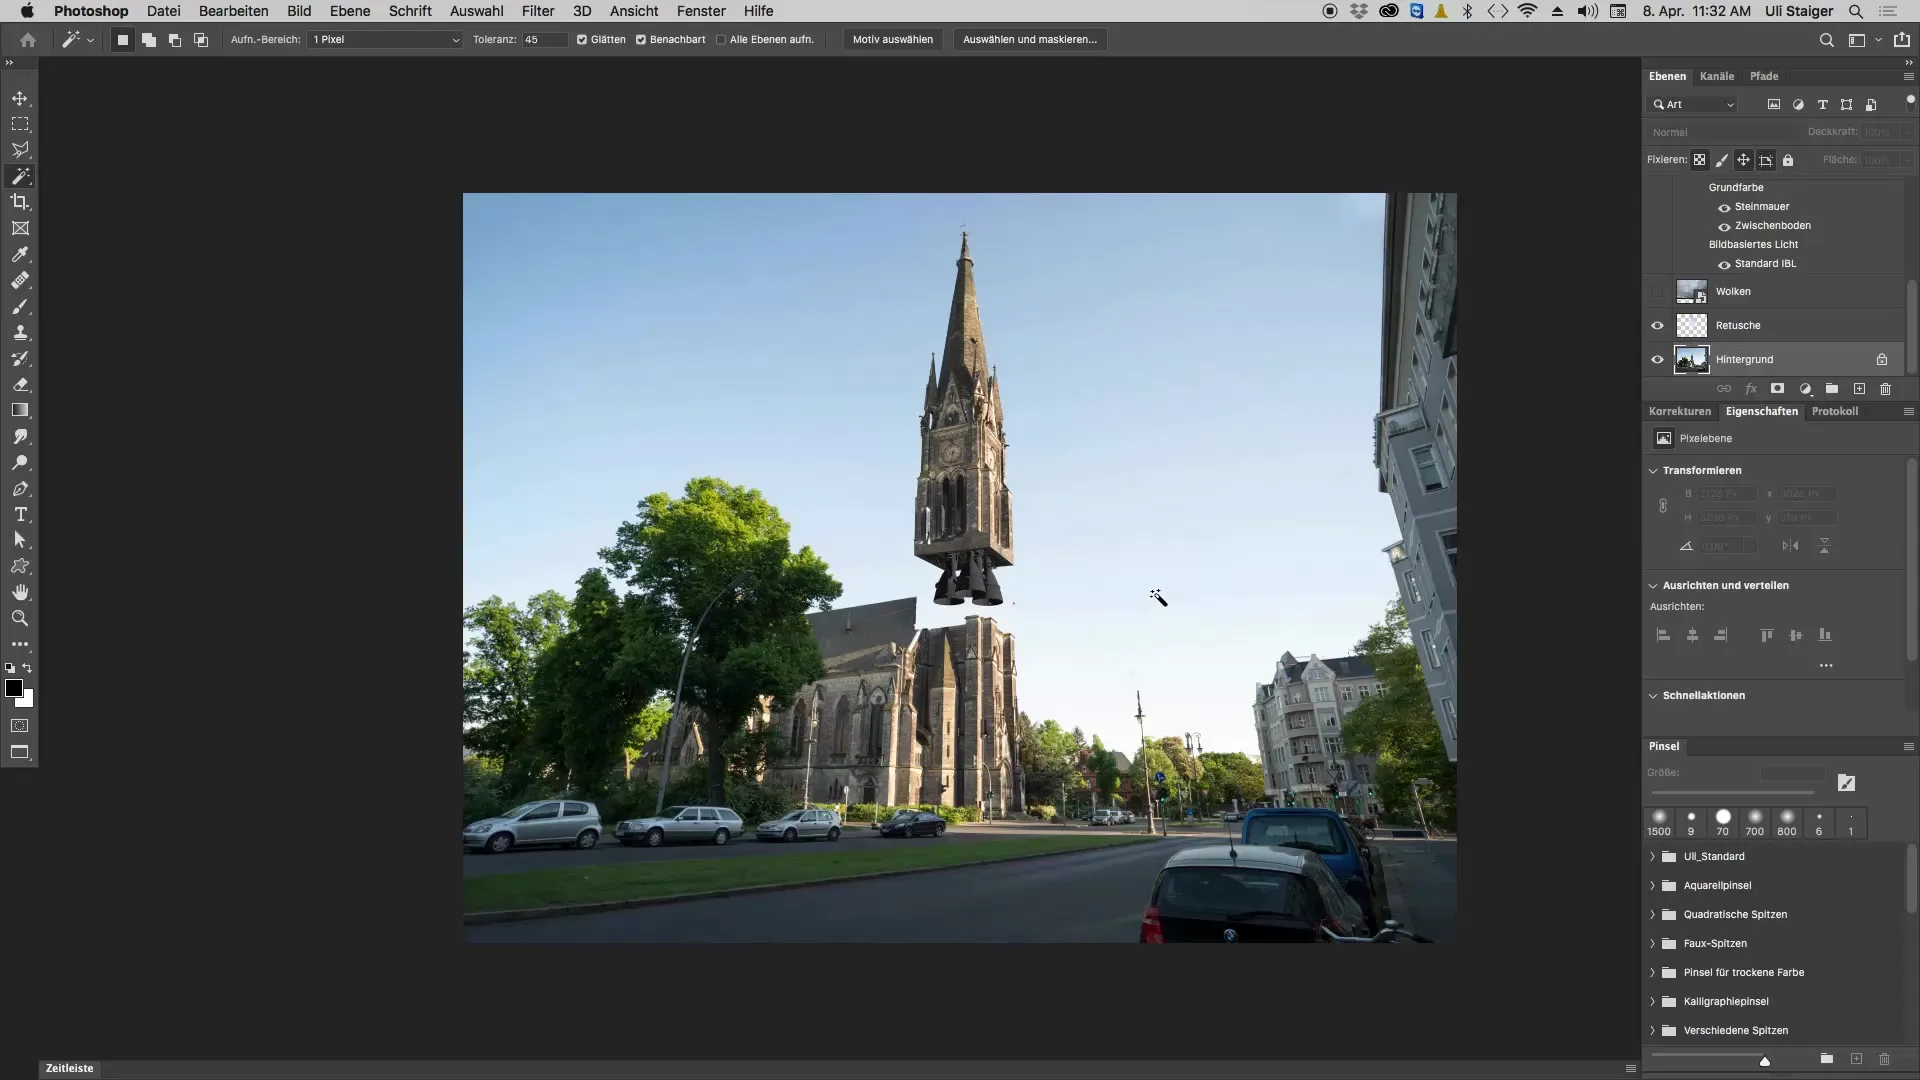
Step 5: Making a selection with the Magic Wand
Use the Magic Wand tool to select only the sky. Be sure to activate the "Contiguous" option. Then click on the sky to create the selection. Hold down the Shift key while you add more parts of the sky. This selection is crucial to avoid inadvertently affecting the remaining elements in the image.
Step 6: Adding a layer mask
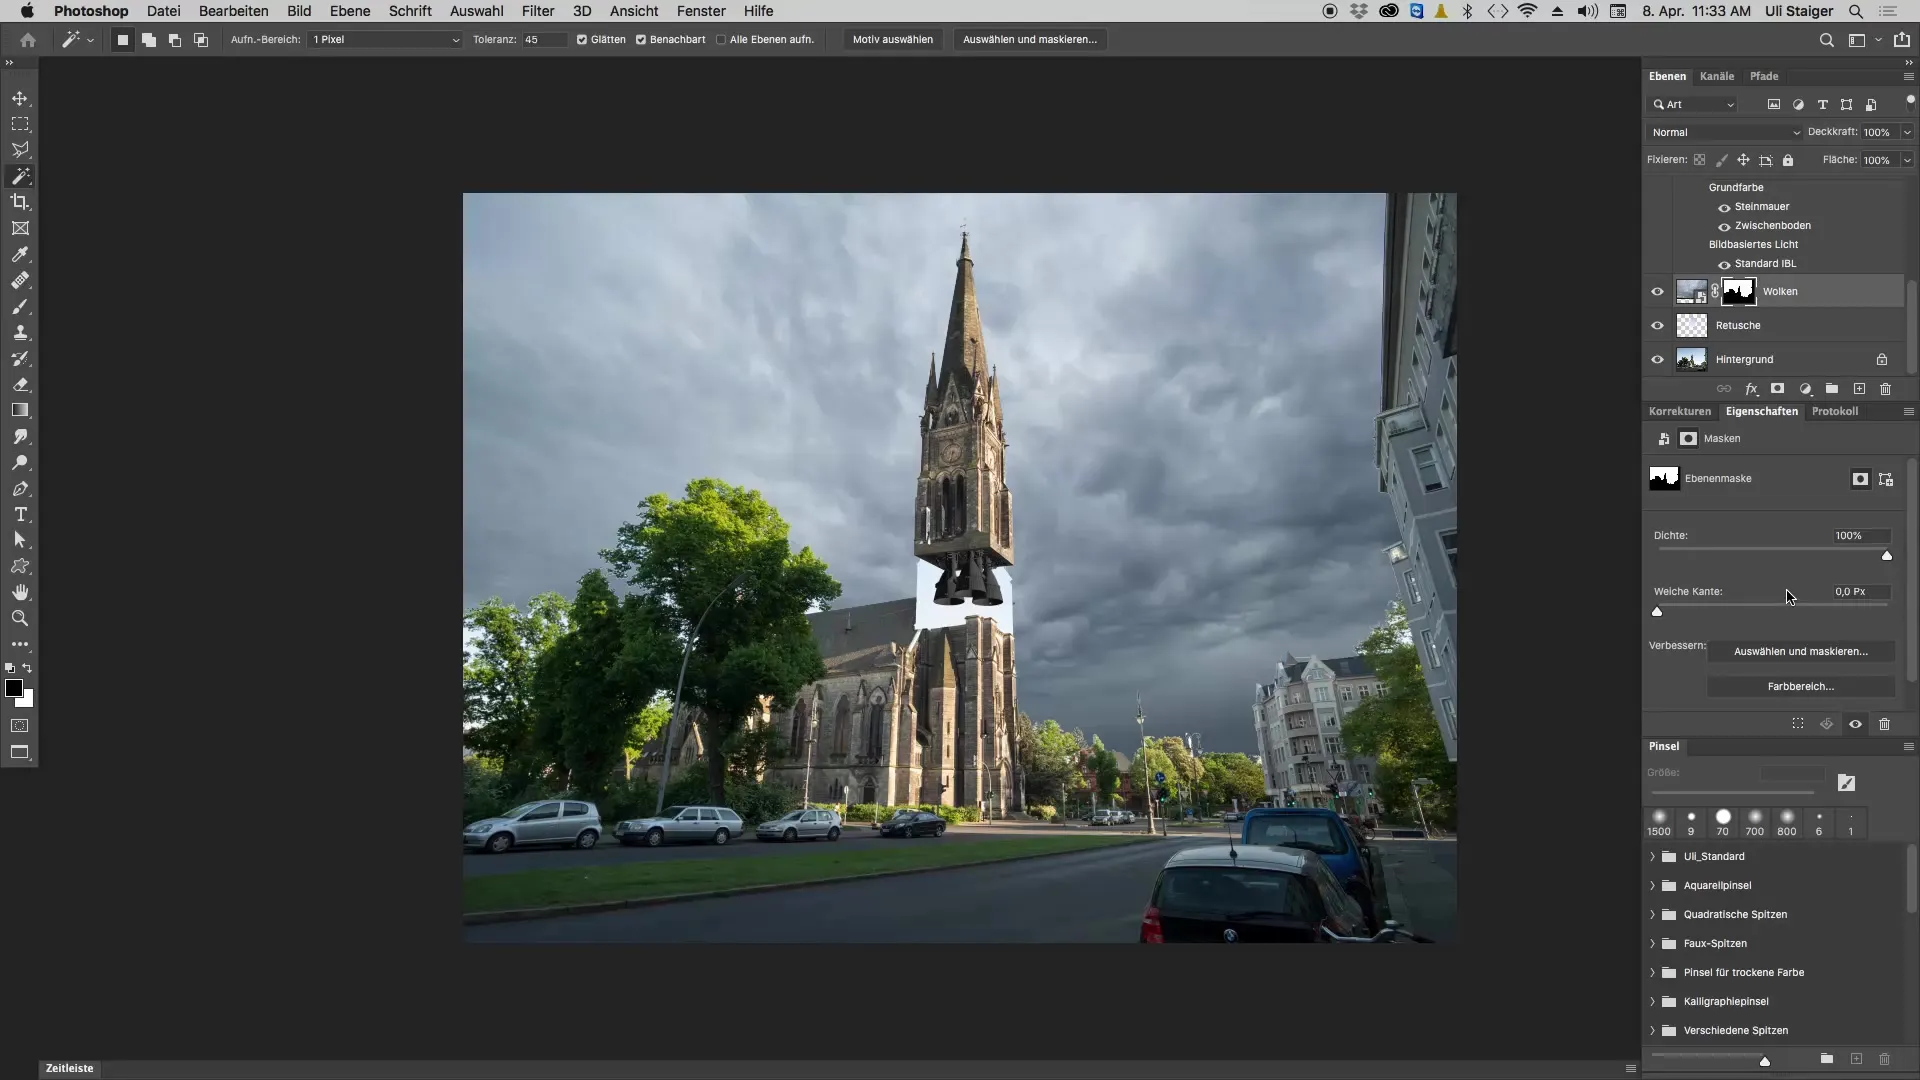
Now you can make your cloudy sky visible. Click on the "Layer Mask" button with the current selection. This will make the sky visible only where you want it. You will see how dramatically the effect of the sky stands out.
Step 7: Refining edges
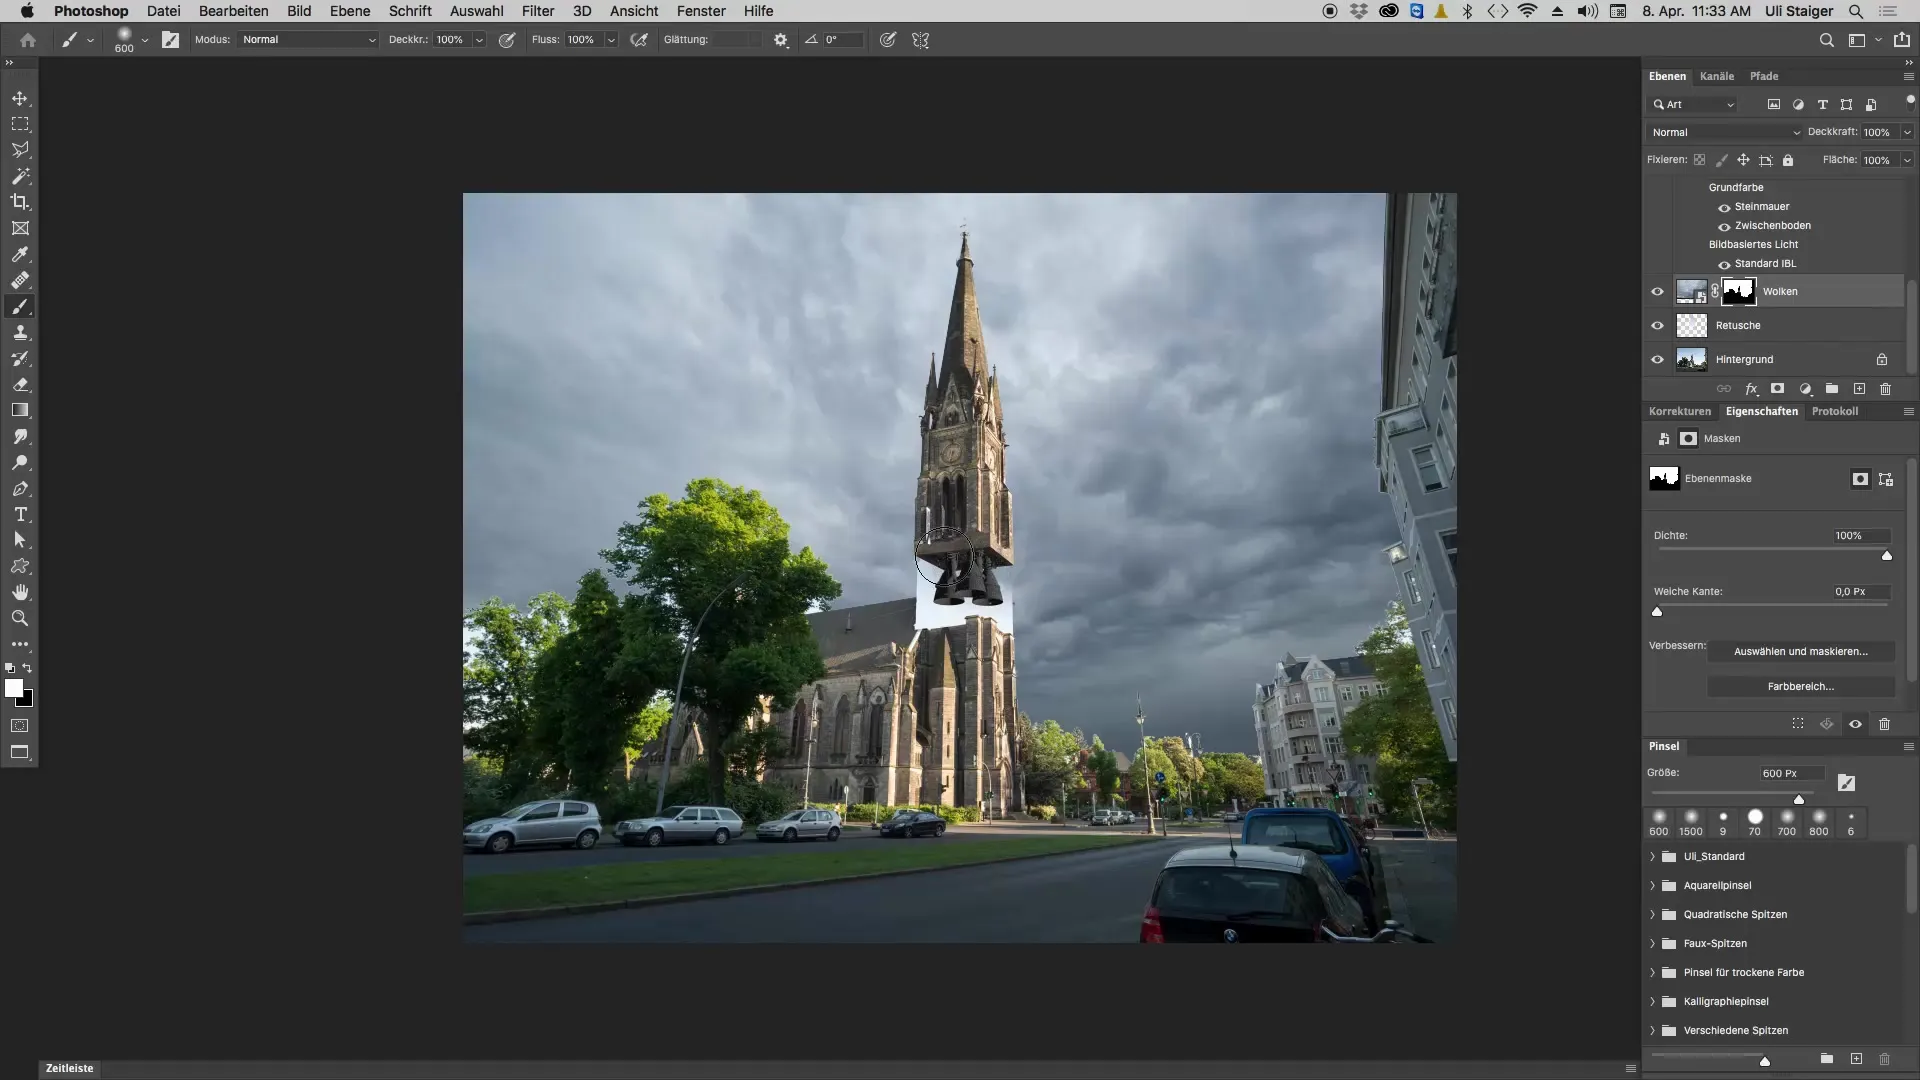
To achieve a smooth and beautiful result, use the brush function. Set it to a white tone to add the sky in selected areas. At the edges where the sky meets buildings or other objects, the transition becomes critical. Here you should work carefully with a black brush to remove the sky in those areas.
Step 8: Editing details
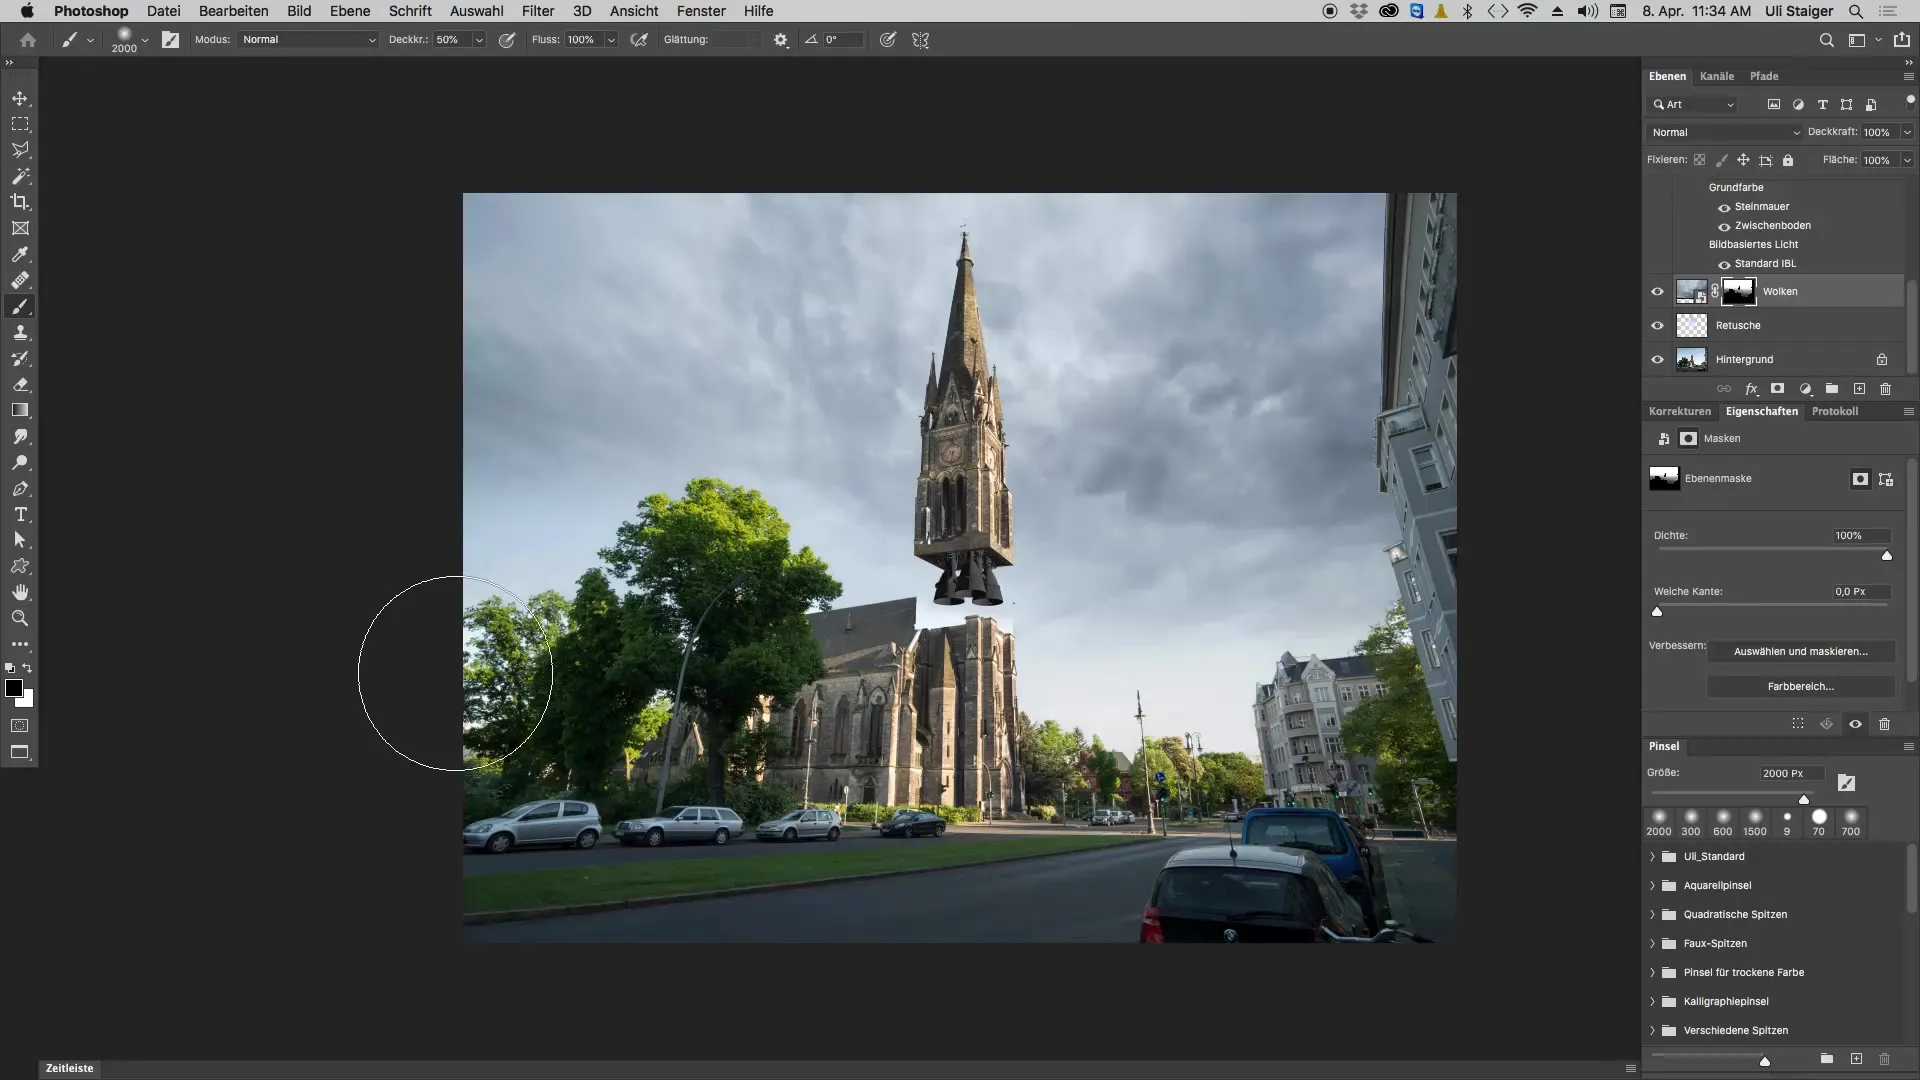
Make sure that the horizon doesn't remain too dark. Keep the hardness of your brush at 0% and set the opacity to about 50%. Using a brush of appropriate size (about 2000 pixels), go over the edges of the horizon and improve the transition between the sky and the image. This way, you avoid blending the colors between the old sky and the new cloudy sky.
Step 9: Final adjustments
Look at the entire image. You may want to brighten the sky in certain areas or make it appear a bit softer. A little variation in the cloud structure can help make the sky more lively. Be sure that the clouds are staggered and do not appear too uniform to leave a dynamic impression.
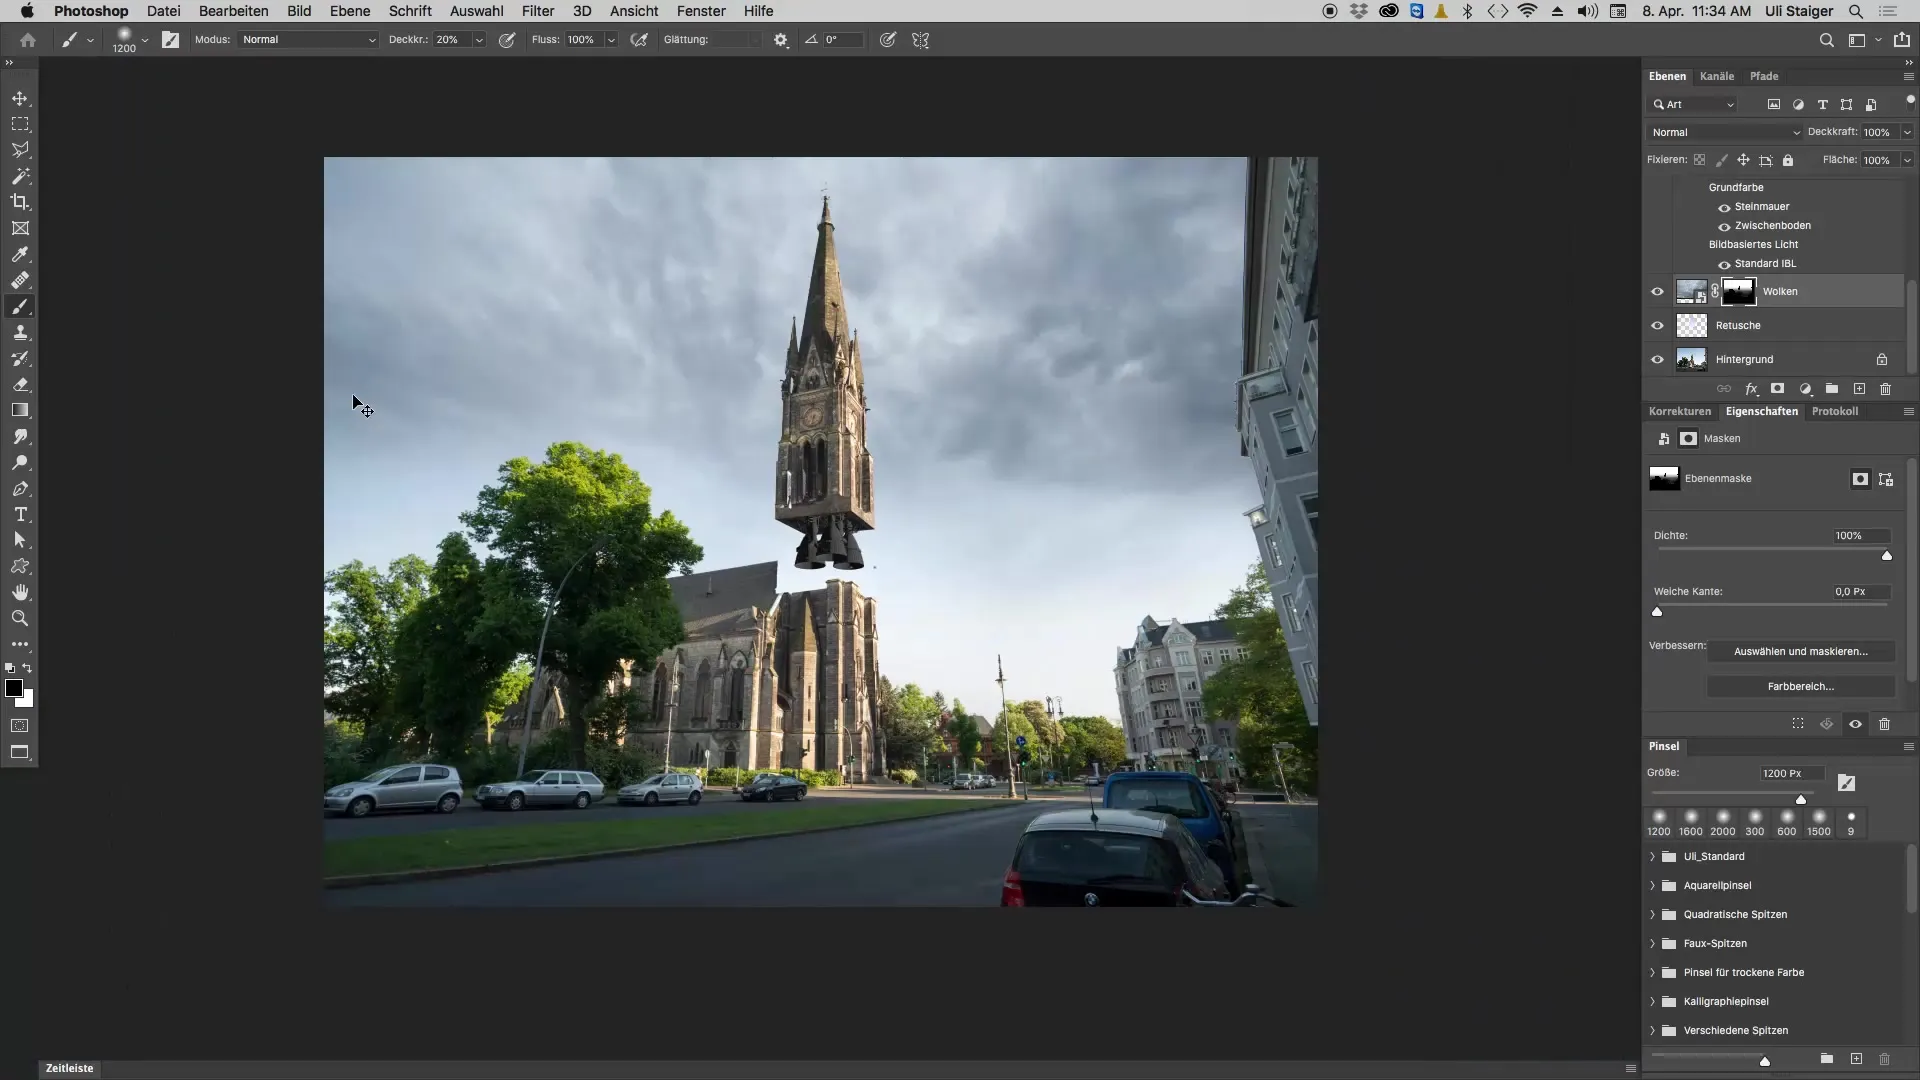
Summary – Creating a dramatic cloudy sky in Photoshop
In this guide, you learned how to integrate a dramatic cloudy sky into your image with a few targeted steps. This technique can give your photo a whole new atmosphere and set it apart from others. Experiment and find out what suits your image style best.
Frequently asked questions
What is the first step to adding a cloudy sky?You should first open Photoshop and load your image.
How do I select the cloudy sky?Go to "File" and select "Place" and "Embed" to add the cloud file.
How do I align the sky horizons correctly?Reduce the opacity of the cloudy sky to visually check the horizons, then adjust them.
What is the purpose of a layer mask?The layer mask allows you to selectively make the new sky visible and hide or show areas as needed.
How can I improve the edges between the sky and objects?With a soft brush and low opacity, you can carefully refine the transitions for a seamless result.


