With the Creative Cloud, Adobe offers a comprehensive library of fonts that you can use regardless of the applications you are using. Whether you are embarking on a creative project or simply want to adjust your text, synchronizing the fonts is a simple process that opens up a variety of possibilities. In this tutorial, I will show you step by step how to synchronize Fonts in your Creative Cloud Desktop App so that you can make the most of the available resources.
Key Takeaways
- You can effectively synchronize fonts from the Adobe library.
- There are various ways to search and select fonts.
- The synchronized fonts are available in all Adobe applications.
Step-by-Step Guide
Step 1: Accessing the Fonts
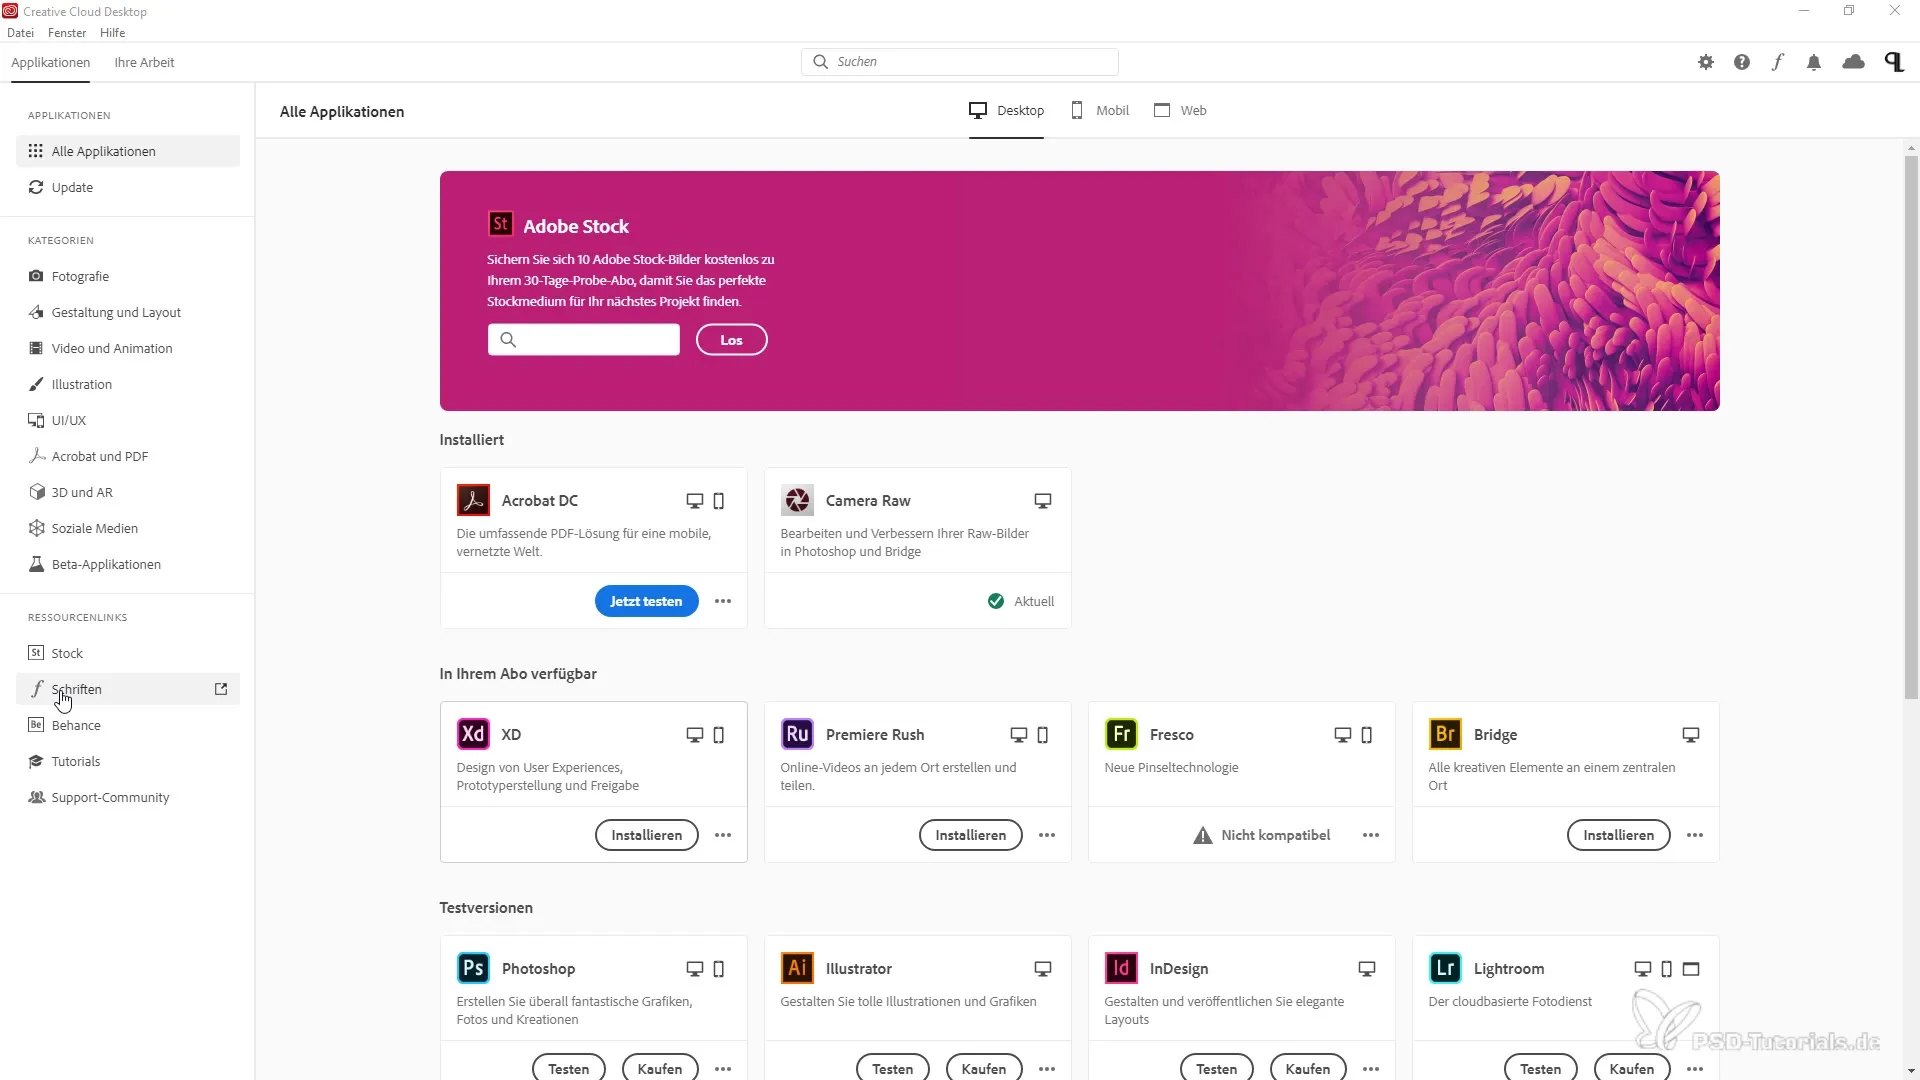
To start synchronizing fonts, open your Creative Cloud Desktop App. There you will find the section for fonts. To access this section, click on the resource links available in the app.
Step 2: Selecting and Searching for Fonts
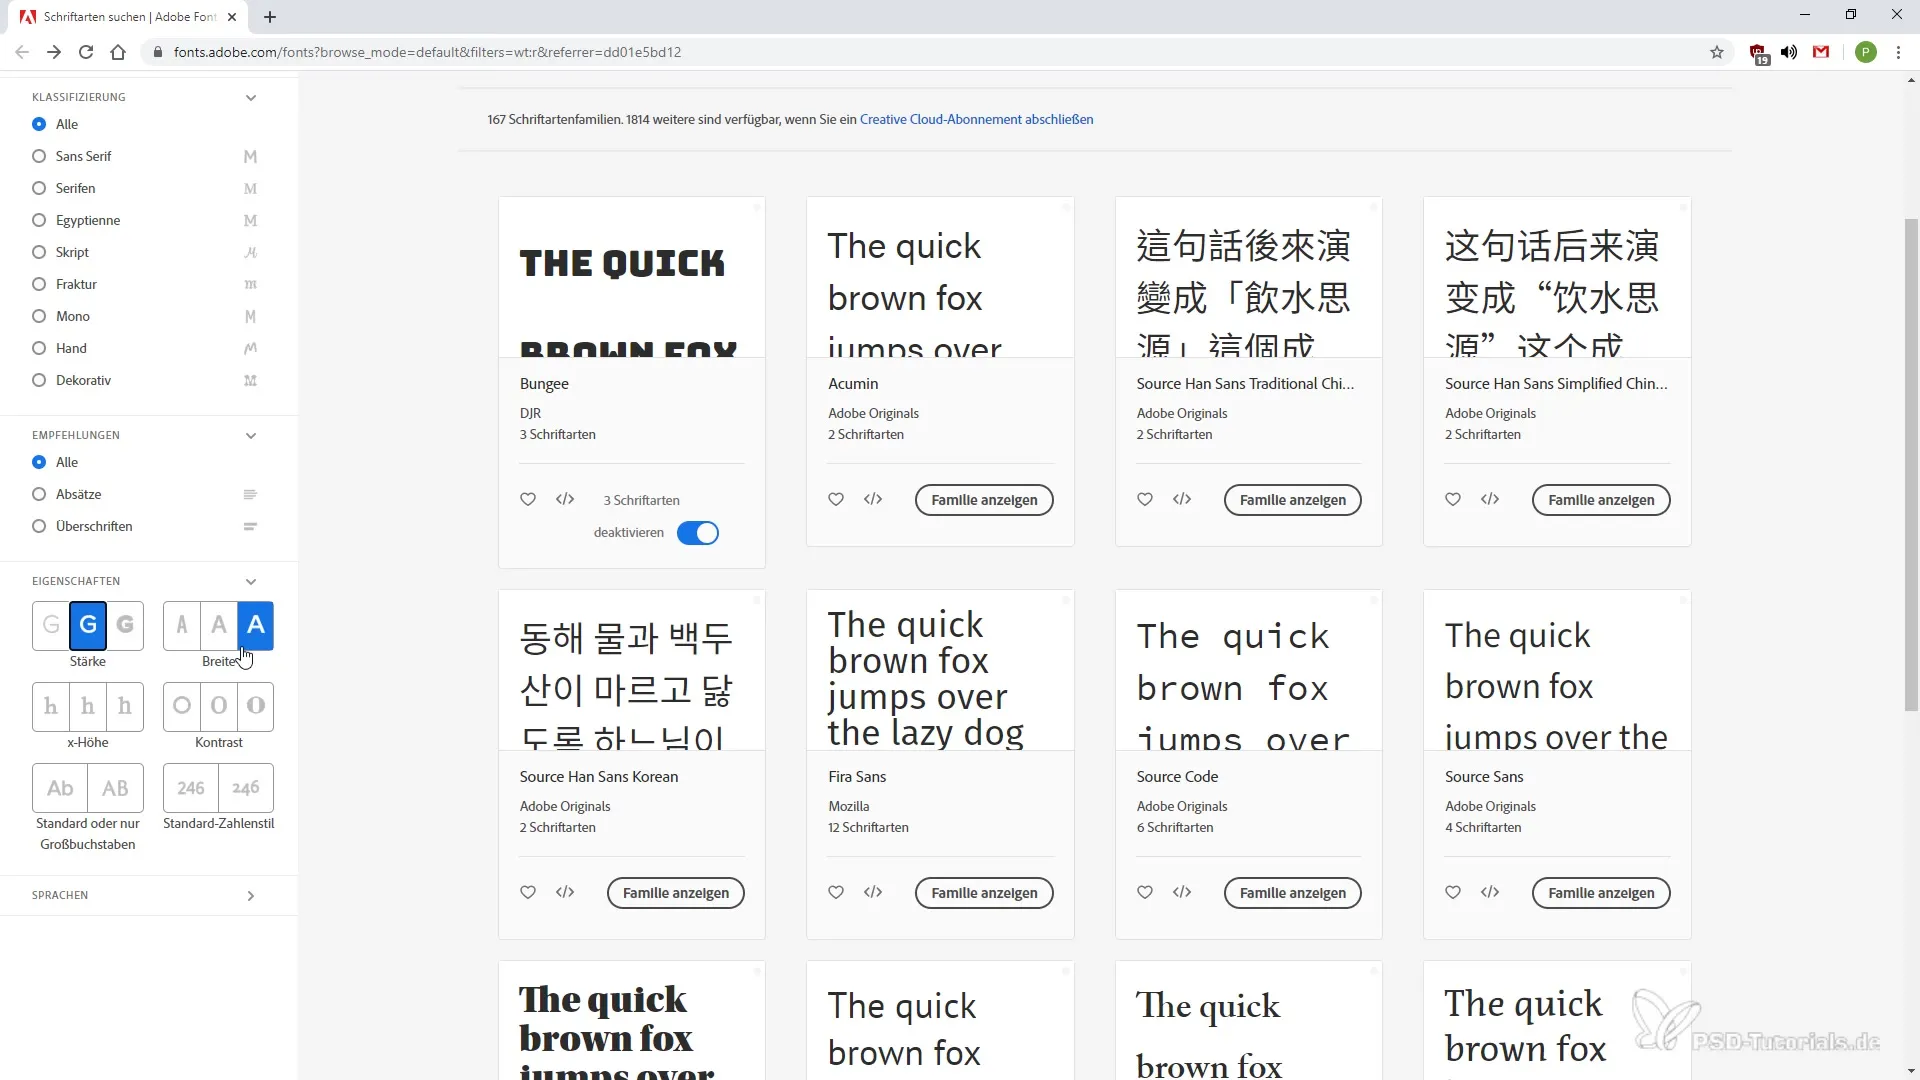
After accessing the fonts section, a browser window will open, allowing you to browse through various fonts. Here, you can specifically search for certain typefaces by selecting various attributes such as weight, width, and contrast.
Step 3: Applying Search Filters
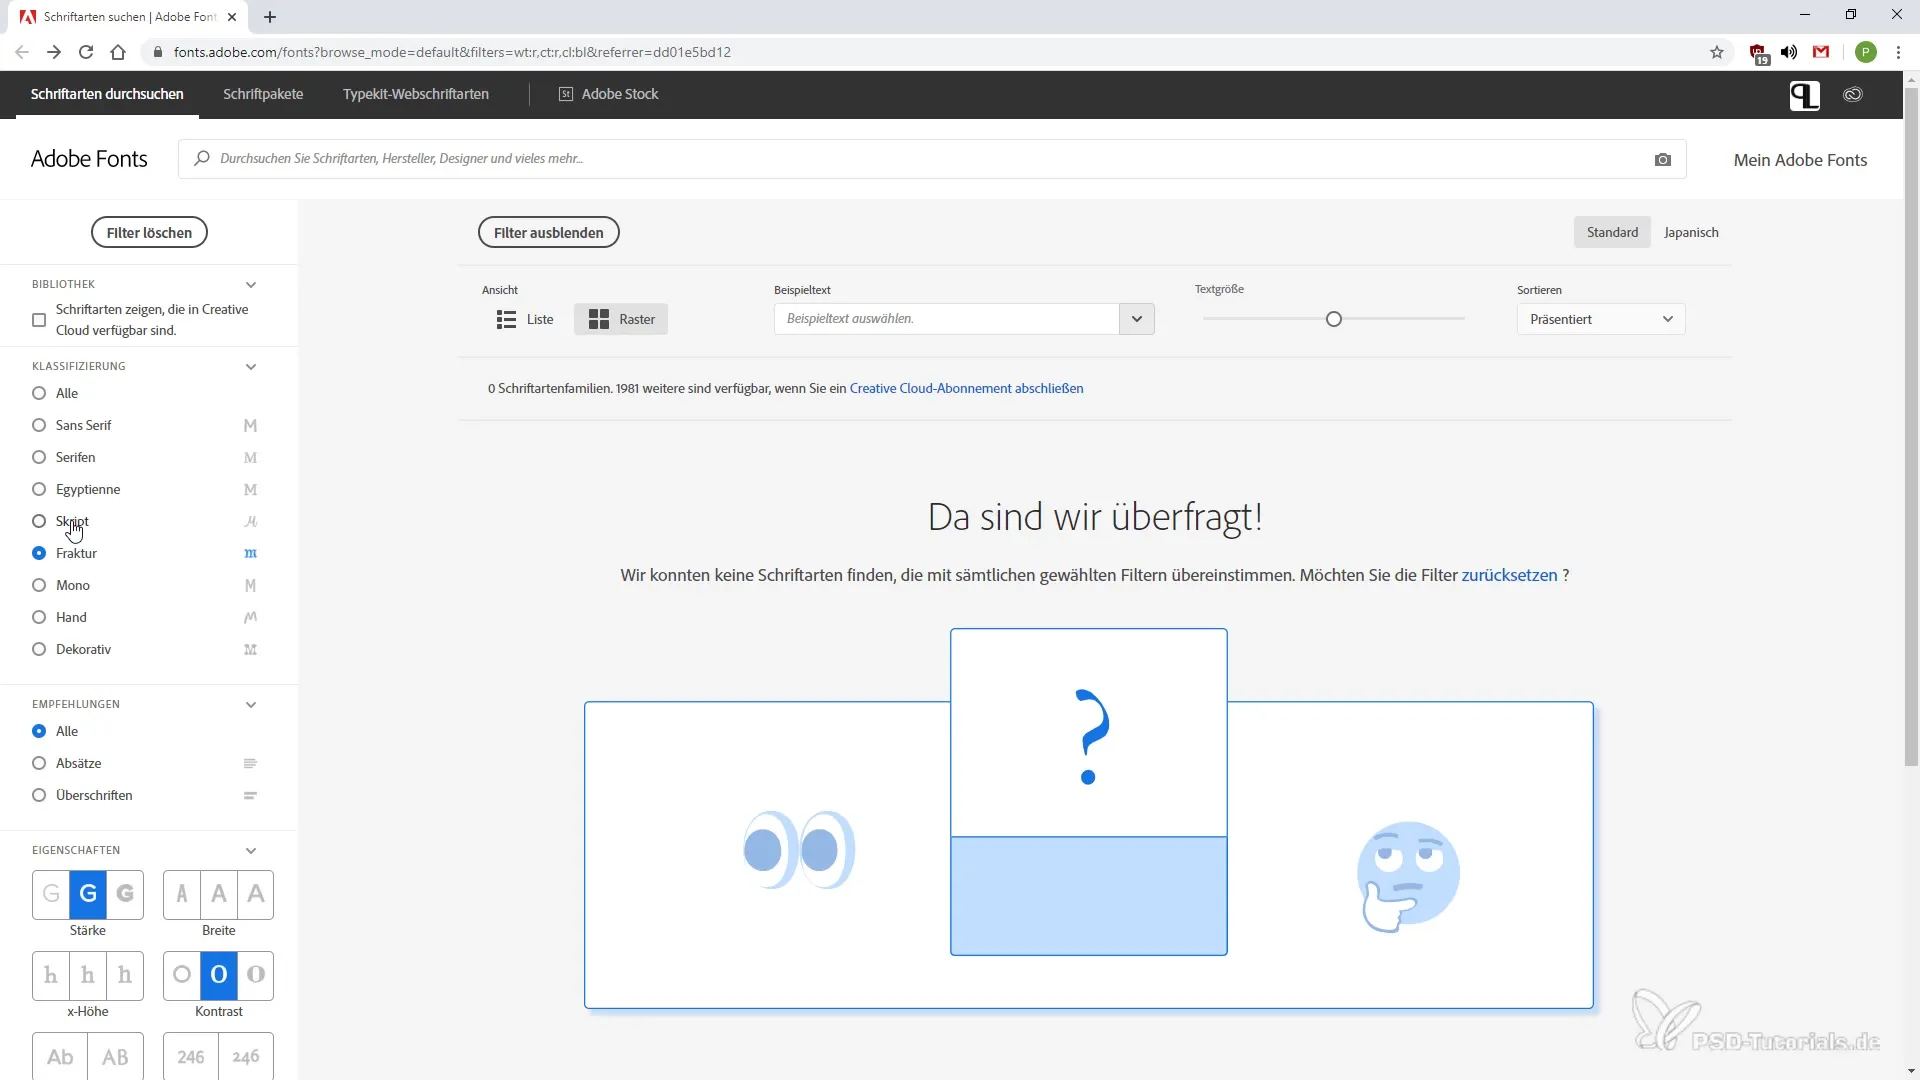
You also have the option to filter fonts by language or type, e.g., Sans Serif or Fraktur. This greatly simplifies your search for suitable fonts for your project.
Step 4: Viewing and Adjusting Fonts
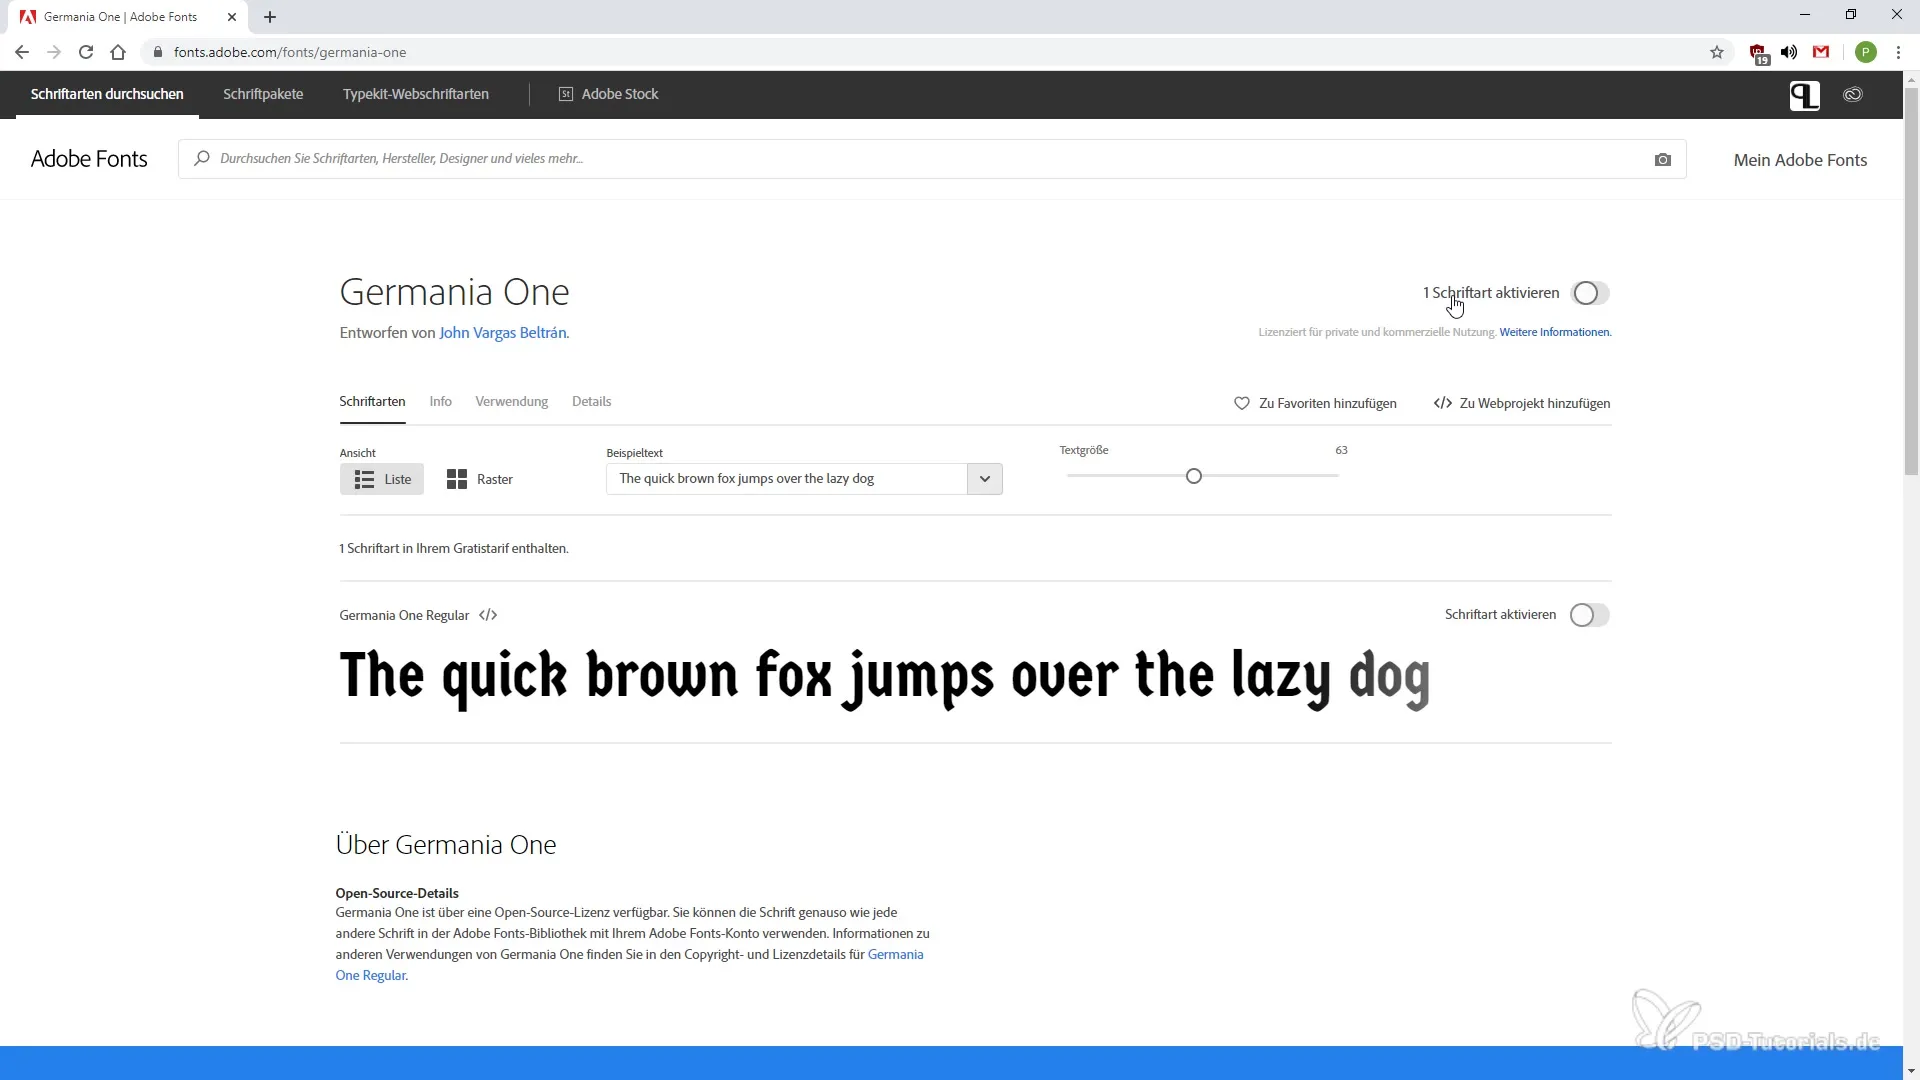
Once you have discovered a font you like, you can take a closer look. It is possible to adjust the text size and test how the font looks in your preferred context.
Step 5: Activating the Fonts
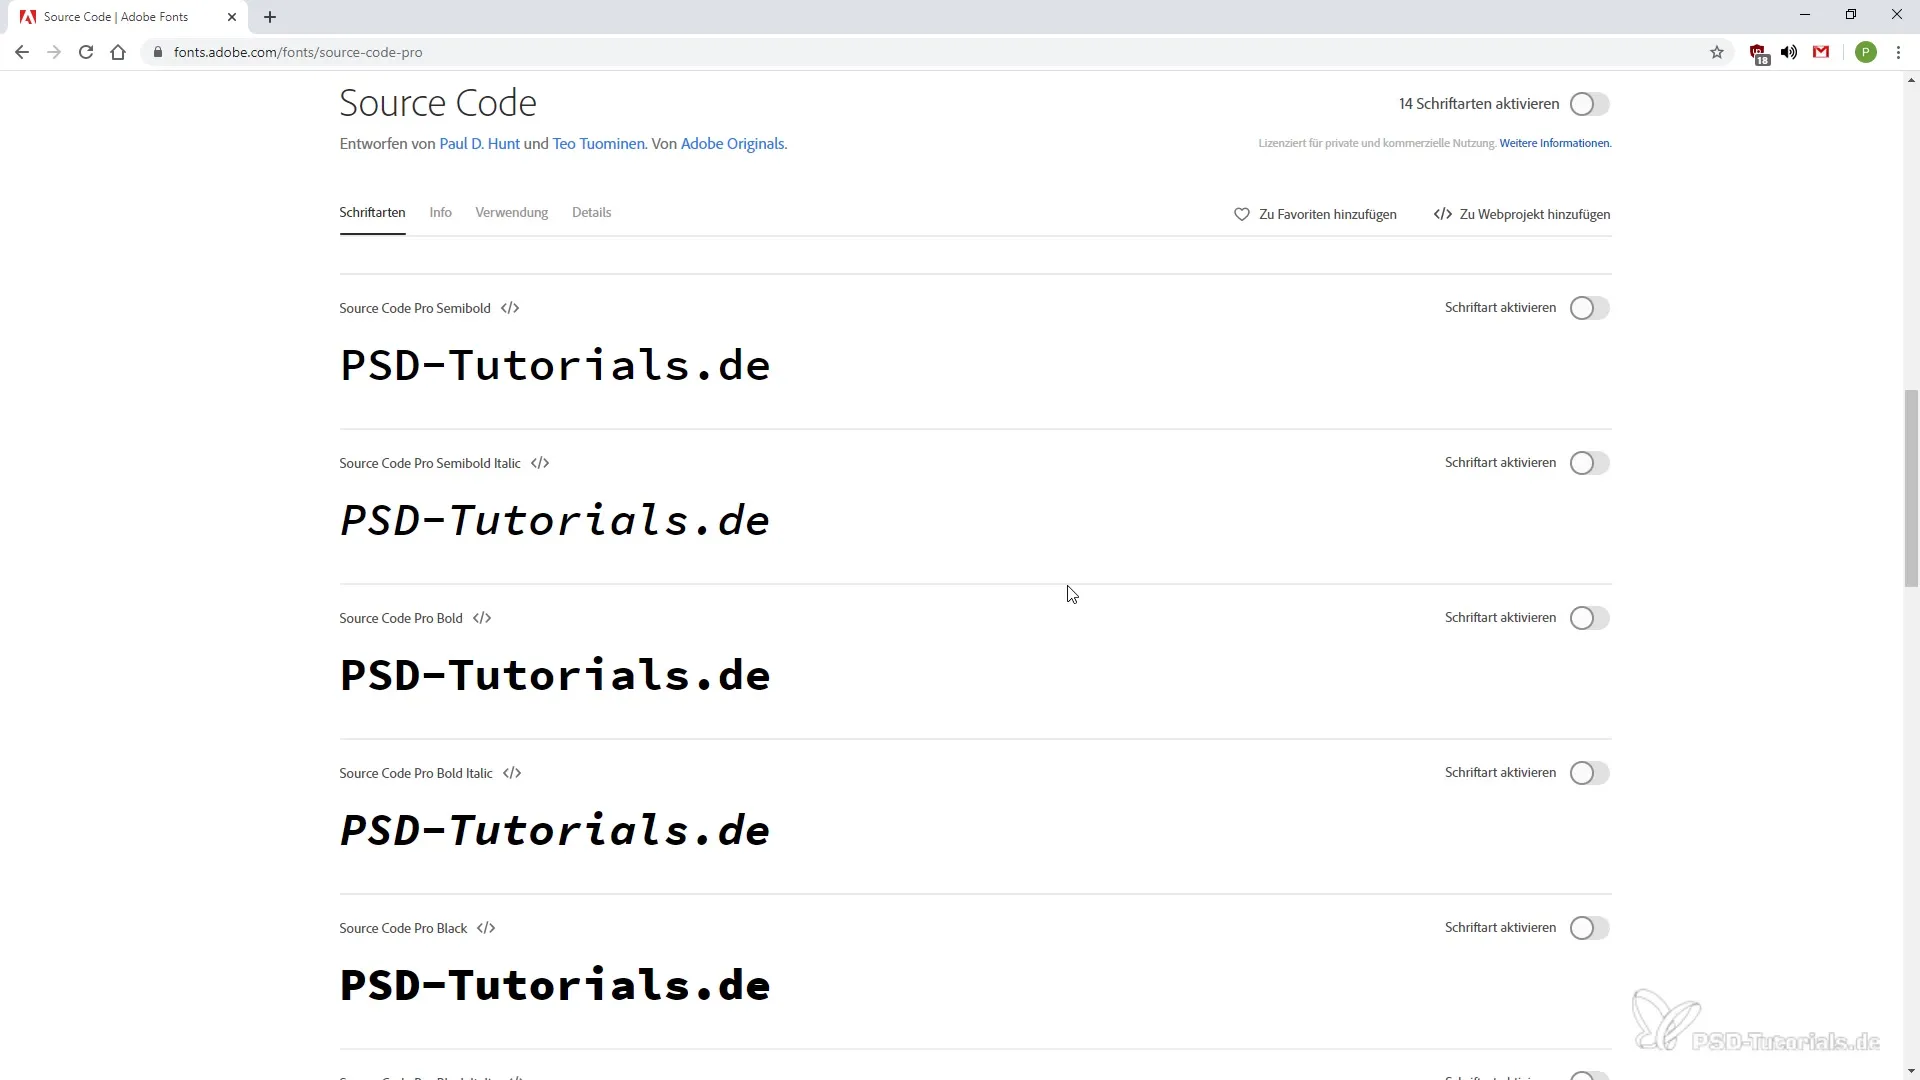
If you find that the font suits your design, you can activate it. Click the respective button to enable the font for your use. If it is a font with multiple variants, you have the option to choose between different styles.
Step 6: Testing Sample Texts
You also have the option to test sample texts with the selected font. Write your text and see how it appears in different fonts. This gives you a better idea of which font best fits your content.
Step 7: Synchronizing the Fonts
Once you have activated the font, you will enter the download area where the synchronization of the font in the Creative Cloud begins. Your selected font will then be available for all your Adobe apps.
Step 8: Managing Your Fonts
In the upper right corner of the Creative Cloud App, you can view the most recently synchronized fonts. Here you can manage them or search for additional fonts you may need.
Summary – Font Selection in the Creative Cloud: Effectively Synchronizing Fonts
The Synchronization of fonts in the Creative Cloud is a simple process that helps you enjoy creative freedom in your projects. You can effectively select, customize, and use fonts in all Adobe applications.
Frequently Asked Questions
How do I find fonts in the Creative Cloud?You can access and browse the fonts through the resource links in the Creative Cloud Desktop App.
Can I filter fonts by type?Yes, you can customize the search by language, type, and various attributes to find the suitable font.
Where can I see my synchronized fonts?In the upper right corner of the Creative Cloud App, you can view information on the most recently synchronized fonts.


