In the world of creative software, there are constantly new developments and updates, especially with Adobe's Creative Cloud. It is important to stay up-to-date and know the latest features to make the most of your tools. The video tutorial that I analyzed for you deals with the innovations that have not been covered in separate training sessions. Here you will get valuable insights into functions that can optimize your workflow.
Main Insights
- You can find out your current Creative Cloud version via the help function.
- There are options for error identification and resolution through Adobe Support.
- The log file can be helpful in diagnosing issues.
- You can perform updates directly through the Creative Cloud app.
- The user interface offers options for better overview and program evaluation.
Step-by-Step Guide
Step 1: Determine your Creative Cloud version
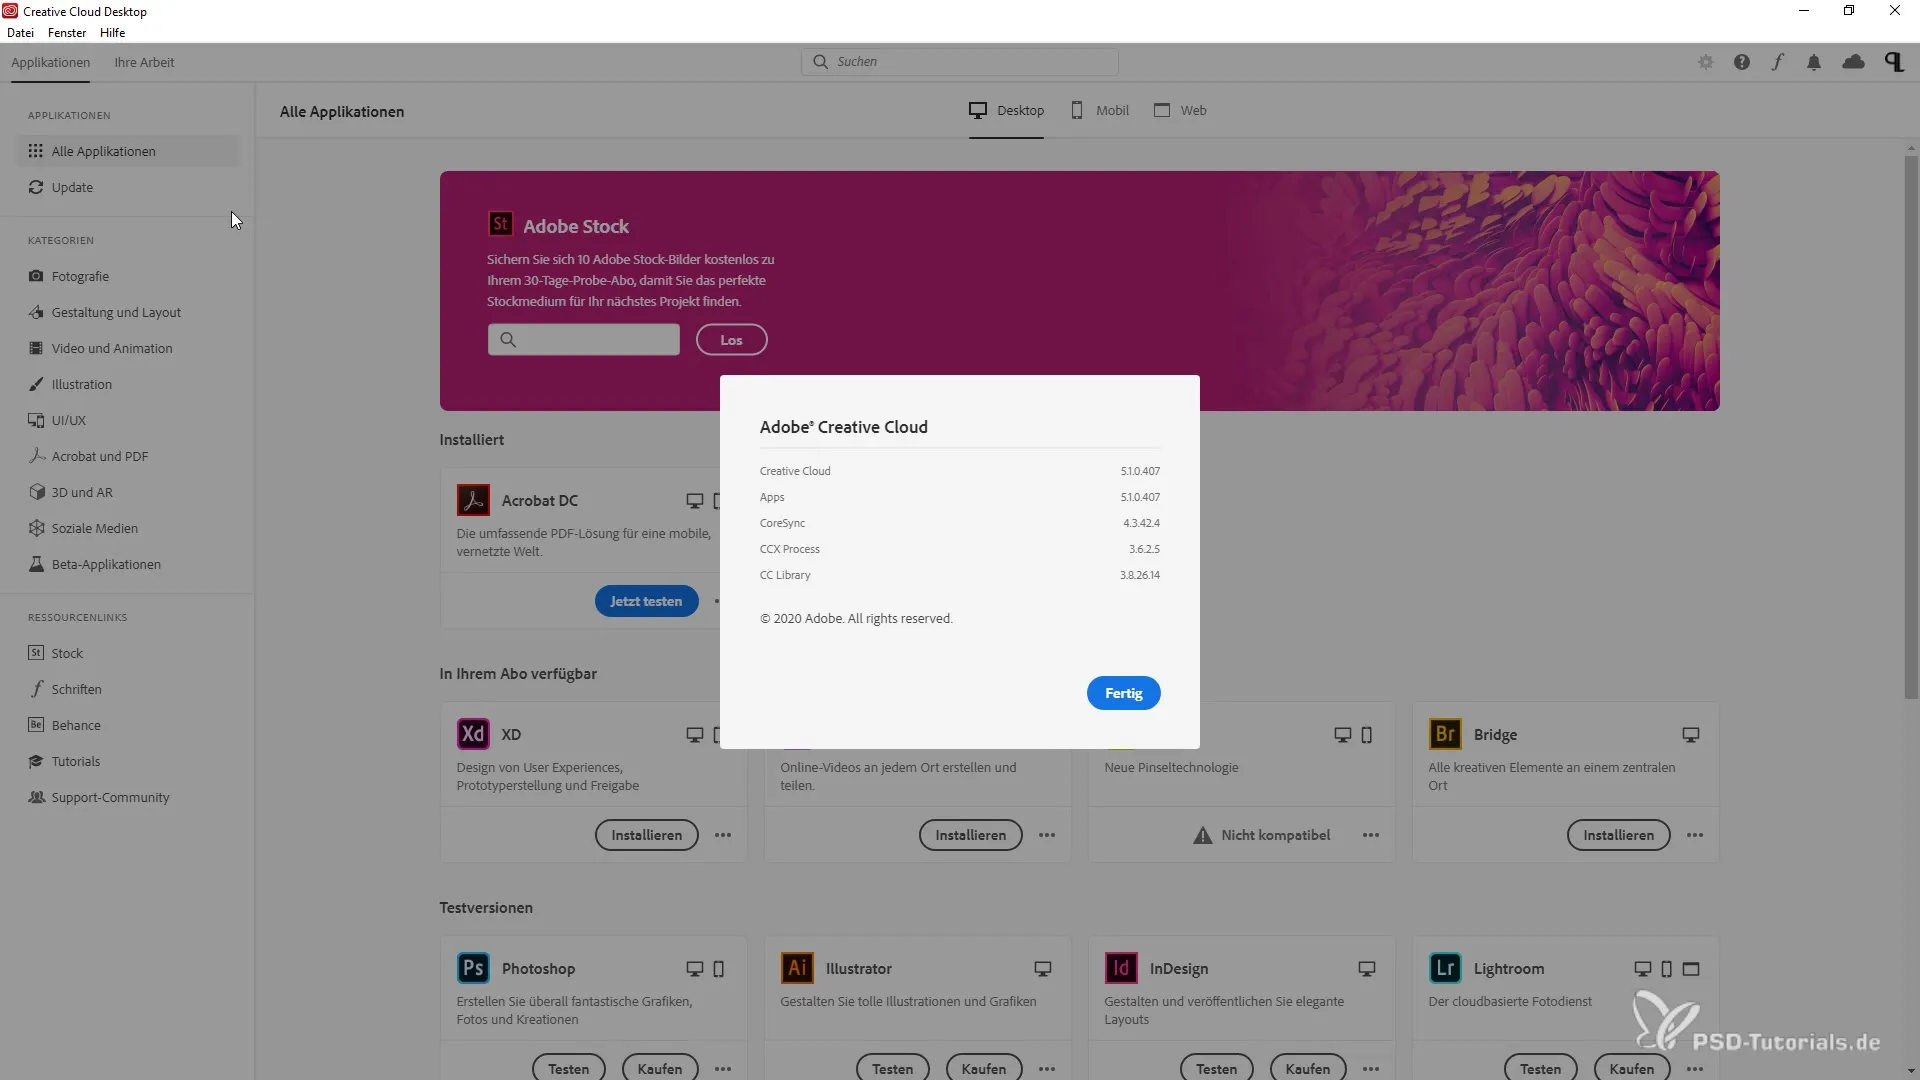
Before making changes to your Creative Cloud, you should know which version you are using. To do this, go to "Help" in the Creative Cloud App and click on "About." Here you will find information about your current version type. Knowing your version accurately is crucial, especially when troubleshooting or performing system updates.
Step 2: Error identification and logging
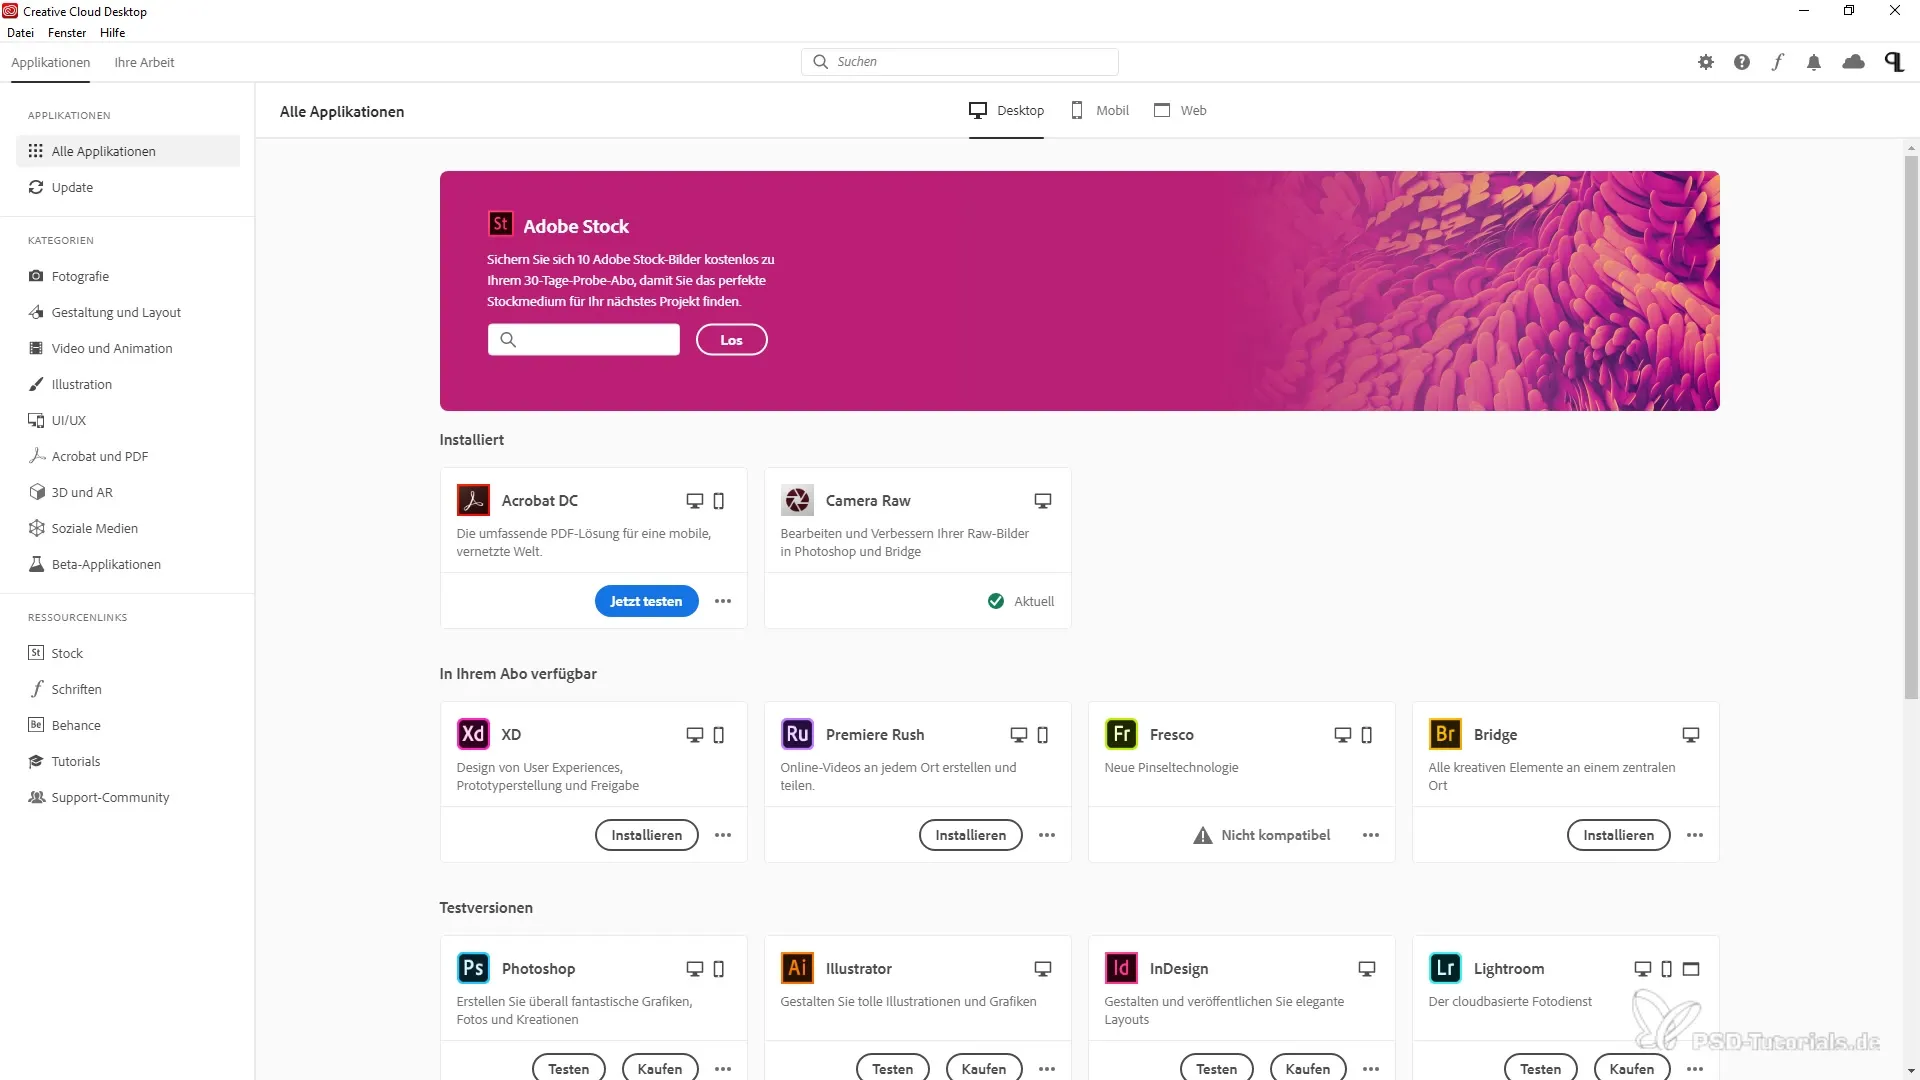
If you encounter errors, you can create a log file using the help function. This is particularly useful if you need support from Adobe. You will be redirected to a website where you can download the appropriate tool for your operating system. This tool creates a ZXP file that can help you track down and fix issues.
Step 3: Update Creative Cloud
To ensure that you are using the latest features, you should regularly check for updates. Under the “Help” menu, you have the option to check for updates directly. Just click “Check for Updates” to download and install the current version of Creative Cloud. This ensures that your software is up to date.
Step 4: Sign out and sign in a new user
If you are working with different people on projects, it is often useful to sign out and sign in with a different account. You can also do this in the menu under “Help.” Signing out allows you to switch your settings and adjust the cloud environment to your needs.
Step 5: Overview of your libraries
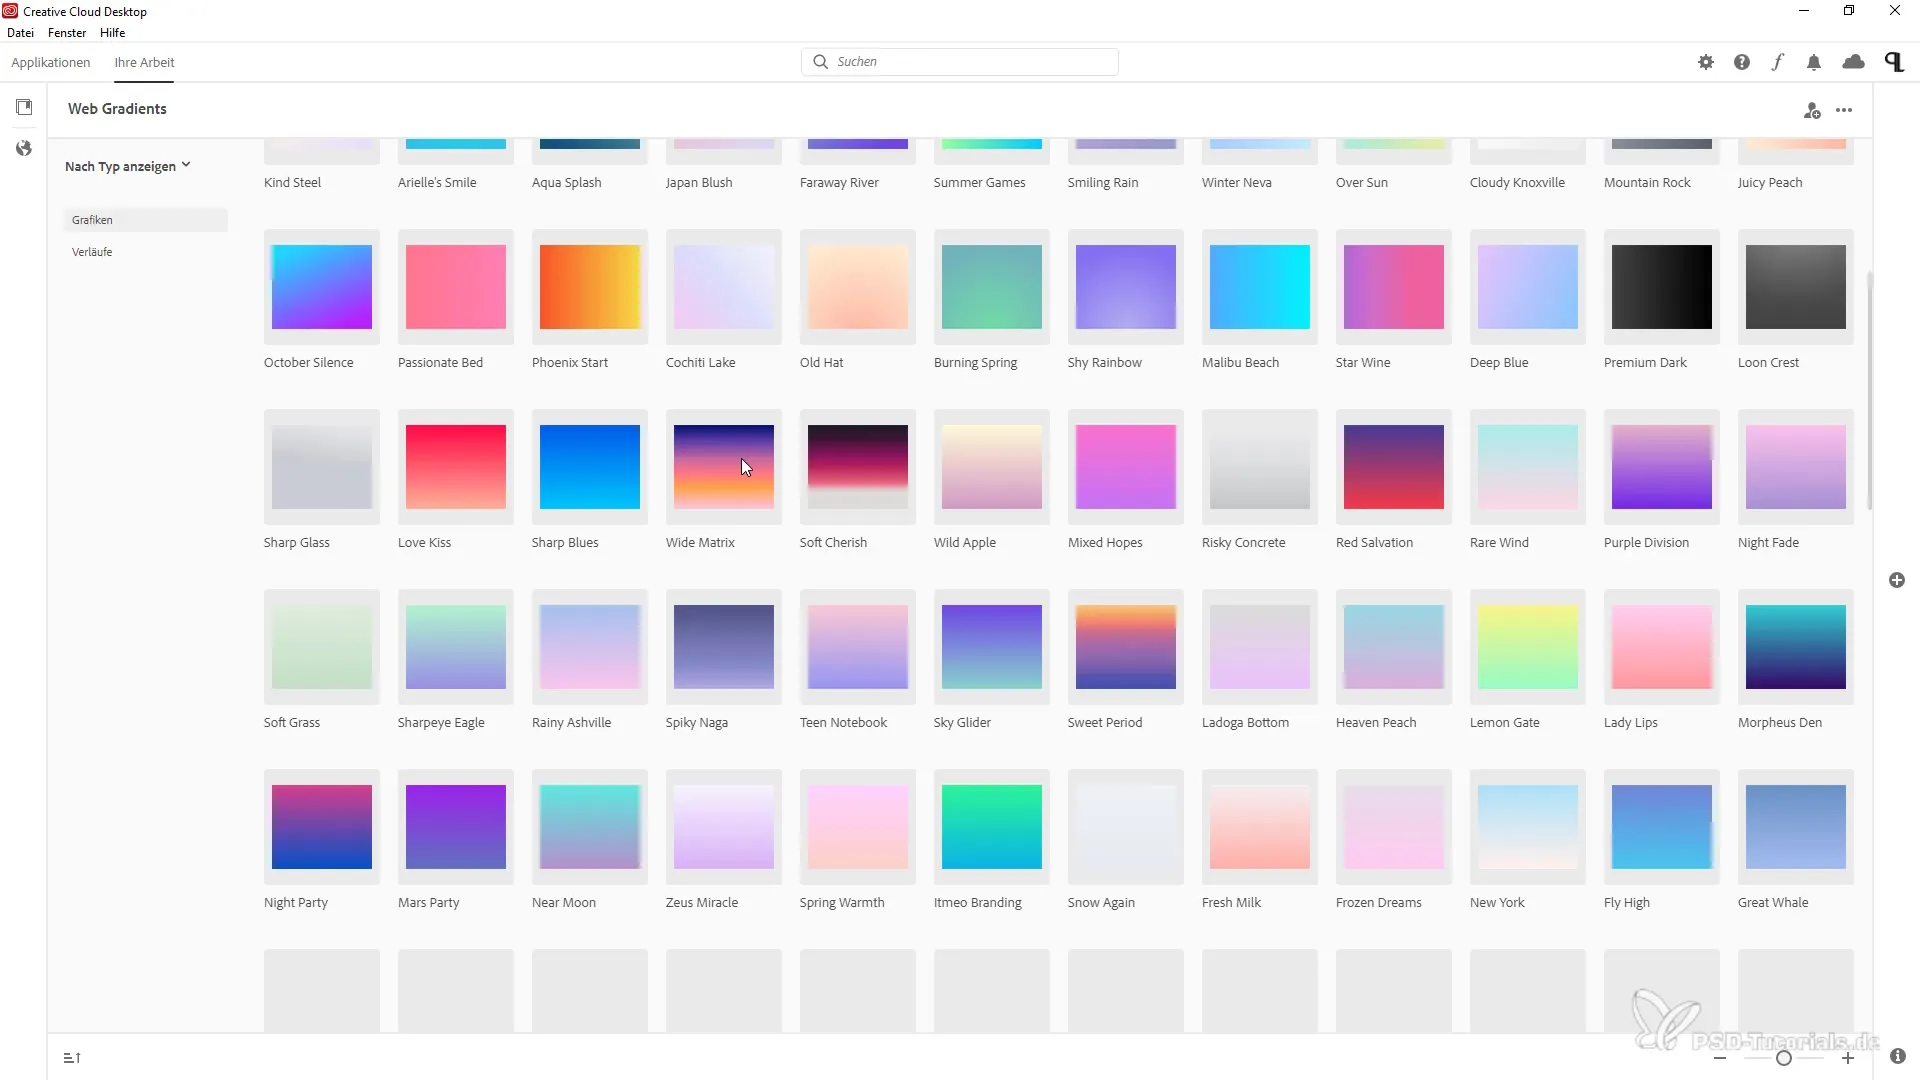
To work more efficiently, it is important to have a good overview of your libraries. Just click on the libraries icon in the Creative Cloud app. This will optimize the display and give you more space to keep track of your projects and media. This small but fine adjustment contributes to user-friendliness.
Step 6: Analyze programs before purchasing or testing
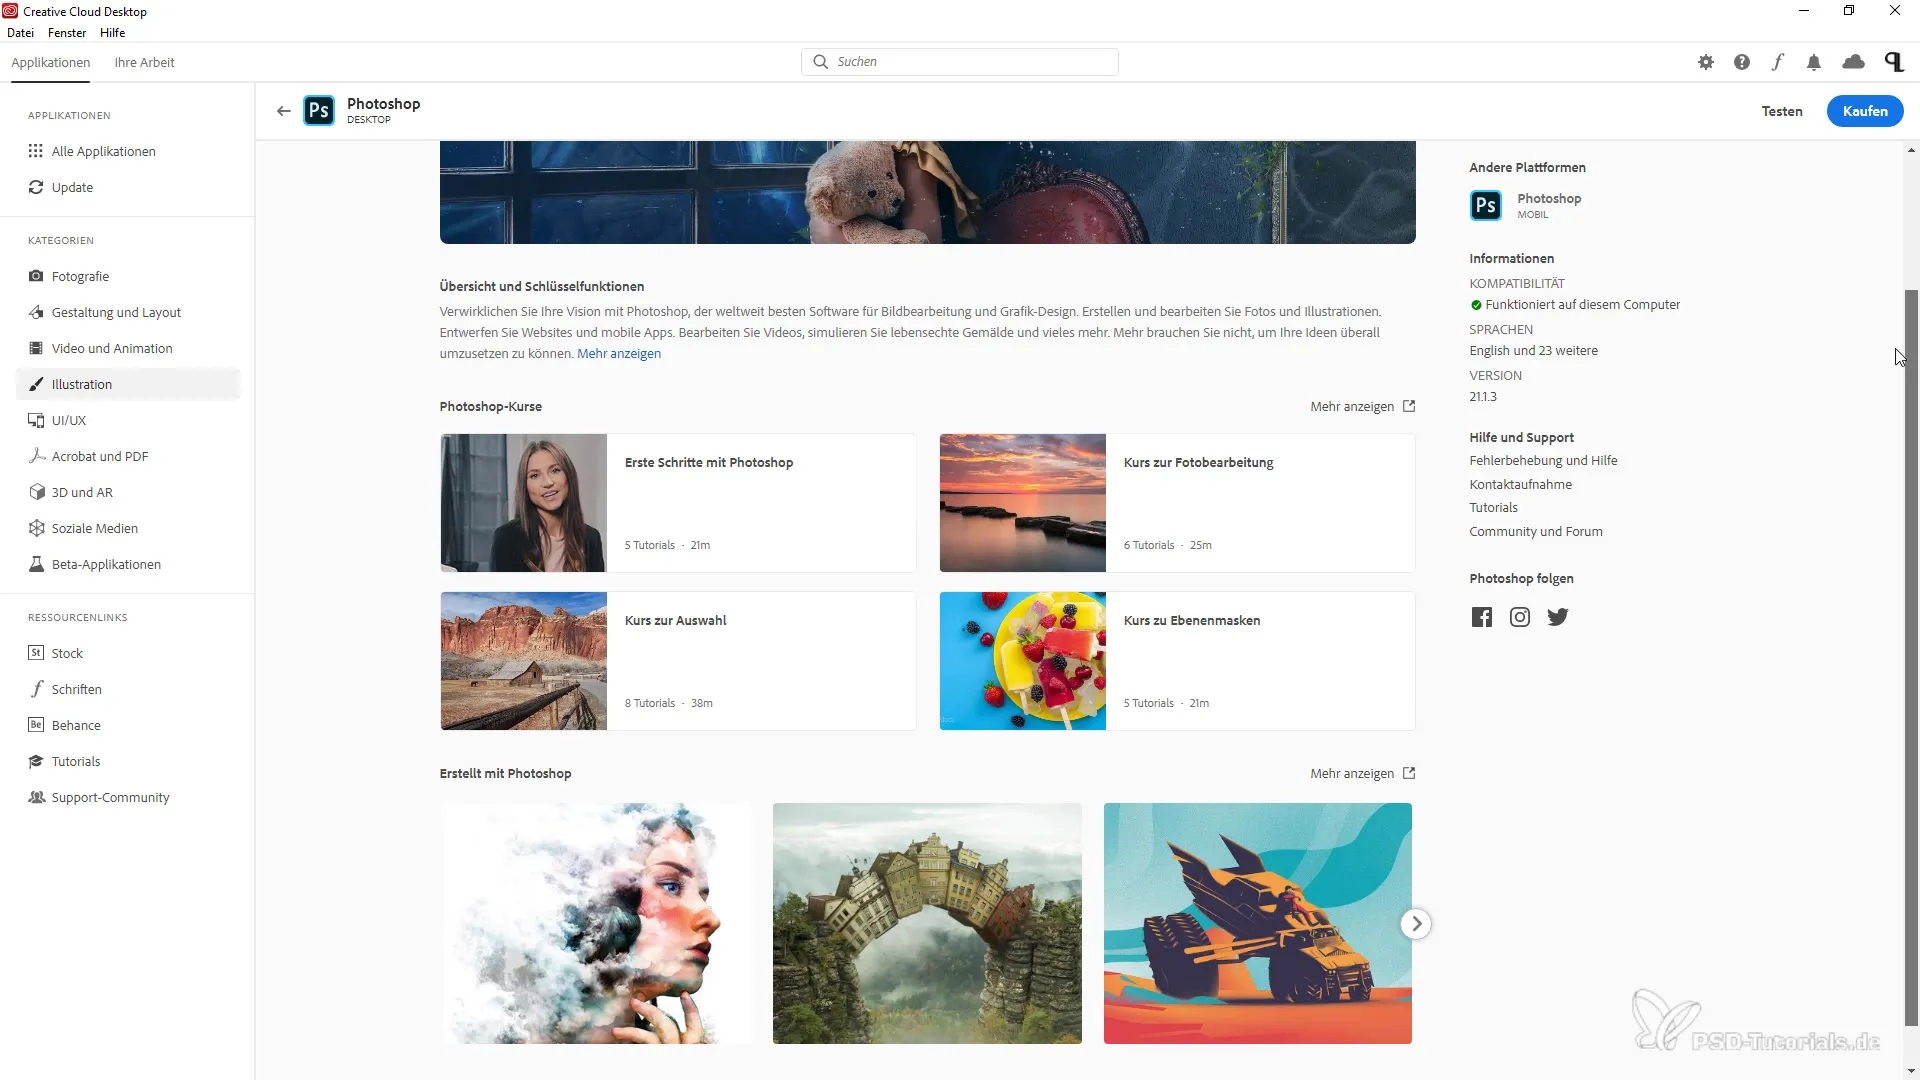
If you are not sure whether a new program meets your needs, you can access information about the programs within Creative Cloud. Just click on the corresponding field to get an overview of languages, functionalities, and examples of project work. This way, you can get an impression of whether the program meets your requirements.
Summary – Innovations in the Creative Cloud Desktop App: Everything you need to know
In this guide, you have learned how to effectively utilize the main innovations in the Creative Cloud Desktop app. We covered the steps for version checking, error identification, updating, and user customization. Use these features to make your work more creative and efficient.
Frequently Asked Questions
What should I do if my Creative Cloud is not up to date?Go to “Help” and click “Check for Updates” to download the latest version.
How can I create error logs?Use the help function to create a log file that aids you in diagnosis.
Can I manage multiple users in Creative Cloud?Yes, you can sign out and sign in a new user to switch between different accounts.
How do I get an overview of my libraries?Click on the libraries icon to optimize the display and gain more space for your projects.
How do I learn more about a program before I buy it?Click on the program within the Creative Cloud app to get an overview of features and examples.
