You want to take your photography and Photoshop skills to the next level and create a poster in the style of Tomb Raider? In this guide, you will learn how to create an impressive underwater scene that conveys depth and realism. Step by step, you will learn how to use light, adjust colors, and add textures to make your underwater scene come alive. Get ready to revolutionize your graphic design!
Key insights
- It is important to make the transition between the water surface and underwater area seamless.
- The use of light and shadow can effectively enhance the illusion of depth.
- Proper color adjustment and texture overlay are crucial for the overall look of the poster.
Step-by-step guide
First, we start by making the lower part of your underwater scene look more realistic.
Step 1: Adjust the mask and optimize transitions
To make the masking clean, zoom in on the critical area of the wave and correct the mask. Here you can use the “Grow Bright Areas” filter to soften sharp edges. Set the radius to about two pixels to achieve a smooth transition between the water and the underwater landscape.

Step 2: Create depth with color
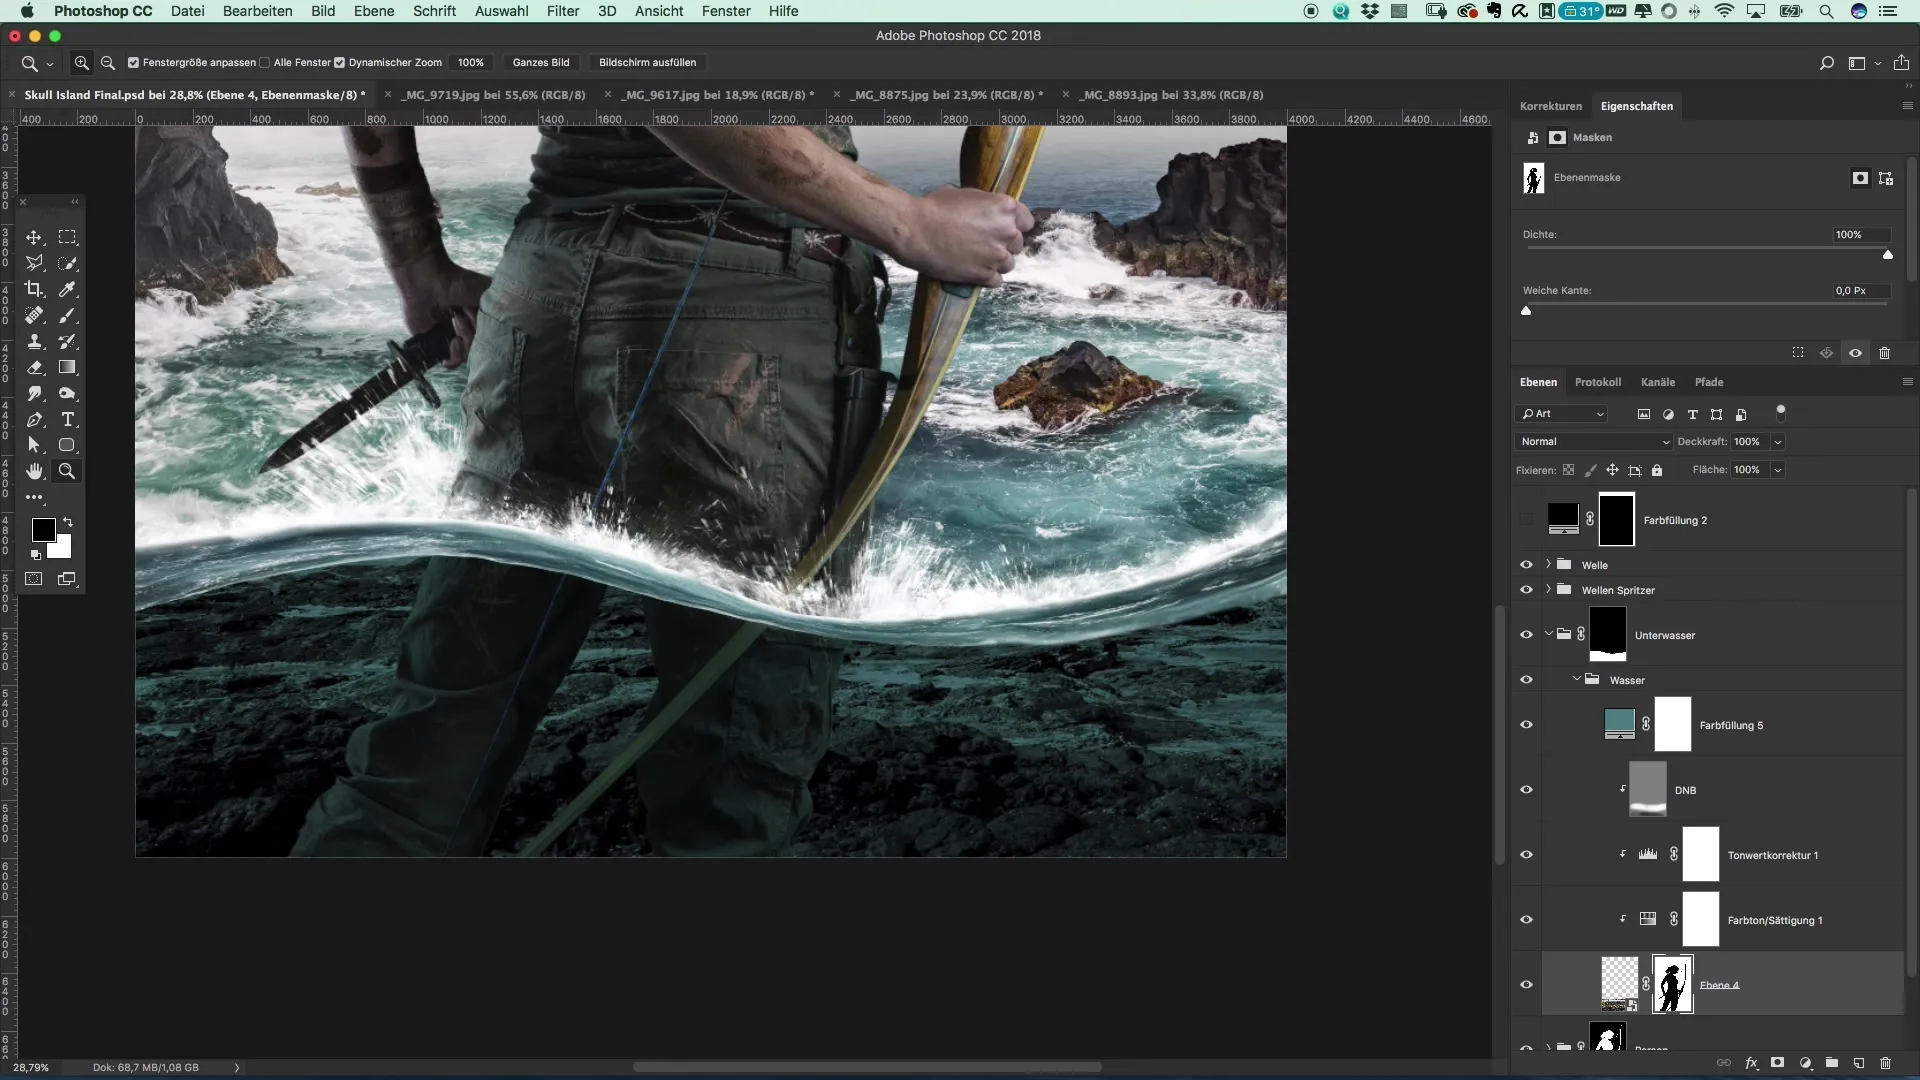
Now name the layer “Stone Texture Floor” and create a new color layer filled with black. The key is not to reduce the opacity immediately, as the dark background will highlight the stones in the underwater area. Choose a brush with low opacity (about 3%) and begin carefully masking the stones into the black area.
Step 3: Adjust hue
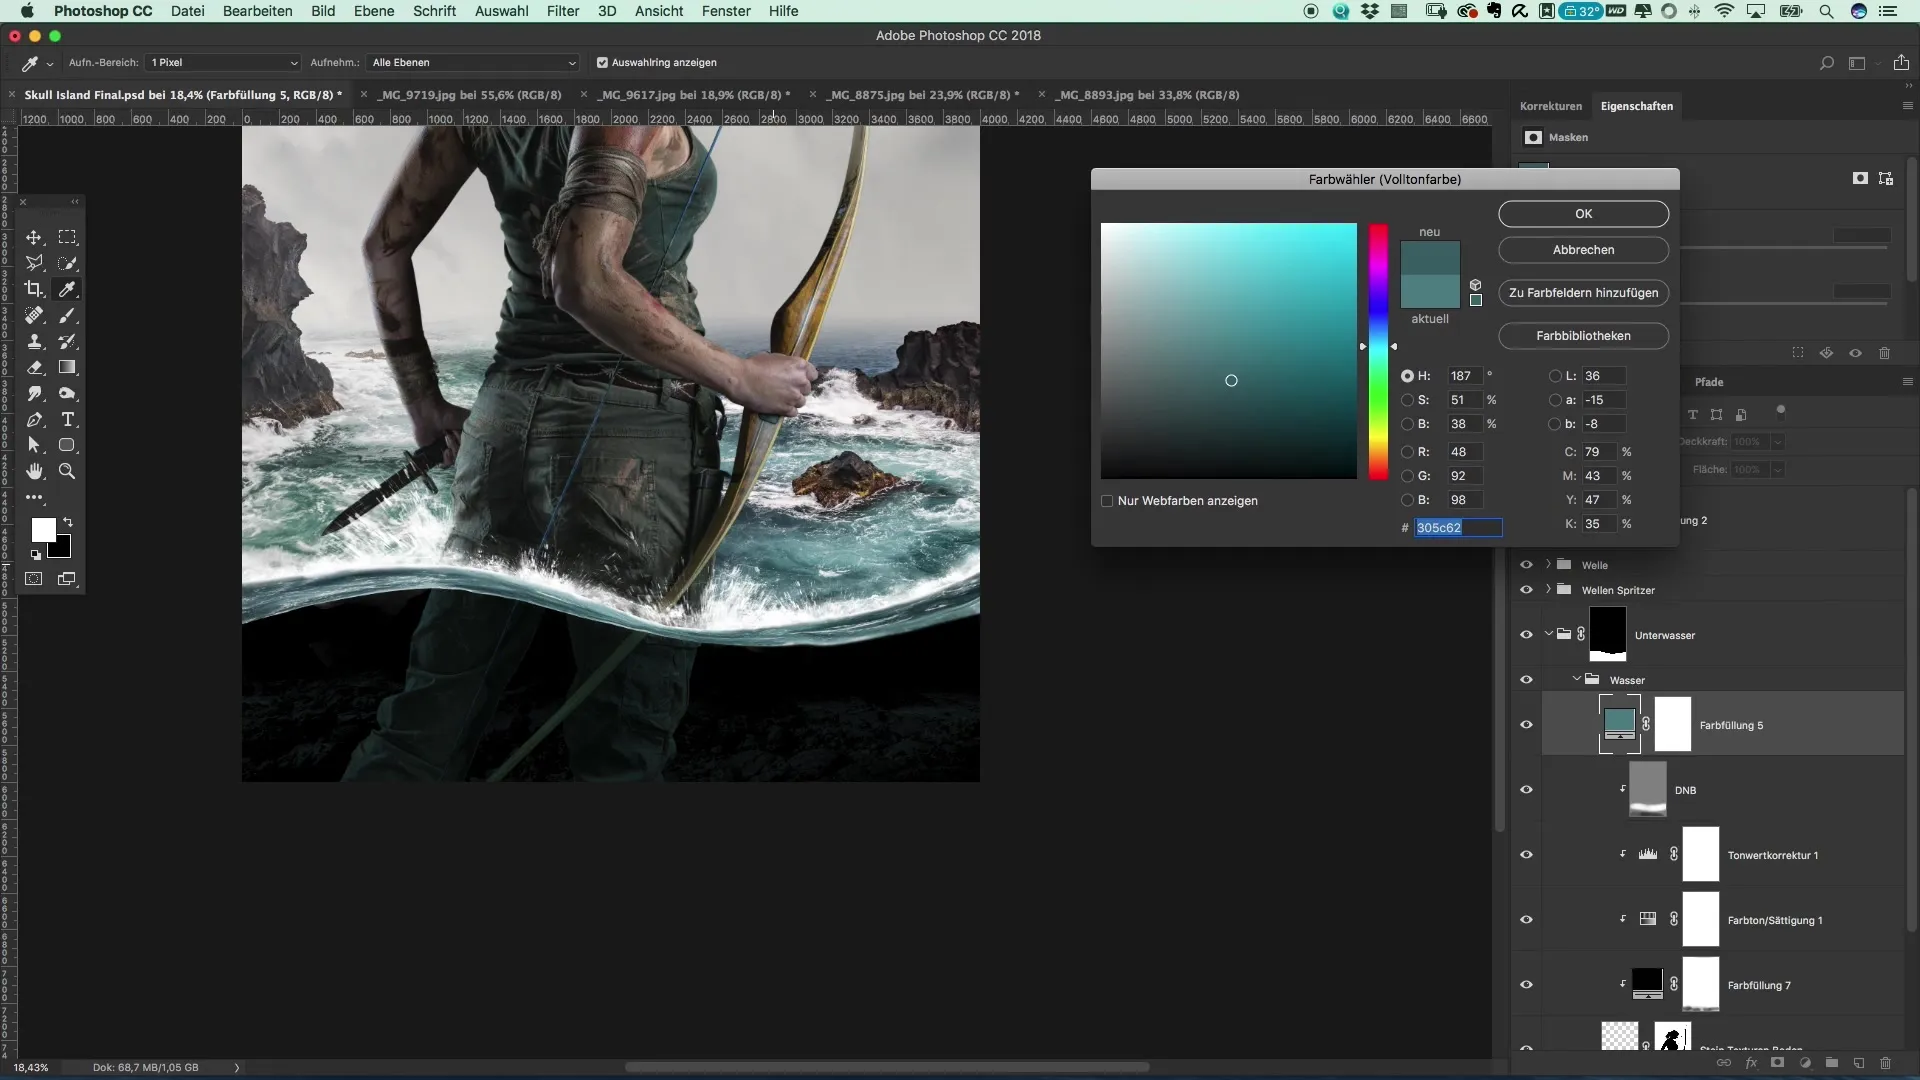
Once the stones become visible, you can adjust the opacity. Experiment with different shades of blue to achieve a realistic water effect. Use the pipette to select colors from the original image and integrate them into your new color layer.
Step 4: Add textures
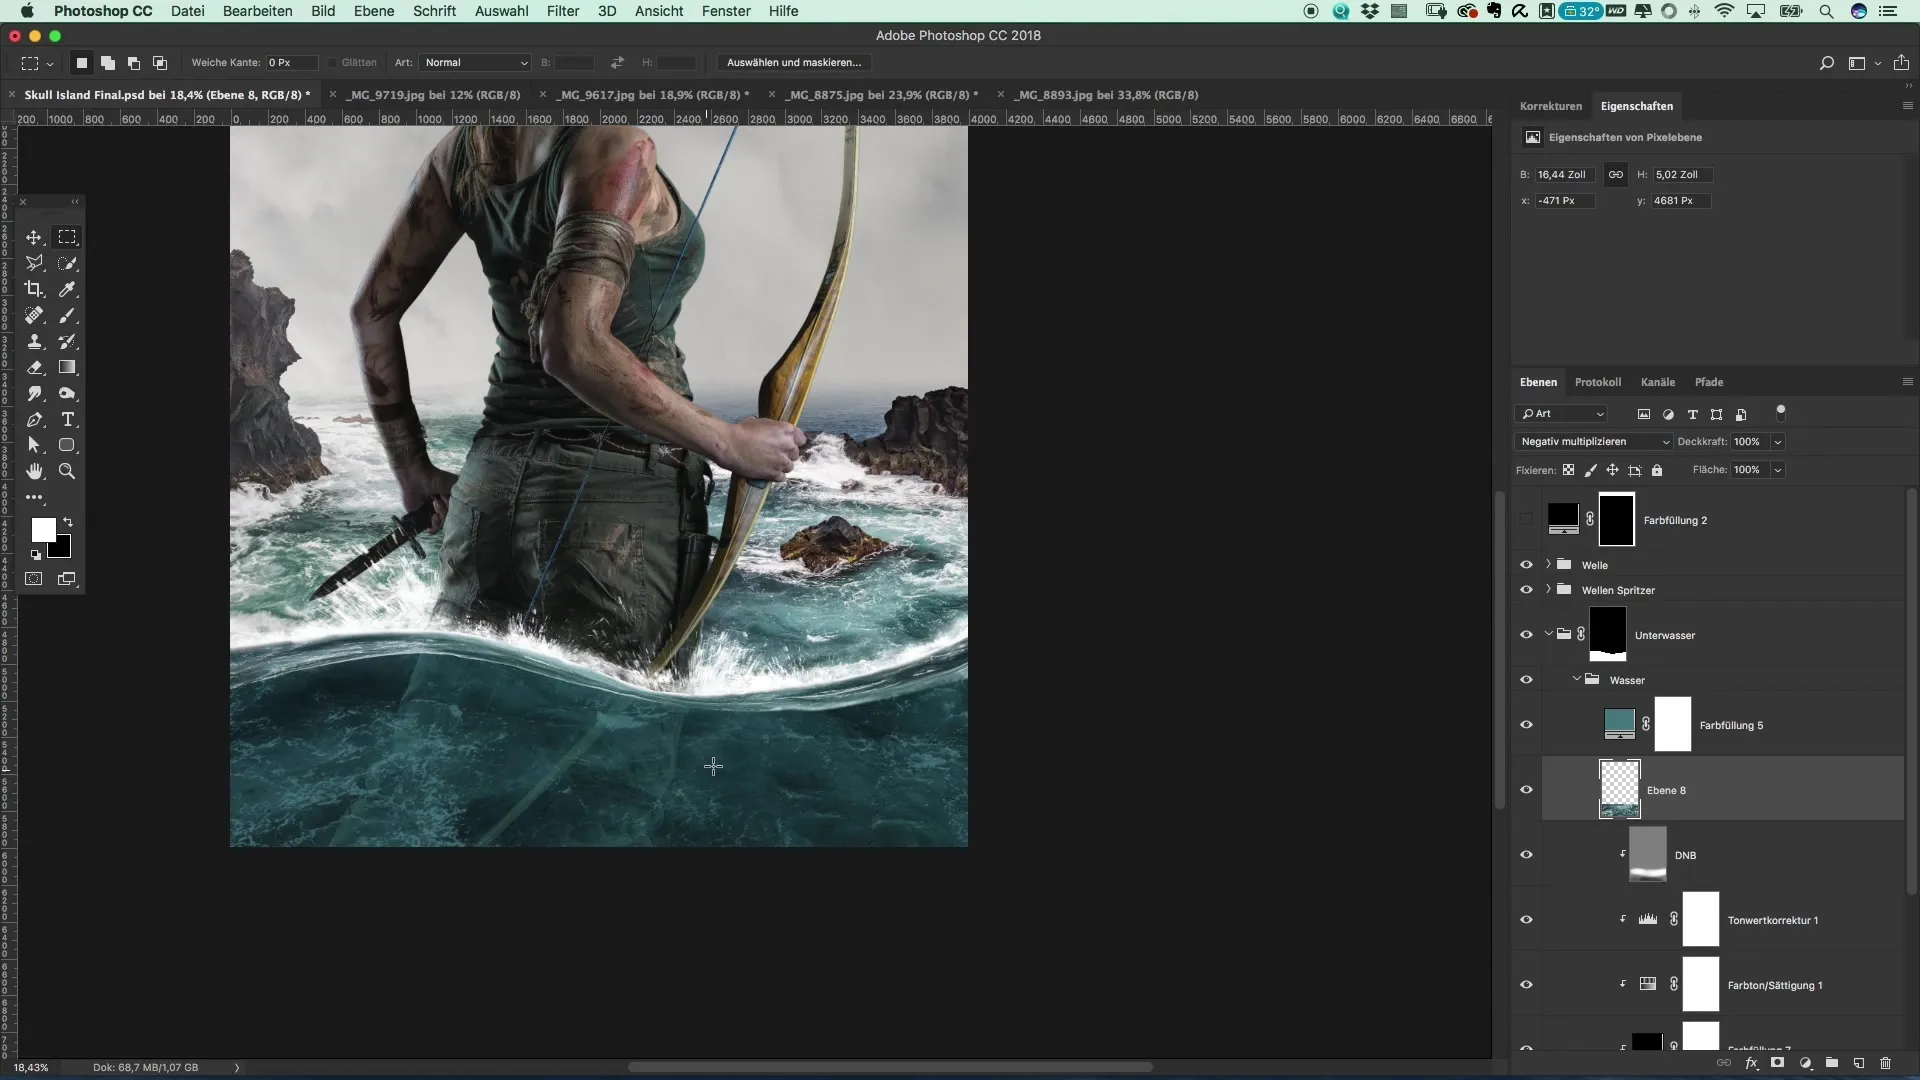
To further enhance the image, use a water texture that you copy from another image. Overlay this texture on your color layer that you created. Change the fill method to “Negative multiply” so that the textures shine through the color.
Step 5: Apply blur filter
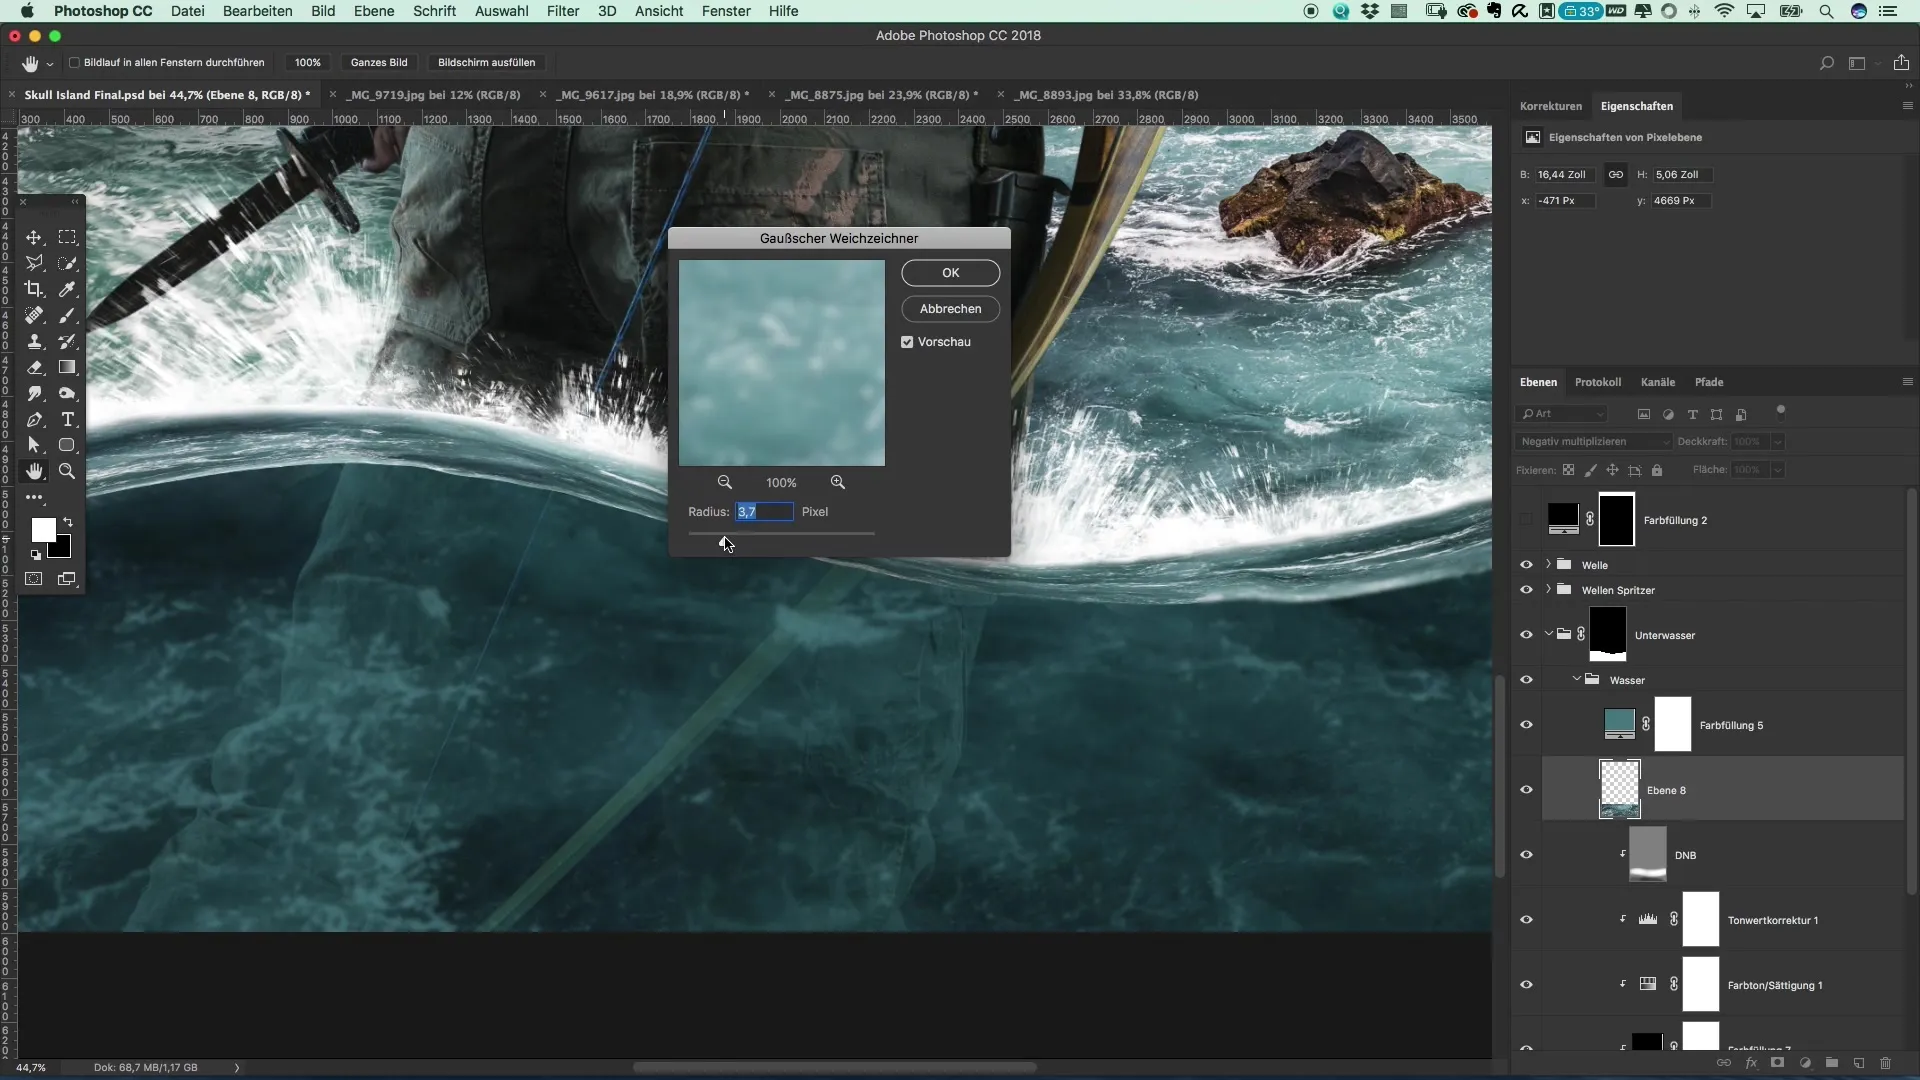
To integrate the texture more softly into the image, apply the Gaussian blur. Set the radius to about 5 pixels to smooth the edges and make the textures look more natural. Then reduce the opacity to make the texture subtler.
Step 6: Add particles
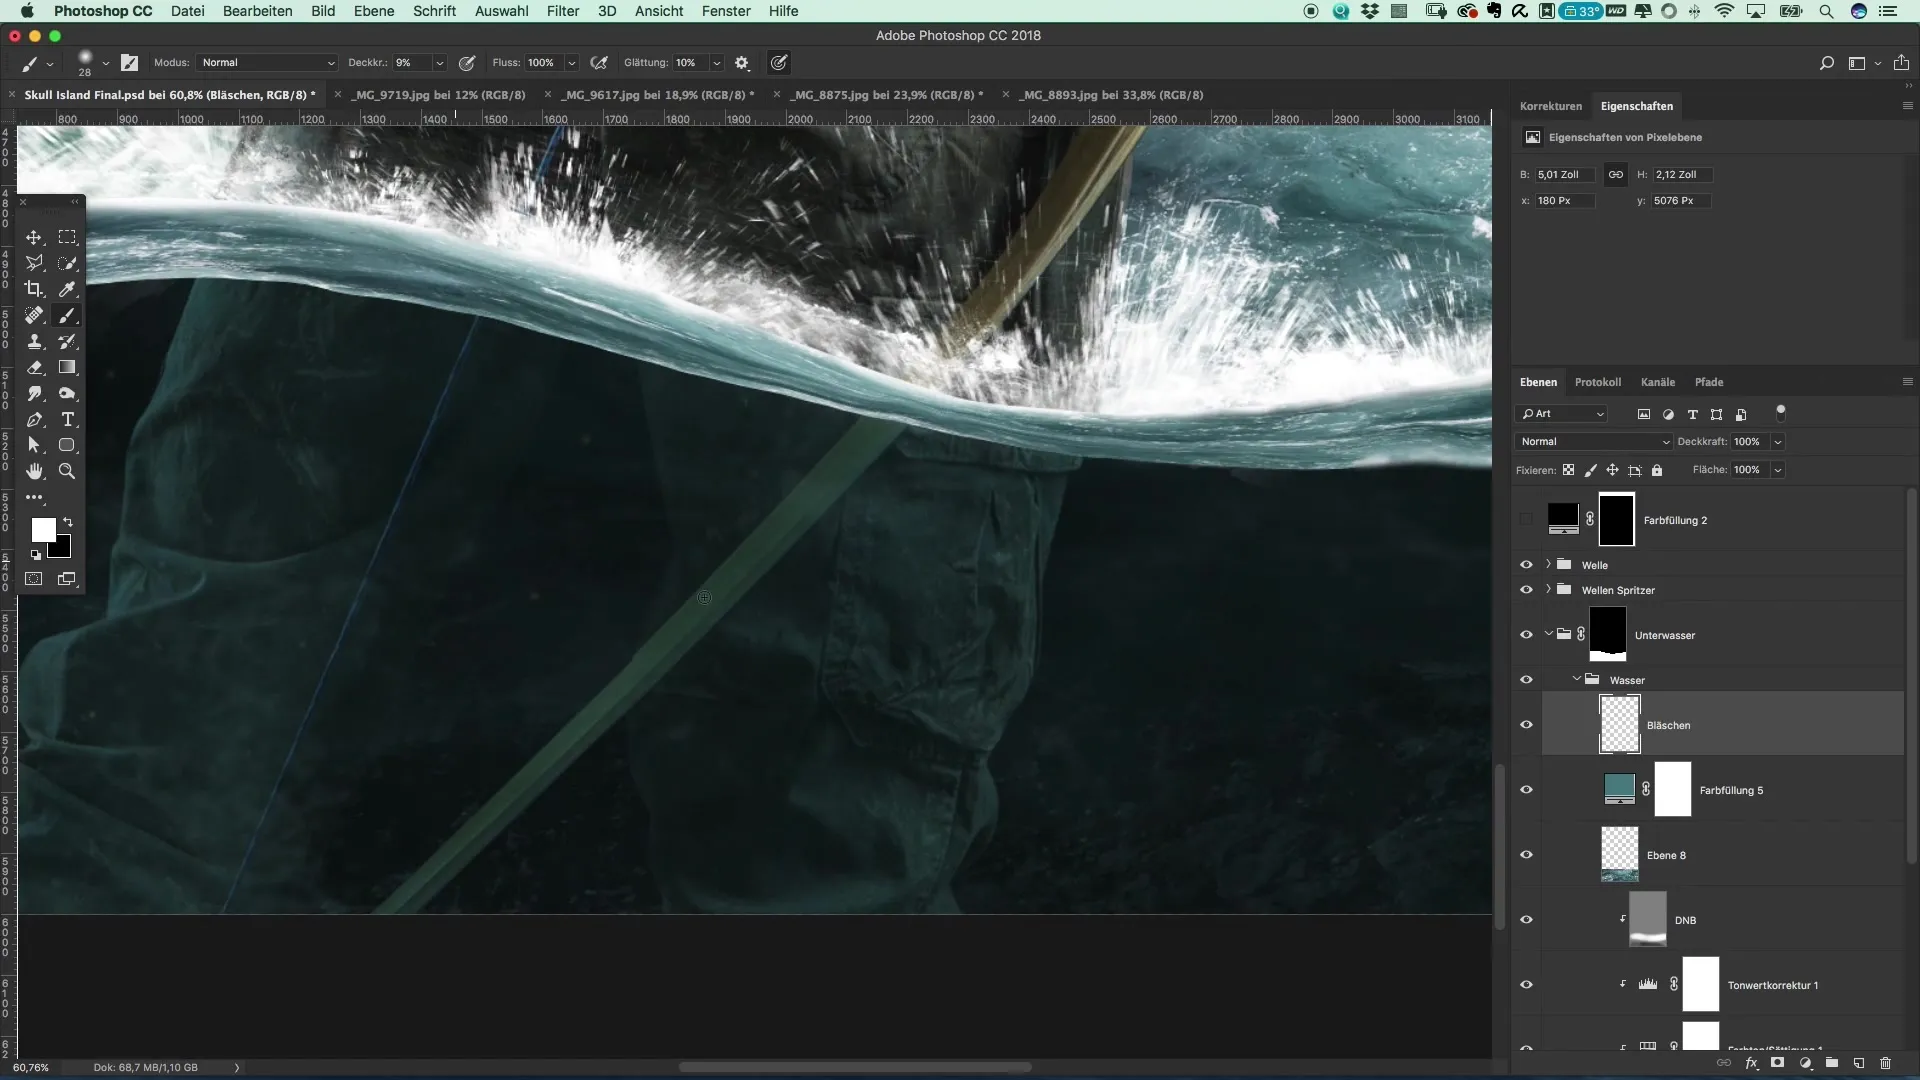
Now it gets exciting! You can add small water particles to bring more life into the image. Create a new brush with a very soft edge and a soft foreground color. Start sporadically distributing small particles in the underwater area to create the impression of bubbles.
Step 7: Add noise
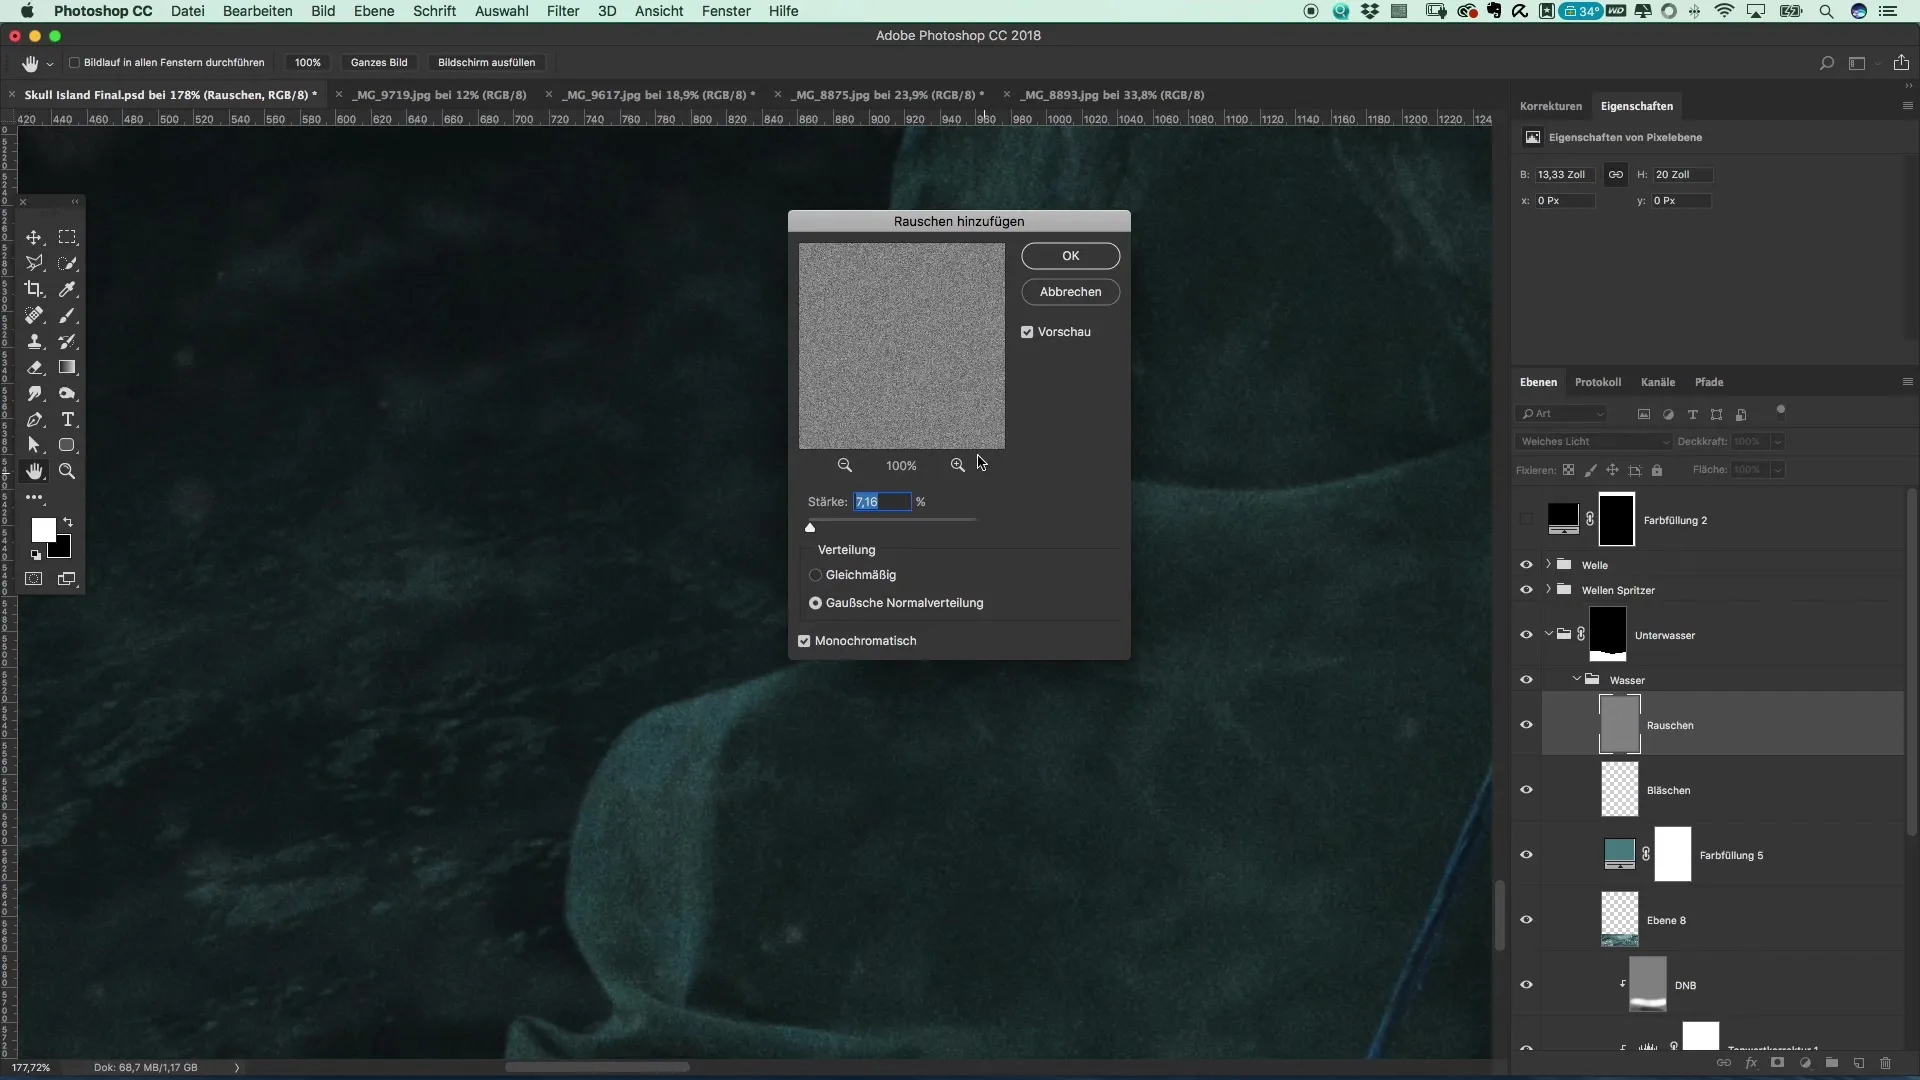
To make your image appear more authentic, create a new “Noise” layer with a fill method of “Soft light”. Go to the filter settings and add a new noise filter, taking about 7% noise.
Step 8: Adjust brightness
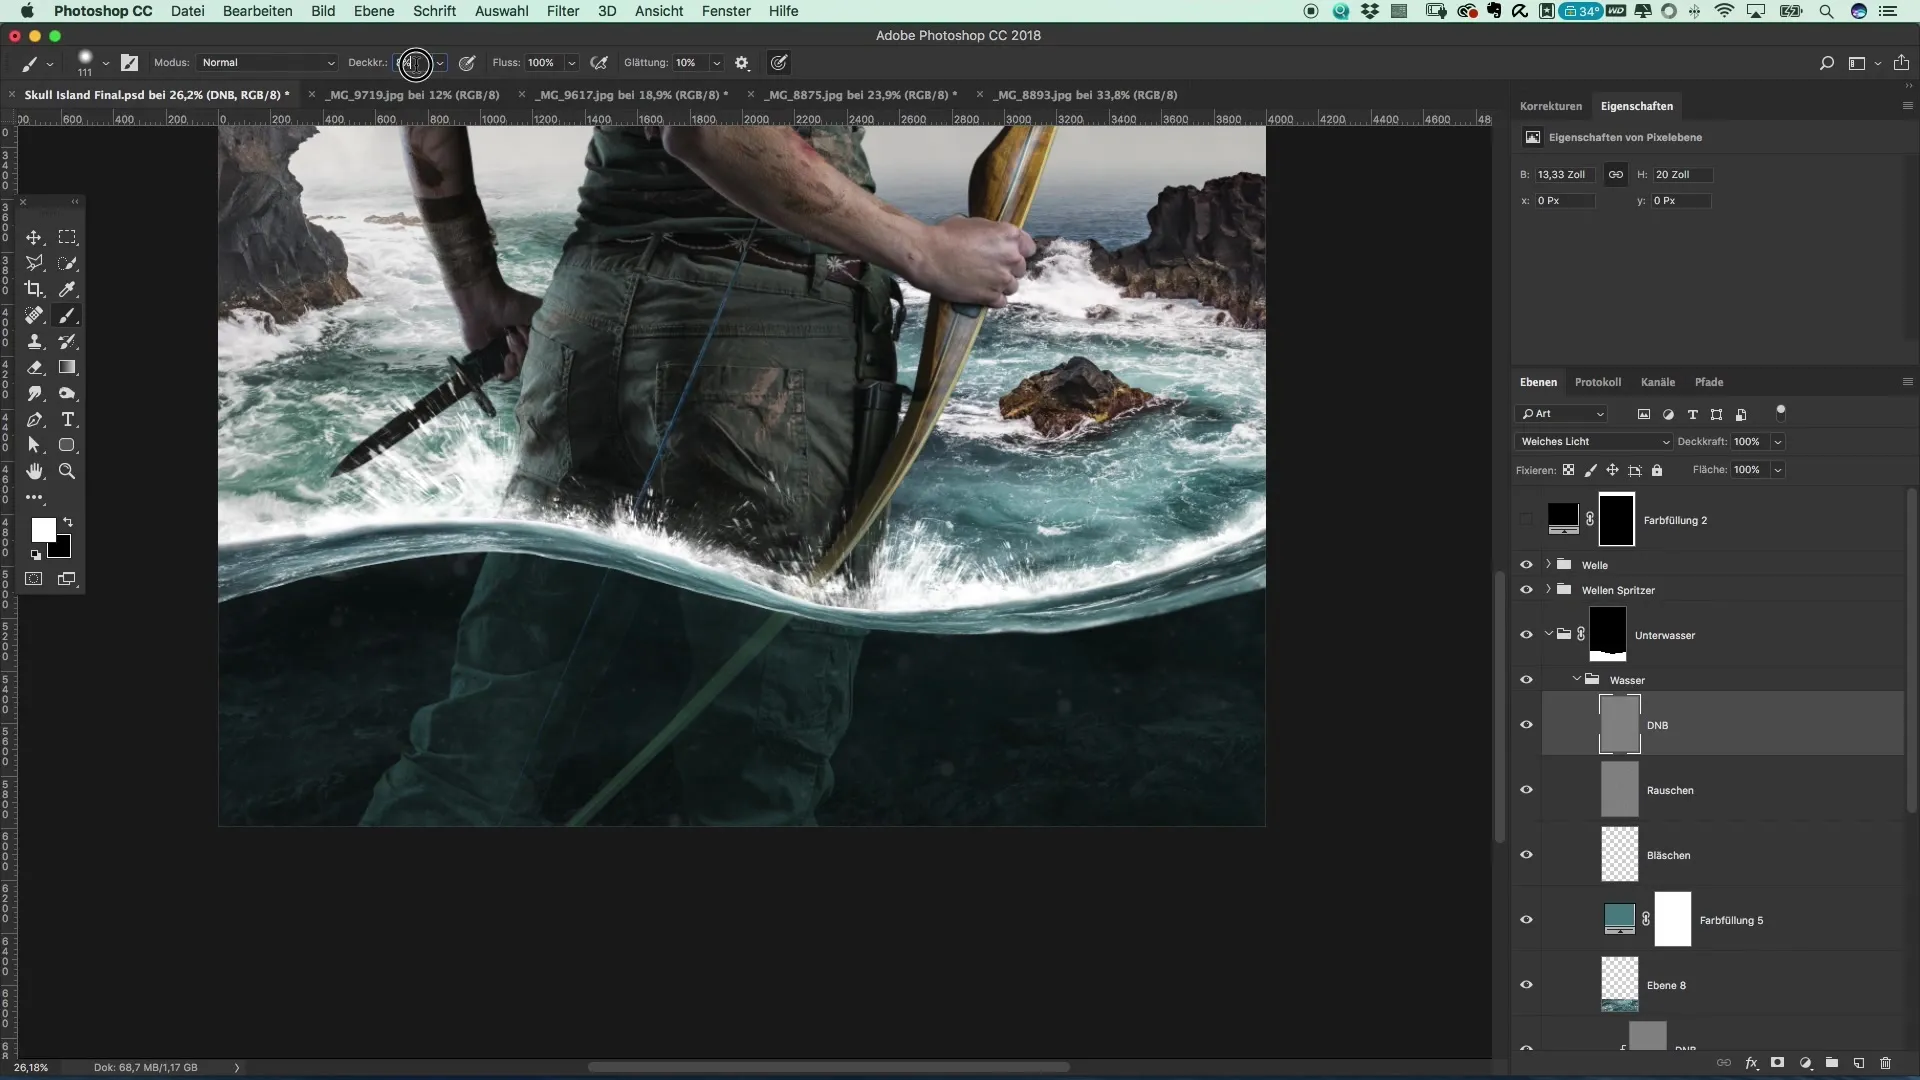
Now it's time to work with brightness settings to improve your transition between the underwater area and the water surface. Use a new “Dodge & Burn” layer to gradually adjust the brightness in different areas. Emphasize the darker areas while the surface can become brighter to create a harmonious transition.
Step 9: Final touches
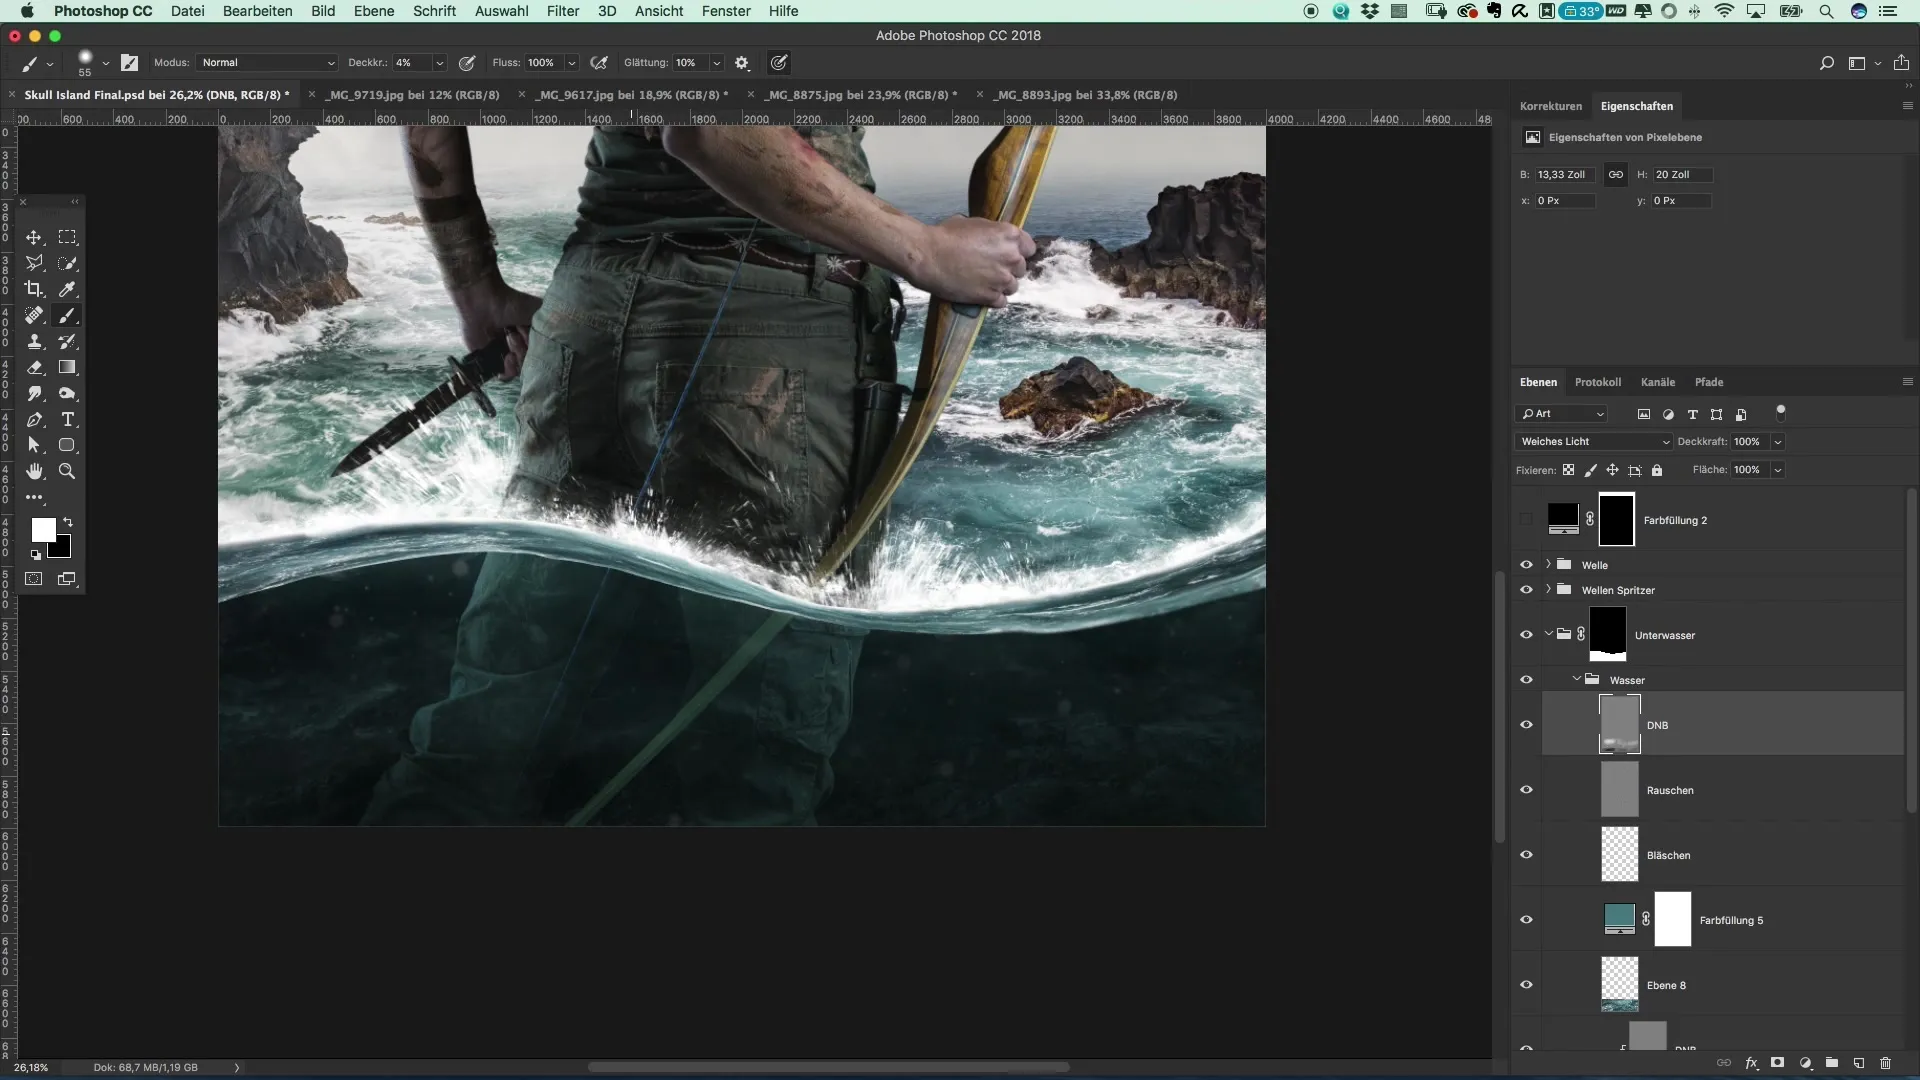
Finally, add a few extra highlights to emphasize the stones and the water surface. This can further enhance the 3D effect of your underwater landscape and give it a dynamic appearance. Finally, review the entire composition to ensure that everything fits well together.
Summary – Create a poster in the style of Tomb Raider
With the steps described above, you can create an impressive underwater poster style in the spirit of Tomb Raider. You have learned how to create realistic colors, textures, and lighting conditions to create a vibrant underwater scene that captivates the viewer.
Frequently asked questions
How can I enrich the transition between the water surface and underwater?By adjusting brightness and adding textures, you can create a seamless transition.
What colors are best for underwater scenes?Blue and green tones are ideal for creating the illusion of depth and water.
How do I integrate textures into my image?Copy textures from other images and use the “Negative multiply” fill method to integrate them harmoniously.


