Do you want to give your digital images more dynamism? In this guide, you will learn how to integrate long water splashes into your motifs. The tutorial takes you step by step through the process, starting with creating a new layer to the final adjustment of the water splashes. This will give your poster the finishing touch in Tomb Raider style.
Main findings
- Splashes can be created using brush tools in Photoshop.
- The use of motion effects gives the splashes dynamism.
- The arrangement of the splashes is crucial for a realistic appearance.
Step-by-step guide
To create your posters, follow these steps:
First, create a new group for the water splashes. You can do this by selecting the corresponding folder in your project. Name the group as you like, for example "long splashes," so you can easily identify it later.
Now create a new empty layer. Choose a brush tool with a hardness of around 30 and a size that you find appropriate. You can start with a brush size of 25. Set the foreground color to white so that you can clearly draw the water splashes.
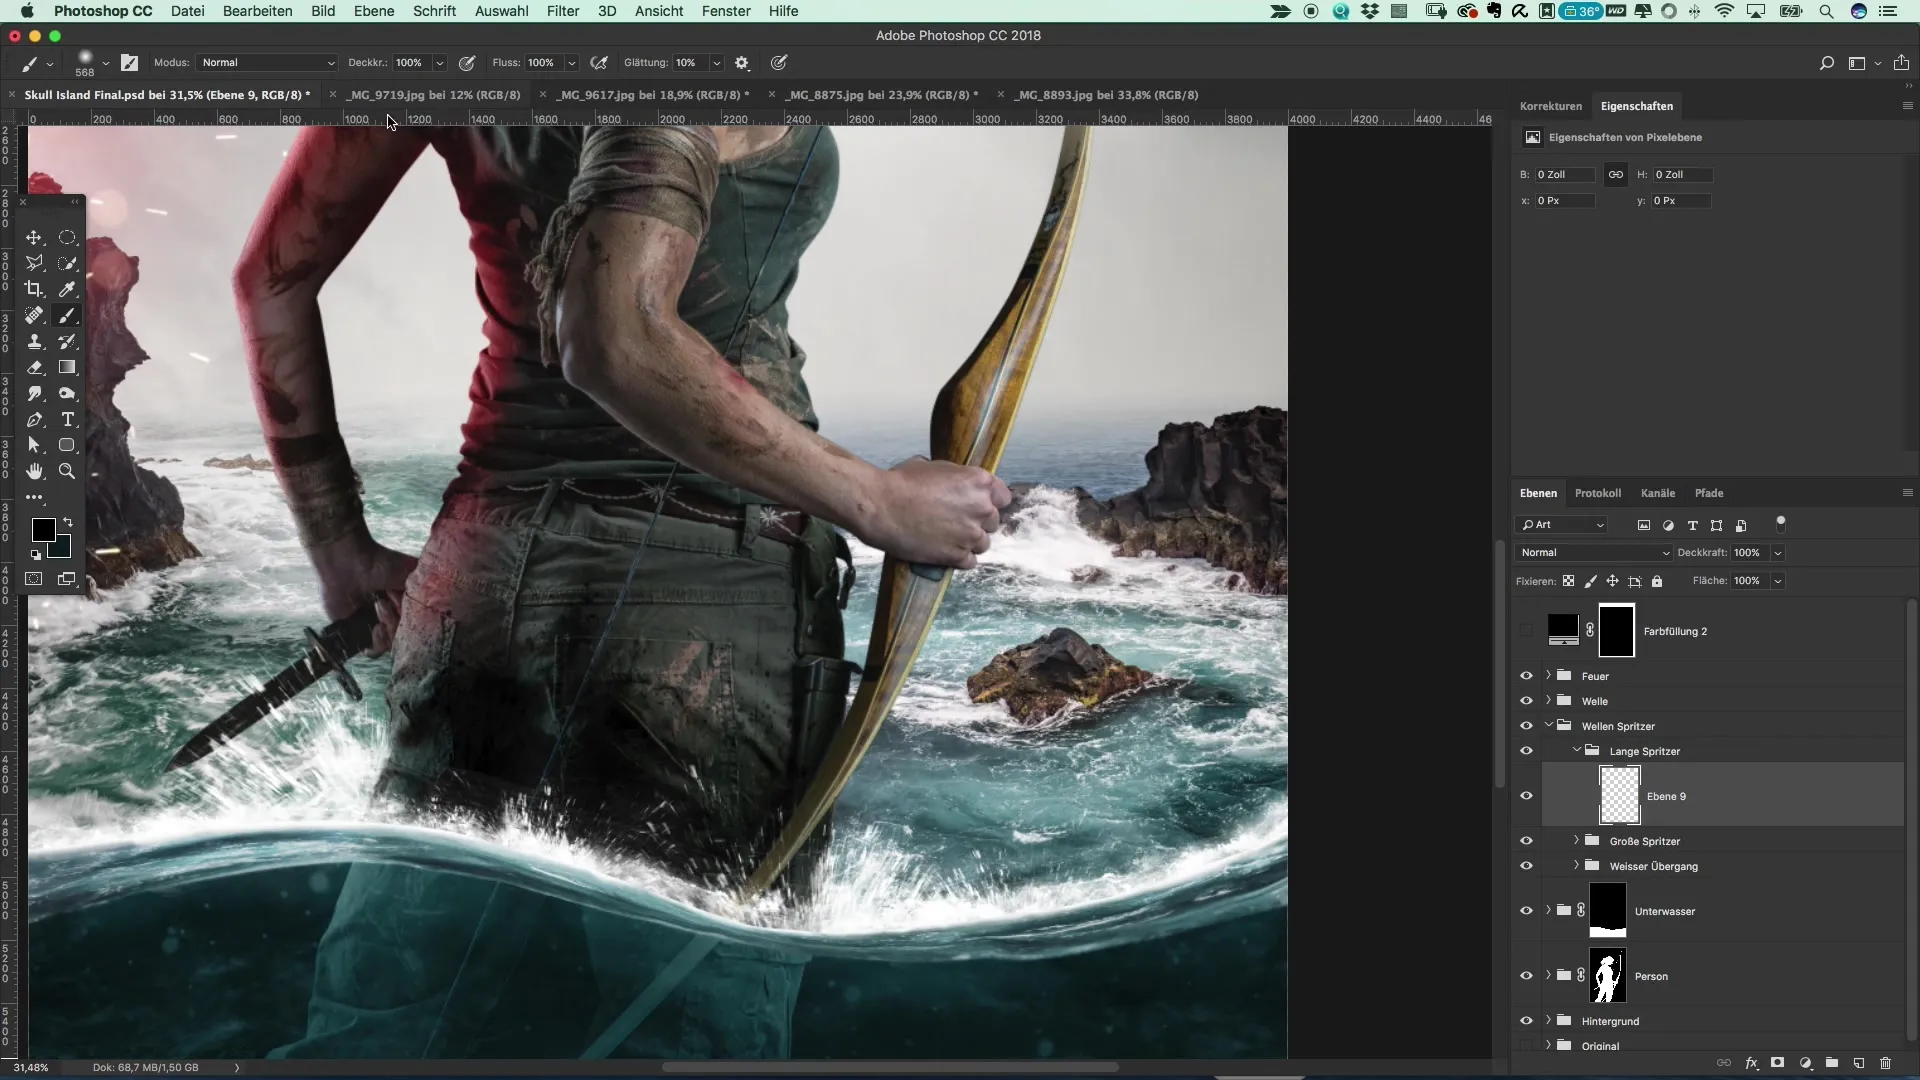
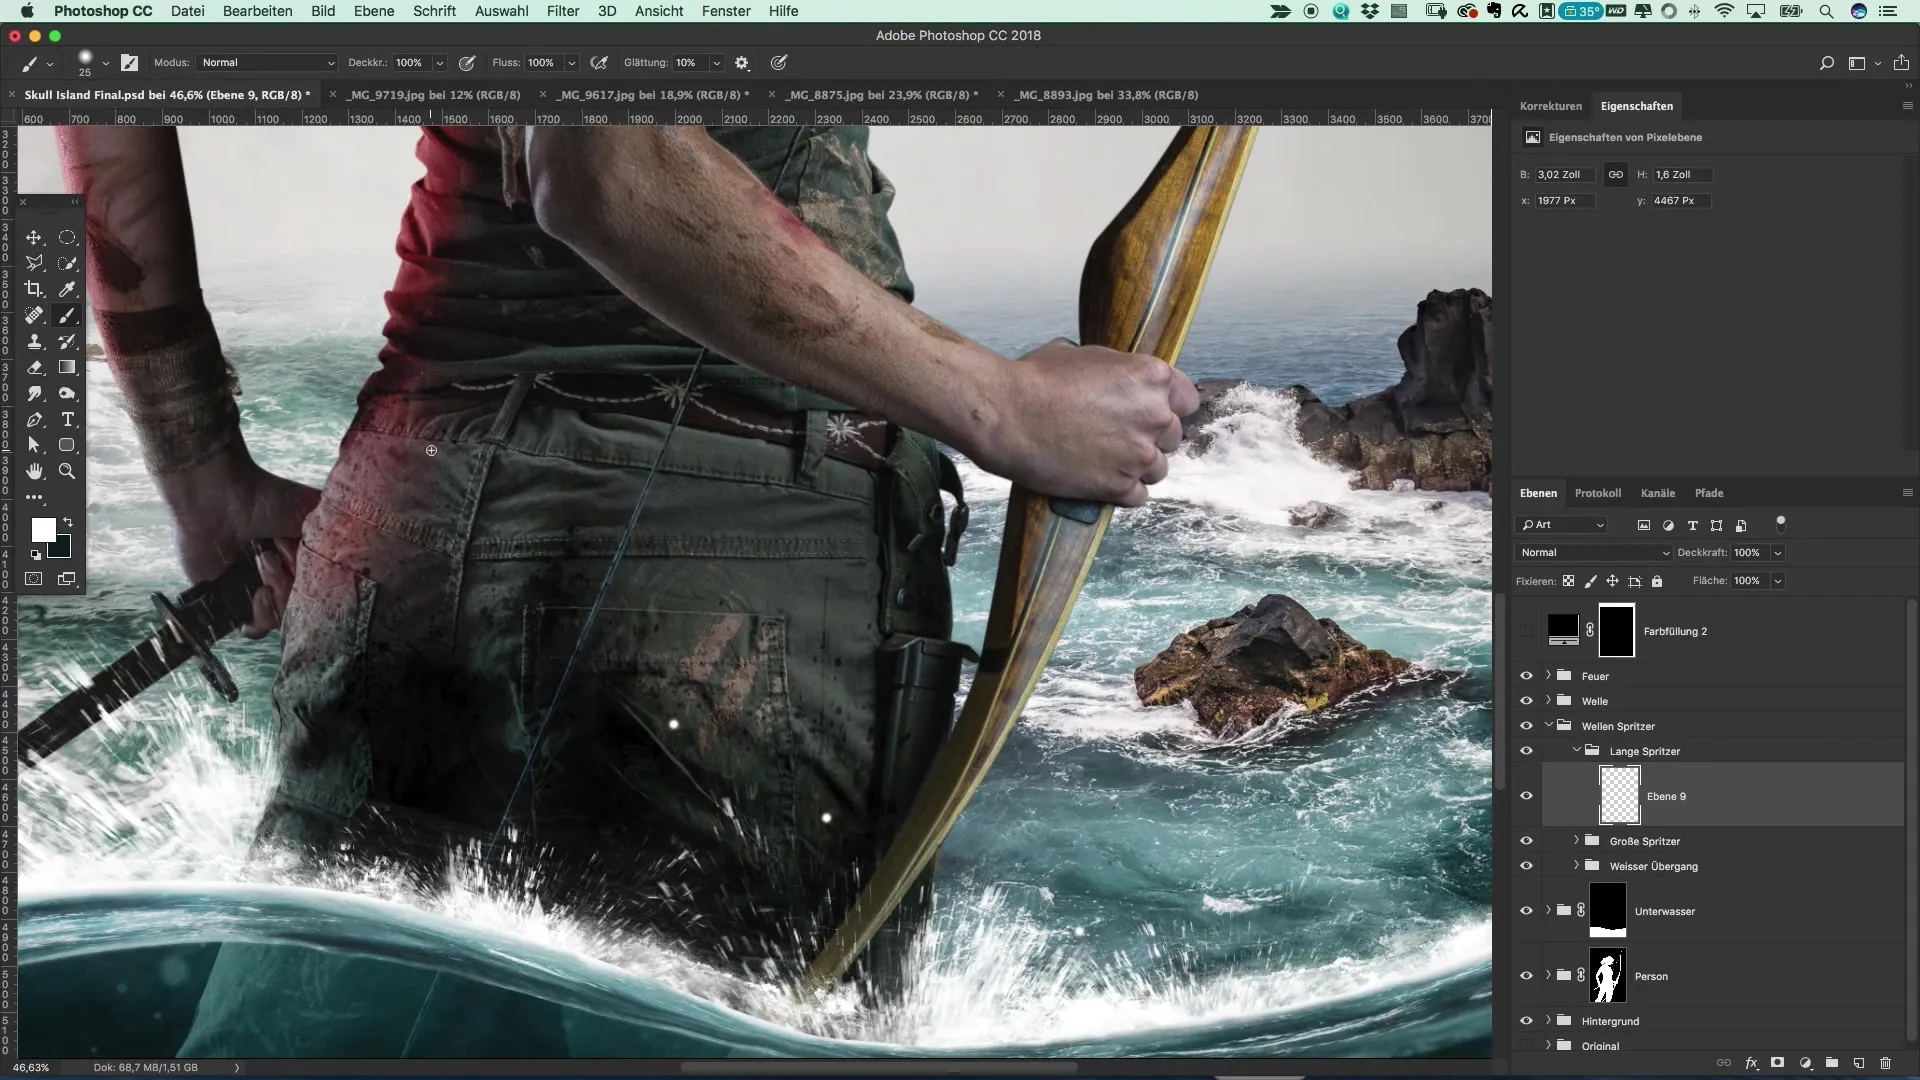
Start by drawing small dots that are meant to represent the water splashes. Make sure to distribute the dots randomly to create a natural look. Some dots can be smaller and others slightly larger designed.
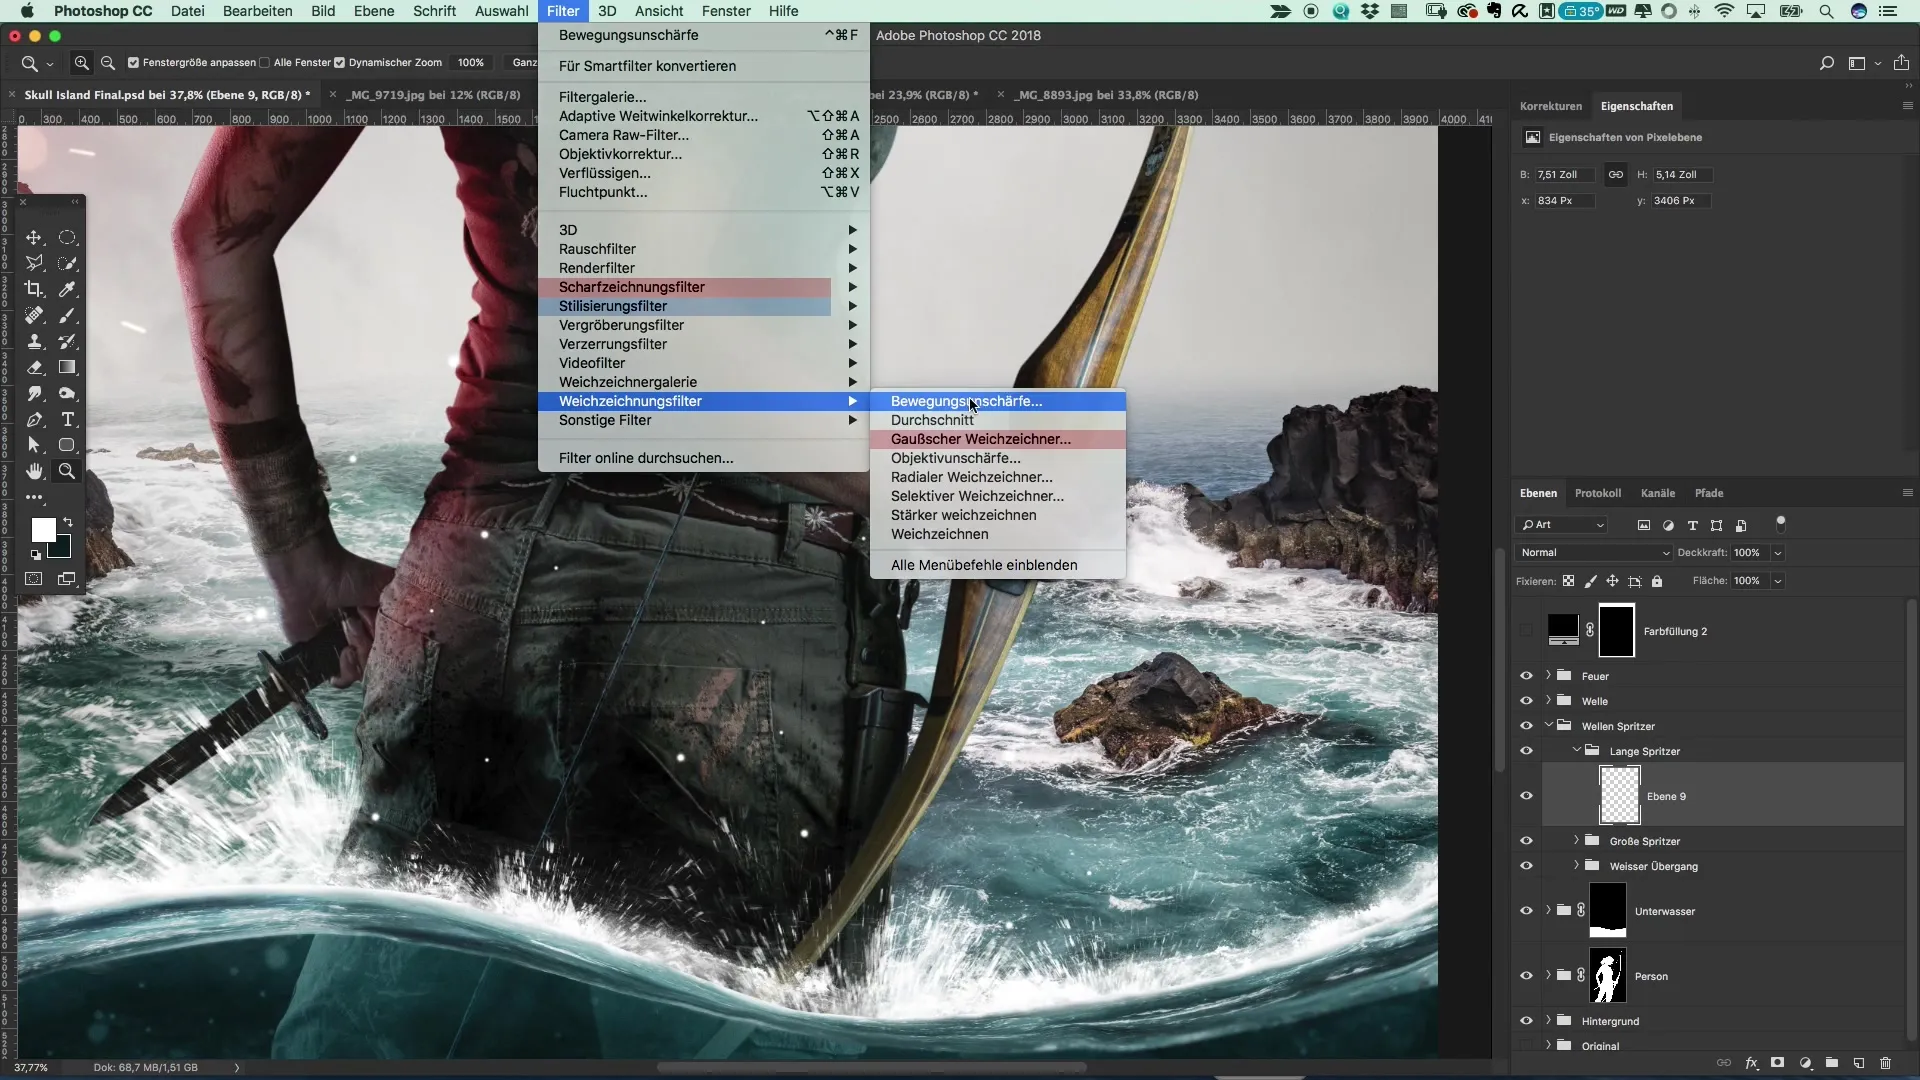
Once the water splashes are drawn, you should give them movement. To do this, select the blur filter. Configure the motion blur effect so that the splashes are drawn upwards. Ensure that the effect is strong enough to look realistic.
To increase the intensity of the splashes, duplicate the layer containing the splashes one or two times. This will enhance the visibility of the splashes. Select all duplicated layers and merge them into a single layer. This will give you a solid water splash effect.
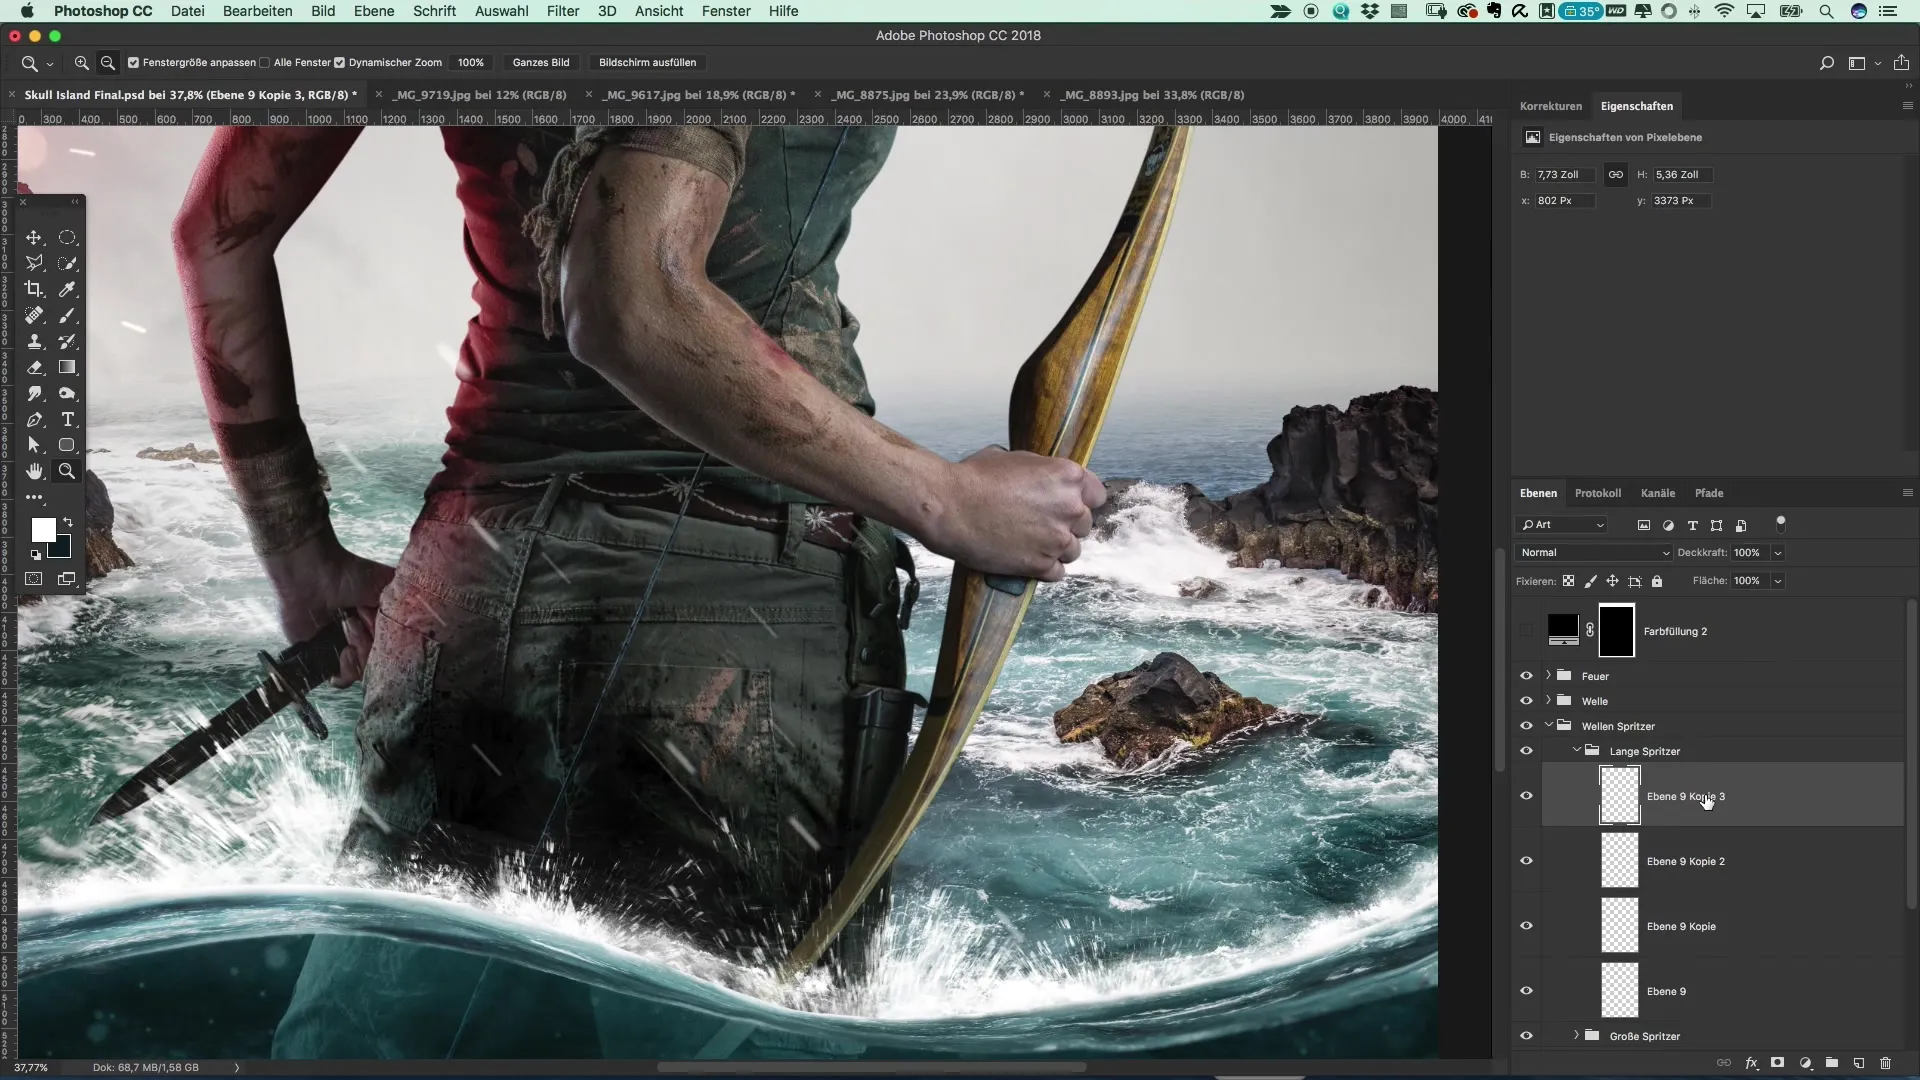
Now you can rotate the water splashes slightly to make them appear more irregular. This variation adds more life to your design and makes the splashes look more realistic. Experiment with the rotation until you like the arrangement.
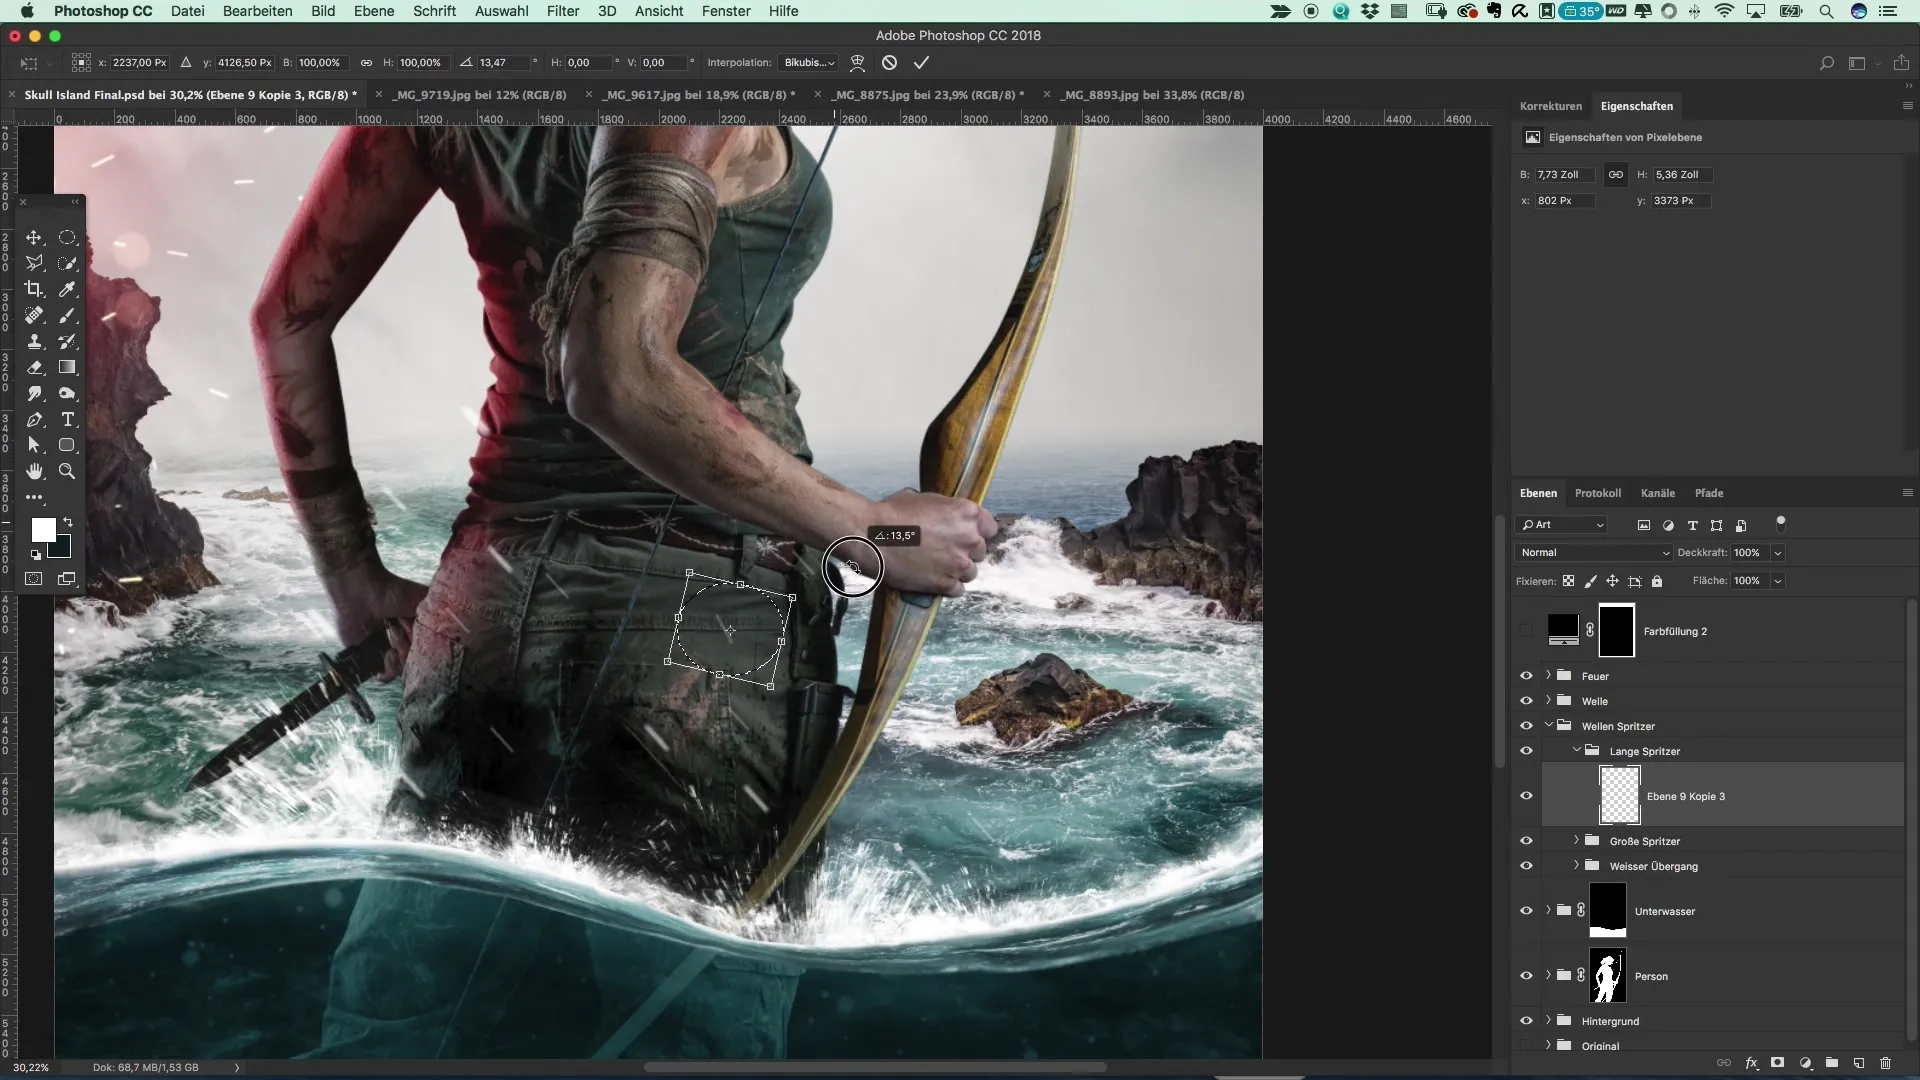
If you wish, you can adjust the opacity of the splashes to regulate the intensity. Make sure that not all splashes look identical – some can be larger while others are less prominent.
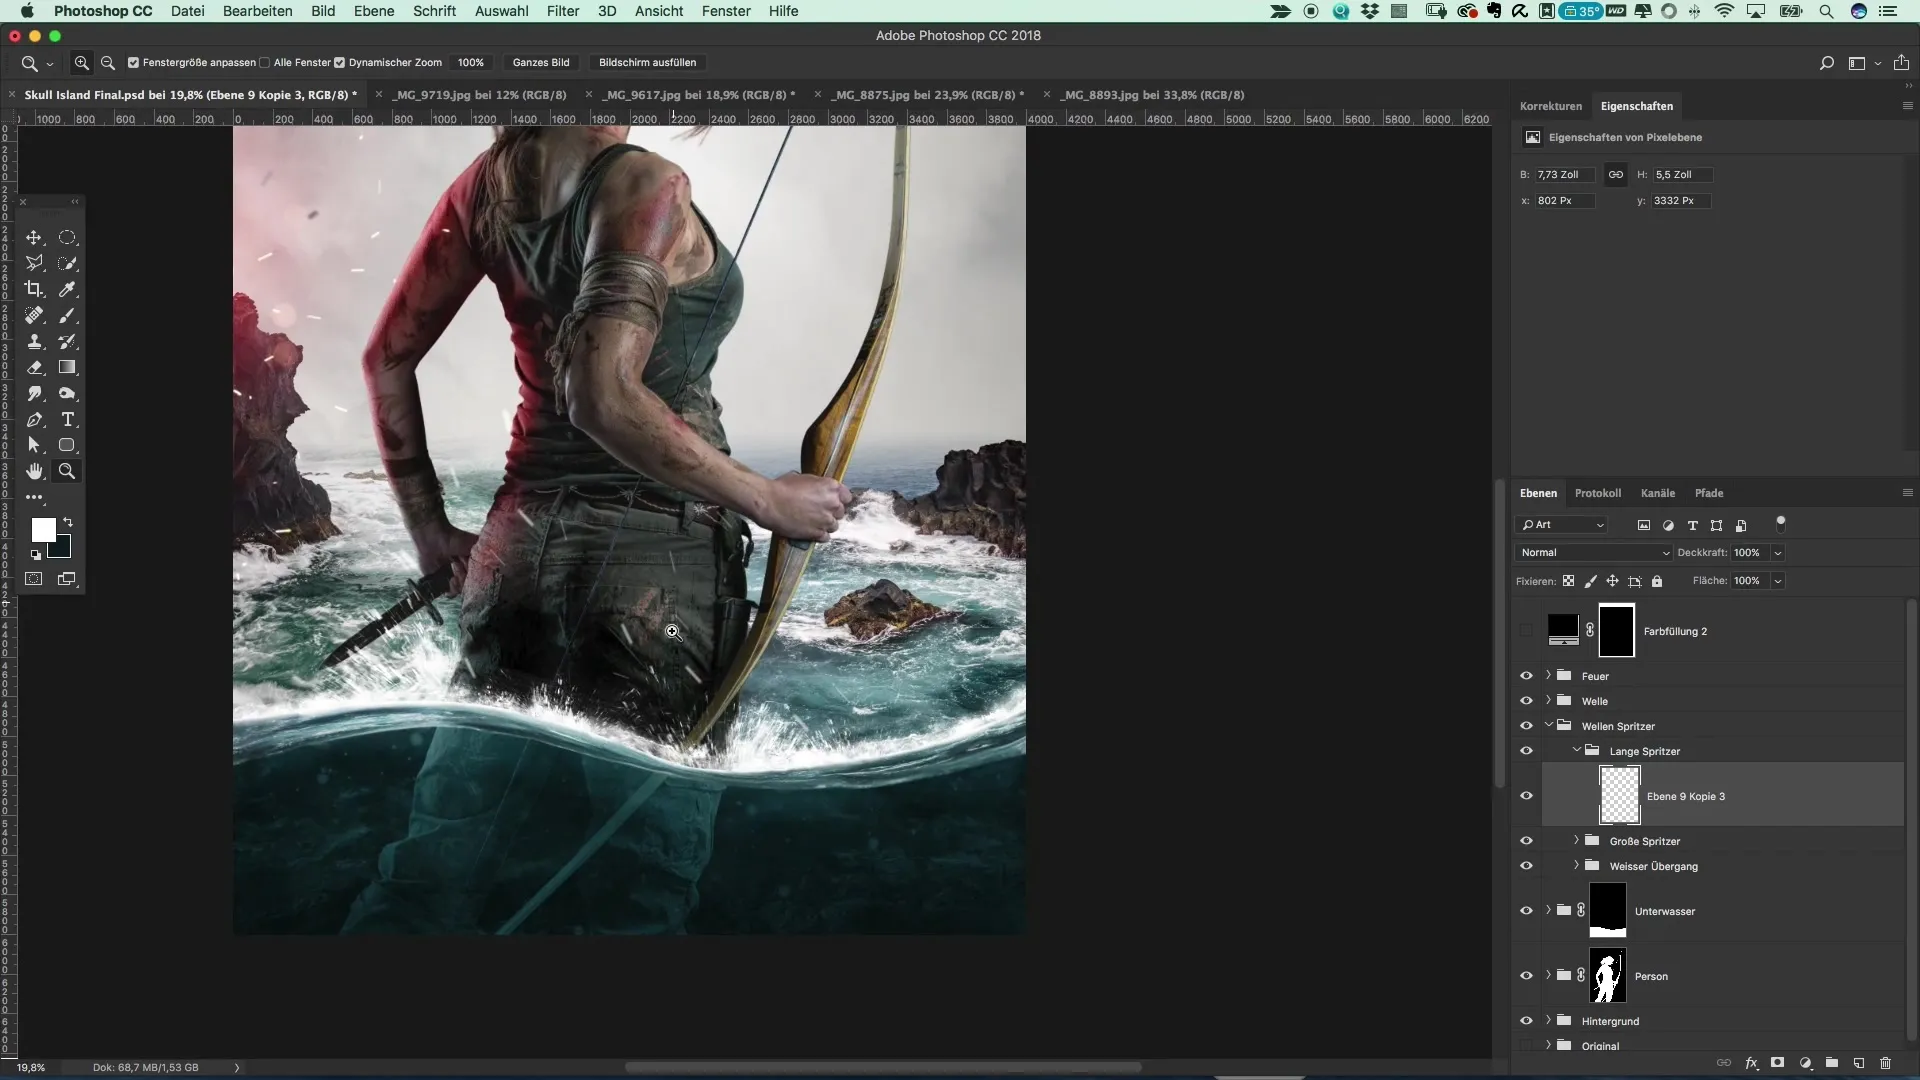
Now it's time to group all the water layers into a new group. Create a group that contains all relevant water elements: the waves, the splashes, underwater details, as well as the background and your motif.
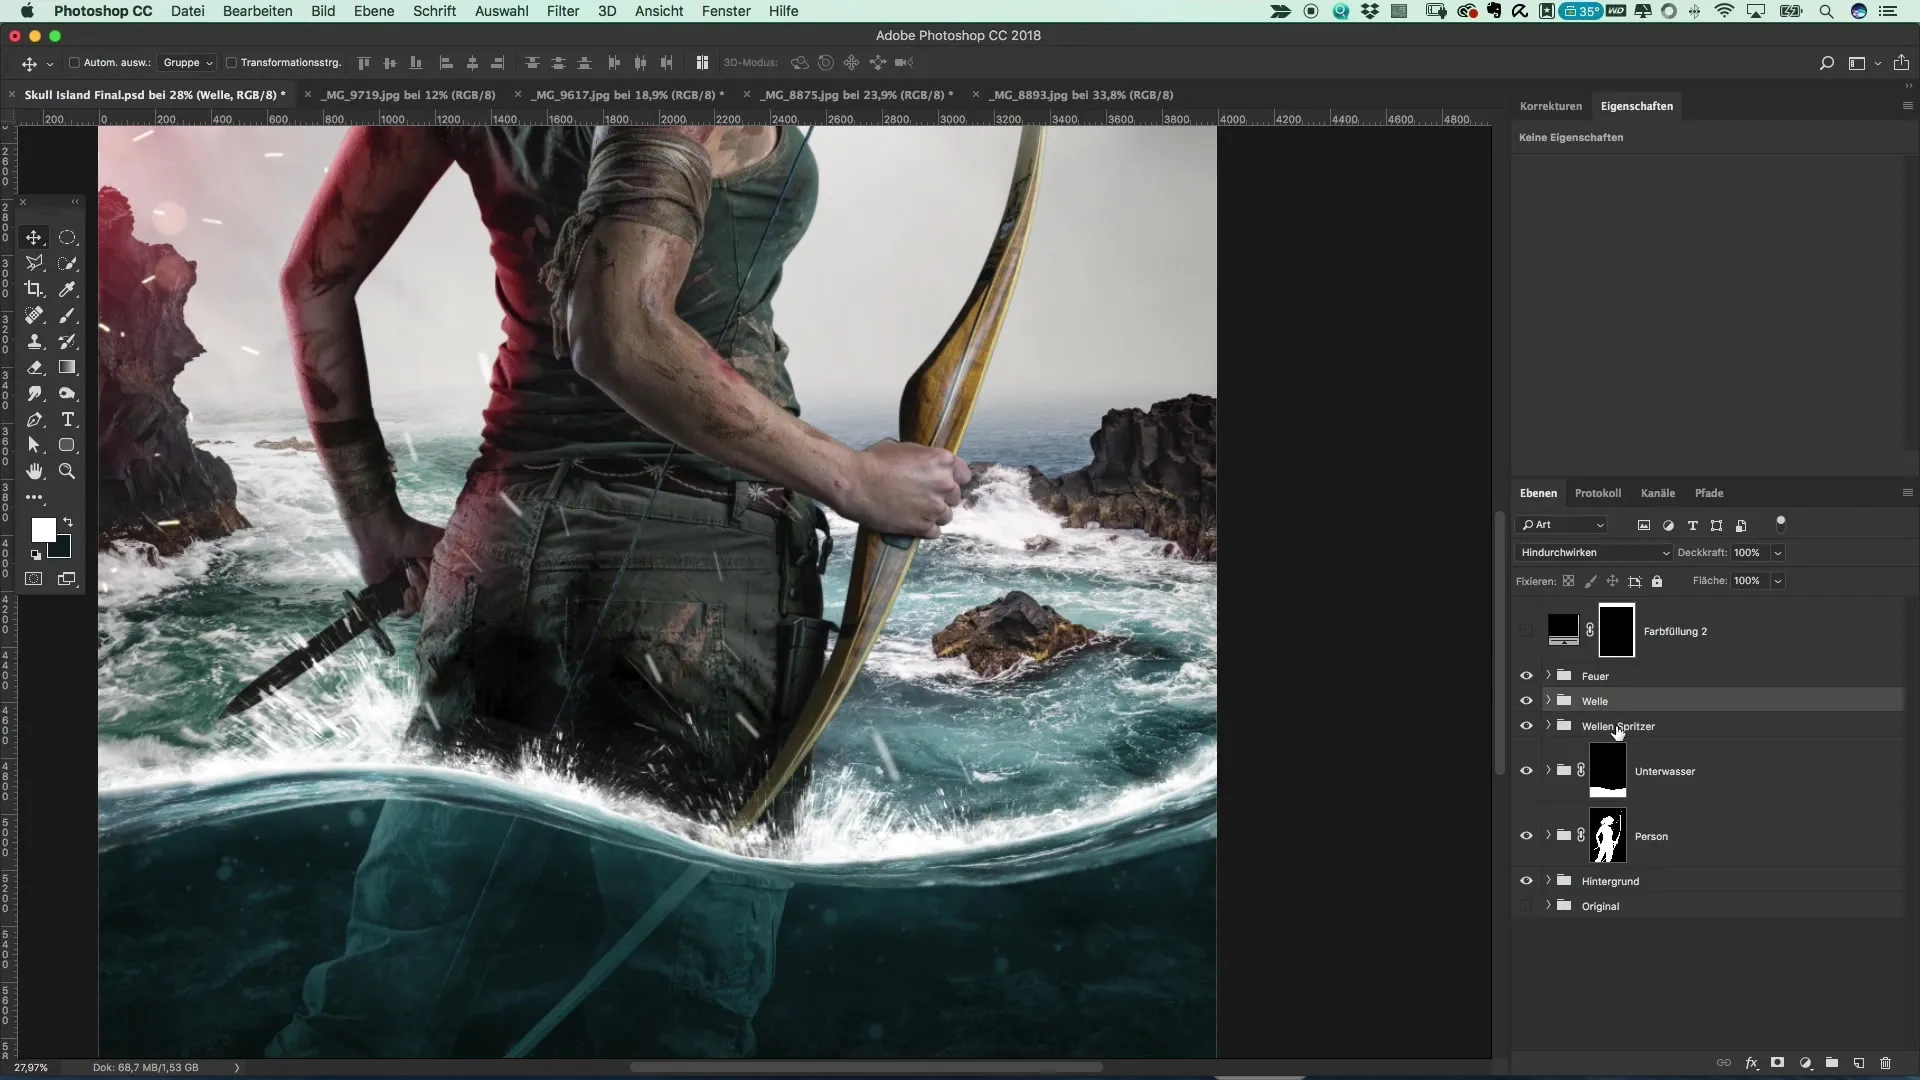
The final result should be a convincing and dynamic poster that reflects the world of Tomb Raider. If you are satisfied with the design, you can save the image or use it for future projects.
Summary – Creating posters in Tomb Raider style: Step-by-step guide
These steps will help you perfect your photography in Tomb Raider style by adding water and splash effects. The right tools and techniques make all the difference and give your work great dynamism.
Frequently Asked Questions
How do I bring the water splashes into Photoshop?You can draw them with a brush tool and then apply a motion blur effect.
What brush sizes should I use?Start with a brush size of 25 and adjust as needed.
Why should I rotate the water splashes?An irregular appearance of the splashes creates more naturalness and realism.
Can I adjust the opacity of the splashes?Yes, the opacity can be adjusted to vary the intensity of the splashes.
How can I best save the final product?Export your finished image in a common format like JPEG or PNG to save it.


