Are you faced with the challenge of handling textscreatively and precisely? The possibilities with ClaudeAIare enormous, and once you master the right techniques, you can effortlessly achieve impressiveresults. This guide will show you how to make the most of Claude AI to improve your texts and achieve exactly the results you desire. Let’s get started without further ado!
Key Insights
- Tailoring the style of texts is simple and effective.
- Handling files and inserting texts is user-friendly.
- You can easily integrate emojis and special formulations.
- Live feedback during text creation is a great advantage.
- Publishing and sharing your results is straightforward.
Step-by-Step Guide
Step 1: Insert Text and Choose Style
To start text generation, insert the desired text into Claude AI. Click on the small settings icon to select the style of your text. You have options for concise, explanatory, or formal design. This choice shapes how your output will ultimately look.

Step 2: Adjust Model Settings
After choosing the style, you can also select the corresponding AI model. In most cases, you can keep the default setting. Just click on "Start" and watch how your inputs are transformed into output.
Step 3: Review and Adjust Output
Once the AI can start generating, the text appears in the chosen form. You can immediately see how well the suggestion meets your requirements. What's particularly cool is that emojis are automatically inserted to bring the text to life, just like in a summer newsletter.

Step 4: Rephrase Text
If you are not satisfied with the initial output, you can adjust the text. Just give instructions, e.g., "Please rephrase this more formally." Claude AI will adjust the text accordingly and provide you with a new version.

Step 5: Save Intermediate Versions
A big advantage is the ability to quickly switch between different text versions. If you prefer an earlier version, just click on it and copy the text to your clipboard. This makes working much easier since you don't have to search for the original text again.

Step 6: Adjust Text and Insert Improved Paragraphs
If you only want to change a specific paragraph, you can do so precisely. Highlight the corresponding text, click on "Improve," and add your desired changes. This feedback will be implemented live right away.

Step 7: Emoji Integration
To make the text more interesting, use opportunities for emoji integration. Simply ask the AI to add specific emojis to lighten the tone of your text or to create visual accents.

Step 8: Share Results
Once you are satisfied with your text, you can easily share it. Click on the "Copy Link" feature to share your results with others. This is especially convenient when getting feedback from colleagues or friends.

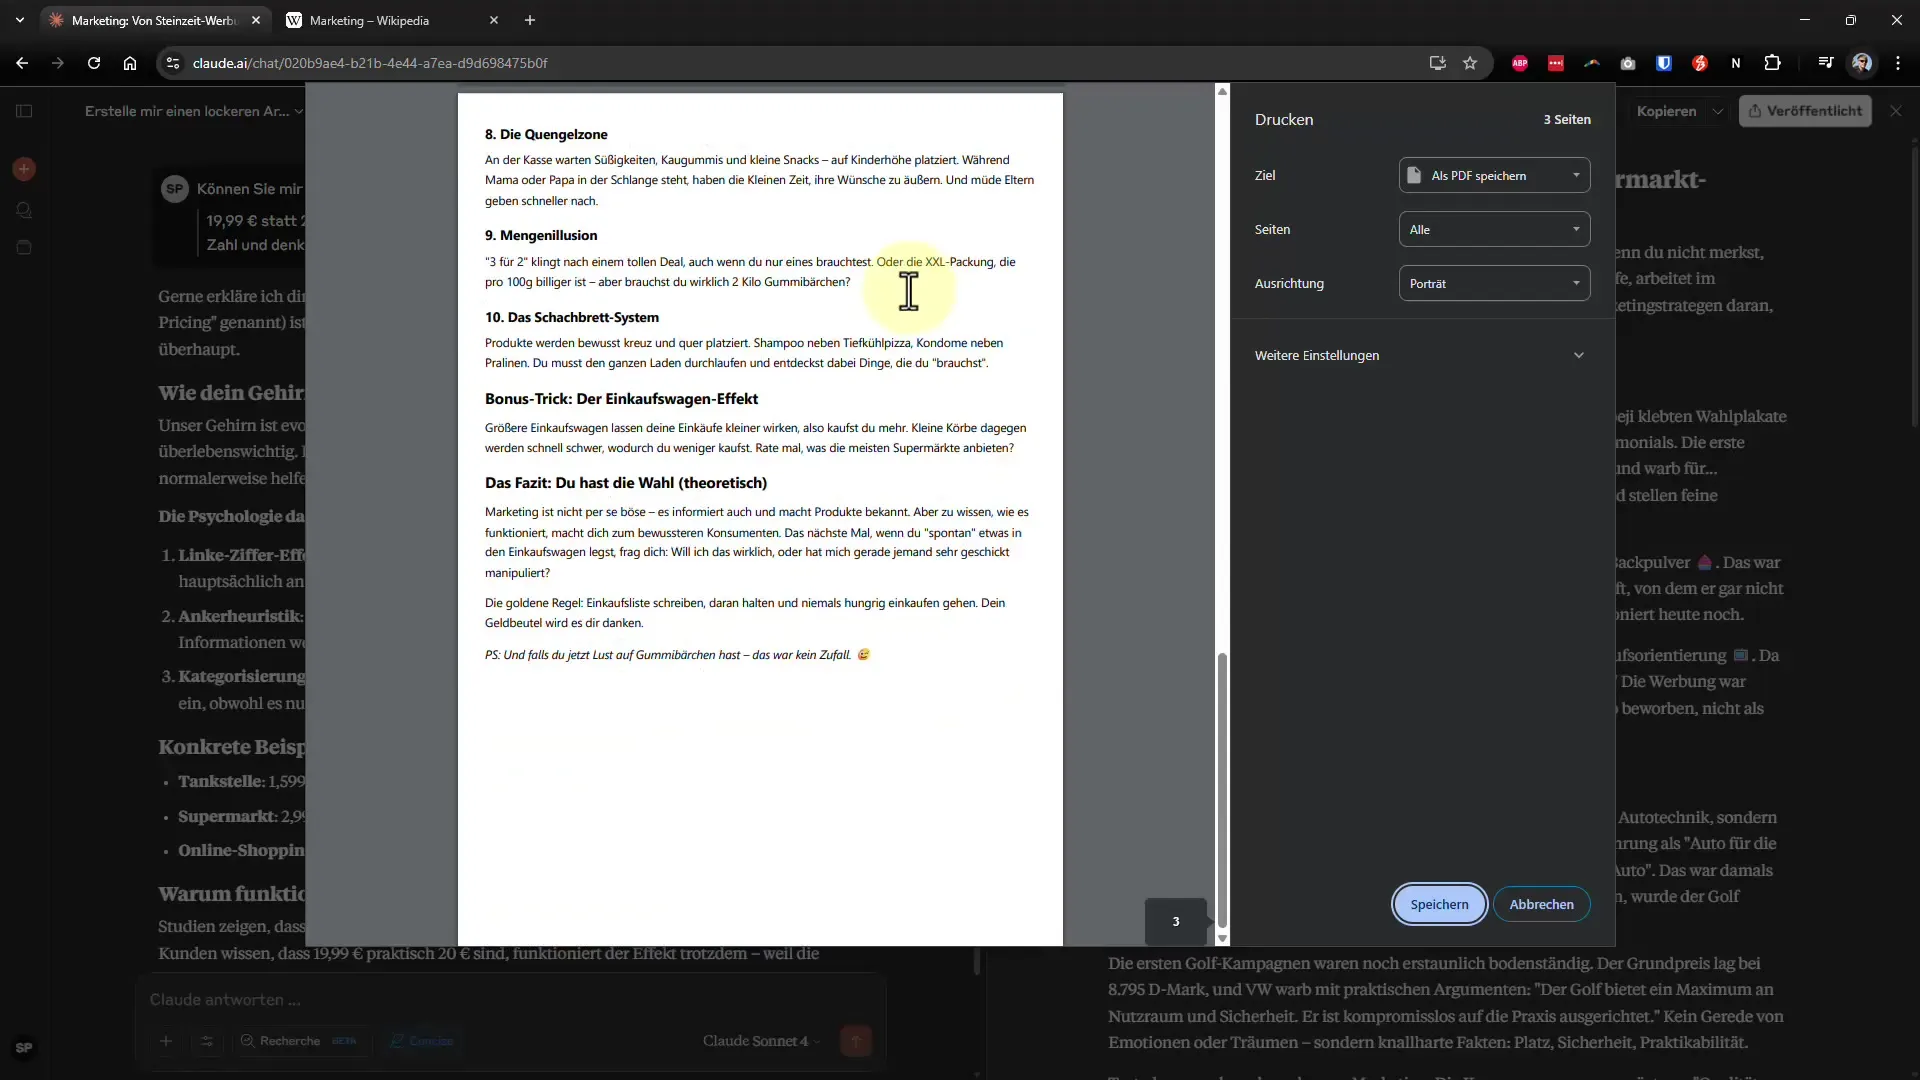
Step 9: Export Markdown and PDF
Downloading your texts in Markdown format is a sensible option. Markdown ensures that the text appears well everywhere and can be easily imported into other systems. Alternatively, you can also create a printable PDF version.

Summary – Ultimate Guide to Effective Work with Claude AI Prompts
In this hands-on guide, you learned how to make the most of Claude AI: from entering text to exporting in the desired format. With the right techniques, you will quickly become a pro in handling AI-generated content. Use these tools to increase your efficiency and achieve impressive results!


