Photographic techniques can drastically change the way we perceive shots. One particularly fascinating method is long exposure, which not only creates dramatic skies or smooth water surfaces but is also capable of breaking up harsh shadow edges, thus enhancing the overall impression of an image. This technique is often overlooked, but it offers incredible possibilities, especially when you want to create a softer atmosphere in a picture.
To understand and apply this method, I would like to present you with an example that illustrates the application of this technique. Let's go through the steps together that are necessary to master this photographic challenge.
Key Insights
- Long exposure can soften harsh shadow edges.
- The technique is particularly effective in bright lighting conditions.
- The exposure time affects the appearance of shadows and light.
- By deliberately using this technique, the contrast in the image can be reduced.
Step-by-Step Guide
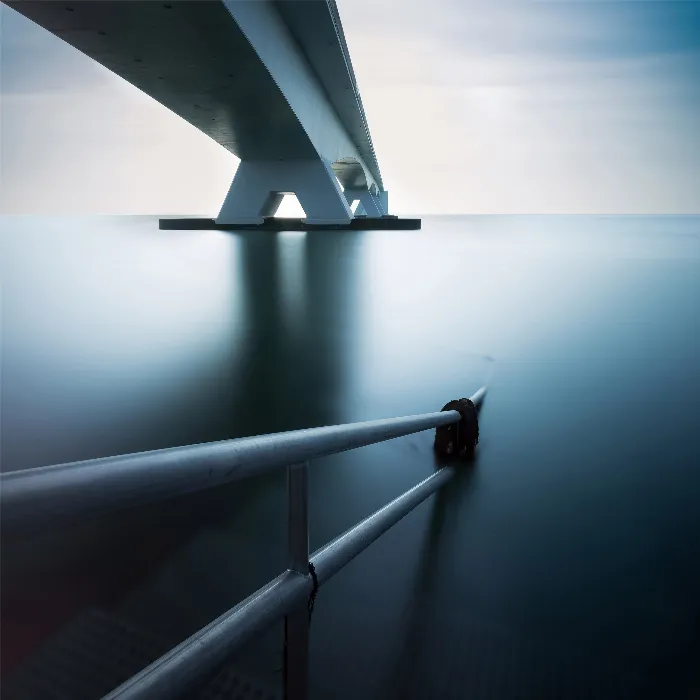
First, we will go through the basics of applying this technique and take a look at the example image that demonstrates the effectiveness of long exposure in softening shadows.
Step 1: Preparing the Camera
First, you should ensure that your camera is optimally set for long exposure. You need a tripod-stable position to avoid blurriness caused by camera movements during exposure. Choose an aperture of around f/13 and set your ISO to 100 to minimize image noise.

Step 2: Choosing Exposure Time
Choose a sufficient exposure time to capture the movement of the sun in the image. In our example, we used an exposure time of 360 seconds, which is 6 minutes. During this time, the sun has moved enough to make the effect of shadow softening clearly visible.
Step 3: When the Sun Moves
It is important to understand that the movement of the sun during the shot is crucial for the desired effect. The longer the exposure time, the more the shadow will be softened by the movement of the sun. Make sure to focus on the shadow shift in your image while you are photographing.

Step 4: Observing Results
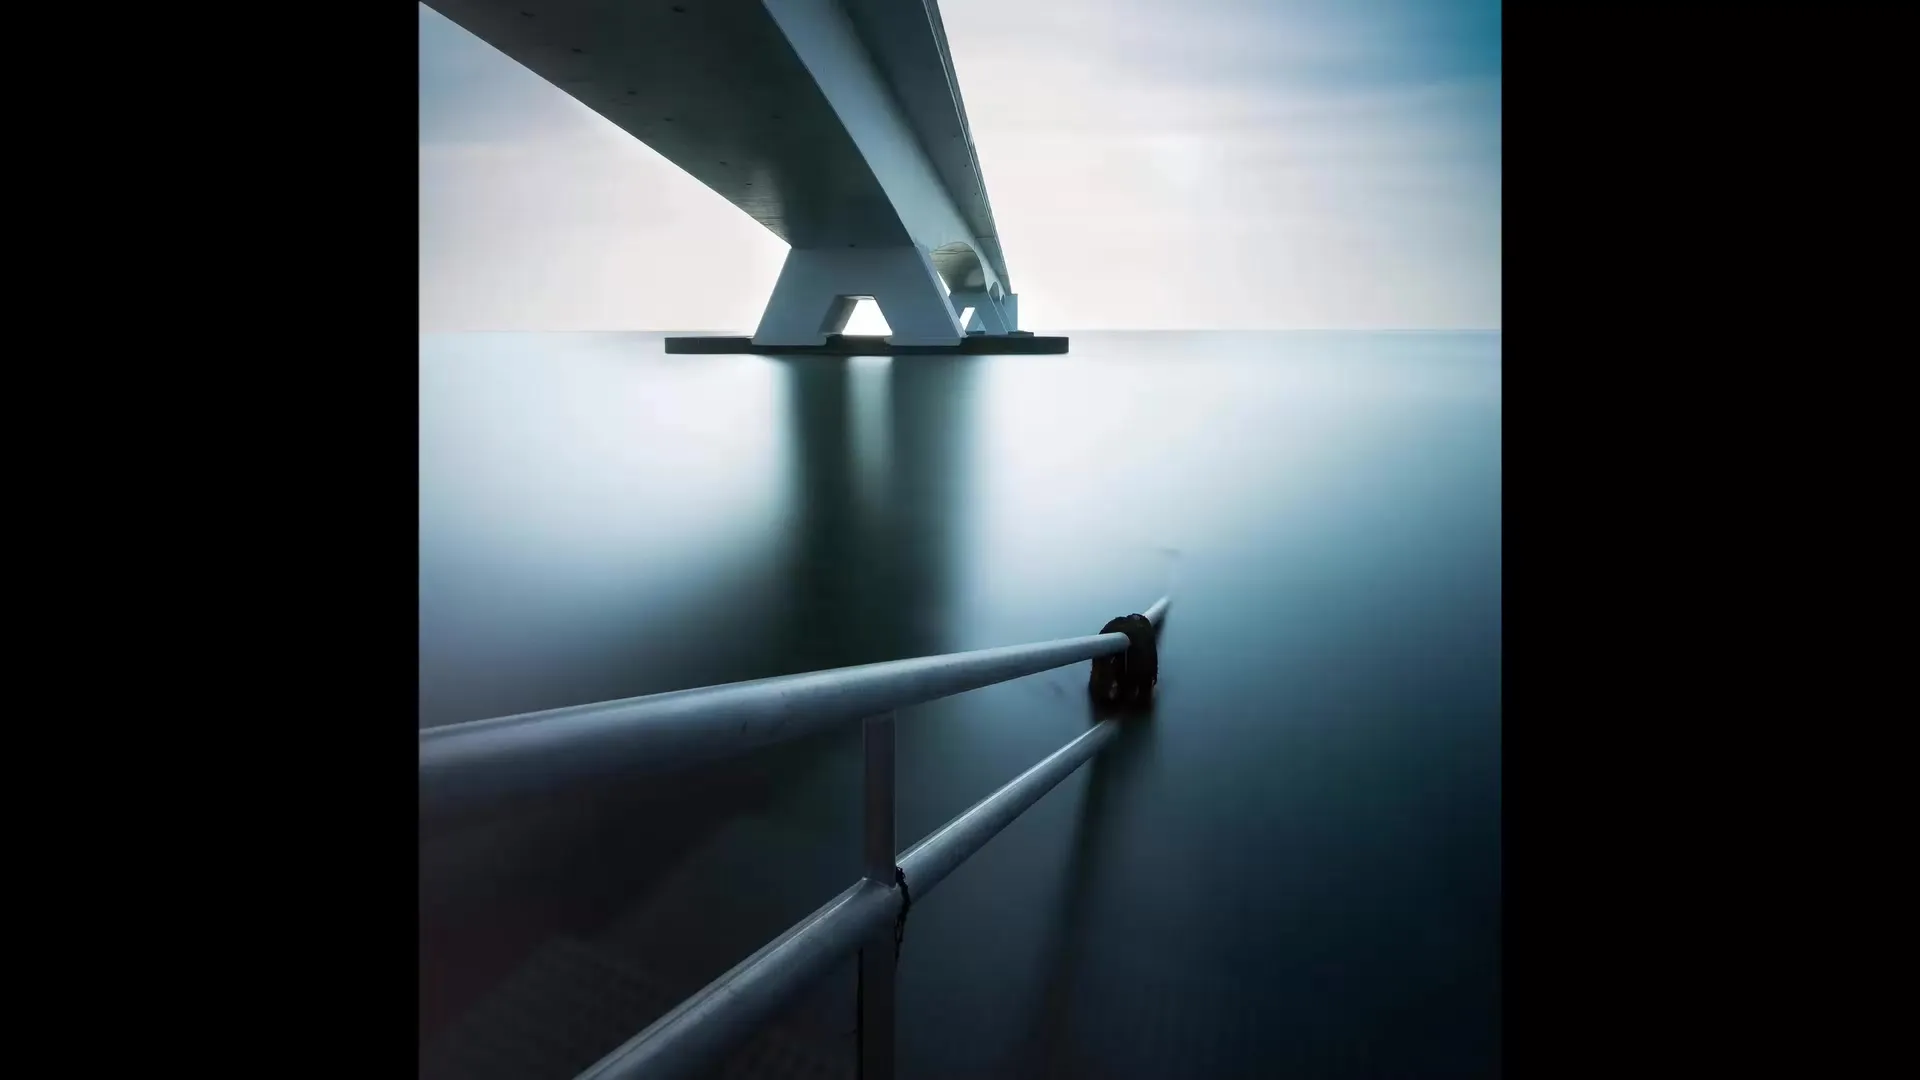
Once you have taken the picture, take a look at the result. The shadows should now appear significantly softer, especially in the reflection on the water. This is due to the long exposure time, which not only captures the movement of the sun but also smooths the water surface.
Step 5: Detailed Analysis of Shadows
Examine the image for details, such as how the shadow edges appear. In our example image, you can see that both the shadows of the railing and the bridge are softened. Note how soft transitions are created and the edges no longer appear sharp and hard.
Step 6: Optimizing Contrast
The technique of shadow softening not only serves aesthetic improvement. It also helps to reduce the contrast ratio in the image. Harsh contrasts can appear unpleasant. With this method, the transition from light to dark is more harmonious and pleasing to the eye.
Step 7: Processing Images Further
After capturing the shot, you can further optimize the image in editing software. Here, you can adjust the colors or remove small imperfections to make the final image a work of art. Often, just a little post-processing can help make the image even more appealing.
Summary – Long Exposures for Softening Shadow Edges
In summary, the technique of long exposure for softening shadow edges is an excellent approach to making images more vibrant and engaging. With a little planning and the right equipment, you are able to create dynamic photographs that are not only technical masterpieces but also charged with emotions and atmosphere.
Frequently Asked Questions
How long should I expose to soften the shadow?An exposure time of several minutes, for example, 6 minutes, is ideal for capturing the movement of the sun and breaking up harsh shadows.
Do I need a tripod for long exposure?Yes, a tripod is essential to avoid vibrations and blurriness during long exposure times.
Can I apply the technique in darkness?This technique is best suited for daylight because the sun has to move during the exposure to achieve the desired effects.
Does the image always get better the longer I expose?Not necessarily. Too long exposure times can overexpose the image or cause too much blur. It's all about finding the right balance.
Is this technique suitable for all types of photography?It is most effective in certain scenarios, especially in landscape and architectural photography, but it also offers interesting possibilities in other genres.


