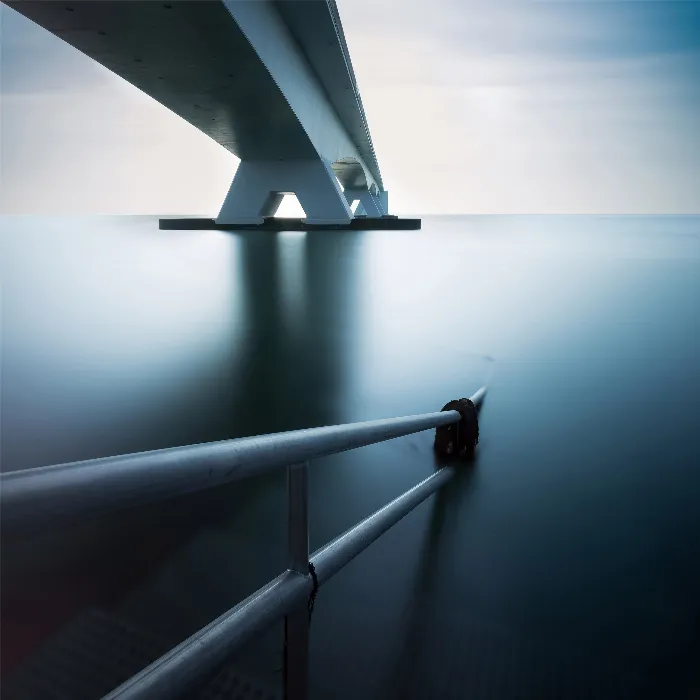
Long exposures are a fascinating way to express time in photography. They require patience, precision, and a certain level of technical understanding. In this guide, you will not only learn how to create engaging long exposures but also how to analyze and edit the results. You will see how different exposure times affect the final image and how to best showcase the effects.
Main takeaways
- A long exposure requires more time for preparation and shooting, resulting in fewer images, but usually leads to higher quality results.
- Different exposure times significantly affect the sharpness and reflections in the image.
- Appropriate post-processing can drastically change and adjust the look of your images.
Step 1: Preparing the shot
The first step to a successful long exposure is preparation. It’s important to choose a stable location for your camera. A tripod is essential to avoid shake and motion blur. The exposure time depends on the light and weather conditions. Make sure to adjust your aperture and ISO when using a neutral density filter.
Step 2: Understanding the first images
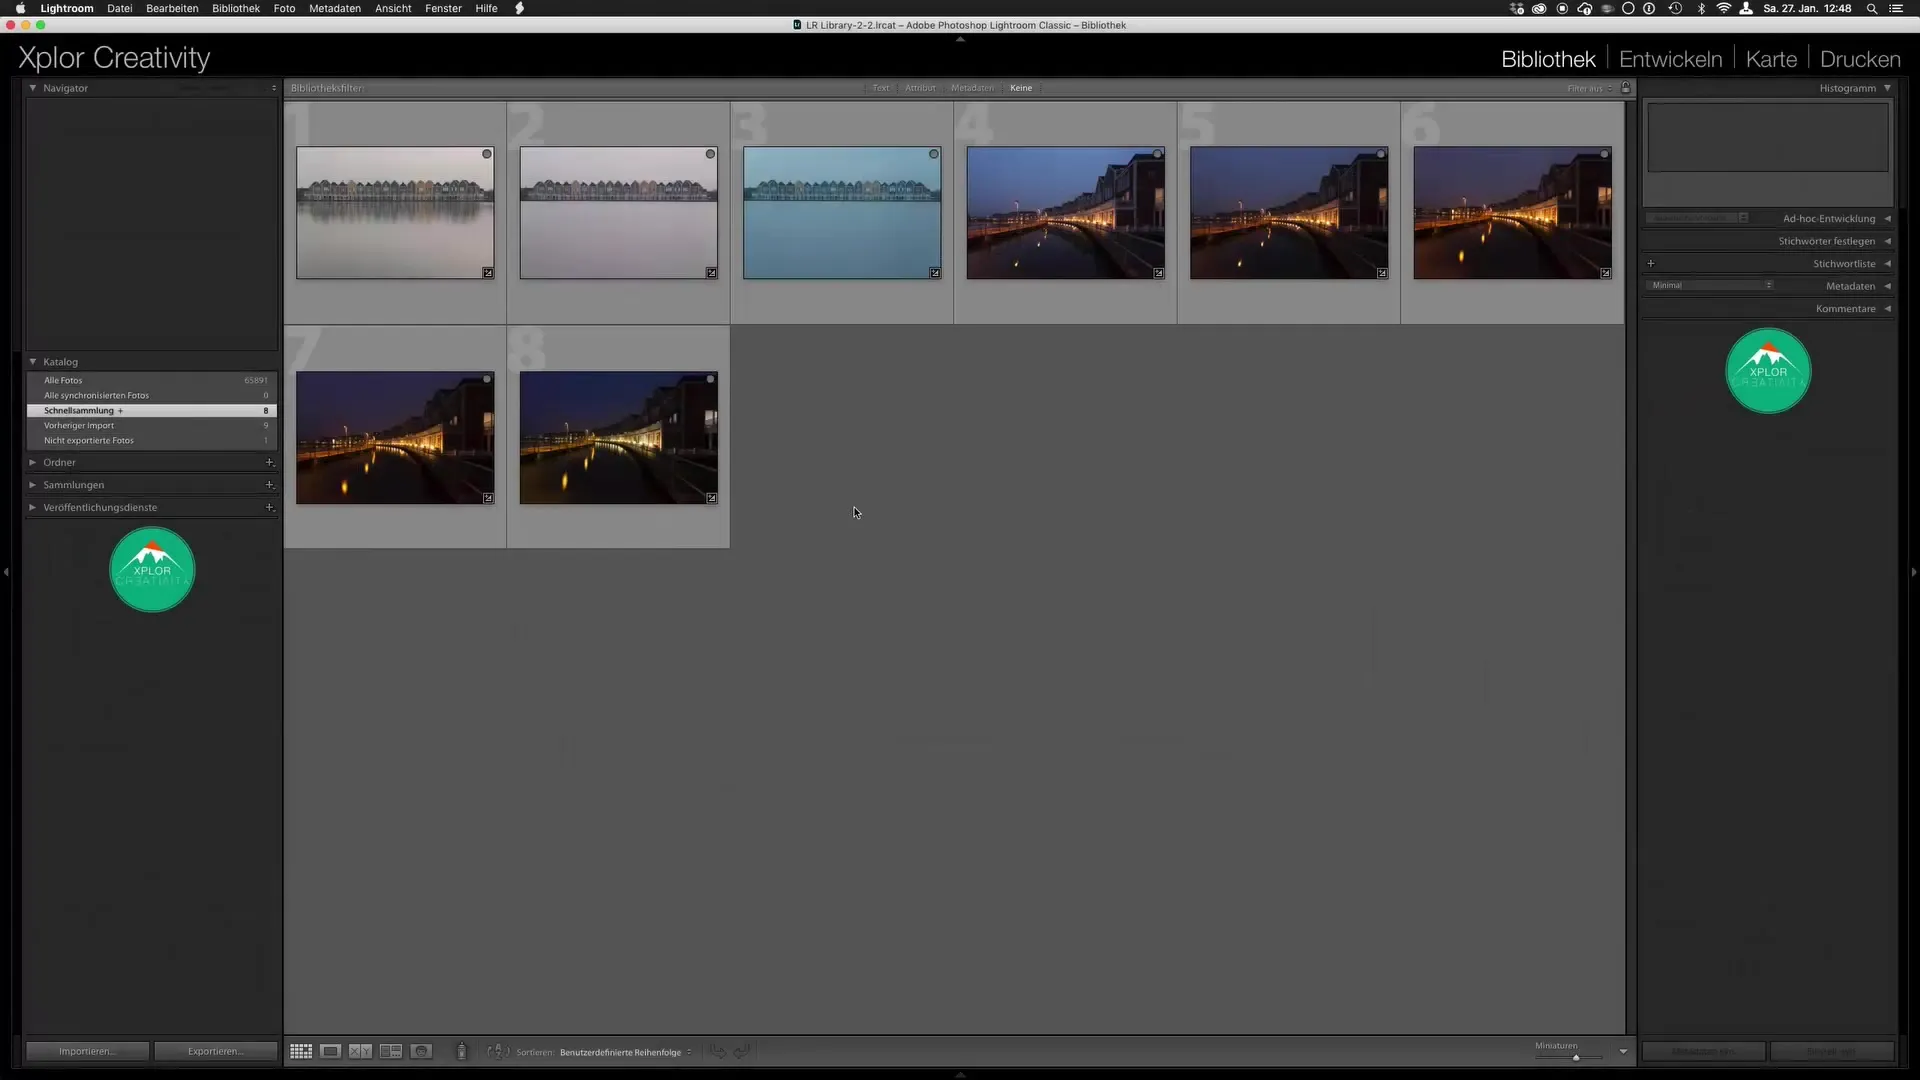
Look at the first images in your portfolio. These were taken with an exposure time of 0.5 seconds at f/8. Pay attention to the reflections in the water and the sharpness of the objects depicted. Often, the movement of water or other objects leads to some blur, while static objects are clearly depicted.
Step 3: The impact of longer exposure times
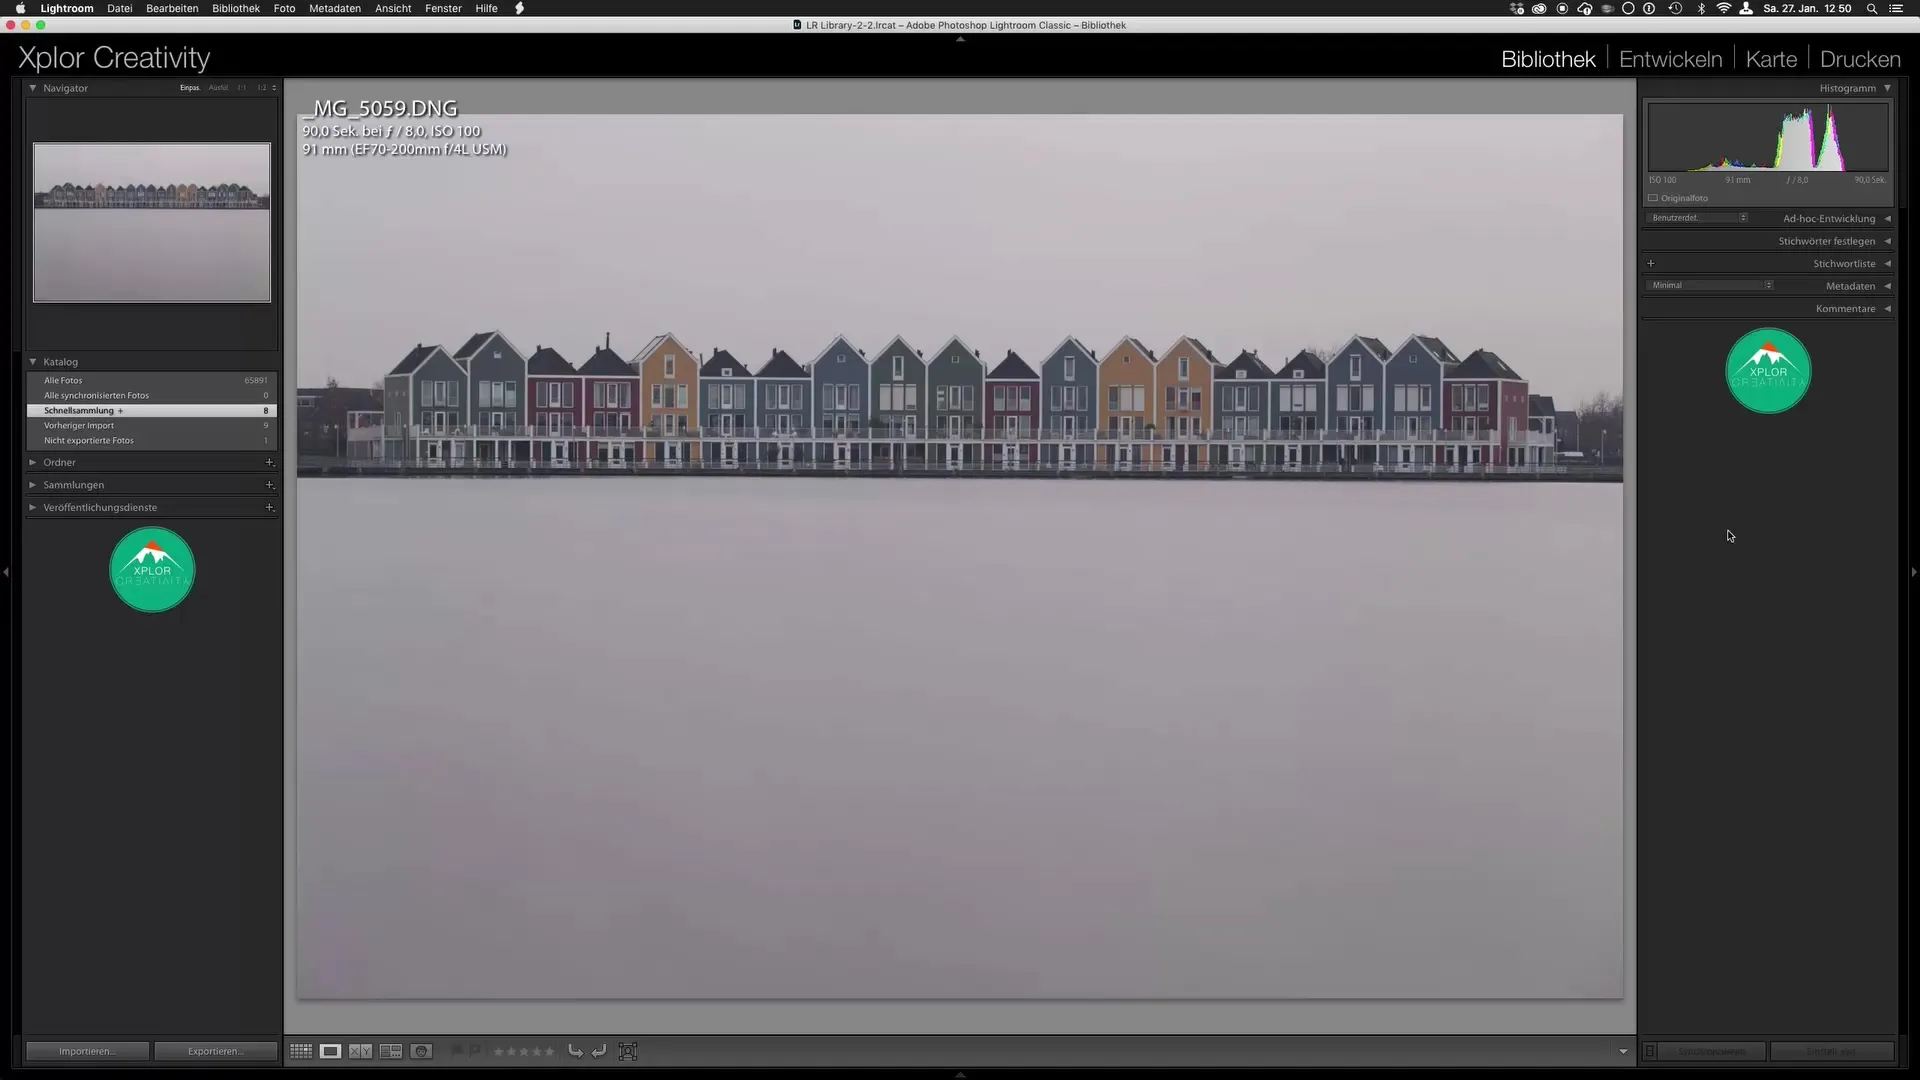
When you increase the exposure time to 90 seconds, the image changes drastically. The surface of the water becomes calm, and the reflections differ significantly from the previous shots. Note that longer exposures with moving water can result in blurry or distorted reflections. A calm day can work wonders here.
Step 4: Analyzing the 5.5-minute exposure
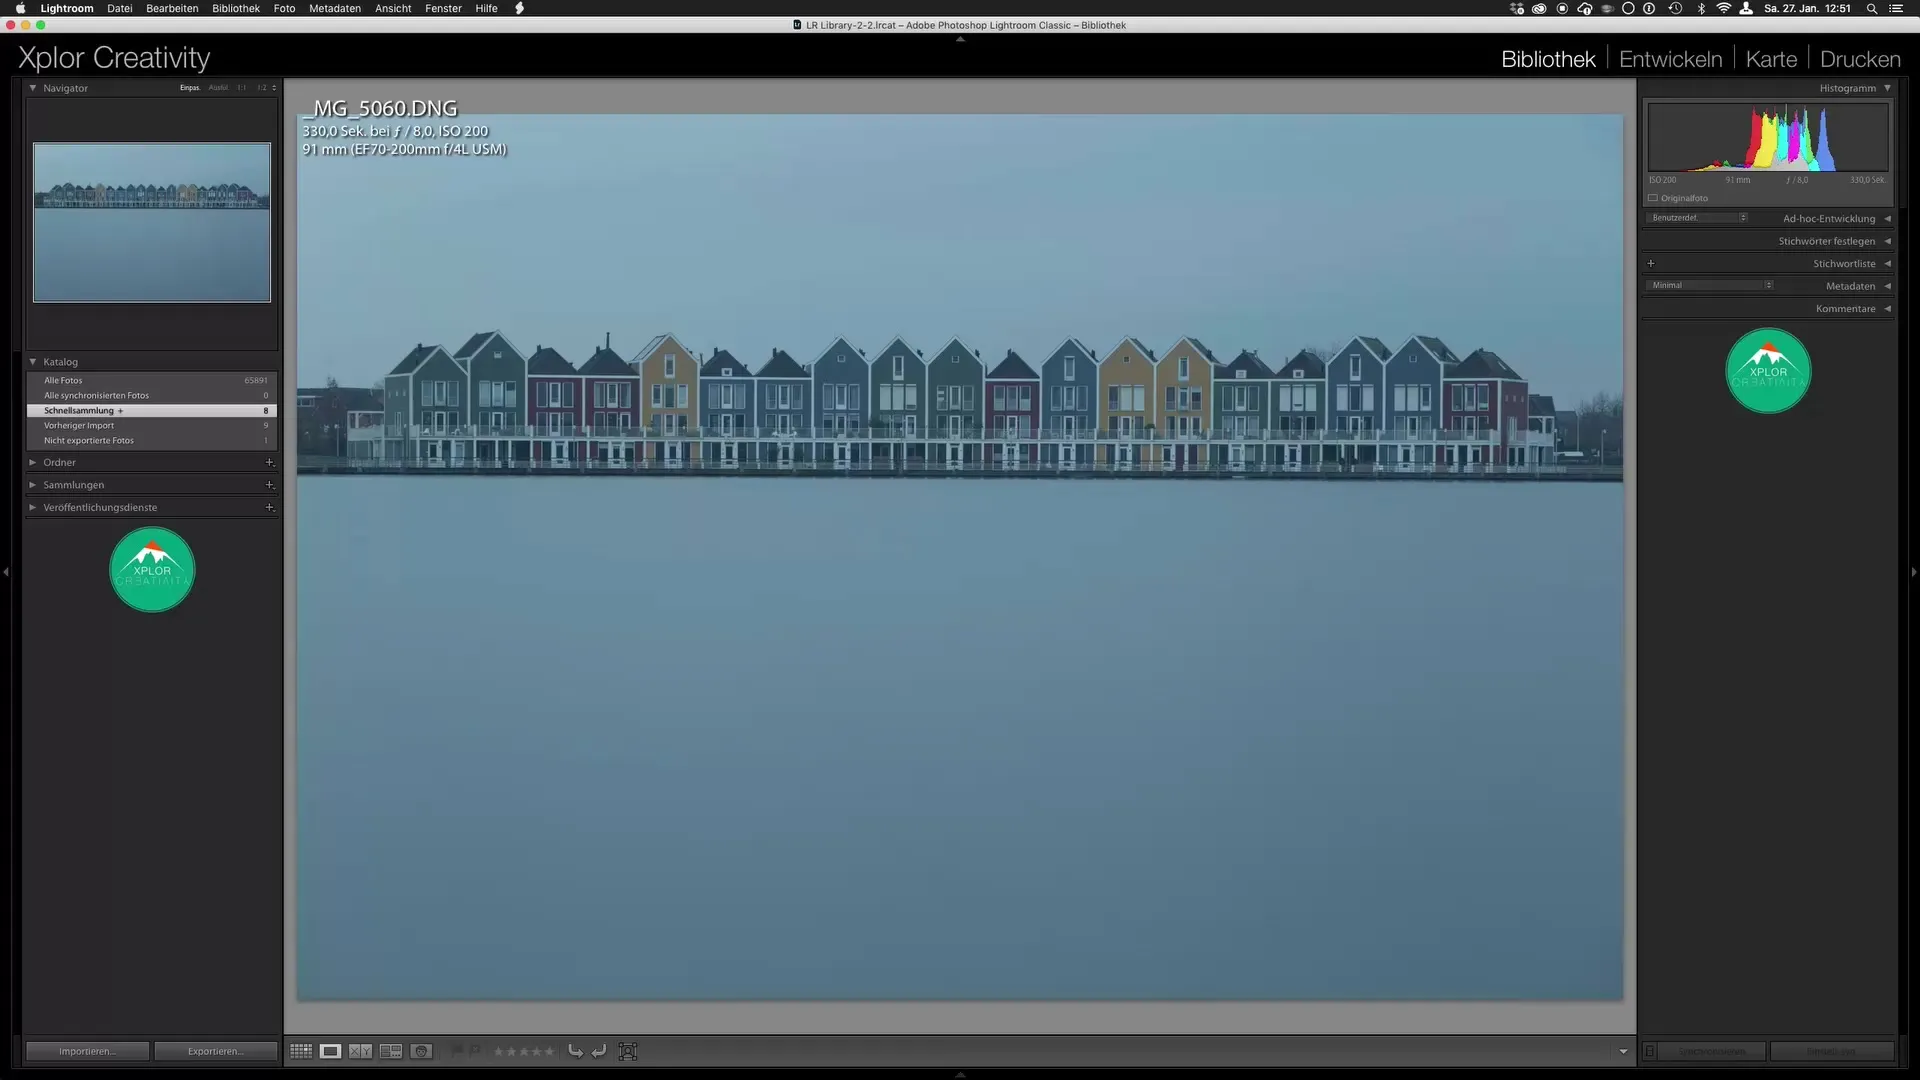
Another example is exposure times of up to 5.5 minutes. Here you see that the water appears extremely smooth, and any movement has been almost erased. You can deliberately evoke this effect through long exposure. This is especially important in situations where a calm water surface is crucial for the image effect.
Step 5: Correction during post-processing
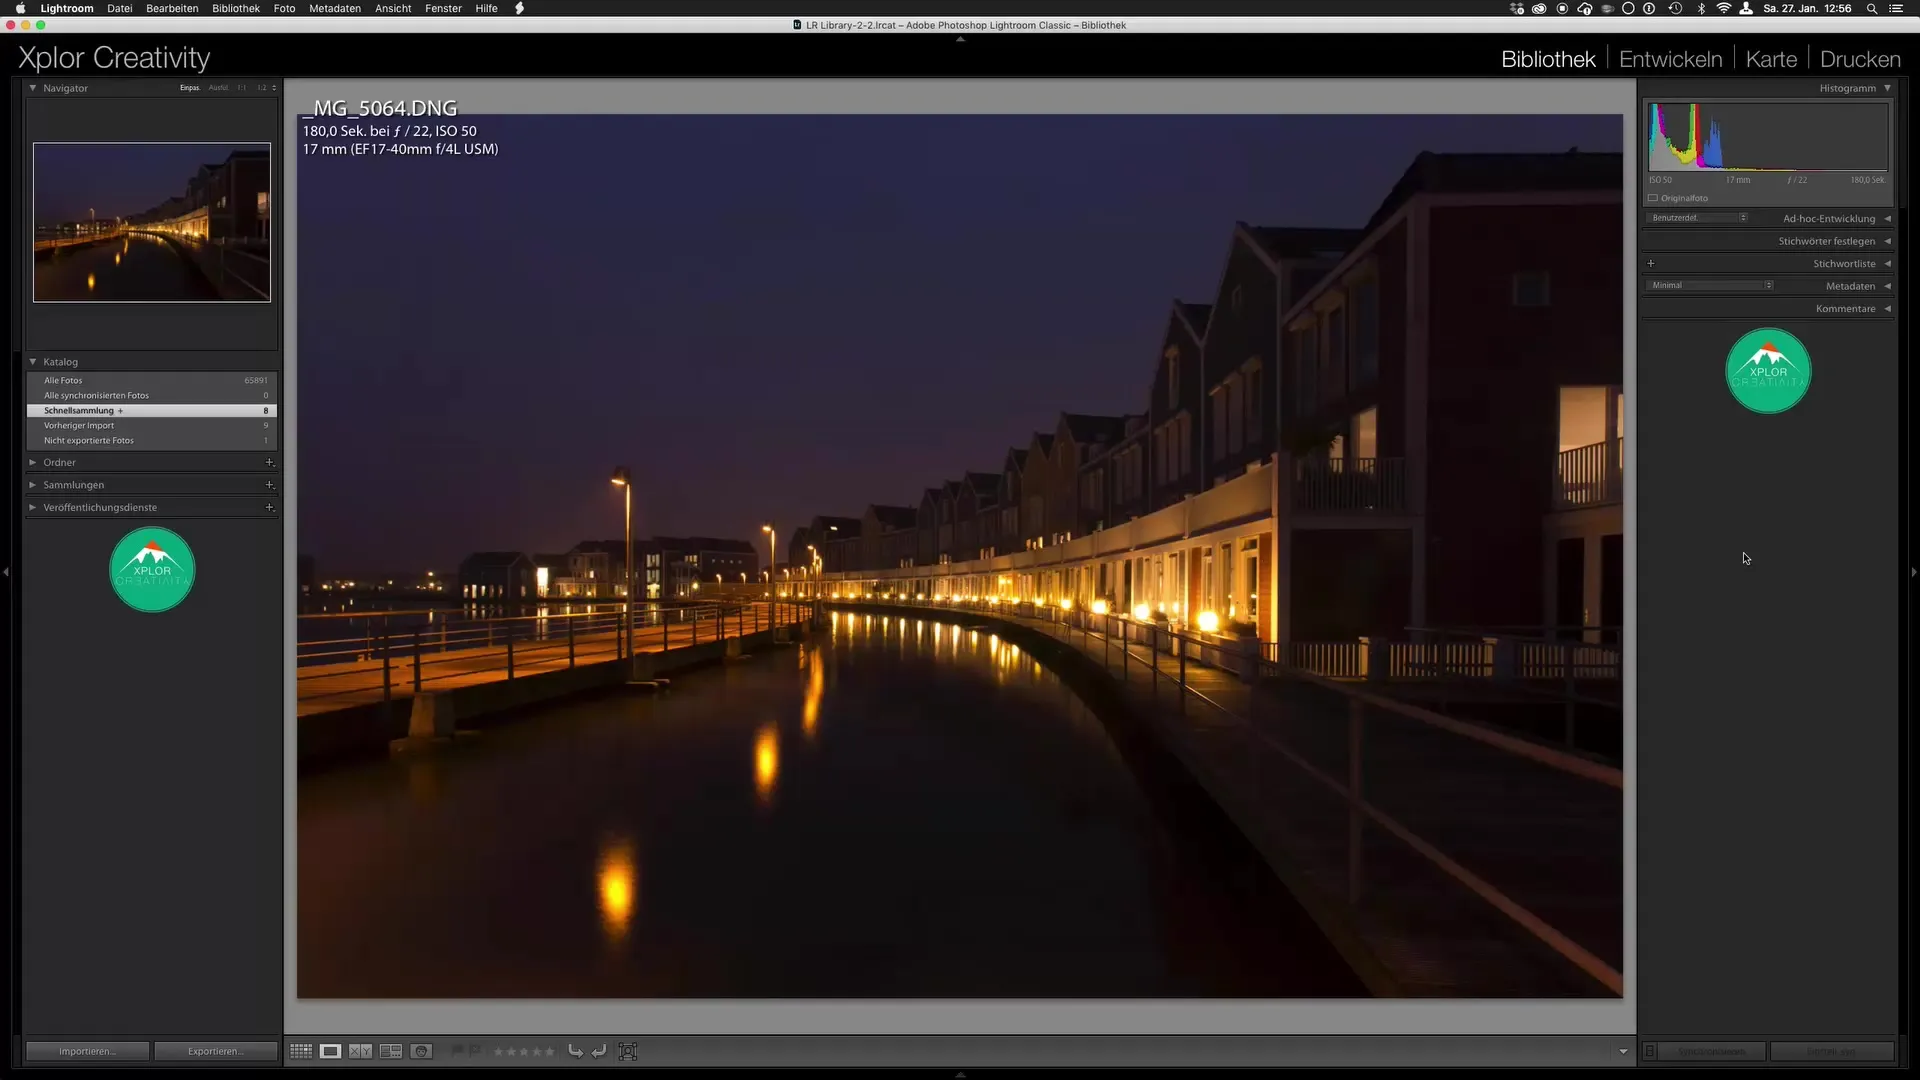
Post-processing plays a big role in long exposures. You will notice that the colors and overall brightness of the image are affected by the longer exposure times. Use programs like Lightroom to adjust the white balance and exposure. Here you can see how to bring the image closer to a neutral look.
Step 6: Considering light conditions
If you take your photos at dusk, you need to adjust the exposure times to account for the changing light conditions. This may mean working with shorter exposure times to prevent your images from becoming too dark. Experiment to develop a feel for the optimal time.
Step 7: Editing the selected images
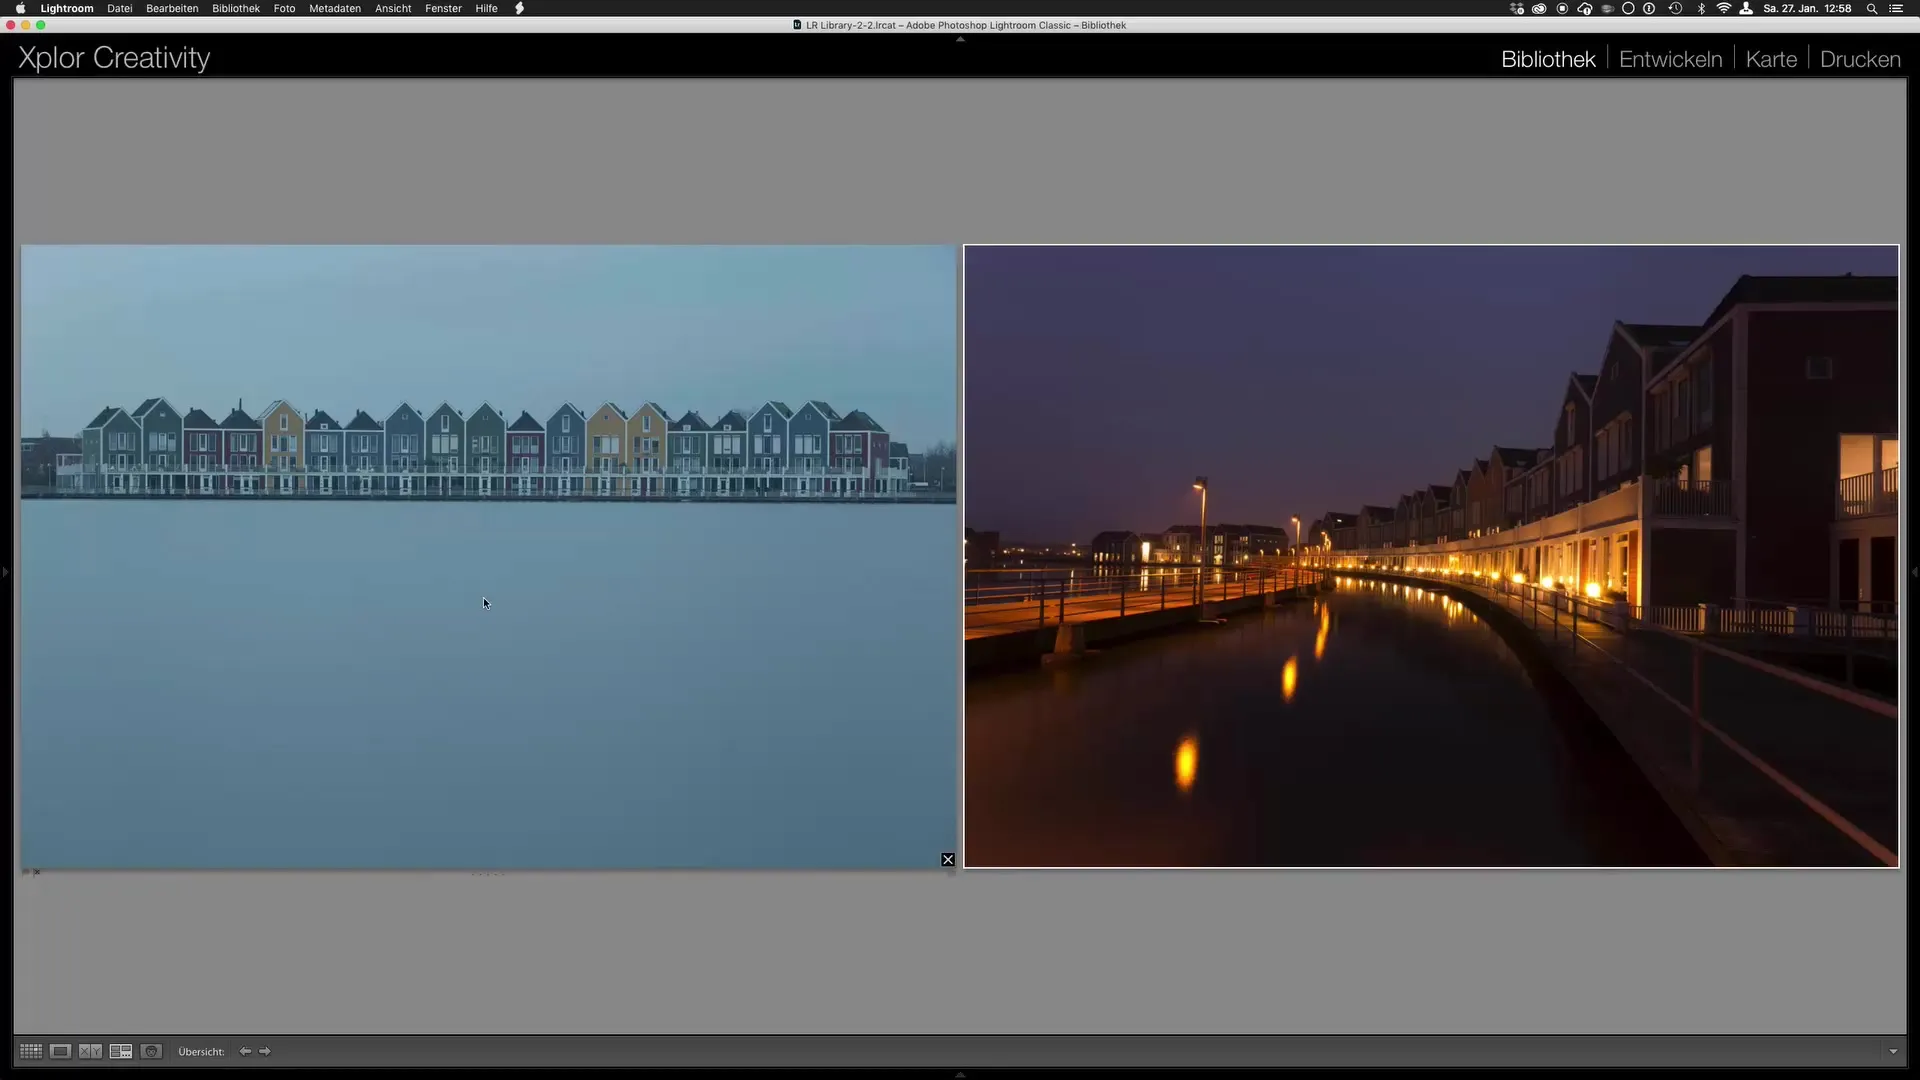
Select two images that you want to optimize in post-processing. Editing gives you a second chance to infuse the quality you desire. Focus on adjusting brightness, contrast, and white balance to get the most out of your long exposures.
Summary – Long Exposure Guide: Image Analysis and Post-Processing
Dealing with long exposures opens up new photographic perspectives. Through analysis and targeted post-processing, you can significantly improve the quality of your images. Always keep an eye on the right location and the correct exposure times to achieve the best results.
Frequently Asked Questions
How long should I set the exposure time for long exposures?The ideal exposure time varies, but a longer exposure time of several seconds to several minutes often yields the best results.
What do I need for long exposures?A stable tripod, a camera with manual settings, and possibly a neutral density filter are helpful.
How does using neutral density filters affect exposure times?Neutral density filters allow you to use longer exposure times while reducing the incoming light.
Do I also need to adjust the white balance for long exposures?Yes, the white balance can be significantly affected by the light conditions, so it’s worth adjusting the white balance manually.
Which image editing software is suitable for post-processing?Programs like Adobe Lightroom are ideal as they provide comprehensive tools for adjusting exposure, contrast, and color.
