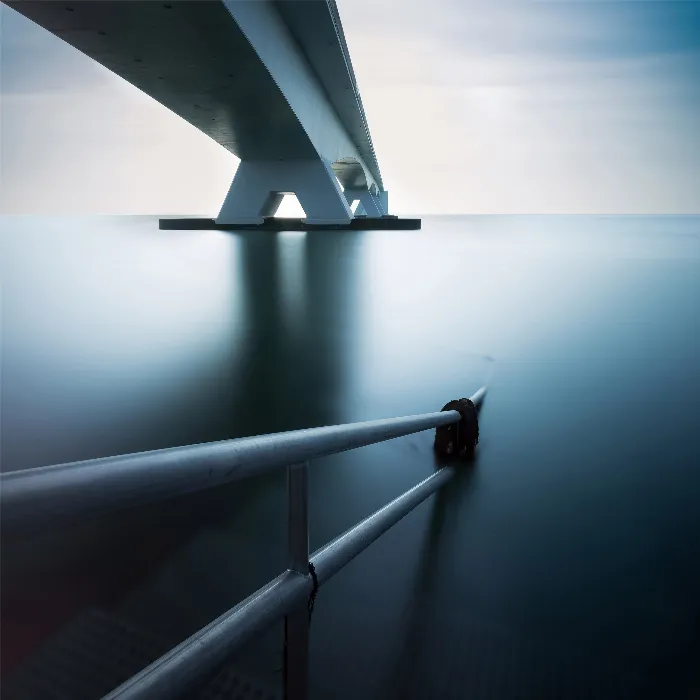
Before you screw on your camera filters or calculate new exposure times, it's crucial to compose your image correctly. A well-thought-out composition forms the basis for impressivelong exposures. In this tutorial, I'll show you step by step how to manually set your camera settings to get the most out of your long exposure.
Key Insights
- The composition of the image is the first step towards a successful long exposure.
- Use the live view mode for more precise settings.
- ISO should be kept low to avoid image noise.
- White balance is crucial for consistent light color.
- Manual focus is important, especially when using neutral density filters.
Step-by-Step Guide to Composing Your Long Exposure
Step 1: Activate Live View and View the Image
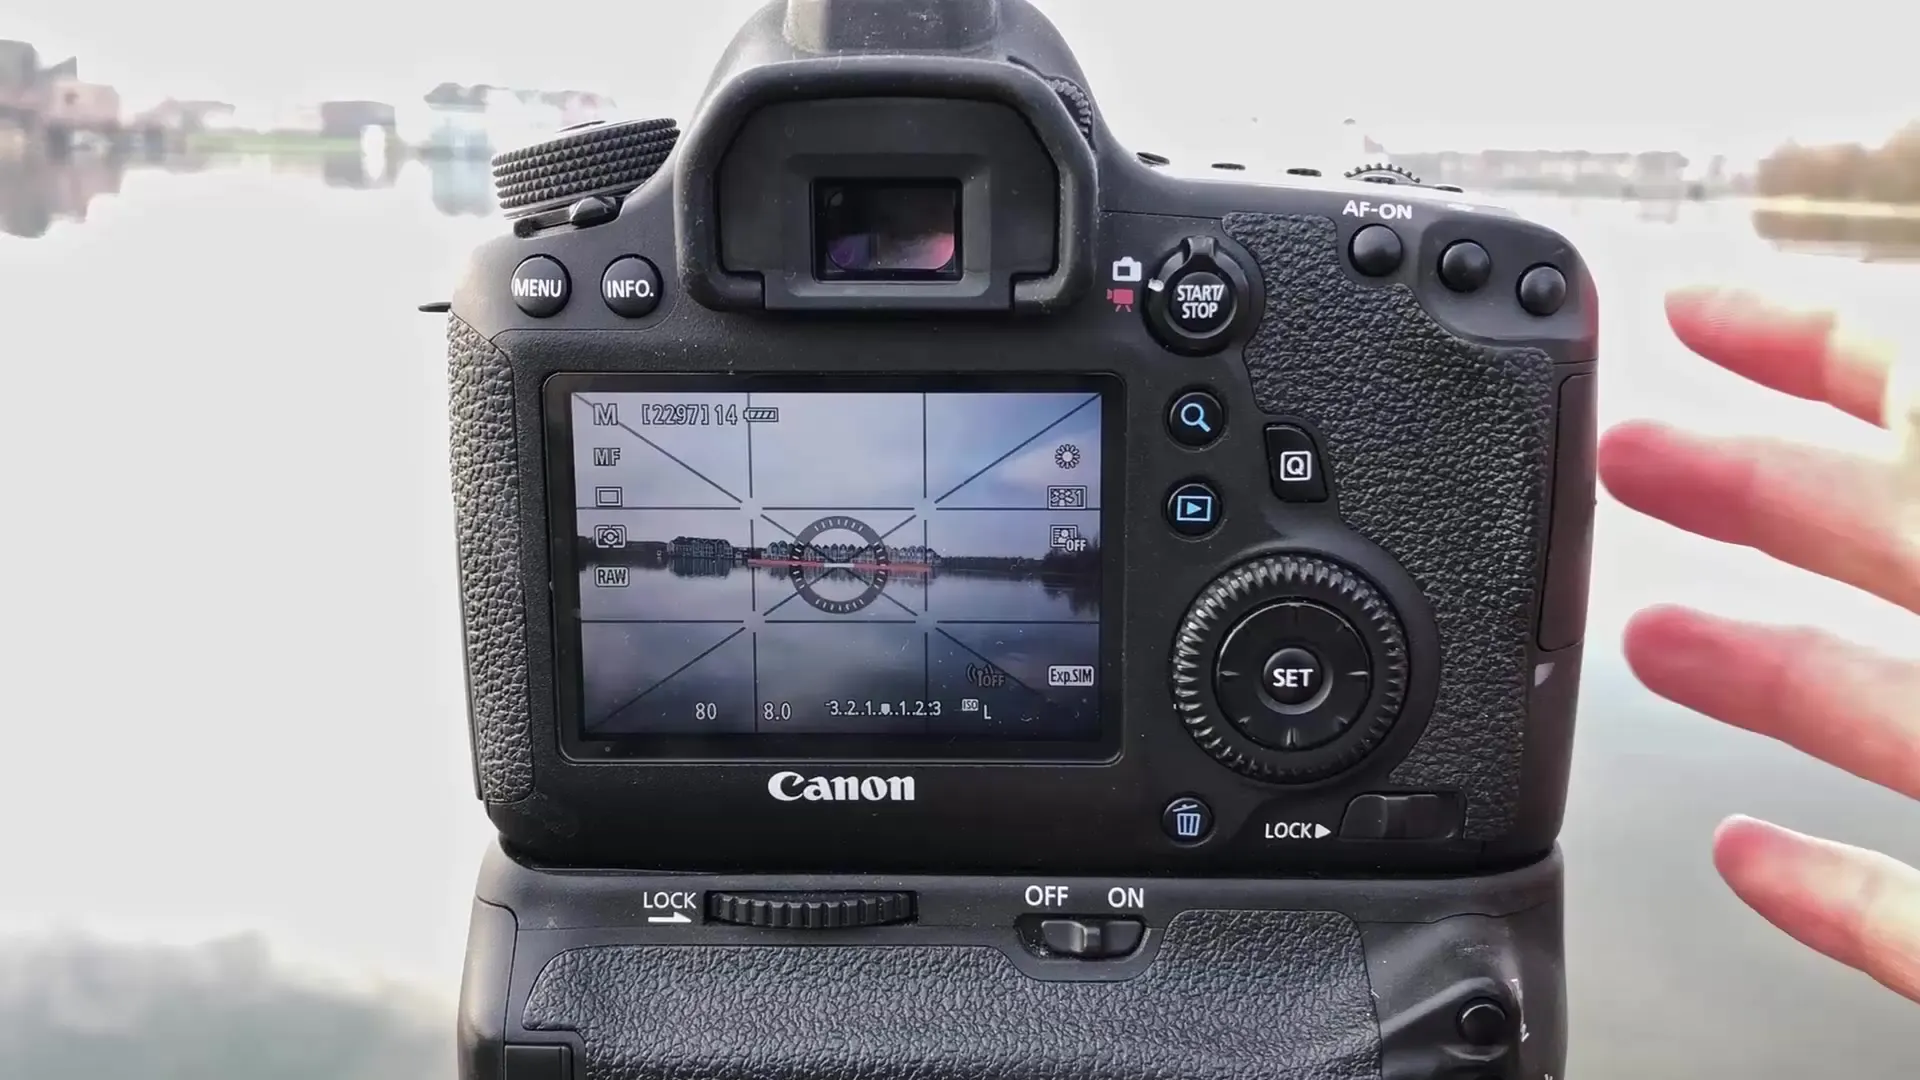
Before you start composing your image, activate your camera's live view. This gives you the opportunity to see the scene exactly on the display and optimize the composition. Make sure you don't get distracted by the viewfinder, which will later be covered. The advantage of using live view is that you can display elements like the grid, level, and histogram. This way, you keep an eye on the exposure and key settings like ISO, aperture, and exposure time.
Step 2: Establish Image Composition
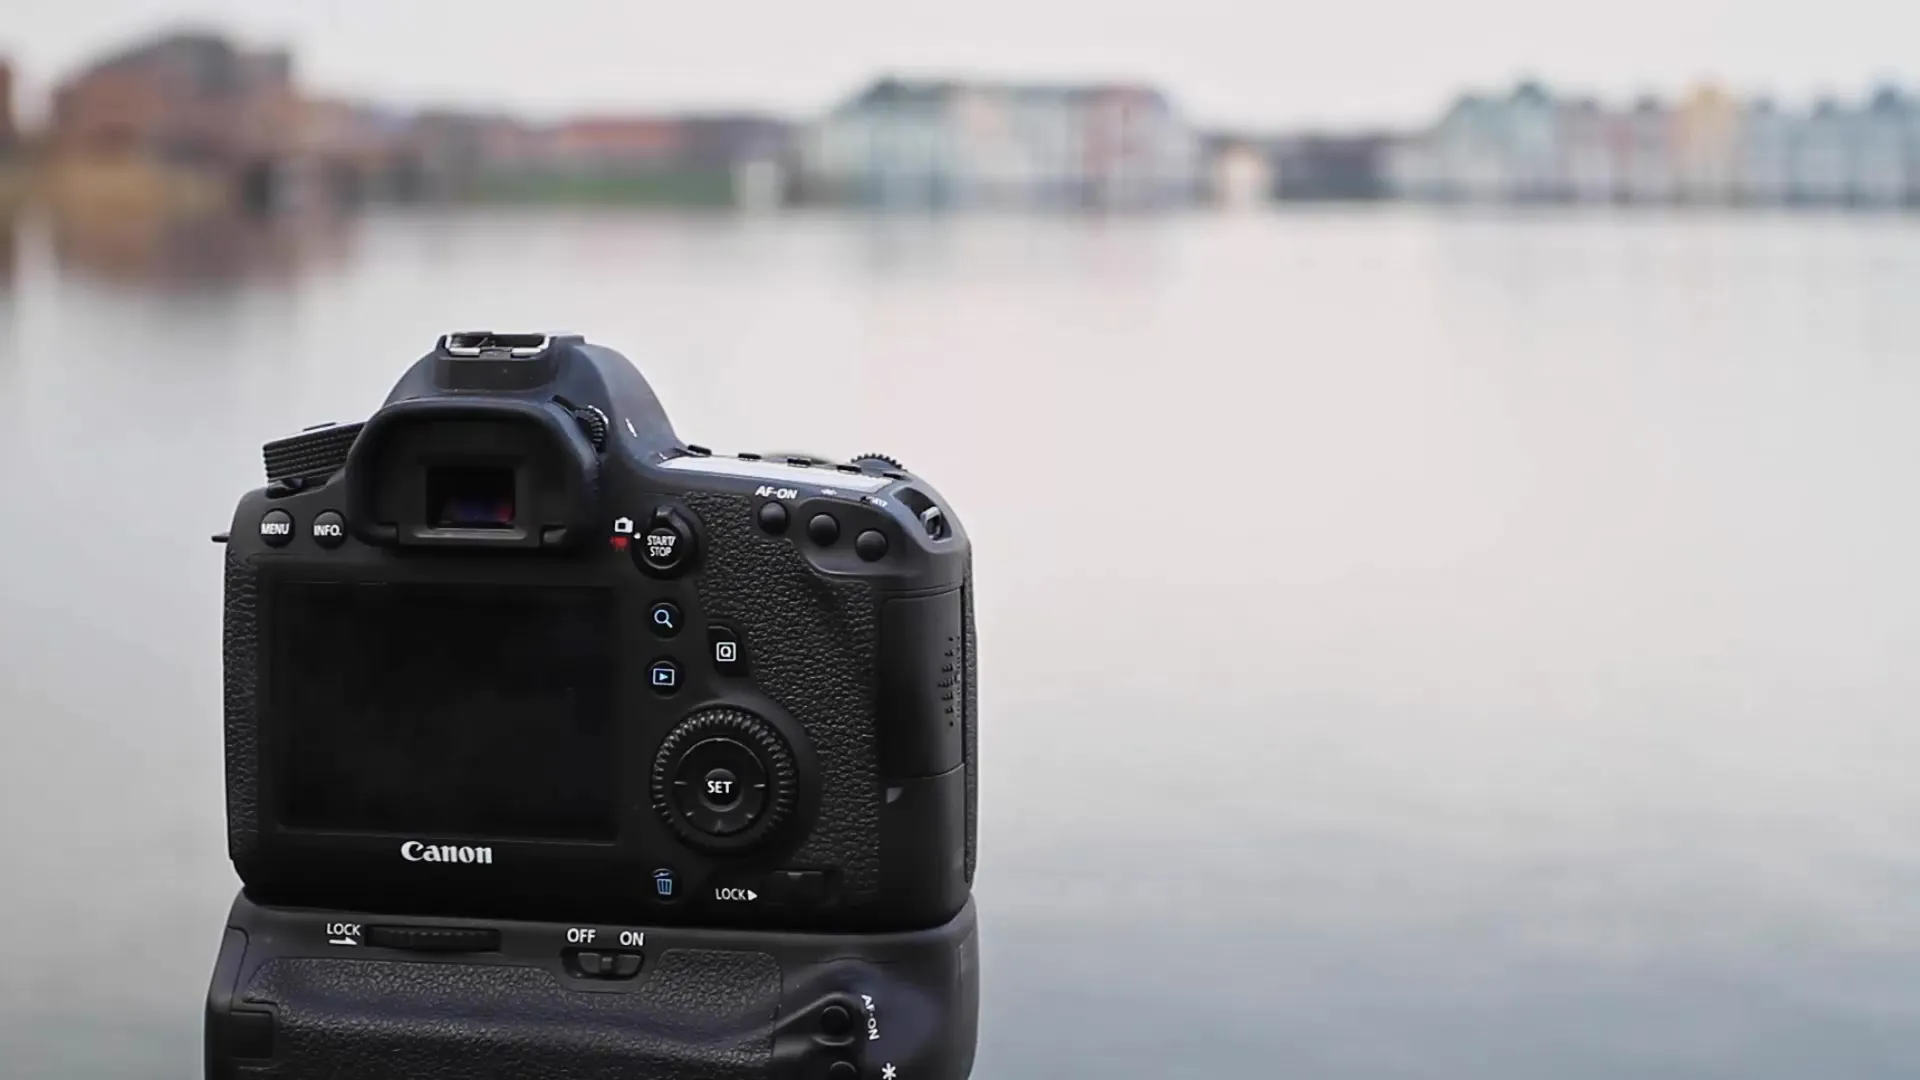
Now it's time to compose your subject. First, zoom all the way out to get a comprehensive overview of the scene. Position the camera so that you only have a specific row of houses in the image. Ideally, you should aim to fill two-thirds of the image with water and one-third with sky. This arrangement guides the viewer’s eye and creates dynamic image design. Experiment a little with the position to find the best perspective. When you're satisfied, check the level to ensure everything is straight.
Step 3: Set Manual Focus
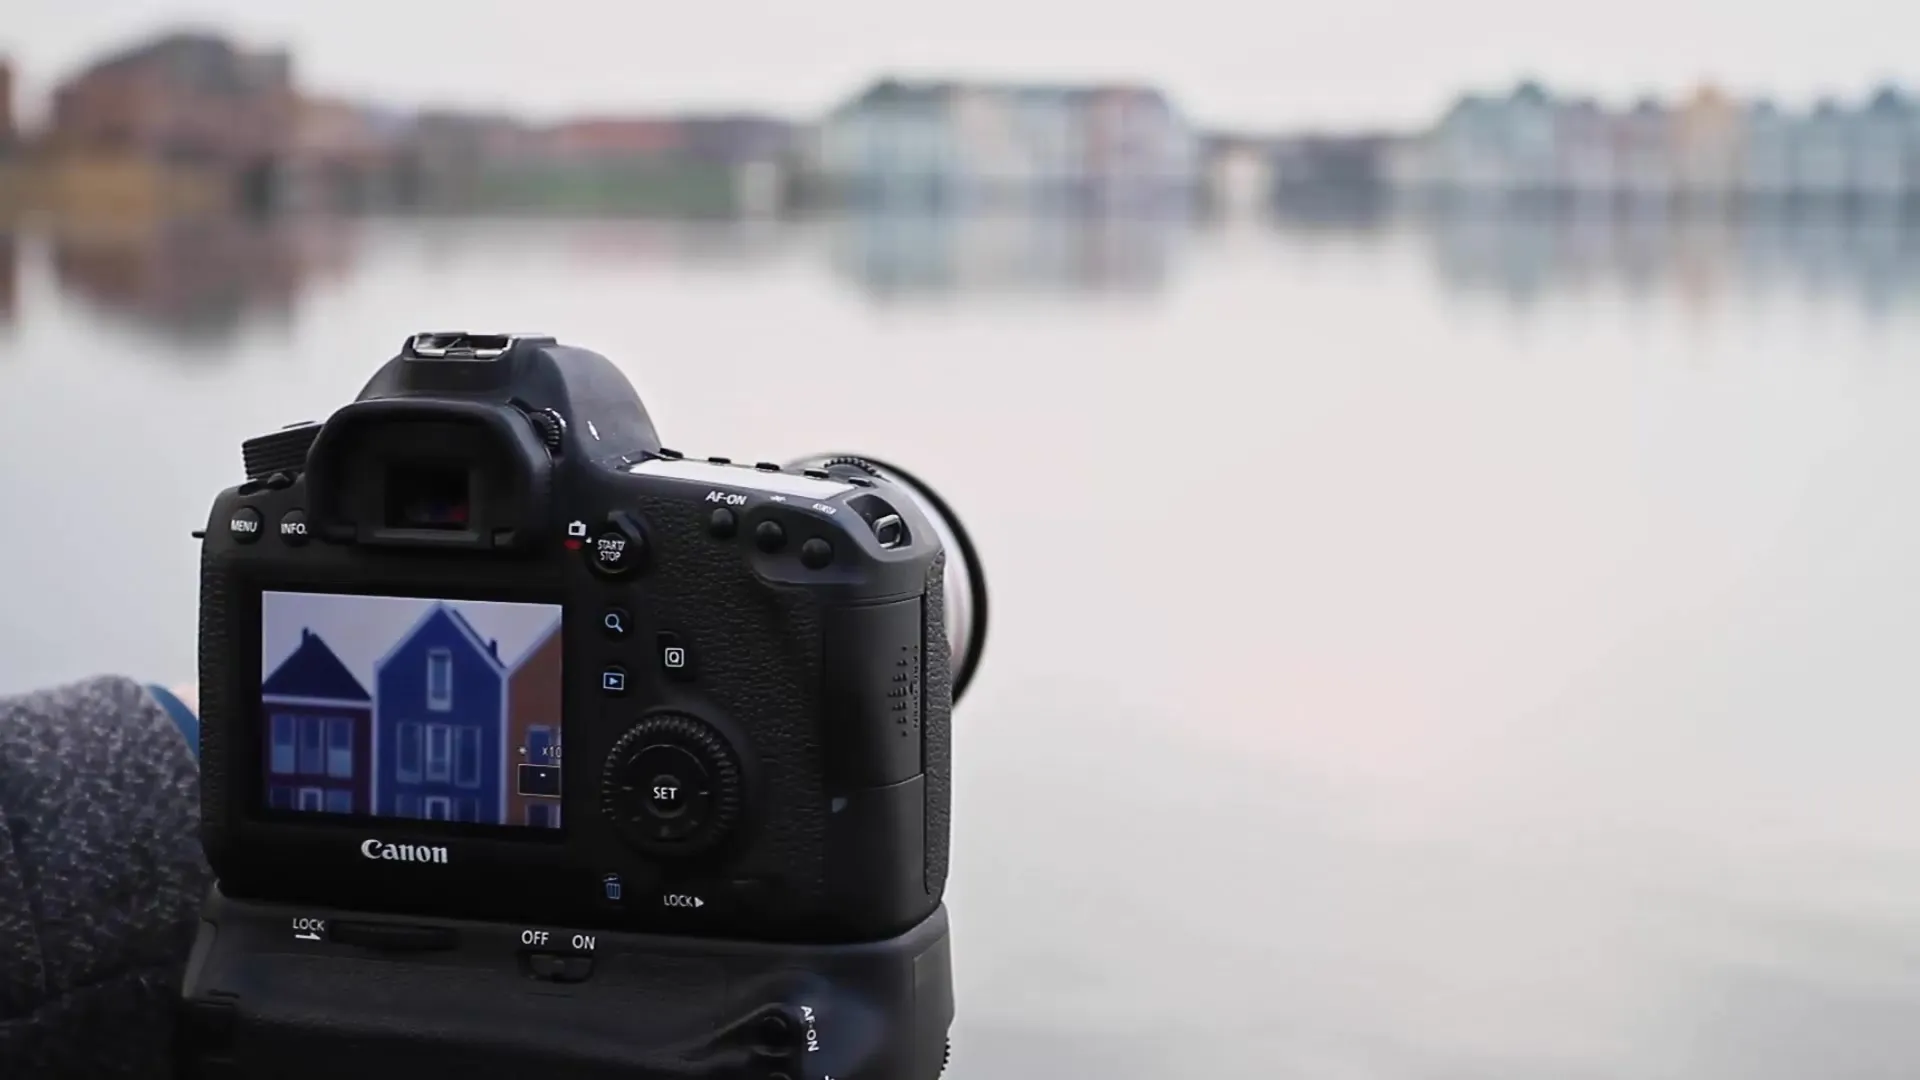
Once you have established the composition of your shot, it's time to set the focus. Ensure that the manual mode on your lens is activated. With the ability to zoom in on live view, you can focus very precisely on a specific object. Make sure the focus is exactly right because when using a neutral density filter, the field of view is greatly restricted, and you won't be able to see anything after attaching the filter.
Step 4: Adjust Camera Settings
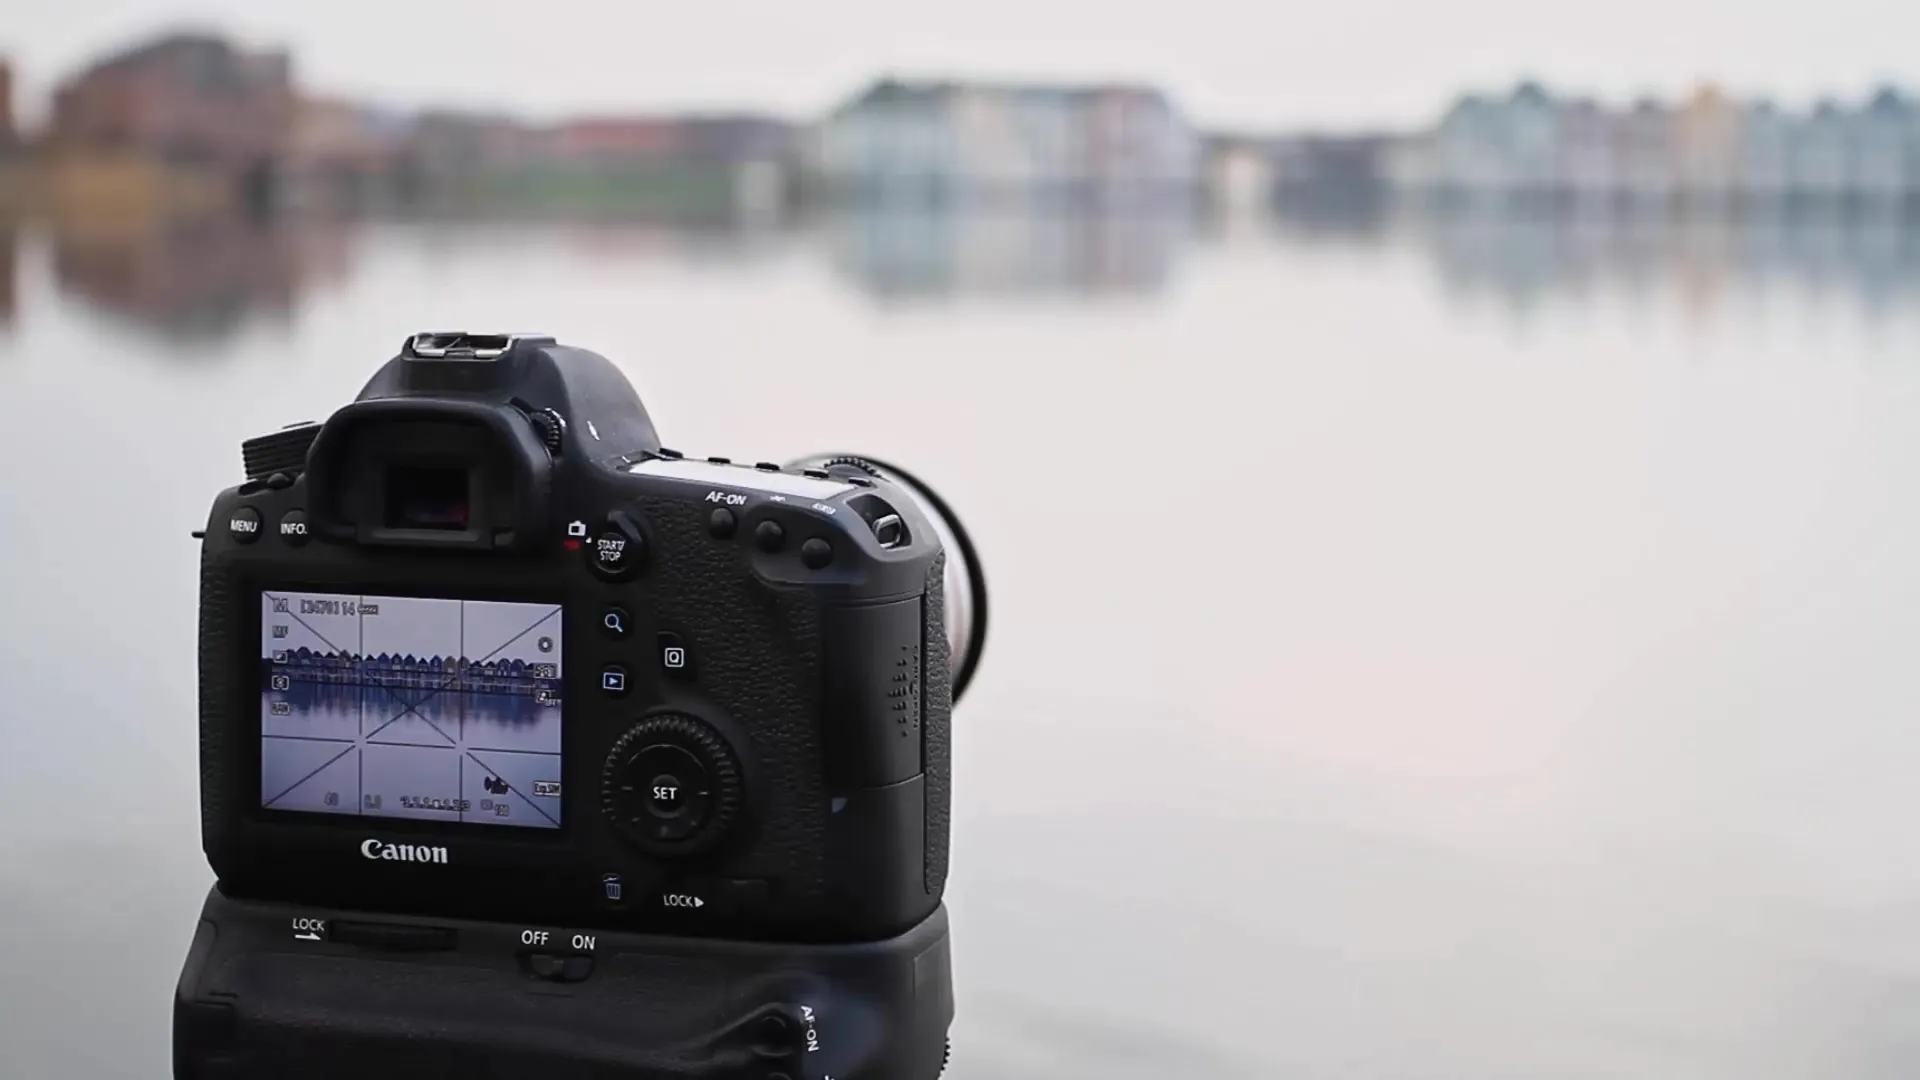
Now it's time to choose the optimal camera settings. Set the aperture to f/8, which is ideal for most situations. This gives you a good depth of field and minimizes diffraction blur. You can adjust the exposure time later while keeping the ISO value as low as possible - typically at ISO 100. A low ISO value is crucial to avoid image noise.
Step 5: Manually Set the White Balance
The white balance can have a significant impact on the outcome of your long exposure, especially if the lighting conditions change during the exposure. Set the white balance manually to avoid unwanted color casts. When working with neutral density filters, they may produce a slight blue tint. Therefore, it's advisable to choose a warmer value, such as “Shade,” to achieve a more natural image.
Step 6: Final Checks and Triggering the Shot
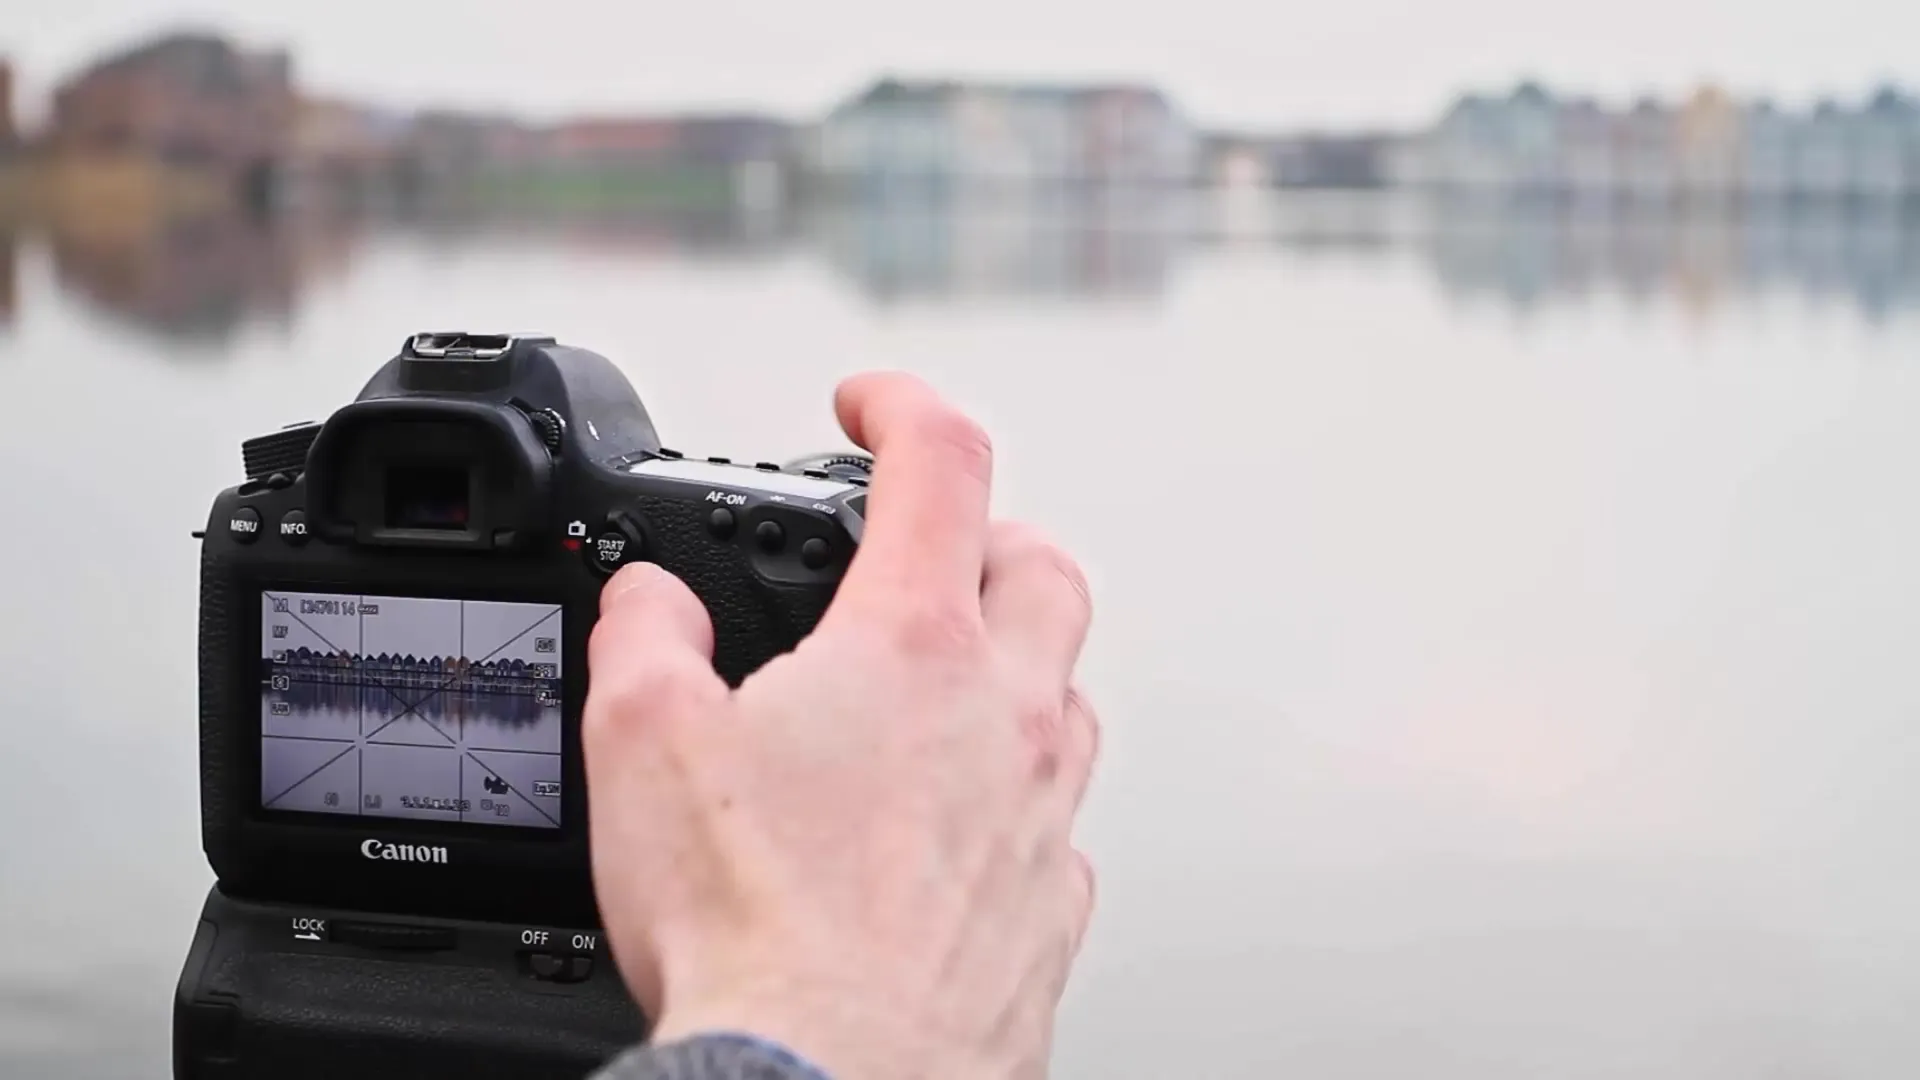
Go through all your settings once more to ensure that everything is correct. The focus should be set, the aperture and ISO value are established, and the white balance is manually set. To determine the exposure time, you should check the basic exposure in the live view before attaching the neutral density filter. After making all adjustments, you are ready to trigger the shot.
Summary – Mastering Long Exposures: Steps to Perfect Image Composition
In this guide, you have learned how important the composition of your image is for a successful long exposure. By intentionally using the live view function, manual focusing, and careful camera choices, you can achieve impressive results.
FAQ
What is the advantage of live view for long exposures?Live view allows for more precise image composition and the display of aids such as grids and histogram.
How do I set the white balance correctly?Choose a manually set value that matches the lighting conditions to avoid color changes during exposure.
Why should I set the aperture to f/8?f/8 offers a good compromise between sharpness and minimal diffraction blur, ideal for landscape shots.
How important is the ISO value for long exposures?A low ISO value (e.g., ISO 100) prevents image noise and ensures better image quality.
Can I adjust the white balance after the shot?Yes, the white balance can be reset in post-processing, but it's better to set it directly manually.
