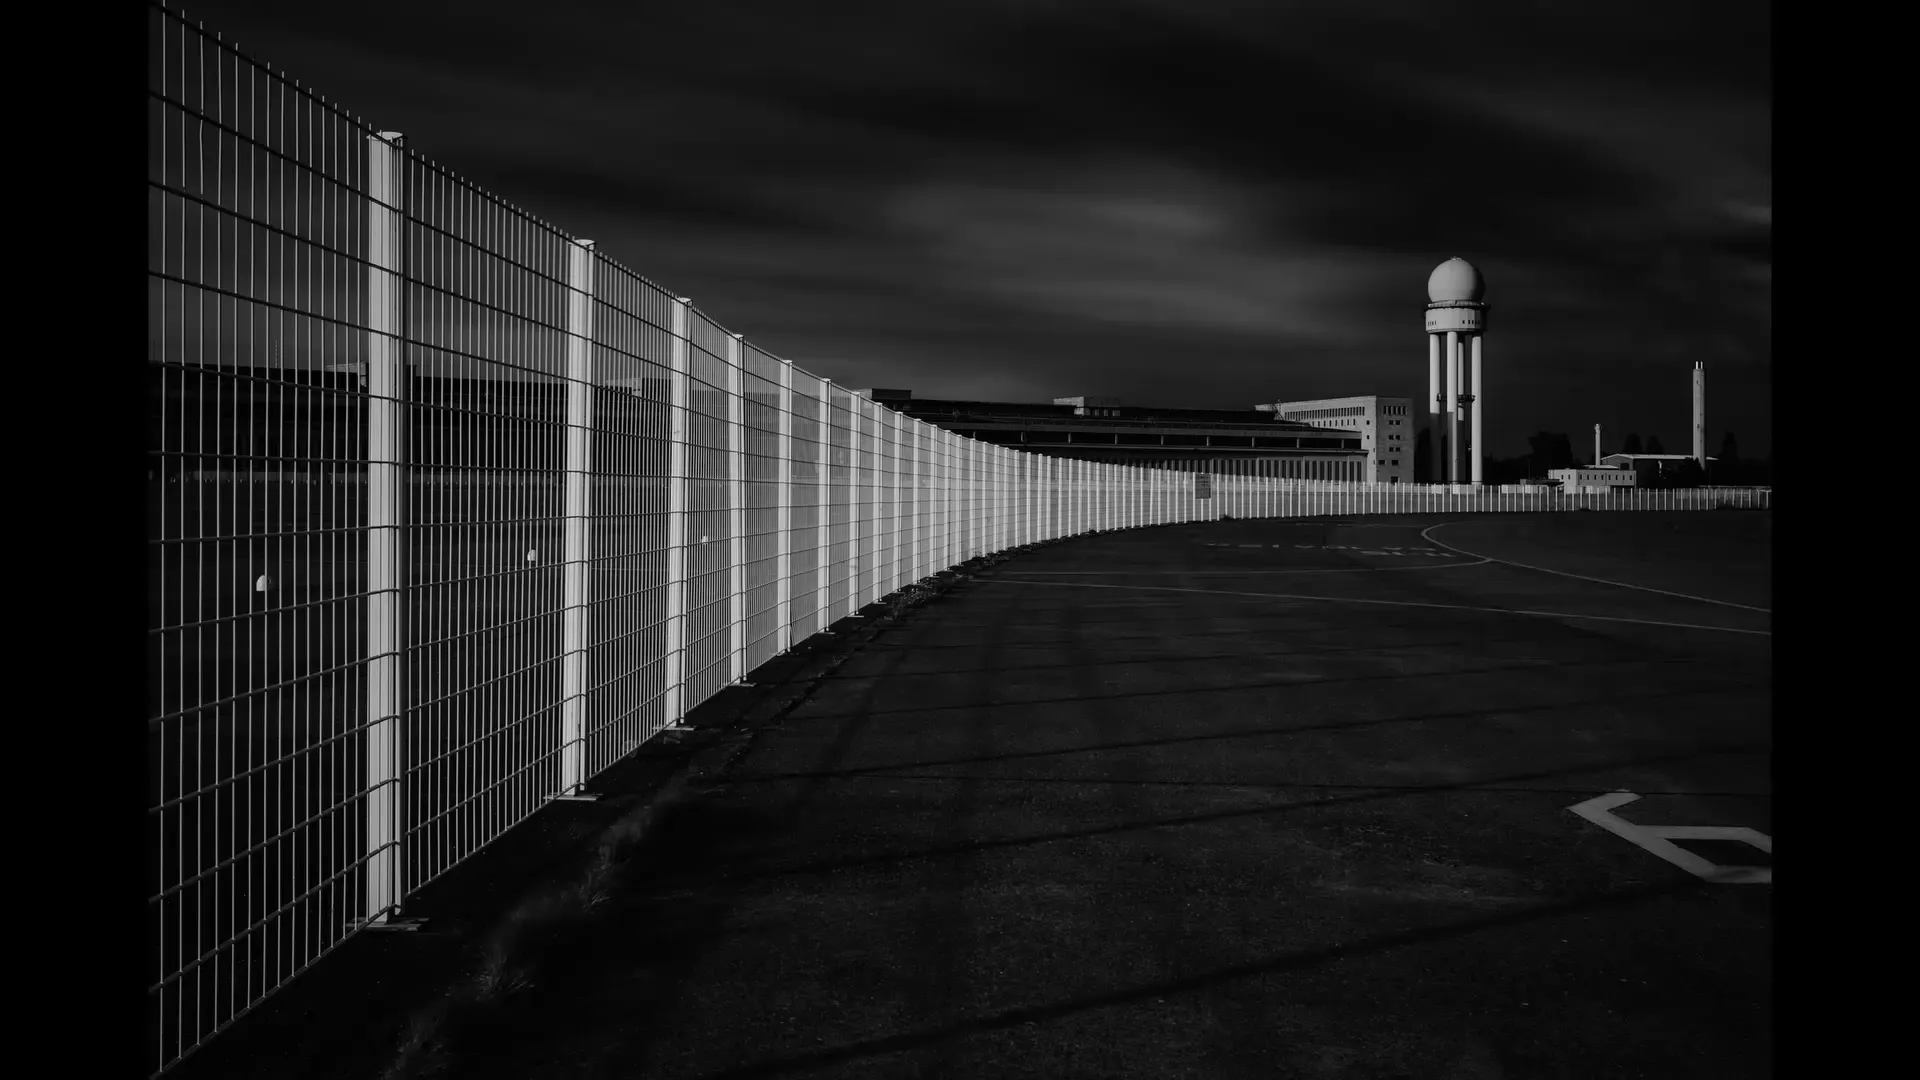
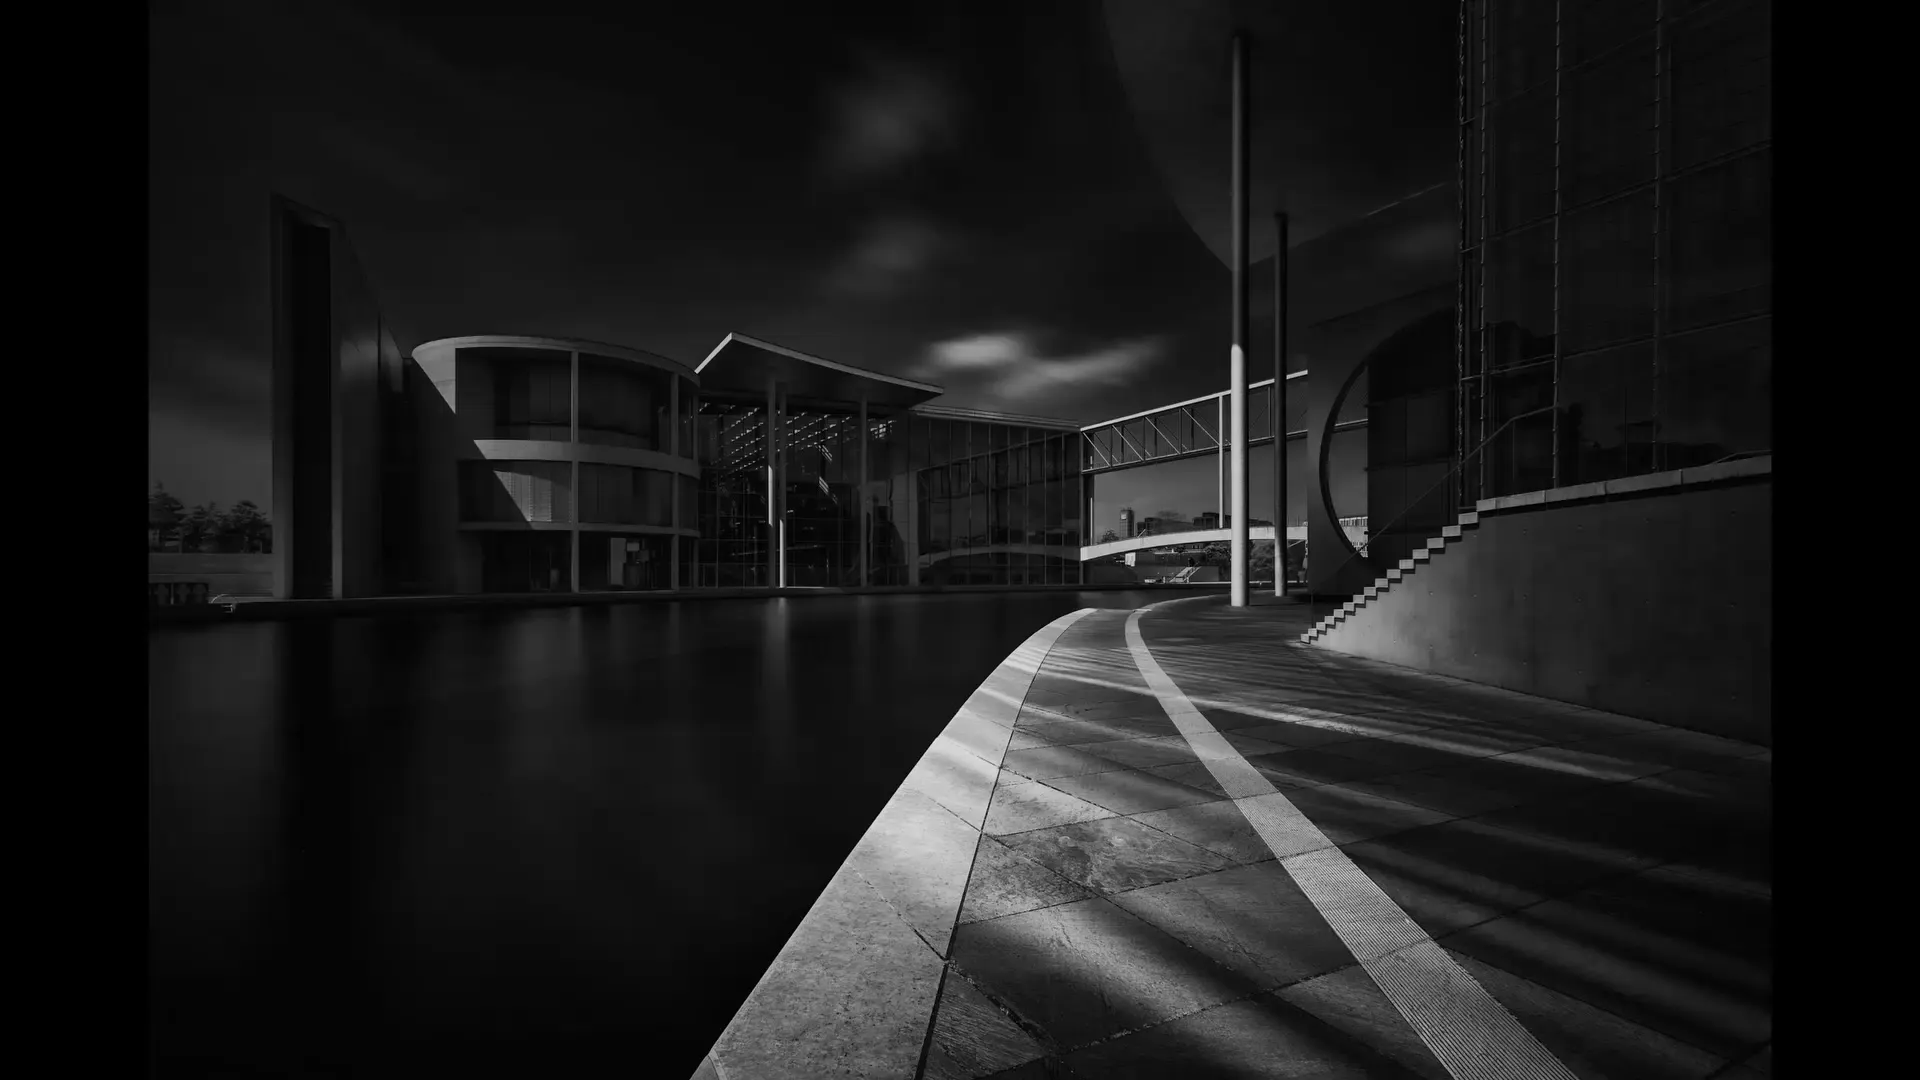
Long exposure offers a fascinating way to remove moving elements from an image, thus creating a people-free scene. This technique can elegantly solve recurring problems, such as crowds in popular parks or busy city areas. Below, I will explain how you can effectively eliminate people from your photos through targeted settings and longer exposure times.
Key insights
- People are only faintly represented or not at all in a photo during long exposure times when they are moving quickly.
- An ideal exposure time is between five and six minutes to achieve the best results.
- The EXIF data reveals the camera settings required for a successful shot.
- It's important to keep a largely unchanged scene (e.g., buildings), as these should not move during the exposure.
Step-by-step guide
To remove people from your long-exposure photos, follow these simple steps:
Step 1: Choose the right location
First, the location is crucial. The ideal spot for such shots is places that are usually heavily frequented but have as few people as possible during the shooting time. Choose a nice day and find a spot where you have a clear view and the necessary background structures are present.

Step 2: Adjust camera settings
Before you start shooting, you need to set the right camera settings. Generally, you should choose a low ISO value to minimize image noise. A small aperture (high f-number) ensures a large depth of field.
An example of good settings could look like this: ISO 50, a focal length of 40 mm, aperture 11, and an exposure time of 300 seconds (5 minutes). This combination provides the best conditions to prevent the movement of people from being captured, so they do not appear in the image.

Step 3: Expose and wait
Once you have made all the settings, place your camera firmly (ideally on a tripod) and start the exposure. During a long exposure time, the camera remains unchanged for several minutes. Make sure that no changes are made to your camera during this time.
Step 4: Check after the shot
After your shot, you should check the EXIF data to ensure that the chosen settings are functioning correctly. In your image, large parts of the scene should be sharp and clear, while moving elements (like people) should be barely or not visible at all.
Step 5: Patience and repetition
You may need to repeat the process several times to achieve the desired result. Sometimes multiple exposure attempts are necessary, as lighting conditions and the movement of people can vary. Therefore, be patient and experiment with different exposure times until you get the optimal image.

Summary – Long exposures: Effortlessly remove people
Long exposures are an excellent technique for removing people from your photos and creating a calm, people-free scene. By finding the right location and the correct camera settings, you can achieve impressive results. Experiment with different exposure times and be patient – it will be worth it!
Frequently asked questions
What exposure time is optimal for removing people?An exposure time of at least 5 minutes is optimal for removing people from the image.
What should the ISO value be?A low ISO value like 50 or 100 reduces image noise.
Does a large aperture affect the result?Yes, a smaller aperture (high f-number) provides greater depth of field and better results.
How many attempts are needed?It may take several attempts to get the desired image. Be patient and experiment.


