Astronomy Photography is a fascinating topic that gives you the opportunity to capture the beauty of the night sky. Often, the stars and nebulae that we cannot see with the naked eye become visible thanks to long exposures. However, there are some important technical aspects to consider to produce sharp and appealing images. In this guide, you will learn everything essential to successfully dive into the world of astronomy photography.
Key Insights
- Long exposures are crucial for capturing the faint light of stars and nebulae.
- The maximum exposure time is determined by the focal length of the lens and should not be exceeded to represent stars as points.
- For high-quality astronomy photographs, high ISO values, large apertures, and longer exposure times are necessary.
- The North Star provides a stable reference point for capturing star trails.
Step-by-Step Guide
Astronomy photography requires the right technique and a fundamental understanding. Here are the steps you should follow to create impressive photos.
Step 1: Choosing the Location and Camera Settings
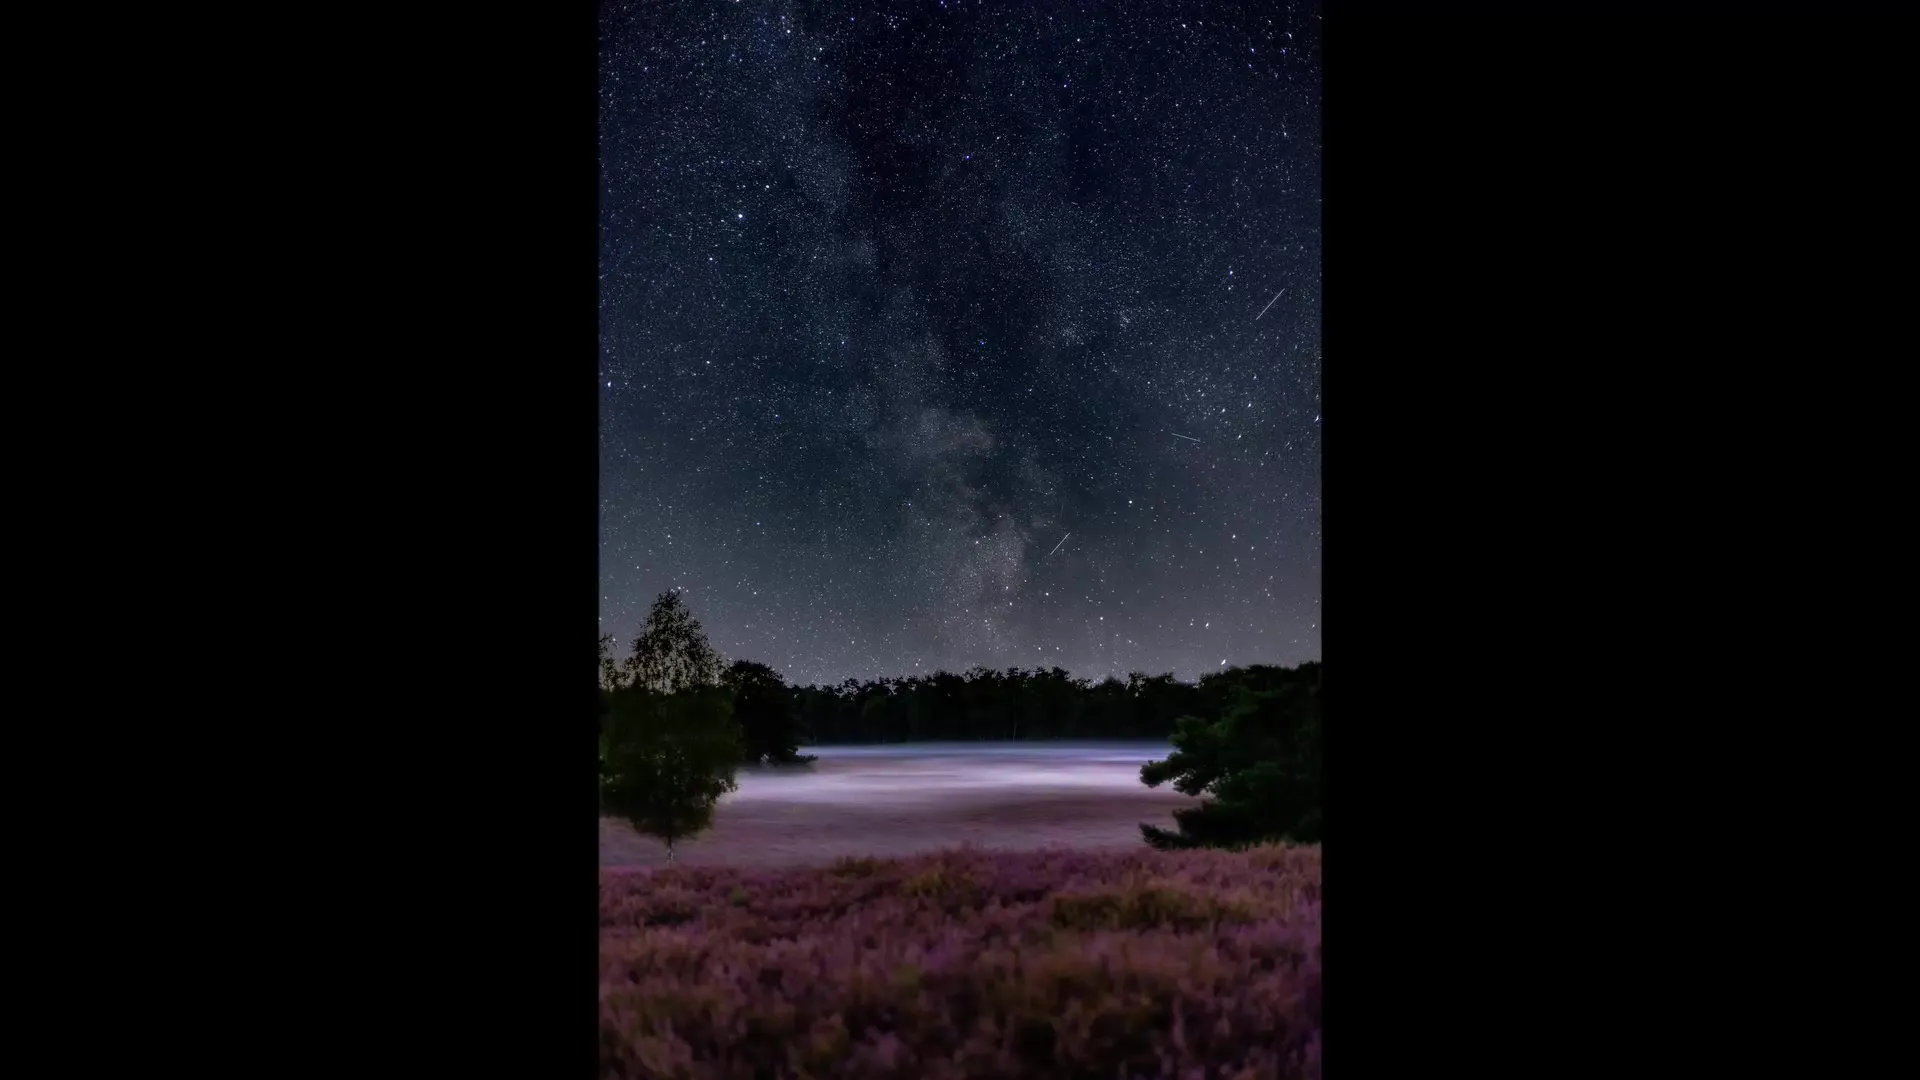
First, it's important to find a suitable location that is far away from light pollution. A clear night without clouds is ideal. Set your camera on a tripod and optimize the settings. Photo 1 shows an ideal location and demonstrates how the camera is set up.

Step 2: Capturing the Foreground
For the first example photo, a nice composition was chosen. You should first capture the foreground with an appropriate exposure time to capture great details like ground fog. In this particular case, the scene was captured in two exposures. It's important to generate the right blur in the foreground.

Step 3: Exposure for the Milky Way
Now it's time to capture the Milky Way. Here, the optimal exposure time is 30 seconds with an aperture of 2.8 and a focal length of 17 mm. This combination allows you to represent the stars sharply. It's important to set the ISO value high enough, in this case, 3200, to capture enough light.
Step 4: Calculating the Maximum Exposure Time
A crucial point in astronomy photography is calculating the maximum exposure time. You can calculate this using the rule of 500 divided by the focal length. In this case, the focal length was 17 mm, resulting in a maximum exposure time of about 30 seconds. If the exposure time is longer, the stars will no longer be represented as points.
Step 5: Collecting Light for Impressive Shots
The main task of long exposure in astronomy photography is to gather light. A high ISO combined with a large aperture and long exposure times is necessary to represent the faint light sources of the night sky. Ensure that your camera can handle high ISO values well.
Step 6: Creating Star Trails
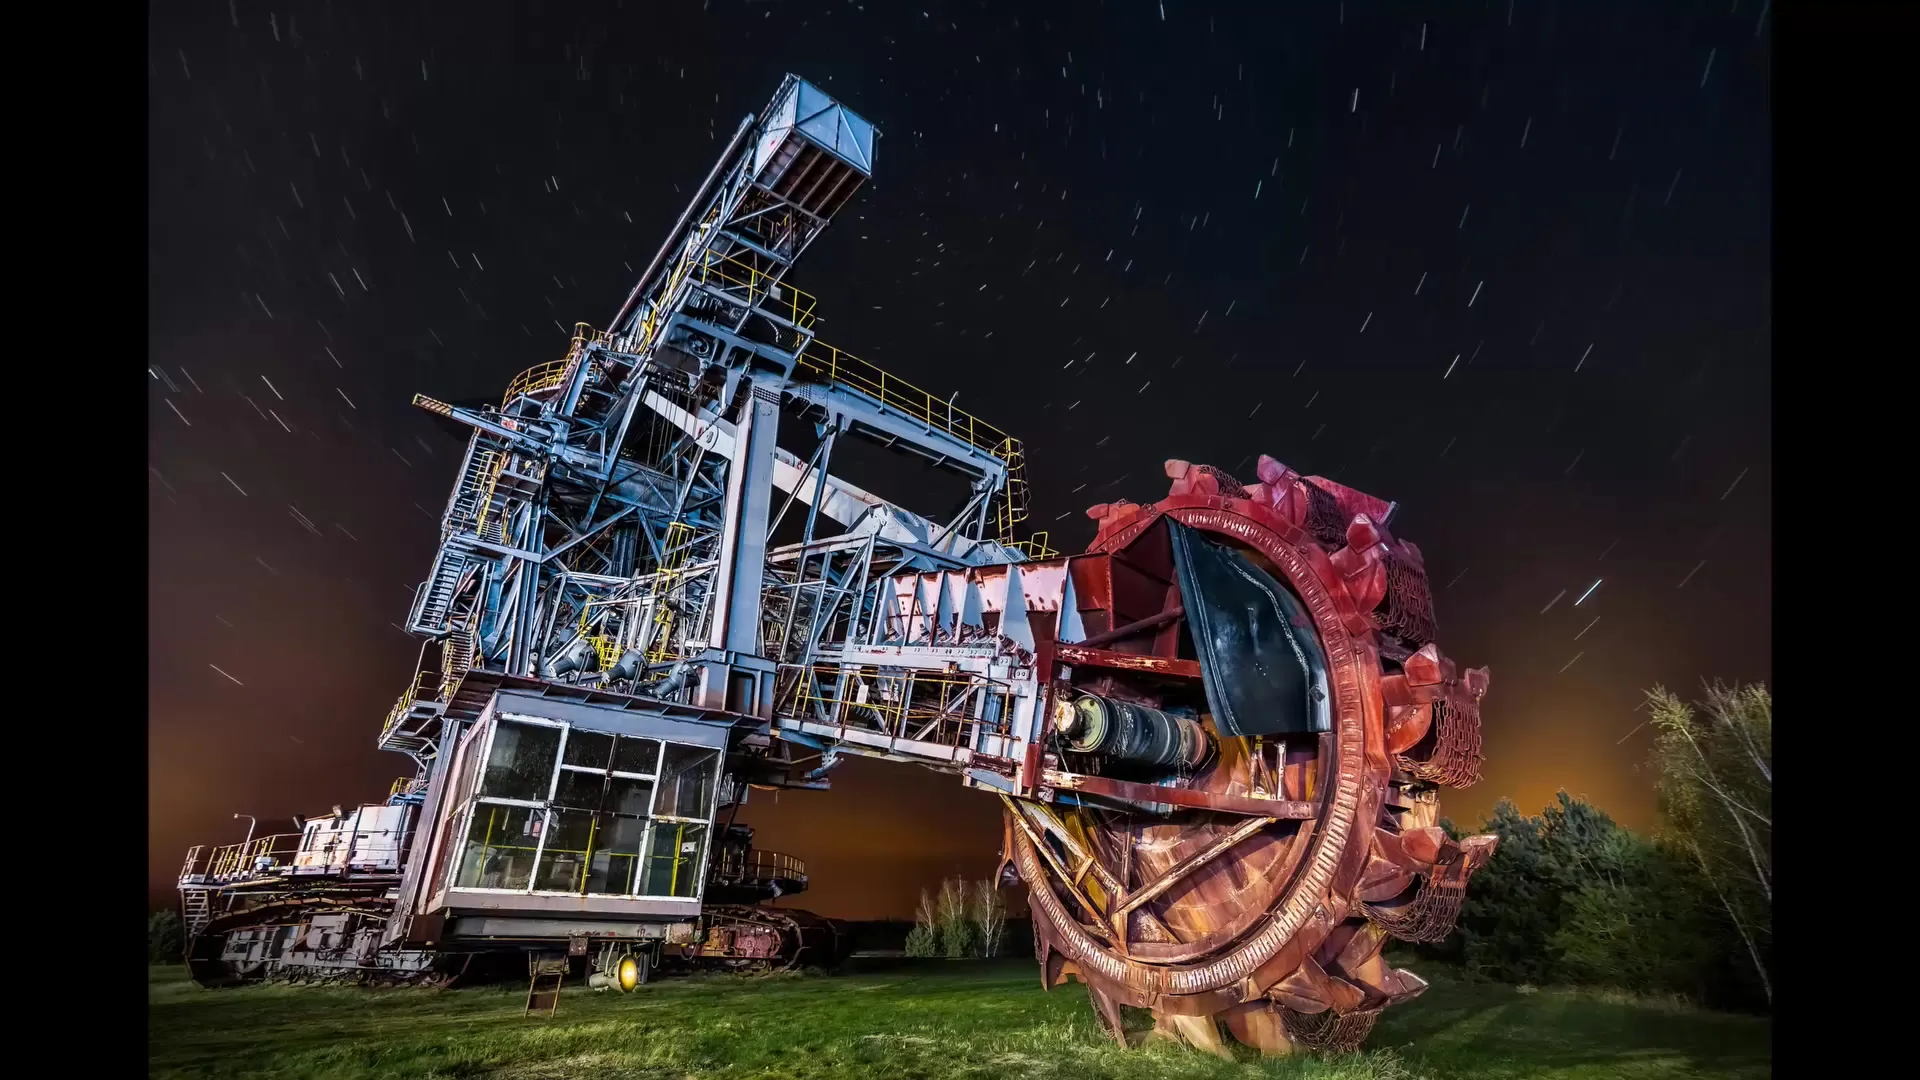
For the second example photo, an exposure time of 540 seconds was used to generate star trails. It's important to note that the Earth moves during this long exposure time, which means that the stars will no longer be captured as points but will appear as streaks. This technique requires a lot of patience, and for optimal alignment, the North Star should be used as a fixed point.

Step 7: Positioning the North Star
With longer exposure times, the North Star should not be forgotten. It remains in the same position during the shot and can be used as a central point for your composition. Position it so that the star trails move around this point, creating an impressive and dynamic image.
Step 8: Creating Interesting Compositions
You can also create star trails by taking multiple shorter exposures and combining them in Photoshop. If you combine this technique with longer exposures, you'll achieve extremely impressive and creative results. Remember to experiment with different exposure times to test various effects.
Summary - Long Exposures in Astronomy Photography: Step-by-Step Guide
In this guide, you learned how important long exposures are in astronomy photography to capture the beauty of the night sky. You now know the steps from selecting the location to technical settings and creating star trails. With this information, you are well-equipped to create your own astronomy photos.
Frequently Asked Questions
How long should I expose to capture the night sky?The exposure time depends on the focal length, usually 500 divided by the focal length in mm.
Why should the exposure time not be too long?An exposure time that is too long will result in stars not being captured as points, but rather as streaks.
What is the North Star and why is it important?The North Star remains stable during the Earth's rotation and can serve as a fixed point for composing star trails.
How do I calculate the optimal ISO for astronomy photography?A high ISO, usually 1600 or 3200, is recommended to capture enough light.
Can I also create star trails with shorter exposures?Yes, multiple shorter exposures can be combined in Photoshop to create a photo that produces the same effect as star trails.


