Setting up the camera and the tripod is the next additional step after you have found the ideal location for photographing. Especially with long exposures, the stability of the entire setup is crucial, as even the slightest movements can lead to blurry images. In this guide, you will learn how to effectively set up your equipment while paying attention to the right details.
Key insights
Before you start with long exposure photography, selecting a stable location and correctly setting up and aligning your camera and tripod is essential. A stable surface or stabilization techniques help ensure image sharpness.
Step-by-step guide
Step 1: Choosing a location and setting up the tripod
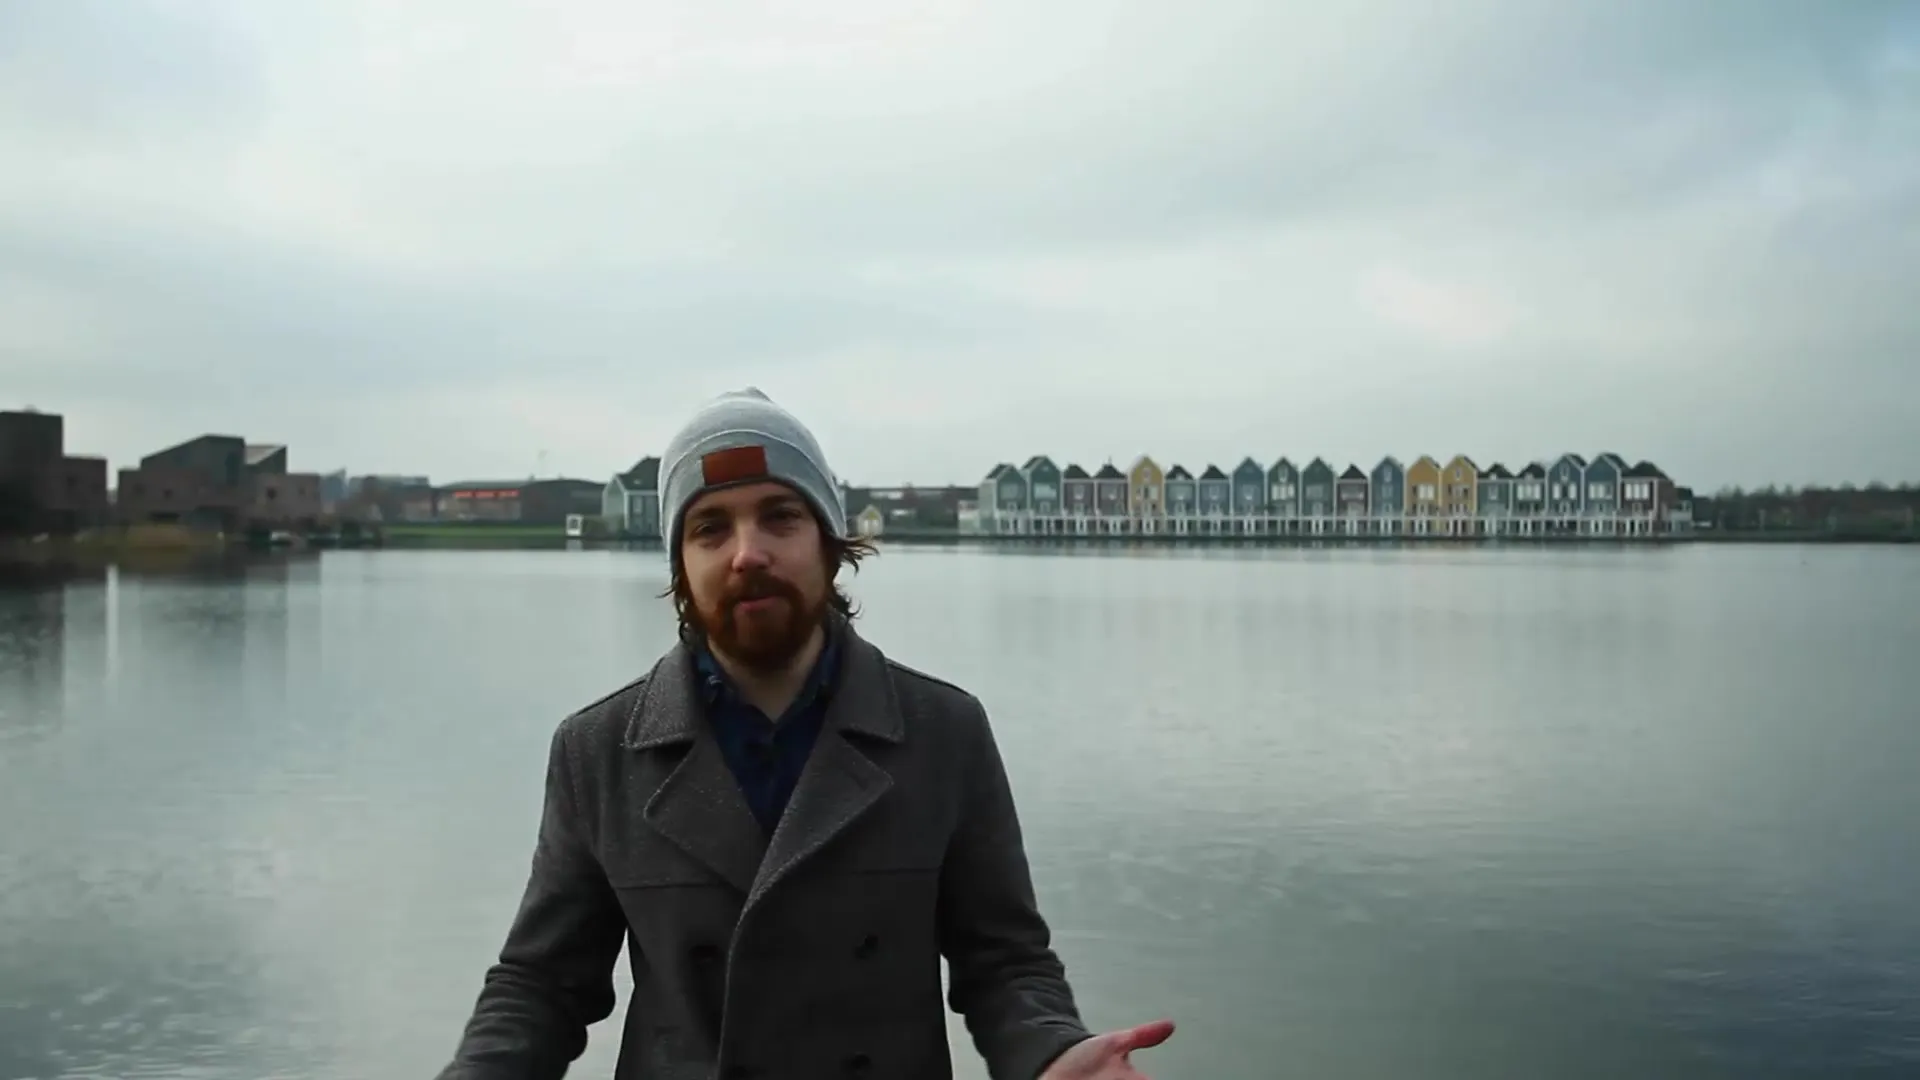
Once you have chosen your desired location, the next step begins with setting up your equipment. First, you should set up your tripod. I use a Novoflex Triopod made of carbon, which consists of heavy and stable legs and is equipped with a large Manfrotto magnesium head. Make sure your tripod stands well and stable on the ground, ideally without a center column, to ensure maximum stability.

Step 2: Adjusting the height of the tripod
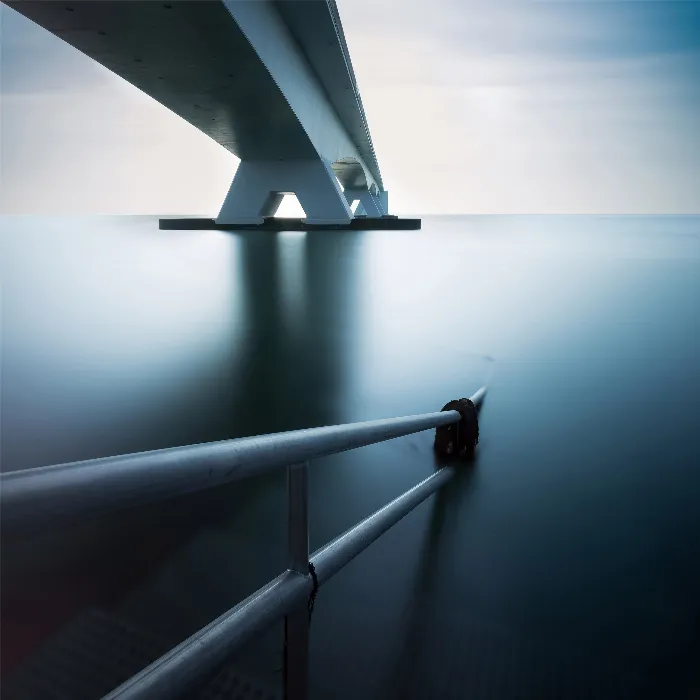
Since I am photographing by a body of water here, I usually work with a low tripod. This means that I do not extend it higher than necessary. My goal is to be as close to the water as possible to better highlight the reflections and other effects. The photos I have seen so far from this location were often taken at eye level, which looks nice, but does not quite offer the dramatic perspective I want to achieve.
Step 3: Checking the surface
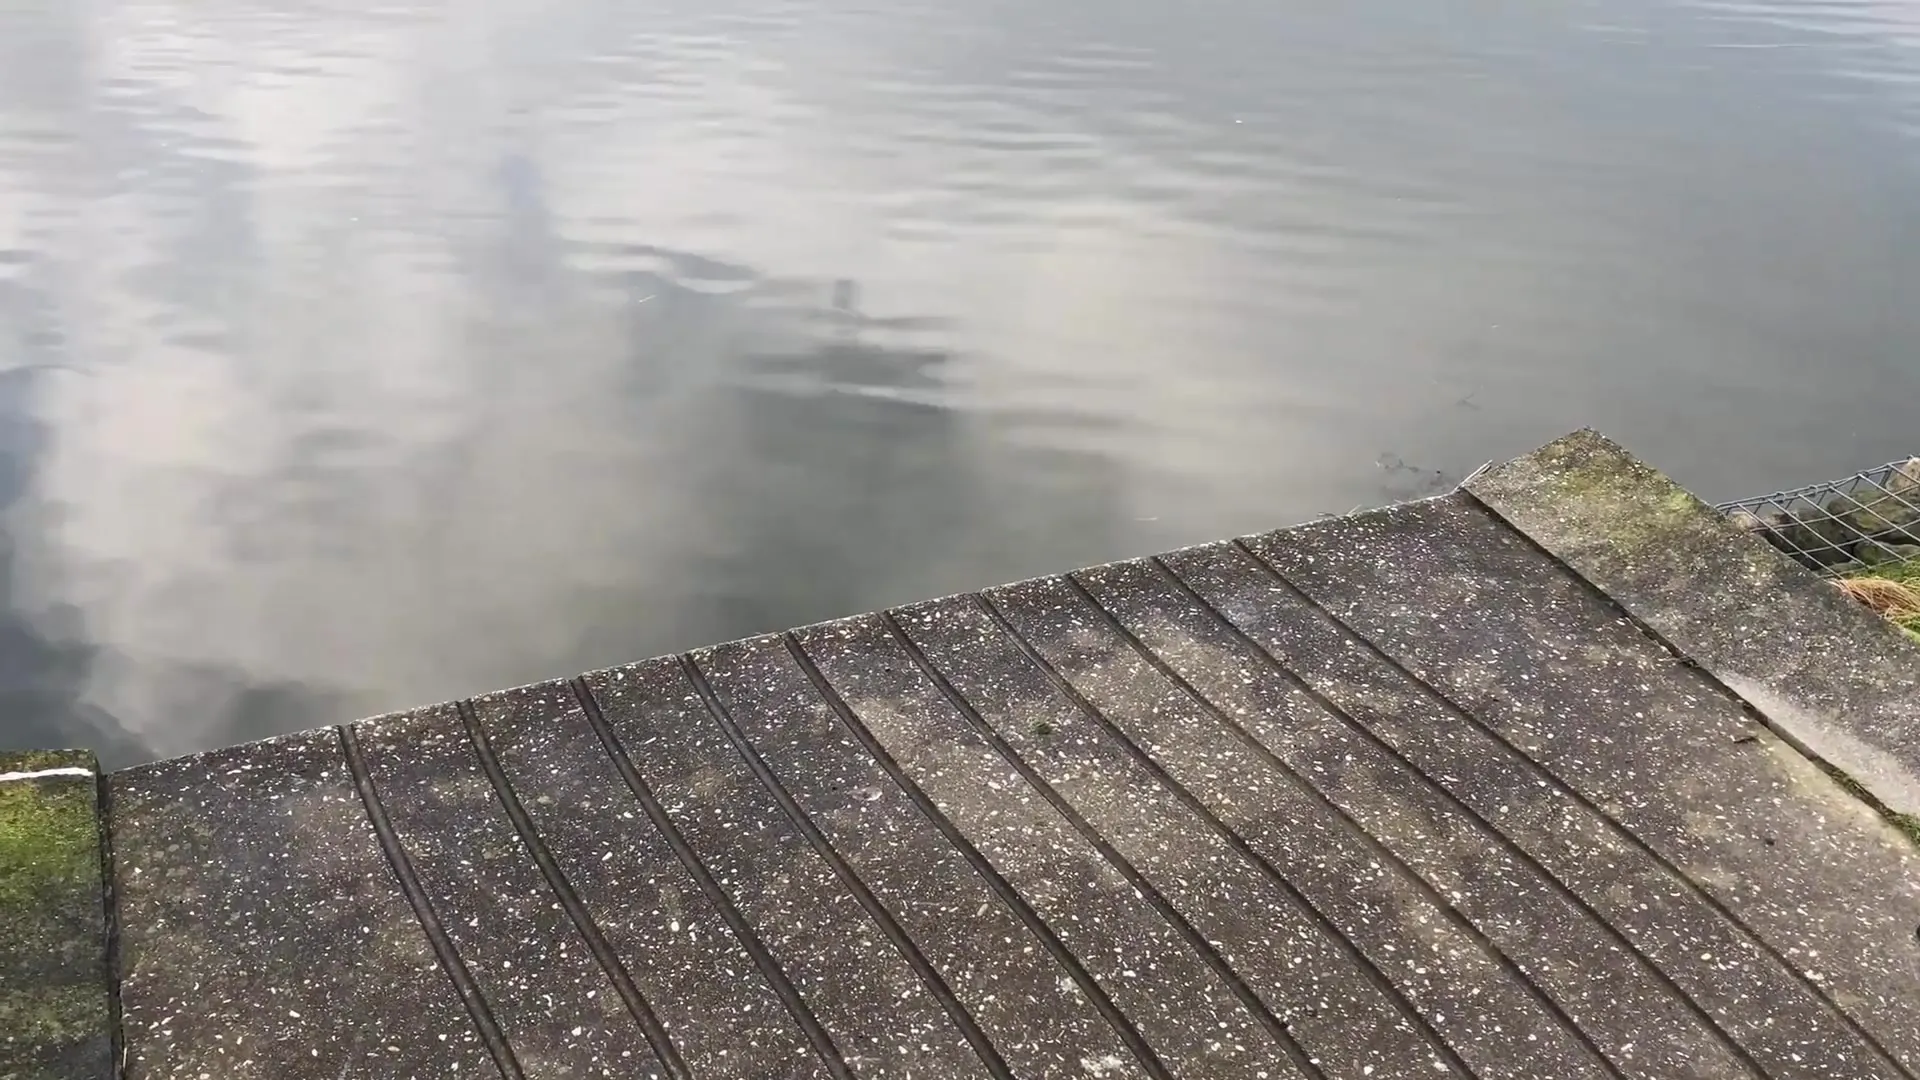
Before you start with the long exposure, you should carefully analyze the surface. I have chosen a concreted area that reaches up to the water's edge. This allows me to set up my tripod as stably as possible. The rest of the area is covered with a muddy grassy surface, which is not stable enough for my tripod after the recent rains. It is important to pay attention to the surface, as a soft ground can cause the tripod to sink, leading to blurry images during exposure.

Step 4: Stabilizing the tripod
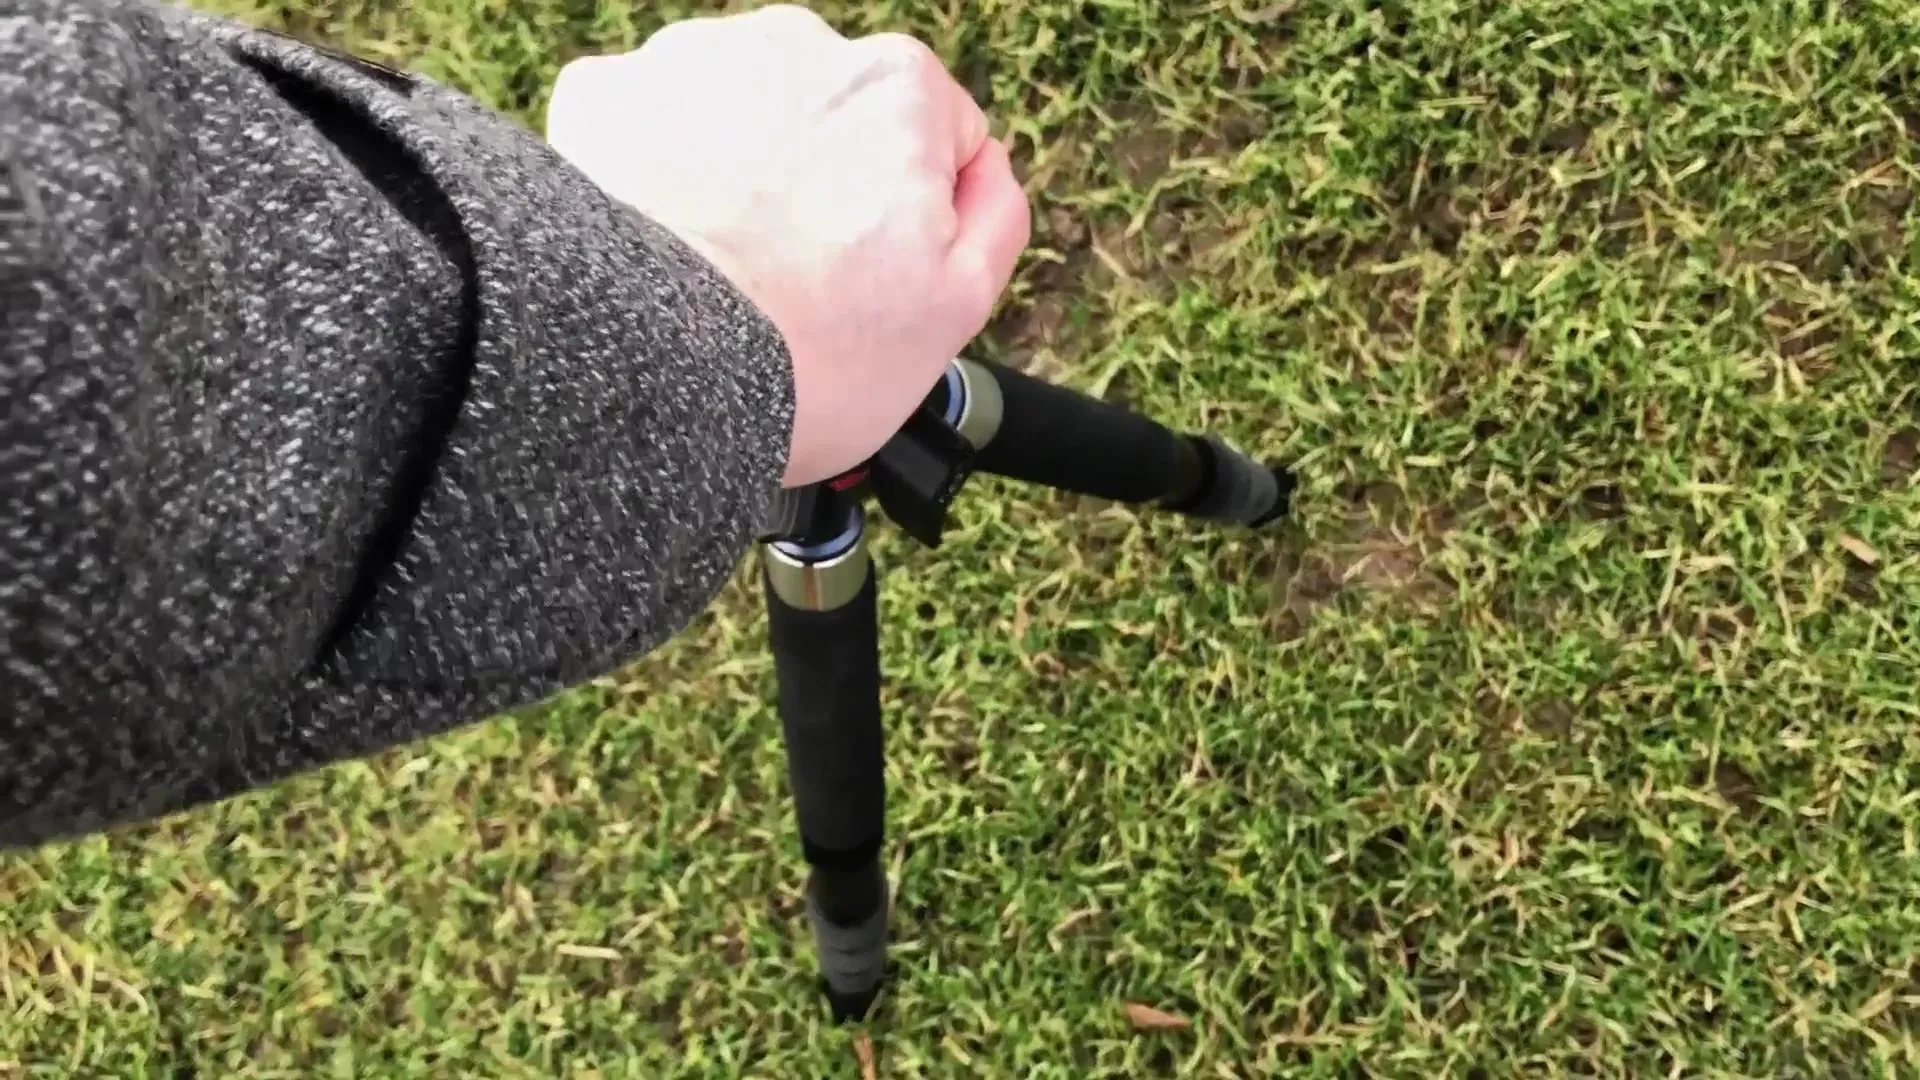
If you have to work on a muddy surface, there are some techniques to increase stability. Push the tripod firmly into the ground before attaching your camera. Alternatively, you can place small plates, like coasters, under the tripod feet. This increases the area of the feet, which helps minimize sinking behavior in soft ground. This will make your tripod more stable and reduce the risk of a blurry shot.

Step 5: Optimal location choice for future shots
It is advisable to pay attention to selecting a place that offers the best stability for your long exposures when searching for a location. A stable surface is crucial for the sharpness of the images, so take the time to evaluate the perfect spot before you begin photographing.
Summary – Perfectly executing long exposures – Setting up ground and camera correctly
The combination of choosing the right location and setting up your equipment stably is essential for the success of your long exposures. By thoroughly following these steps, you will significantly improve the quality of your images.
Frequently Asked Questions
How important is the surface for long exposures?The surface is extremely important; a stable ground is crucial for the sharpness of the images.
What can I do if the ground is muddy?Push the tripod firmly into the ground or use small plates to enlarge the standing area.
How close should I be to the water when photographing?The closer you are, the more dramatic the reflections in the water appear.
What tripod should I work with?A stable tripod like the Novoflex Triopod made of carbon is recommended.
What is the goal when choosing the tripod height?A low tripod height emphasizes the water area and creates interesting image compositions.


