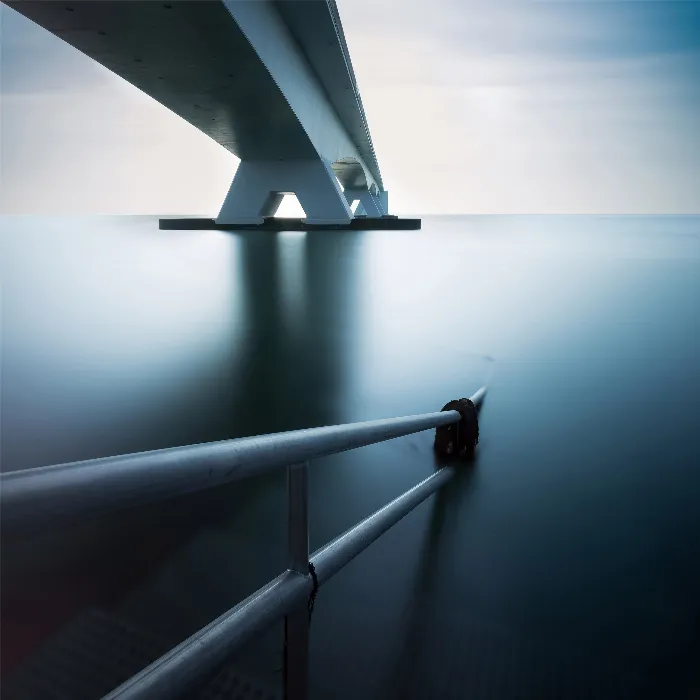
Long exposures give you the opportunity to create impressive images that capture the light of the night in a unique way. While many photographers rely on neutral density filters during twilight, it turns out that impressive results can also be achieved without these filters. In this guide, you'll learn how to photograph at night without neutral density filters to create stunning shots. Let's discover together the secrets and techniques behind a perfect long exposure at night.
Key Insights
- Long exposures are possible even without neutral density filters.
- The aperture affects the shape and character of light sources.
- As light decreases, exposure times must be adjusted.
- Color temperatures can strongly influence the image effect.
- The right location and light management are crucial.
Step-by-Step Guide
To achieve the best results with long exposures at night, follow these steps:
Location Choice
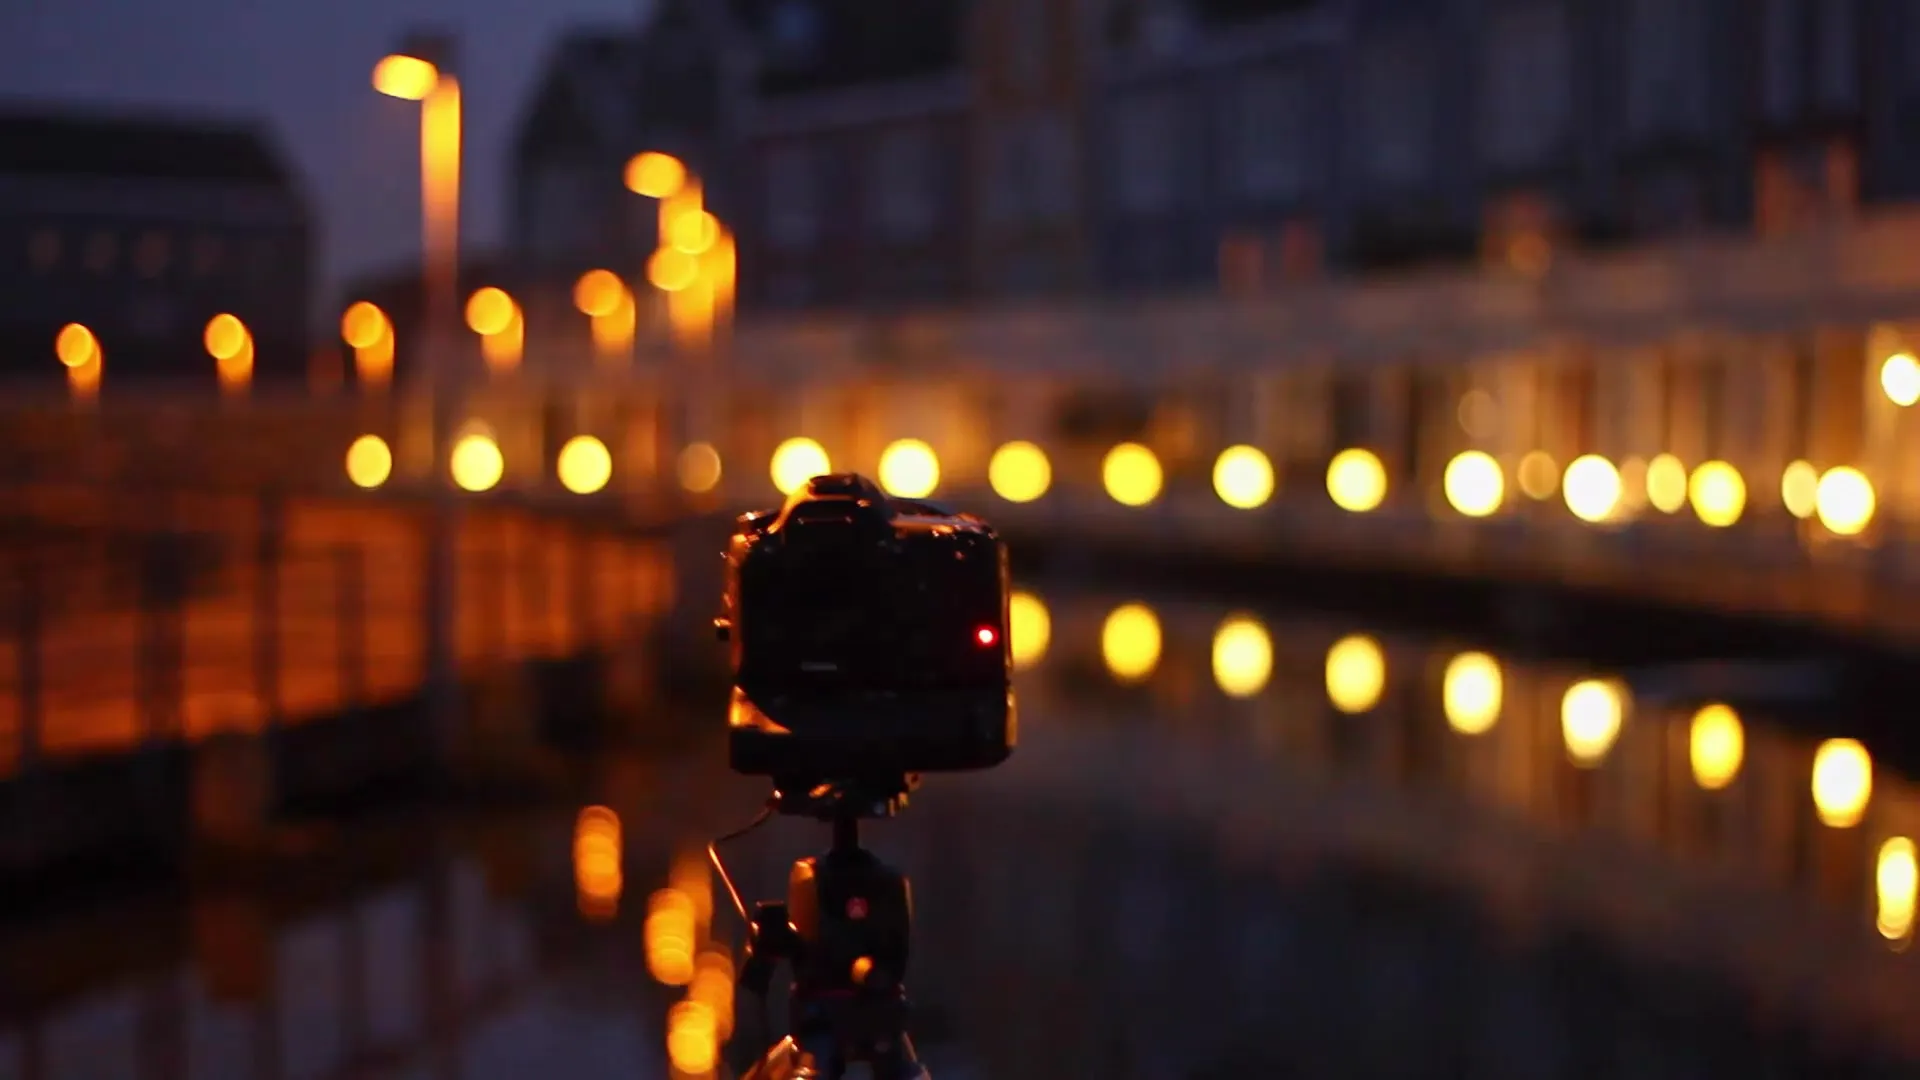
The first step to successful night shots is choosing the right location. Look for a spot with a nice view and enough light sources. In twilight, the light gets progressively weaker, so a location with good light is ideal. I changed my position to take different shots.
Camera Settings: ISO and Aperture
Before you start shooting, it's important to set the right camera settings. Reduce the ISO to about 50 to minimize image noise. Choose an aperture of 22 to maximize the sharpness and the star effect that comes from this narrow aperture.

Setting Exposure Time
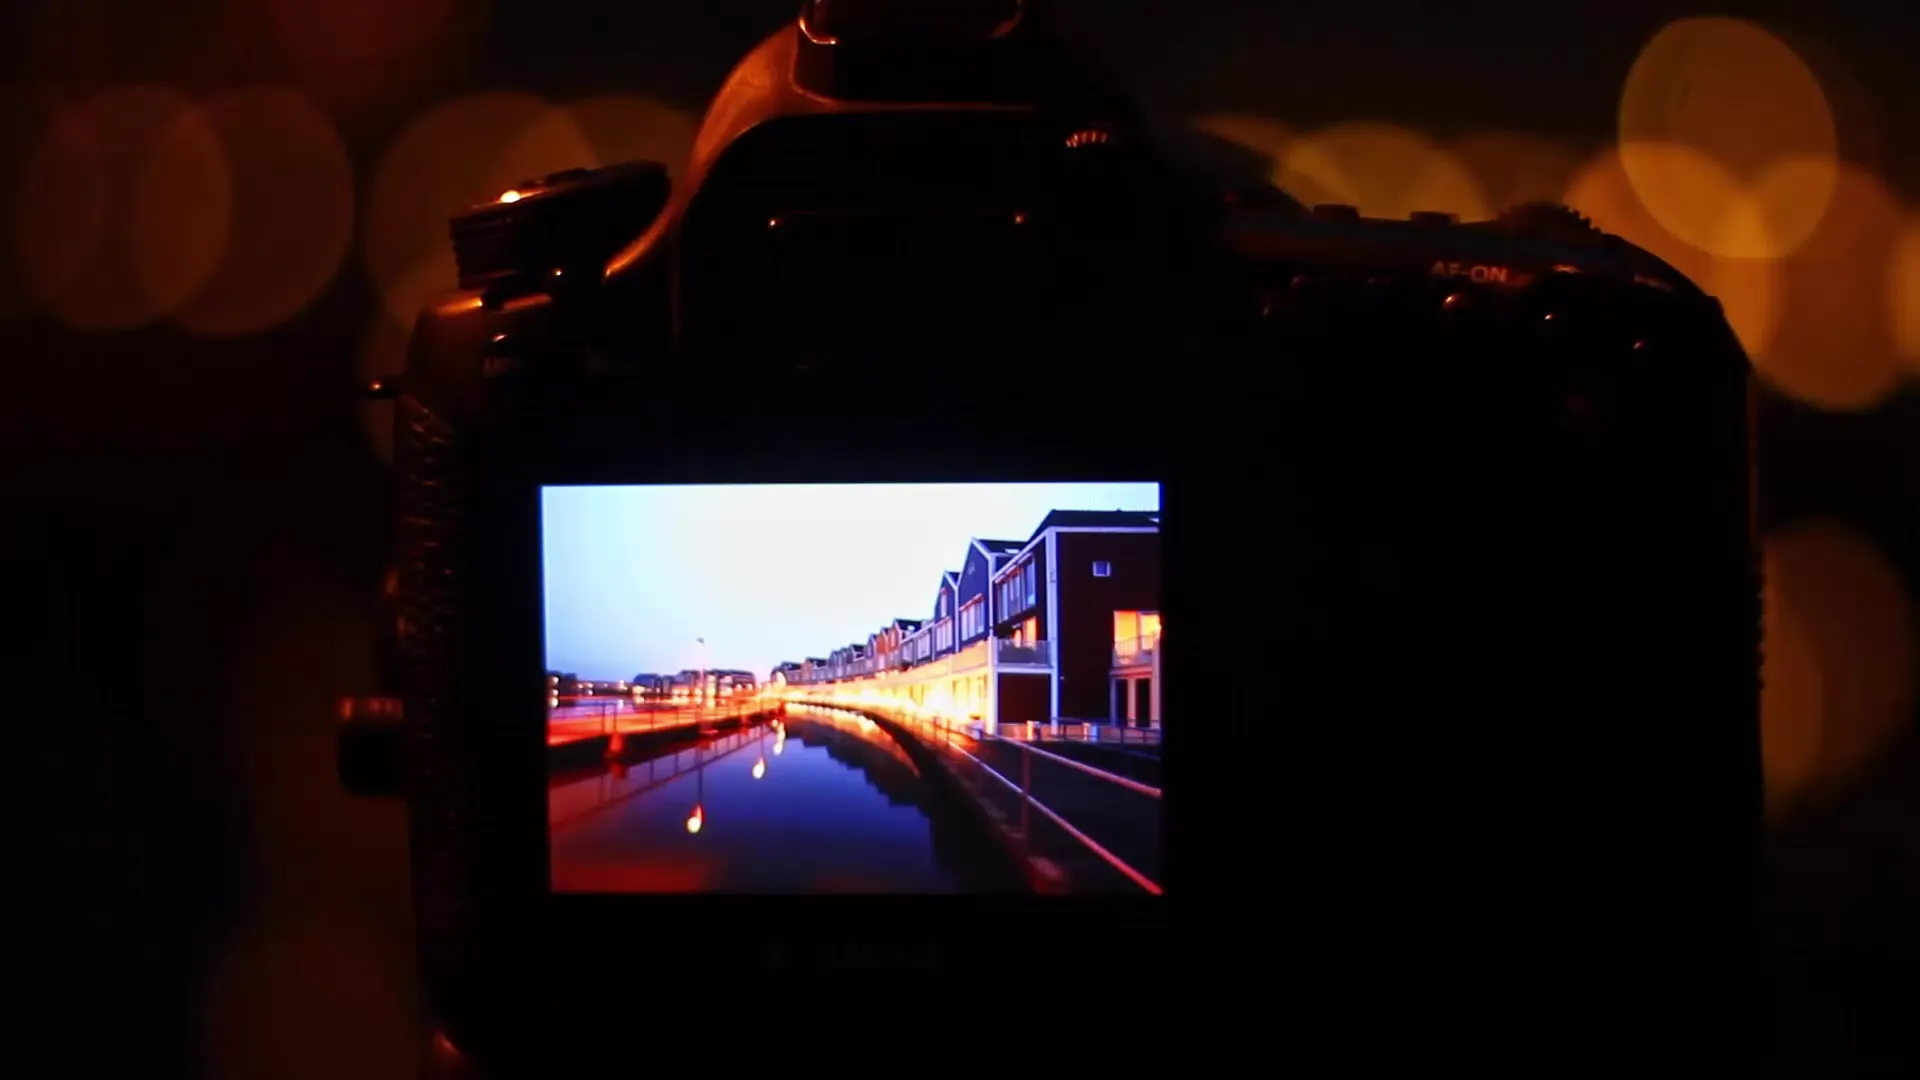
Now comes the crucial moment: the exposure time. In this example, I start with an exposure time of two minutes. This allows the camera to capture enough light even in low lighting conditions. In darkness, a longer exposure time may be necessary.
Utilizing Aperture Effects
A tightly closed aperture creates a special effect with light sources. As you look at the image, you may notice the difference between round and star-shaped light points. The further you close the aperture, the more the light is refracted into sharp points. Keep this effect in mind as you prepare your exposure.
Adjusting Time
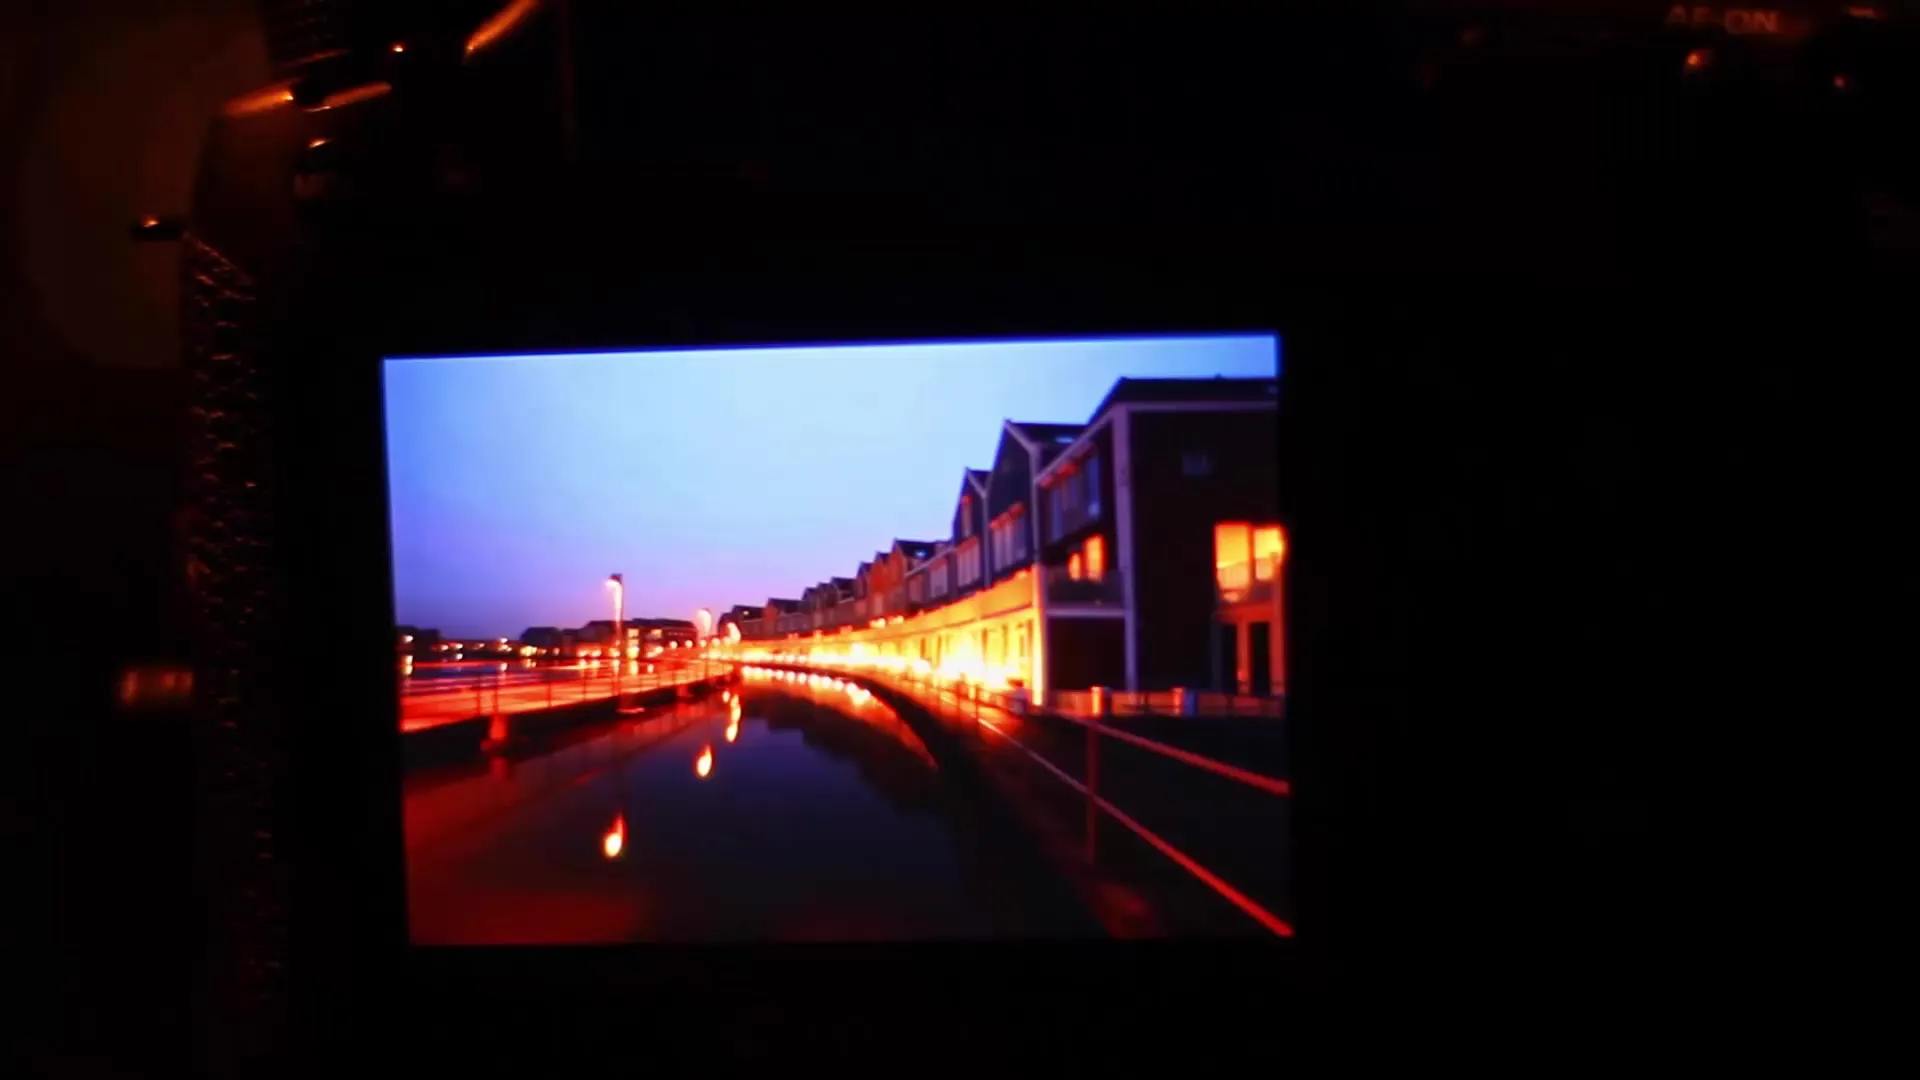
As the night progresses, it gets darker, and you need to increase your exposure time. For that, I am now switching to three minutes to compensate for the change in light. Note that you need to adjust your exposure time since the lighting conditions can vary greatly.
Setting Color Temperature
A component of night photography that should not be underestimated is color temperature. As darkness increases, photographs tend to appear yellowish. To correct the final image, change the white balance from “Shade” to “Daylight,” which should lead to a bluer representation.
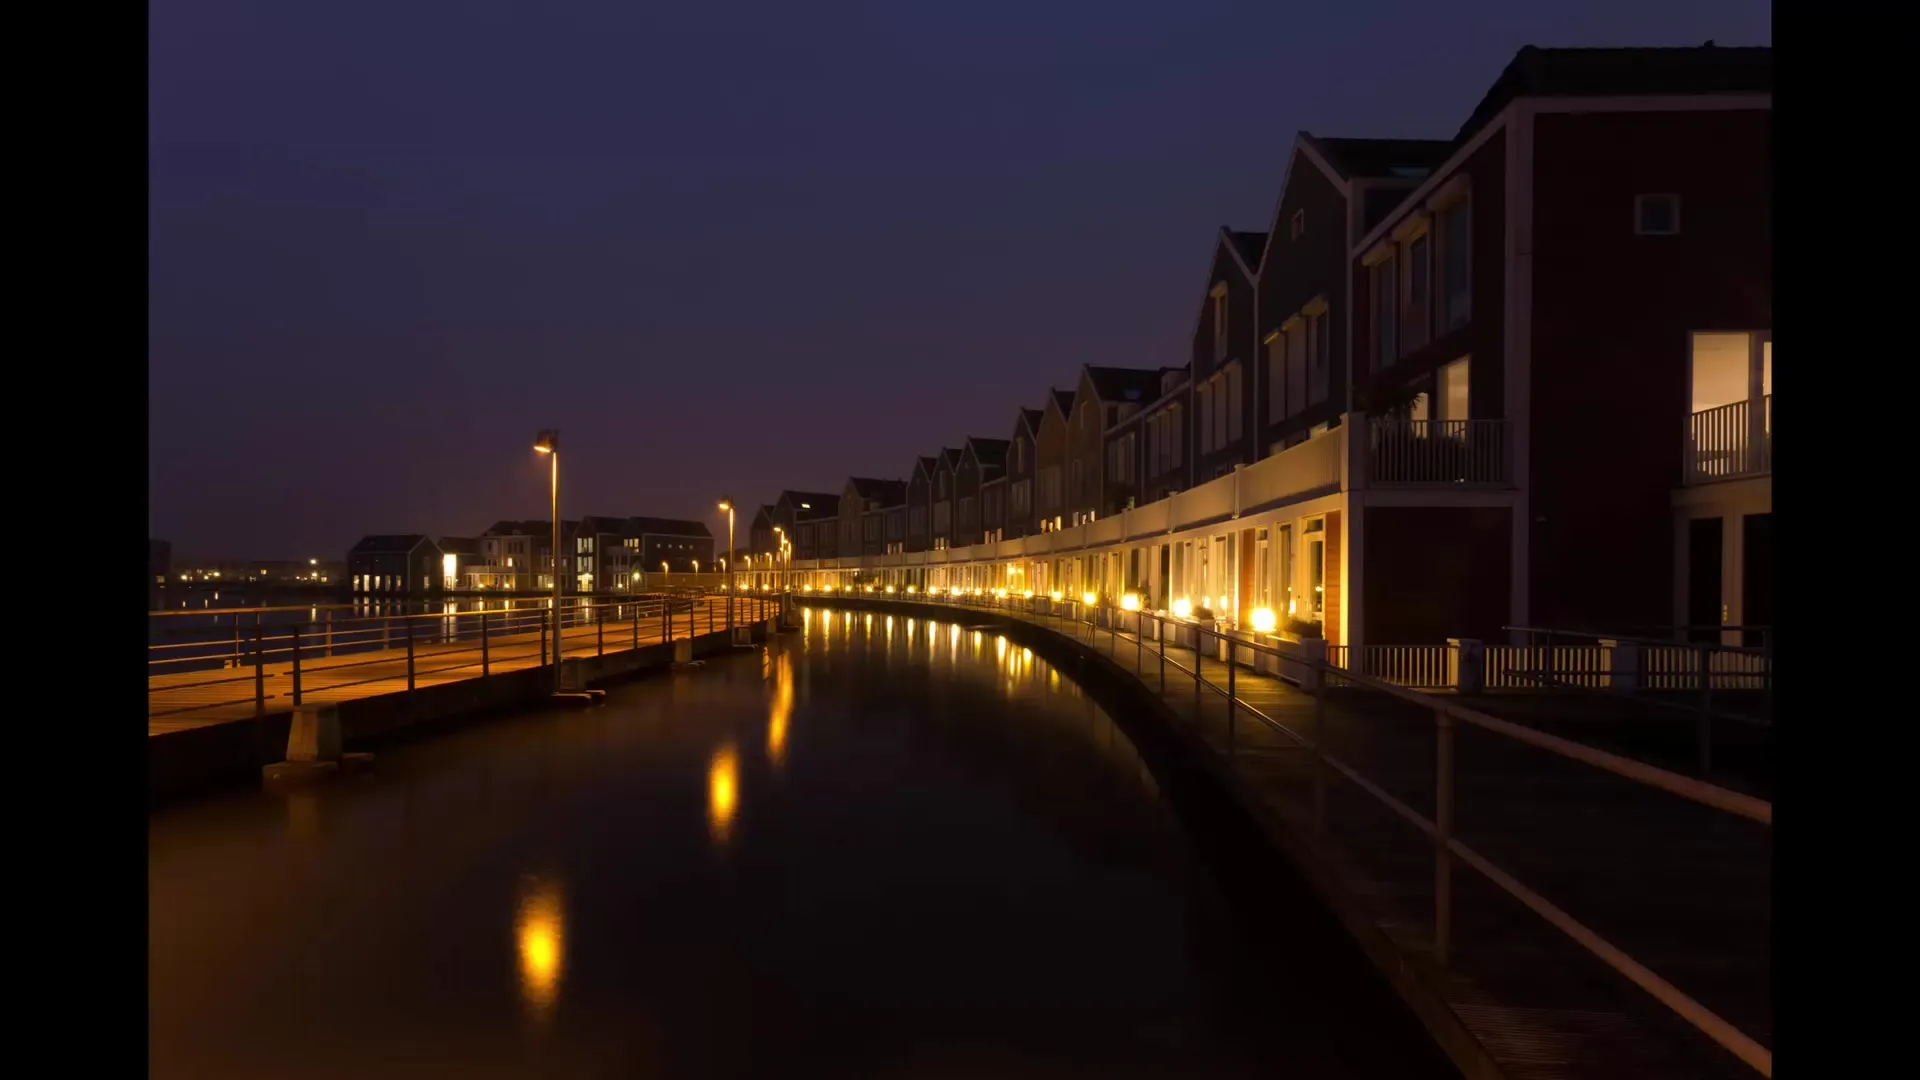
Final Adjustments Before the Shot
Before you take the next shot, check the details. The image can be illuminated by the brightness of the city, giving the picture a yellowish tinge. By adjusting the Kelvin value to a bluish value, you can enhance the contrast to the yellow tones of the city.
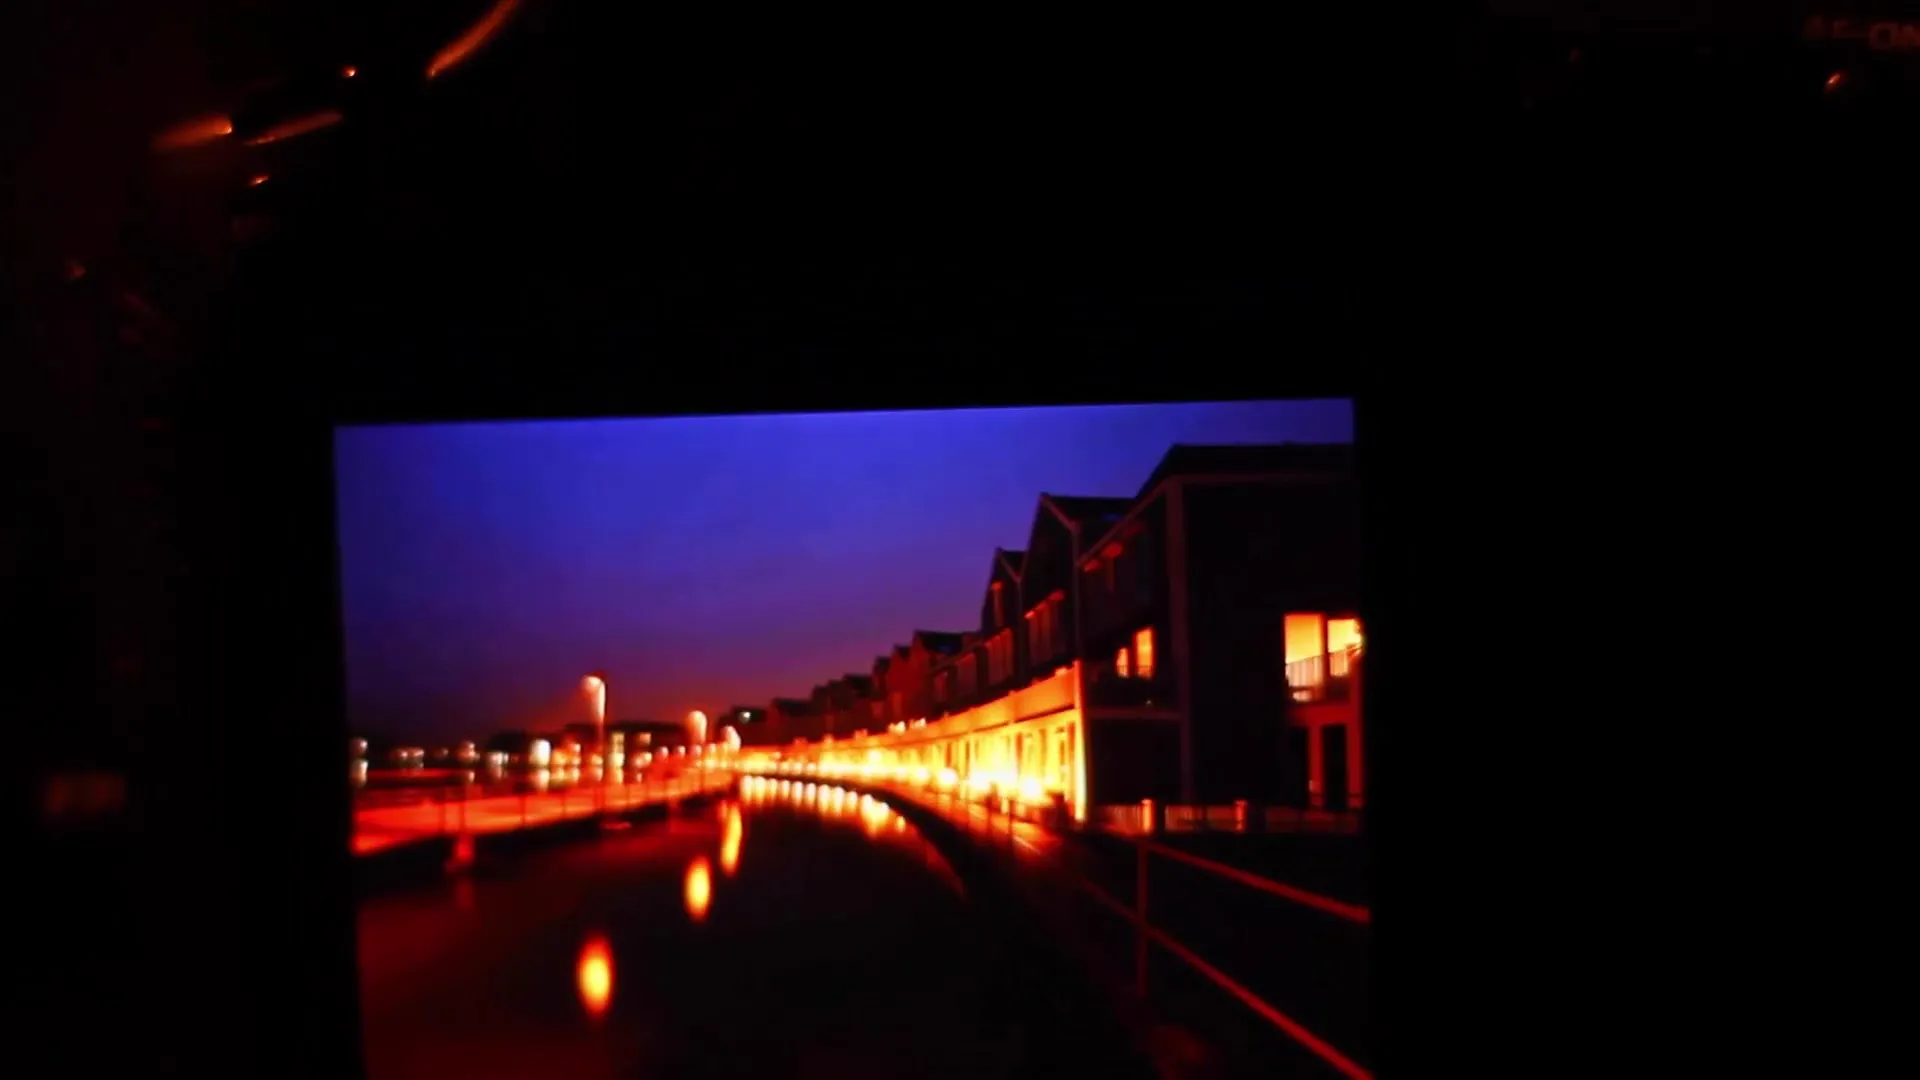
Final Shots and Conclusion
Once you have settled on an exposure time of four minutes, you should be ready to take the last shot of this session. Each individual step, from location choice to color temperature, has contributed to achieving the best possible results.
Summary – Long Exposure at Night: Step-by-Step Guide
In this guide, you've learned how to take long exposures without neutral density filters at night. You discovered the importance of ISO, aperture, and exposure time, as well as how color temperatures can affect the look of your images. Use these tips to enhance your own night photography and create impressive photos.
Frequently Asked Questions
How long should I expose when it gets dark?You should adjust the exposure time according to the lighting conditions, starting with two minutes and then increasing.
Can I photograph without a neutral density filter?Yes, long exposures are also possible without a neutral density filter, as long as the lighting conditions are suitable.
How does aperture affect the light source?A closed aperture creates star-shaped light points, while an open aperture produces a round light image.
How do I set the color temperature?Change the white balance to the correct setting to reduce yellow tones and optimize the colors of the image.
What can I do if the image becomes too yellowish?Check your color temperature settings and adjust the Kelvin value further.
