The art of night photography poses not just a challenge to your creative eye but also to your technical equipment. The right camera, the suitable lens, and a stable tripod are crucial for successful shots in poor lighting conditions. In this guide, you will learn which equipment is optimal for night photography and how to use it effectively.
Key insights
- A mirrorless camera with the appropriate lens offers many advantages for night photography.
- The choice of tripod is crucial for stability during long exposure times.
- External power banks are essential for quickly recharging your battery when you're out and about.
Step-by-step guide
Step 1: Choosing the camera
Start by selecting your camera. I use a mirrorless Sony A65. This camera is compact and offers many modern features that are particularly beneficial for night photography. Equipped with a crop sensor, the A65 has some limitations at higher ISO values compared to full-frame cameras. Nevertheless, you can go up to ISO 800, and sometimes even 1600, for decent results. For a larger image, you can also experiment with a full-frame camera, which will serve you better at higher ISO values.
Step 2: Choosing the lens
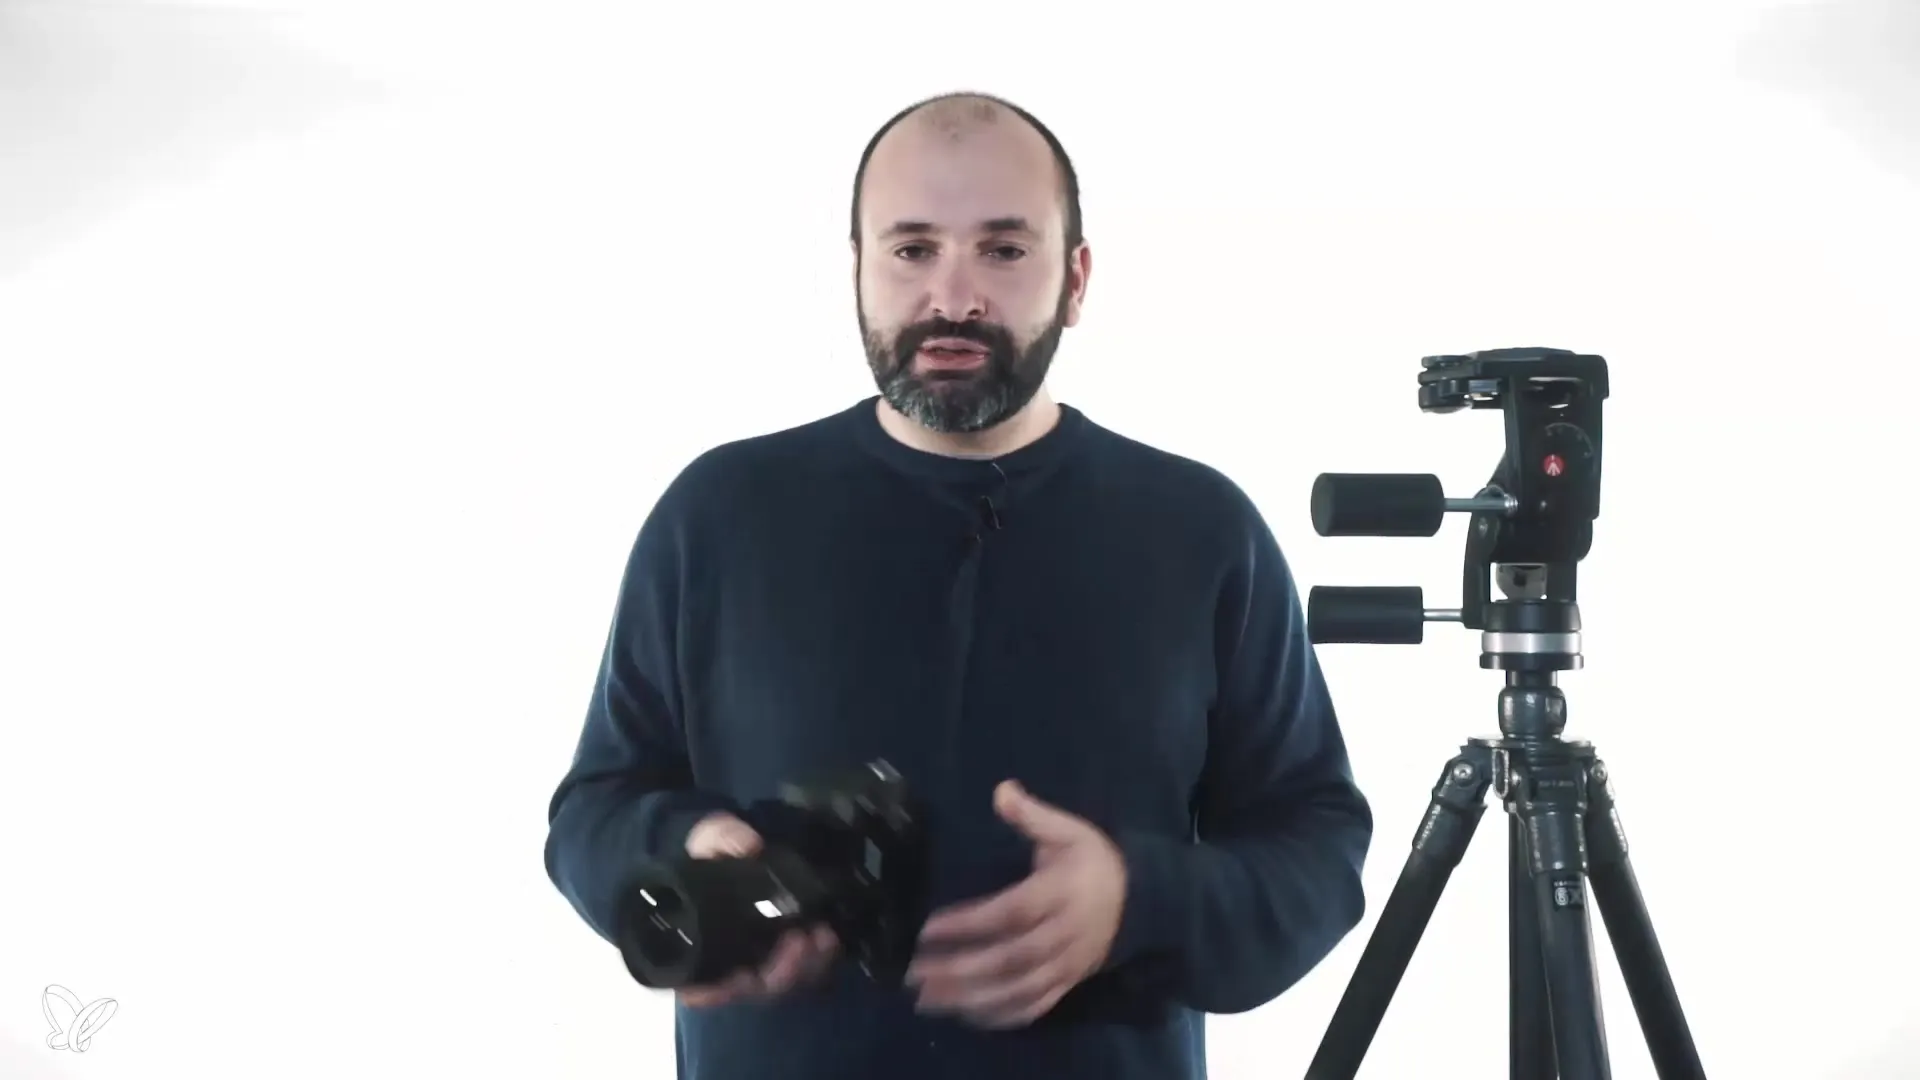
The lens I use is a Sigma 16-35mm with an adapter for Sony. It has a constant aperture of f/1.8, giving you flexibility while shooting. A wide-angle lens is highly recommended for night shots, as it allows you to capture large landscapes and skies well. However, the downsides must be considered, such as reflections from light sources in backlit shots. If you want to minimize these reflections, a prime lens could be the better choice, as it has fewer components and thus produces fewer reflections.

Step 3: Using a tripod
A stable tripod is indispensable for night photography. Due to longer exposure times, the camera needs the necessary stability to avoid blurriness. Look at different tripods to find the one that fits you. I prefer a lightweight and compact tripod that is still stable enough for my shots. It’s important that you can handle the tripod and that it can provide you with the flexibility you need. The weight of the tripod can matter if you're on the move a lot. Ensure it always stands firmly, even on uneven ground.
Step 4: Using the self-timer
When photographing at night, use the self-timer. This helps to avoid blurriness that can occur right when you press the shutter button. You can even use smartphone apps to control your camera wirelessly. The self-timer is always sufficient for me to keep the camera steady, especially when I place it on a tripod. In poor lighting conditions, this technique is particularly important to ensure the quality of the shots.
Step 5: Power bank for battery charging convenience
One often overlooked but critical point is the use of a power bank. Especially on longer photography tours, batteries can quickly run out. A power bank allows you to charge your camera while you're shooting. This is particularly important since long exposures require a lot of energy. Choose a power bank that is compatible with your camera so that you are always ready to continue shooting without running out of juice.
Summary - The right camera technique for night photography
In this guide, you have learned the basics of camera technique for night photography. Selecting the right camera and lens, using a solid tripod, the self-timer, and a reliable power bank are essential for making impressive night shots.
Frequently asked questions
How important is a tripod in night photography?A tripod is essential as it prevents blurriness during long exposure times.
What should I consider when choosing a lens?A wide-angle lens is ideal, while prime lenses offer the best image quality.
Which camera is best for night shots?Mirrorless cameras like the Sony A65 provide a good balance between size and functionality.
Can I work with a power bank while photographing?Yes, a power bank is handy for recharging batteries on the go and avoiding failures.
How can I prevent my images from being overexposed?Learn to use your camera's manual settings correctly to avoid overexposure.


