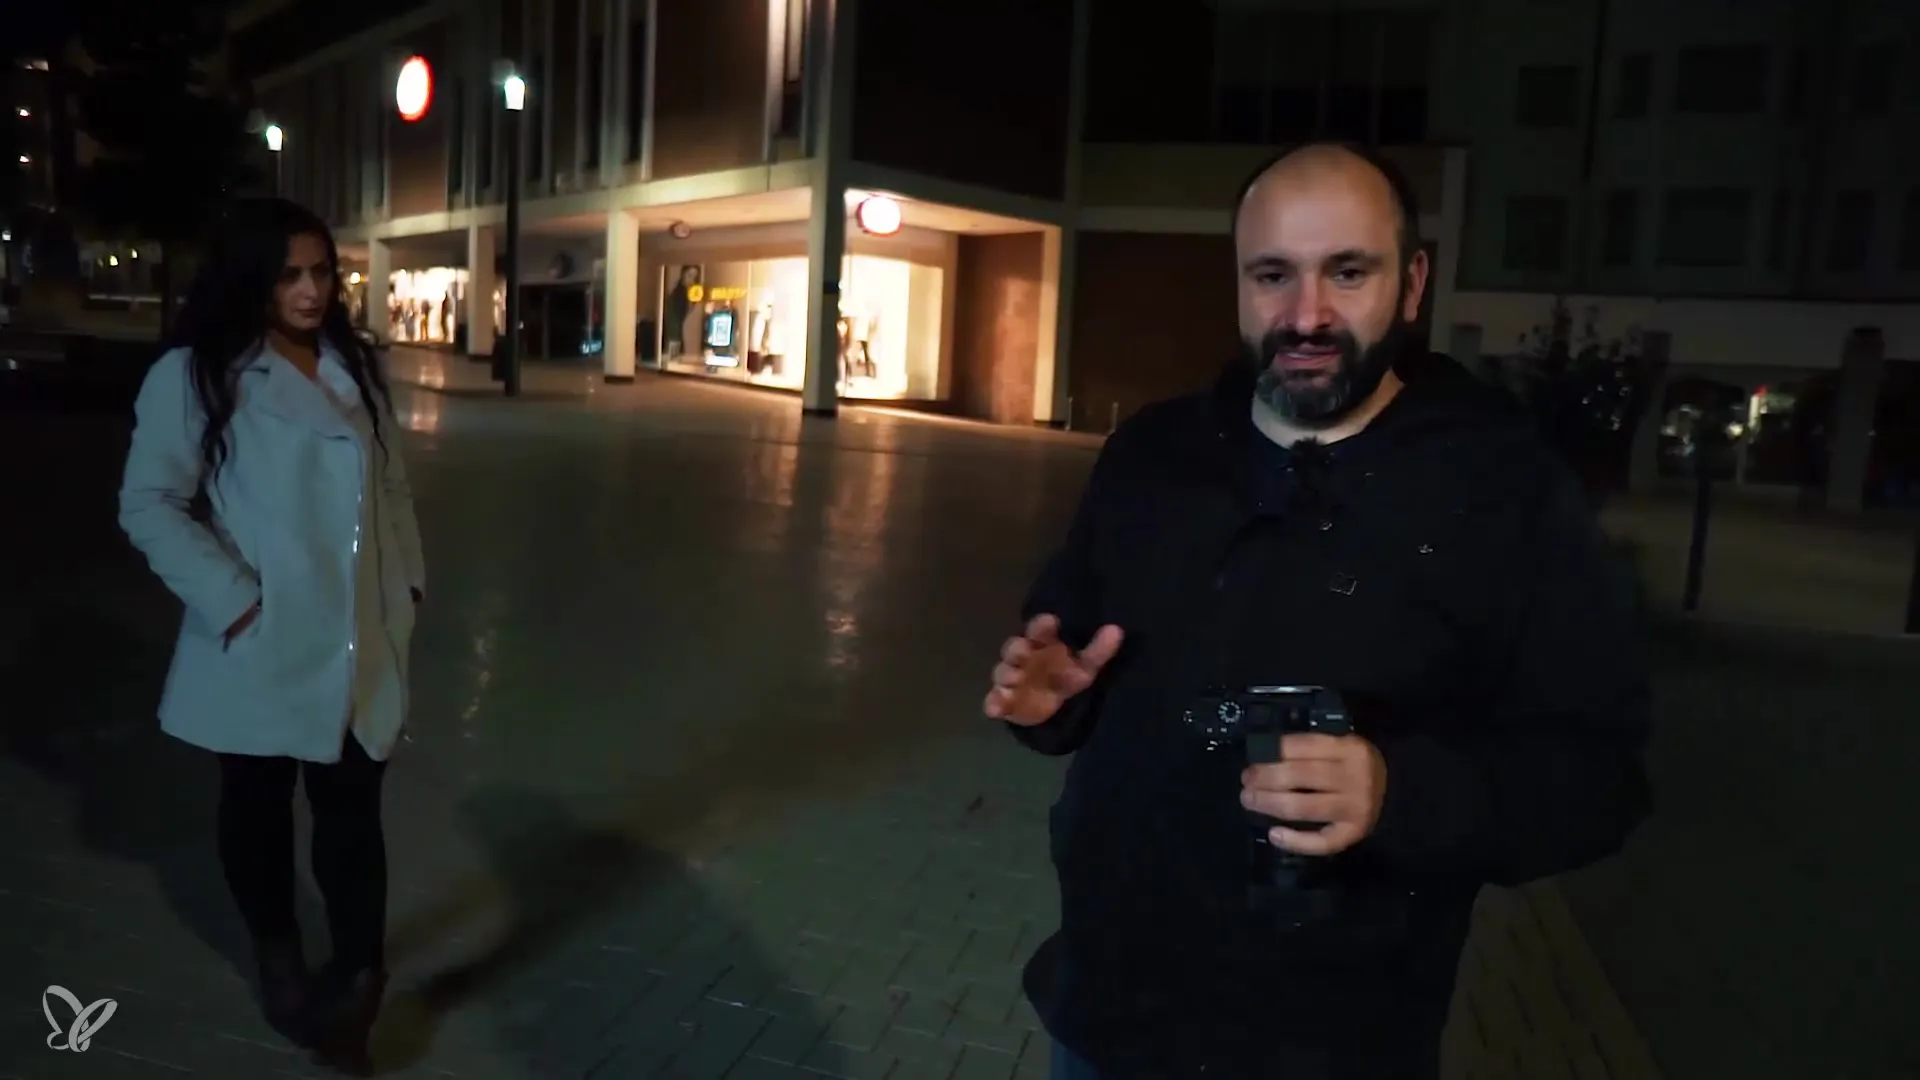
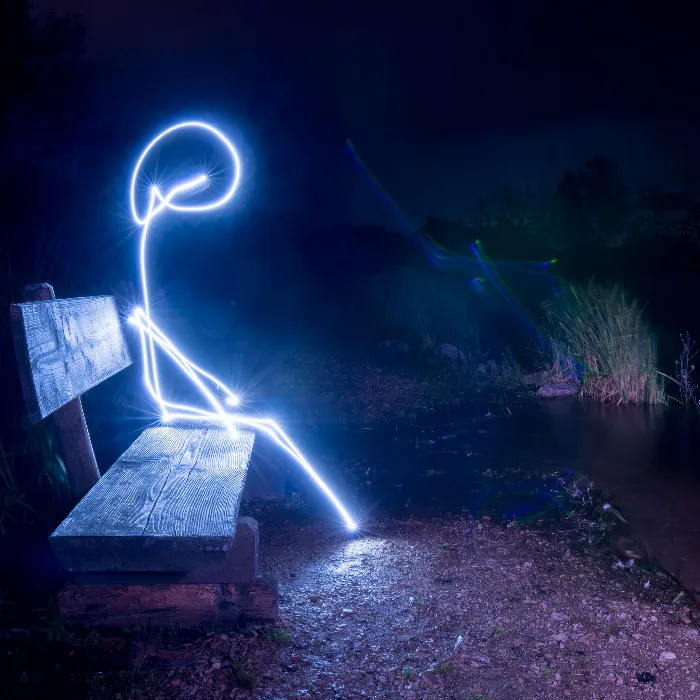
Night photography offers fantastic opportunities to experiment with light and movement. In this tutorial, you will learn how to create creative effects in the dark using flash and long exposure time. You will discover how to incorporate movement while capturing sharp subjects. Let's dive into the technique.
Key insights
- A combination of long exposure time and flash can create creative effects.
- The exposure time should be adjusted to achieve the desired look.
- Movement in the image can create exciting and dynamic compositions.
Step 1: Choose the right camera settings
At the beginning, it is crucial to set the basic camera settings. You should set the aperture to a value of f/10 and the ISO value to 100. These base values are a solid starting point for night photography. The exposure time is initially set to half a second to give you a first idea of the overall exposure.
Step 2: Take the first shots
Now that your camera settings are ready, you should take a first test shot. It is important to use the flash to freeze the main subject, in this case, Emily. You will notice that a light trail forms behind the subject, highlighting the movement dynamic.

Step 3: Adjust exposure time
After the first test shot, you will notice that half a second is too long and does not optimally capture your desired movement. Therefore, you will reduce the exposure time to a fifth of a second (1/5s). Pay attention to how this affects the image; you will already notice a significant difference in the sharpness of the main subject.
Step 4: Find optimal settings
After taking the image with a fifth of a second, you will experiment with further shortening the exposure time. Set it to a tenth of a second (1/10s) and observe how well the light from the light source is captured and how the movement enlivens the image.
Step 5: Incorporate action
For the next shots, you want to bring movement into the picture. Let Emily act "dynamically" by running past the camera. You need to adjust the camera position so that you can optimally capture the subject. As she moves, rotate the camera to actively shape the light and create many small light trails.
Step 6: Make test shot series
To obtain different variations of the image, you should make several test shots in series. In doing so, you vary the distance between you and the subject and explore the idea of "blurry-sharp" effects. Set the focus manually and keep the distance constant to ensure a consistent image.
Step 7: Allow creativity and refine
Your test shots will help you define the best look for your recordings. As you continue to experiment, you can play with different movements and settings to enhance the atmosphere of your image. Aesthetics is important here – it doesn't matter if the images are occasionally blurry, as long as the overall composition and dynamics are right.
Summary
In this guide, you have learned how to create fascinating effects in night photography using flash and long exposure time. By experimenting with different exposure times and integrating movement, you have the opportunity to create dynamic and creative images. Let your creativity run wild and discover your personal visual language!
Frequently Asked Questions
How can I better capture movement in my image?Use a shorter exposure time and keep the subject in motion.
Which aperture is best for night photography with flash?An aperture of f/10 is a good starting point.
Do I need to raise the ISO value in night photography?For this technique, ISO 100 is suitable; higher values can cause noise.
Why is manual focus helpful?It allows you to set the sharpness precisely, especially in dark environments.
What camera settings do you recommend for the first test shot?Aperture f/10, ISO 100, and an exposure time of 1/2 second are optimal.


