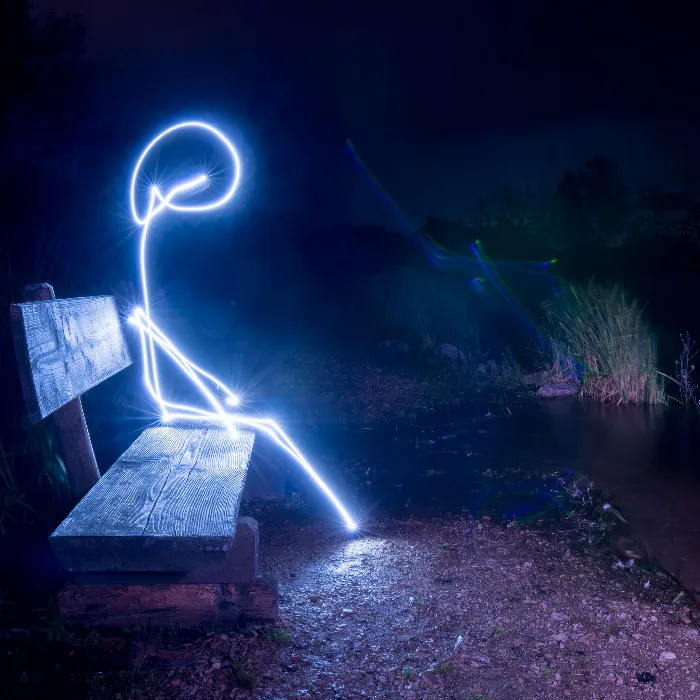
Feeling for exciting night photography experiments? With an LED panel that allows you to customize colors, you can create fascinating light displays. In this tutorial, I will show you how to illuminate a barn in color with simple means and combine different colors in a series of shots.
Key findings
- The use of an LED panel has clear advantages, especially for area lighting.
- Choice and change of colors are crucial for the atmosphere of the image.
- Aperture settings, ISO settings, and exposure time must be well coordinated.
- Working with a self-timer is helpful to allow for dynamic light changes.
Step-by-Step Guide
Step 1: Preparing the LED Panel
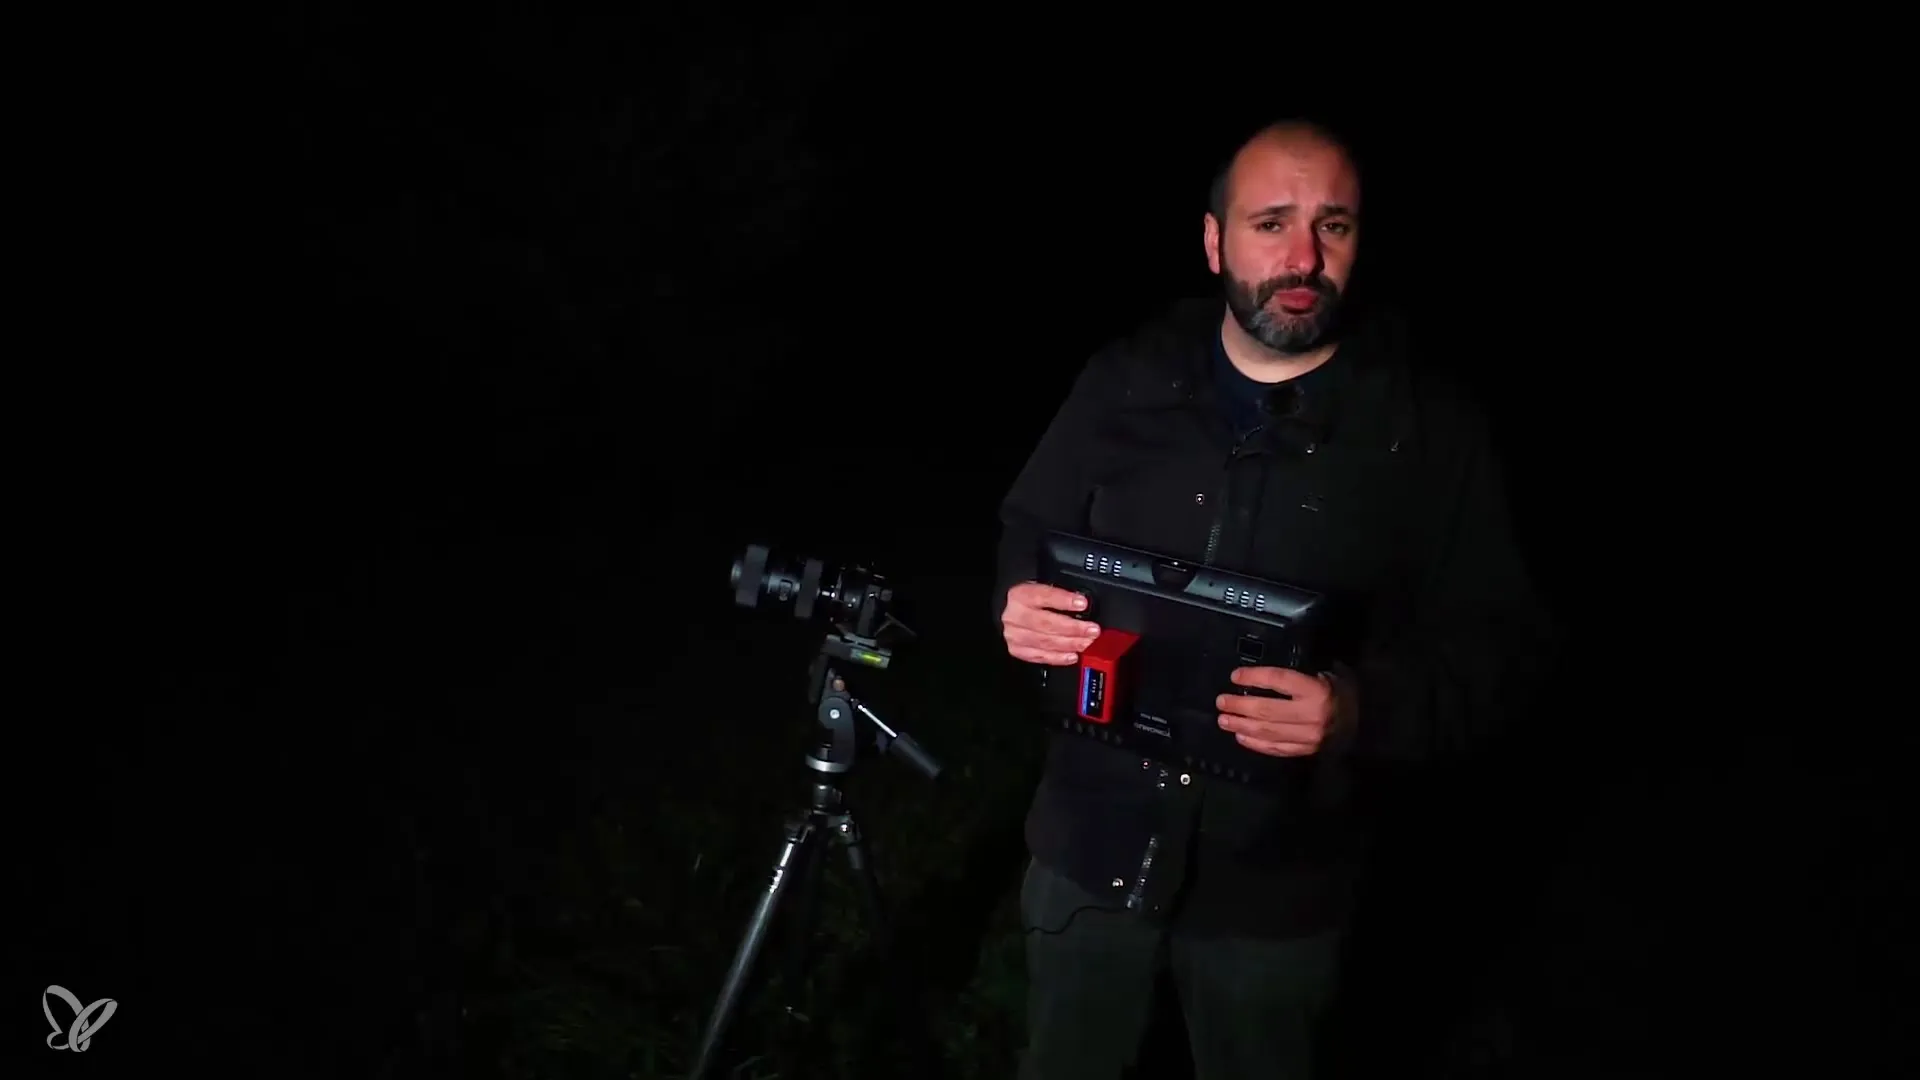
At the beginning, it is important to prepare the LED panel for your night photography. This technique allows you to use different colors to influence the atmosphere of the image. Turn on the panel and experiment with different colors like green, red, and blue until you find the desired color scheme.
Step 2: Choosing Colors and Planning the Shot
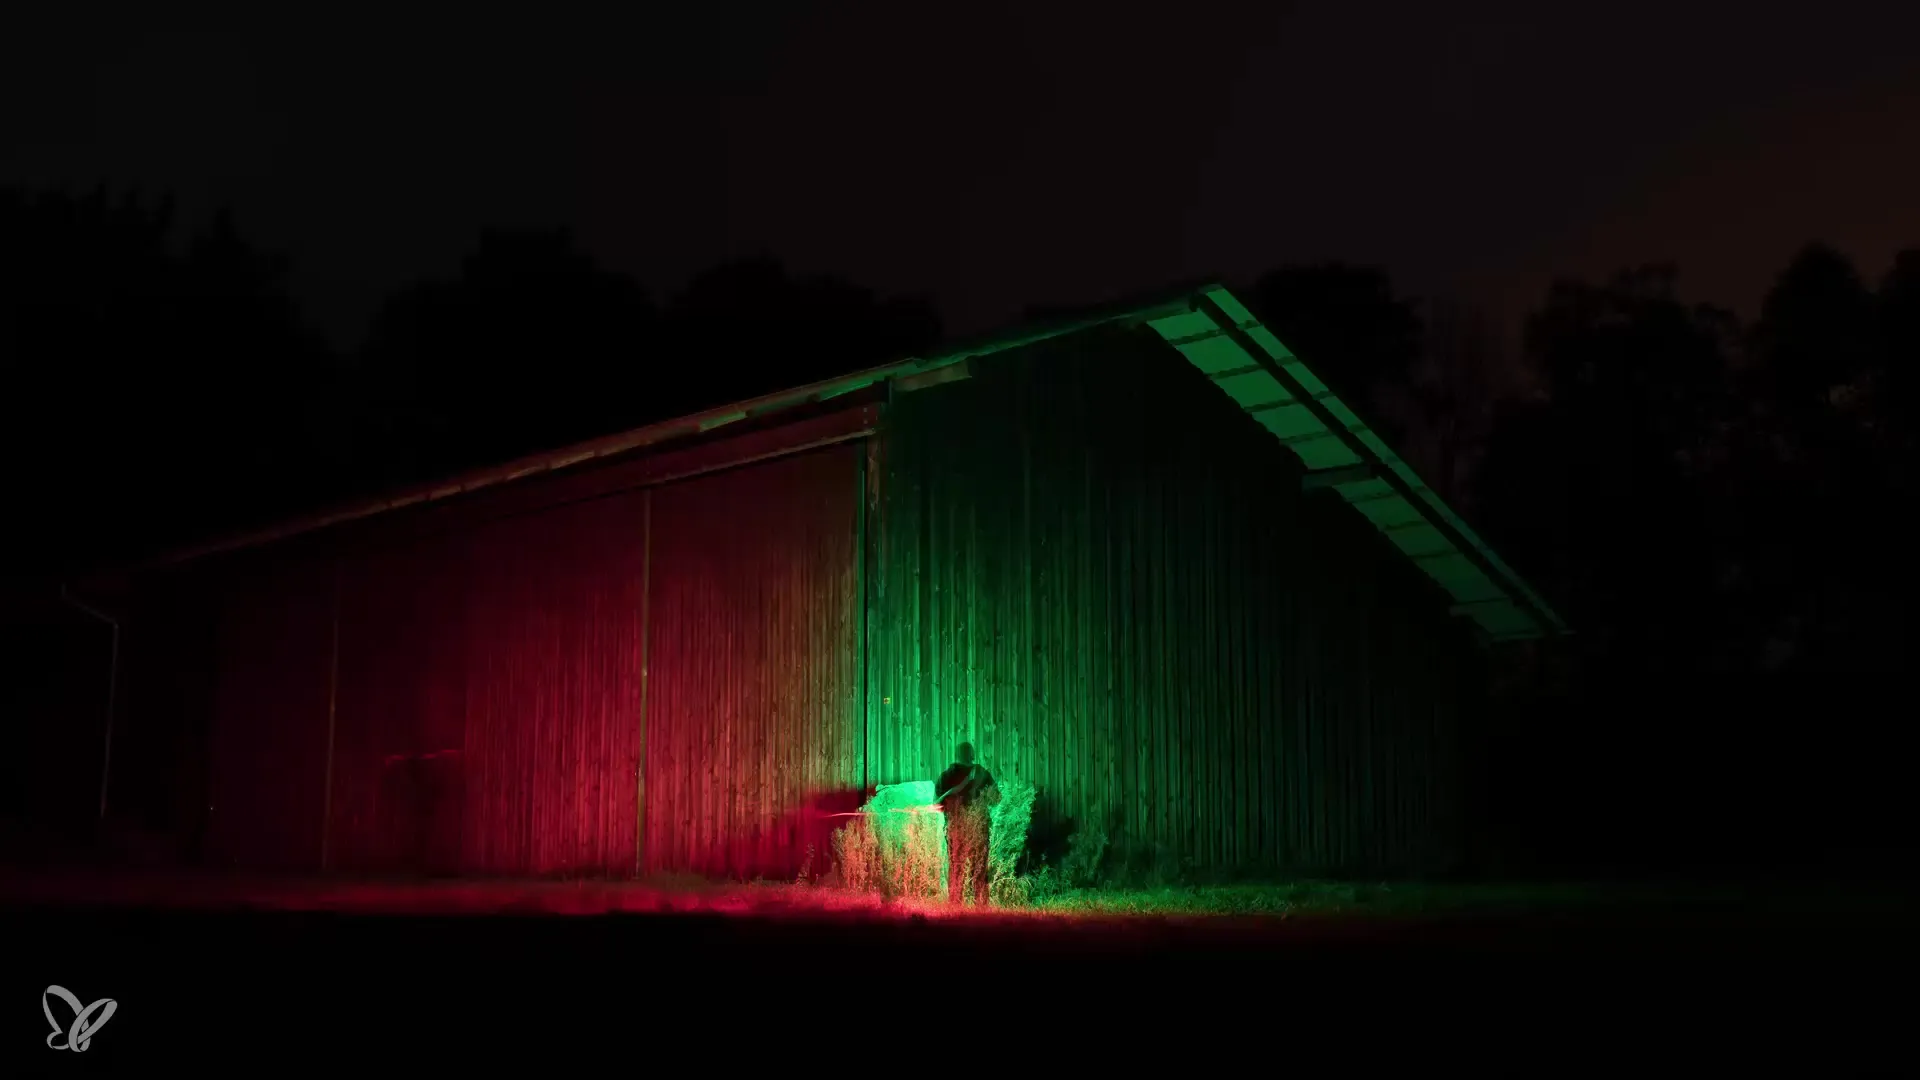
Decide which colors will be used for the front and back areas of the barn. In this case, the front will be illuminated in green and the back in red. This gives your image more depth and excitement.
Step 3: Camera Settings
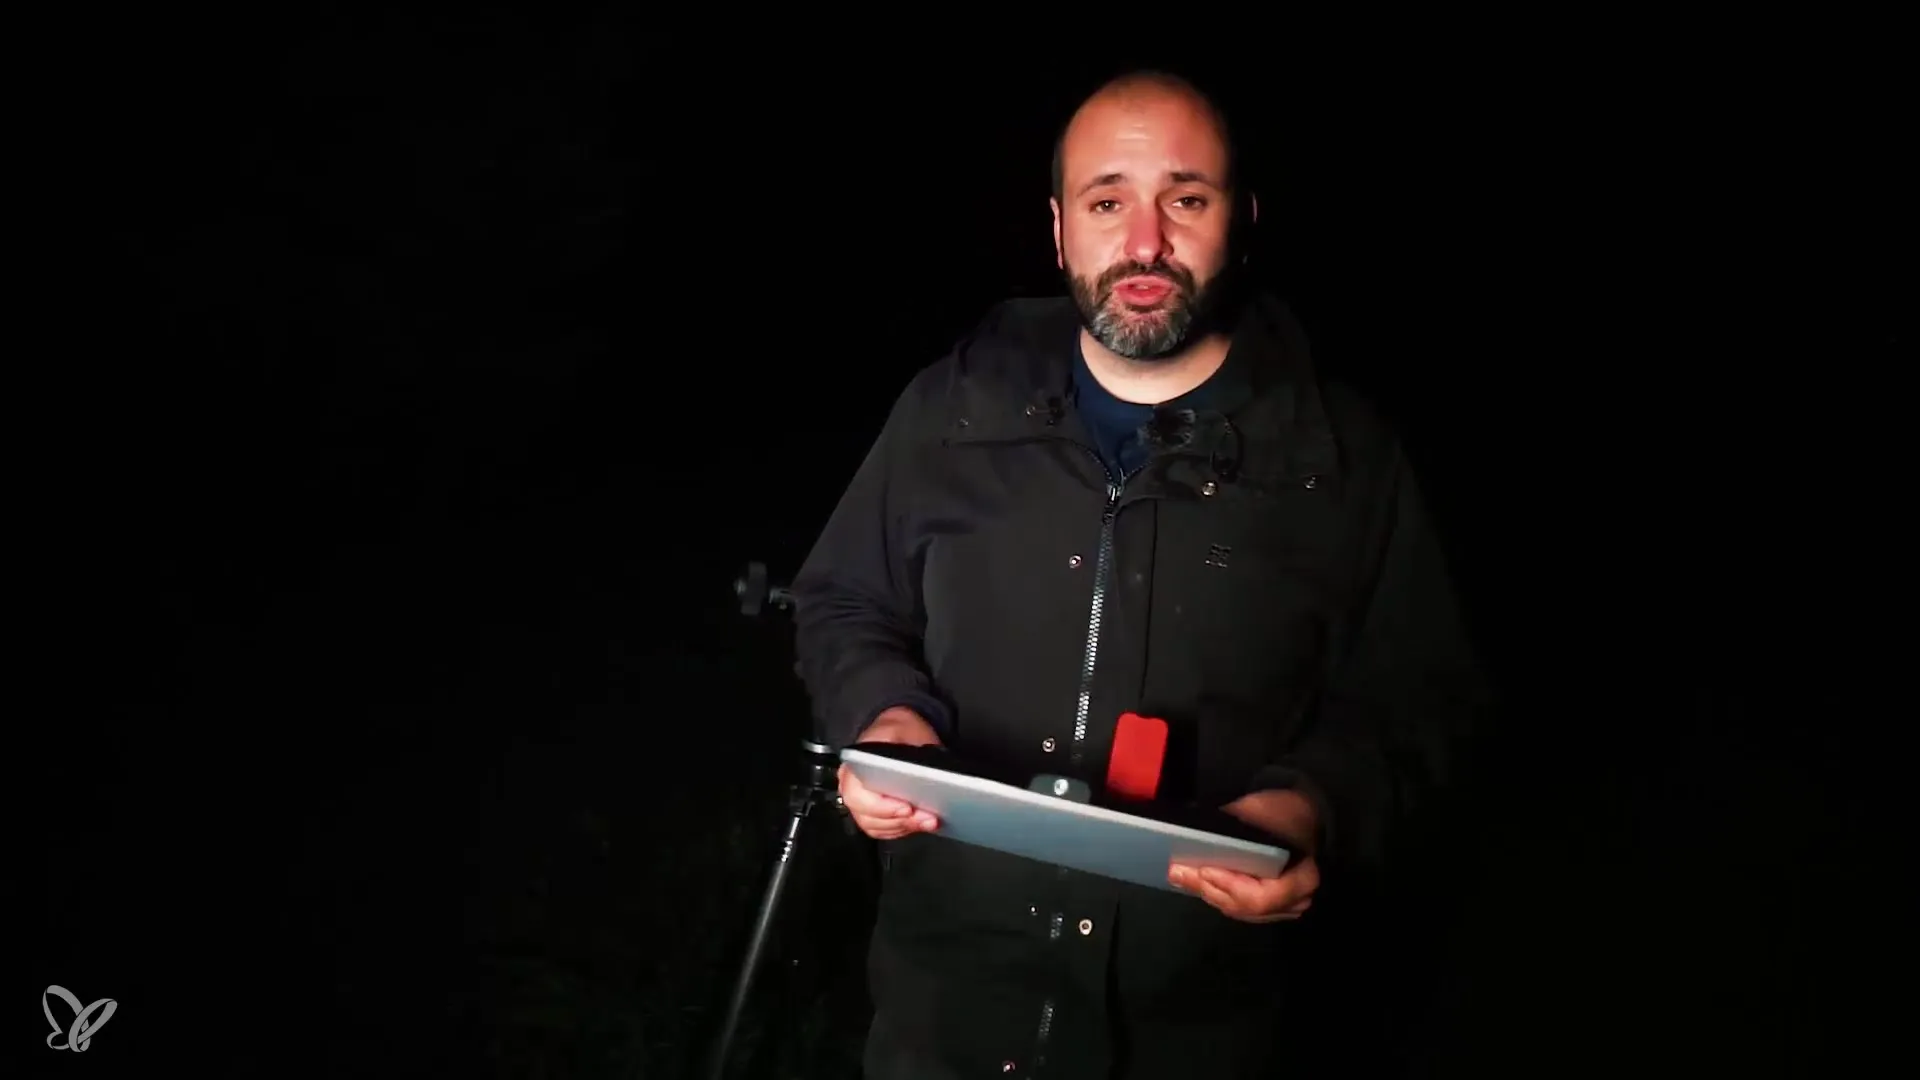
Now it’s time to adjust the camera settings. Set the aperture to f/8 and the ISO to 100 to create a clear image without too much noise. The exposure time should be set to 30 seconds to capture enough light from the LEDs.
Step 4: Using the Self-Timer
To have more time to walk to the barn, set the self-timer to 10 seconds. This way, you can ensure that you are not in the shot when the camera fires. Experiment with the positions of the LED panel to achieve the desired look.
Step 5: Illuminating the Barn
Start the self-timer and walk to the designated position. Make sure to keep moving while guiding the LED panel through the barn. This prevents your own shadow from falling on the image and ensures more even lighting.
Step 6: Checking the Results
After the first exposure, you can check the image to see if it meets your expectations. Pay attention to whether you lingered too long in one spot or if your body affected the lighting. You may need to make some adjustments.
Step 7: Adjusting Settings
If necessary, change the ISO to 200 to further brighten the image and try out additional variations. Make several attempts to achieve different results. Take notes on the different lighting moods you want to capture.
Step 8: Adding Additional Effects
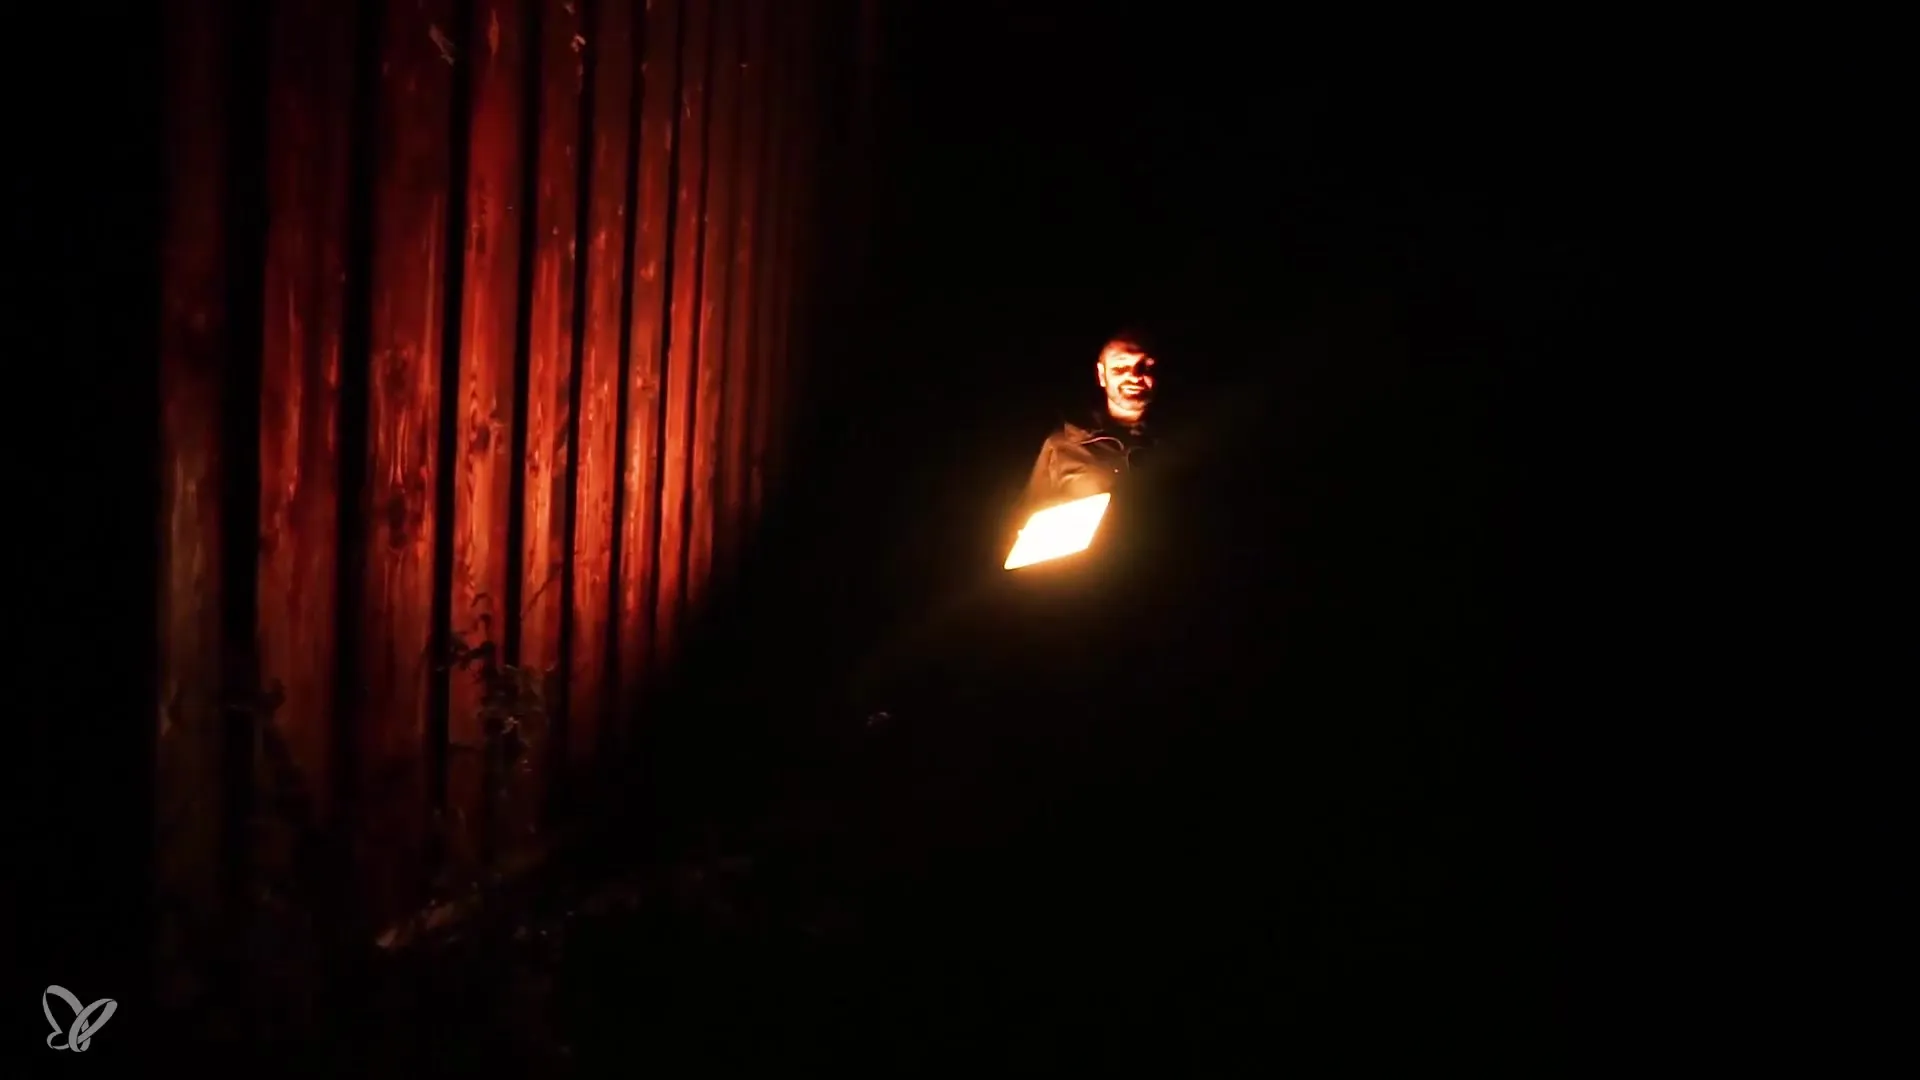
To further refine the image, consider using additional light sources like flashlights for backlighting. Experiment with these while illuminating, so that ultimately a striking image with more dimensions is created.
Step 9: Final Shots
Take some final test shots while adjusting the different colors. Most importantly, ensure that you illuminate the entire scene comprehensively. The resulting effect should look as if a section of the barn is illuminated in dangerous colors while the rest remains rather neutral.
Step 10: Image Editing in Photoshop
Now it’s time to combine your shots in Photoshop. Make sure to carefully combine the individual images to perfectly showcase the different colors and create a harmonious overall artwork.
Summary – Night Photography: Colorful Barn in Focus
By combining LED panels, precise camera settings, and targeted light management, you have the opportunity to stage breathtaking colors and moods in your night photographs. Experiment with different color combinations and compile your best results in post-processing!
Frequently Asked Questions
What is an LED panel?An LED panel is a powerful lamp that can emit different colors and is ideal for creative lighting design.
How can I control the light efficiently?By varying the colors in the LED panel and adjusting the position of the light, you can deliberately create different atmospheres in the image.
Why is the self-timer useful?The self-timer gives you time to walk to the camera and manage the light without appearing in the shot.
How do I edit the images in Photoshop?In Photoshop, you can combine and adjust the individual shots to create a harmonious overall image.
Is it important to keep moving?Yes, this minimizes the risk of your shadow appearing in the image and ensures even lighting.
