Window light is an excellent way to create impressive night shots. It not only provides you with interesting illumination but also creates a special atmosphere. In this guide, you will learn how to effectively use this light to present models impressively. With a few tricks and a targeted approach, you will be able to create accentuated and creative photographs.
Main Insights
- Windows with hard light can create a dramatic effect.
- The positioning of the model is crucial for successful illumination.
- Use the reflections in the window for creative perspectives.
- Vary height and angle for diverse shots.
Step-by-Step Guide
To work with window light, follow these steps:
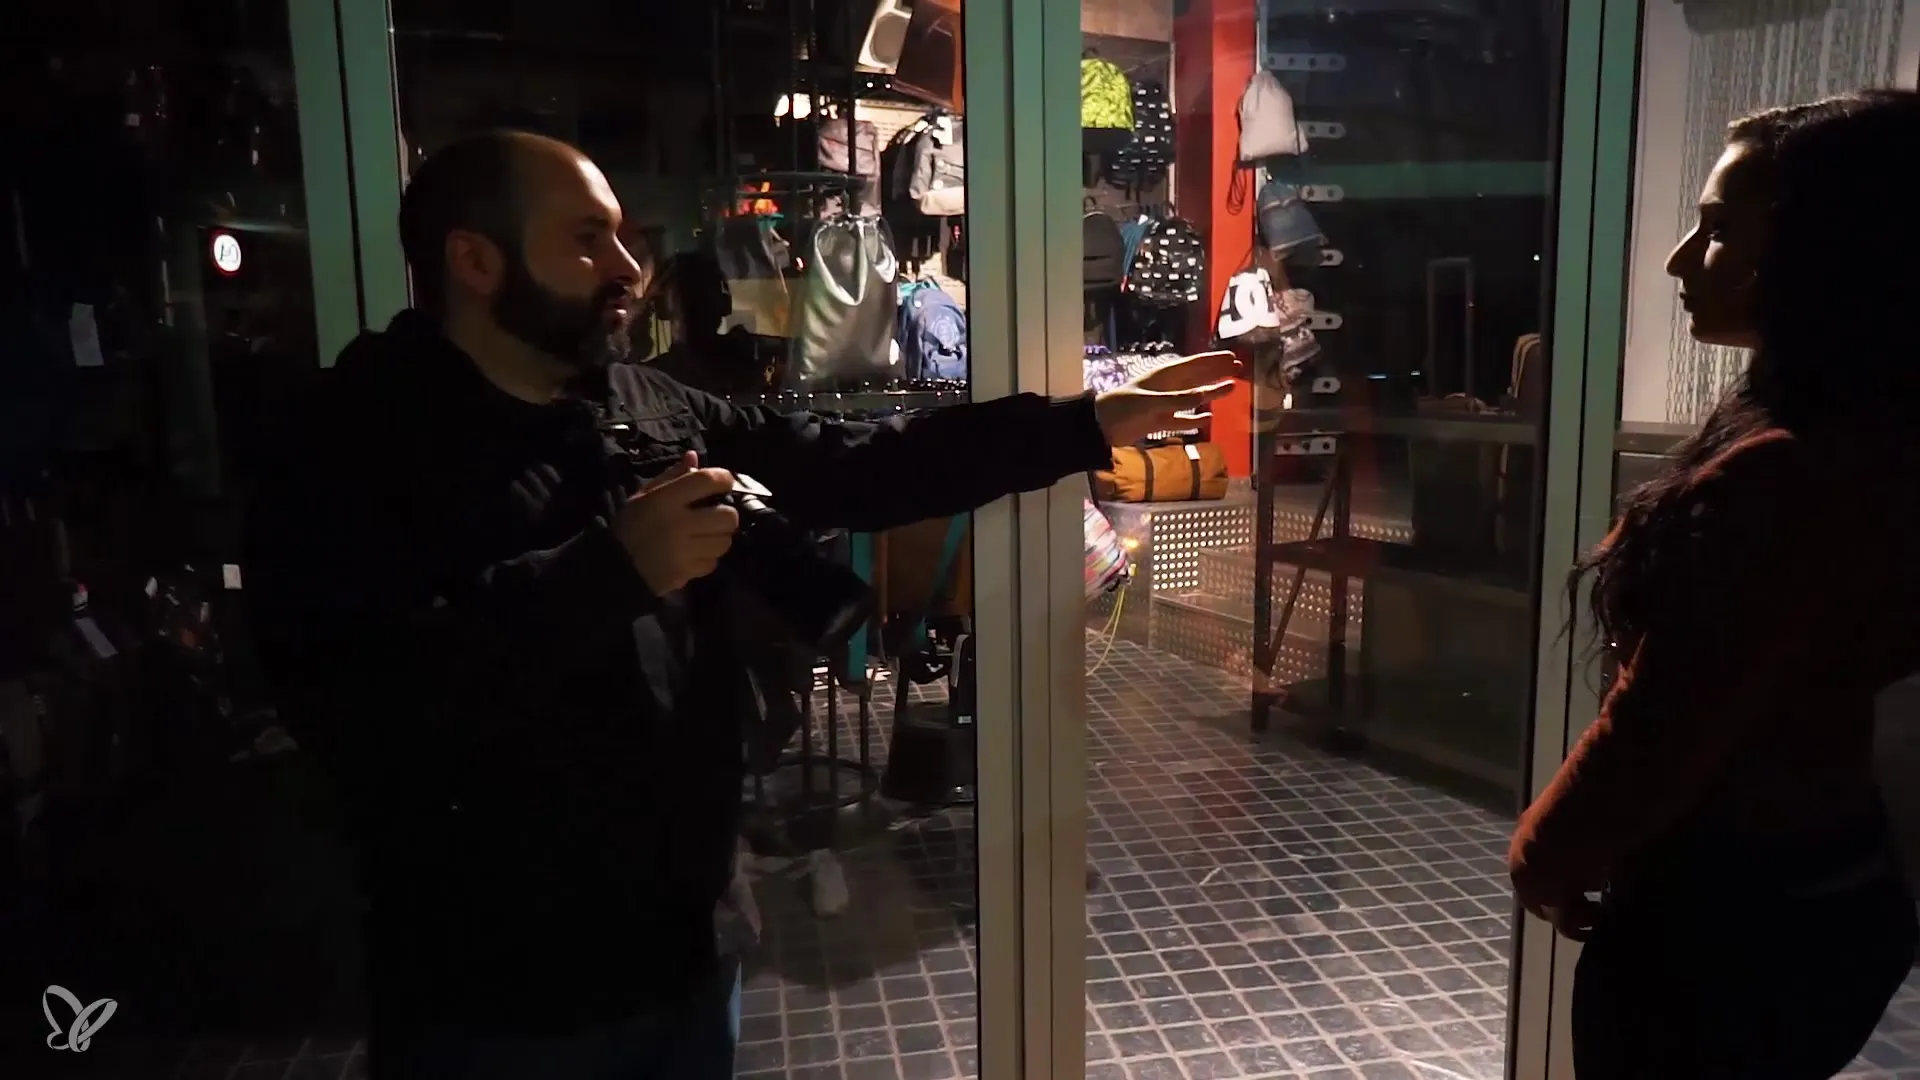
Start by selecting a suitable window. Make sure there is hard light, like from spotlights, and avoid flat lights such as fluorescent tubes. Hard light brings strong contrasts to your image.

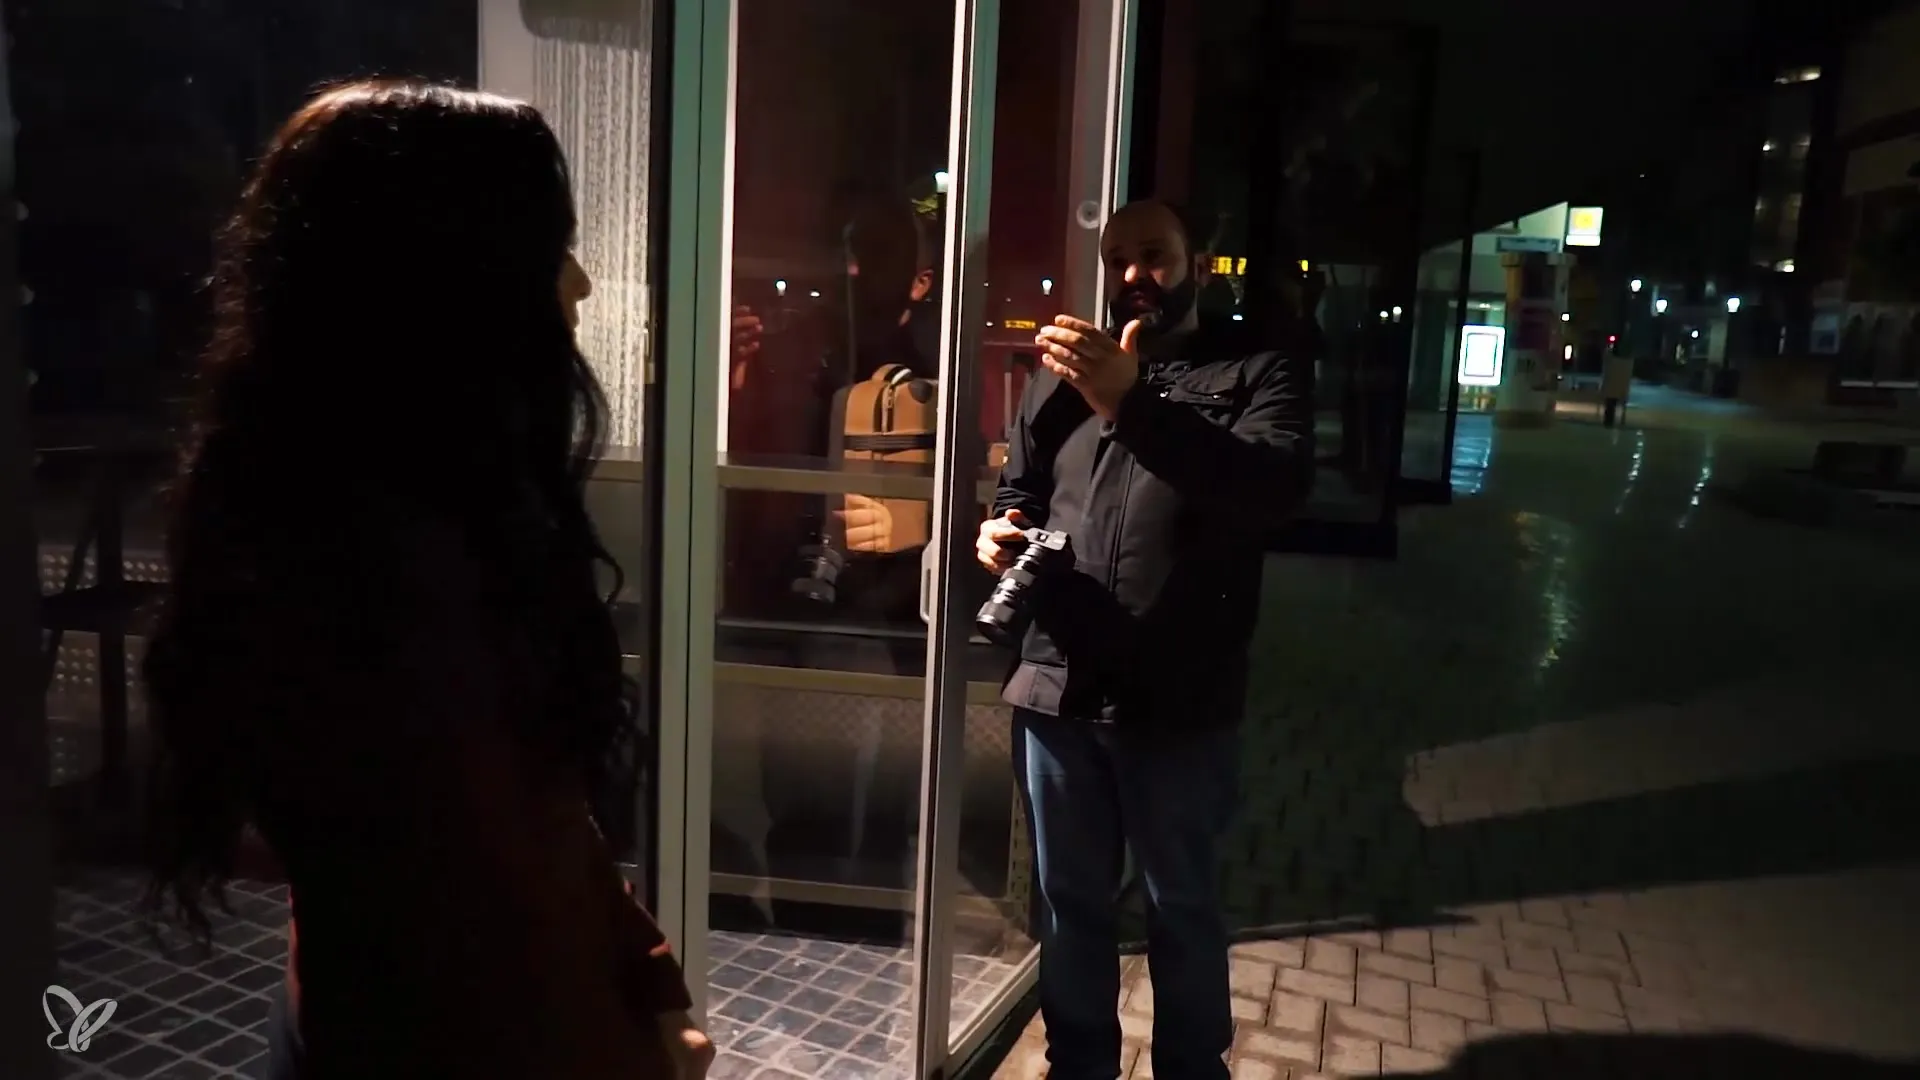
Place your model, for example, a person, as close to the window as possible and choose a pose that utilizes the light optimally. Typically, the model should look toward the window to maximize the light effects. A slight turn toward the light can also help.

Take some test shots to check the lighting conditions. You will quickly notice that hard light does not always illuminate evenly. Watch for sharp shadows on the face and think about how you can adjust the pose of your model to achieve better results.
If the light falls too strongly on one side of the face, change the model's position. Make sure to take a step back to distribute the light more evenly. This way, you can adjust the pose to make the light angle more effective.
Also experiment with perspective by positioning the camera higher or lower. A lower angle can deliver new and surprising results. Test different placements and look out for interesting backgrounds or reflections.
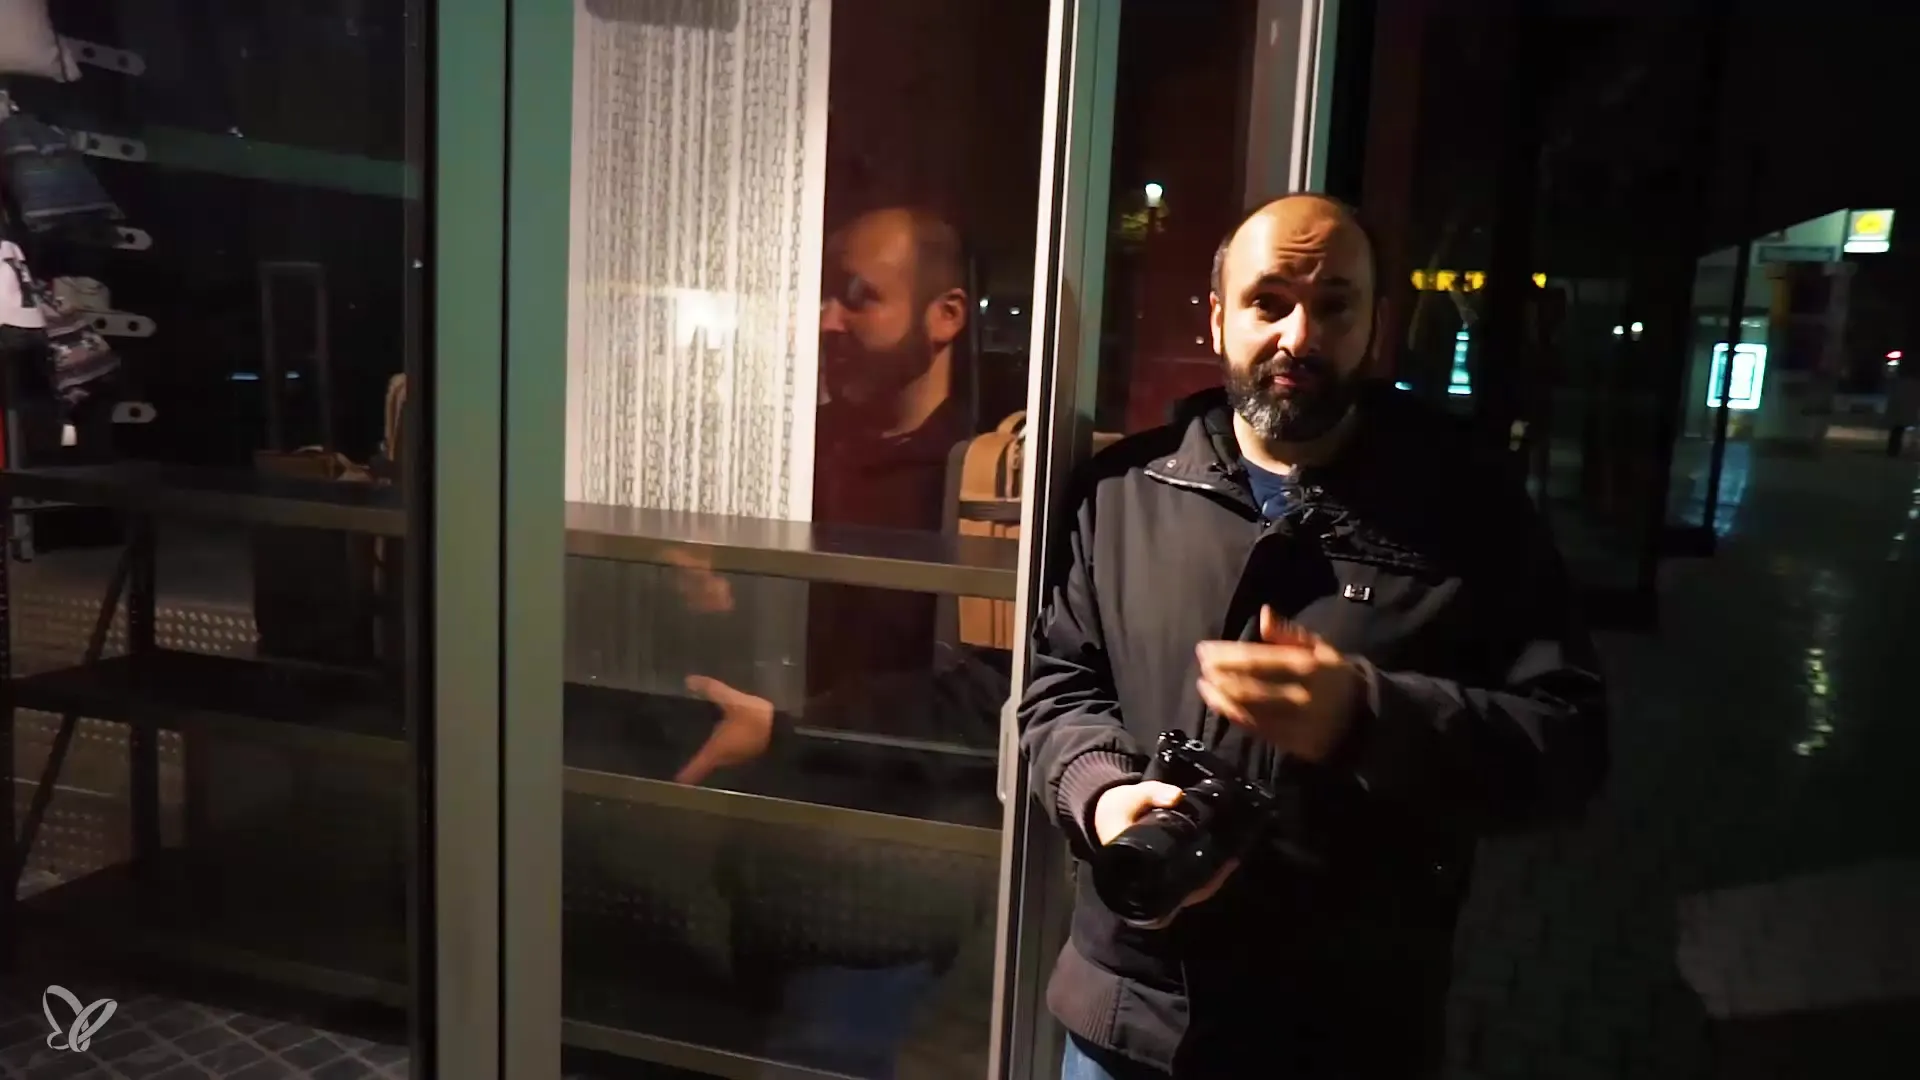
Use the reflections in the window to your advantage. Stage the model and keep the camera close to the window to create exciting transparency effects. This adds an extra dimension to your image, making it more lively and interesting.
Pay close attention to the shadows. If placed well, they can contribute to the composition of the image. Ensure that the light does not fall too harshly on one side of the face and observe how the light affects the rest of the image.

After experimenting with different positions and poses, take some final shots. Keep the action in the shot alive and creative. Ensure that the model's gaze is always directed towards the light source – this creates a dynamic image composition.
When you apply these techniques, you will be amazed at how much potential window light has for your night photography. There are countless ways to capture the city in a new way, so be creative and experiment.
Summary – Night Photography with Window Light: A Practical Guide
Use window light for impressive night photographs by creatively utilizing the light and experimenting with different poses. Pay attention to reflections and variations in perspective to create expressive images.
Frequently Asked Questions
How do I find the right window for my photos?Look for windows with hard light and interesting reflections.
How can I avoid harsh shadows on the face?Position your model further from the window or change the angle of the camera.
What about the reflections in the window?Use them creatively for interesting image compositions.
How should I best handle the light at night?Take test shots to understand the lighting conditions and adjust the position.
Can I also take group photos with window light?Yes, make sure to choose the position to evenly illuminate all individuals.


