Night photography has its own unique challenges and opportunities. You can create fascinating images that are simply extraordinary with the right handling of light. In this tutorial, I will show you the steps to take impressive night shots, using only existing light.
Key insights
- High ISO settings and a wide open aperture are crucial for night photography.
- Vary your perspectives to make the image more interesting.
- Long exposures help to smooth waves and create interesting light points.
Step 1: Location analysis and subject selection
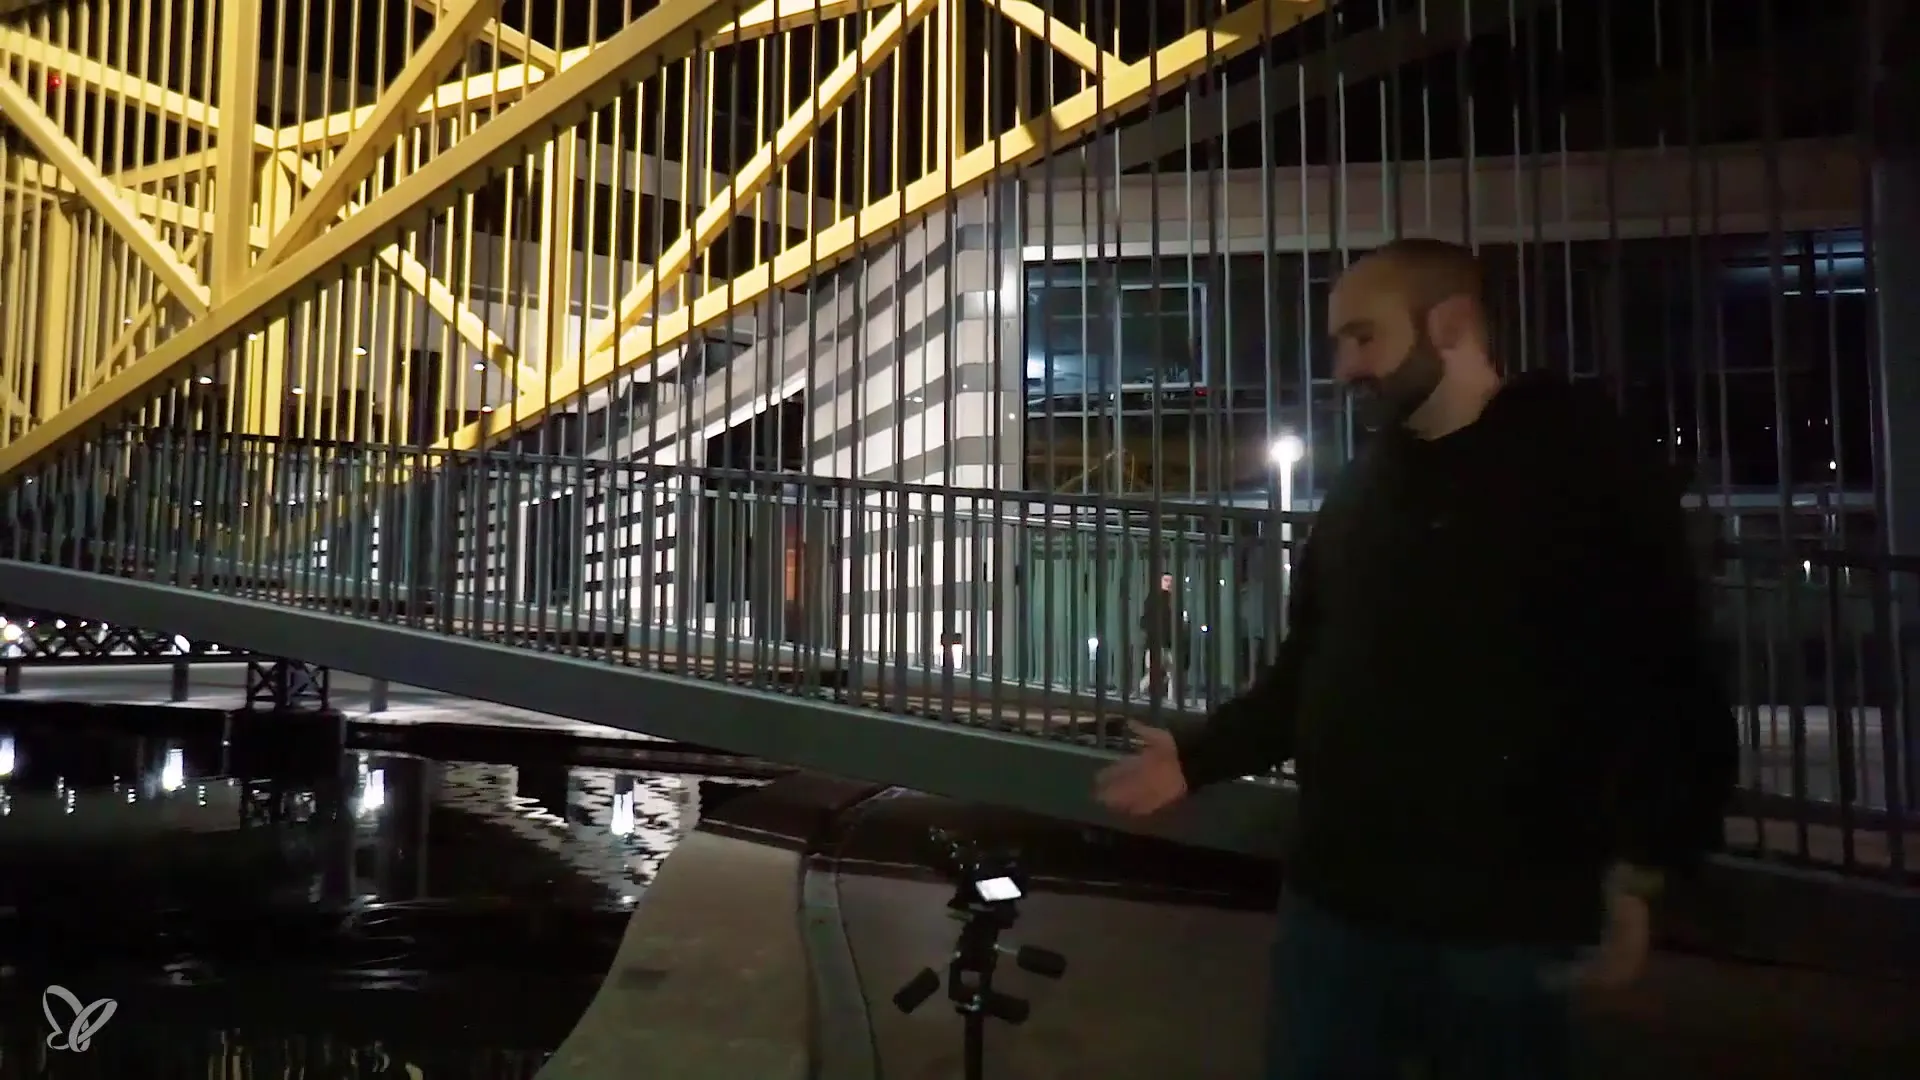
Before you start photographing, it's important to carefully examine your location. In Stuttgart, there are impressive, newly designed areas with a variety of lights. As soon as you arrive, think about which elements catch your attention and which perspectives are promising. A bridge with yellow steel can be a real eyecatcher, for example.

Step 2: Set camera settings
You should first make some basic settings on your camera. Set the ISO sensitivity higher to ensure more sensitivity in the dark. A wide open aperture is also important to let enough light onto the sensor. The focus should be on the perspective, while the exposure can be optimized later.
Step 3: Test perspectives and composition
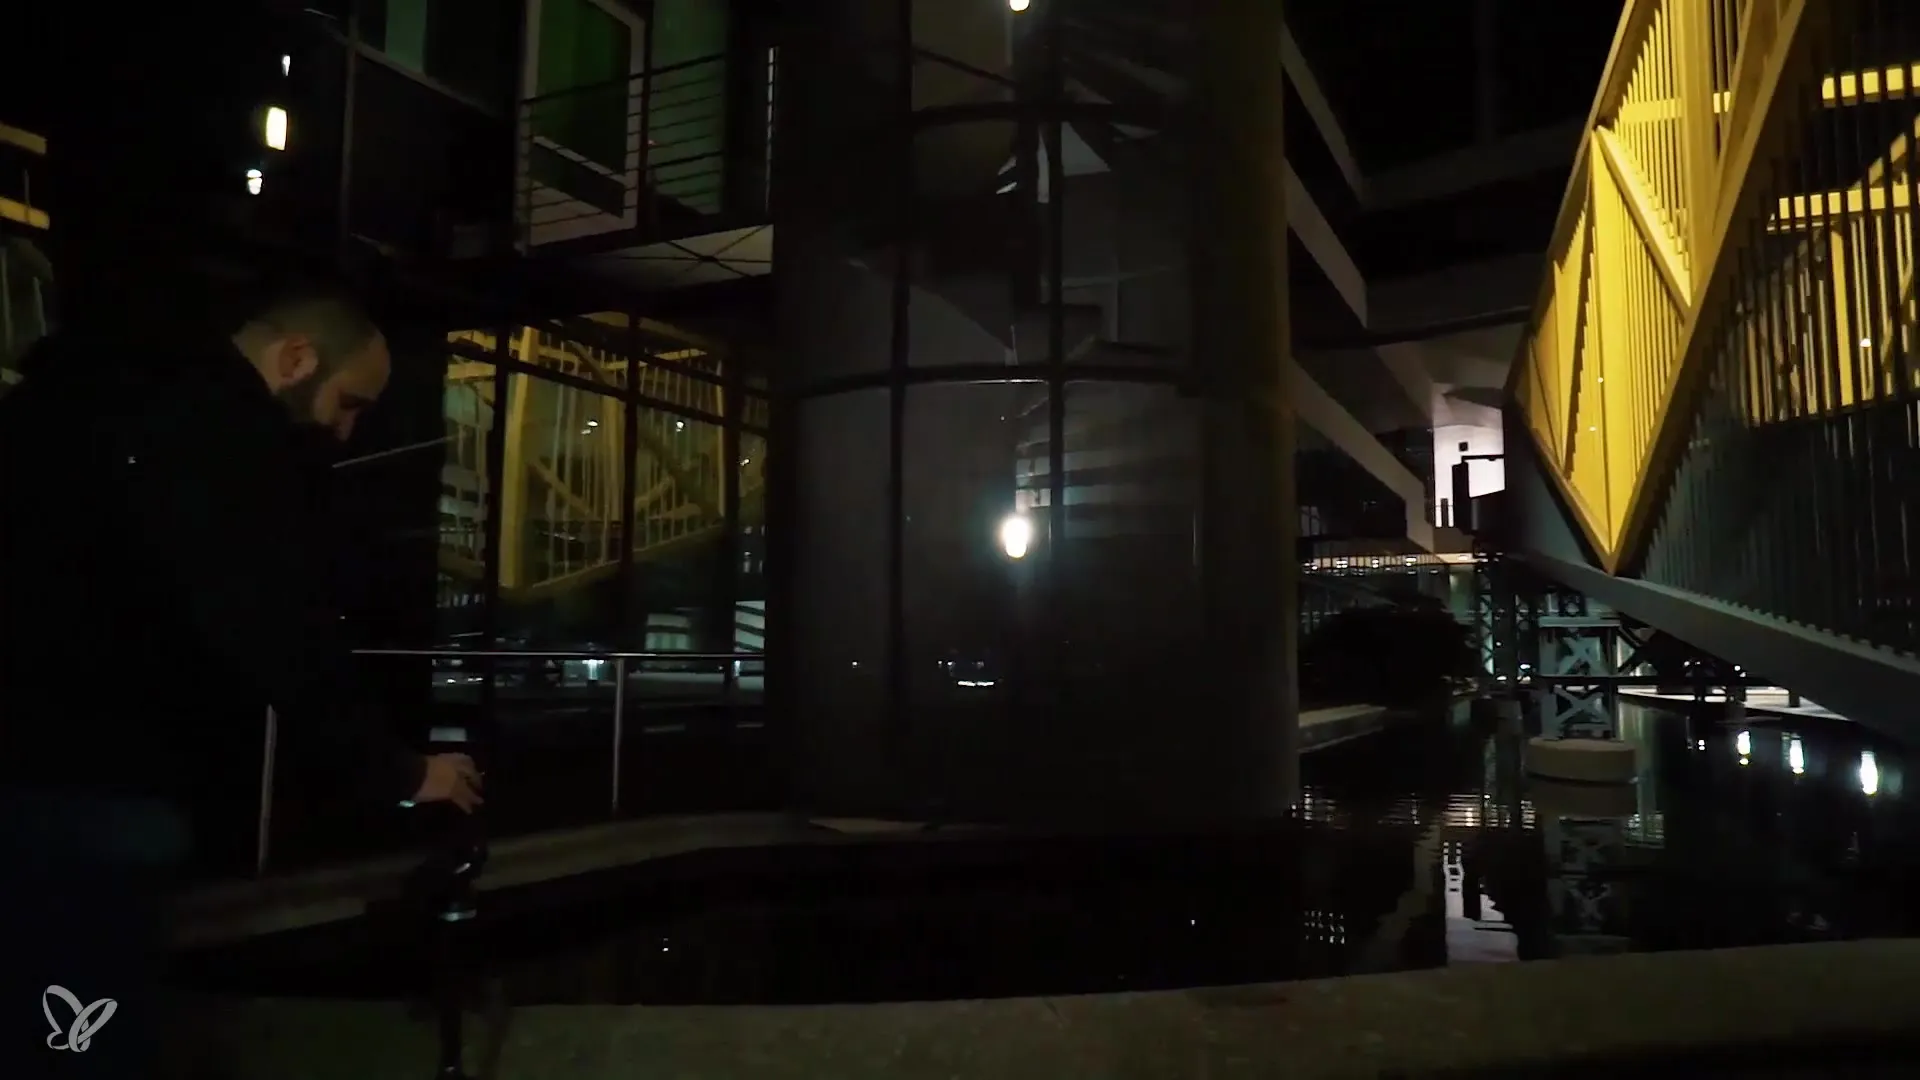
Before you take the final shot, play around with different perspectives. For example, you can get down on your knees to achieve an interesting and dynamic composition. The tiltable display of your camera can be extremely helpful here. Try various angles to find out which composition is the most appealing.
Step 4: Find the ideal exposure time
Now it's time to optimize the exposure time. Lower the ISO again (for example, to ISO 100) and optimize the aperture. Gradually adjust the exposure time until the automatic indicates stability at 0.0. It is important to test different exposure times to find the ideal setting for you.

Step 5: Use a tripod
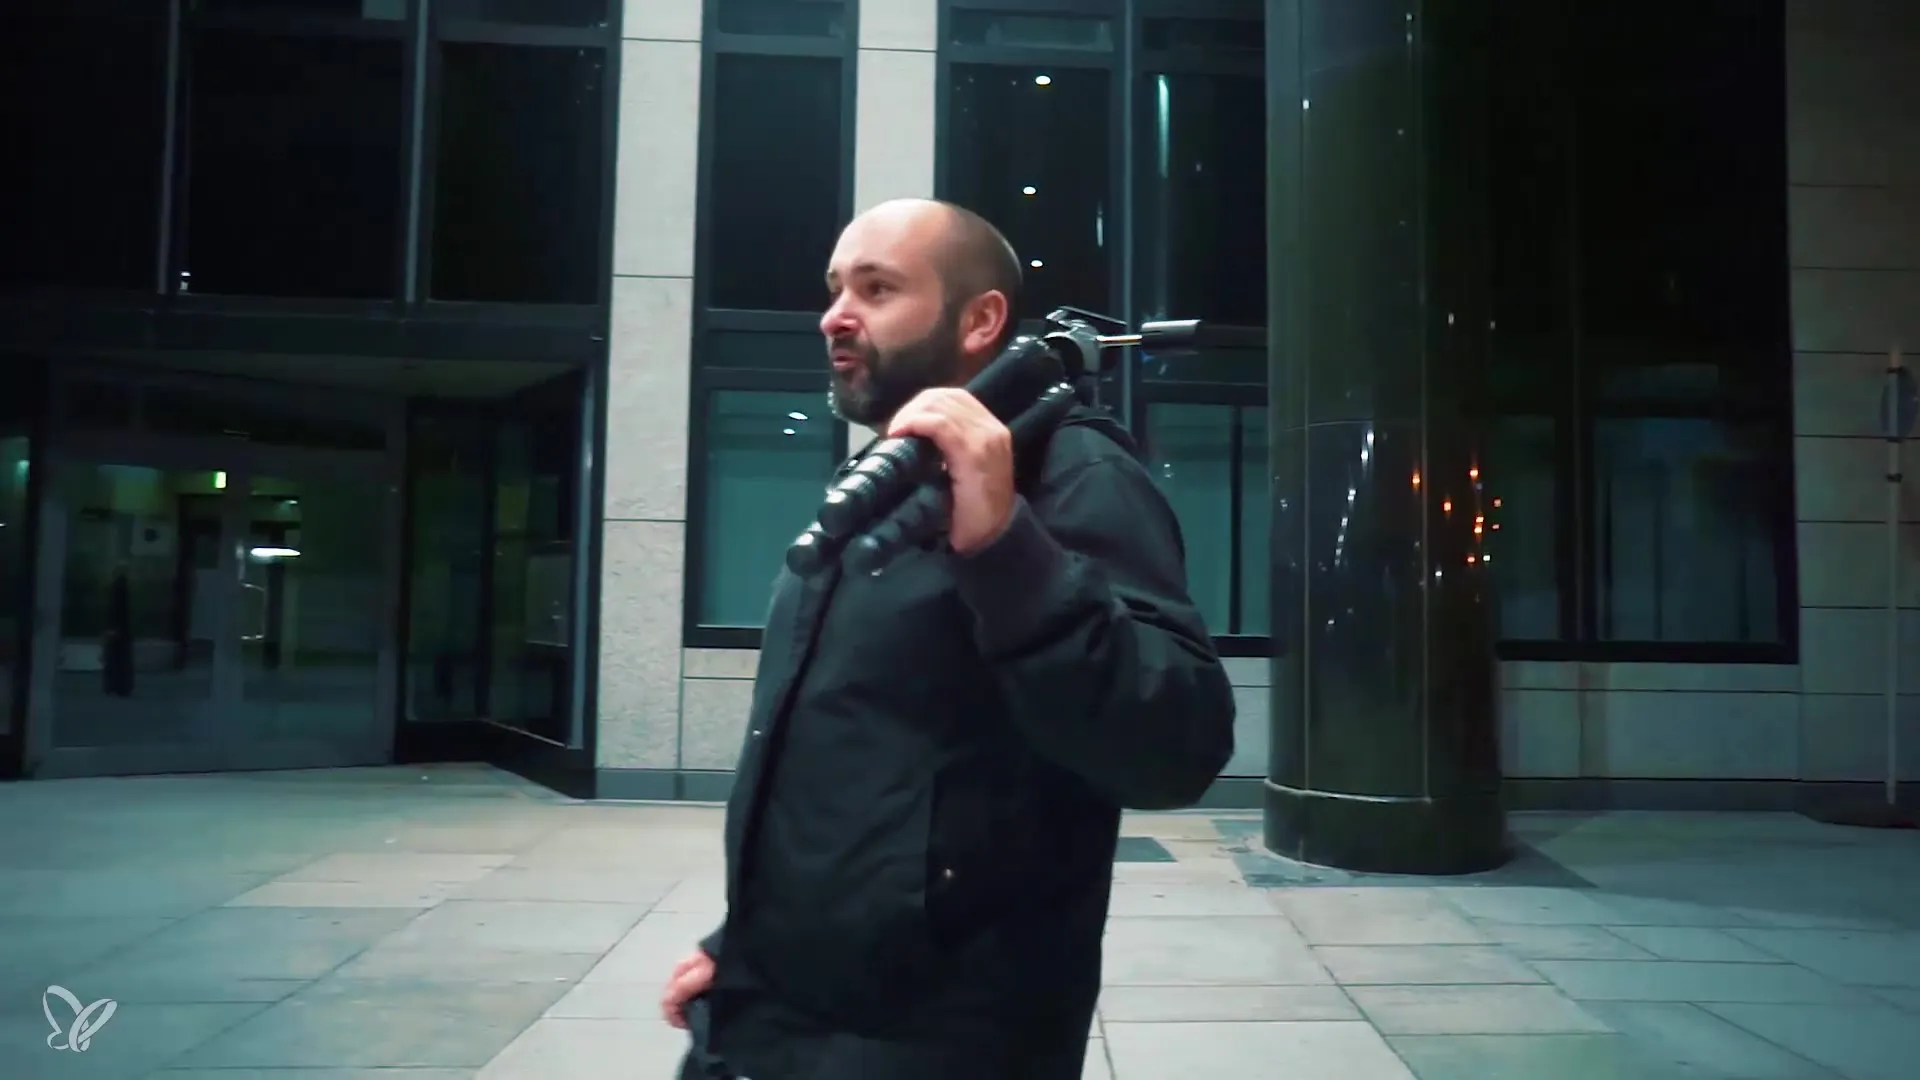
To avoid blurriness, it is advisable to use a tripod. You can also set a timer to ensure that the image does not shake during the exposure. While some photographers use cable releases or remote controls, these are not always necessary as long as you have a good tripod.

Step 6: Perform long exposure
Start the long exposure and watch the image being created. Typically, the exposure with your settings lasts about 8 seconds. Use this time to relax and focus on the final result. Long exposures smooth water surfaces and create an impressive image composition that looks simply fantastic at night.
Step 7: Image analysis and improvement
After the exposure, take a close look at the result. Pay attention to sharpness and lighting conditions. Often, you will see that a long exposure time smooths out waves and produces a calm image. With a very high aperture, you also get a nice star effect with light sources, which further enchants your night shots.
Summary – Night Photography: Techniques and Tips for Impressive Subjects
Night photography can be challenging, but it offers many opportunities to create unique images. Through proper camera settings, interesting perspectives, and targeted long exposures, you can achieve impressive photos at night. Patience is required, and sometimes it can take a moment to get the desired shot, but the results are often worth the effort.
Frequently Asked Questions
How do I choose the best subject for night photography?Look for well-lit or interesting architecture or natural elements that can be highlighted by lights.
What is the best ISO setting for night shots?Start with a higher ISO, like 800 or 1600, and adjust as necessary.
Should I use a tripod for night shots?Yes, a tripod is highly recommended to achieve shake-free images.
How long should I expose?The exposure time varies depending on light conditions, start with 5-10 seconds and adjust as needed.
Are there any specific tips for post-processing night shots?You can increase the contrasts and brightness to make the colors more vibrant and further optimize the image.


