The night city offers a wealth of opportunities for portrait photography with available light. As the backdrop transforms into a shimmering sea of lights, photographers often ask themselves: How can I effectively use the light to capture stunning images? In this guide, I will show you how to make the most of the city lights with simple techniques and a trained eye.
Key Insights
- Positioning is crucial for the effect of light on your subject.
- Experiment with different perspectives and light sources.
- The right pose and gaze can significantly affect the image quality.
Step-by-Step Guide
1. Find the Right Light Source
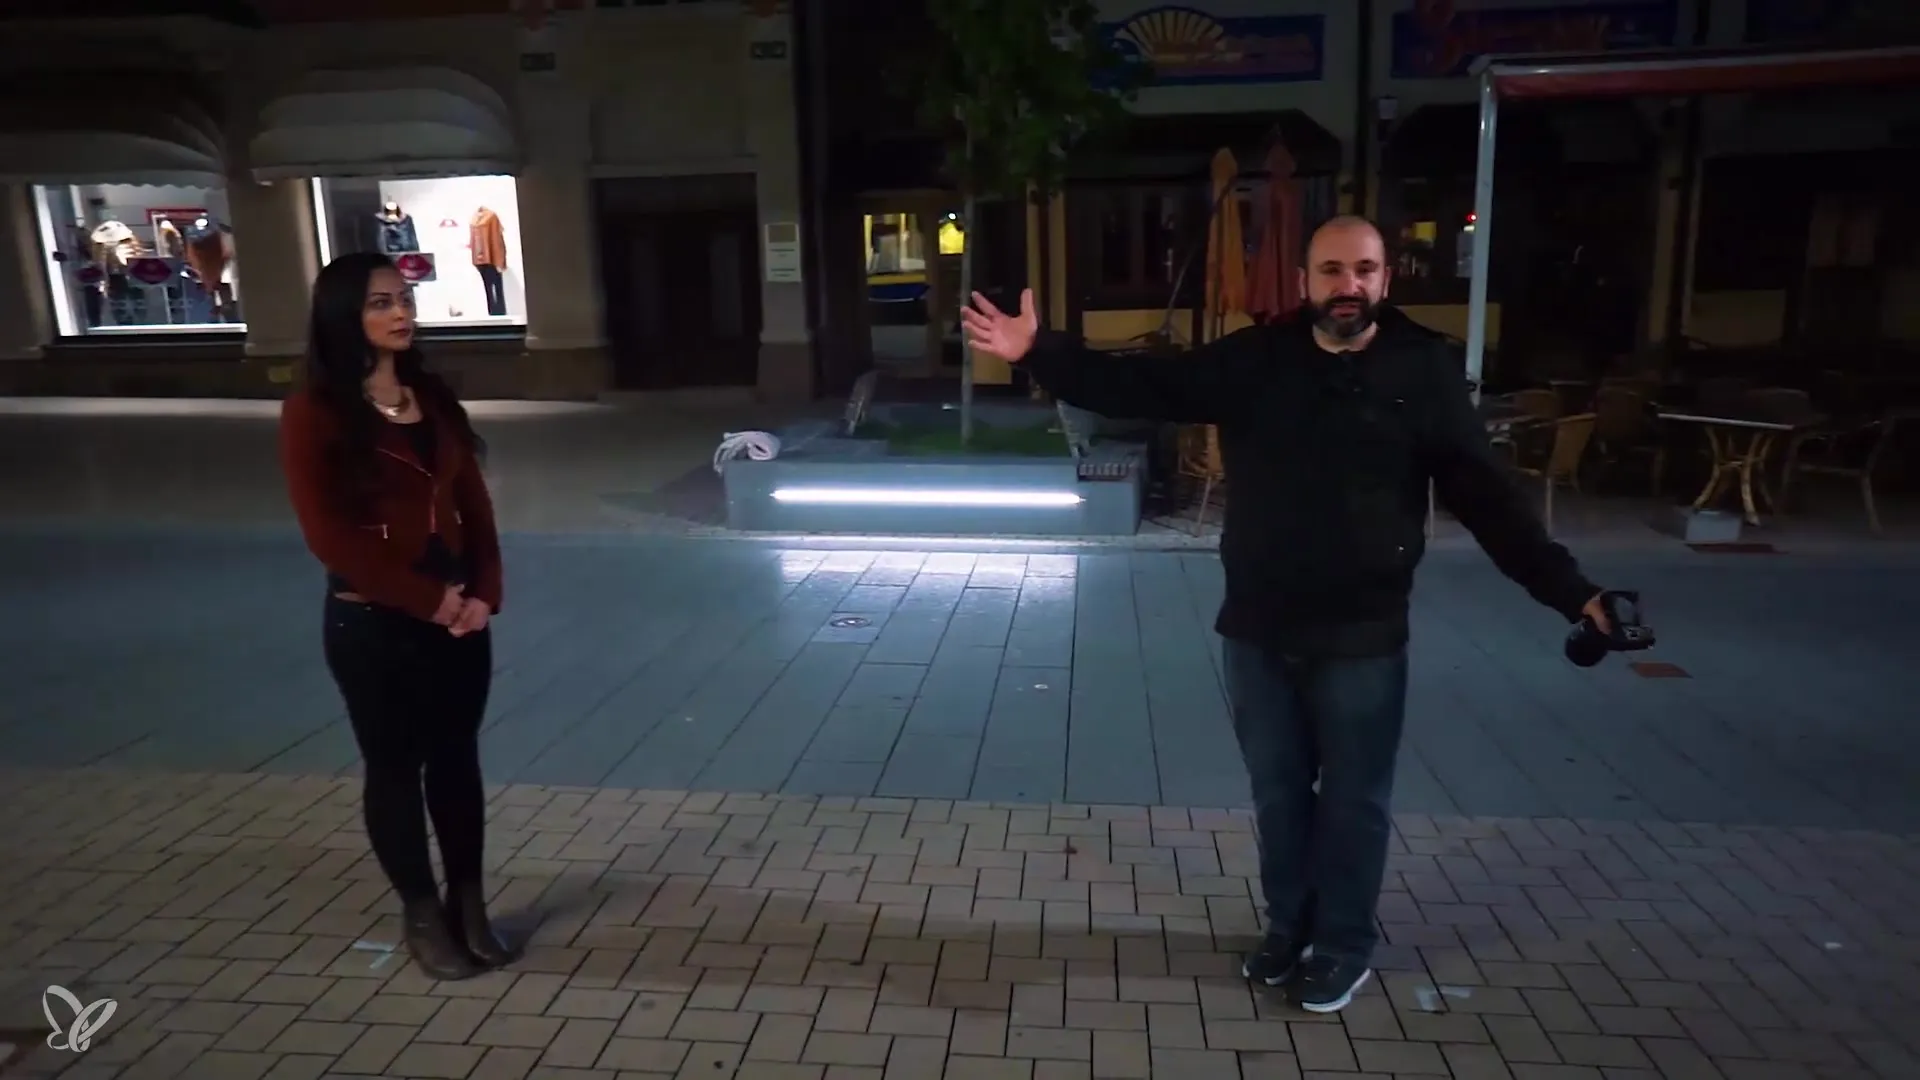
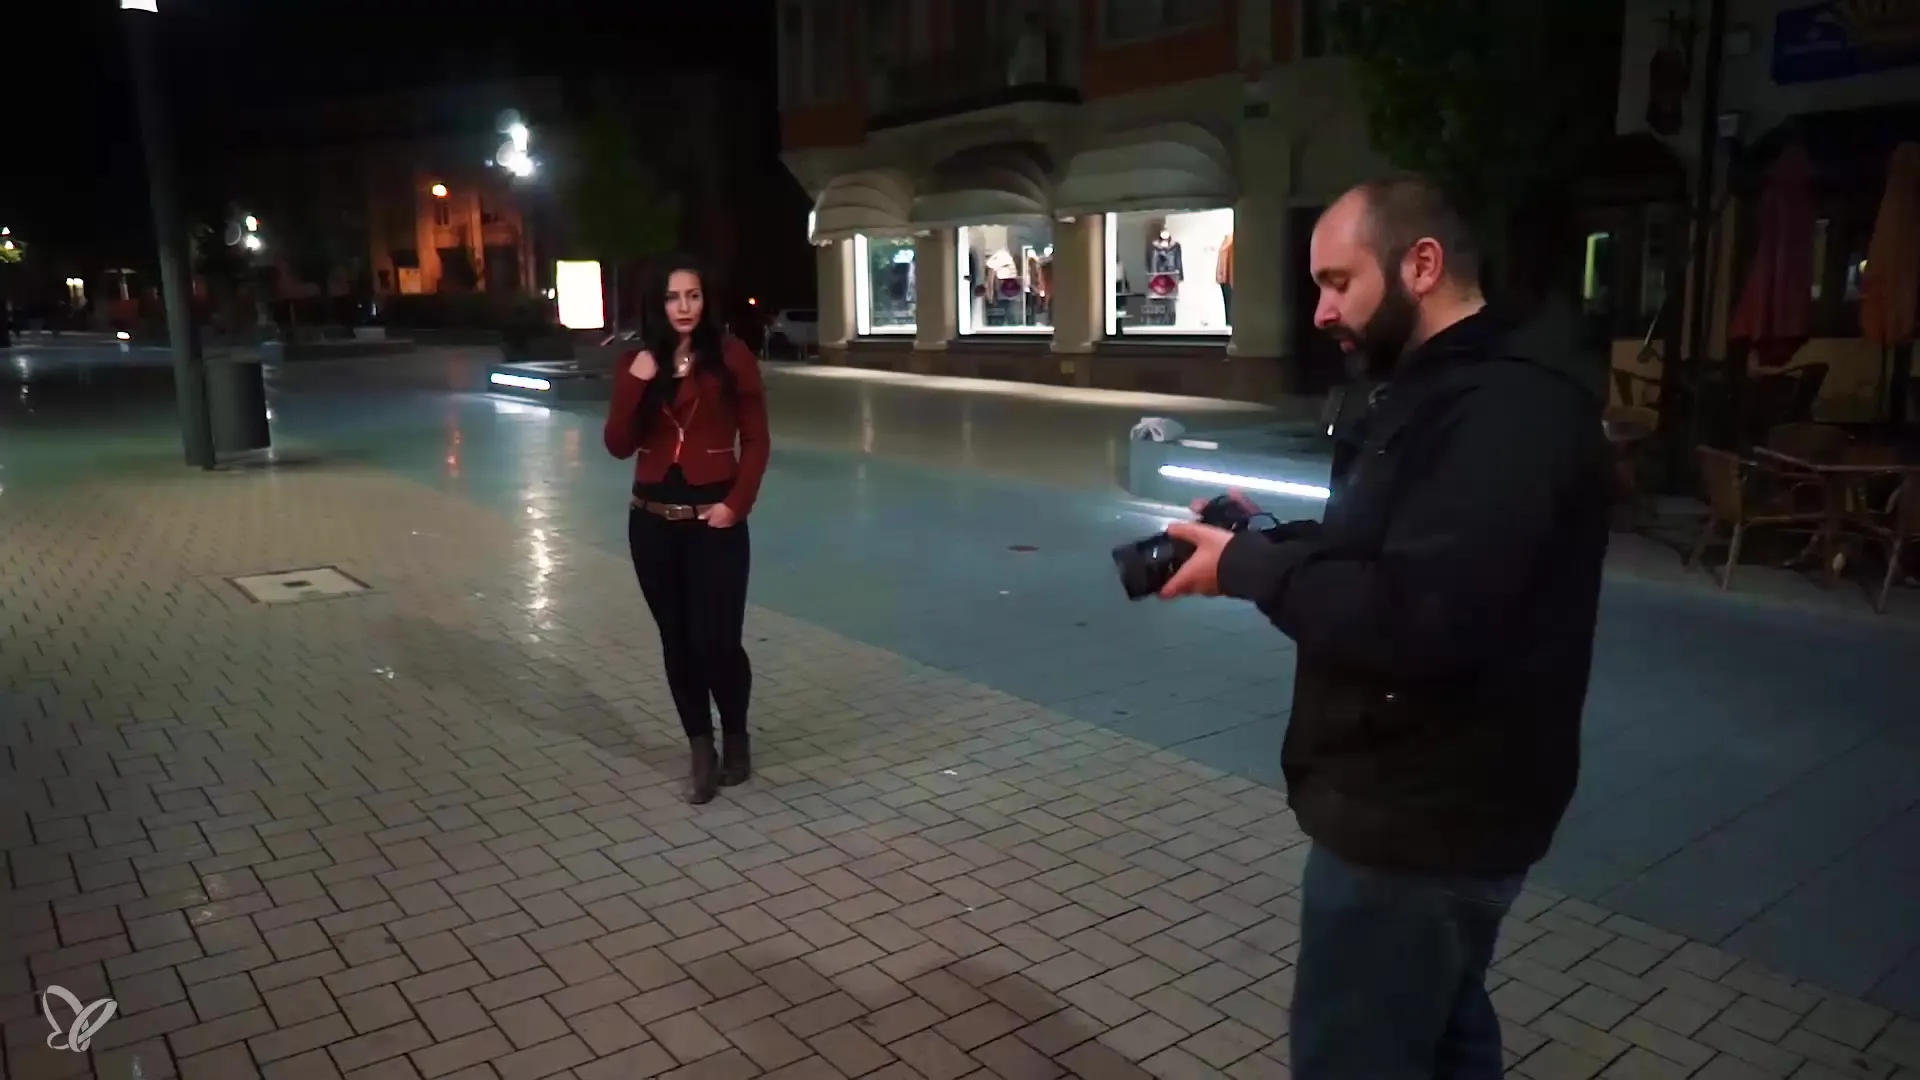
First, you need to choose a suitable light source. You want to use the available light, such as street lamps or shop window lights, optimally. Look for a light source that illuminates your subject or lights it from behind. Here you see how I use a lamp in the background as a rim light for the hair of the model, Emily.
2. Adjust the Position of the Model
The position of the model plays a crucial role in how to use the light optimally. Ensure the face is well-lit and experiment with different distances to the light source. You will find that the face becomes brighter as the model approaches the light source.
3. Vary the Distance to the Light Source
Bringing the model closer to the light source immediately shows the effect of illumination. The eye highlights become more pronounced, and the face is lit more evenly. Observe how the image changes when you reduce the distance to the light source.

4. Change the Perspective
Play with perspective by photographing the model from different angles. A higher or lower viewpoint can have different effects on the ambient lighting. Changing perspectives can not only make the image more dynamic but also include interesting backgrounds.
5. Adjust ISO and Aperture
To ensure you capture enough light in the darkness, it is important to adjust the camera settings. In our example, I increase the ISO from 400 to 800 and choose an aperture of 1.8. Make sure your camera does not overexpose, and adjust the aperture accordingly to ensure good image quality.

6. Direct the Gaze
The direction of the model's gaze significantly influences the light yield. Ensure that your subject directs their gaze towards the light source to achieve an appealing illumination. You can also adjust the pose by asking the model to angle a shoulder forward.
7. Consider Contradictory Light Sources
Consider other light sources that may be included in the image, such as the light from shop windows. These additional light sources can provide harmonious illumination if the model looks in the right direction.
8. Composition and Post-Processing
Before you take your final shot, pay attention to the image composition. Is the background chaotic or distracting? Consider whether you need to adjust the frame to better highlight the main subject.
Summary – Night Photography with Available Light: Tips for Impressive Portraits
The rules of night photography with available light are simple but require a sensitivity to achieve the best results. With the right positioning, adjustment of camera settings, and a trained eye for details, you will be able to create impressive portraits that reflect the beauty of the night city.
Frequently Asked Questions
How do I choose the best light source for night portraits?Look for strong light sources such as street lamps and shop windows.
What is the ideal aperture for night photography?An aperture of 1.8 or similar can help capture enough light.
How can I improve the eye highlights of my models?Place the model closer to the light source and pay attention to the gaze direction.
Can I add other light sources?Yes, additional light sources can improve illumination, but ensure they work harmoniously together.
Adjustments to ISO – when should I change the height?Increase the ISO when it is dark and the exposure is insufficient. However, be careful to avoid noise.


