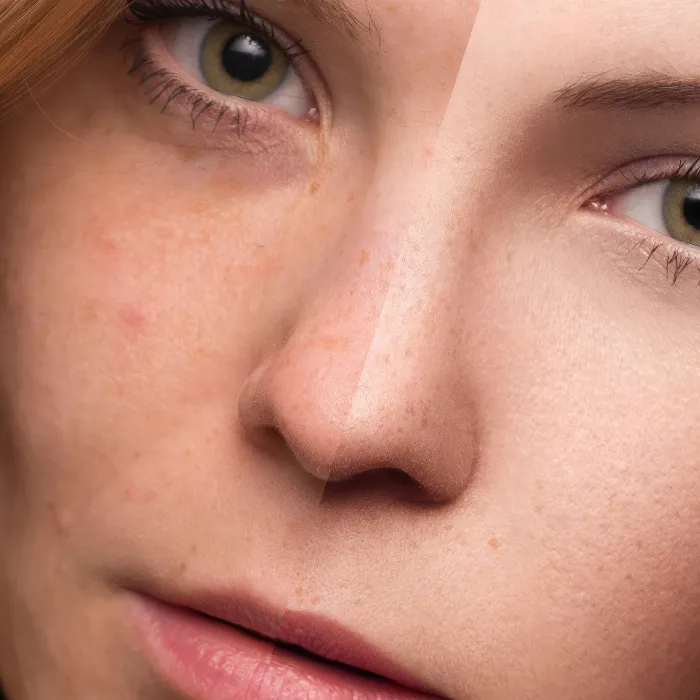
Welcome to this compact crash course on the so-called Dodge and Burn. This image editing technique has gained great importance in the creative scene, and many photographers and photo artists use it to add more depth and expression to their images. In this tutorial, you will learn the basics of Dodge and Burn that will help you take your photography to the next level.
What is truly remarkable is how easy the technique is to learn when explained step by step. The goal of this tutorial is to provide you with a solid foundation so you can get started right away without getting lost in technical details.
Key Insights
Dodge and Burn is a technique that manipulates light and shadow in an image to create depth. It is often used in portrait photography and offers versatile tools specifically suited for photo retouching. You will learn which tools and settings are necessary and see some practical workflows demonstrated.
Step-by-Step Guide
Understanding the Basics
To effectively use the Dodge and Burn technique, it is important to understand what it really means. It is a method where you lighten (Dodge) or darken (Burn) areas to highlight certain elements in your image or to let them recede into the background. The focus is on manipulating the play of light in an image, thereby changing the overall impression.

Getting to Know the Tools
Now that you understand the basics, let's take a look at the tools you need for Dodge and Burn. Generally, you will use adjustment layers in your image editing software. Merle, a talented photographer, will show you how to set up the appropriate tools. She talks about her favorite toolset that makes your work easier and more efficient.
The Preferred Techniques
In the next step, you will learn the specific techniques Merle uses for Dodge and Burn. This includes choosing the right adjustment or gray layer. These settings allow you to precisely control tonal adjustments and achieve optimal results. Merle will share her personal preferences with you, lowering the barrier to entry.
Practical Application Through Workflows
The third step shows you the application of the presented techniques in specific workflows. Merle presents two different portrait workflows that encompass both a male and a female portrait. You will see how she adjusts the nose of a model or darkens hairlines to achieve the desired effect.
Your Own Path with Dodge and Burn
After seeing Merle's approaches, it is up to you to develop your own techniques. The tutorial shows you how to experiment with different means to realize your personal style. With the knowledge you gain here, you will be able to edit your photographs in a unique and creative way.
Summary - Dodge and Burn Crash Course: Compact Introduction
In this crash course, you have the opportunity to learn the technique of Dodge and Burn and apply it to your own photography. With practical examples and a clear explanation of the necessary tools, you will quickly master the basics. Let your creativity flow and implement what you have learned in your own images.
Frequently Asked Questions
What is Dodge and Burn?Dodge and Burn is a technique for lightening and darkening images to create depth and structure.
What tools do I need?You typically need adjustment layers or gray layers in your image editing software.
Are the techniques suitable for beginners?Yes, the techniques are explained simply and are also easily executable for beginners.
How can I develop my own techniques?By experimenting with different means and applying the workflows taught.
How long does it take to learn the basics?With this course, you can grasp and apply the basics in a relatively short time.

