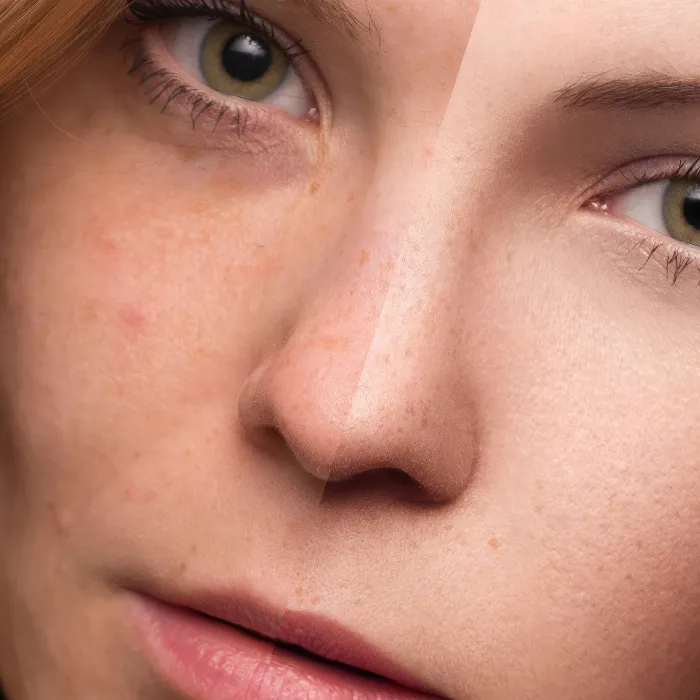
The targeted directing of the viewer's gaze is an art form that plays a crucial role in photography and image editing. If you want to set the focal points in your images and direct focus to certain areas, the technique of Dodge and Burn is an effective means. This guide explains how you can skillfully use light and shadow to highlight the key elements of your images. You will learn step by step how to achieve impressive results using simple tools in Photoshop.
Key Insights
- By softening or darkening certain areas of the image, you can control the viewer's gaze.
- Using the right brush size and opacity is essential.
- The use of vignettes can help improve the composition of the image.
Step-by-Step Guide
1. Preparing the Brush Tool
Before you begin the actual work, open the brush tool in Photoshop. Make sure to adjust the brush size correctly. A larger brush size allows for softer transitions and a more natural result. Set the brush opacity to about 10% to make fine adjustments.
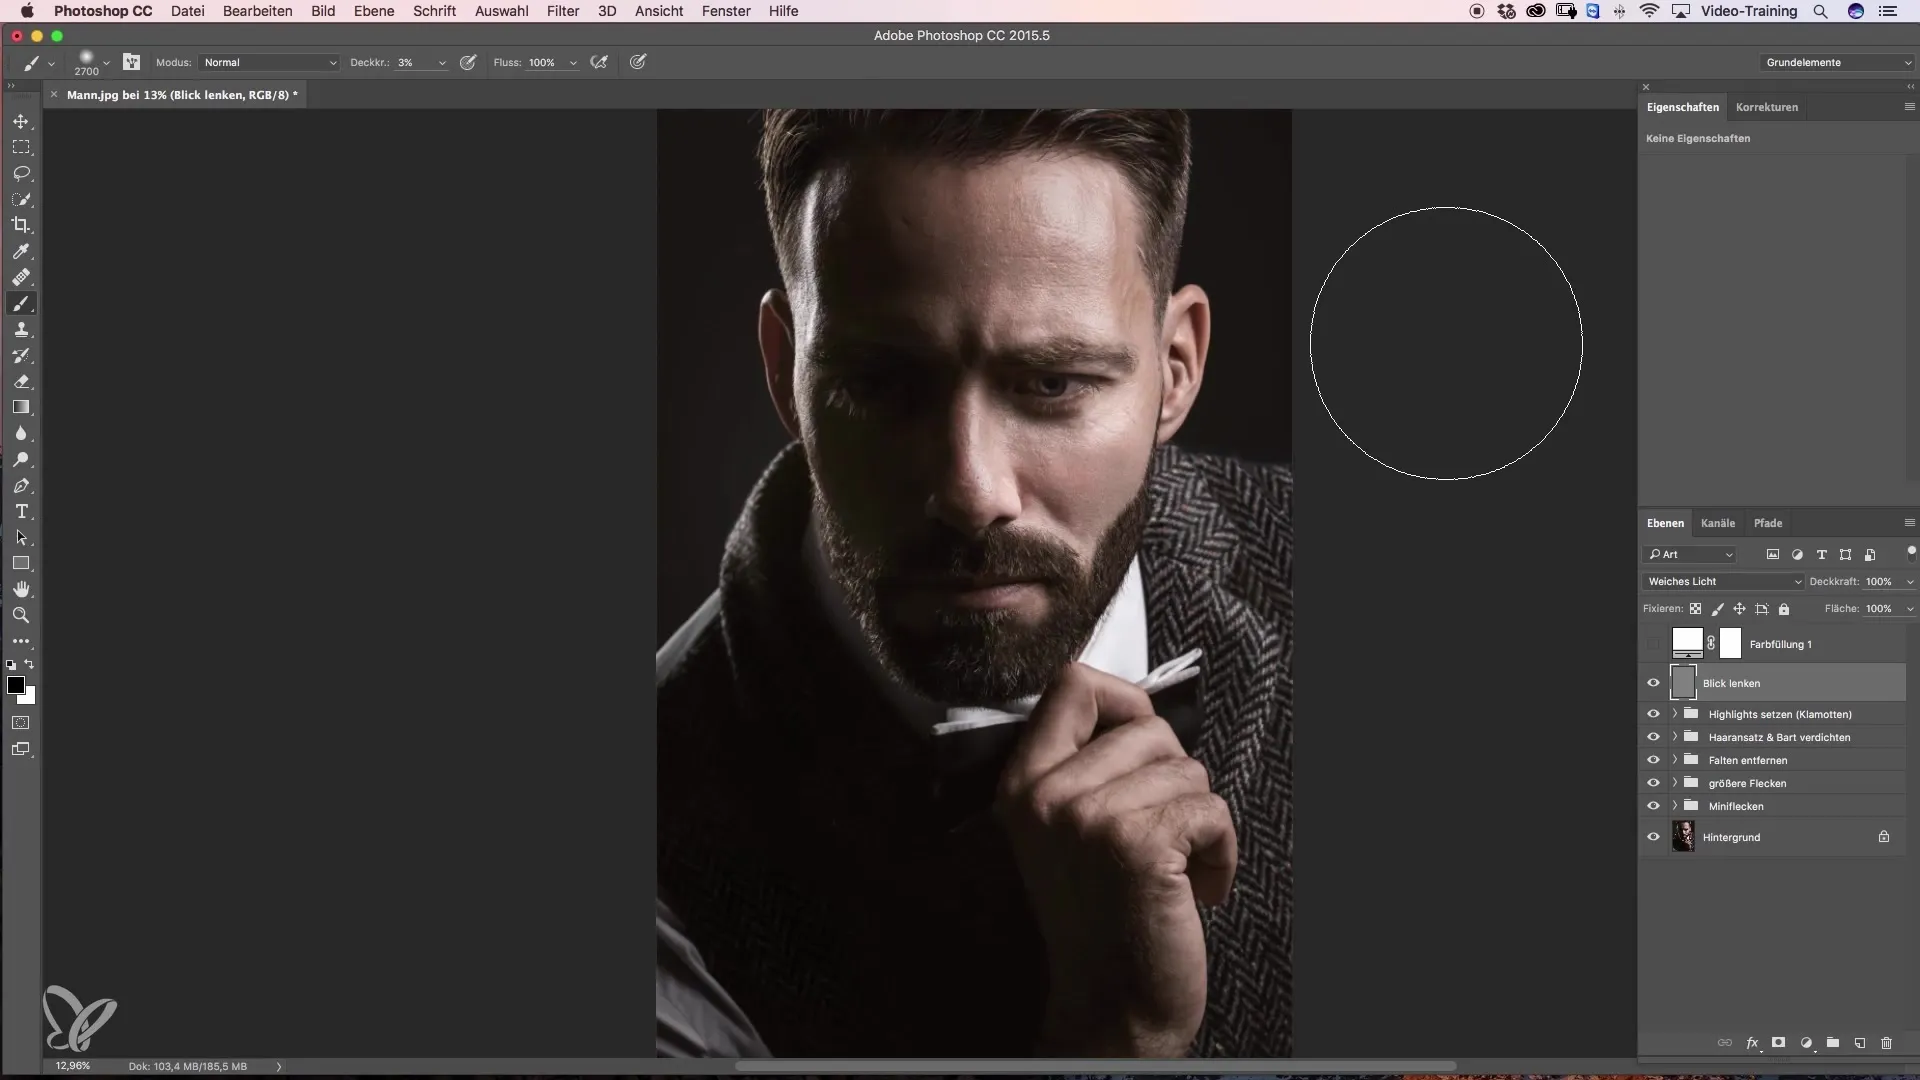
2. Determining the Focus Area
Think about where you want to set the focus in your image. In this case, we decide to direct the gaze to the eye as it is a central component of the composition. Darken the areas around the eye to draw attention to it.
3. Initial Darkening
Start by darkening distracting bright spots that may distract from the eye. Use the brush to go over the distracting spots until you are satisfied with the result.
4. Further Darkening
After you have edited the first area, go back and darken other areas that could divert attention. Repeat this step and be mindful of maintaining the saturation of skin tones.
5. Before-After Comparison
Compare the changes you have made. Pay attention to how the focus has shifted through darkening. Make adjustments with the entire image to carry out the following steps more effectively.
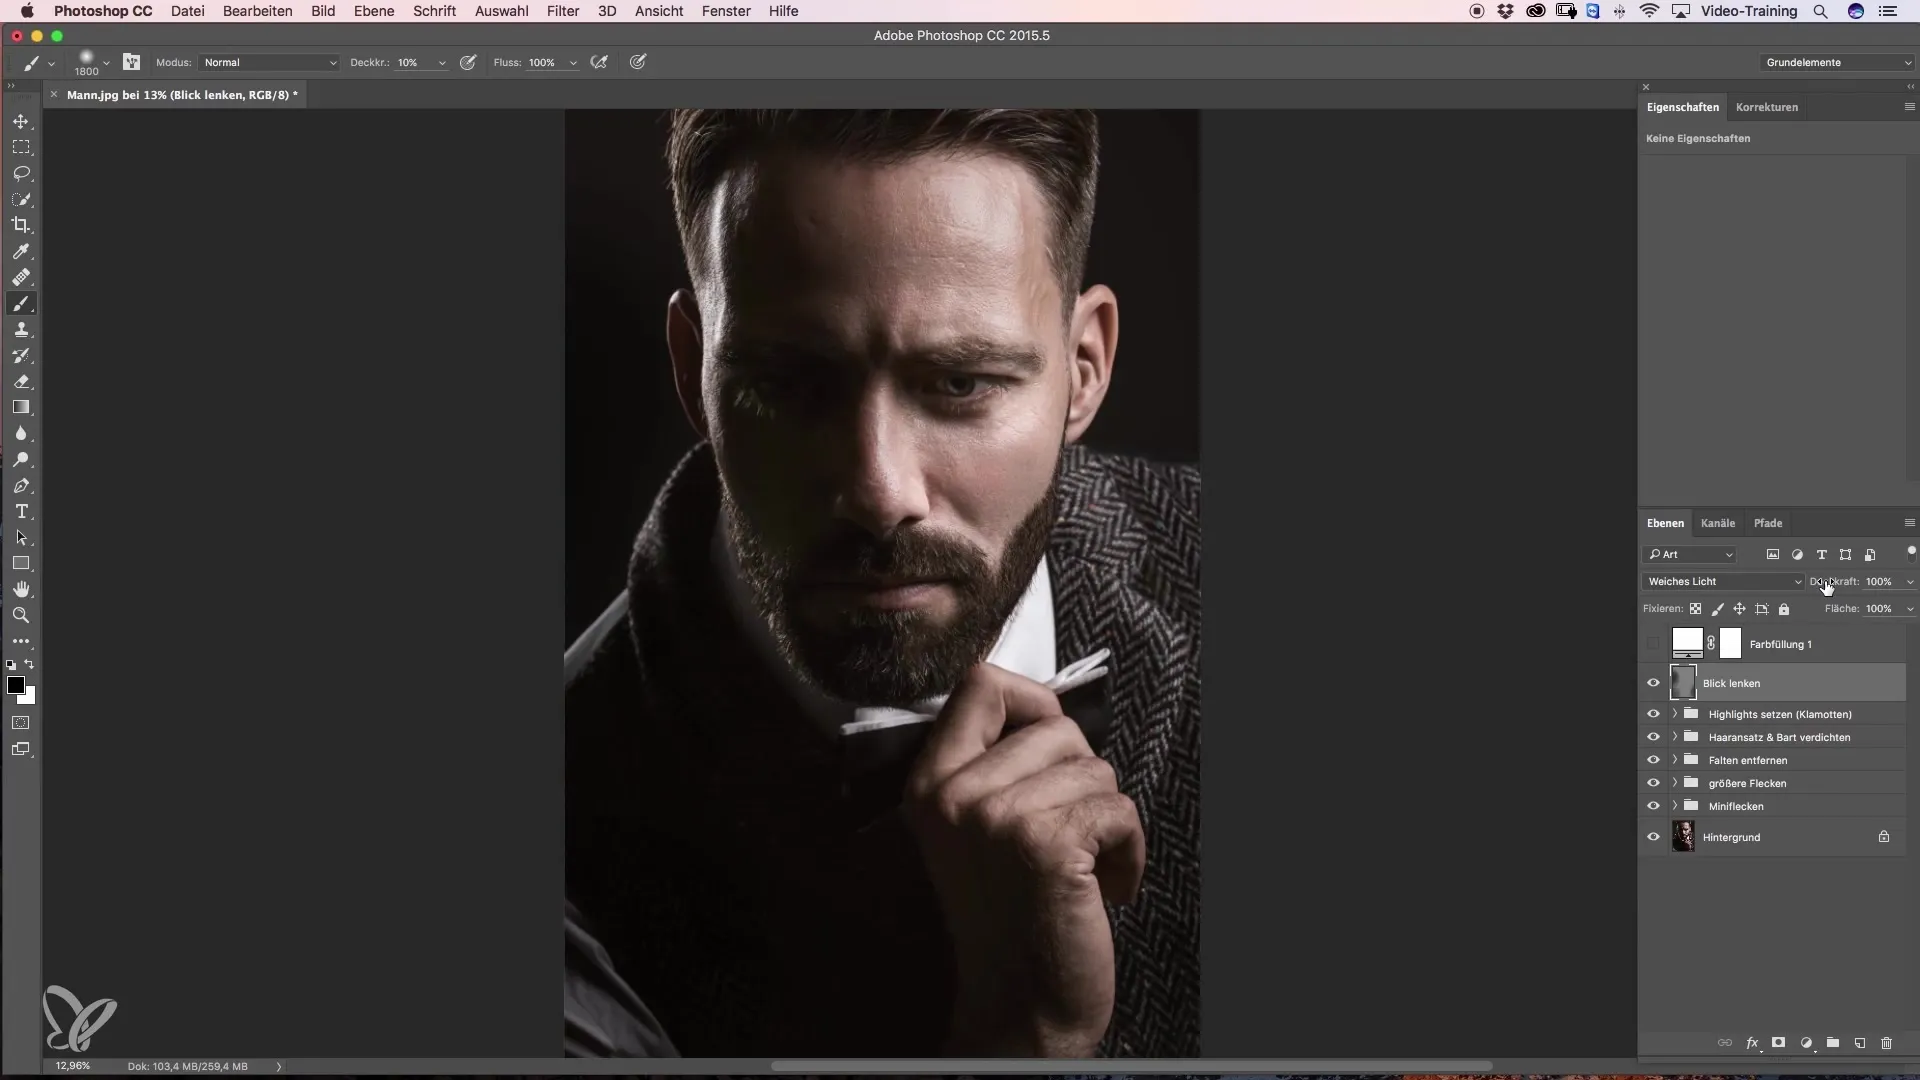
6. Final Adjustments to the Lights
To highlight the eye, you can darken the bright spots on the face a bit more. This enhances the contrast between light and shadow and further directs the gaze in the desired direction.
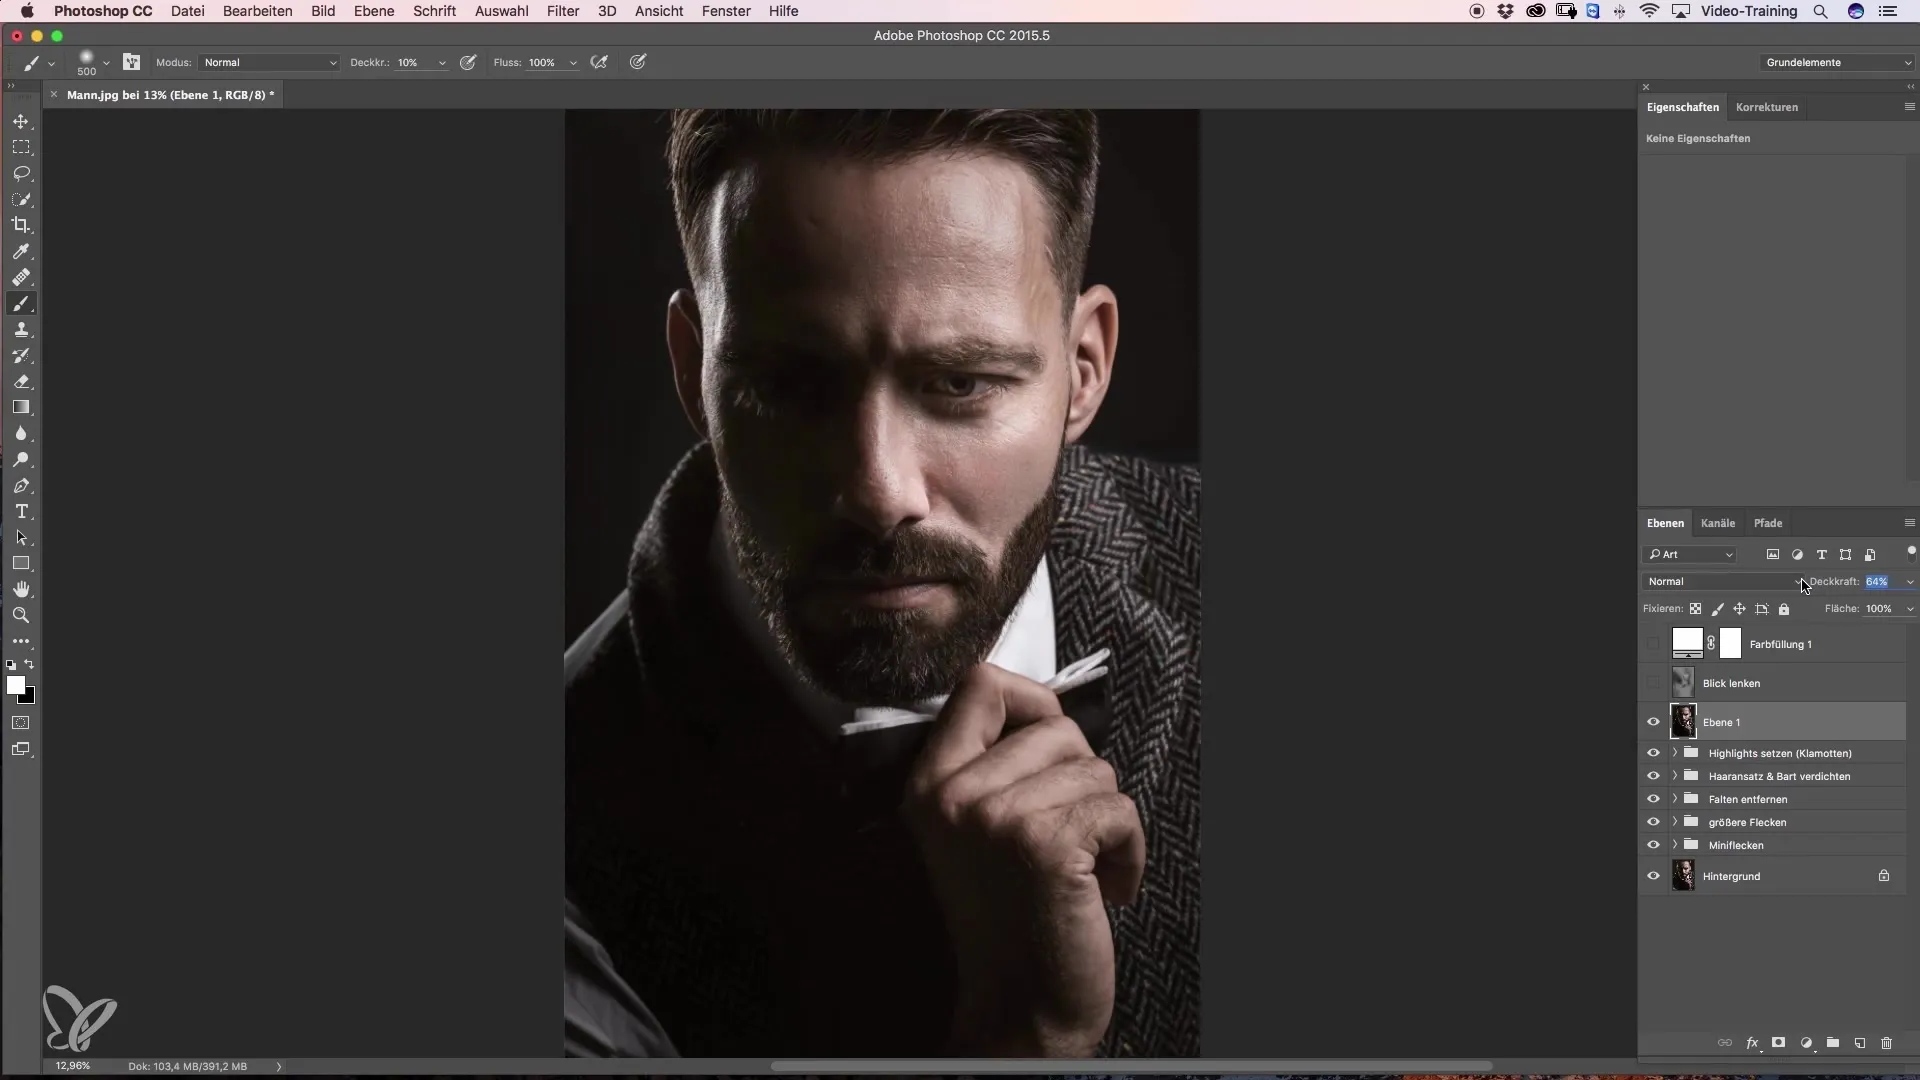
7. Working with Opacity
Reduce the opacity of the edited layer to about 50 to 60%. This gives the image a harmonious look that is pleasant to the eye.
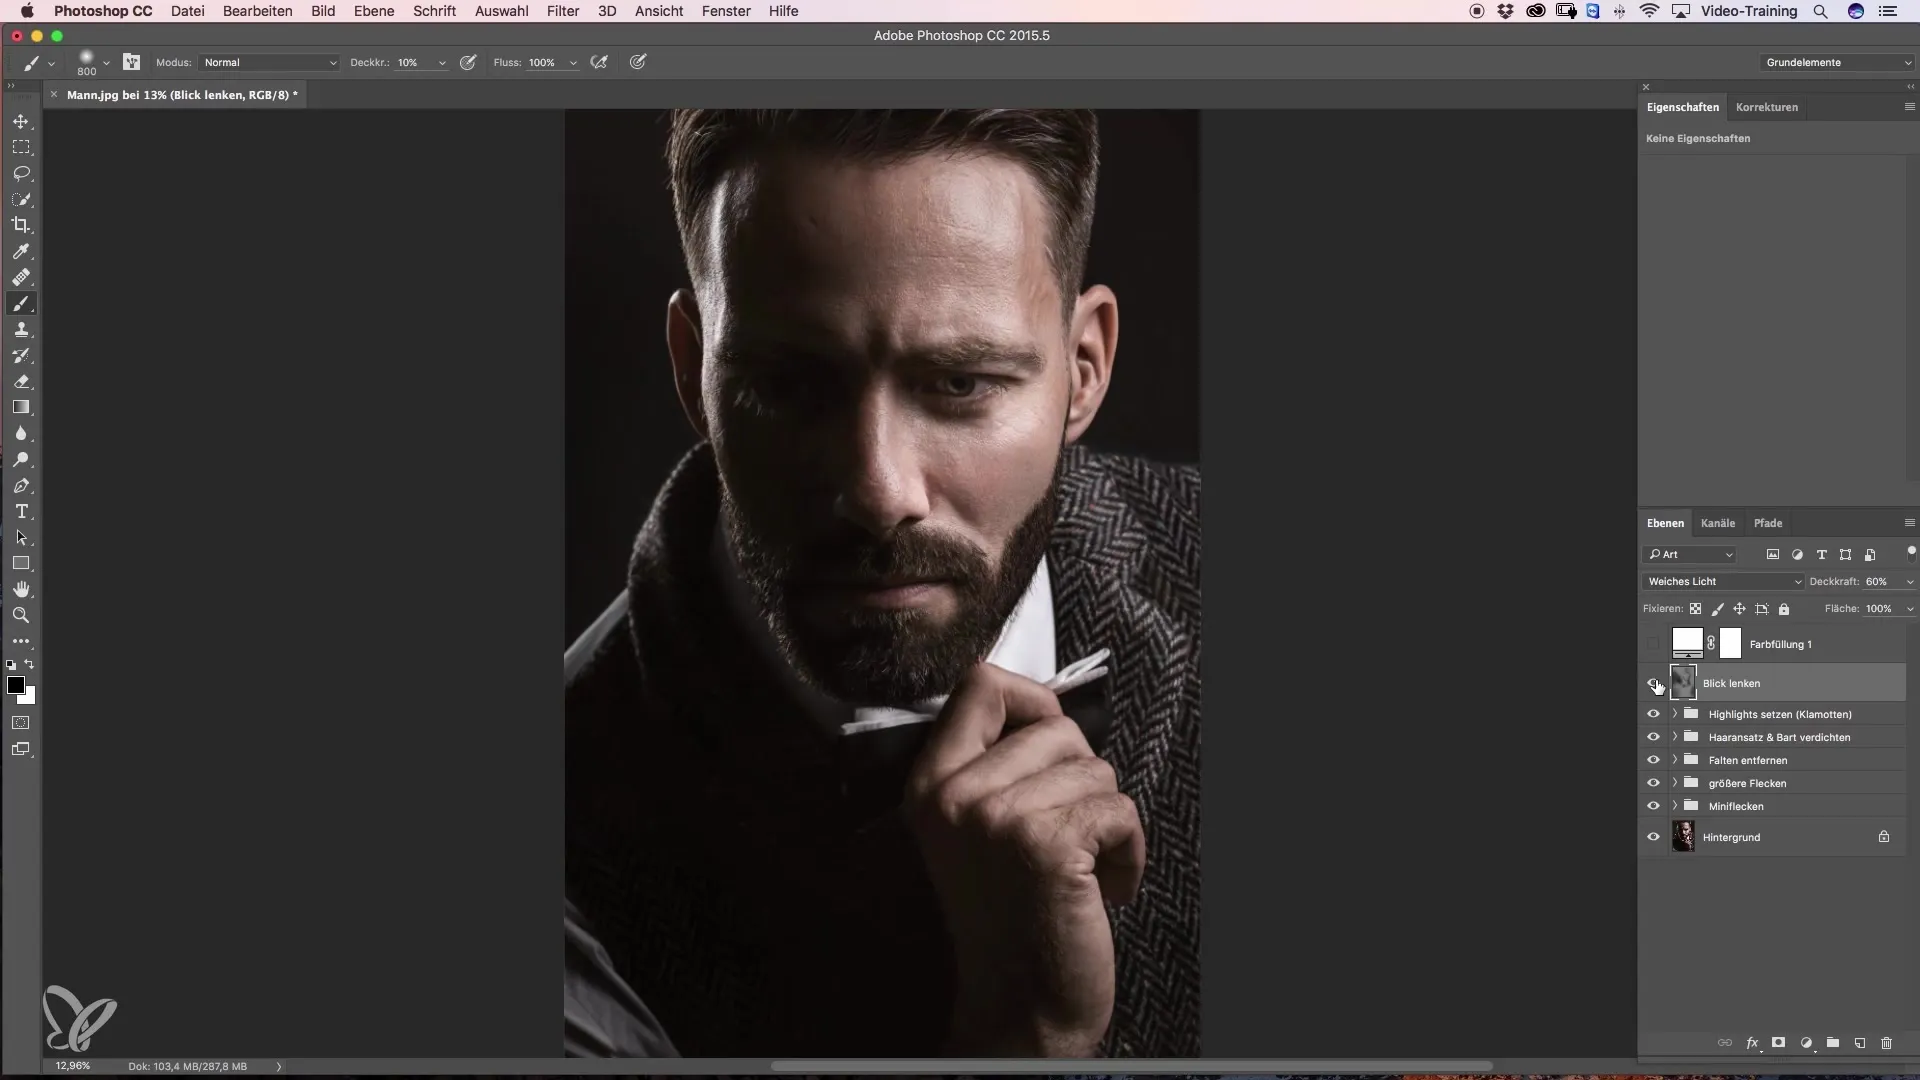
8. Brightening the Eye
To further highlight the eye, use a white foreground color. Emphasize the area around the eye with low opacity to create a soft transition.
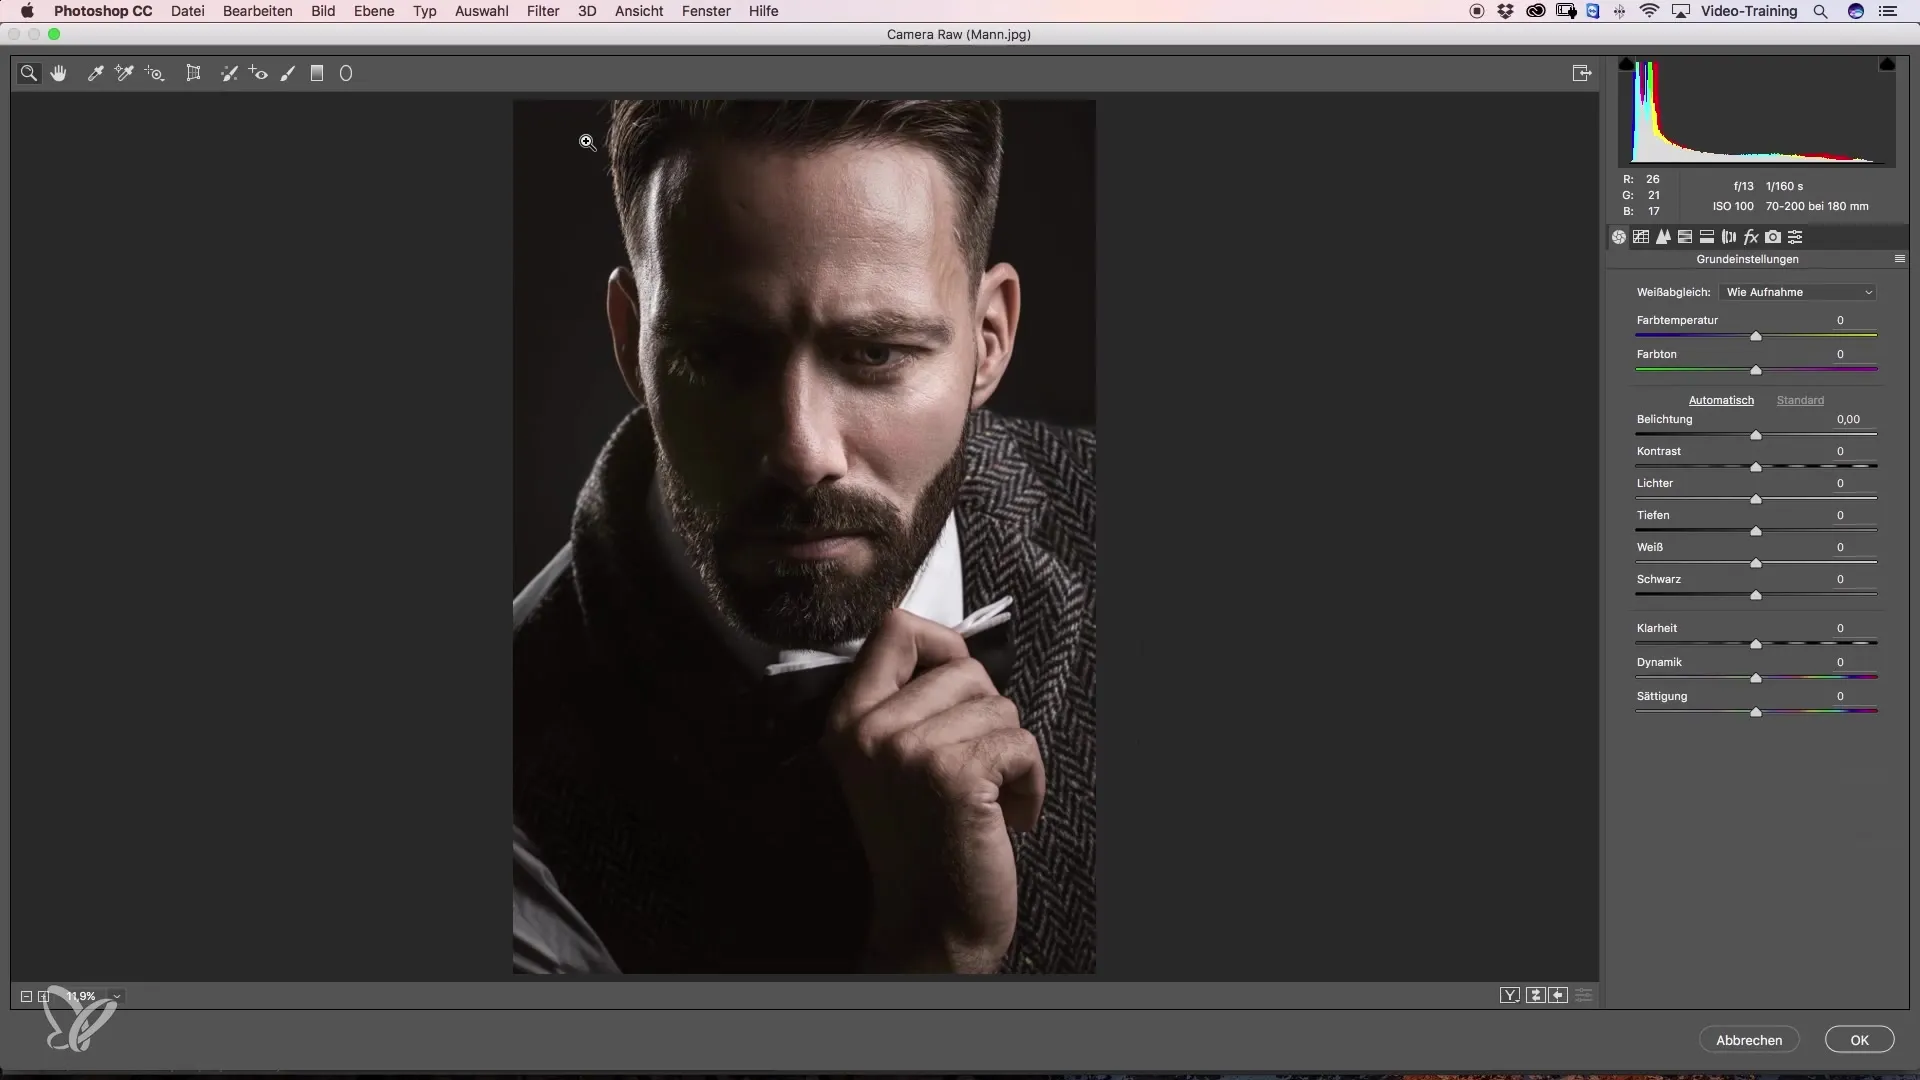
9. Using the Camera RAW Filter
An effective method for making additional adjustments is to use the Camera RAW filter. Here you can easily apply vignettes to specifically darken or lighten image areas.
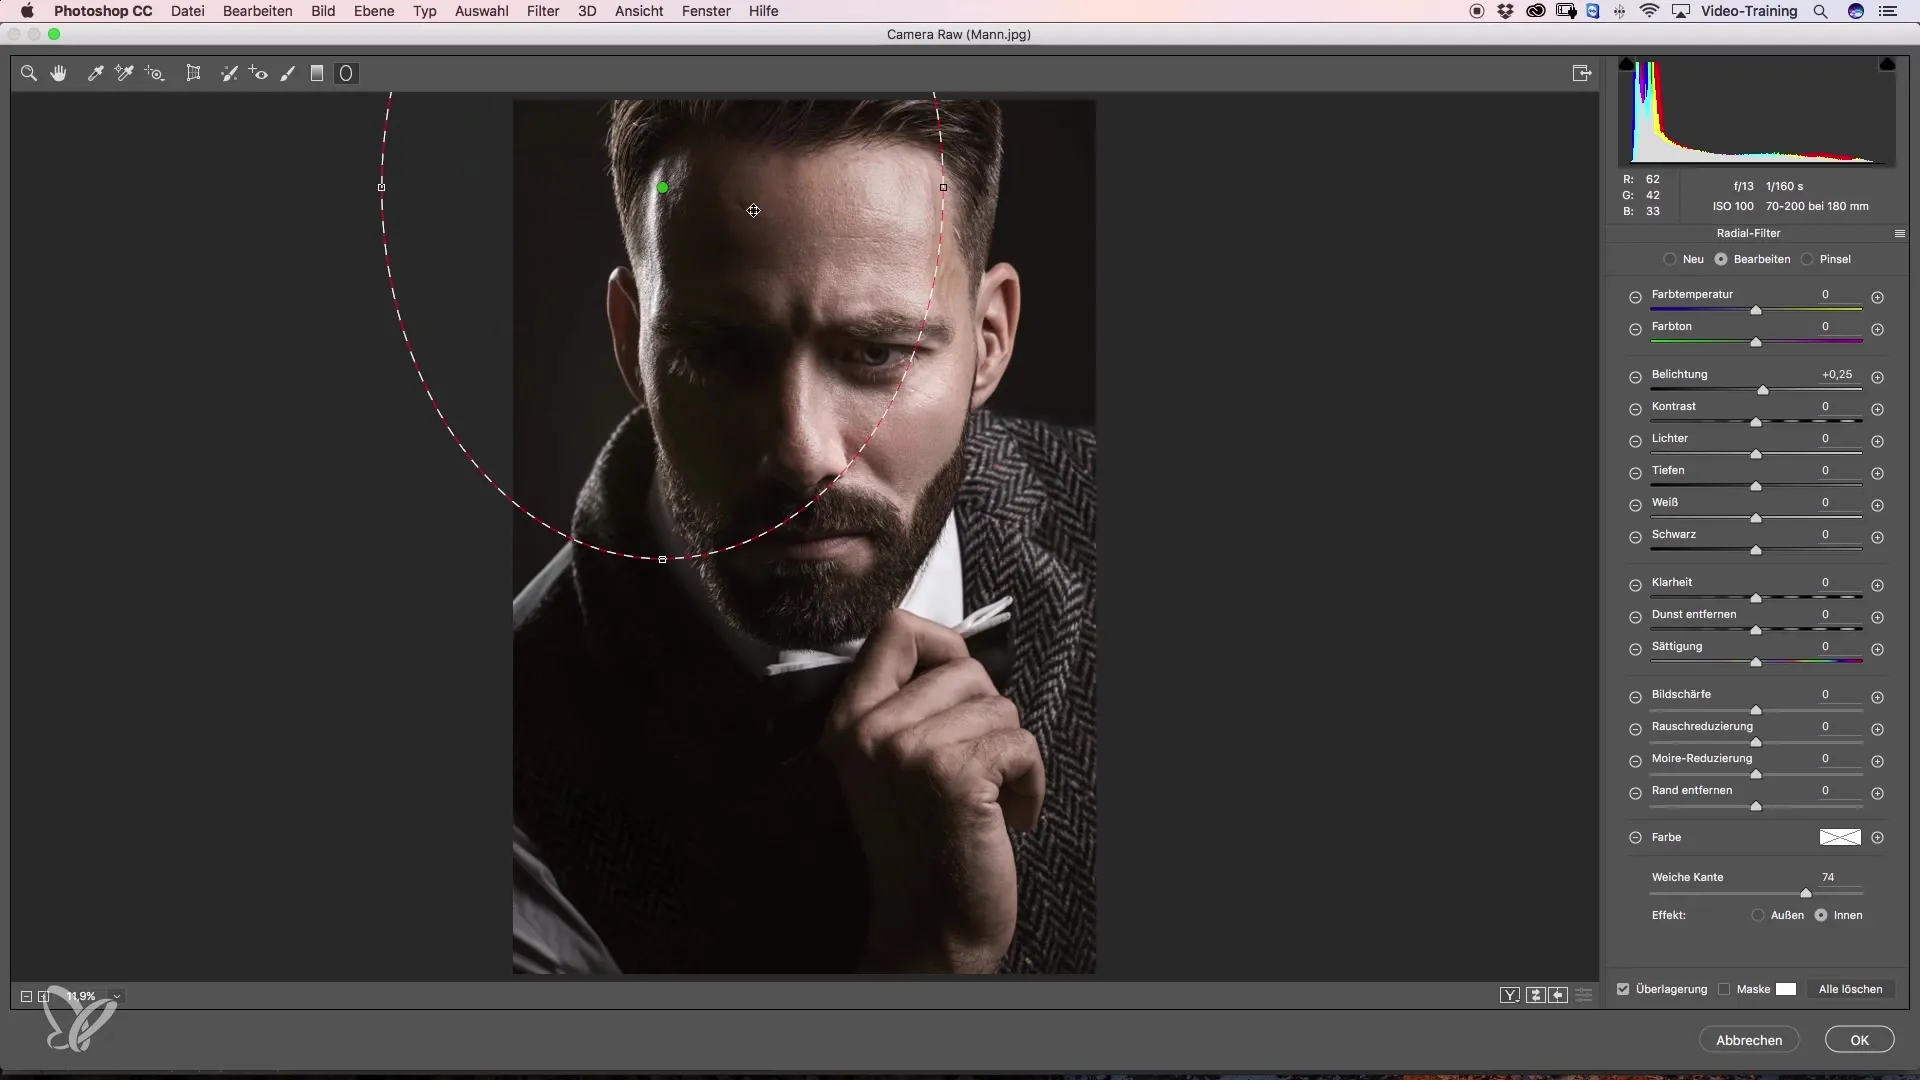
10. Adjusting the Radial Filter
Use the radial filter to create a circle covering the areas you want to soften or brighten. Make sure to choose a soft edge, as hard edges can appear unnatural.
11. Final Adjustments
Review your image once more and make the final adjustments. Experiment with different settings and reduce the opacity until you achieve the desired result.
Summary – Directing the Gaze in Image Editing: A Crash Course on Dodge and Burn
In this guide, you have learned how to skillfully apply Dodge and Burn techniques to direct the viewer's gaze in your images. Through targeted darkening and highlighting of light, you can focus on essential details and improve your image composition. Use the steps and methods described to achieve impressive results with your images.
Frequently Asked Questions
How can I control the viewer's gaze in my images?By selectively darkening distracting areas and highlighting important elements.
What brush size is optimal for Dodge and Burn?A larger brush size ensures softer transitions; an opacity of about 10% is often advisable.
Can I undo the process?Yes, you can undo any editing steps or adjust the opacity of the edited layers at any time.
