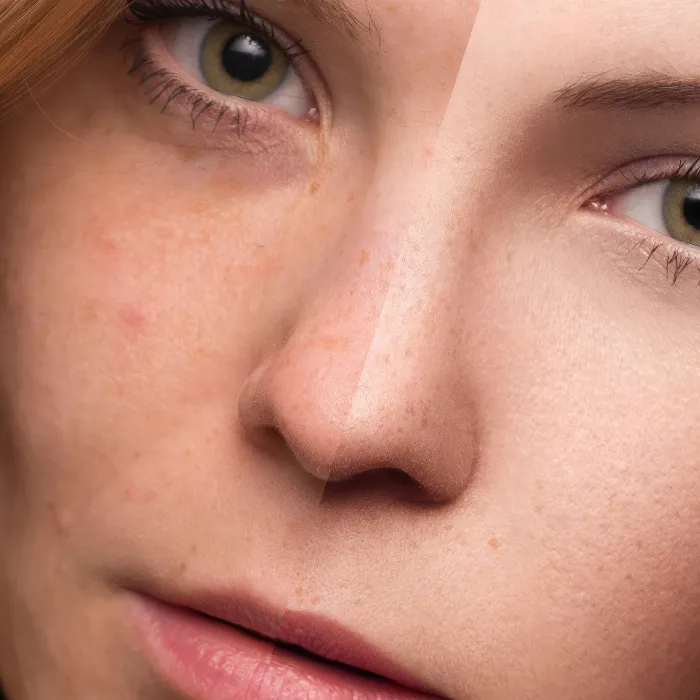
The digital image editing opens up many possibilities to change the appearance of portraits – a particularly interesting technique is to narrow the nose by playing with light and shadow. With the help of the Dodge-and-Burn method, you can give the nose a new shape without it looking artificial. In this guide, I will show you how to effectively apply this technique to achieve your desired result.
Key Insights
- The shape of the nose can be changed through targeted manipulation of light and shadow.
- A lower opacity range is ideal for creating soft transitions.
- The advantages of a helper layer are clear: It gives you more control over colors and lighting conditions.
Step-by-Step Guide
The starting point of this technique is selecting the desired image. First, you should create a helper layer to facilitate your progress.
Step 1: Prepare the Image
Open your image in your preferred image editing software. To work more efficiently, you can rotate the image by pressing the R key and align the nose optimally.
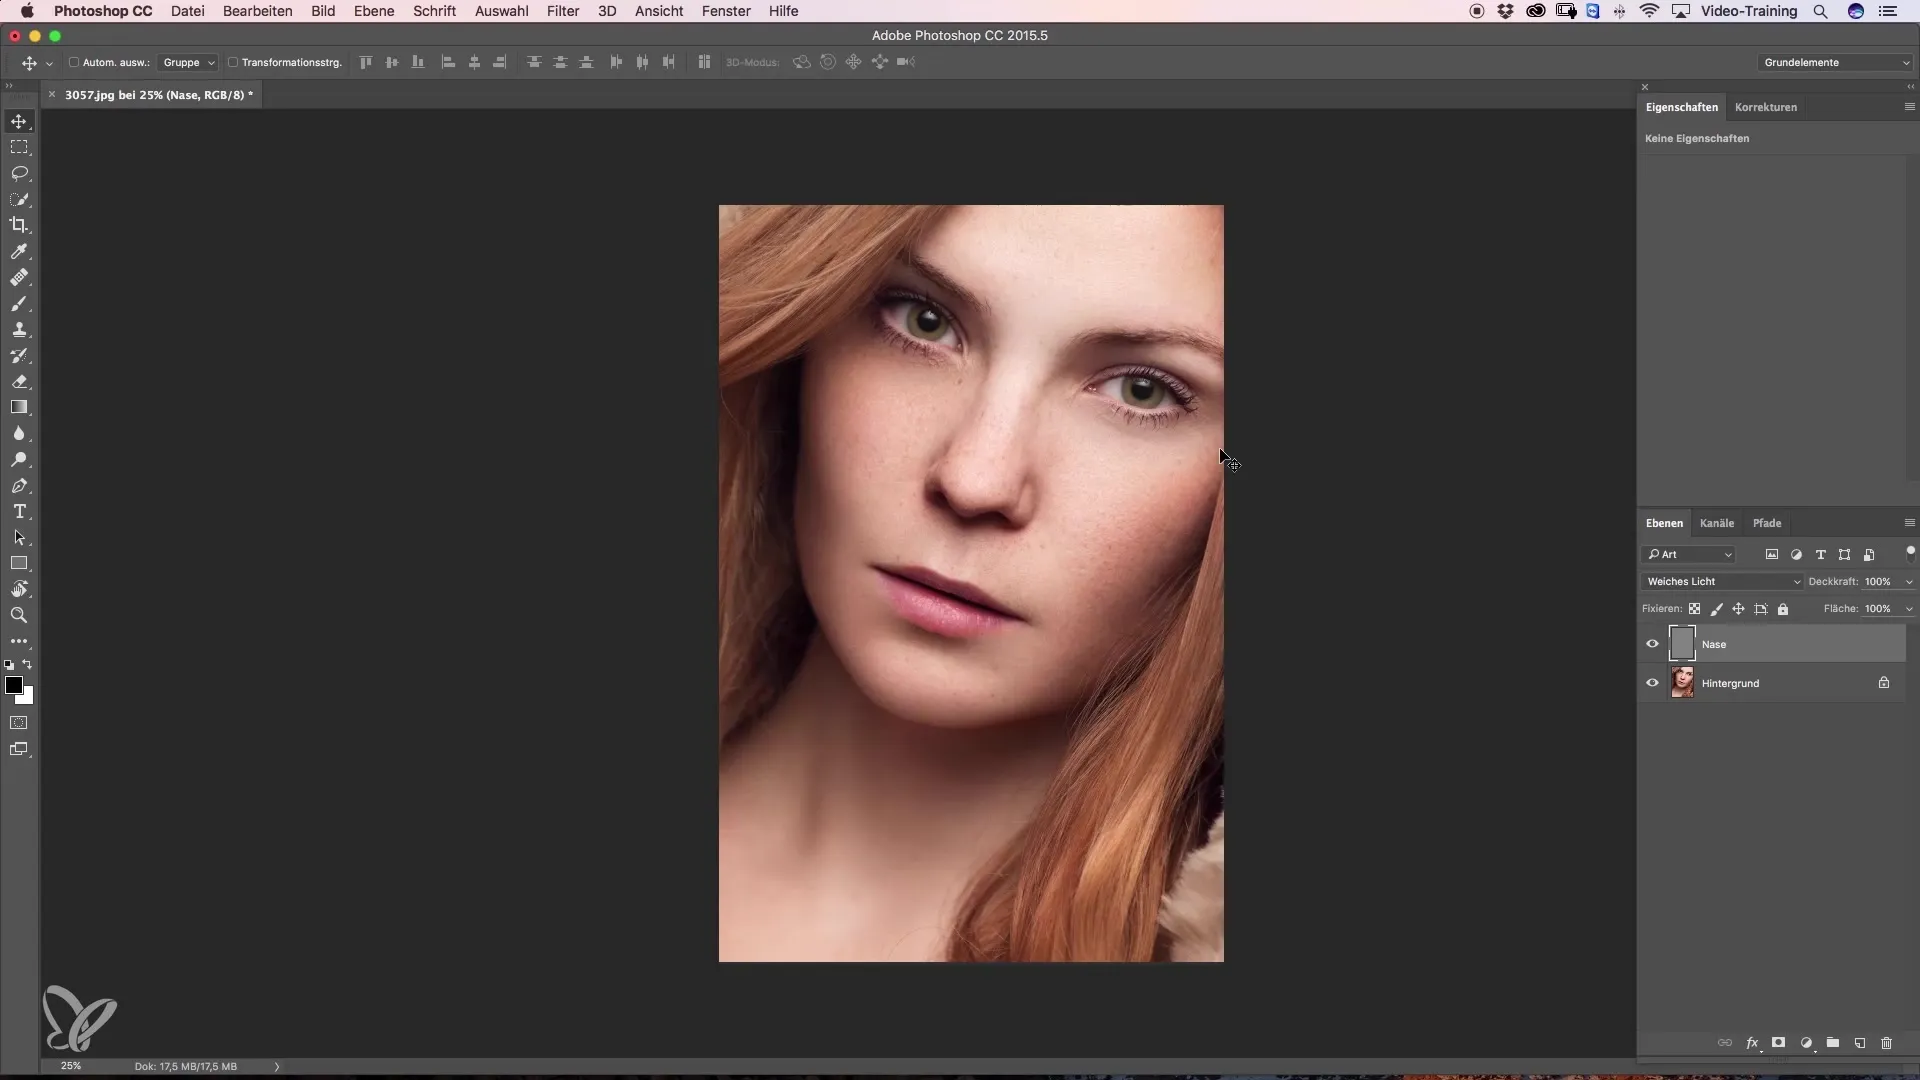
Step 2: Create Helper Layer
Create a new blank layer on which you can draw the contours. Choose a soft color tone – ideally a light red – and roughly sketch how you want the nose to look in the end. Make sure the center of the nose is slightly higher and the sides become narrower.
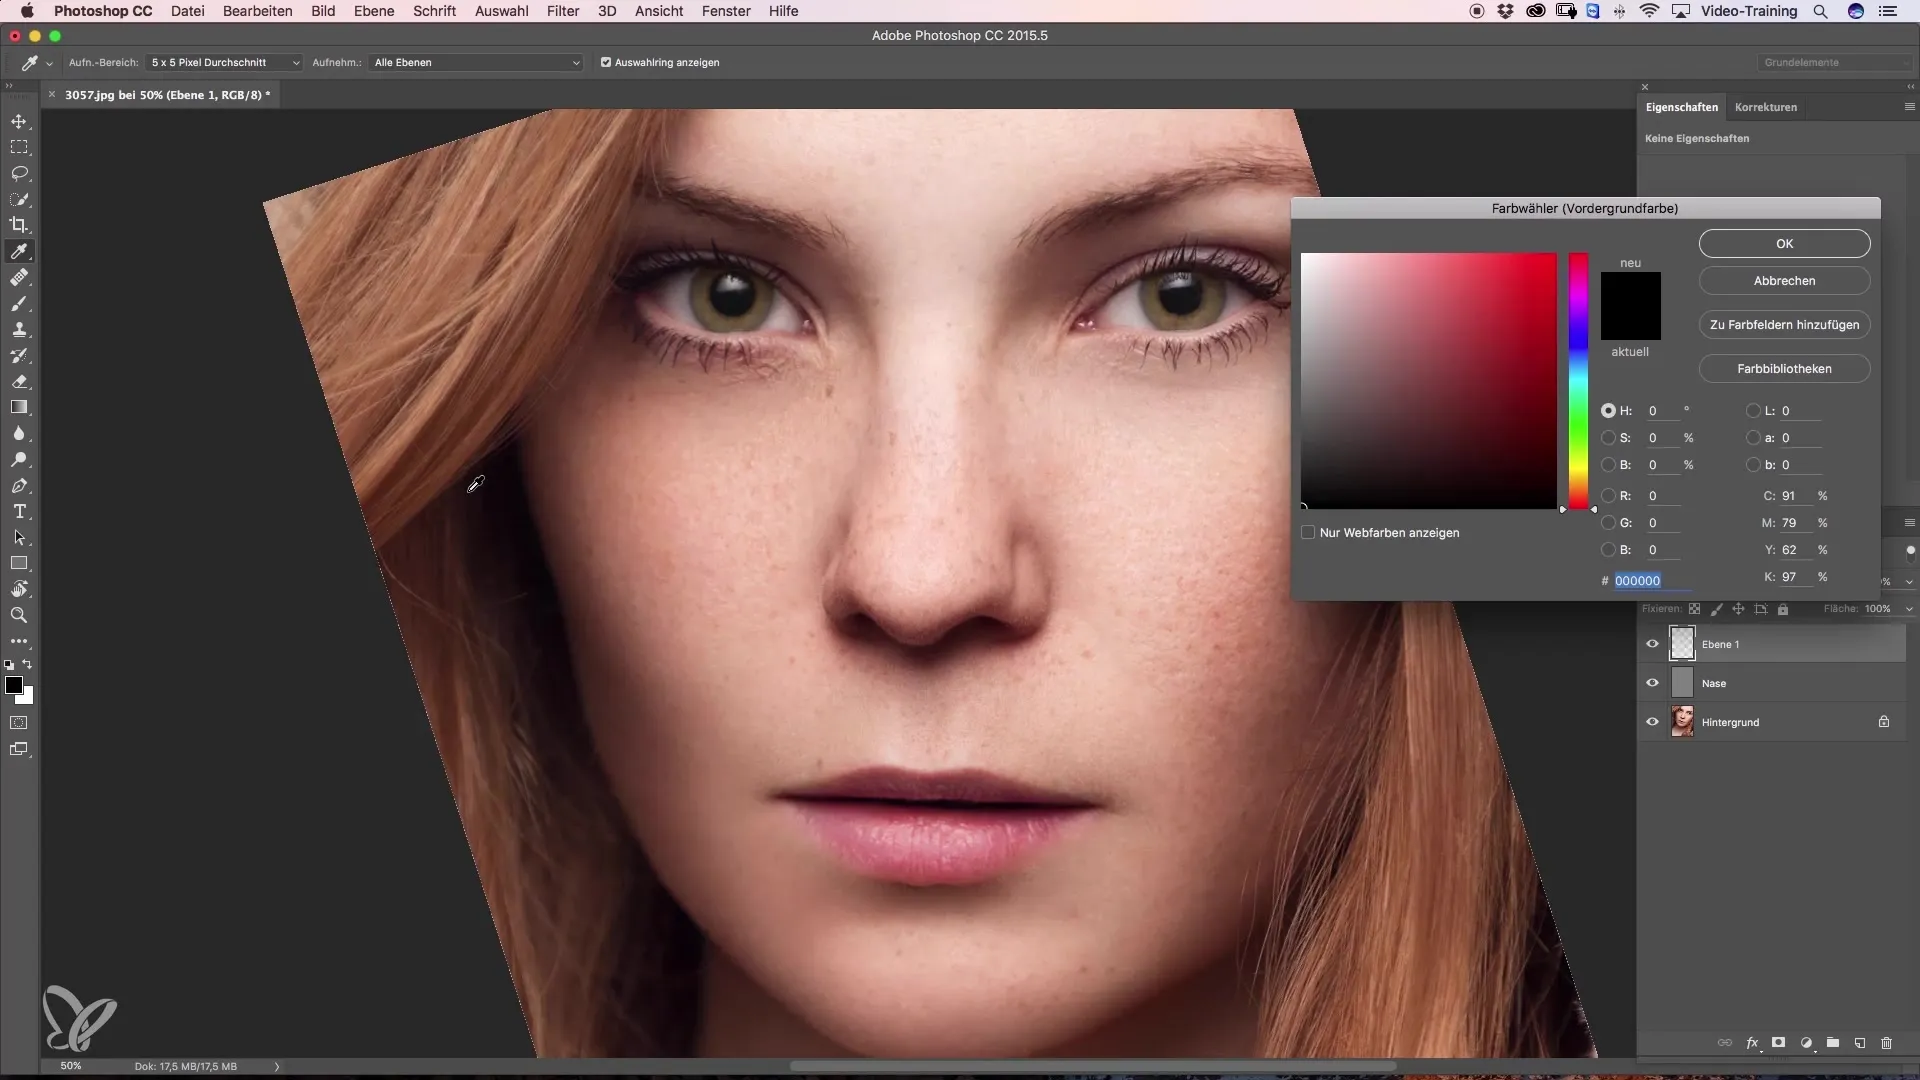
Step 3: Start with the Dodge-and-Burn Layers
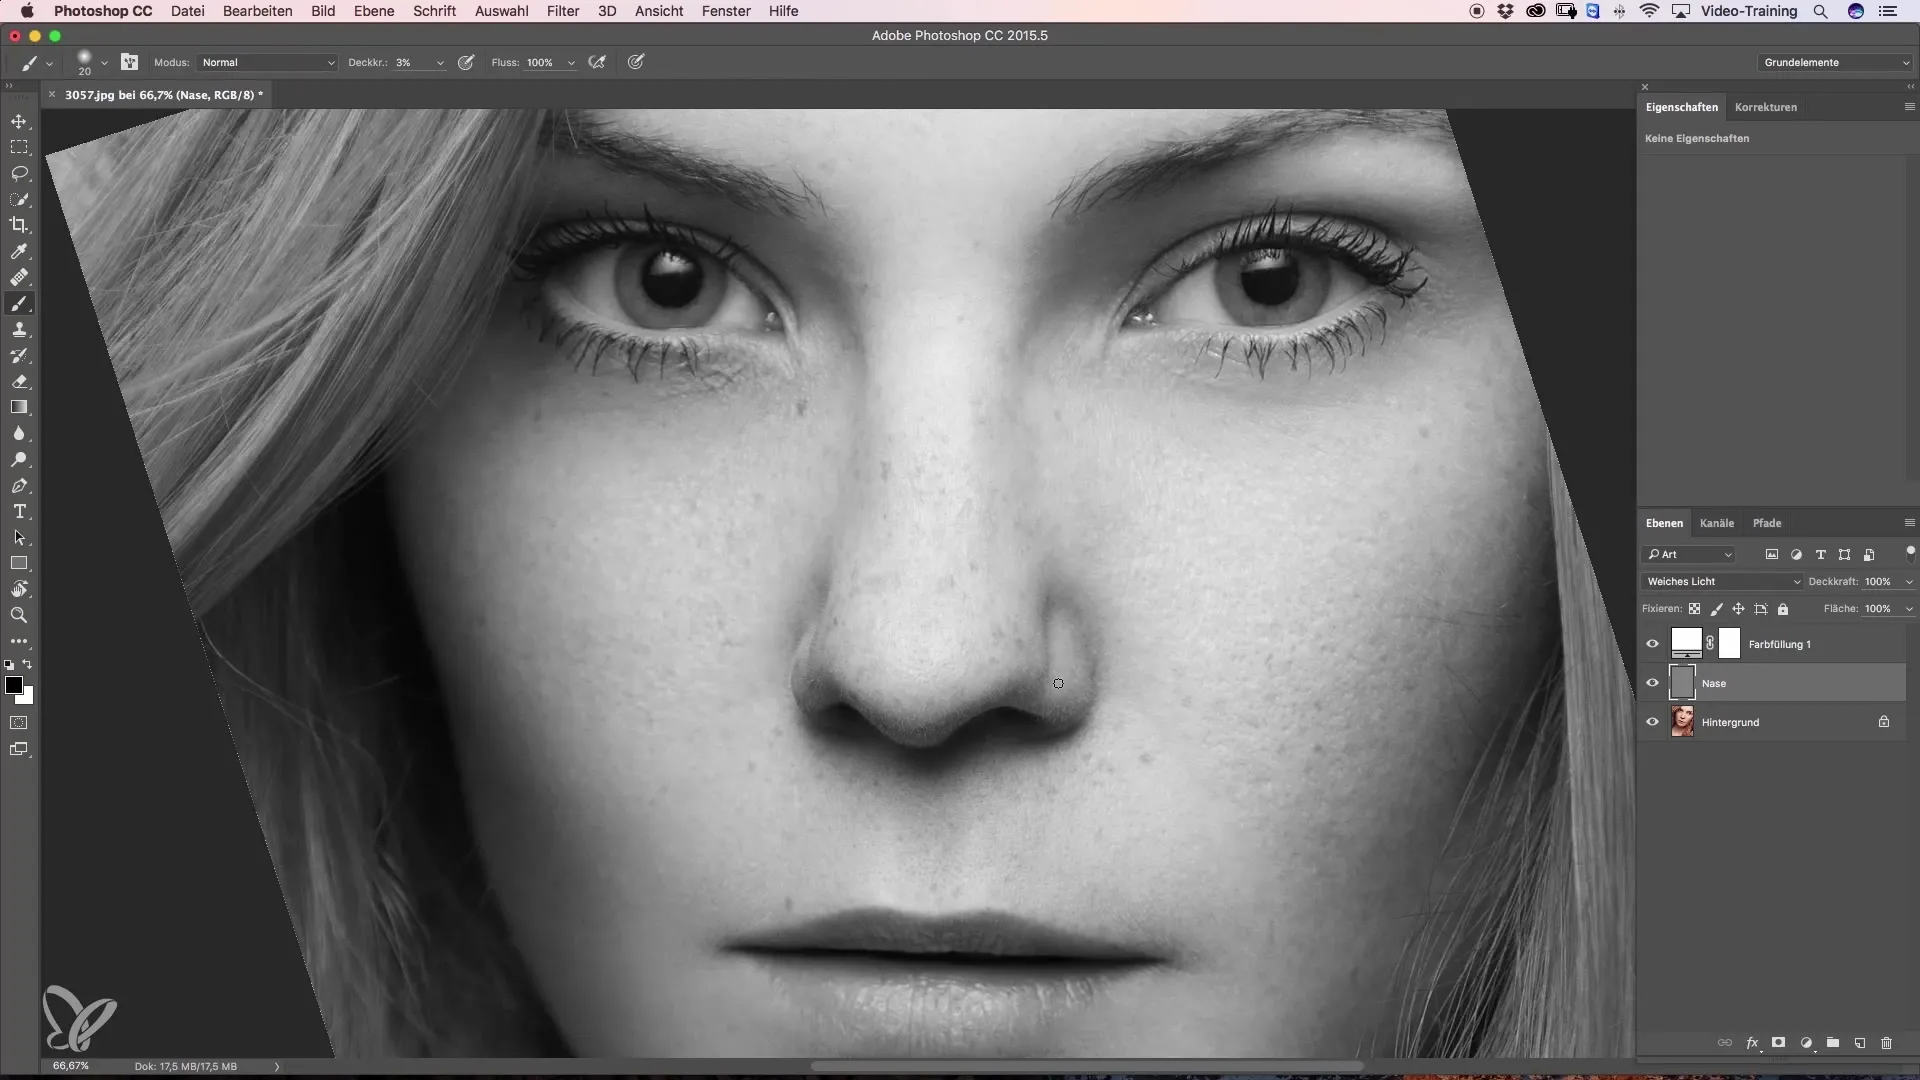
Create a Dodge layer and a Burn layer. Use the Dodge layer to lighten areas while you can emphasize the darker parts more with the Burn layer. It is advisable to work with a low opacity, e.g., 3 to 5%, to make precise adjustments.
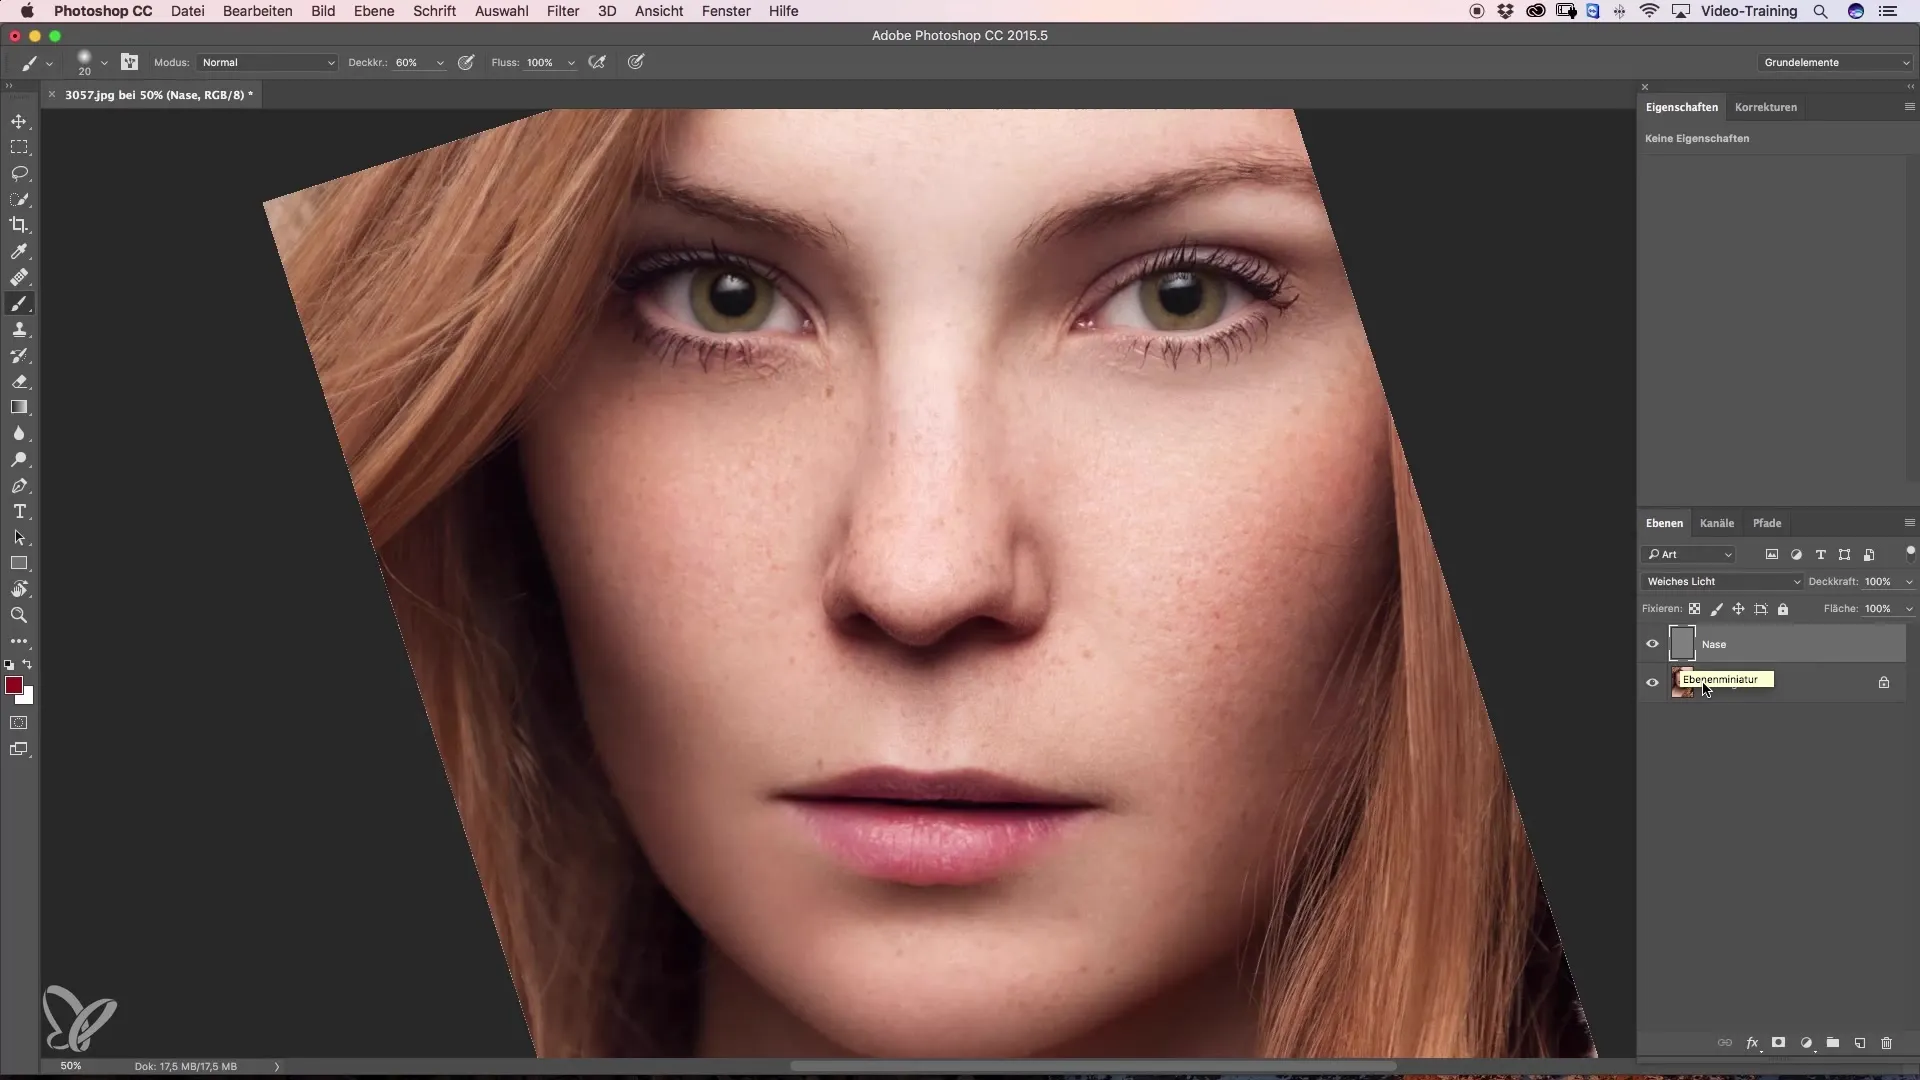
Step 4: Darken the Nostril
Select your low-opacity brush and start darkening the nostrils. Do this carefully to avoid unwanted spots. Refine the dark areas to create a smooth transition.
Step 5: Lighten Shadow Areas
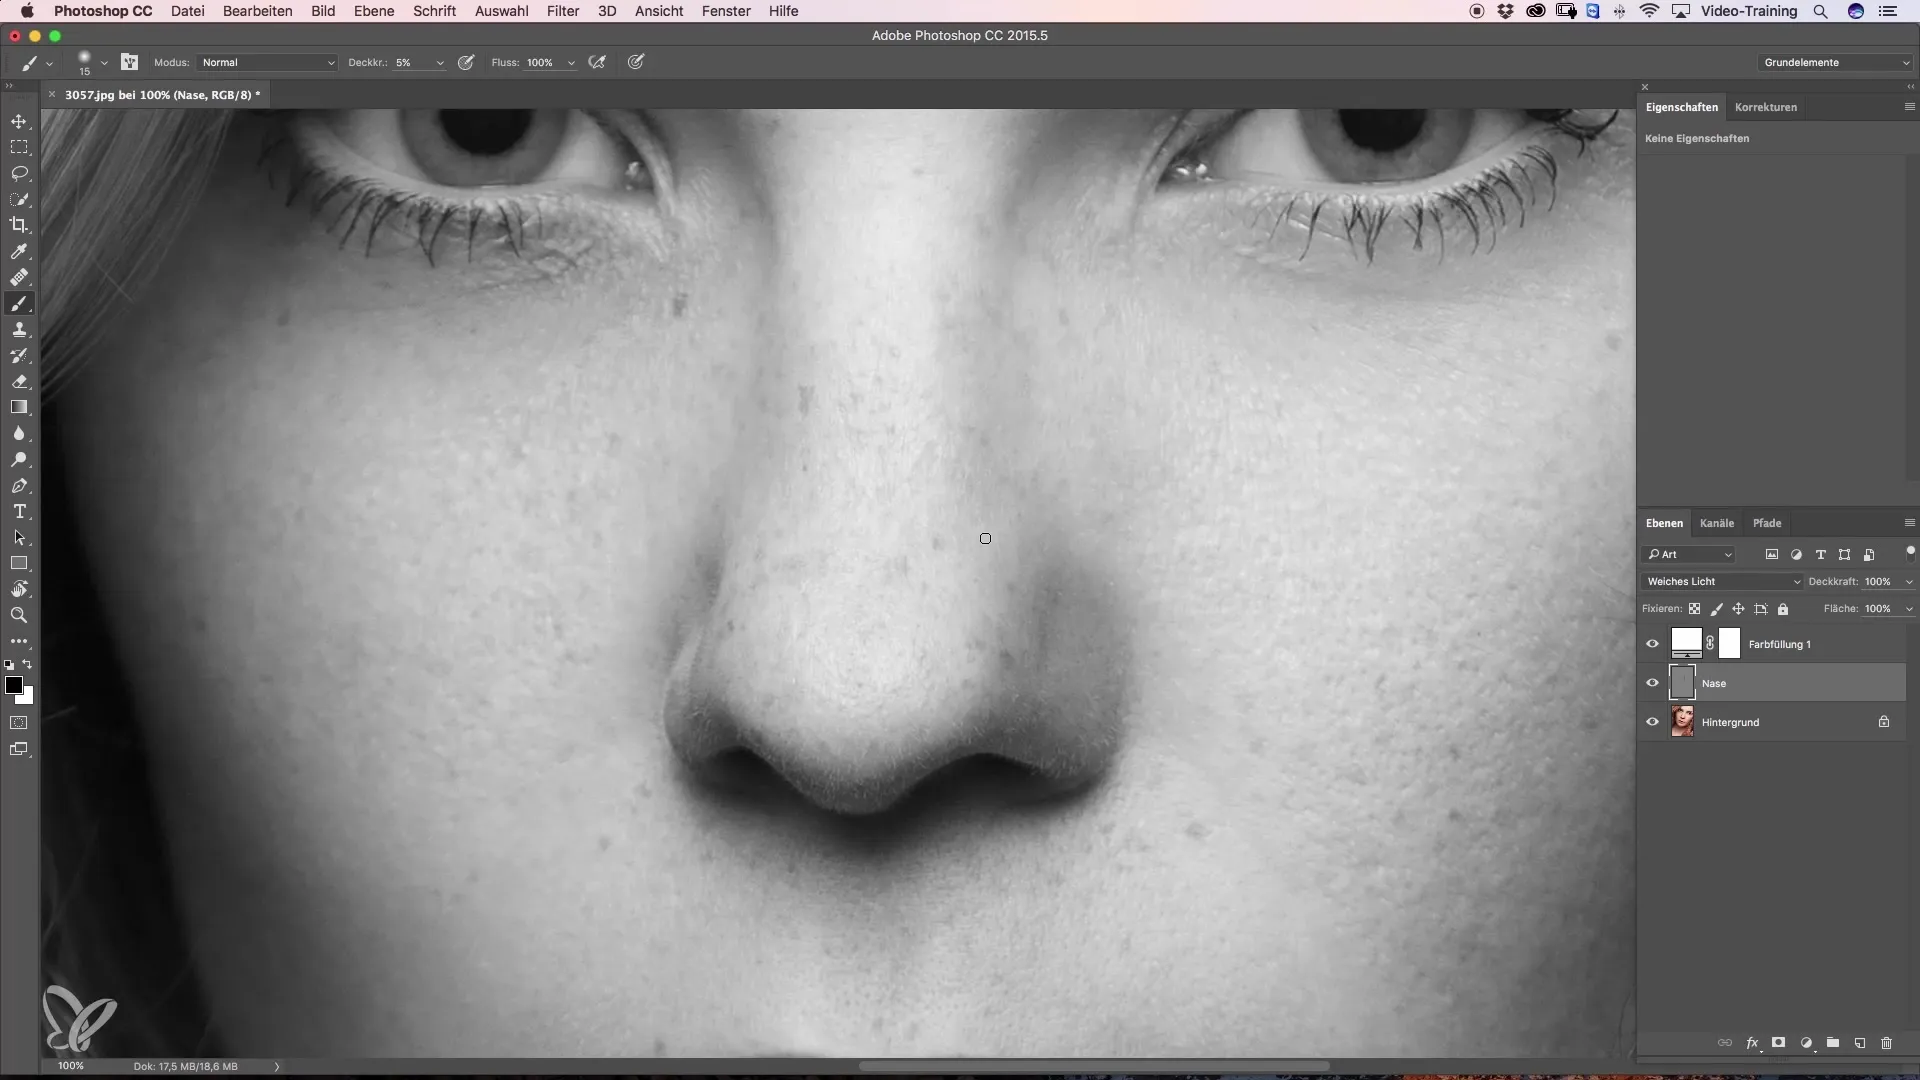
For the lighter parts you want to bring out, switch to white foreground color. Work gently with a smaller brush to create a harmonious connection between shadow and light.
Step 6: Create Refined Edges
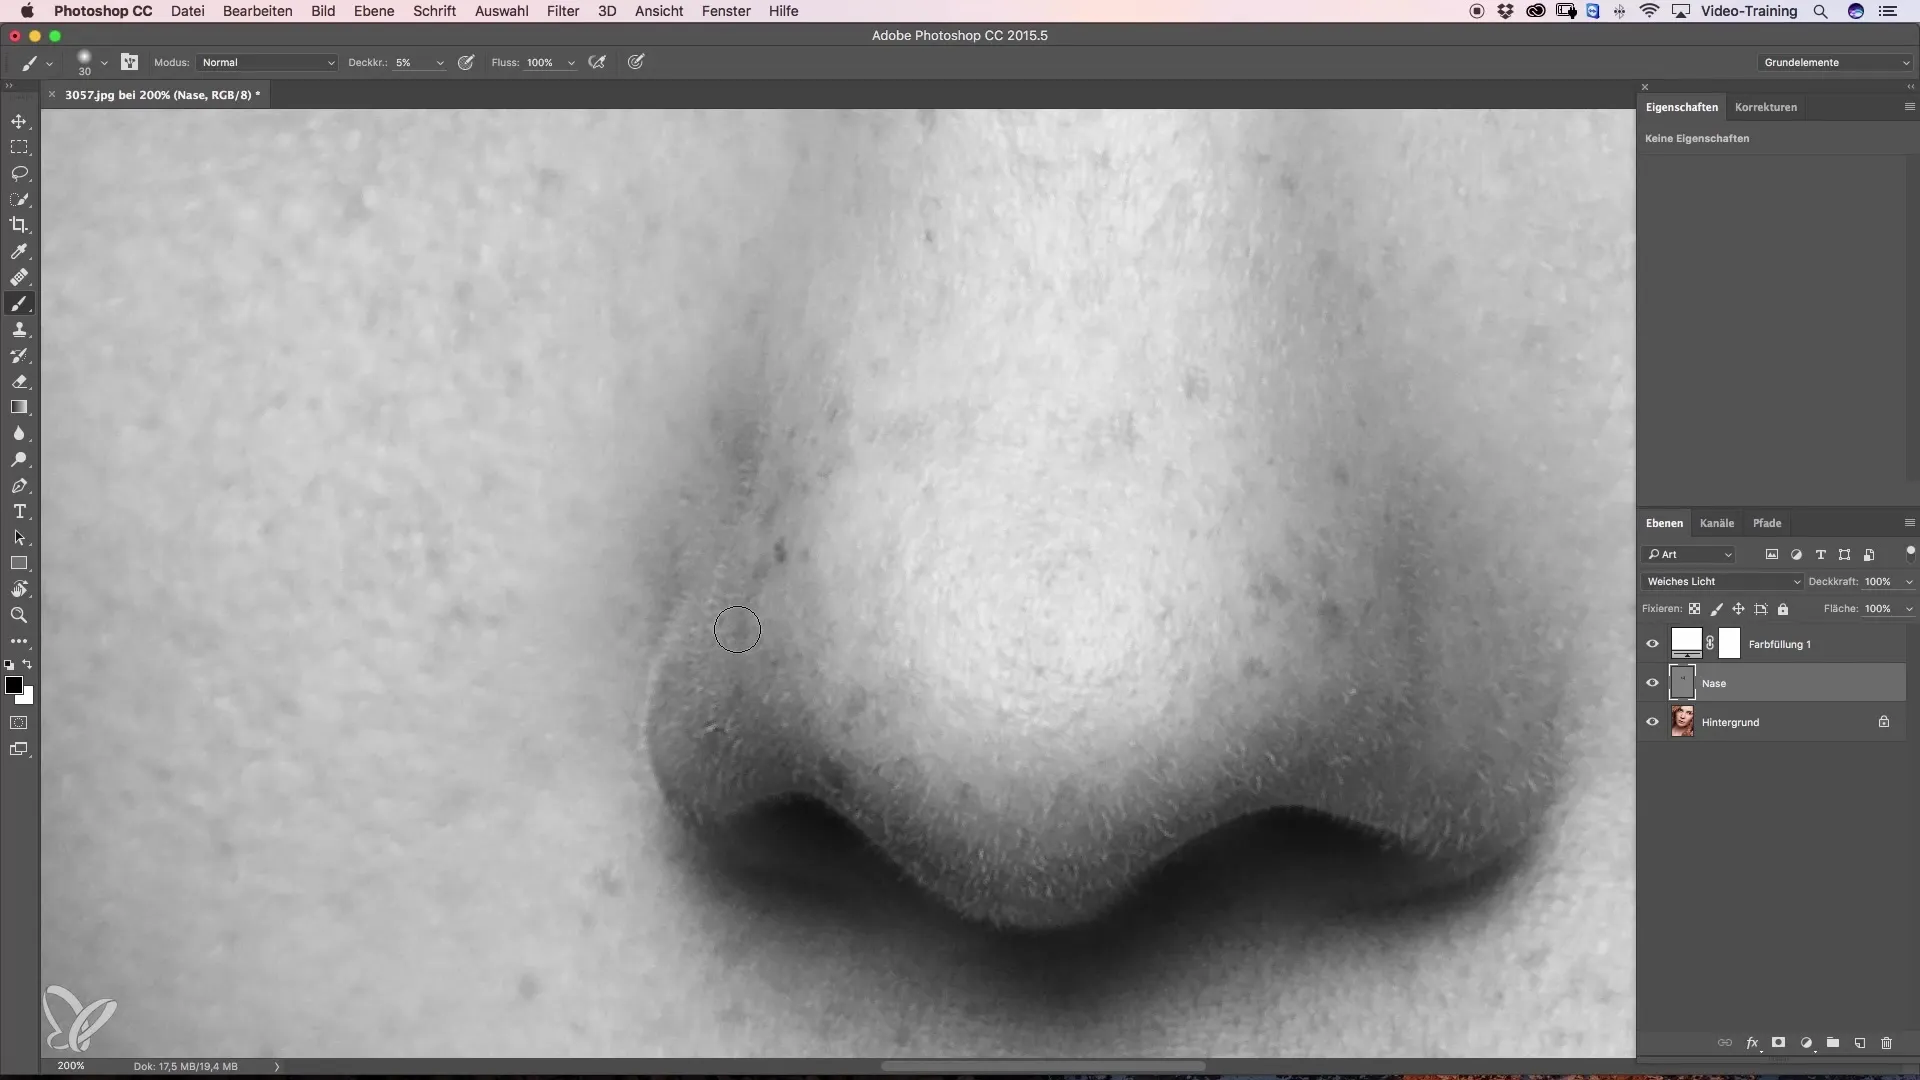
Pay attention to the transitions of the shadows. They should be soft and flowing. To emphasize the tip of the nose, you should slightly darken the edges so they stand out from the brighter highlights.
Step 7: Make Final Adjustments
Look at your result and get an overview. Make any necessary corrections to the light or dark areas. The use of Dodge-and-Burn is particularly useful here since you can adjust specific points without affecting the entire image.
Step 8: Final Check and Color Corrections
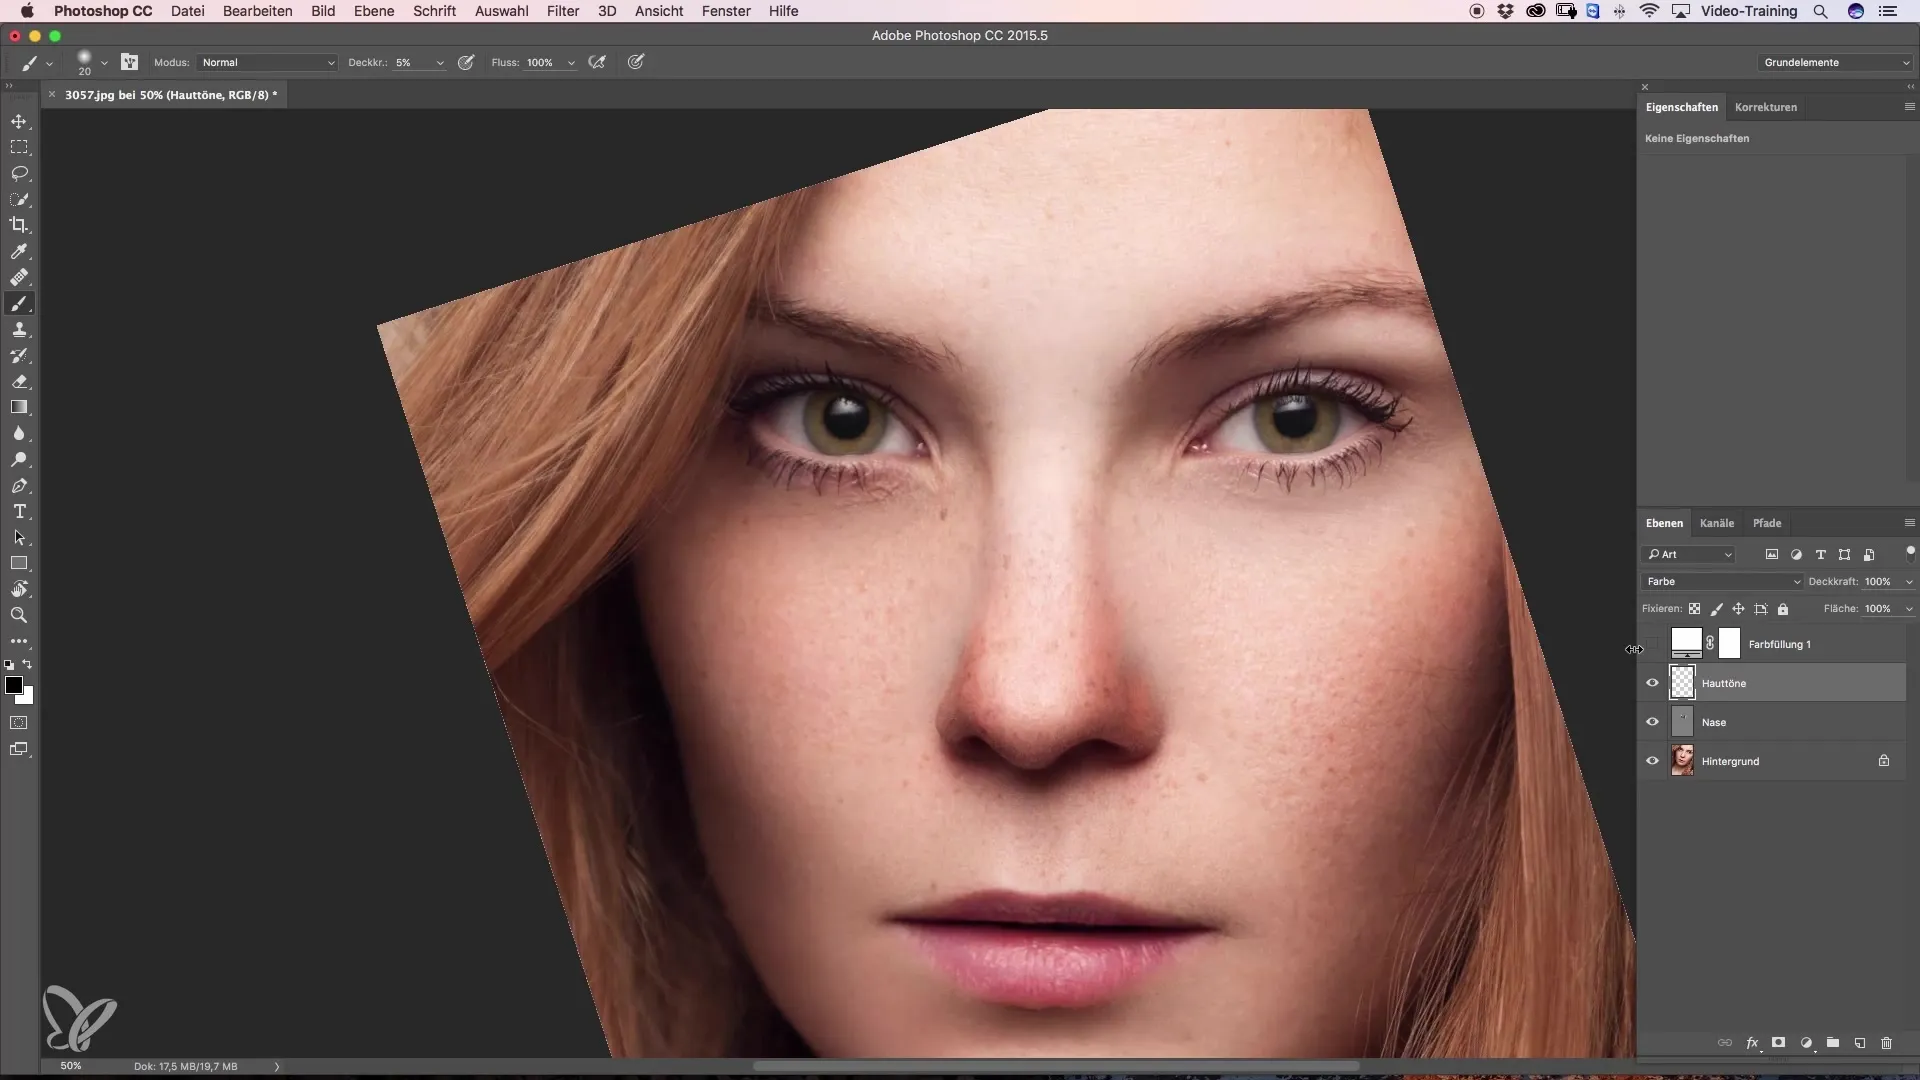
If you are satisfied with the shape of the nose, it’s time to correct the skin tones. Create another blank layer, set the mode to “Color,” and select a skin tone to match the tonal quality of the face.
Summary – Guide to Narrowing the Nose with Dodge and Burn
The use of Dodge and Burn gives you the opportunity to work specifically on the shape of the nose without losing the naturalness of the image. With the right technique and patience, you will achieve impressive results. Practice and experiment with different opacity levels and brush sizes to achieve the desired finish.
Frequently Asked Questions
What software is suitable for the Dodge-and-Burn technique?Software like Adobe Photoshop or GIMP is ideal for applying Dodge-and-Burn.
How can I correct color errors after narrowing the nose?Use a new layer in color mode to gently adjust skin tones.
How can I ensure that the final result looks natural?Work with low opacity values and gradually approach the desired results.
How long does it take to effectively narrow the nose?The editing time depends on the starting point and your skill. Often, 20-30 minutes is realistic.
How do I know when to stop narrowing?Regularly compare with the original view and ensure that the nose does not look unnatural.
