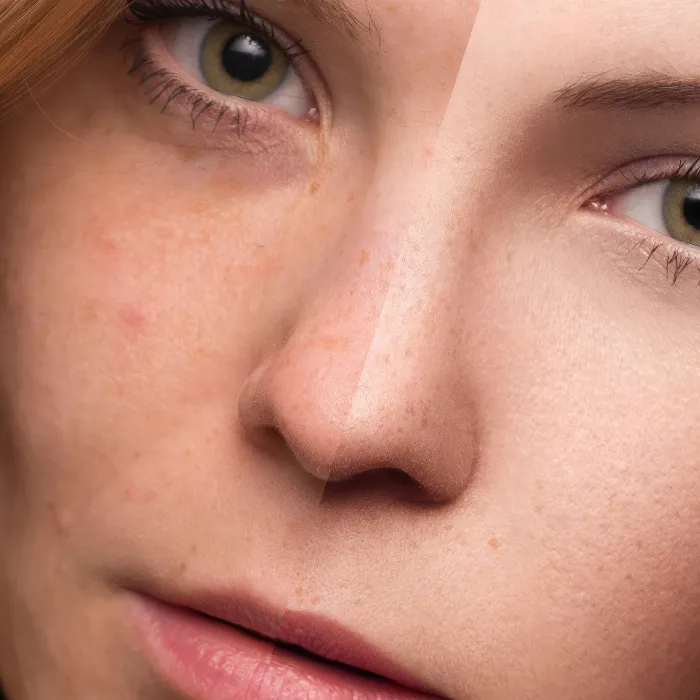
Brows play a crucial role in facial aesthetics. Many people desire denser and evenly shaped brows to emphasize their facial features. In this guide, I will show you how to densify your brows using the Dodge and Burn technique and give them an appealing shape. Let's dive right in and find out how you can effectively fill in small gaps.
Key Insights
- By using the Dodge and Burn technique, you can realistically draw in the missing hairs in your brows.
- Selecting the right brush size and opacity is crucial for a natural result.
- Make sure to always work in the direction of hair growth to achieve an authentic look.
Step-by-Step Guide
Before you begin, make sure to have a reference picture of your brows. This will help you adjust the shape and density more easily.
Step 1: Adjust Brush Size and Opacity
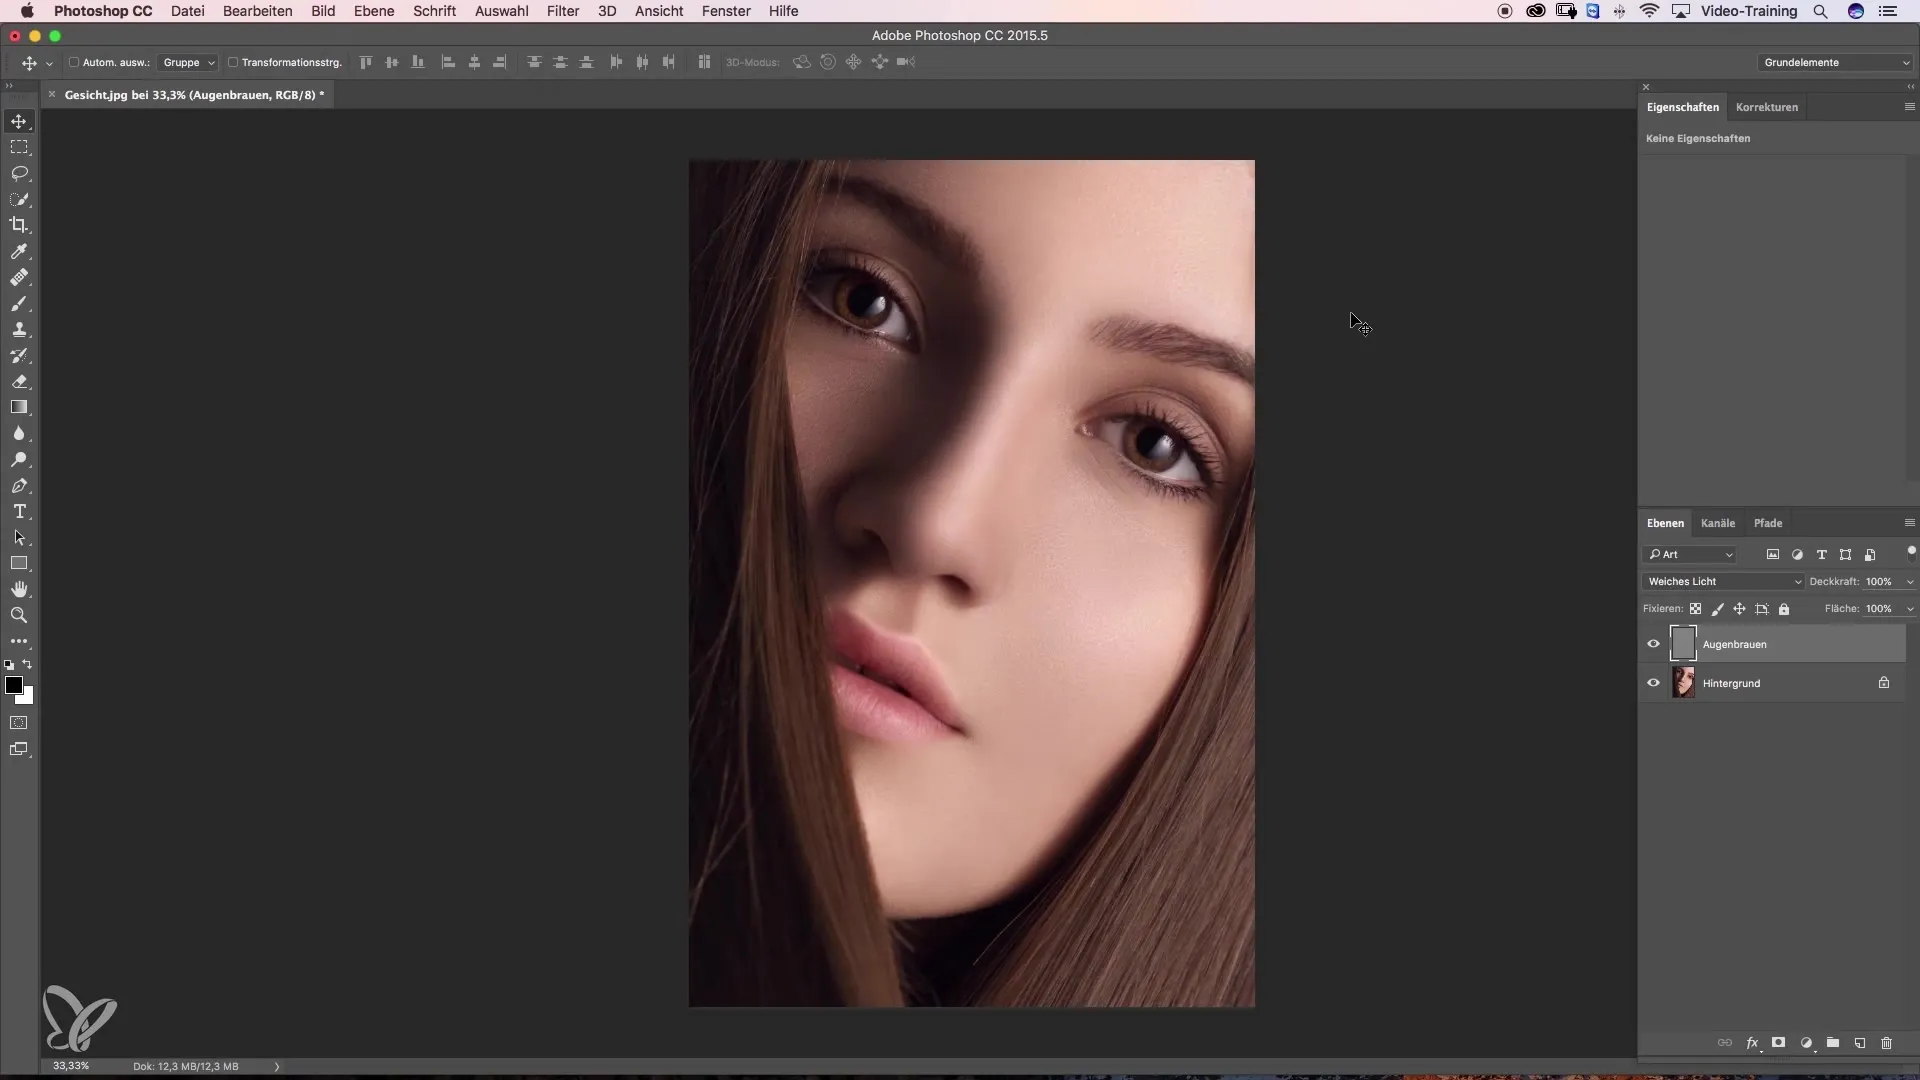
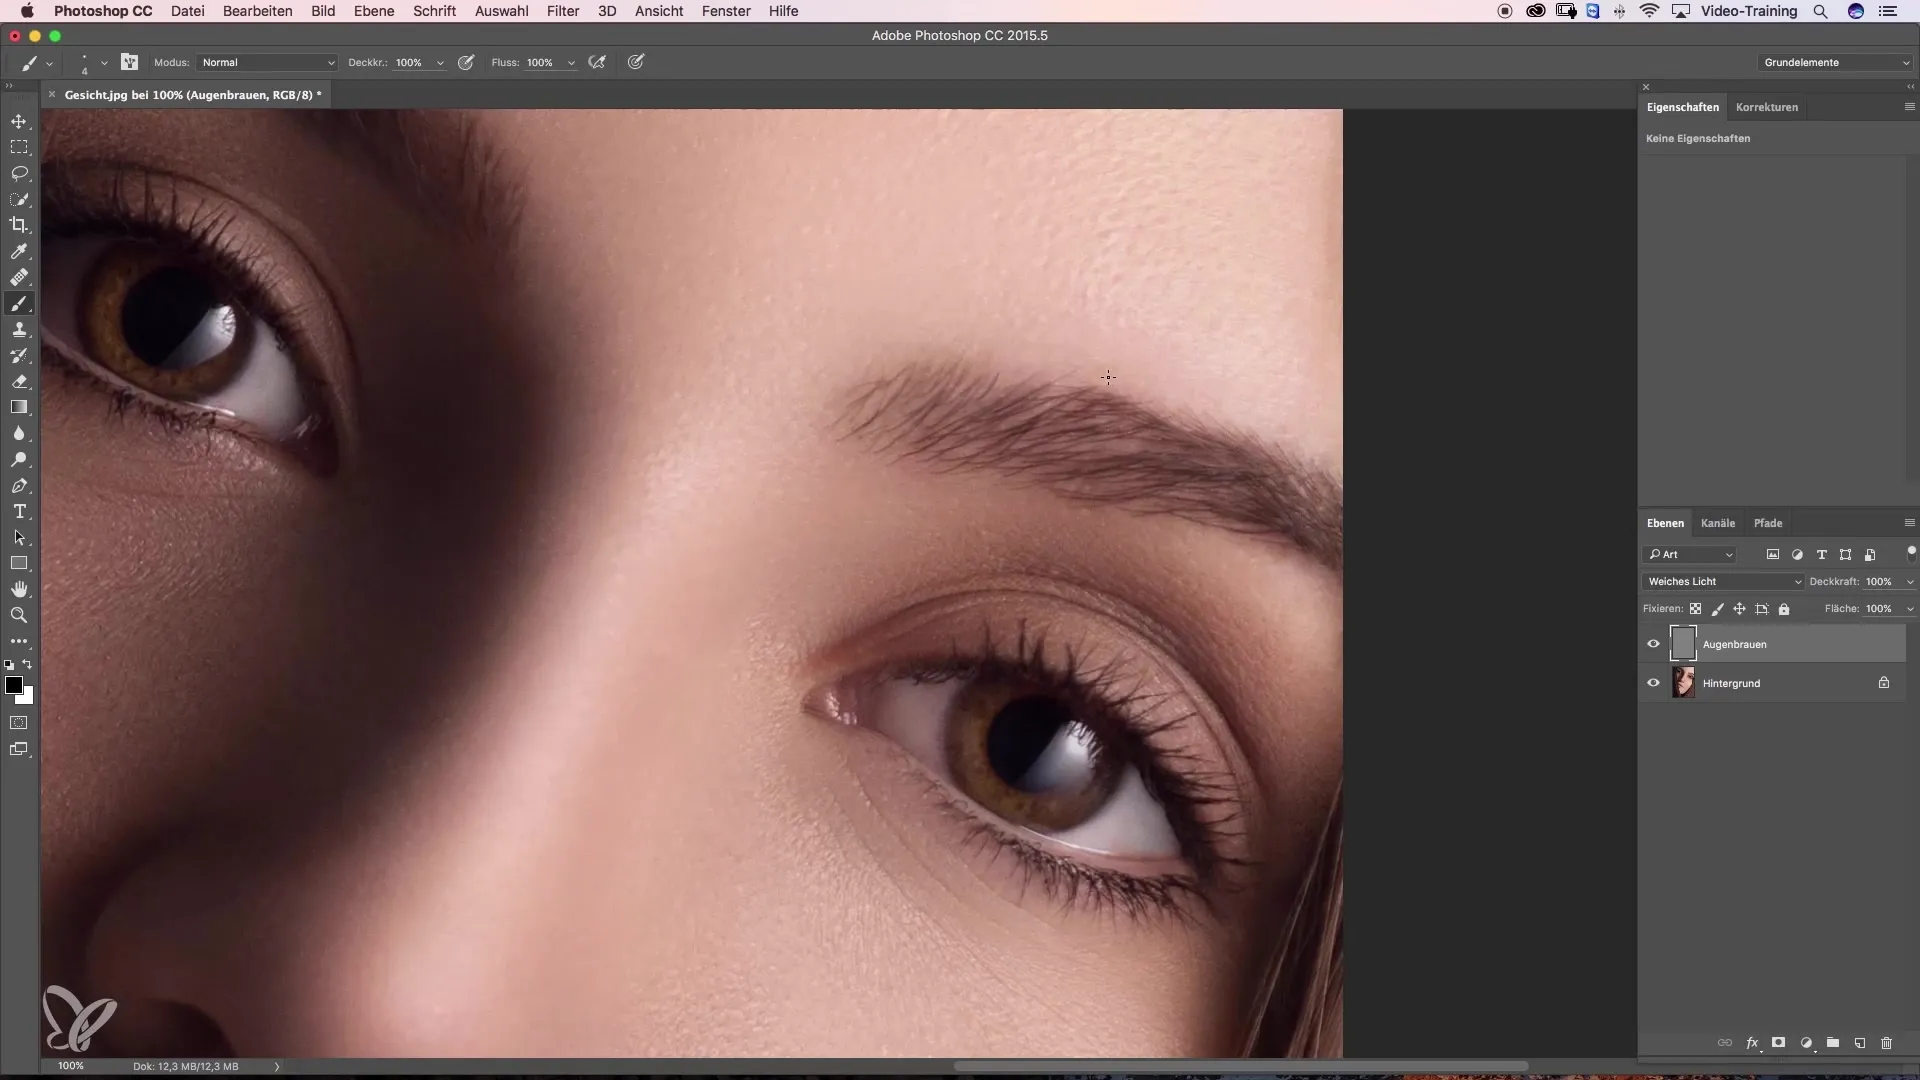
First, you need to adjust your brush tip. I recommend a very small brush tip of about three to four pixels. Set the opacity to about 25% to be able to work in the gaps of the brows. With these settings, you can gently draw the desired hairs.
Step 2: Imitate Hair
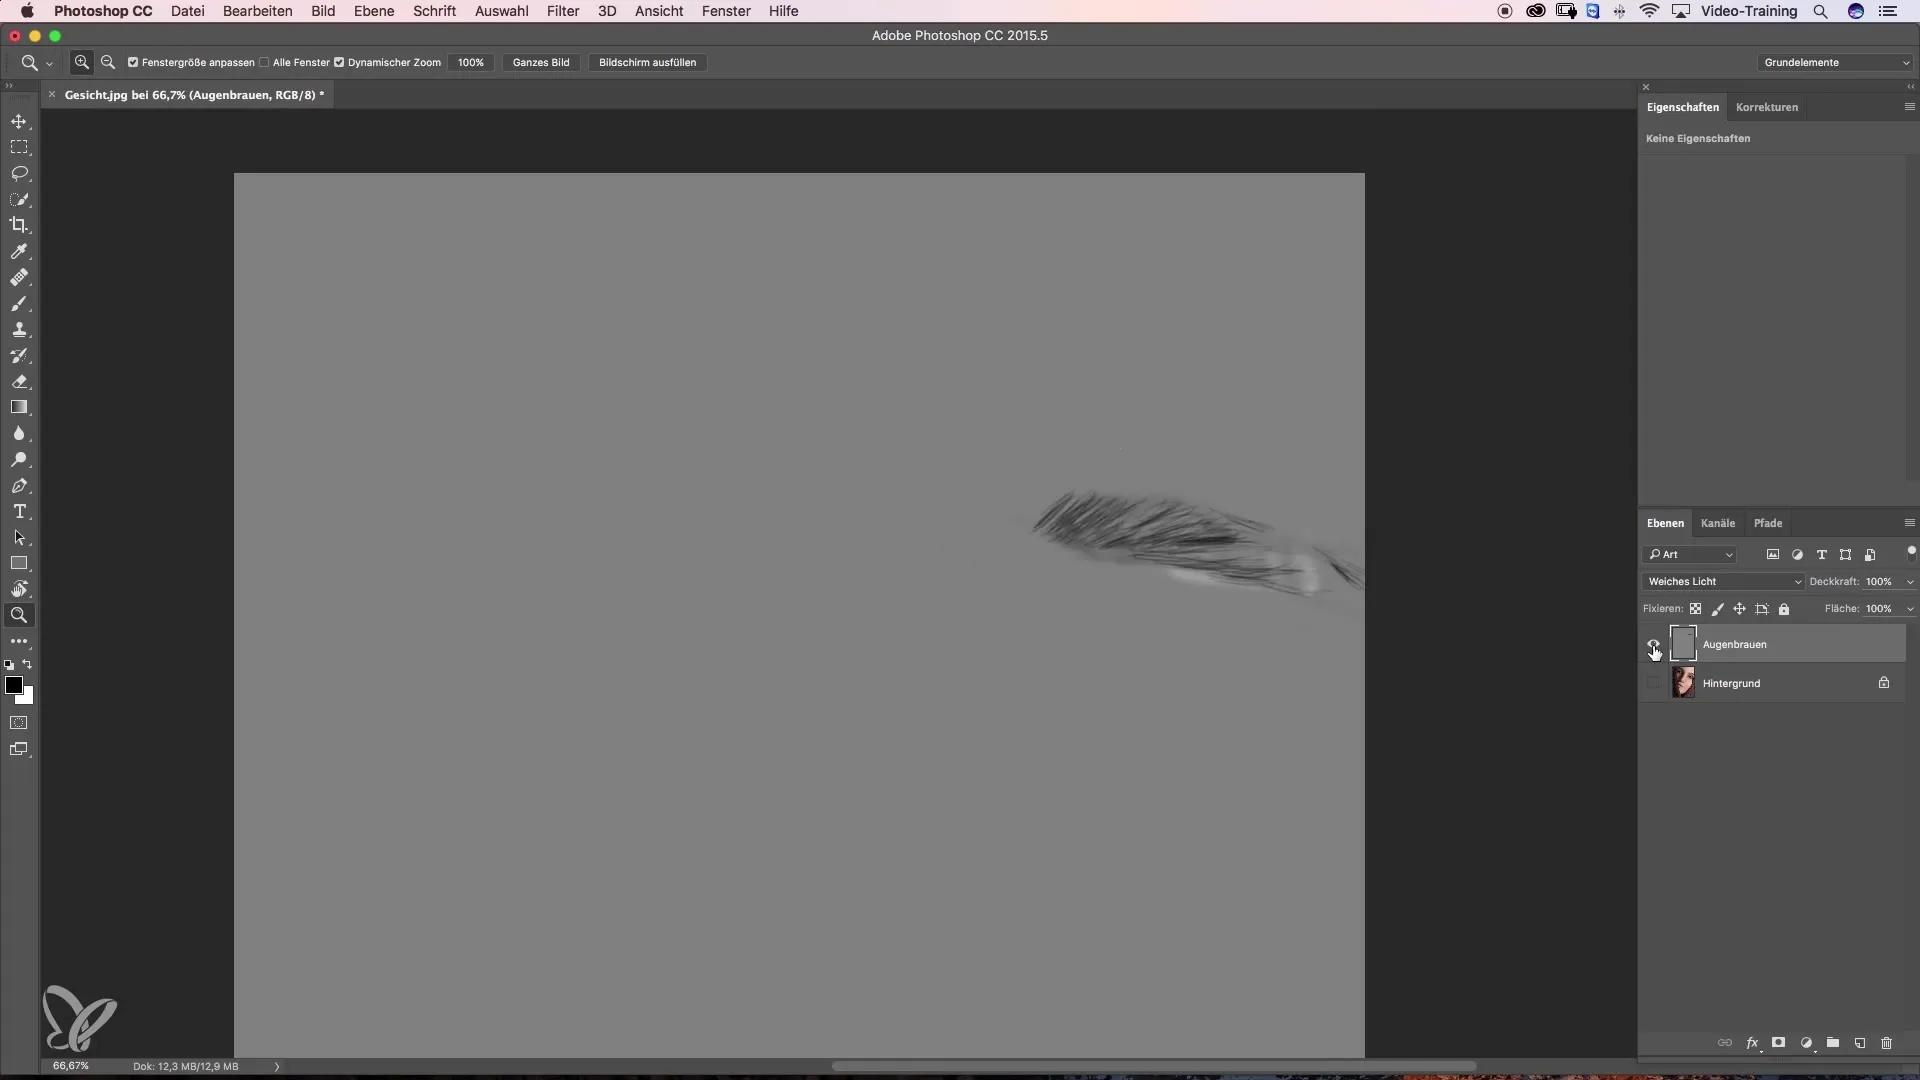
Now start imitating the brow hairs. Gently paint into the gaps first, making sure to work in the direction of hair growth. This creates a natural look and ensures that the added hairs are not noticeable.
Step 3: Fine-tune Opacity
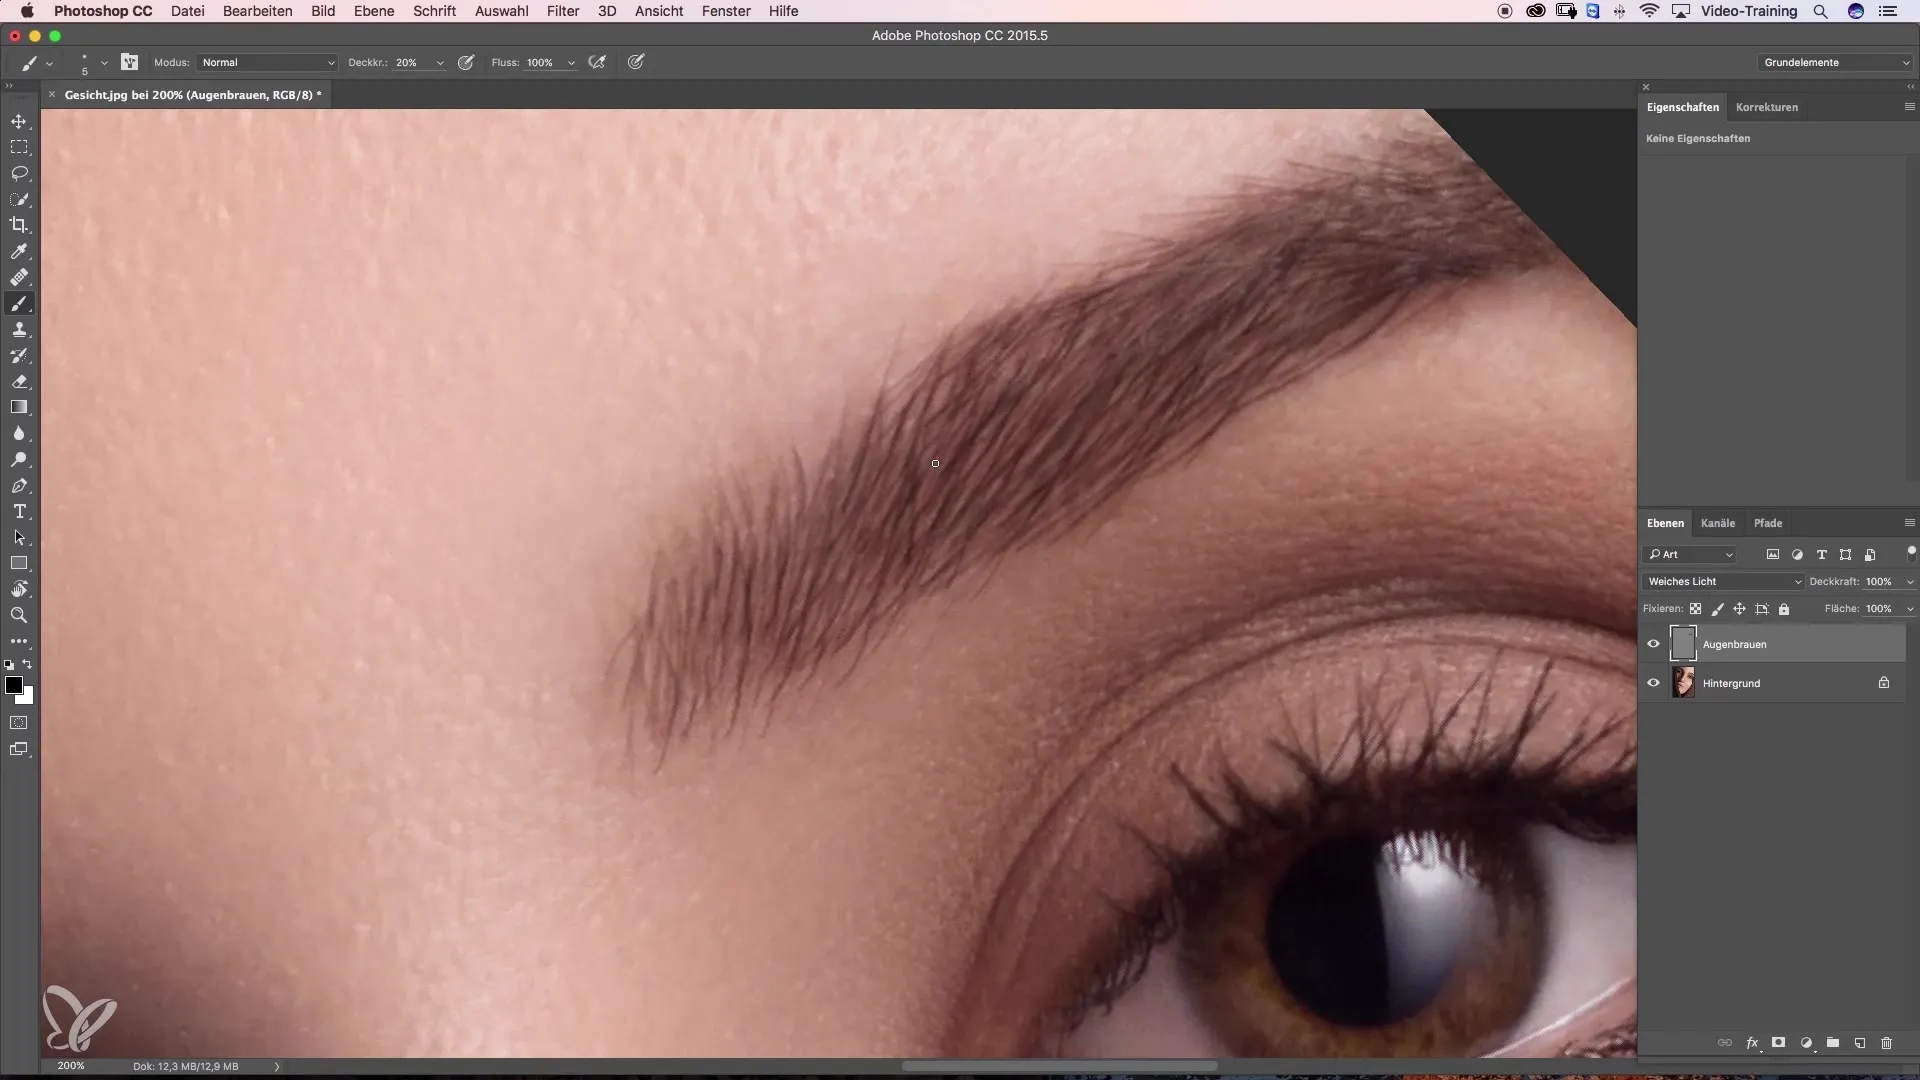
If the added hairs appear too dark, reduce the opacity to about 20%. This way, you achieve a more subtle result. Focus on filling in only the gaps and avoid unnecessarily emphasizing the existing hairs.
Step 4: Adjust Brow Shape
Besides densifying, it is also important to give the brow an appealing shape. Make sure not to overly emphasize the hairs or paint them in the wrong direction. The goal is a harmonious shape that acknowledges and complements the natural hair growth.
Step 5: Adjust Hair Darkness
If you notice that the hairs are too light in a certain area, you can darken them further. Use another Dodge and Burn layer with a smaller opacity for this purpose. The technique allows you to optimally control the balance between light and shadow in the brows.
Step 6: Add Shine
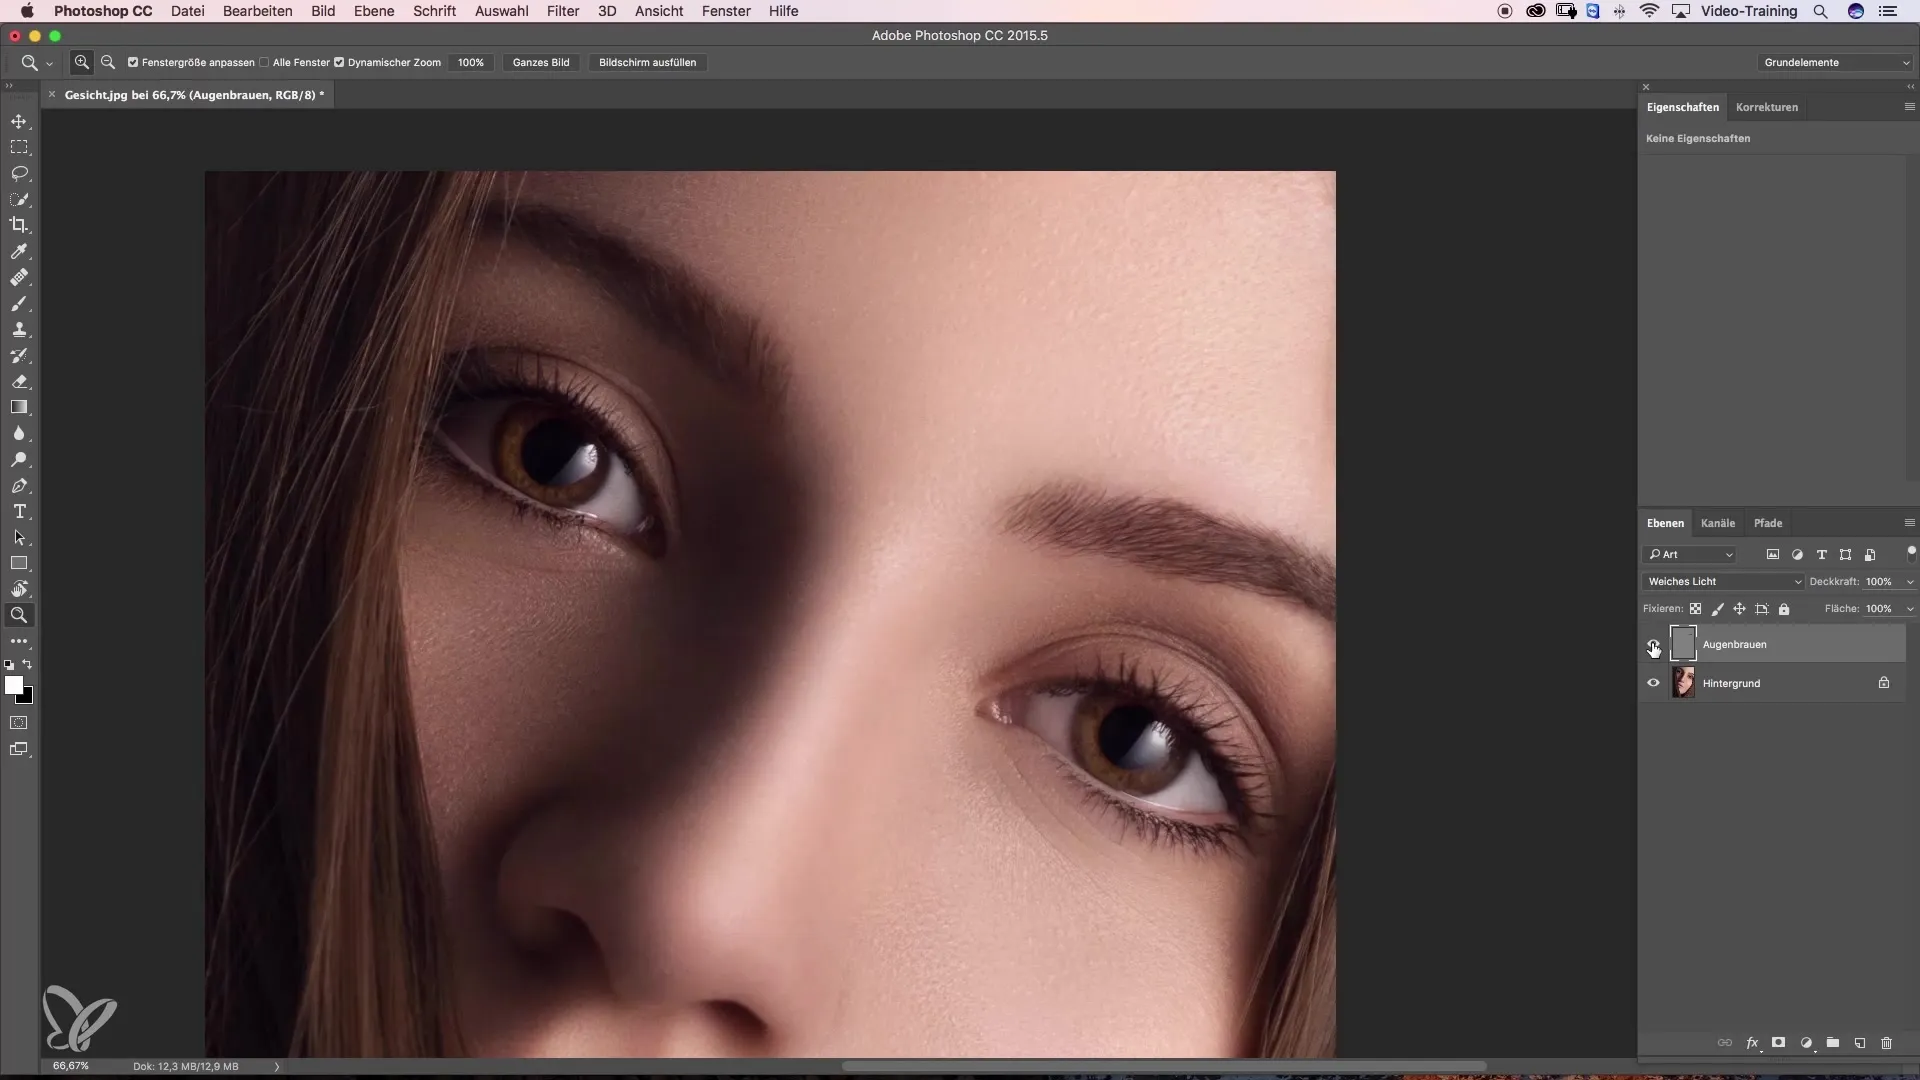
To give the brows realistic depth and dimension, it is essential to consider the shine in the brows. Do not completely remove the shiny spots; instead, just soften them a bit. Multiple shine points contribute to a more three-dimensional appearance.
Step 7: Make Final Adjustments
Locate the last small gaps in the brows and fill them in as well. Be careful not to create harsh transitions. The transition between skin and brow should appear soft and natural, so your brows do not look exaggerated.
Step 8: Review the Final Result
Look at your work as a whole and compare the result to the initial state. Ideally, the brow now looks fuller and more even, while the added hairs are seamlessly integrated into the overall appearance.
Summary - Effective Technique for Densifying Brows
The right technique makes the difference between a natural and artificial look. By applying the Dodge and Burn method, you can effectively fill in gaps and give your brows new shape and fullness. Always pay attention to the choice of brush size and opacity to achieve a harmonious result. These steps will help you perfect your brows and achieve a radiant overall appearance.
Frequently Asked Questions
How can I adjust the opacity in my program?The opacity can usually be easily adjusted in the settings of the respective brush.
How often should I touch up my brows?That depends on your personal growth and style; usually, a touch-up once or twice a month is sufficient.
Can I apply this technique to other areas of the face as well?Yes, the Dodge and Burn technique is versatile and can be used to enhance different areas of the face.
How can I ensure that the new shape fits my face?Use photos from different angles and refer to your natural facial features.
