The world of creative software is constantly changing. With the June update for Photoshop CC 2014, numerous practical improvements have been introduced that can significantly optimize your workflow. In this guide, I will not only address the major innovations, but also highlight the many small changes that can enhance your efficiency when working with Photoshop. Get to know the most significant innovations and learn how to use them for your workflow.
Key Findings The June update for Photoshop CC 2014 brings improvements in the generator, new options in the area of layer exports, a practical function in the realm of liquifying, and facilitation in working with layer compositions. These features make it easier for you to organize and edit your projects.
Step-by-Step Guide
1. Using the Photoshop Generator
One of the most significant innovations in the update is the improved function of the Photoshop Generator. This allows you to generate image sets from layers, which significantly speeds up your export process.
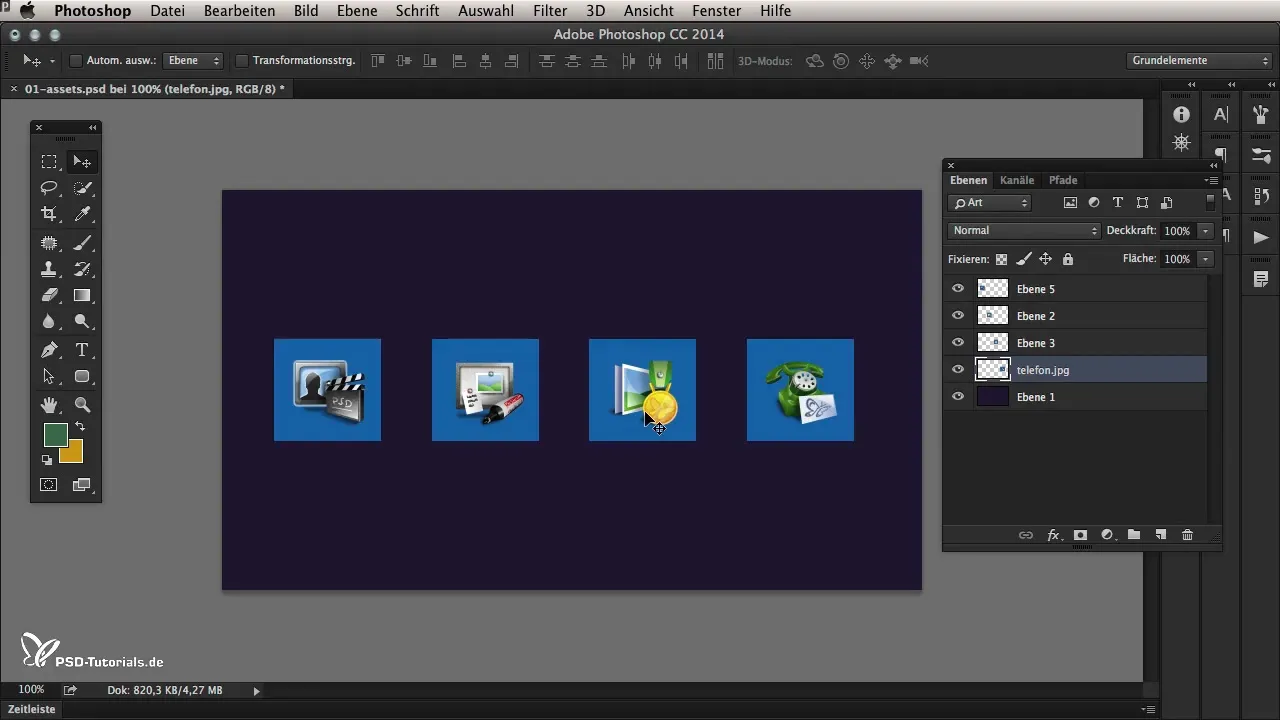
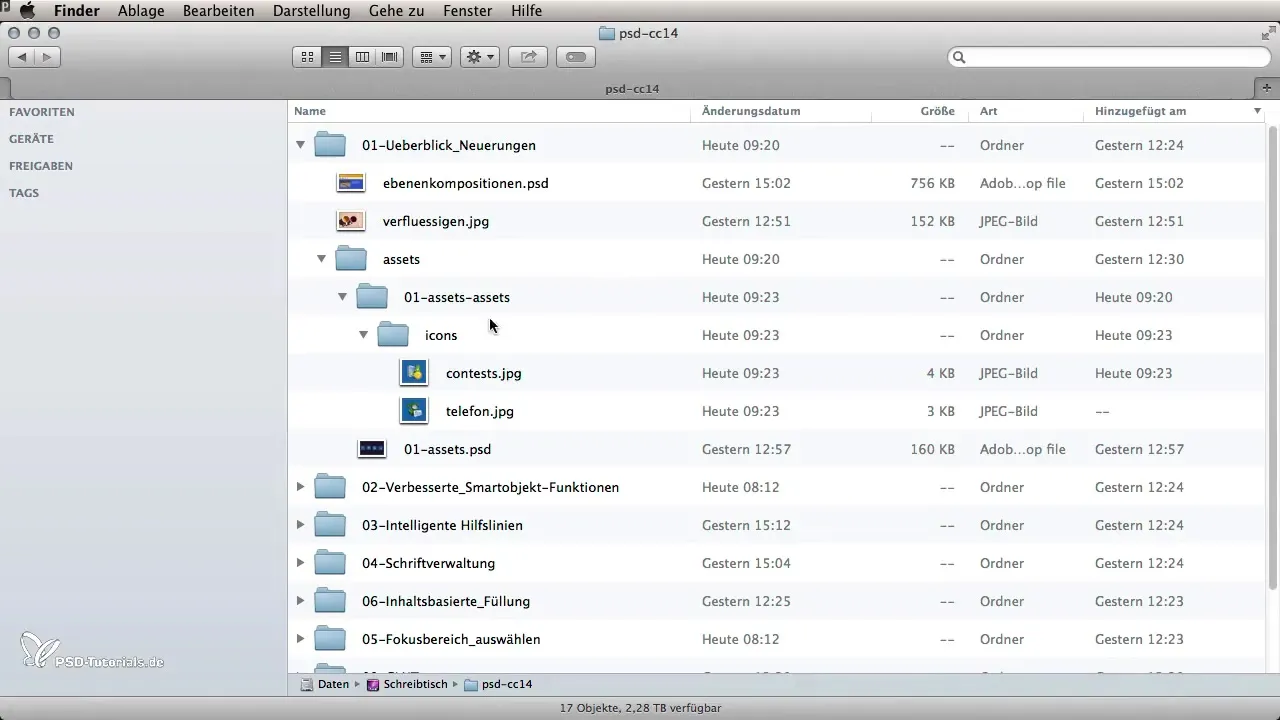
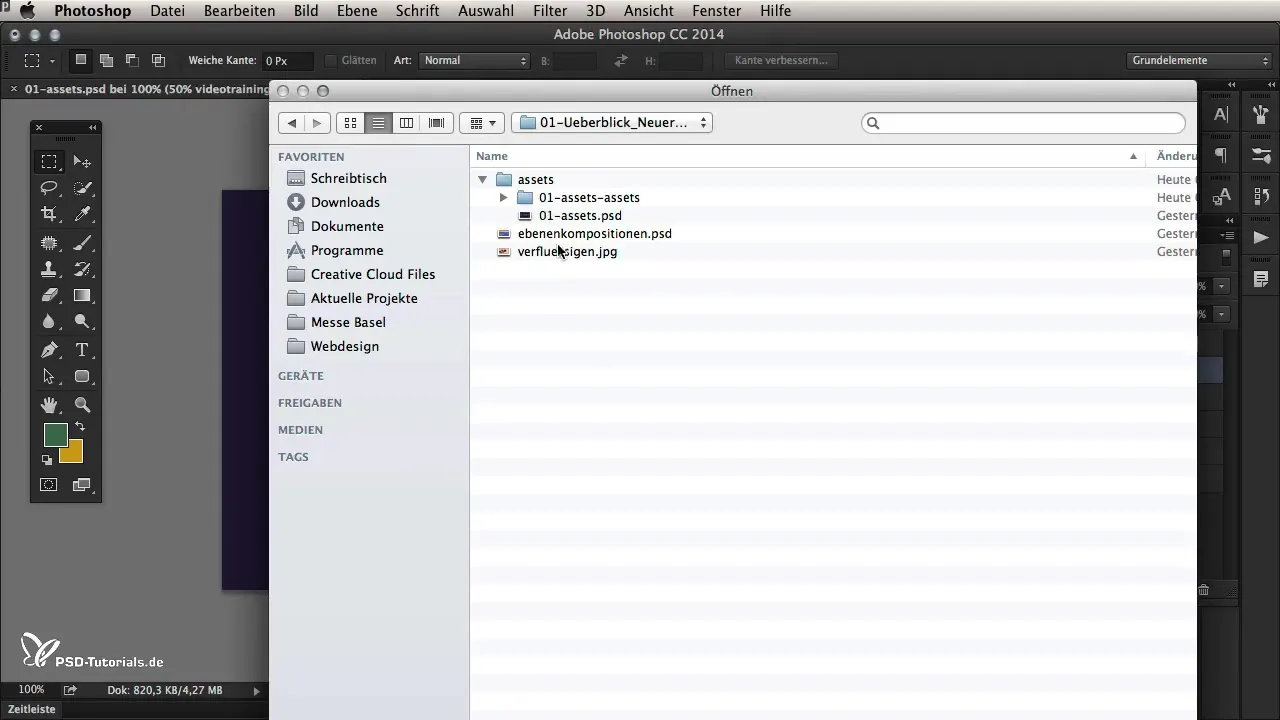
To use the generator, open a prepared file from the Assets folder. Check the different layers with the icons. You can now specify that you want to save the icons in subfolders. To do this, activate the option "Generate image asset" and see in the Finder what has already been exported. I see here that Photoshop has automatically created a folder for the icons, which not only makes my work easier but also provides more structure.
If you want to save all graphics in a specific subfolder, simply add the name of the subfolder and end it with a slash. This will neatly collect all exported files in that specific folder.
2. Default Layer for Exports
Another filter in the export process is the establishment of a "default layer." This ensures that all objects are treated equally, without the need for you to make separate settings for each individual icon. Simply create a new empty layer, name it "default," and inform Photoshop that these settings apply to all exports.
The great thing about this is that later you can still override specific settings for individual layers, allowing you great freedom in editing.
3. Adjusting Export Options
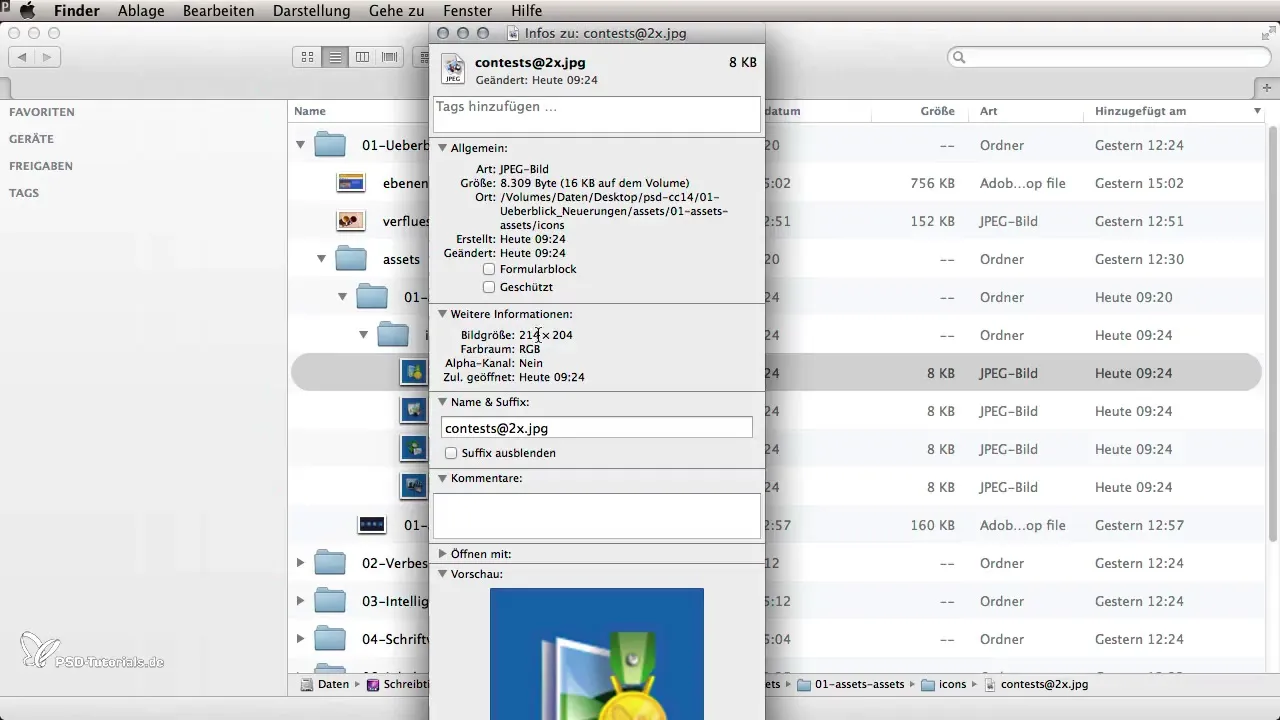
Additionally, you can adjust the export size. You can specify that a certain layer is scaled to 200% and additionally named with "@2x". This is particularly significant for web designers working with high-resolution graphics. After the adjustment, you can quickly see the new files that have been scaled to the required size and clearly named.
4. Improvements in the Liquify Filter
The liquify filter has also received an update. With the new "Preserve Contents" option, you can lock edge sides during editing, preventing the horizon lines from appearing transparent. This not only eases the editing process but also reduces the effort for subsequent retouches.
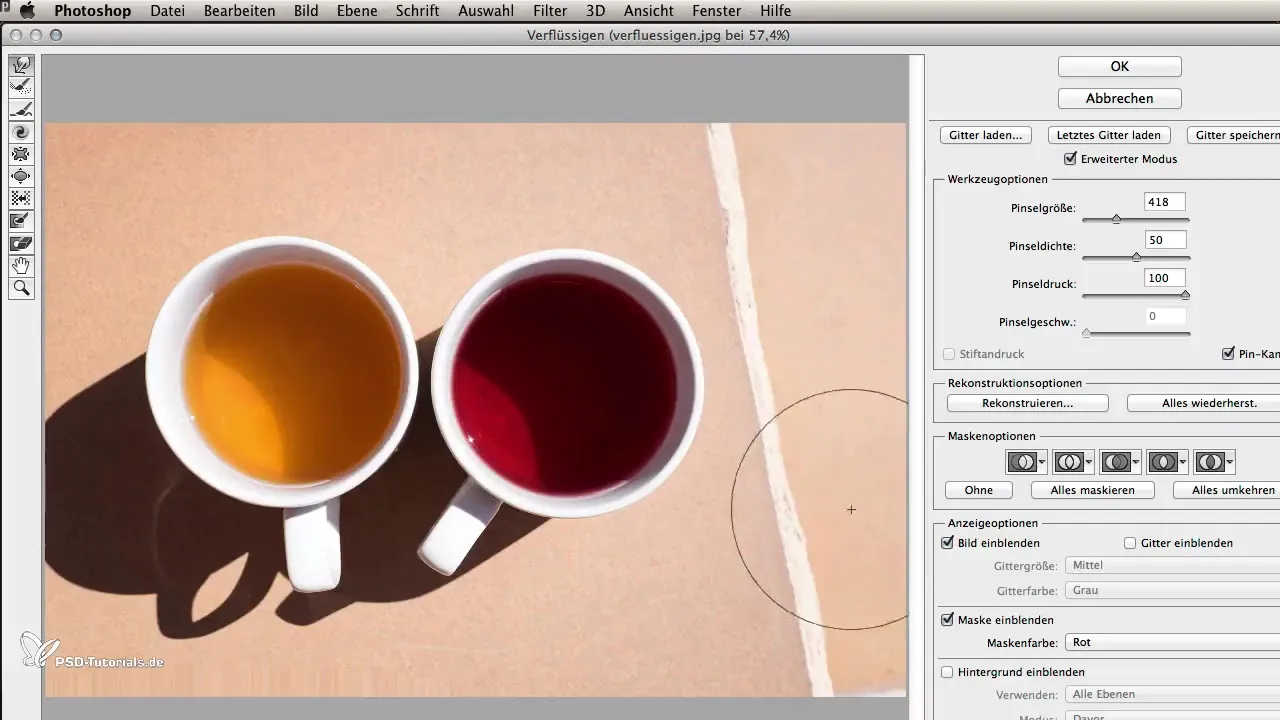
If you only need to rework part of your work, you can easily activate the new checkbox that allows you to work seamlessly without dragging through the entire image.
5. Improvements in Layer Compositions
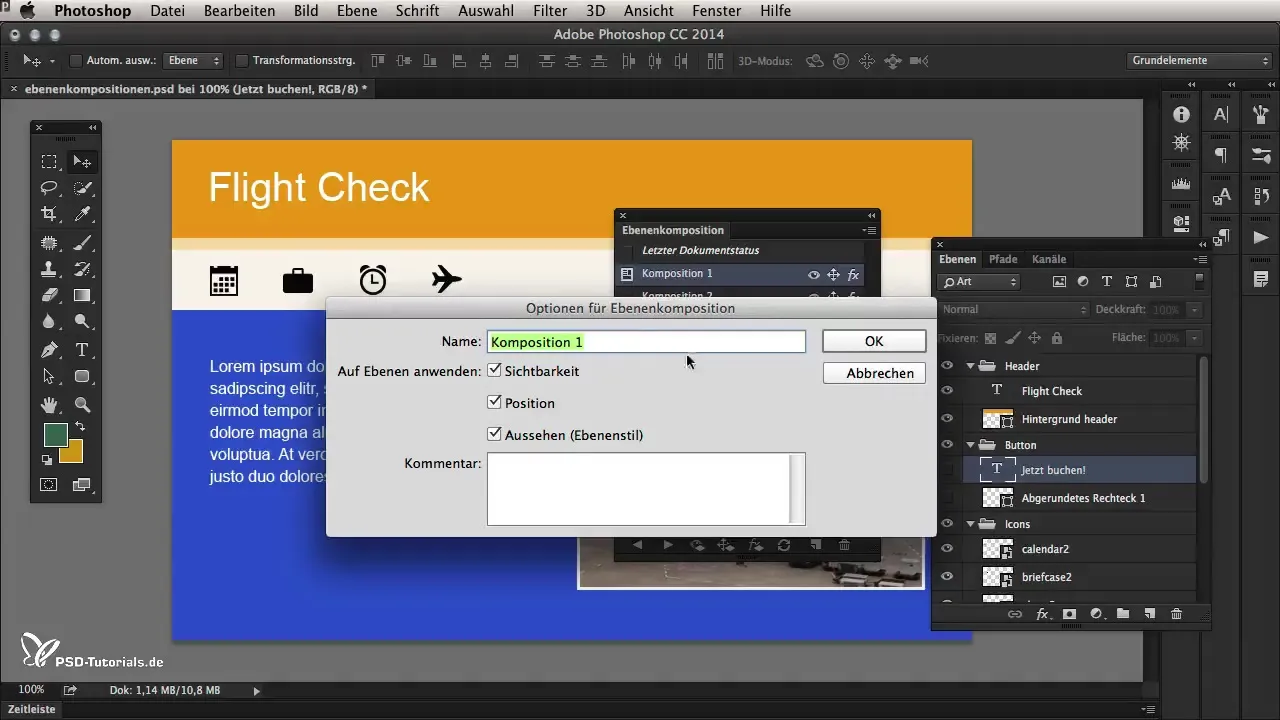
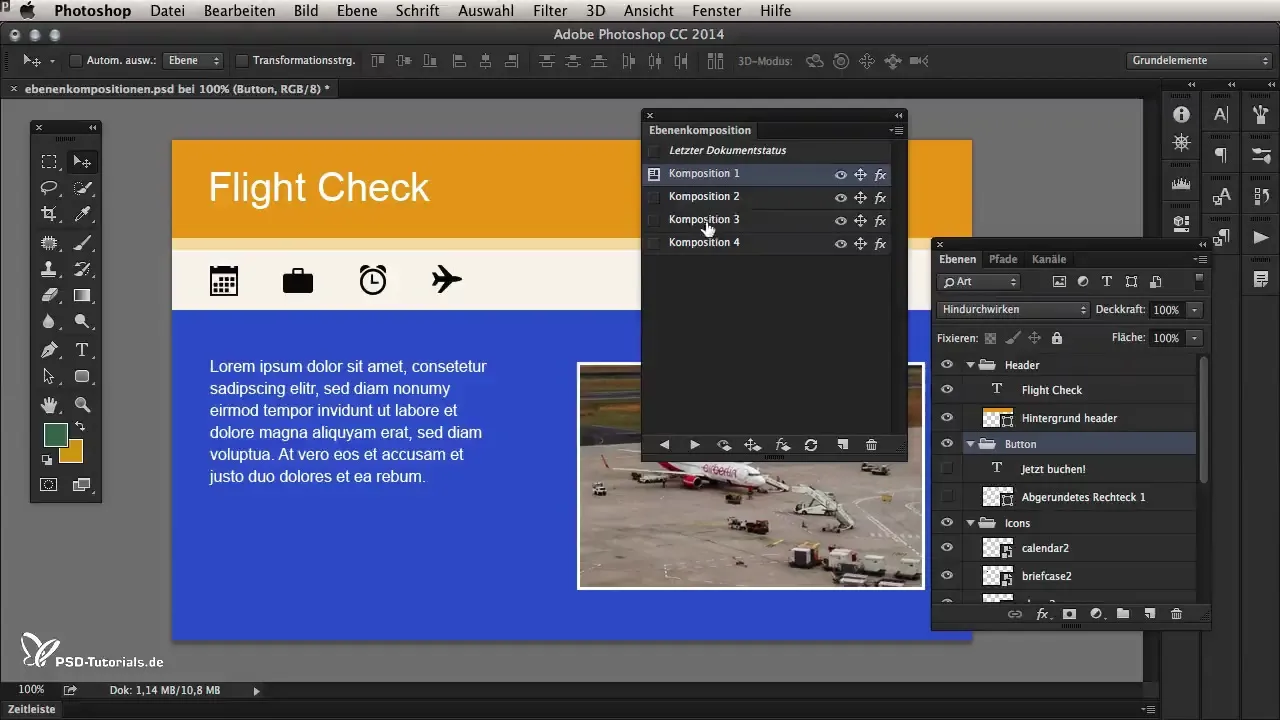
Finally, we have the layer compositions, which now offer more user-friendliness. You can adjust specific parameters without having to edit the entire composition. This means you can quickly switch between different views and only change the settings you need. This function drastically simplifies the editing of large design projects and saves valuable time.
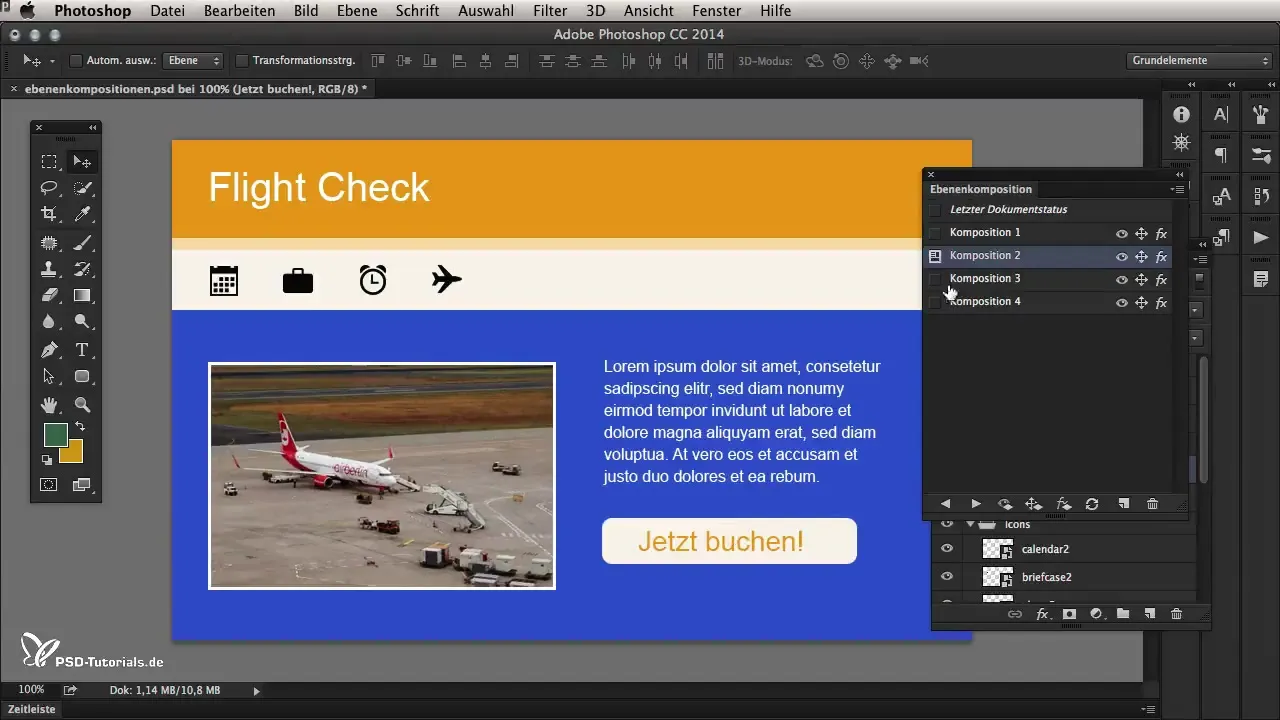
Select the elements you want to transfer, and use the improved function to update the compositions. This way, the effects in the selected composition remain without you having to manually retouch.
Summary – Innovations in Photoshop CC 2014 Recap
The June update of Photoshop CC 2014 offers numerous small but fine innovations that can make your workflow smoother. From the improved export function to the "Preserve Contents" feature in liquifying to the noticeably optimized layer compositions—the new features are designed to make your work easier and increase efficiency.
Frequently Asked Questions
What are the main innovations in Photoshop CC 2014?The June update brings improvements in the generator, export options, and functions in the liquifying area.
How do I use the Photoshop Generator?Open a file, activate the "Generate image asset" option, and specify where the exported files should be stored.
Can I adjust the size of exported graphics?Yes, you can change the export size and specify, for example, 200% scaling with "@2x".
What has changed in the liquify filter?The new "Preserve Contents" option prevents edges from becoming transparent, making retouching easier.
How do the improvements in layer compositions work?You can specifically adjust parameters without having to overwrite the entire composition, saving you time.


