The new smart guides in Photoshop CC 2014 represent a significant advancement for designers and users. In particular, web designers will benefit from these improvements, as they simplify workflow and increase efficiency. In this guide, you will learn how to effectively use the smart guides to ensure precise spacing and alignment in your designs.
Key Takeaways
- Smart guides are enabled by default.
- The spacing between elements can be adjusted precisely.
- Display features allow for exact measurements without additional guides.
Step-by-Step Guide
To make the most of the new features of smart guides in Photoshop CC 2014, follow these steps:
1. Activating Smart Guides
When you open Photoshop CC 2014 for the first time, smart guides are enabled by default. You can check this by navigating to View > Show > Smart Guides. This ensures that you can utilize them right away.
2. Moving Objects and Using Alignment Functions
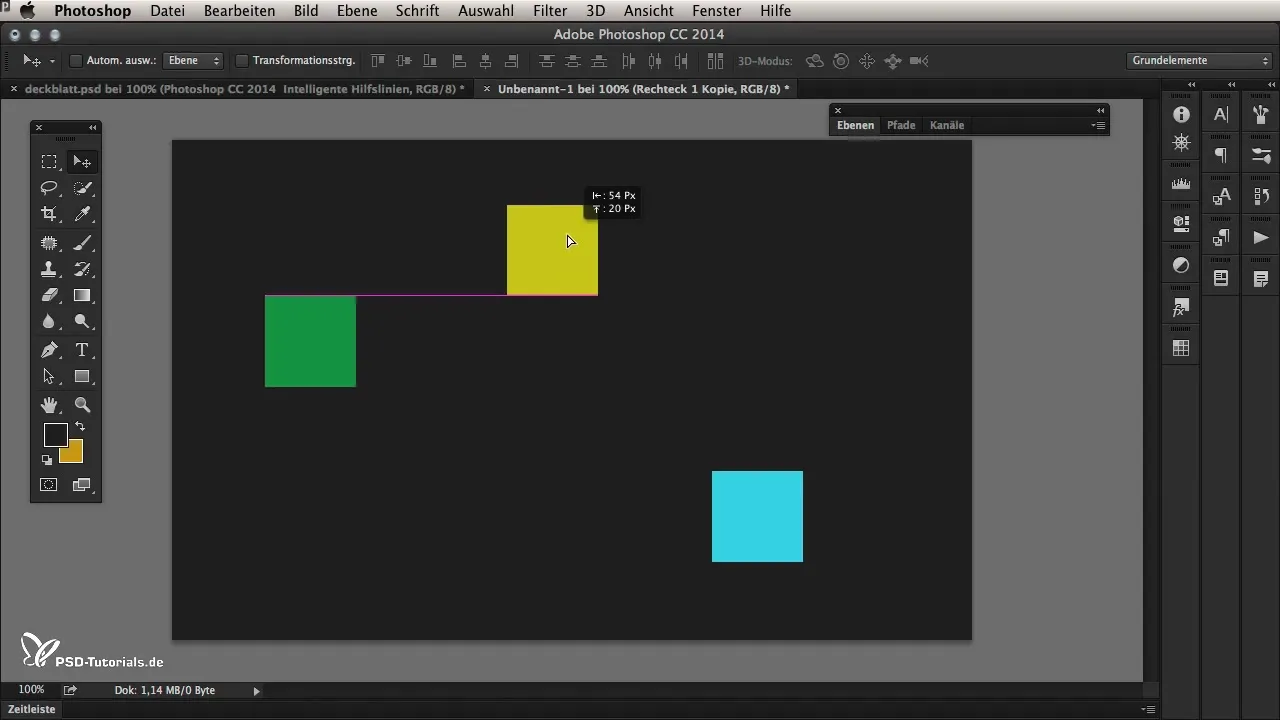
When moving objects, a magenta line appears, indicating alignments. As you move the object, you will see these lines helping you align it with other elements in the document.
3. Determining Spacing Between Elements
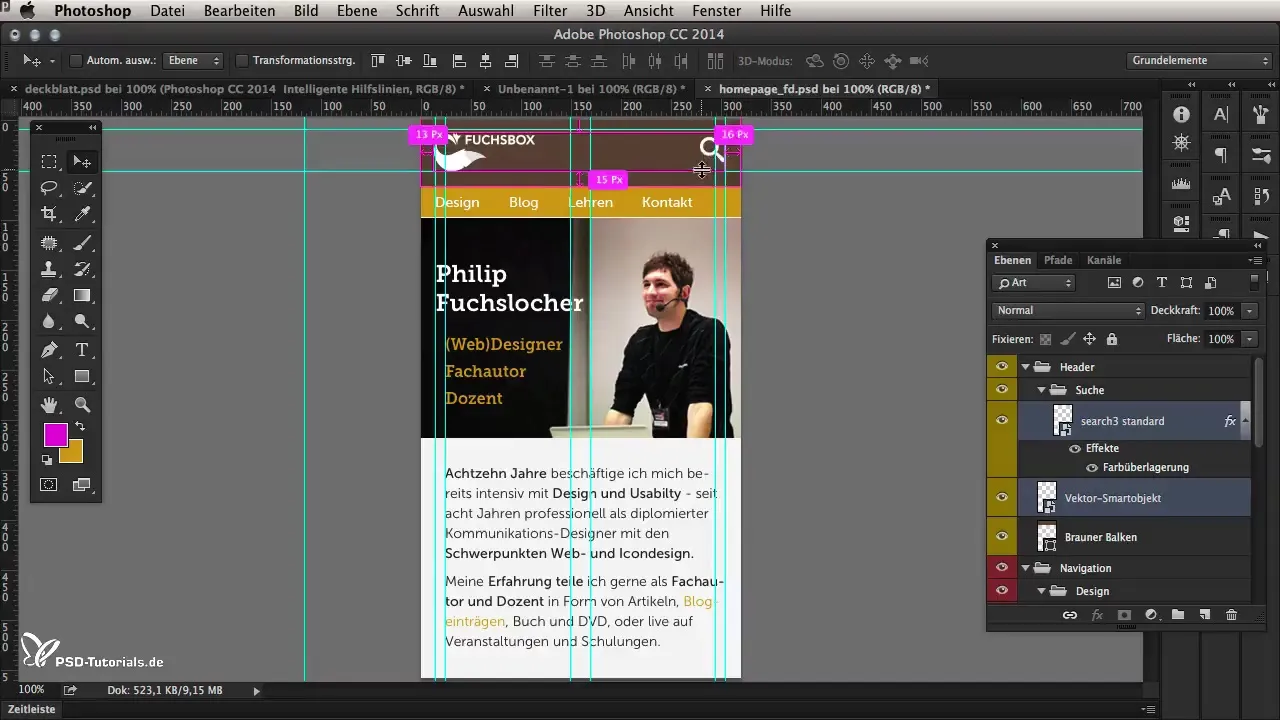
A new feature in Photoshop CC 2014 is the display of spacing between elements. Hold the Alt key and drag an element. While dragging, it will show how close the object is to other adjacent elements. This allows you to set precise spacing.
4. Even Spacing Among Multiple Objects
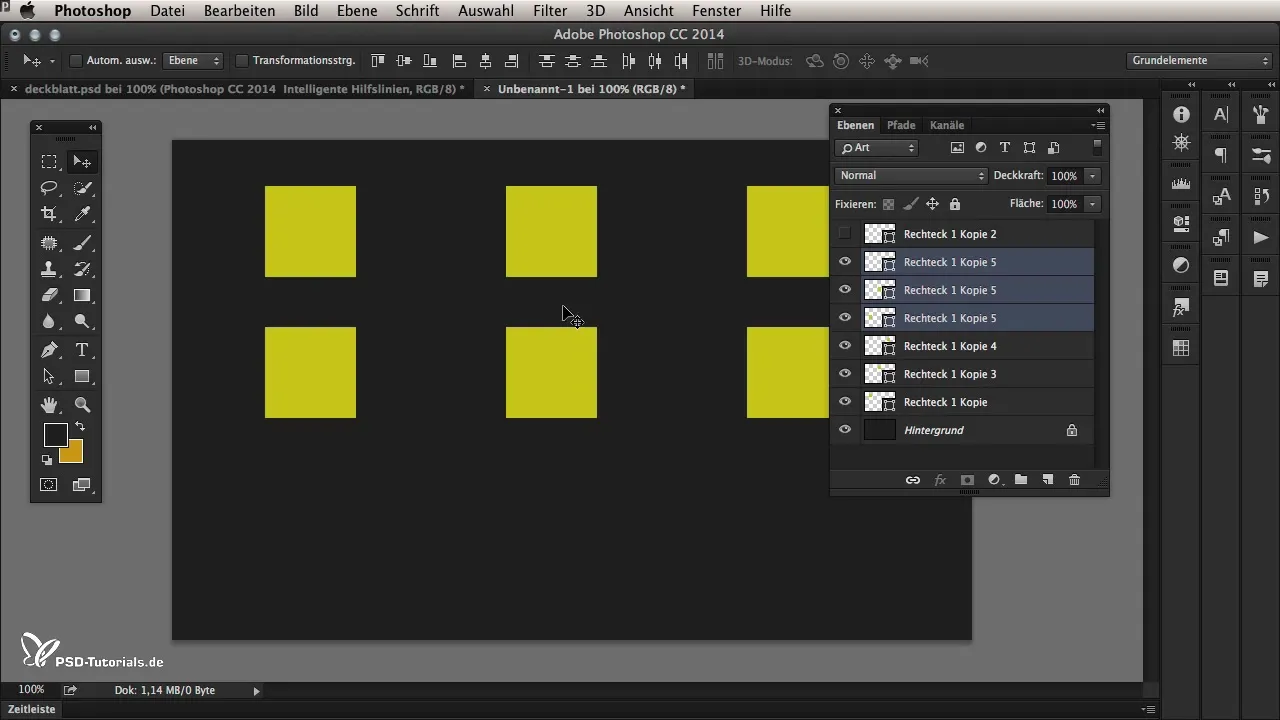
To create even spacing among multiple objects, you can select several shapes or layers. Drag them down, and Photoshop will automatically adjust the spacing you have previously set. This saves time and ensures consistency in your design.
5. Measuring Distances to Other Layers
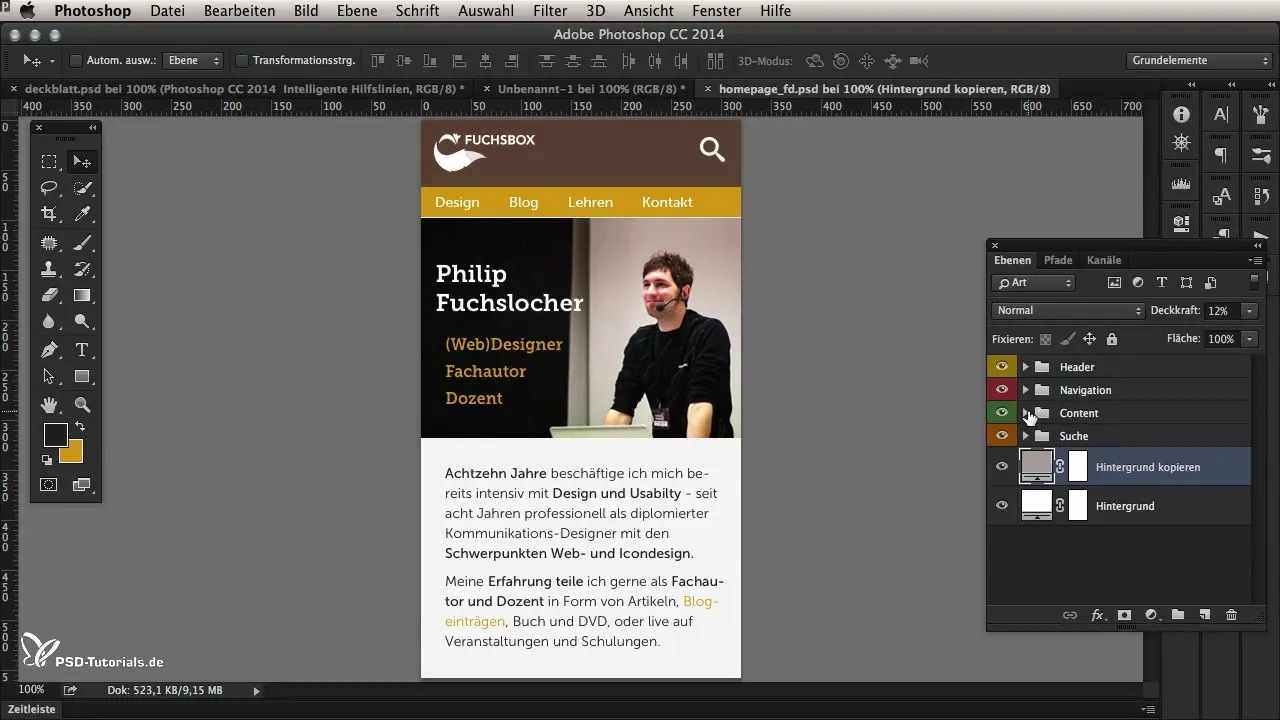
To measure the distance of text to other objects, first select the text layer. Hold the Command key (or Control on Windows) and hover the mouse over other objects to see the exact distance. This measurement function is extremely useful for web designers who want to create pixel-perfect designs.
6. Using the Bounding Box
If you have selected multiple layers at once and want to measure the distance between them, Photoshop will display the bounding box. This box shows you the totality of the selected elements and calculates the spacing accordingly. Make sure to select the source layer first and then the target layer to achieve accurate measurements.
7. Hiding Guides
To make the view less cluttered, you can hide the guides. This helps you to see the spacing more clearly, especially when working with multiple elements in your design.
8. Additional Tips
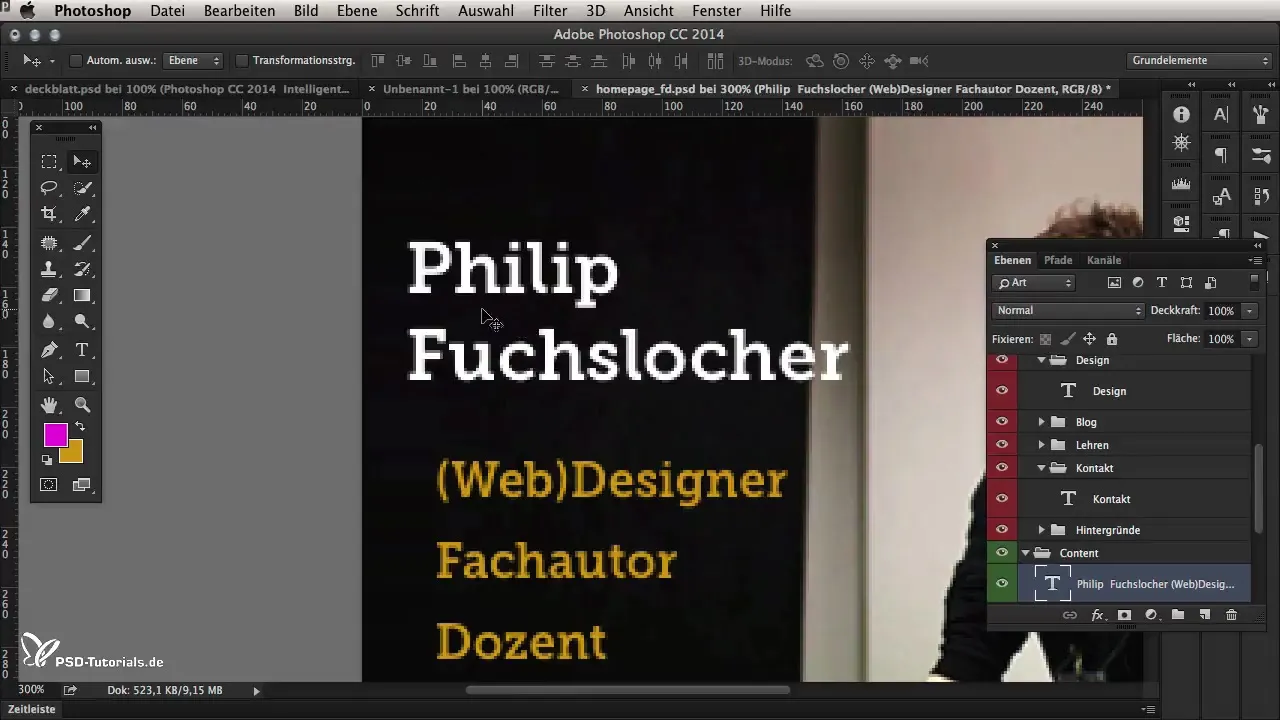
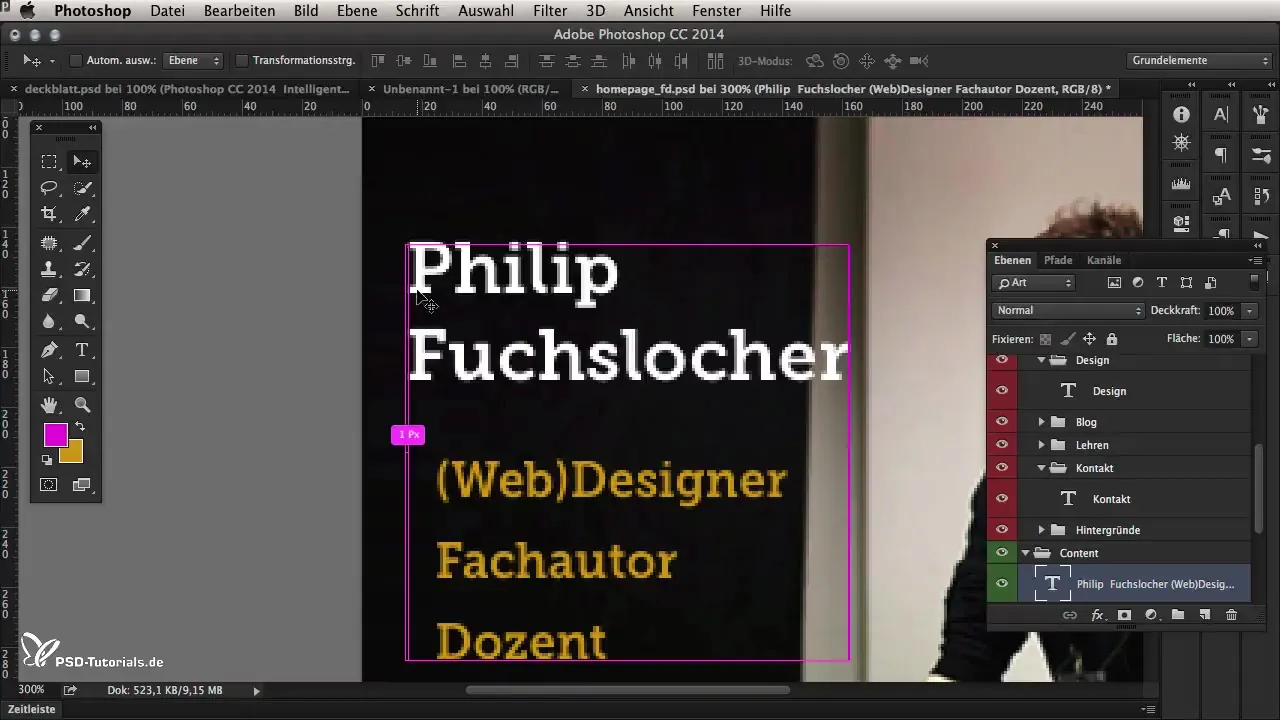
When working with smart guides, it is important to also consider the leading and trailing widths of fonts. This ensures that no unnecessary or missing pixels are included, which could lead to issues later during CSS implementation.
Summary – Smart Guides in Photoshop CC 2014
The new smart guides in Photoshop CC 2014 represent a significant step forward in user-friendliness of the program. They help you create designs precisely and efficiently, making work easier, especially for web designers. By following the steps outlined above, you can ensure that you make the most of these new features.
Frequently Asked Questions
What benefits do smart guides provide in Photoshop CC 2014?The smart guides show you distances and alignments between elements, making design easier.
Can I deactivate the smart guides?Yes, you can deactivate them through View > Show > Smart Guides.
How do I measure distances between objects?Select an object, hold the Command or Control key, and hover the mouse over other elements to see the distances.
Do smart guides work with multiple selected layers?Yes, Photoshop calculates the distances based on the bounding box of the selected layers.
How do I handle fonts when measuring distances?Consider the leading and trailing widths when measuring to get accurate values.


