The right tools for image editing can revolutionize your photography. In Lightroom, you have numerous development tools at your disposal that help you get the most out of your images. This tutorial guides you through the basic tools in the development module of Lightroom so that you can make adjustments independently to optimize your photos.
Key insights
- The most important development tools in Lightroom are the cropping tool, the spot healing brush, the linear and radial gradient filters, and the adjustment brush.
- Each tool has unique functions and can be used for selective editing of images.
- Experiment with different settings to achieve the best results.
Step-by-Step Guide
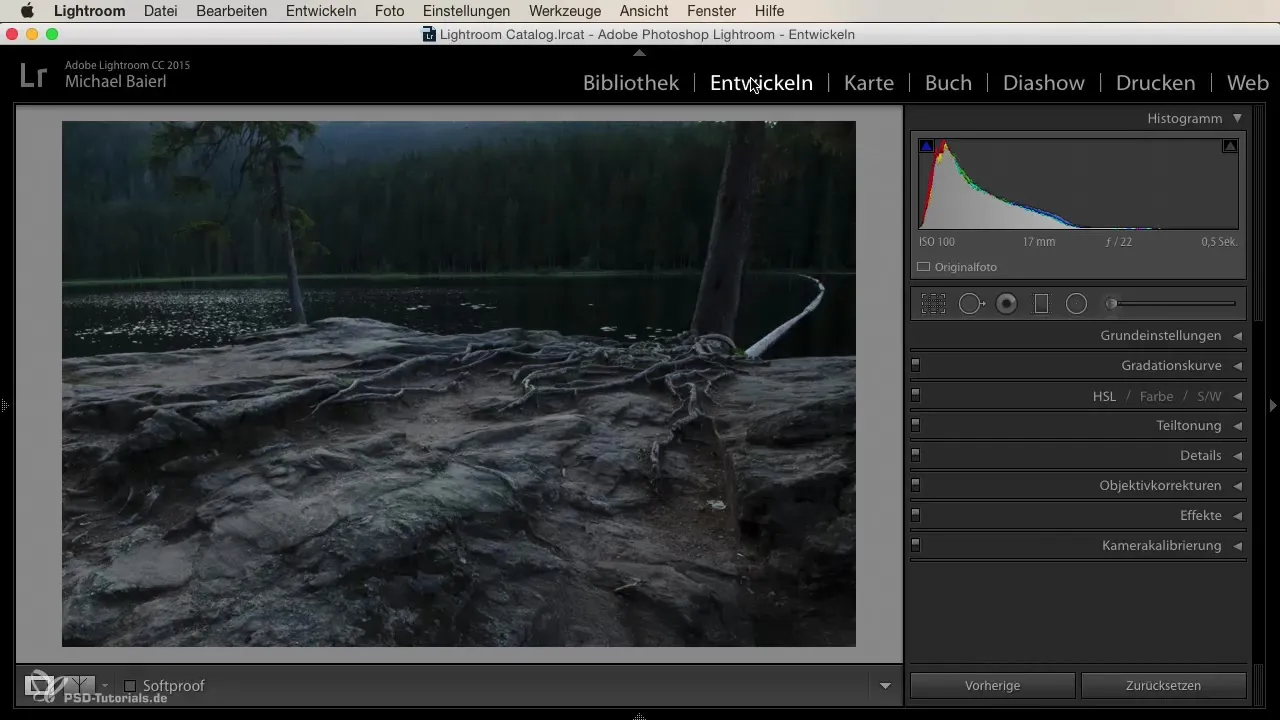
Open the Develop Panel
To start image editing, go to the develop module (0-8 seconds). You will find the development tools in the first row below the histogram. Here you have access to all the tools available to you.
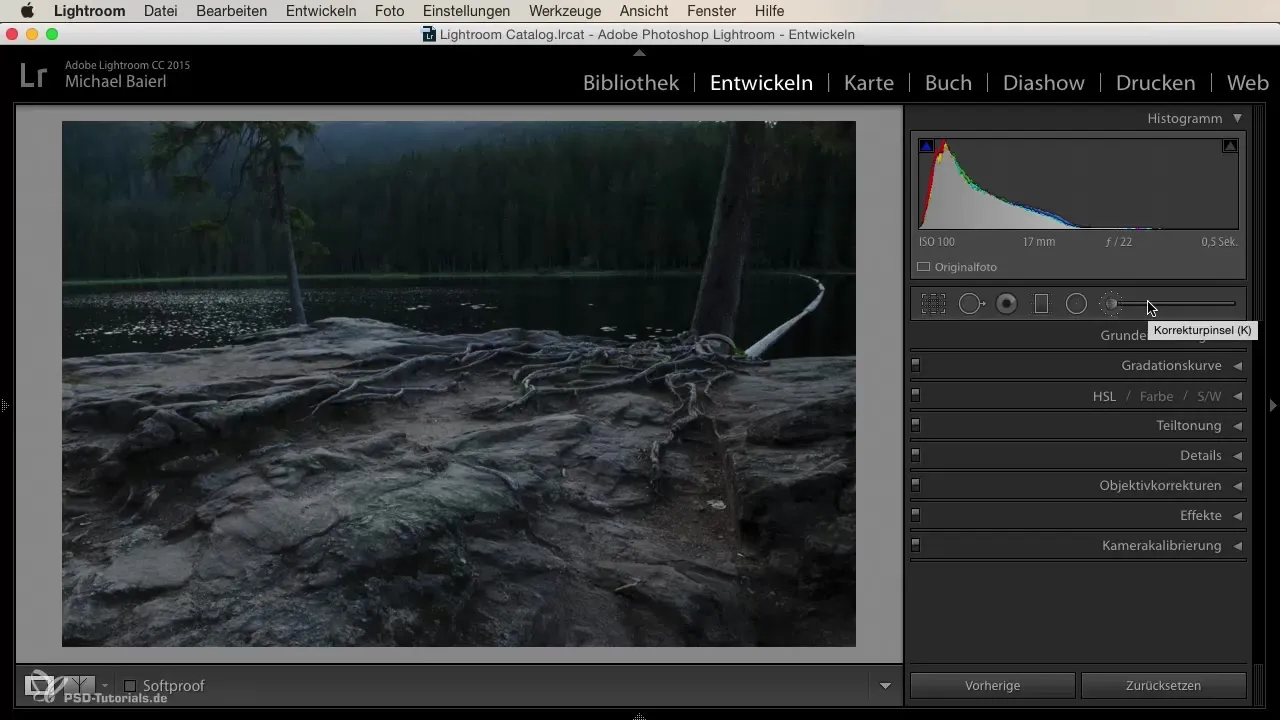
Crop the Image
The first step is to use the cropping tool (8-23 seconds). This tool allows you to crop images to a desired aspect ratio. You can choose from various preset formats or set your own aspect ratios. If you activate the lock icon, the aspect ratio will be maintained during editing.
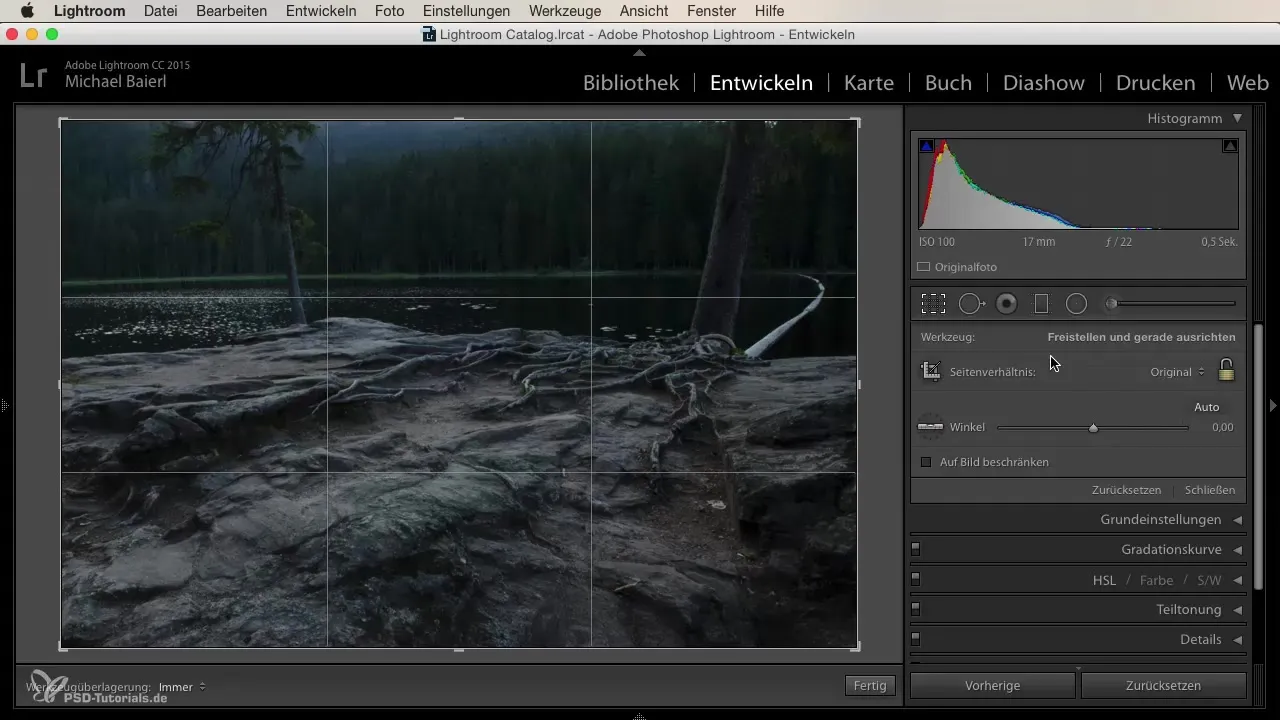
Use the Spot Healing Brush
The next tool is the spot healing brush (23-51 seconds). With this, you can remove unwanted elements from your image. You adjust the brush size and click on the area you want to clean up. Lightroom will automatically choose an appropriate area for filling.
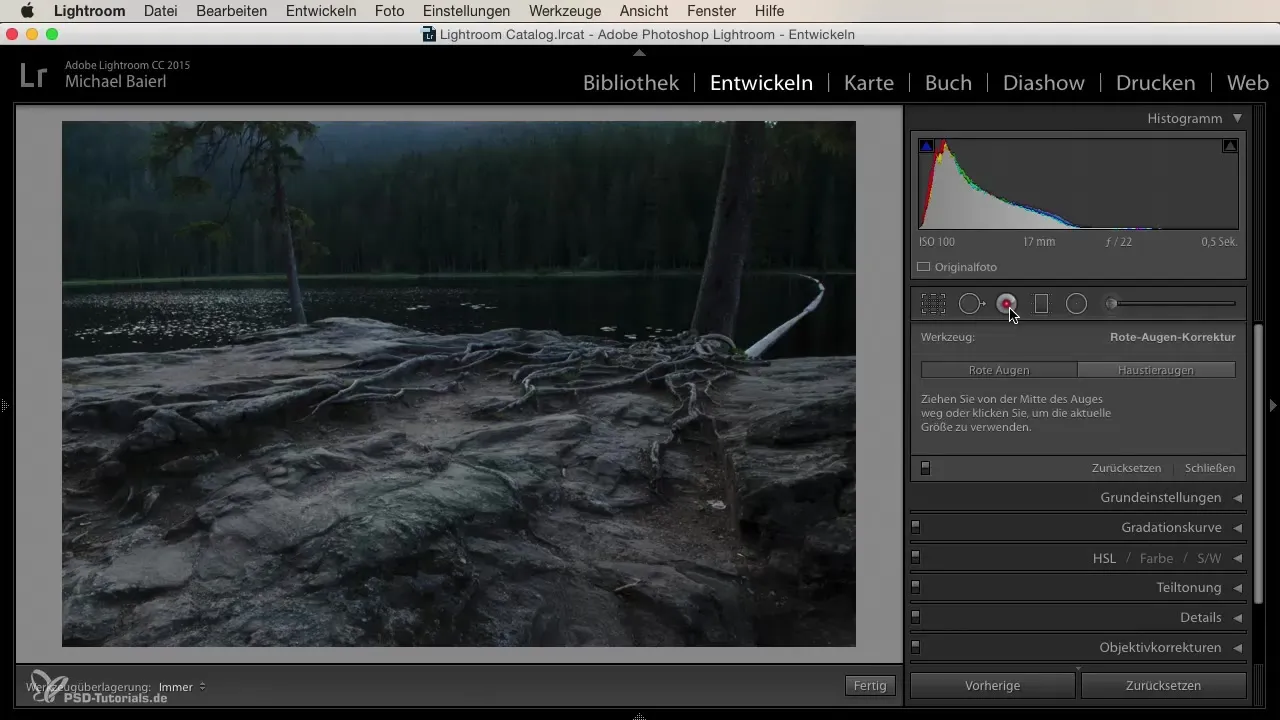
Red-Eye Correction
Although the use of flash in portrait photography is becoming less common, red-eye correction can still be useful (51-76 seconds). Similar to the healing brush, you simply click on the red eye in the image, and Lightroom removes the red tint, making the image appear more natural.
Using Linear Gradient Filters
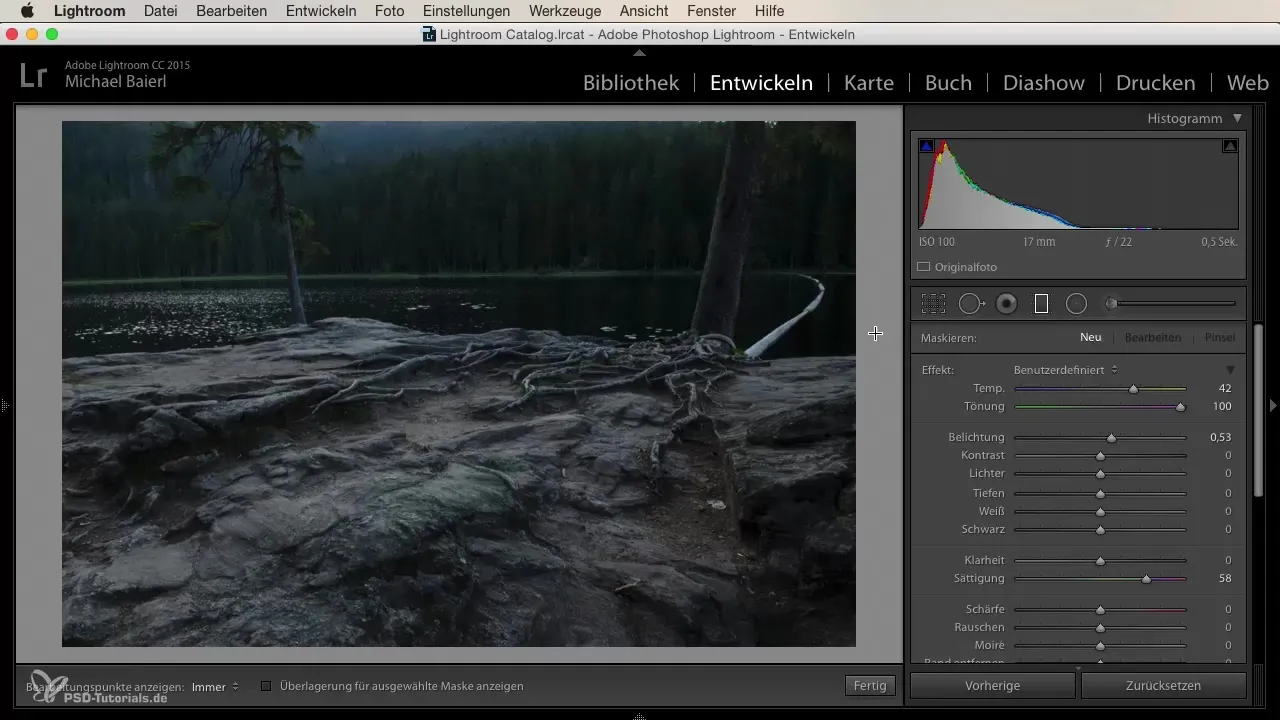
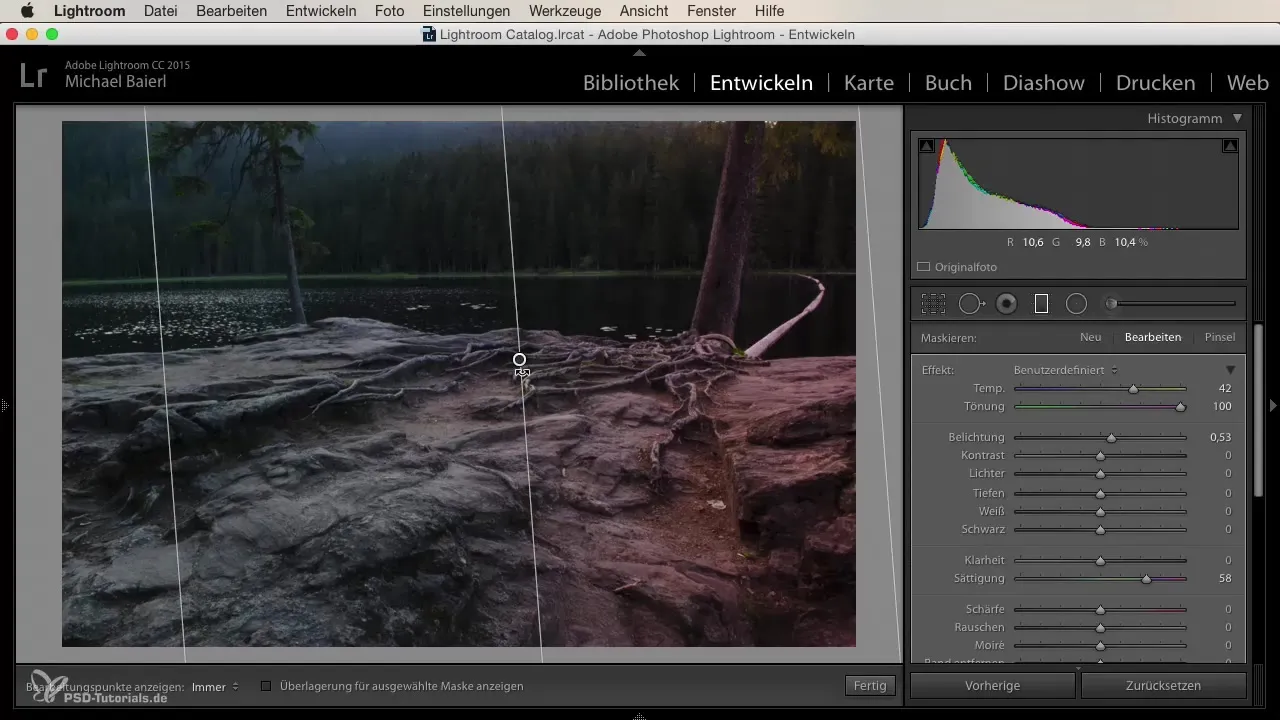
Next, we come to the linear gradient (76-100 seconds). This tool allows you to make adjustments from one side of the image to the other. You can easily drag the gradient into the image and modify it as you wish. By pressing the Escape or Delete key, the gradient can be removed at any time.
Radial Gradient Filter
In addition to the linear gradient, there is also the radial gradient (100-126 seconds). This allows you to make adjustments both in the inner and outer areas of an image. The size and position of the gradient can be easily adjusted to achieve the desired result.
Adjustment Brush – The Most Versatile Tool
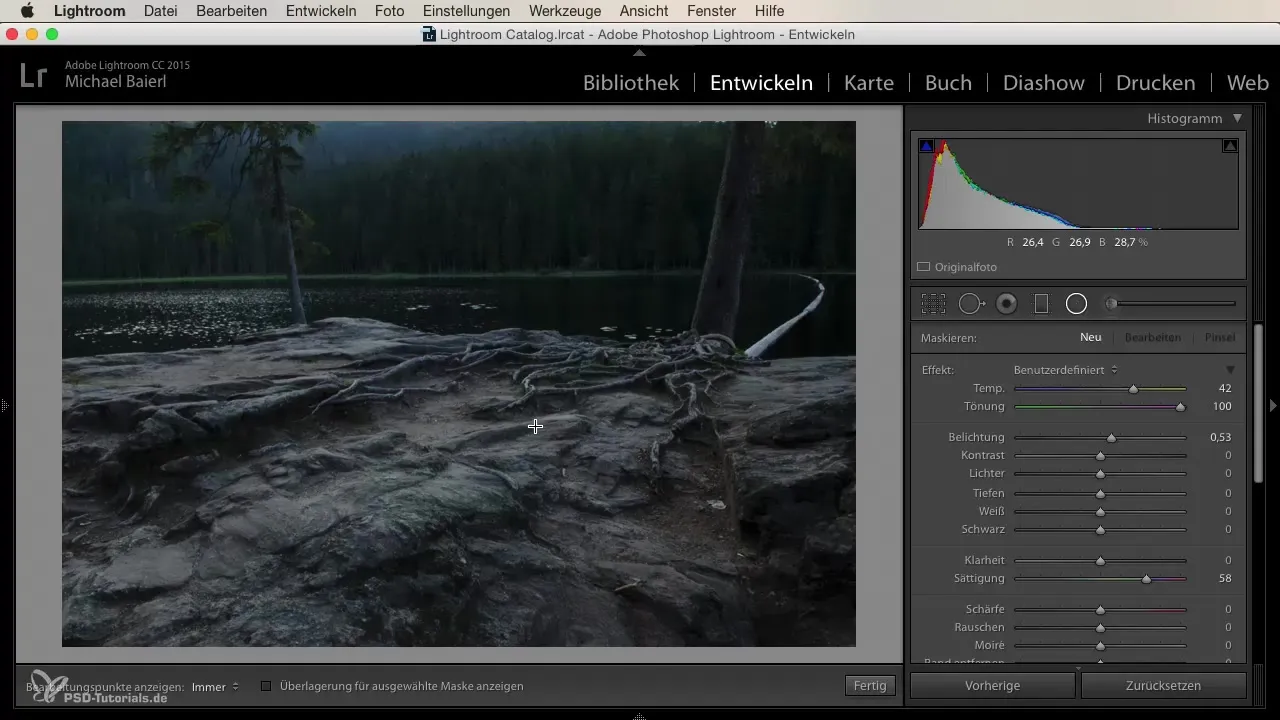
The adjustment brush is, in my opinion, the most powerful tool in Lightroom (126-199 seconds). With this brush, you can make a wide range of adjustments, whether it’s color temperature or saturation. You have the freedom to change the brush size and make adjustments selectively in your image. By applying it carefully, you can achieve impressive effects.
Adjusting Individual Areas of the Image
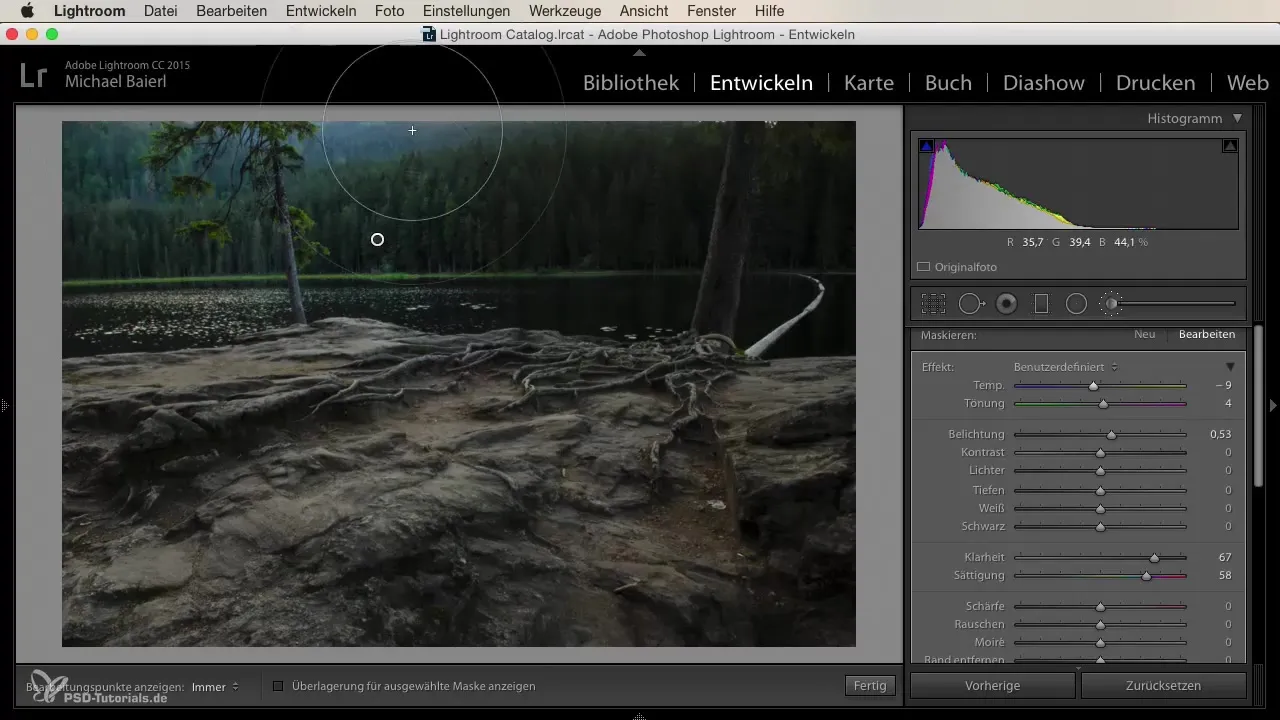
If you want to adjust multiple areas of the image, simply drag the brush over the desired area (199-214 seconds). Through these adjustments, you can create deeper and more vibrant colors that enhance the overall image.
Summary – Lightroom for Beginners and Advanced: Effectively Using Development Tools
By using the mentioned tools in Lightroom purposefully, you can substantially improve your images. Each tool offers specific functions that help you get the most out of your photos. Experiment with different settings to develop your individual style and take your photography to the next level.
Frequently Asked Questions
What tools are available in the Develop module of Lightroom?In the Develop module, you have access to the cropping tool, the healing brush, the linear gradient, the radial gradient, and the adjustment brush.
How can I crop images in Lightroom?You can use the cropping tool to set a desired aspect ratio and adjust the image accordingly.
What is the adjustment brush and how do I use it?The adjustment brush allows you to make selective adjustments to different areas of the image. You can adjust temperature, saturation, and other settings selectively.
How does red-eye correction work in Lightroom?The red-eye correction automatically removes the red tint by clicking on the affected eye.
Can I adjust the size of the brushes in Lightroom?Yes, you can adjust the size for both the healing brush and the adjustment brush according to your preferences.
