The printing of photos can be an exciting challenge, especially when utilizing the flexibility and possibilities of Adobe Lightroom. In this guide, you will learn how to effectively use the print dialog of Lightroom to achieve the best results for your print projects. Whether you want to create single images or contact sheets, I will walk you through the individual steps and show you what to pay attention to.
Main insights You can choose between different layout styles in Lightroom, adjust the size and arrangement of your images, add watermarks, and optimize print quality with various settings. Use the print dialog to achieve the best results for your needs.
Choosing layout styles
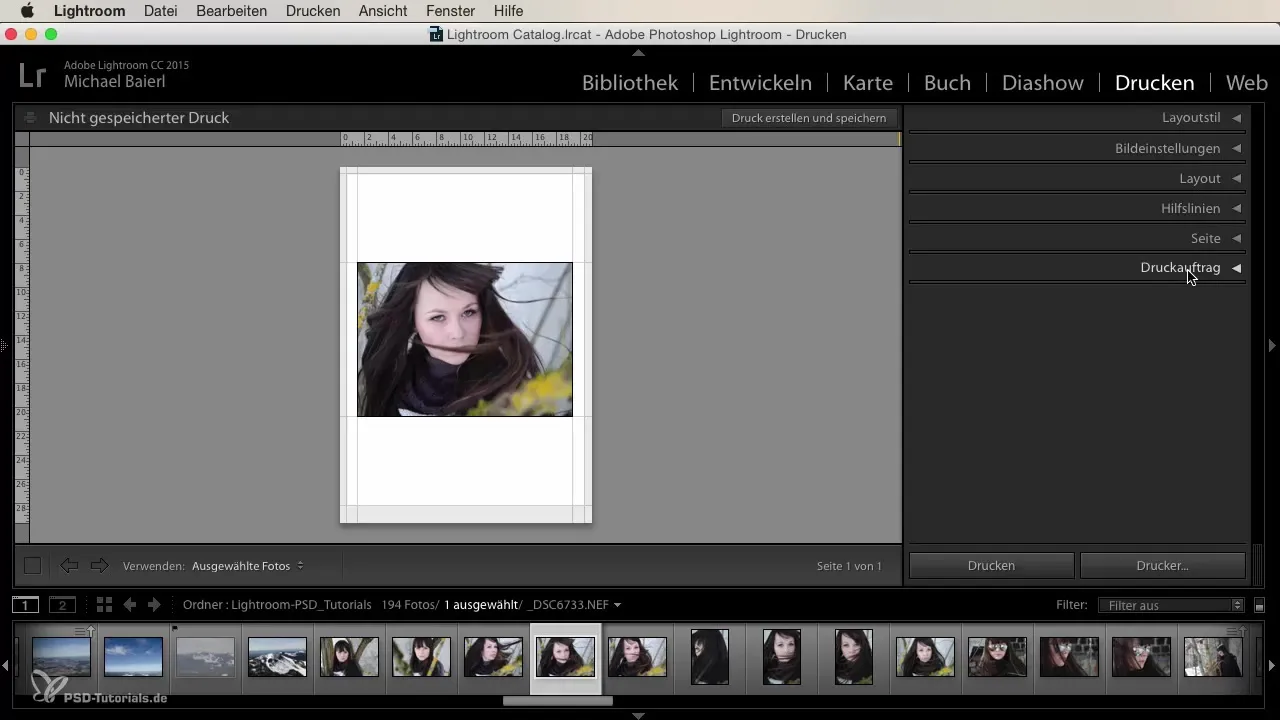
To start printing, open the print dialog in Lightroom. Here you have various layout styles available: single image, contact sheet, or a picture package. Each of these layouts has its own advantages and can be customized to your wishes.
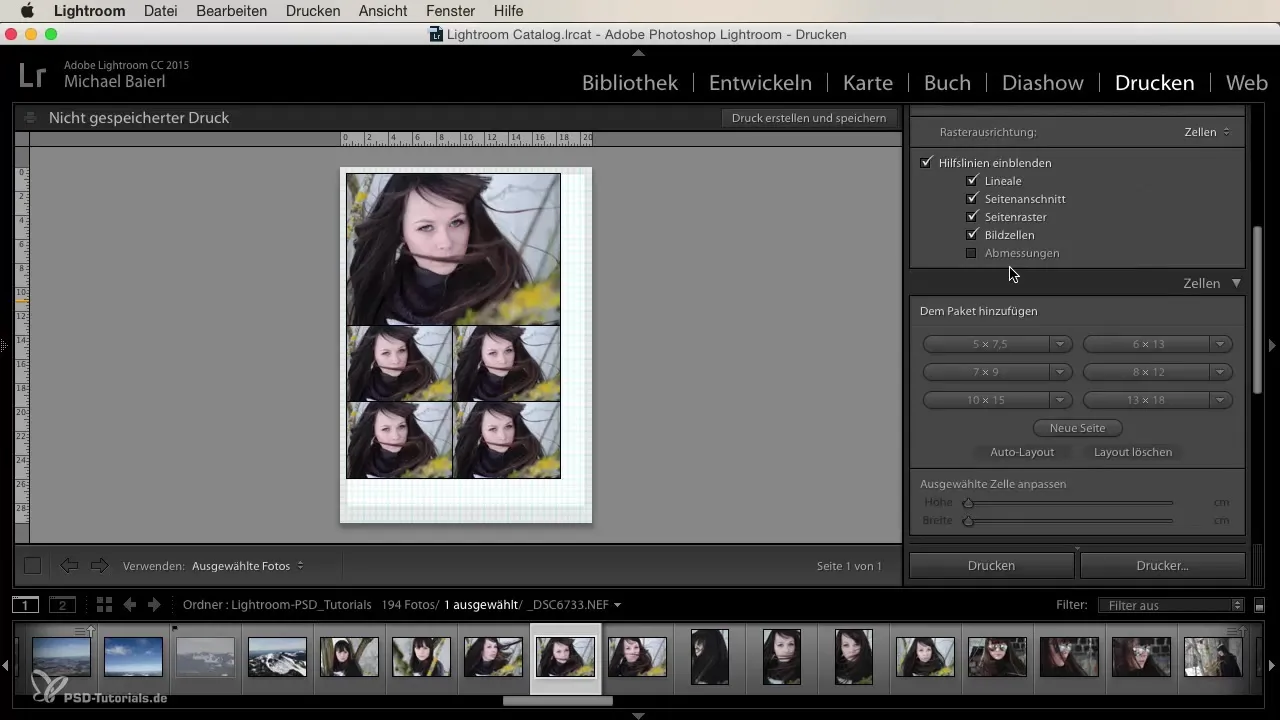
When creating a picture package, you can specify the number of images, the size of each image, and their arrangement. This option is particularly useful for family prints, where you need different sizes for various purposes. Remember to use guide lines and grid-based alignments to arrange the images precisely.
Making image adjustments
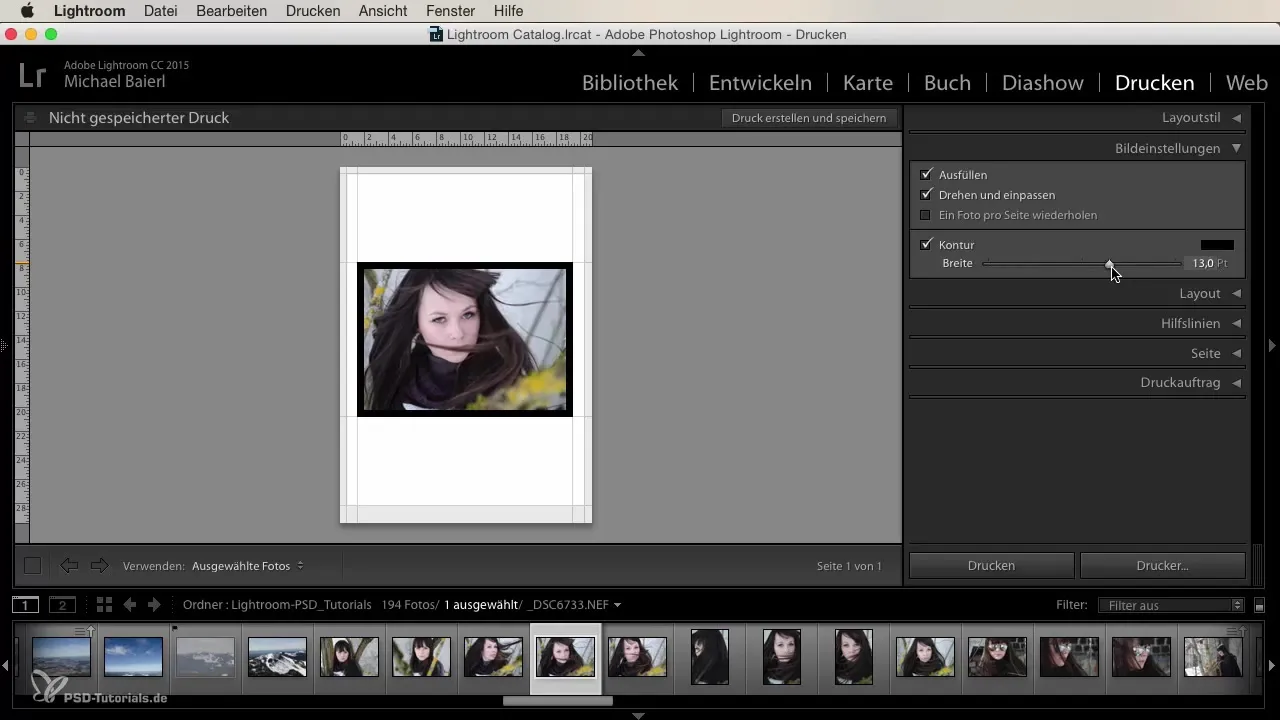
In the print dialog, you have the option to change the image settings. You can decide whether the image should fill the defined frame or not. Additionally, there is the possibility to scale the image or add a frame. For example, you could add a black 1-point line to create an elegant border around the image.
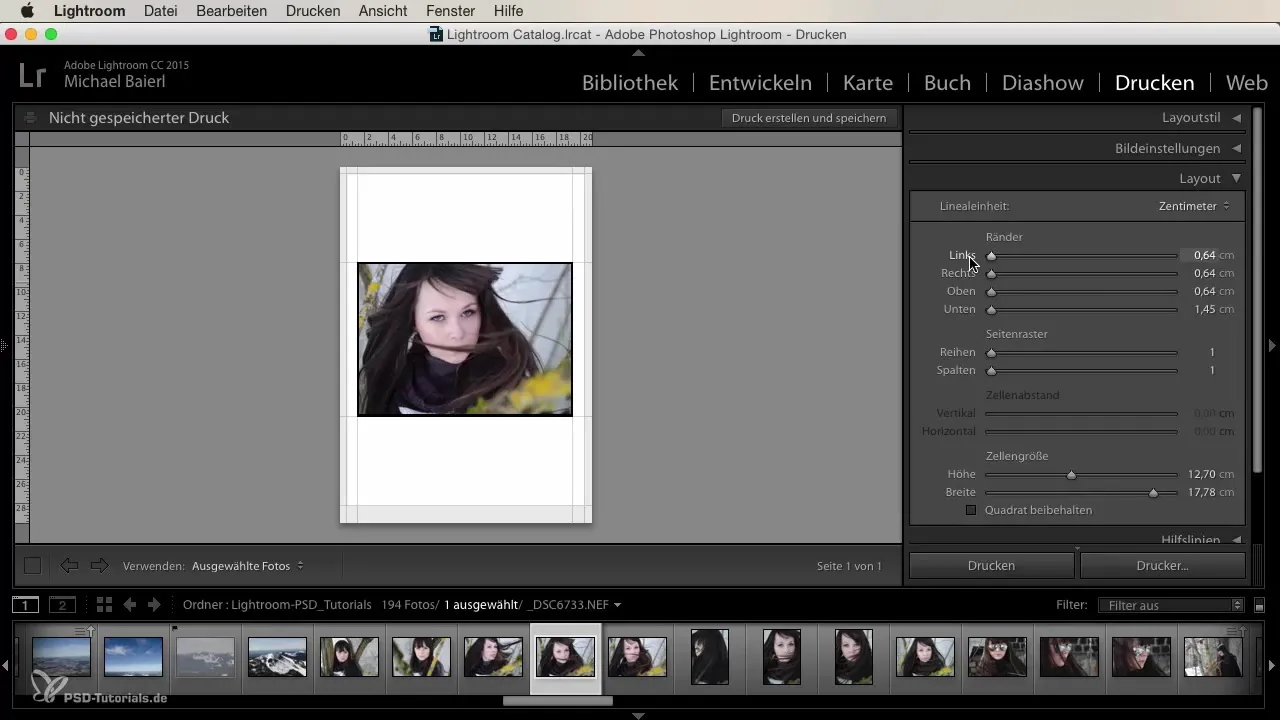
Another important aspect is the margin settings. Some printers have limitations regarding print margins, which means you need to consider these when setting up the format. You can easily adjust the margin area so that your image fits perfectly on the paper.
Adding guide lines and watermarks
Guide lines help you position your images better. Depending on your preference, you can enable or disable them. To give your images a personal touch, you can also add a watermark. You have the choice of using simple text or inserting a logo or image.
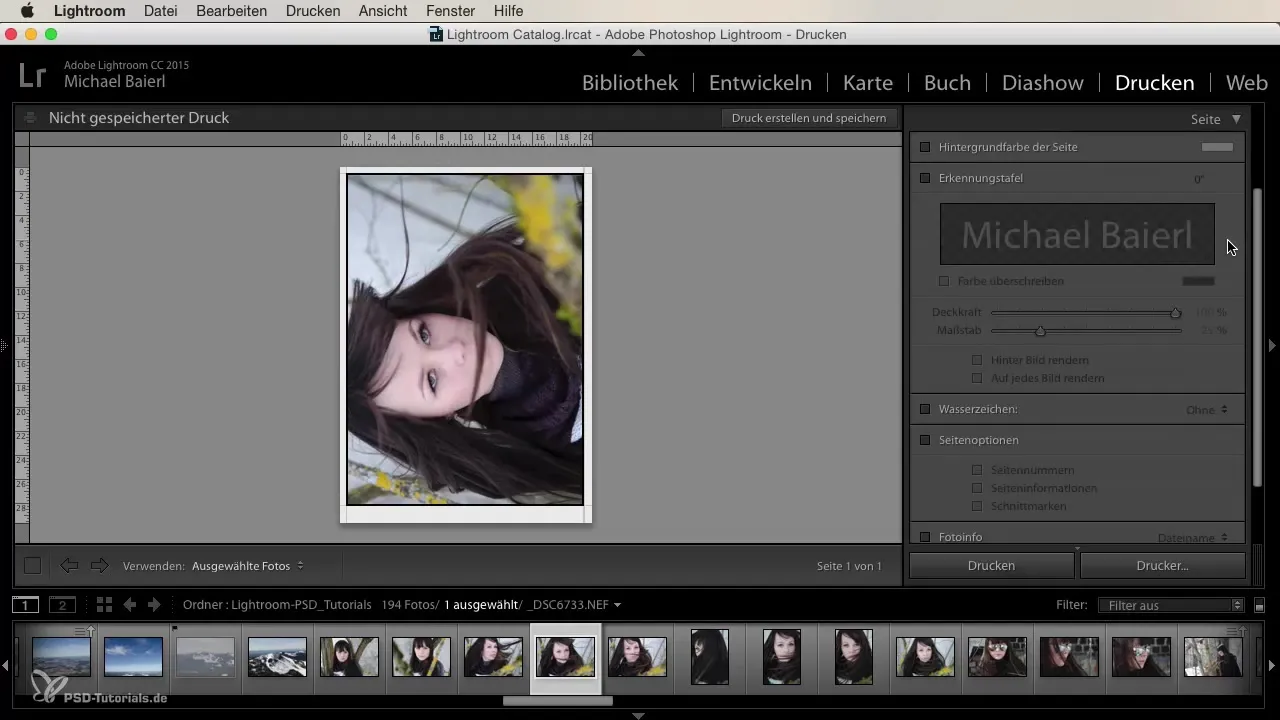
For the watermark, you can adjust the font and opacity to make it subtle or striking. This is particularly important when you publish your work online to protect authorship.
Setting up the print job
Before you submit a print job, there are some important points to consider. First, select the right media type – matte or glossy paper – and the sharpness setting, although I generally prefer the default setting.
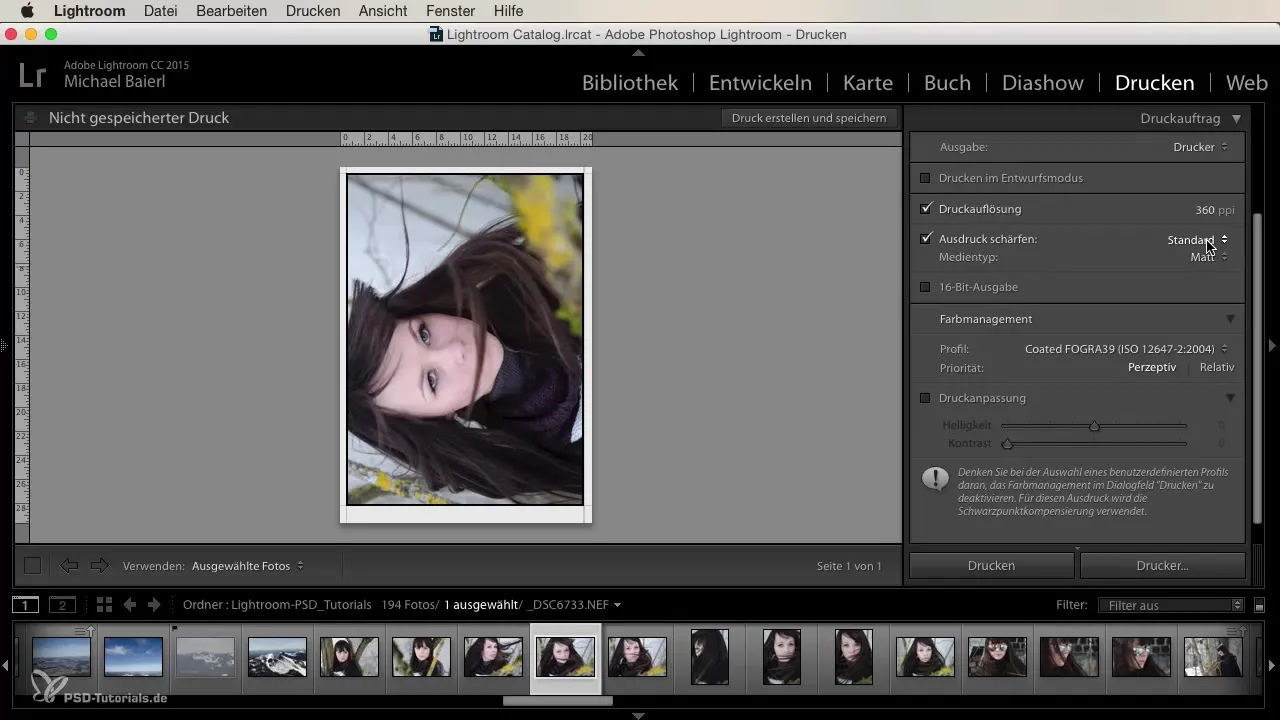
The print resolution is a crucial factor. I recommend choosing a high resolution of 360 ppi to ensure your prints are of the best quality. This is the recommended resolution for most professional printing services.
Also, remember to set the color profile correctly. A common CMYK profile, such as ISO Coated Fogra 39, is accepted by most printing service providers and ensures color-accurate results.
Summary – Printing in Lightroom: Step-by-step guide for beginners and advance users
In this guide, you have learned how to effectively use the printing options of Adobe Lightroom. From choosing the layout style to the final print settings – with these steps, you will give your images the best possible presentation and quality.
Frequently Asked Questions
How do I choose the best layout style for my images?The best layout style depends on your project. Single images are ideal for large photos, while contact sheets are good for numerous small images.
What print resolution should I choose?A resolution of 360 ppi is optimal for most print jobs to ensure a clear and detailed output.
How do I add a watermark to my prints?You can add a watermark in the print dialog by selecting the text or a logo and adjusting the position and opacity.
Why are margin settings important?Margin settings are important to ensure that your image is printed without unwanted borders. Different printers have different margin limits.
What is the difference between matte and glossy paper?Matte paper has a non-reflective finish, while glossy paper has a reflective surface. This can affect color intensity and the overall impression of the print.


