ColorGradingis a crucial process in video production that allows you to define the mood and visual experience of your footage. With version 17 of MAGIXVEGASPro, you now have access to improved and intuitive tools specifically designed for color grading. In this guide, I will show you the new features and how you can utilize them to give your videos the final touch.
Key Insights
- MAGIX VEGAS Pro 17 offers a new user-friendly interface for color grading.
- You can import your own LUTs, adjust color channels, and create effects.
- The plugin chain allows for flexible manipulation of color and brightness.
- It is easy to save and reuse effects.
Step-by-Step Guide
To start with color grading in MAGIX VEGAS Pro 17, follow these steps:
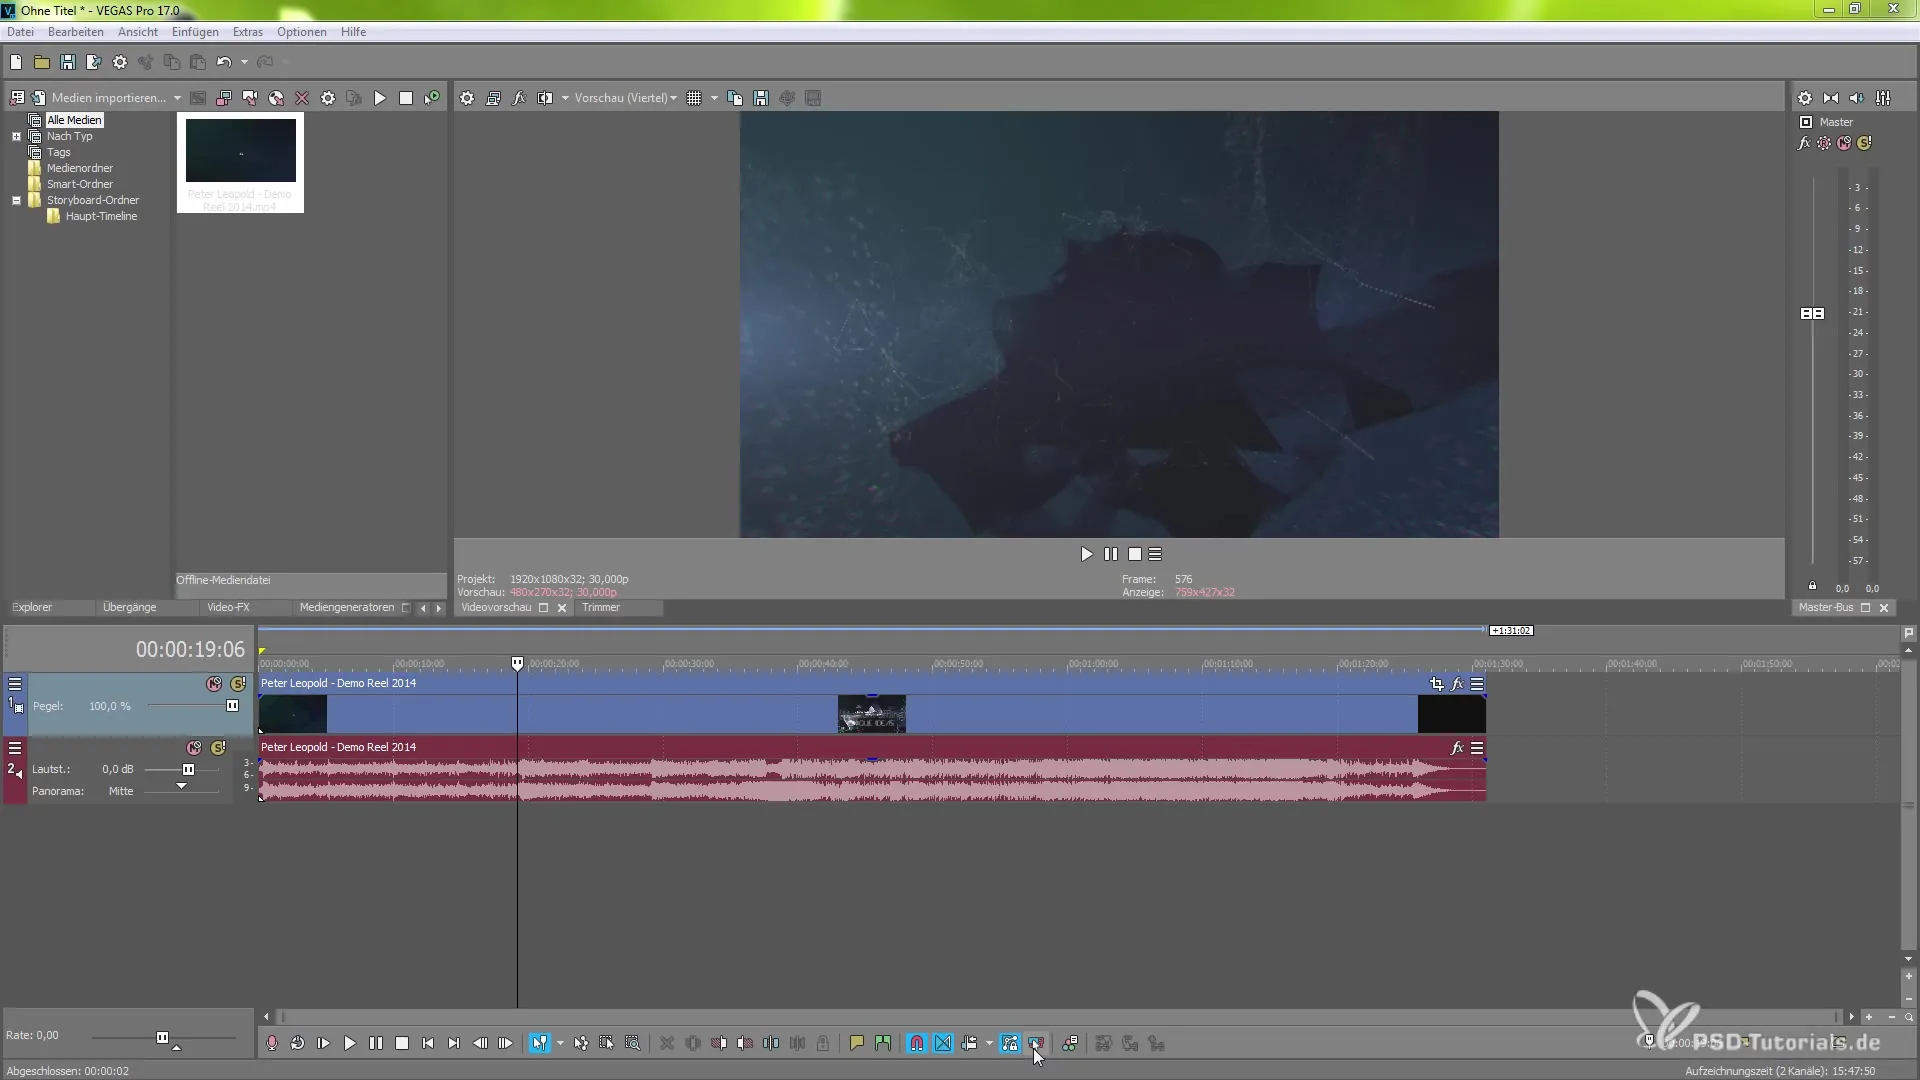
First, activate the color grading panel. You can do this by clicking on the corresponding icon in the interface or by pressing the keyboard shortcut "Alt + G". This will open the intuitive interface for color grading and give you immediate access to all the necessary tools.
Within the color grading panel, you can directly create a plugin chain. This feature allows you to combine various effects in a horizontal arrangement, similar to stacking. You can therefore make various color corrections and adjustments that are based on one another.
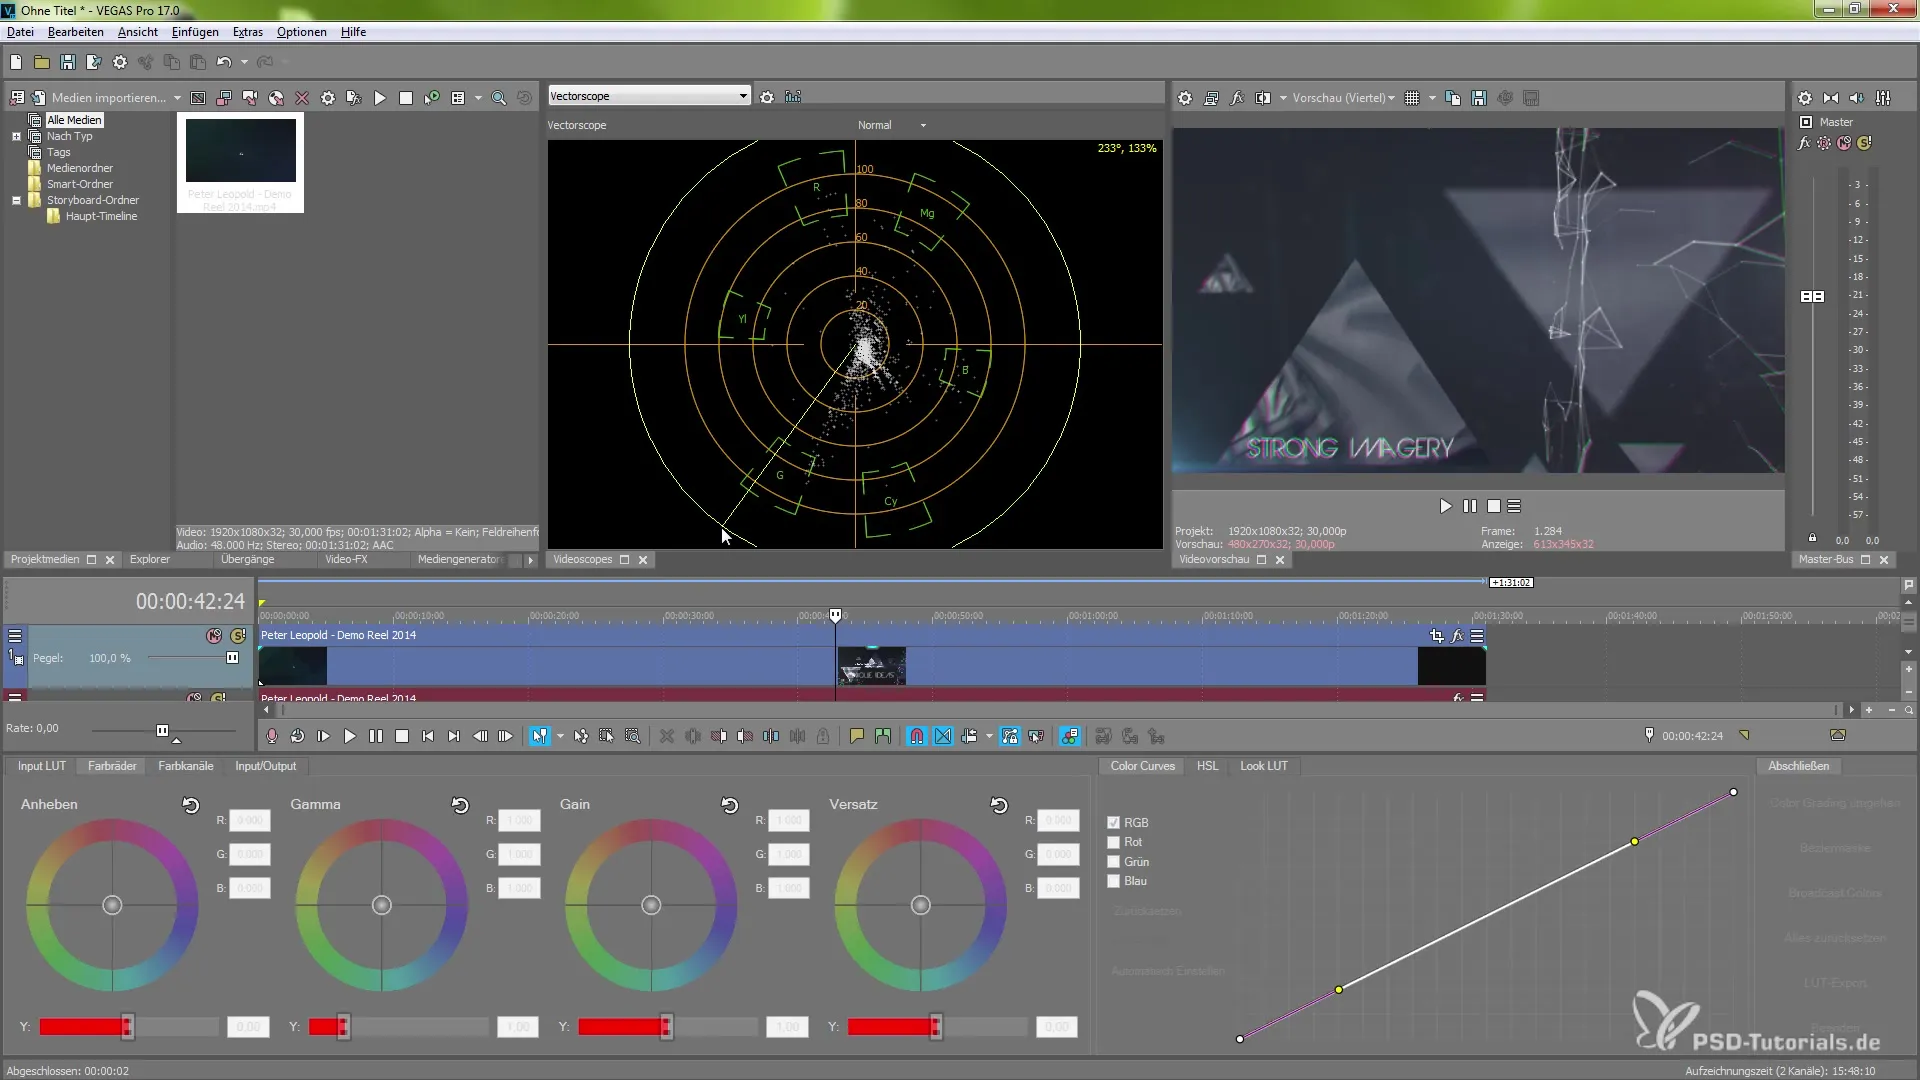
To begin importing LUTs, navigate to the input LUT section of the panel. Here, you can import custom LUTs or browse and activate existing LUTs. LUTs are essential for color fidelity as they take into account camera and lighting settings to provide a consistent visual experience.
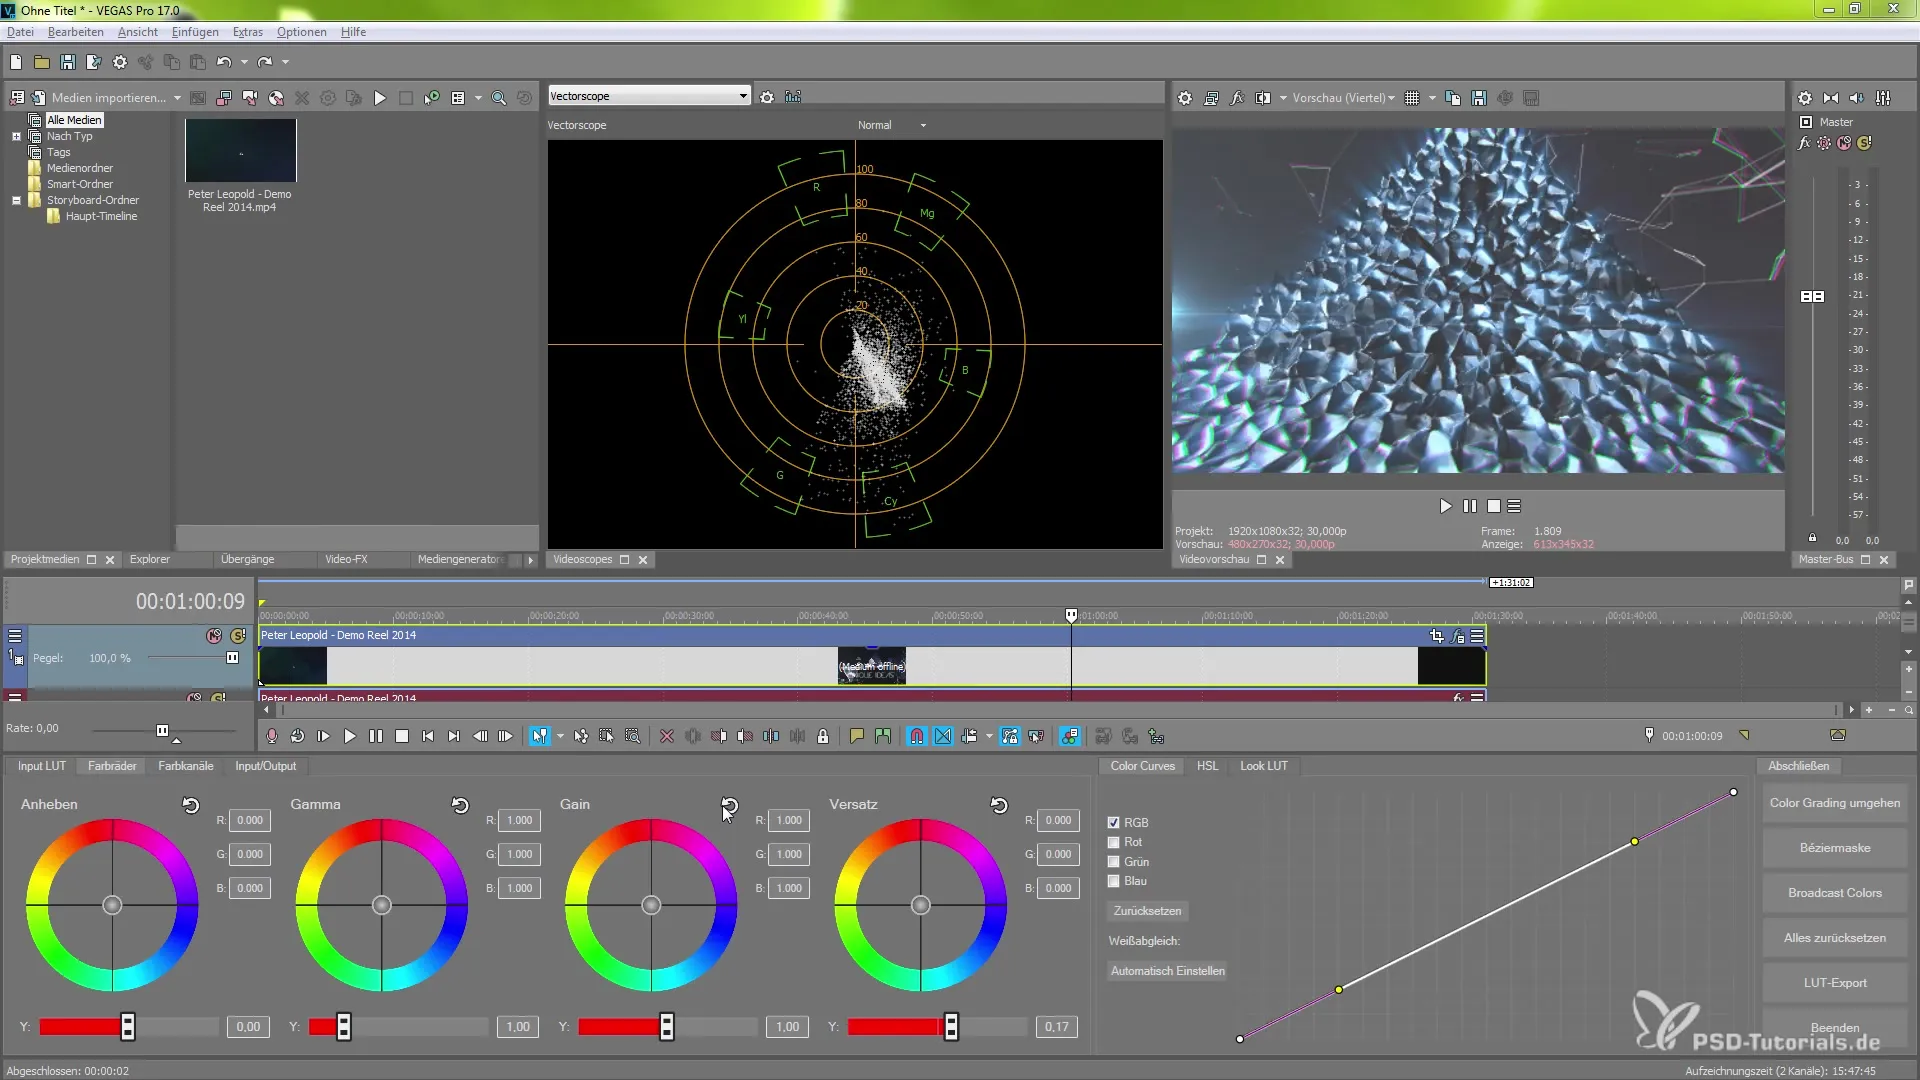
Once you have selected your LUTs, you can make further adjustments to manipulate specific color values. The area for color channel adjustments provides the ability to change RGB values, creating various effects. You can adjust brightness, contrast, and saturation according to your preferences.
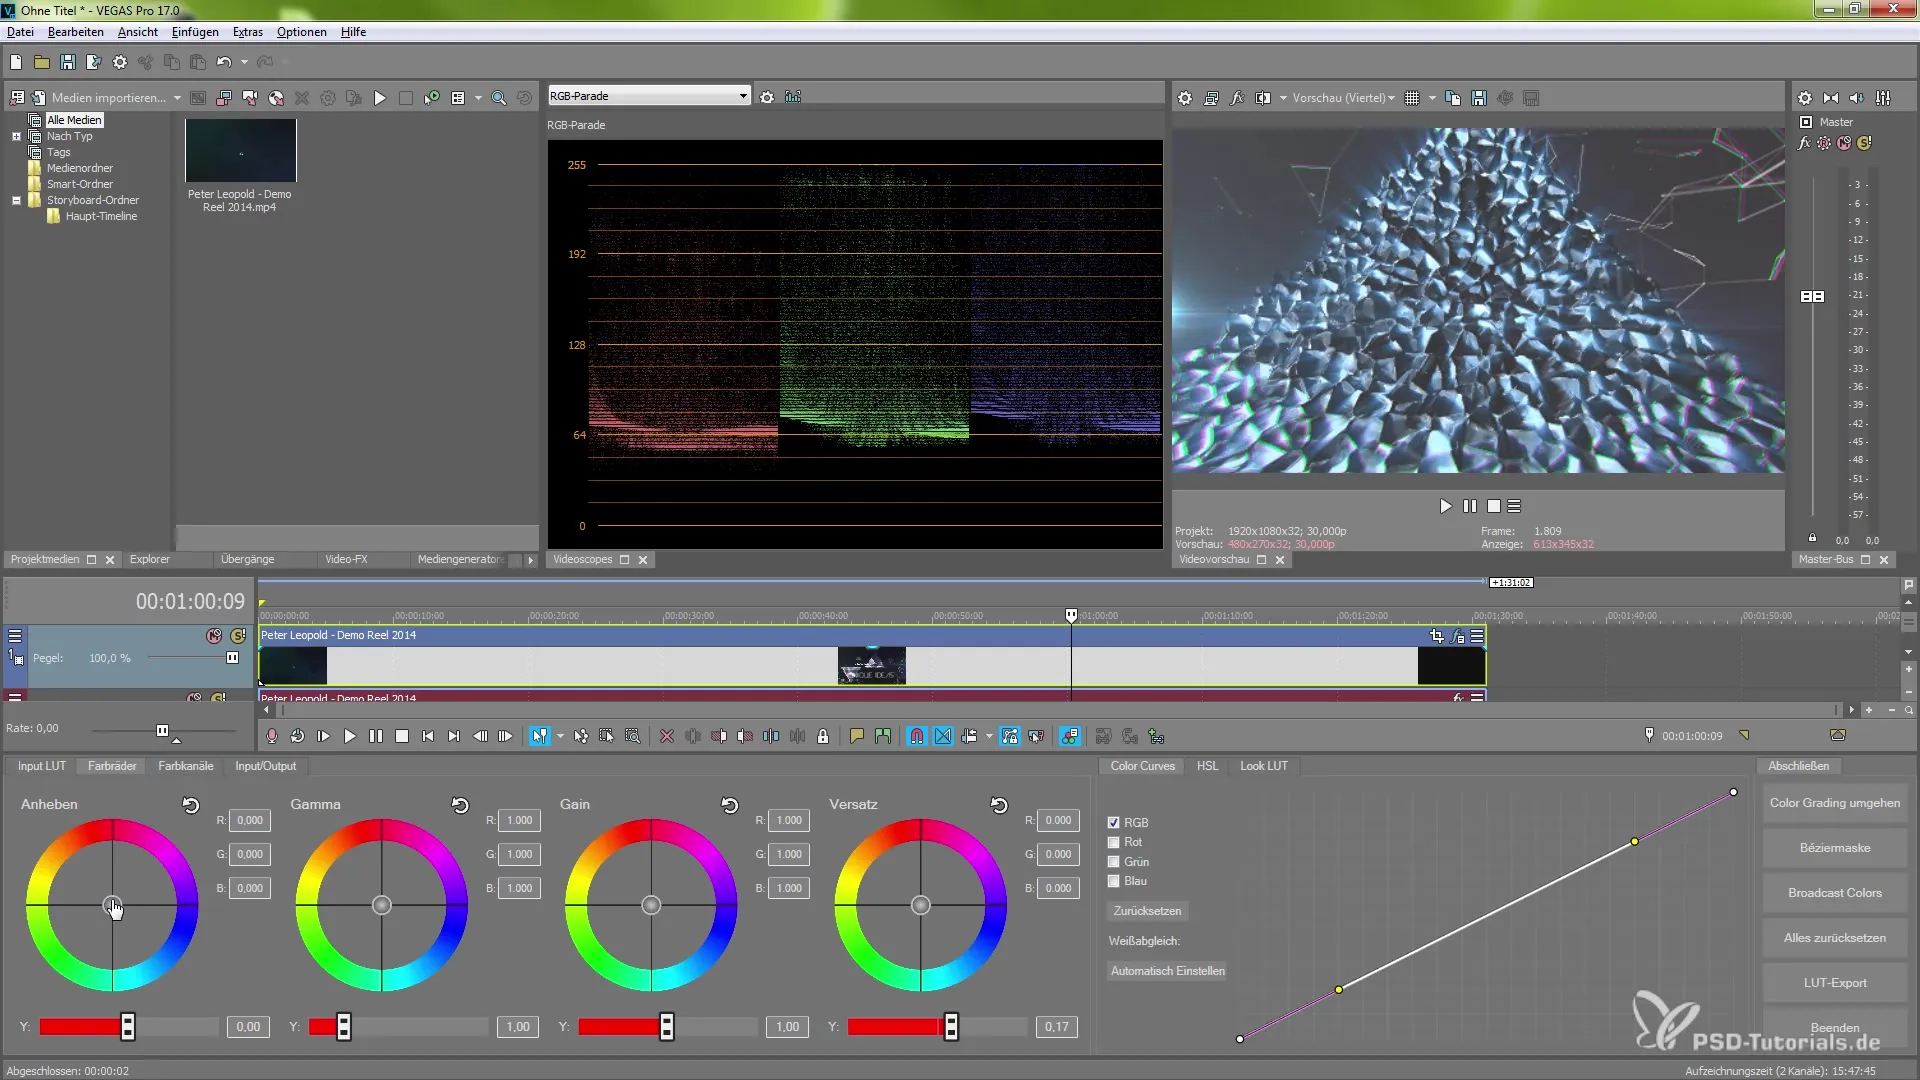
Another key component of color grading is gamma adjustment. In this area, you can change the gamma settings to better control colors in the lighter or darker areas of the image. This gives you the opportunity to significantly enhance image depth.
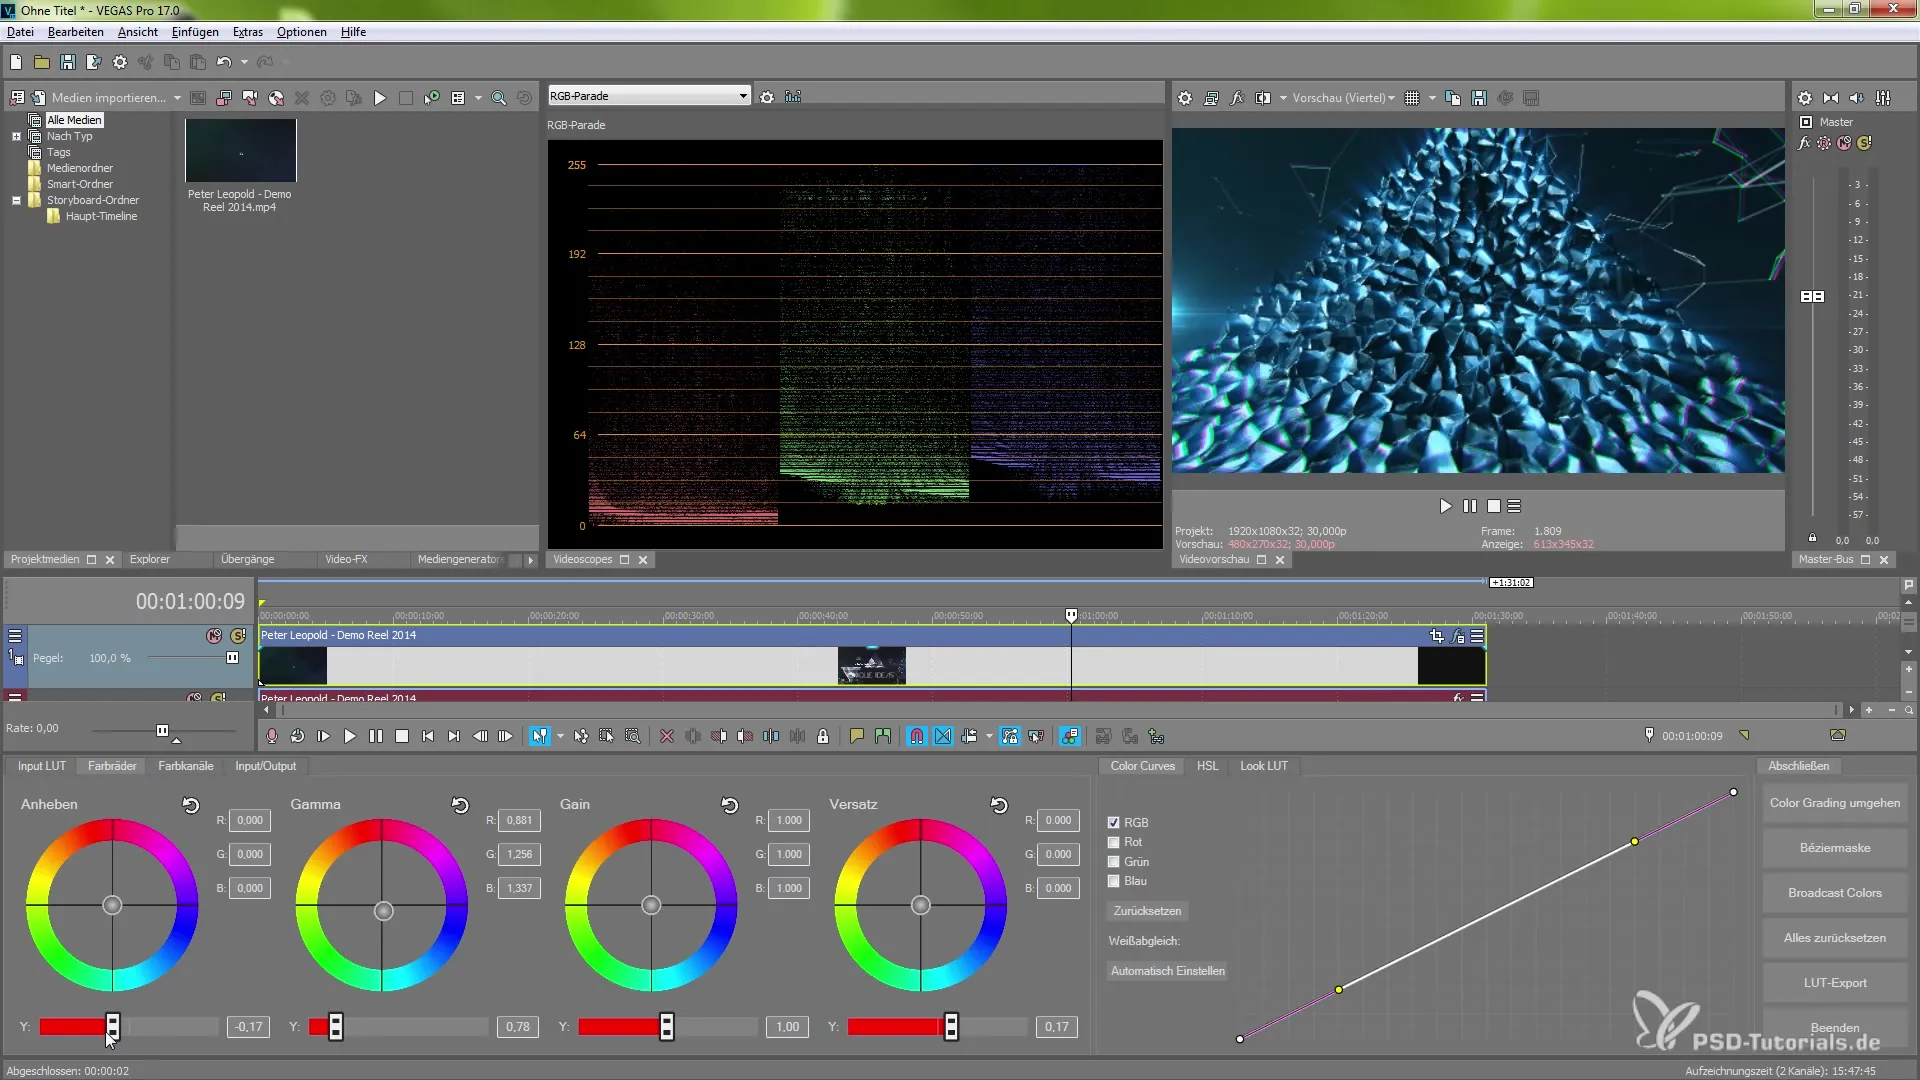
In addition to gamma, you also have access to the gain and offset area. With these tools, you can specifically target the bright areas of your footage, creating impressive effects.
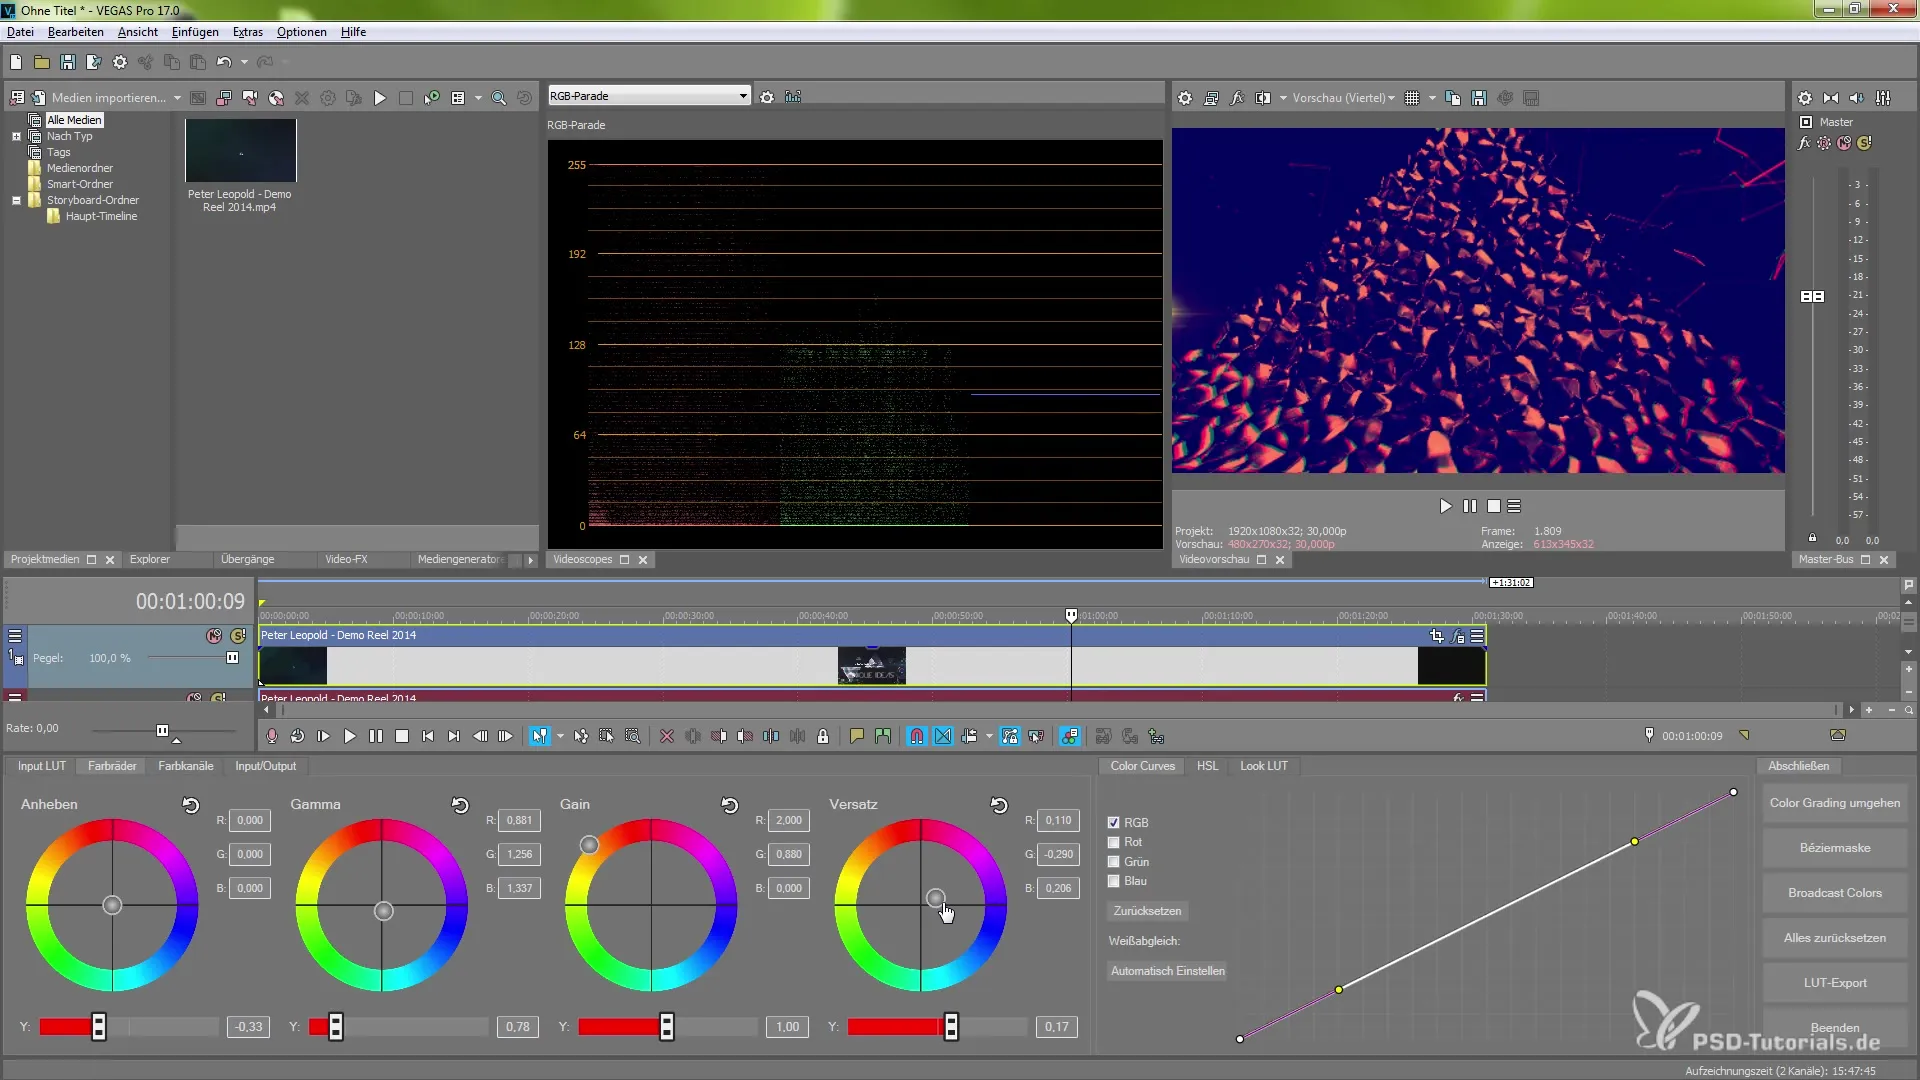
If you are satisfied with a specific combination of effects, you can save these settings. MAGIX VEGAS Pro 17 allows you to define presets for your effects, so you can reuse them in future projects. This saves time and ensures consistency across different projects.
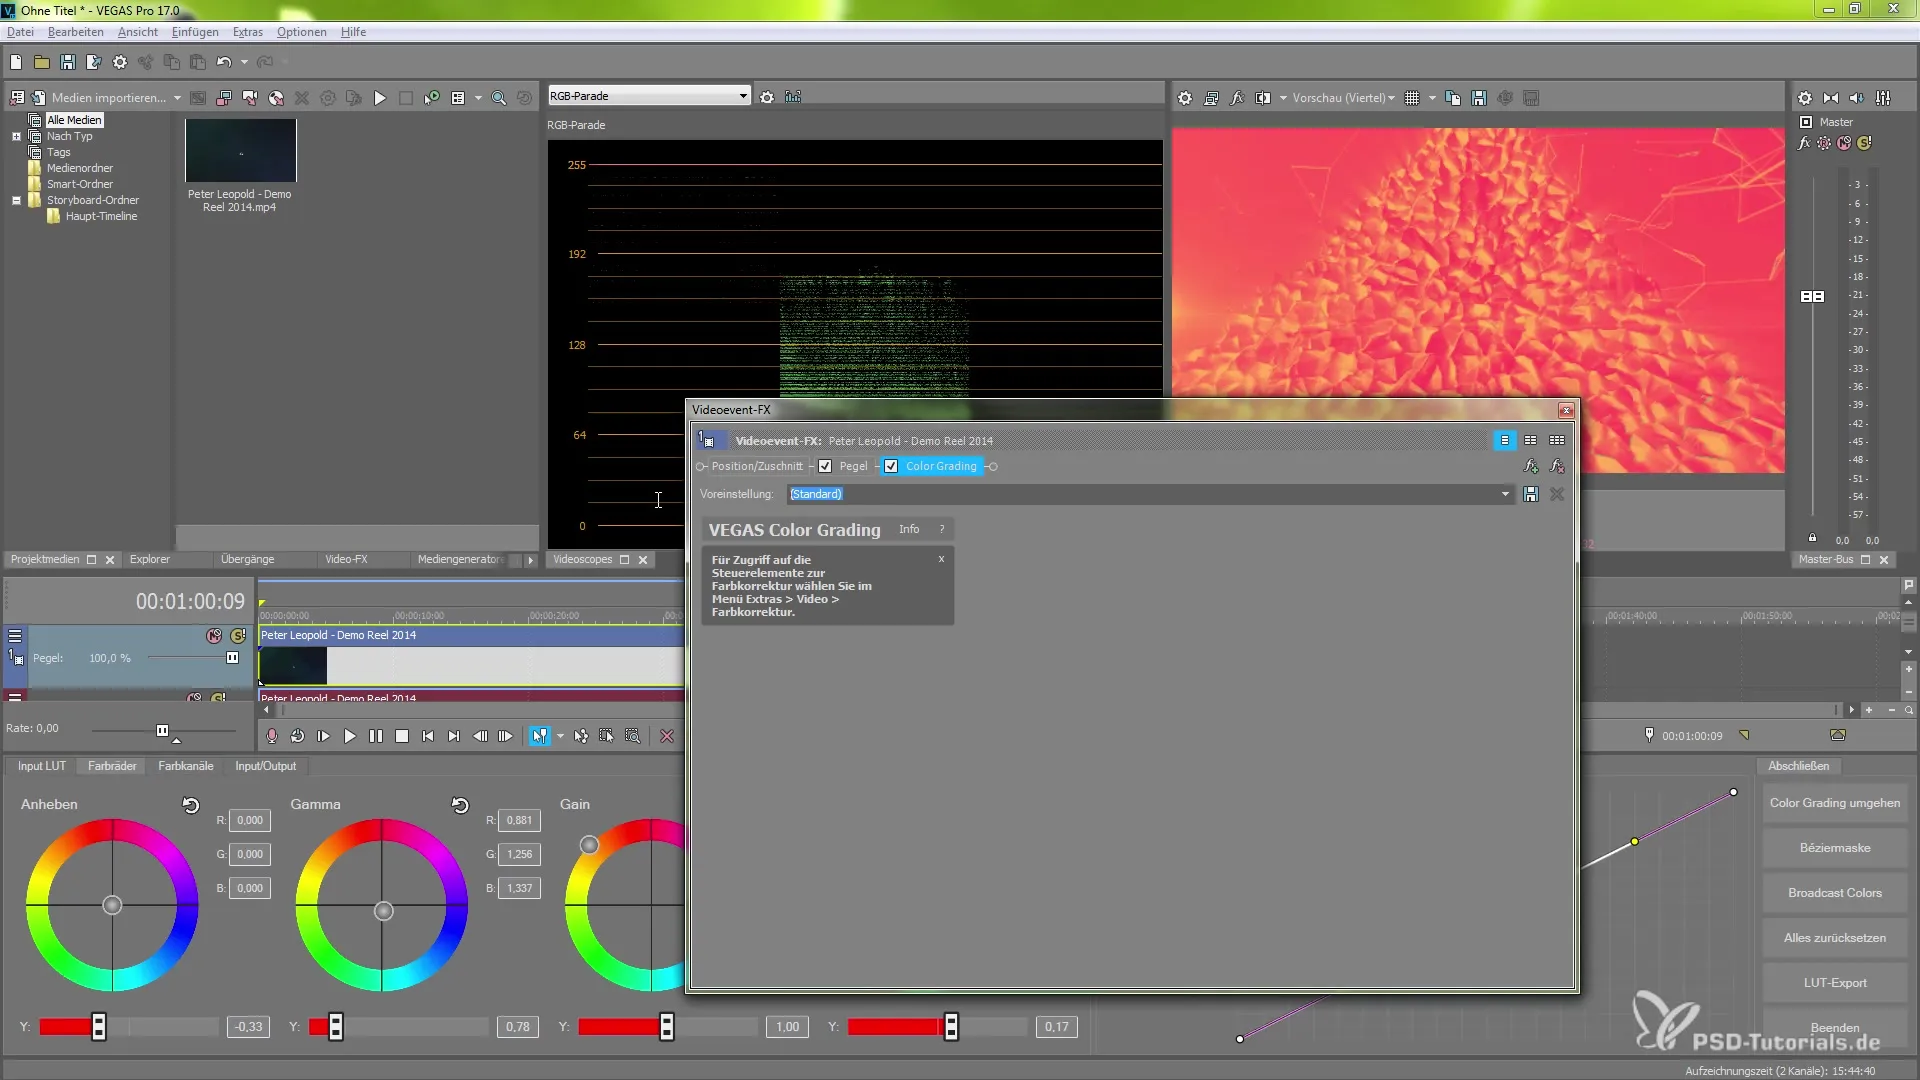
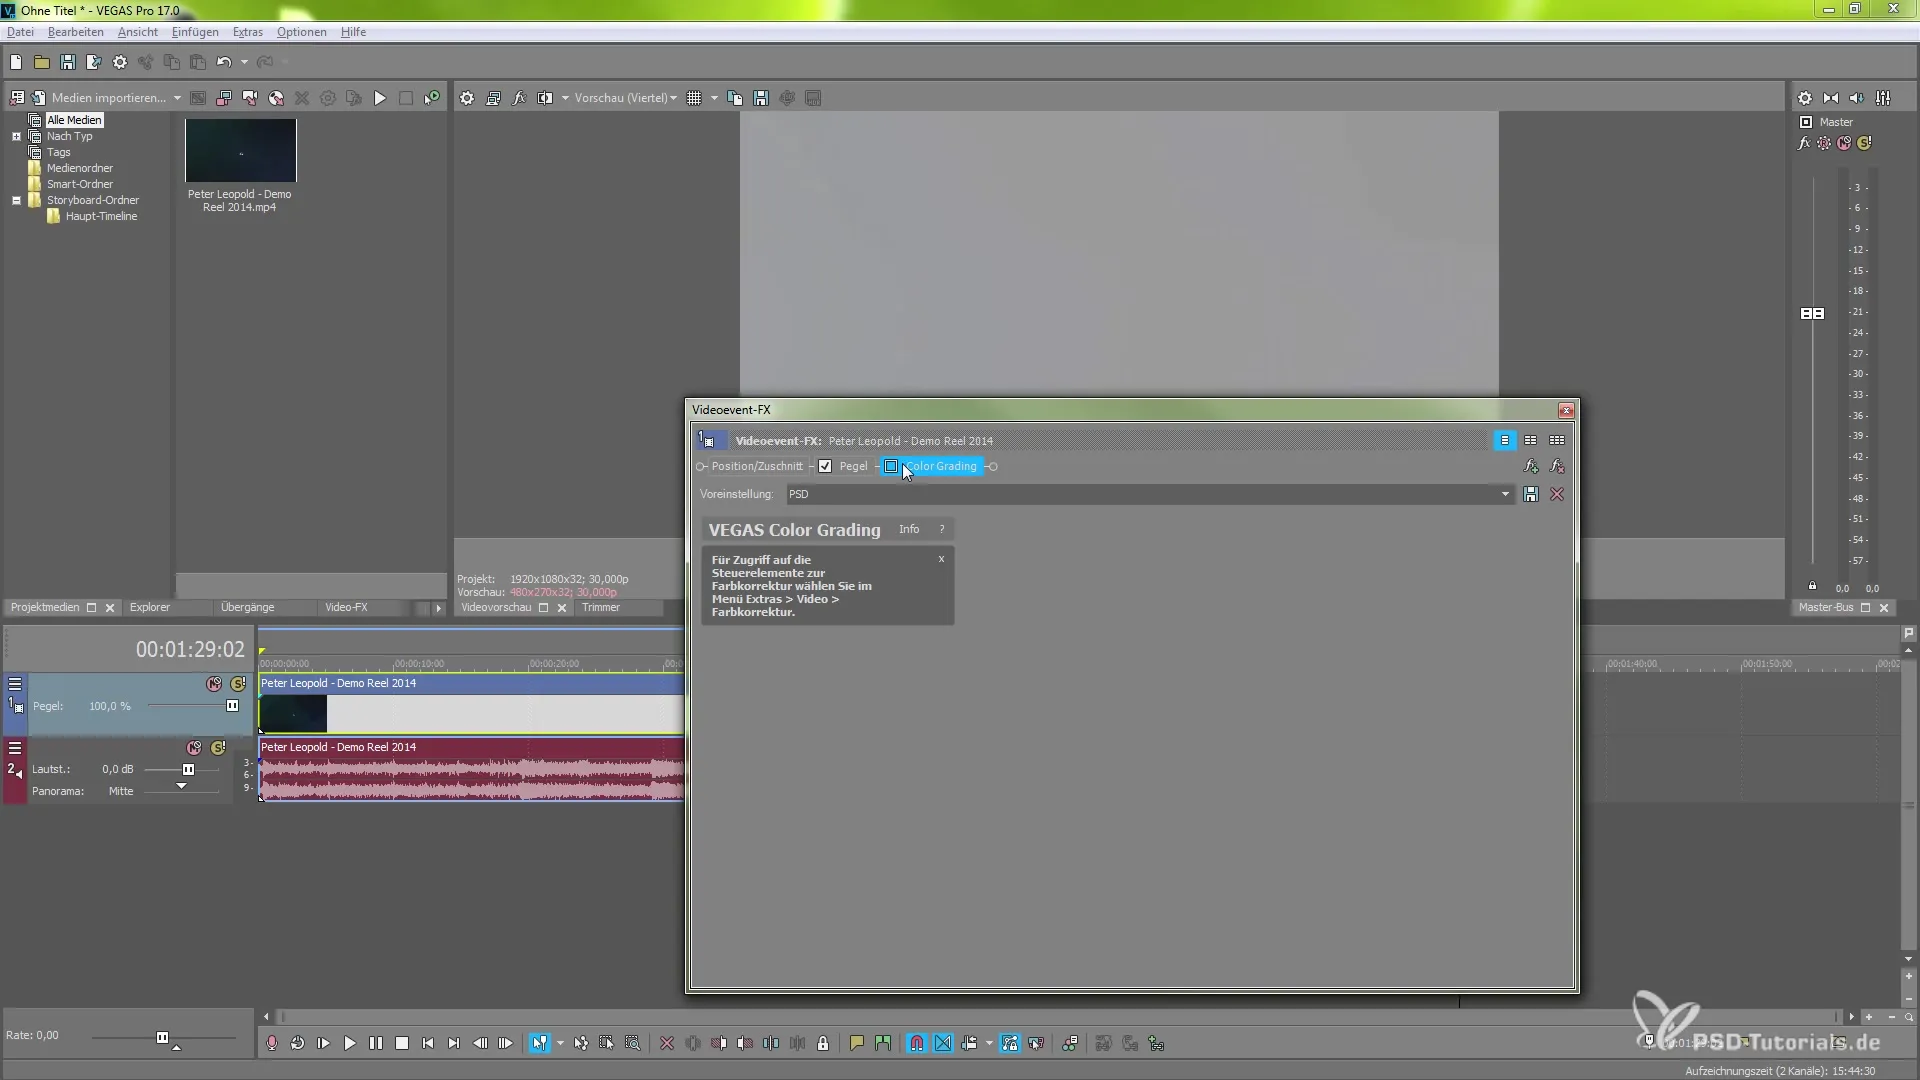
The color grading panel can be customized and also deactivated when you no longer need it. You can access it again at any time using the keyboard shortcut "Alt + G". To reset or clear all information and settings, you can simply remove the corresponding area in the effect channel.
With that, the main features of color grading in MAGIX VEGAS Pro 17 have been covered. You now know the steps to professionally color your videosand effectively utilize the tools.
Summary – Color Grading with MAGIX VEGAS Pro 17
Color grading in MAGIX VEGAS Pro 17 is easier and more effective than ever thanks to the new features and user-friendly interface. You can now effortlessly import LUTs, adjust color channels, and achieve impressive visual results. Experiment with different settings and find your own style!
FAQ
What is color grading?Color grading is the process of color correction and montage of colors in video content to create a specific mood or visual effect.
How can I use my own LUTs in VEGAS Pro 17?You can import and apply your LUTs in the input LUT area of the color grading panel.
Can I add other effects during color grading?Yes, you can use a plugin chain to apply multiple effects in a row.
How do I save my effects as a preset?You can save your effects by defining the appropriate preset in the color grading panel.
Can I deactivate the color grading panel at any time?Yes, you can close the panel at any time and reopen it with "Alt + G".


