The revised Slow-Motion engine in MAGIX VEGAS Pro 17 opens up exciting possibilities for editing videos. With the new Optical Flow technology, it becomes even easier for you to create impressive slow-motion effects. In this detailed guide, you will learn how to effectively use the slow-motion feature of VEGAS Pro 17 to enhance your videos.
Key Insights
- VEGAS Pro 17 offers an improved slow-motion engine with Optical Flow technology.
- You have numerous options to adjust the speed curve for your clips.
- The user interface allows for smooth editing and easy management of slow-motion effects.
Step-by-Step Guide
To make the most of the new slow-motion technology in VEGAS Pro 17, follow these steps:
Open your project in VEGAS Pro 17 Start VEGAS Pro 17 and load the project you want to work on. You should feel comfortable in the drop-down menu to effectively use the various features.
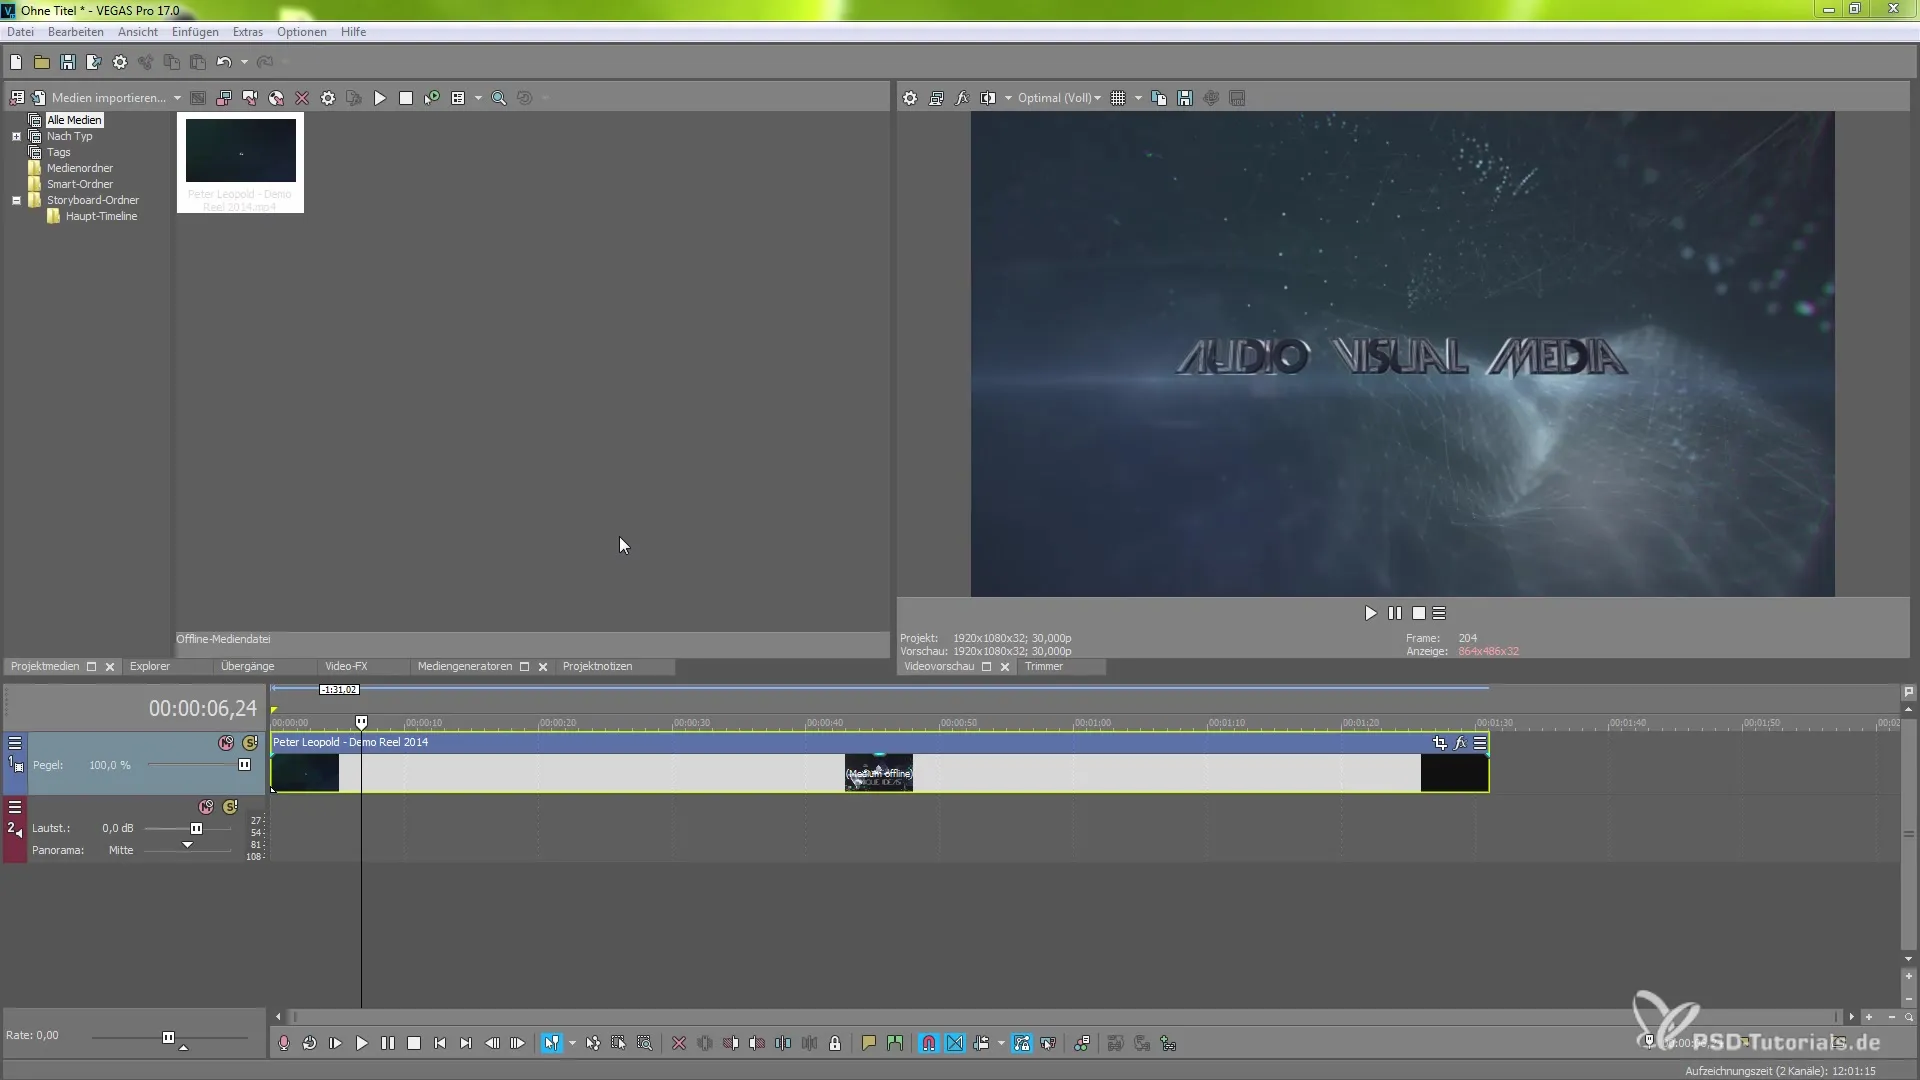
Access the Slow-Motion Options Navigate to the timeline of your project to start working directly with your video clips. There you will find various control sliders that allow you to quickly switch between different speed adjustments.
Setting Playback Speed To play clips more slowly, you can pull the slider to the left. This will immediately show you how the footage slows down. Alternatively, you can right-click on the clip and adjust the speed via the context menu.
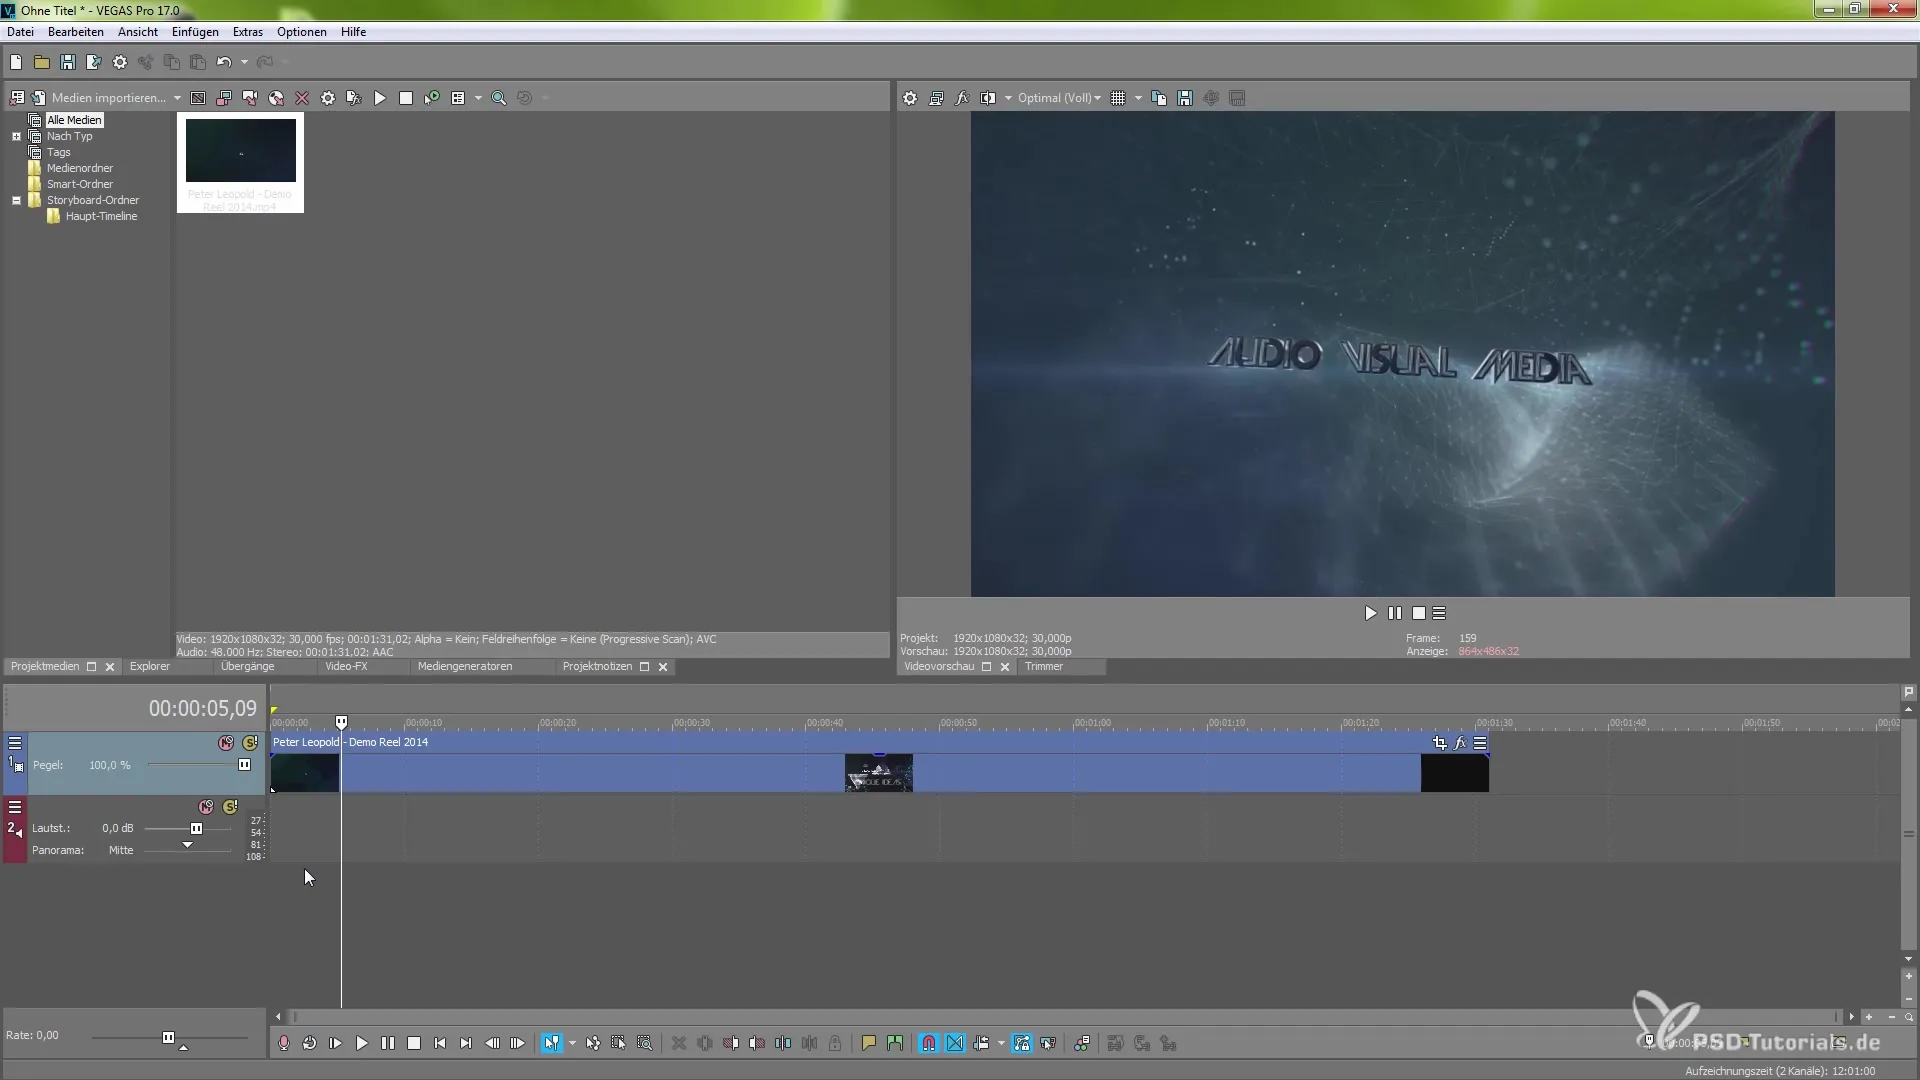
Adjusting Speed Parameters If you want to further refine the playback speed, you can set a value like 0.5 to achieve a further reduced speed. These adjustments show you live results from the new engine, making your work visually smoother.
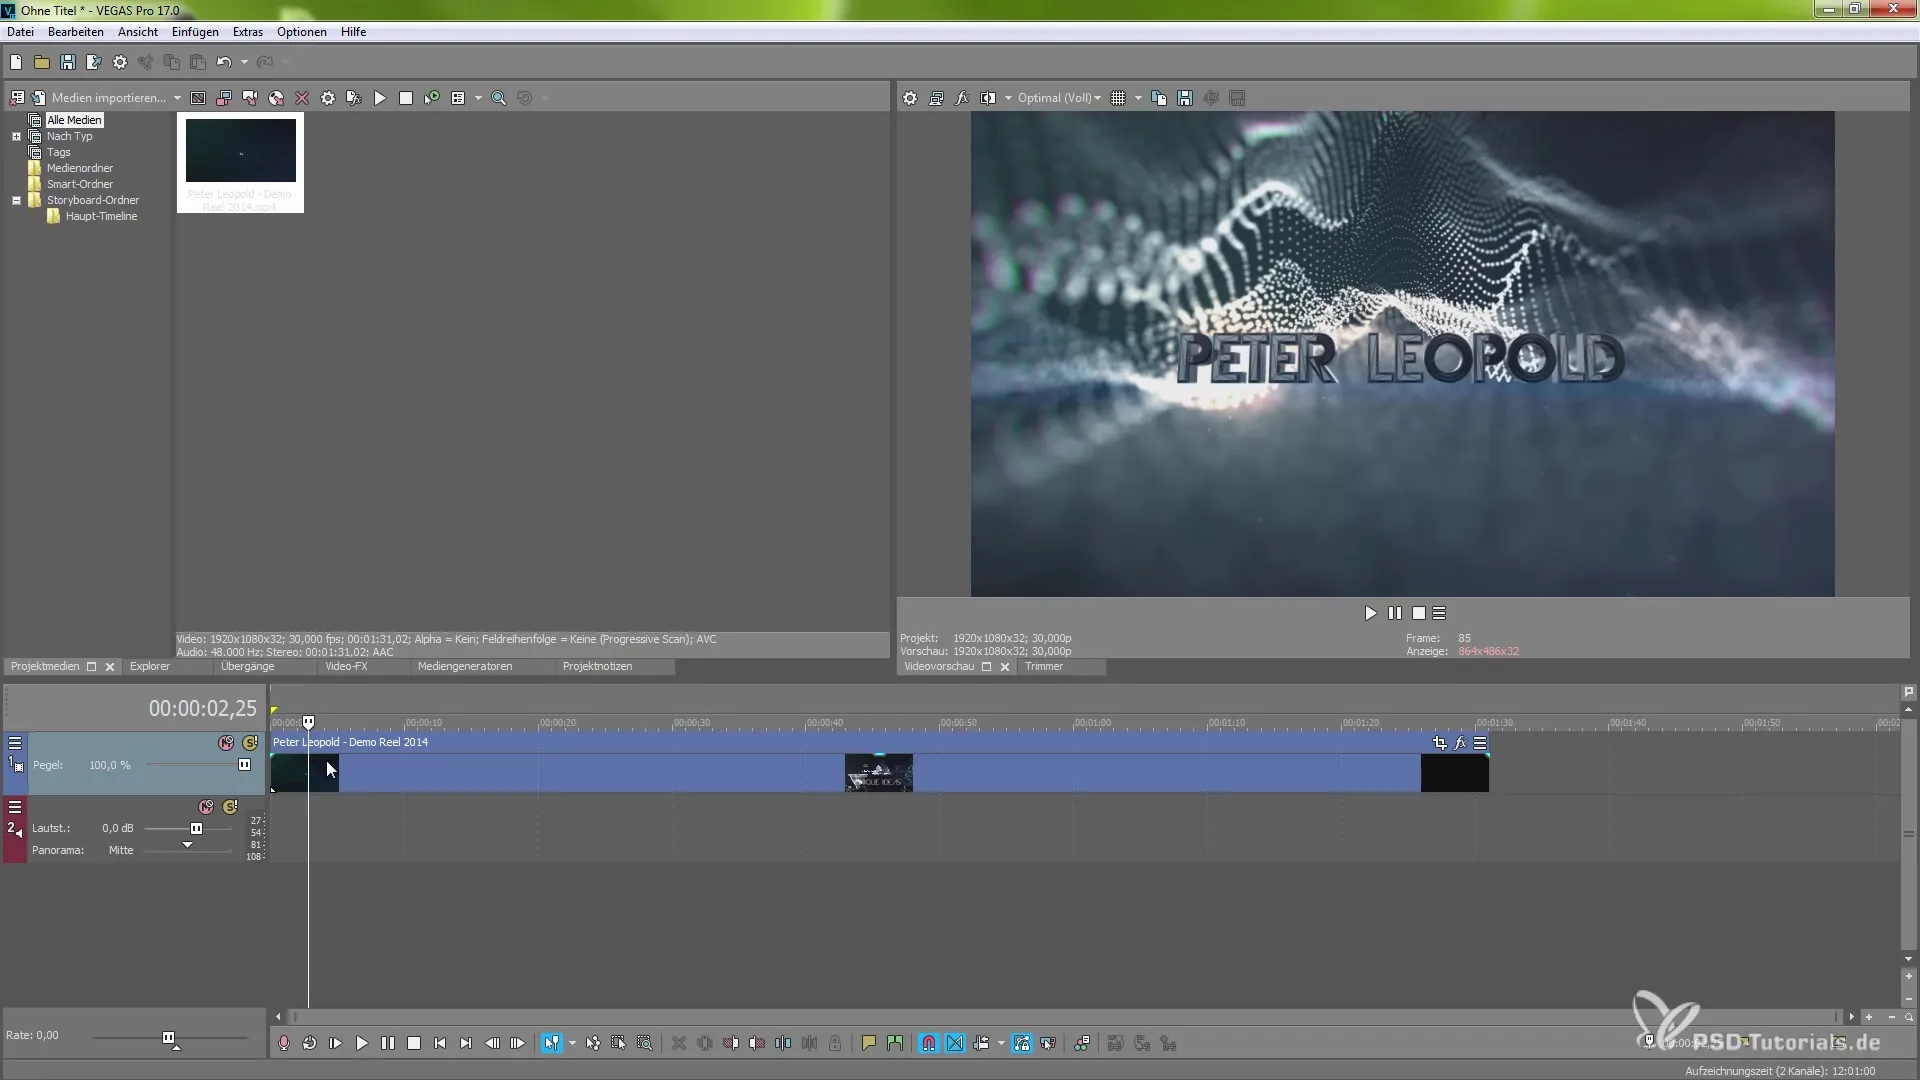
Utilizing Time Stretching If you want to cut specific areas of your clip, you can easily do this by pressing the "S" key. While adjusting the speed, hold down the Ctrl key to utilize time stretching. Pulling to the right will extend the clip's duration, enhancing the slow-motion effect.
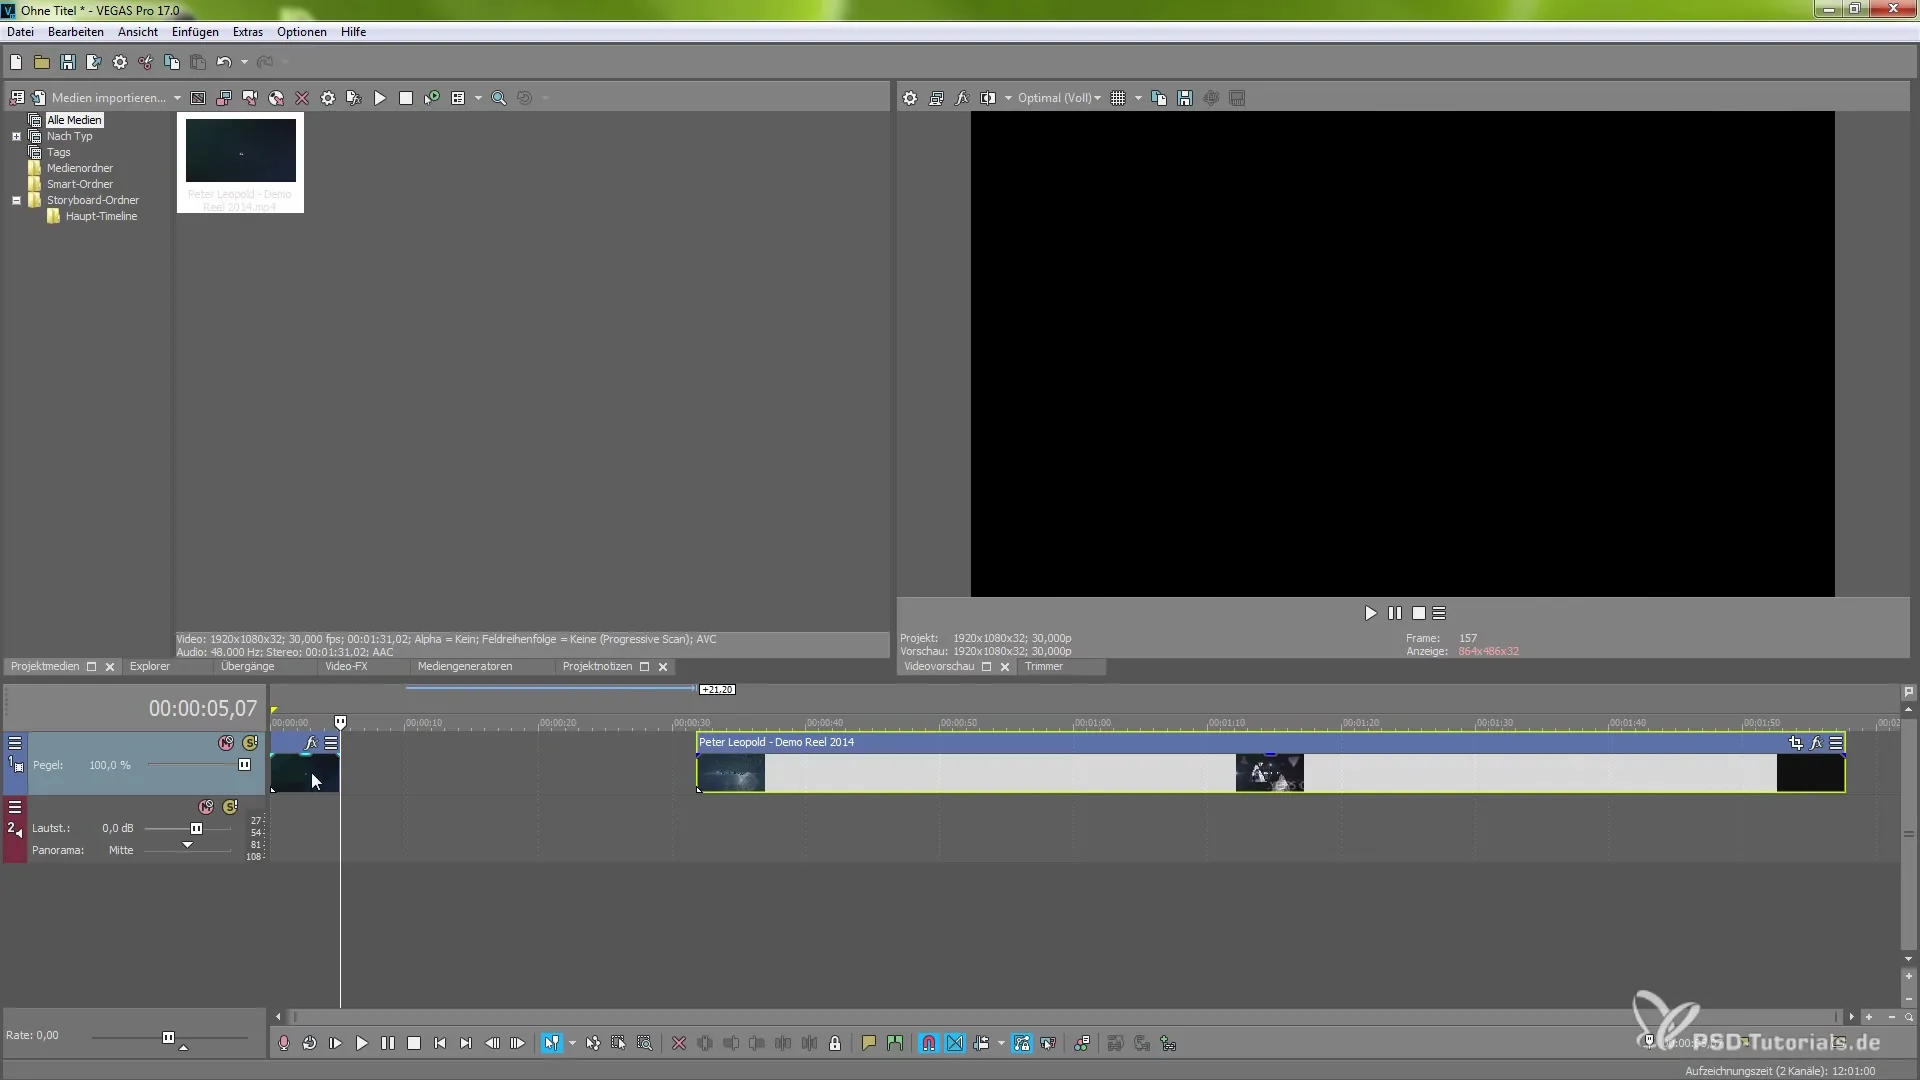
Zooming in on the Timeline Zoom in on the area of your clip that you want to edit to see the individual frames better. You will notice that the number of displayed frames increases as you zoom in, giving you more control over the editing.
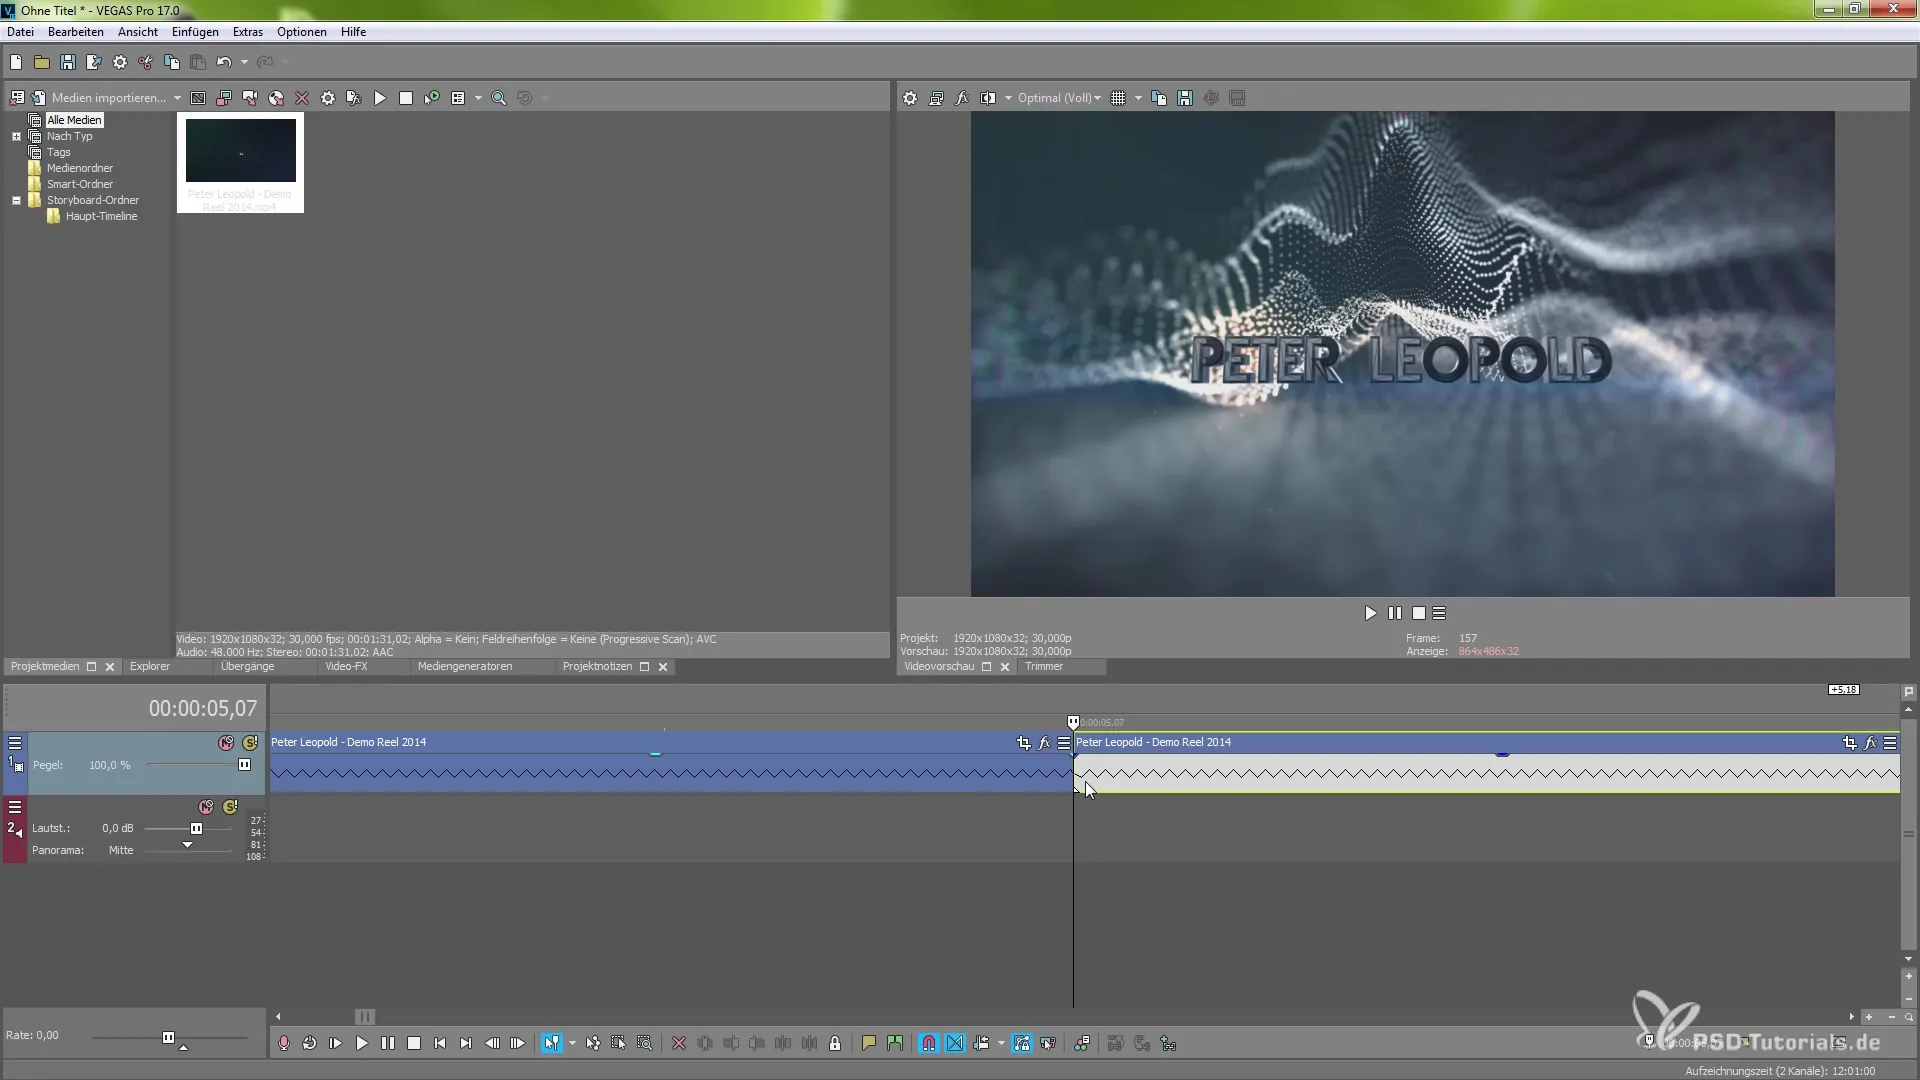
Editing the In-Between Frames When you move a clip, pay attention to how the new in-between frames are automatically calculated. This ensures that you maintain smooth motion even with longer time shifts. This functionality is one of the strengths of the new engine and allows you to achieve creative effects.
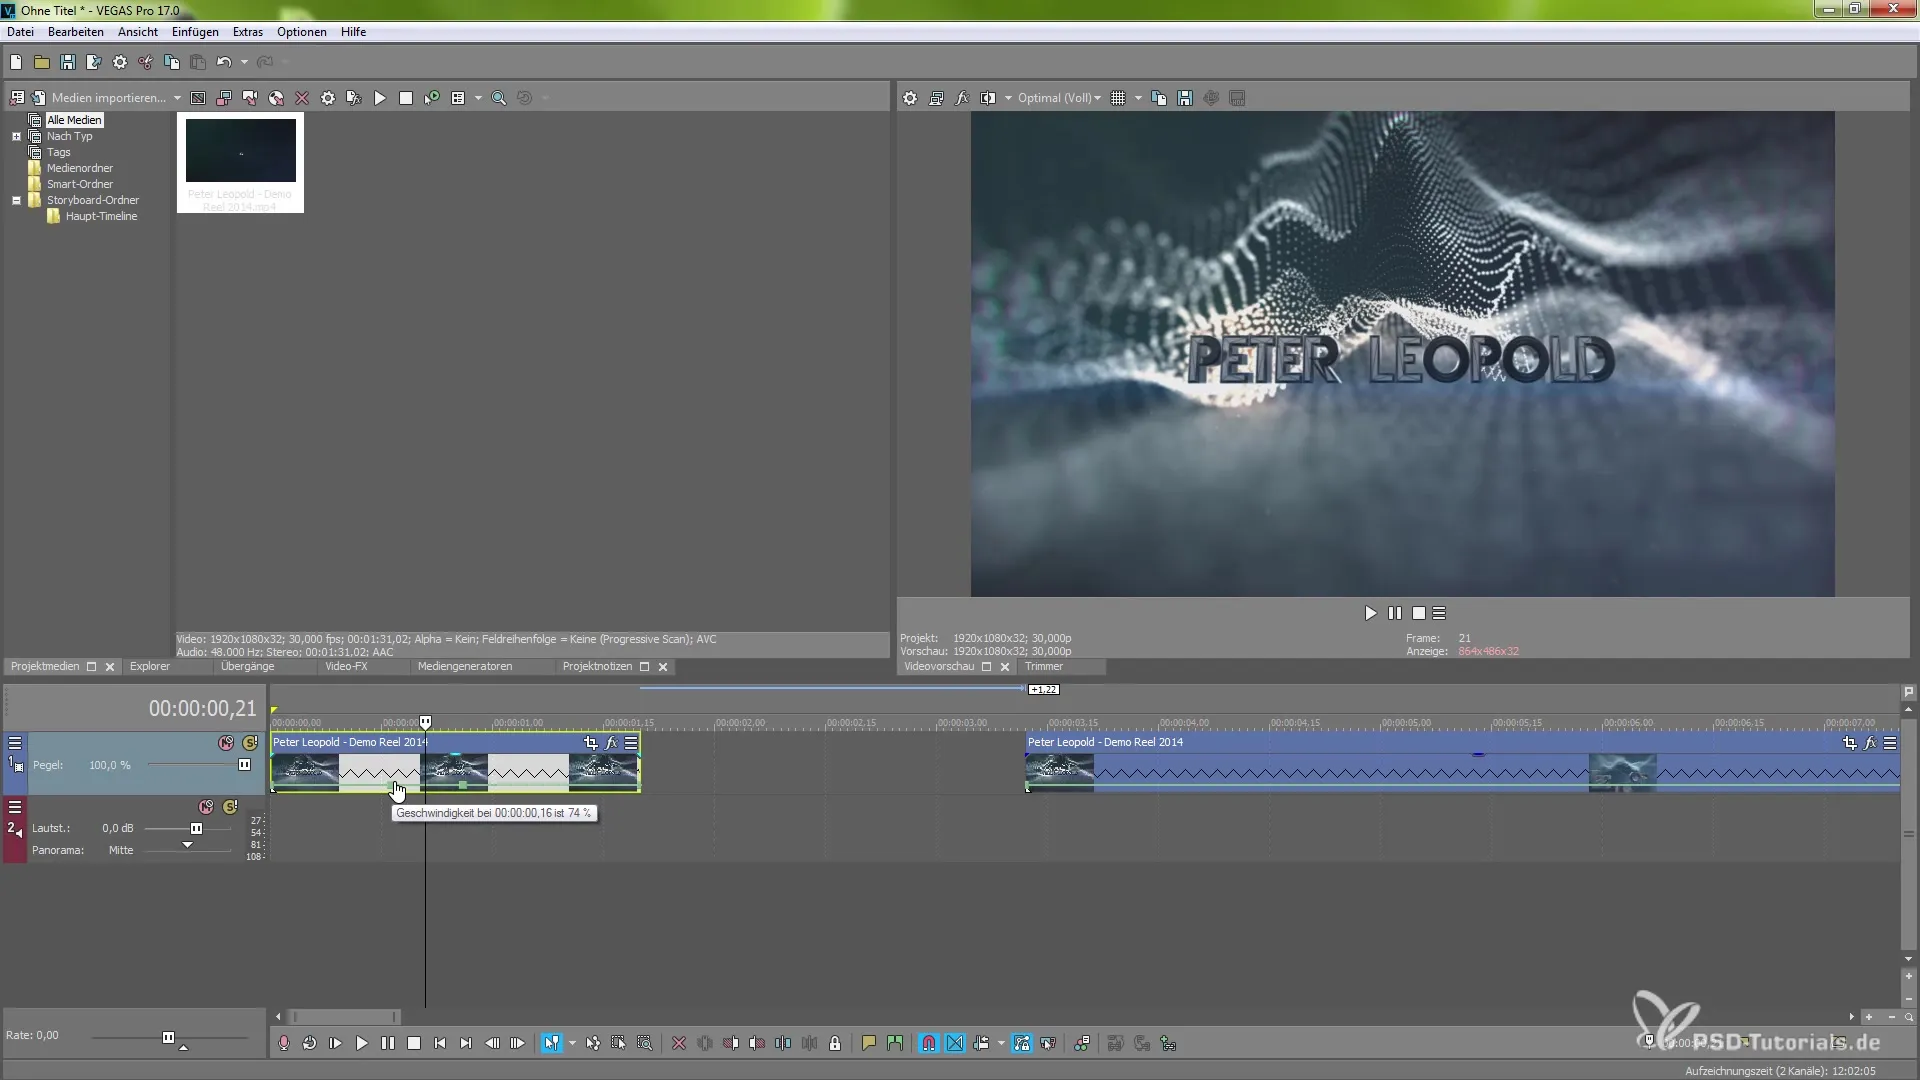
Using Speed Curves Right-click on the clip and go to the speed curves to learn more about speed adjustments. Through the speed menu, you can add a curve to dynamically edit the speed of your clip. Simply double-click to set points on the timeline and vary the speed.
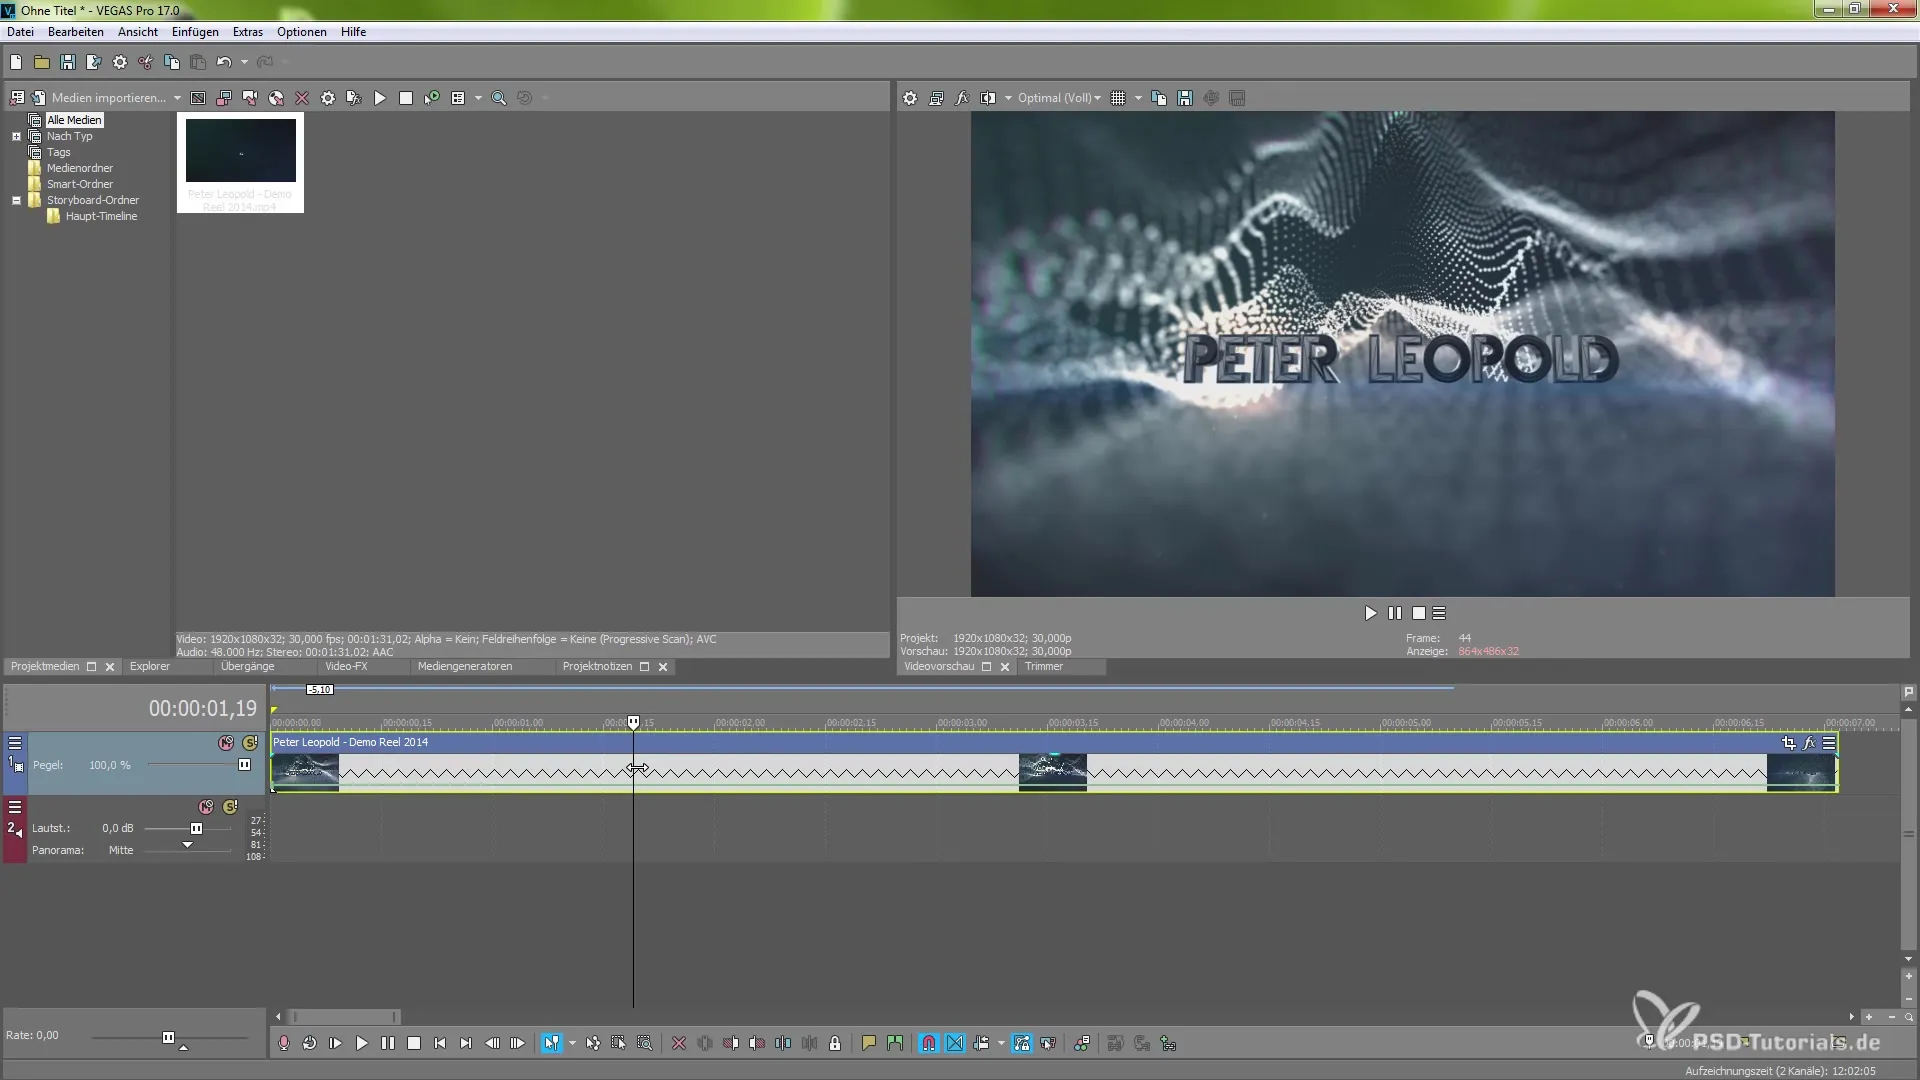
Creative Tempo Play Experiment with the arrangement of markers on the speed curve. Higher markers make the video faster, while lower ones slow down the pace. To further challenge this, you can also achieve reverse effects that add interesting facets to your project.
Summary - The New Slow-Motion Features in MAGIX VEGAS Pro 17
In summary, VEGAS Pro 17 offers a variety of new features for editing slow-motion effects. With the improved Optical Flow technology and flexible speed adjustments, you have excellent tools at your disposal to achieve creative and impressive results.
Frequently Asked Questions
How can I activate slow motion in VEGAS Pro 17?You can activate slow motion by adjusting the speed of a clip via the context menu or speed curves.
What is Optical Flow technology?Optical Flow technology calculates intermediate steps between frames to create smoother movements in slowed-down material.
Is there an easier way to change the speed of a clip?Yes, you can change the speed directly through the slider in the timeline or by right-clicking on the clip in the context menu.


