Two portraits, same camera, same location, and yet one looks flat and the other looks three-dimensional and lively. Often the difference lies not in the lens, but in the light. This is exactly where this course begins. Matthias Butz, who leads the lesson as the instructor, shows you why a good light source is crucial for every type of photography, regardless of whether you use a DSLR, a mirrorless system camera, or your smartphone.
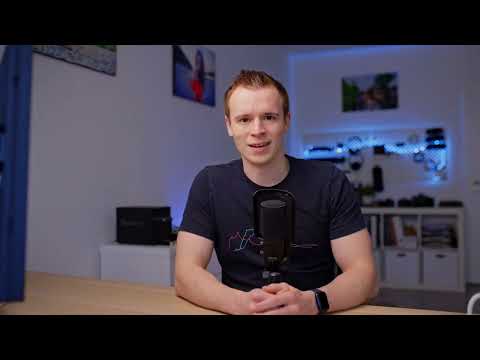
The video is only loaded from YouTube when you play it – data (including your IP address) is then transmitted to YouTube/Google. More in the privacy policy
This guide summarizes the introduction to the course. You will learn which questions you should ask yourself about light, why you don't need a physics degree, and how you can quickly achieve visible results with simple test shots.
Key Takeaways
Good light is more important than the camera class. You don't need any knowledge of physics to use it effectively. A test shot and adjusting the flash power will usually get you to your goal faster than any measurement with a light meter. The principles apply equally to portraits, macros, and landscapes, even though people are a particularly demanding subject.
Step-by-Step Guide
Step 1: Recognizing the Importance of a Good Light Source
The course begins with a clear message: the topic of light is fundamental in photography. Matthias welcomes you and announces that details will follow later. Your first step is to become aware that you can influence the light in almost every situation. So from the very beginning, pay attention to where the light is coming from and how it falls on your subject.

Step 2: Camera or Smartphone Play a Minor Role
Many hobby photographers believe that better results first require a more expensive device. Matthias clearly disagrees. Even if you photograph with a smartphone, a decent light source makes a big difference. You should therefore focus first on the light and only afterwards on the technology of your device.

Step 3: Collecting Open Questions About Equipment
Before you spend money, write down the questions that really concern you. Matthias mentions typical points: Which light source makes sense? What is worth it? Where should you invest? Do you even need a flash or a video light? Write down your own questions. Over the course of the lesson, many of them will be answered, so that you can decide more specifically what you actually buy.

Step 4: Accepting the Pragmatic Approach
The course deliberately avoids in-depth physics. Matthias emphasizes that he himself did not study physics and that you don't need a degree for this either. His approach is "quick and dirty," meaning fast, direct, and practical. This is not a lack of care, but a method that works best in everyday life. If you internalize this principle, learning becomes much easier.

Step 5: Working with a Test Shot Instead of a Light Meter
A professional studio measures light with a light meter to determine the exact power of a flash. This is time-consuming and expensive if you first have to purchase the appropriate equipment. Matthias recommends a simpler way: take a test shot, evaluate the result, and turn the flash up or down. After a few rounds, you will get a feel for the right setting, without any additional measuring device.

Step 6: Applying the Principles to All Photography Genres
The course aims to cover as many topics around light as possible so that you take significantly better photos. The basics work for portraits, landscapes, macros, and other subjects. Matthias mainly shows people photography because it is the most demanding. A mountain doesn't complain when the light is bad, but a person does. So if you light portraits well, you can easily apply what you have learned to other genres.

Step 7: Realistically Assessing the Limits of Light
With landscapes, you can't control the light as much as you can in the studio. You can't place a flash behind a mountain, because flashes that big don't exist. Accept this limitation and work with the light that is available. Many lessons in the course show you how you can still shape your images deliberately, for example through your choice of time of day, perspective and reflectors.

Step 8: Take notes and put everything into practice
Matthias advises you to take notes during the course and to try out what is shown right away. Knowledge only sticks through your own practice. It's best to set up a small test environment, for example with a simple light source and a chair as a subject, and to recreate every lesson with your camera. This way you quickly gather visible successes that motivate you to keep going.

Summary – Understanding Photo Lighting: Fundamentals for Better Photos with Any Camera
The introduction to the course makes it clear that light is the decisive factor for good photos, regardless of camera or smartphone. You don't need any knowledge of physics for this. With test photos and the deliberate adjustment of the flash, you learn in a practical and fast way. The principles apply to portraits, landscapes and macros. If you take notes and try everything out immediately, you will retain what you have learned best.
FAQ
Do I need prior knowledge of physics to start the course?No, Matthias deliberately avoids in-depth physical theory. The course focuses on practical application and visible results.
Do the lighting principles also work with a smartphone?Yes, the fundamentals apply regardless of the camera. Even with a smartphone, a good light source makes a big difference.
Do I have to buy a light meter to find the right flash power?No, Matthias recommends taking a test photo and adjusting the flash power step by step higher or lower. This is faster and cheaper.
Is the course only suitable for portrait photography?No, the principles can be transferred to portraits, landscapes, macros and other genres. However, the focus is on photographing people, as it is the most demanding.


