The editing of photos can often be a challenge, especially when it comes to finding the perfect balance of light, color, and texture. The basic settings in Adobe Camera Raw provide you with the tools to elevate your images to a new level. Here you can adjust exposure, optimize colors, and highlight details. Although the functions seem self-explanatory, there are many subtleties in practical application that you should keep in mind. Let’s go through the various options together to get the most out of your images.
Key Insights
- Exposure and lights are crucial for the lighting conditions of your image.
- With the vibrance, you can subtly increase color saturation without overly affecting other colors.
- Each setting impacts the overall image; a consistent approach is important.
Step-by-Step Guide
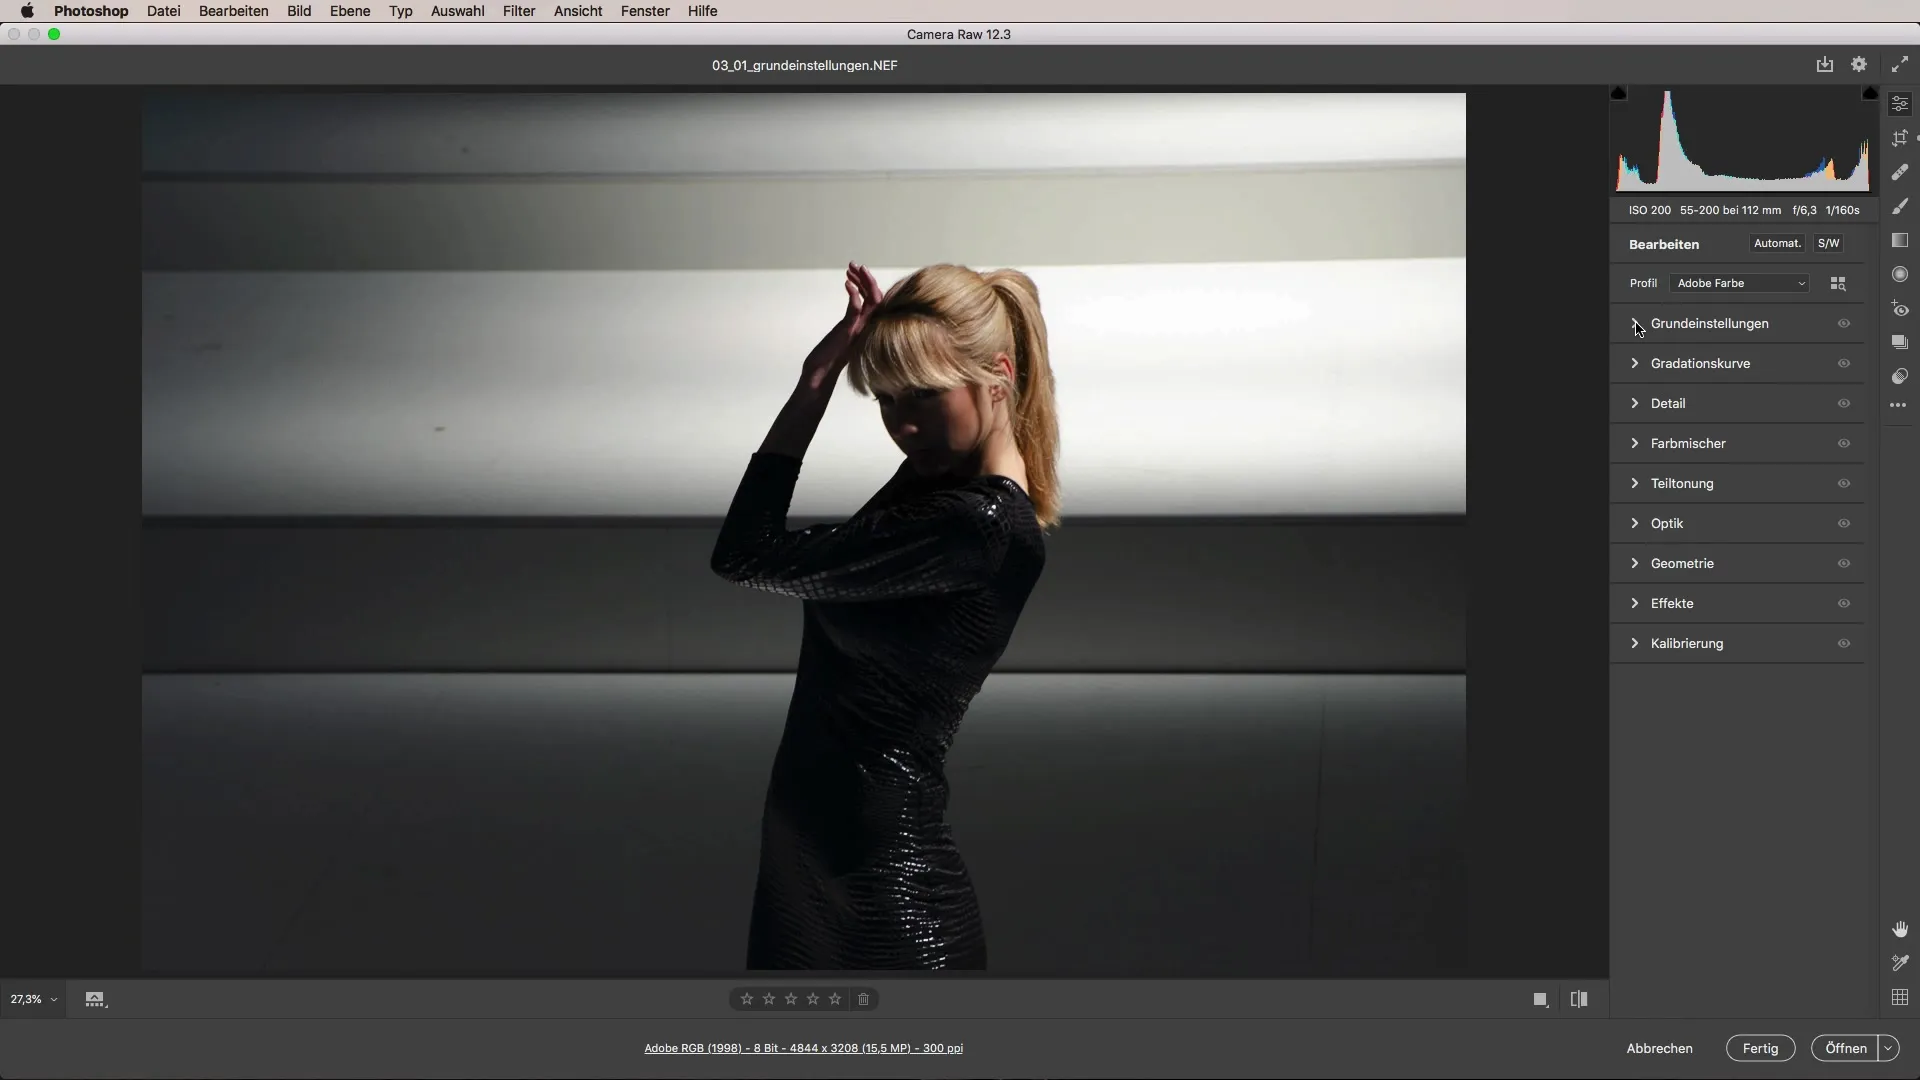
First, open Adobe Camera Raw and load the image you want to edit. The basic settings can be found in the upper right corner of the user interface. Here we start by adjusting exposure, contrast, lights, and shadows.
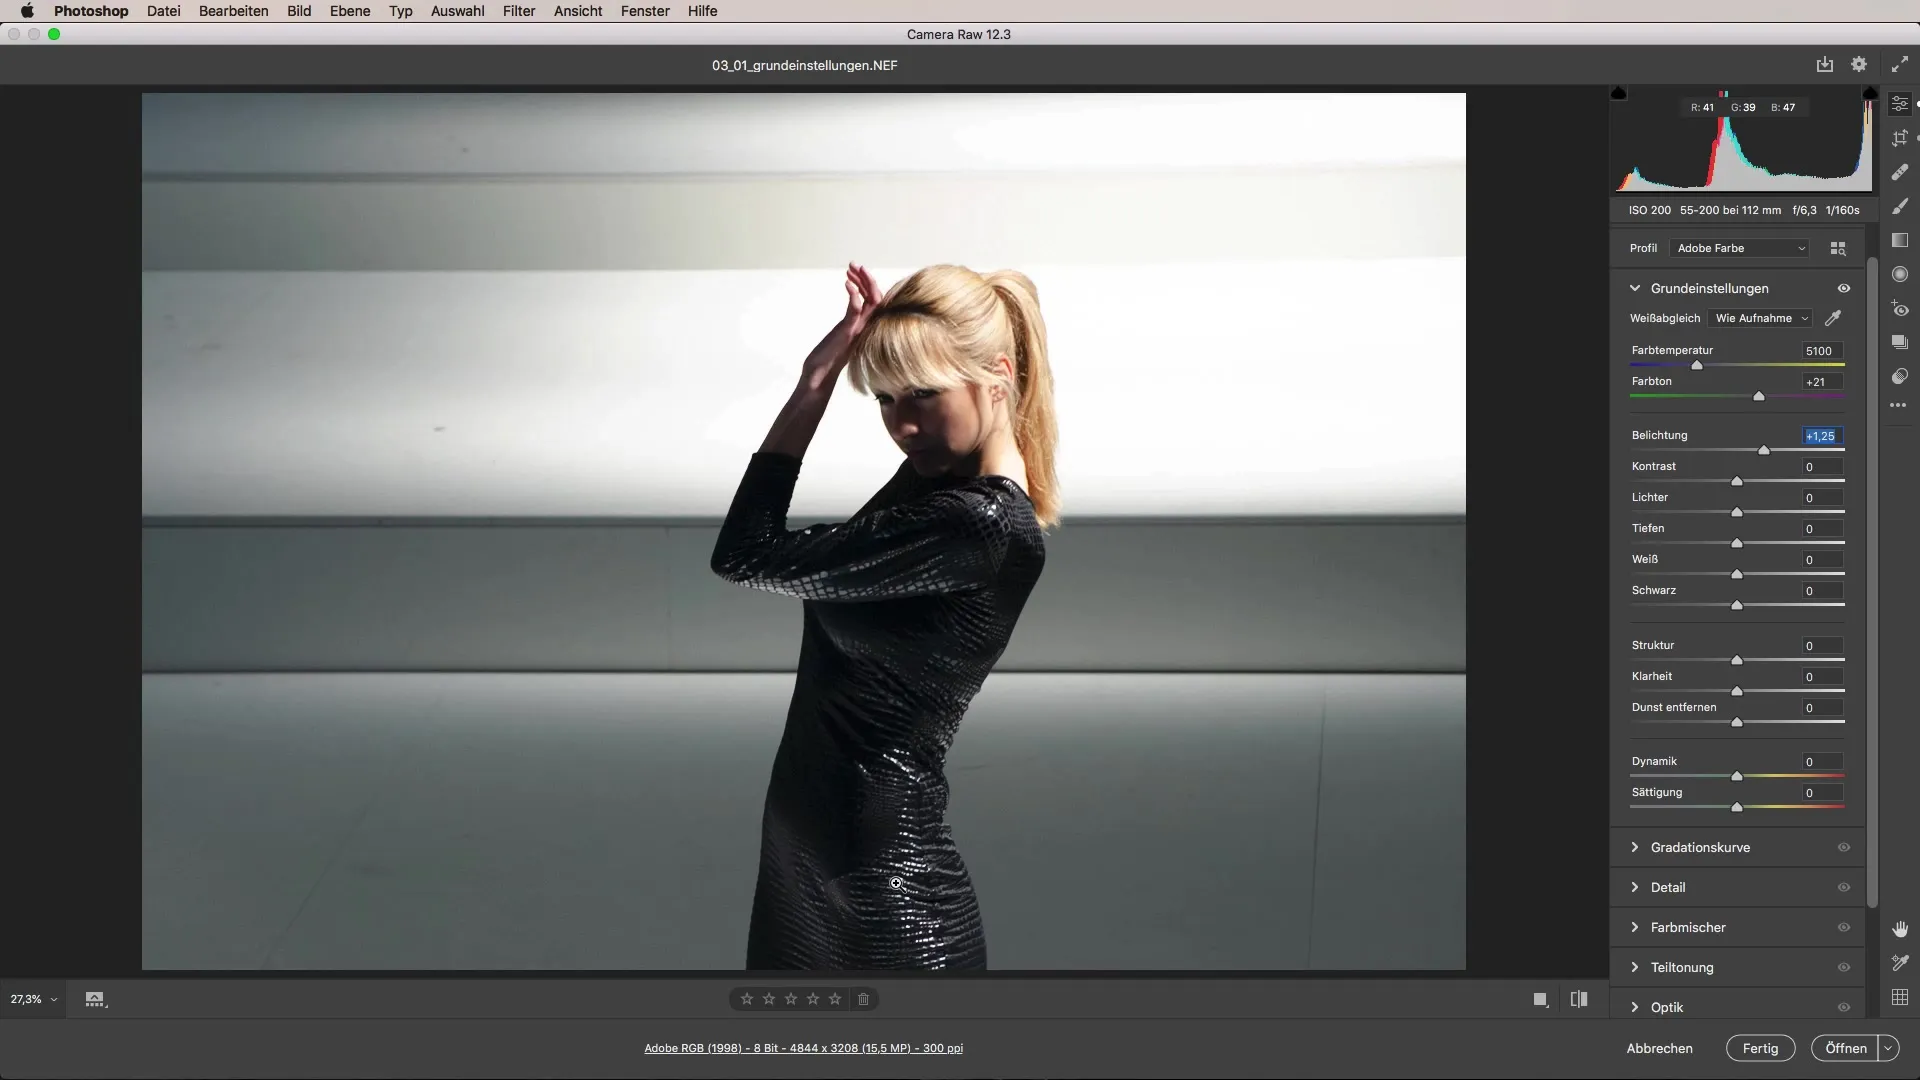
The first step is to adjust the exposure. If an image is too dark, pull the slider to the right. You can immediately see how the brightness of the image changes. It is important to observe whether details in the bright areas are lost. Therefore, you should also adjust the lights in the next step.
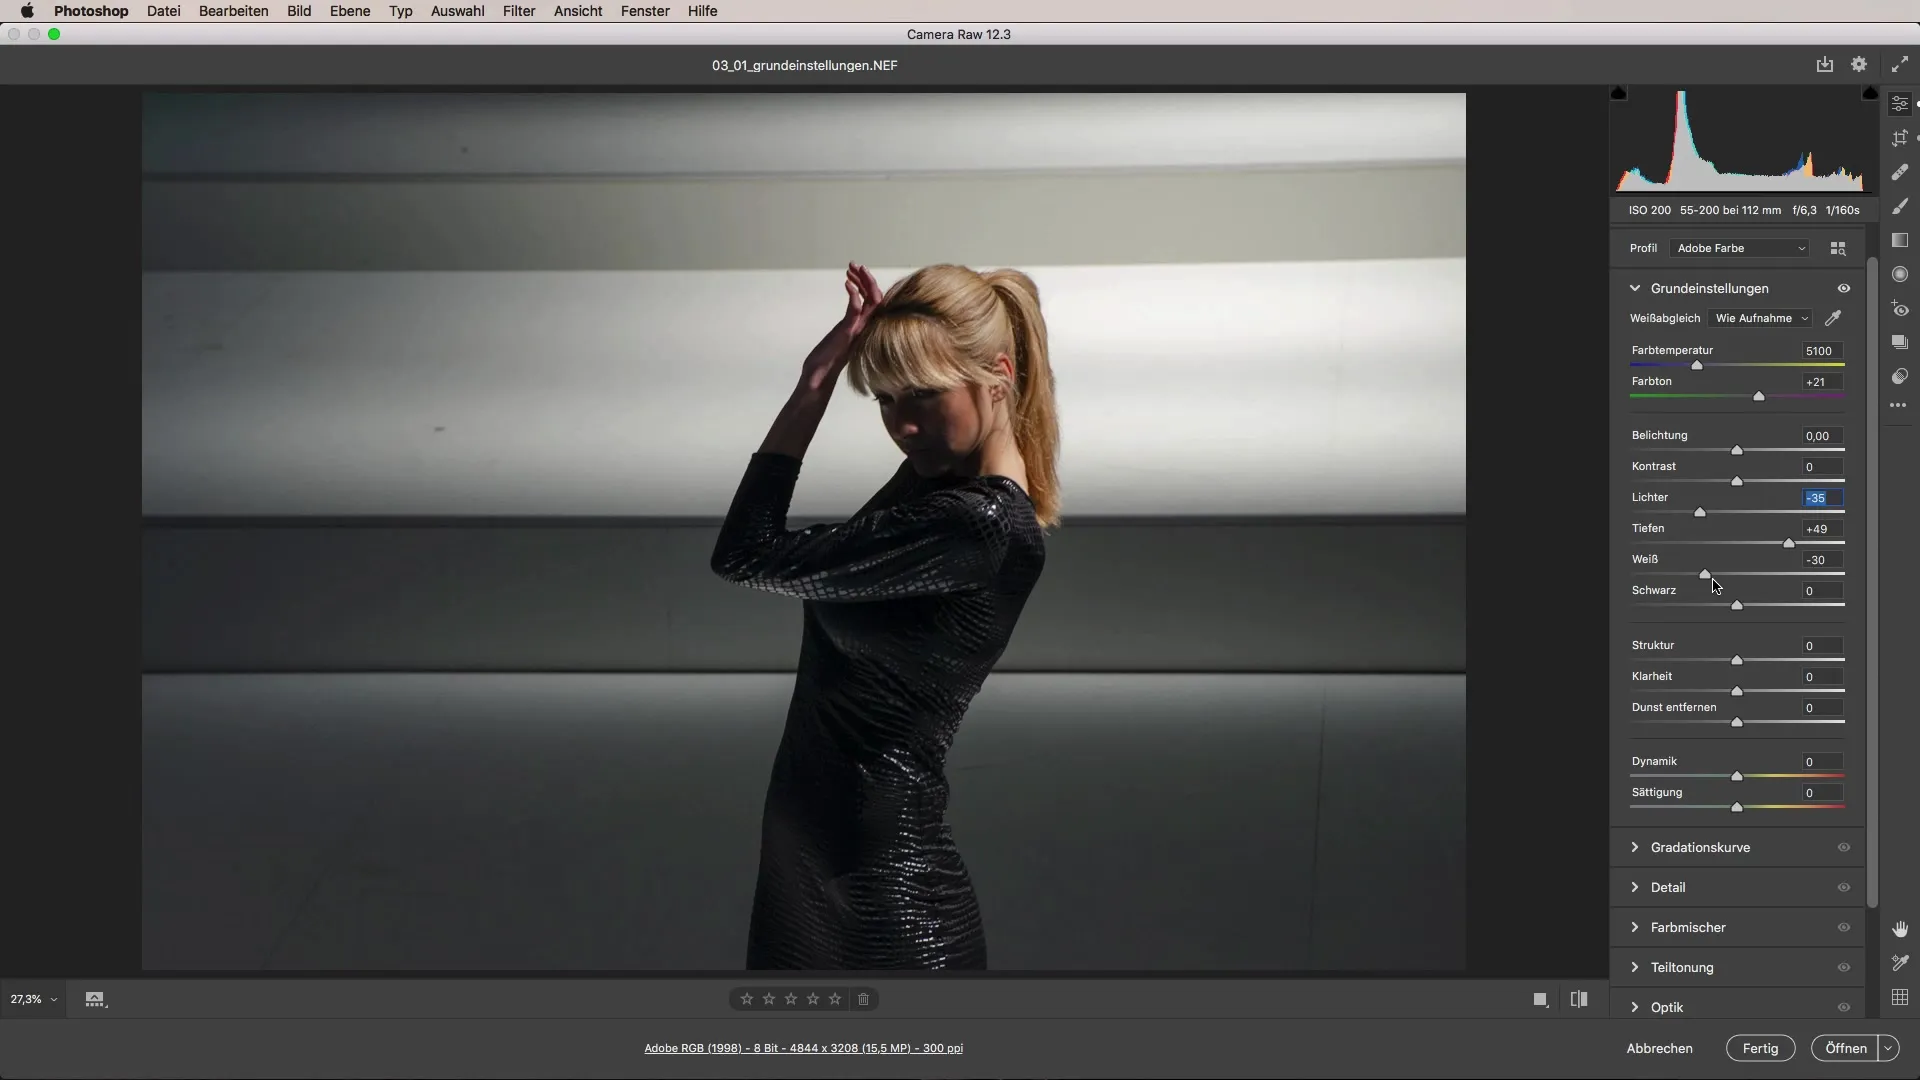
Here you determine whether the white shines in the image or whether it is overexposed. Reduce the lights to recover overexposed areas. Use the histogram in the upper right corner as a visual aid to ensure that you do not lose any information.
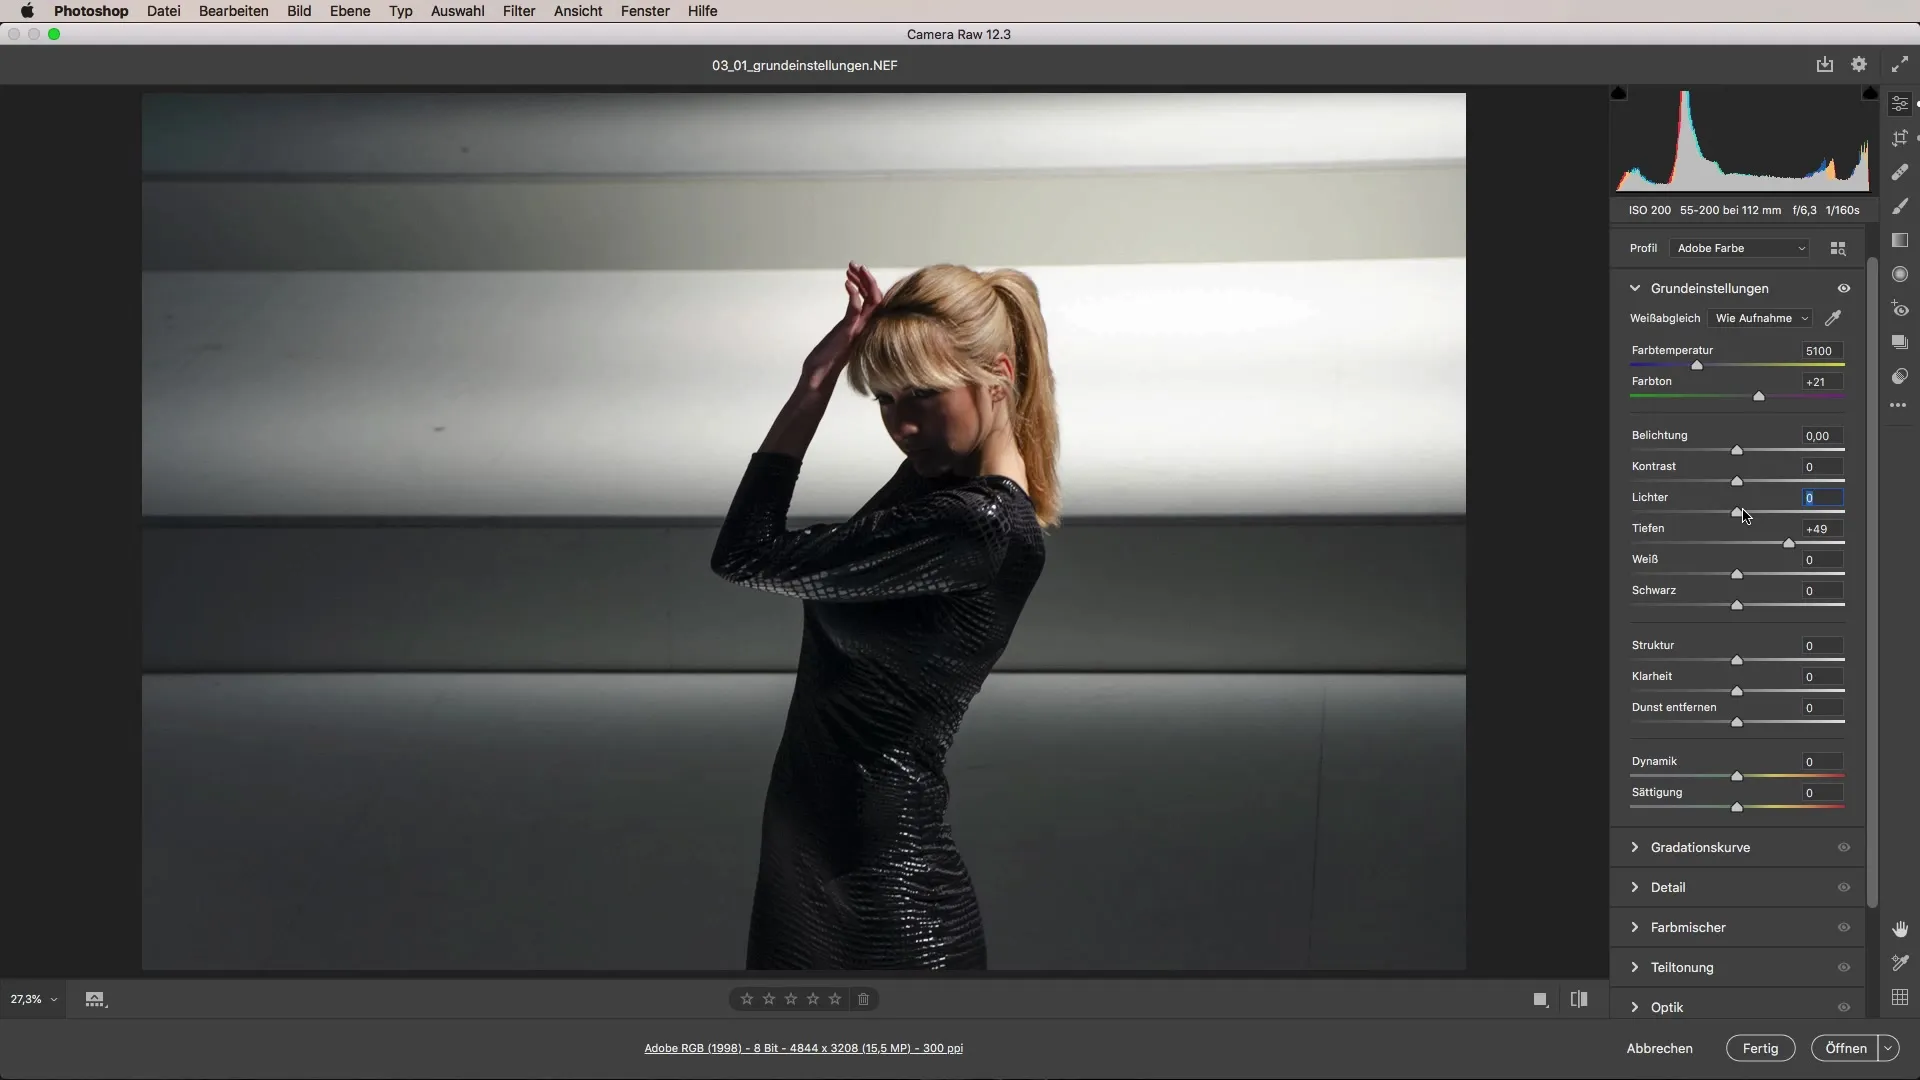
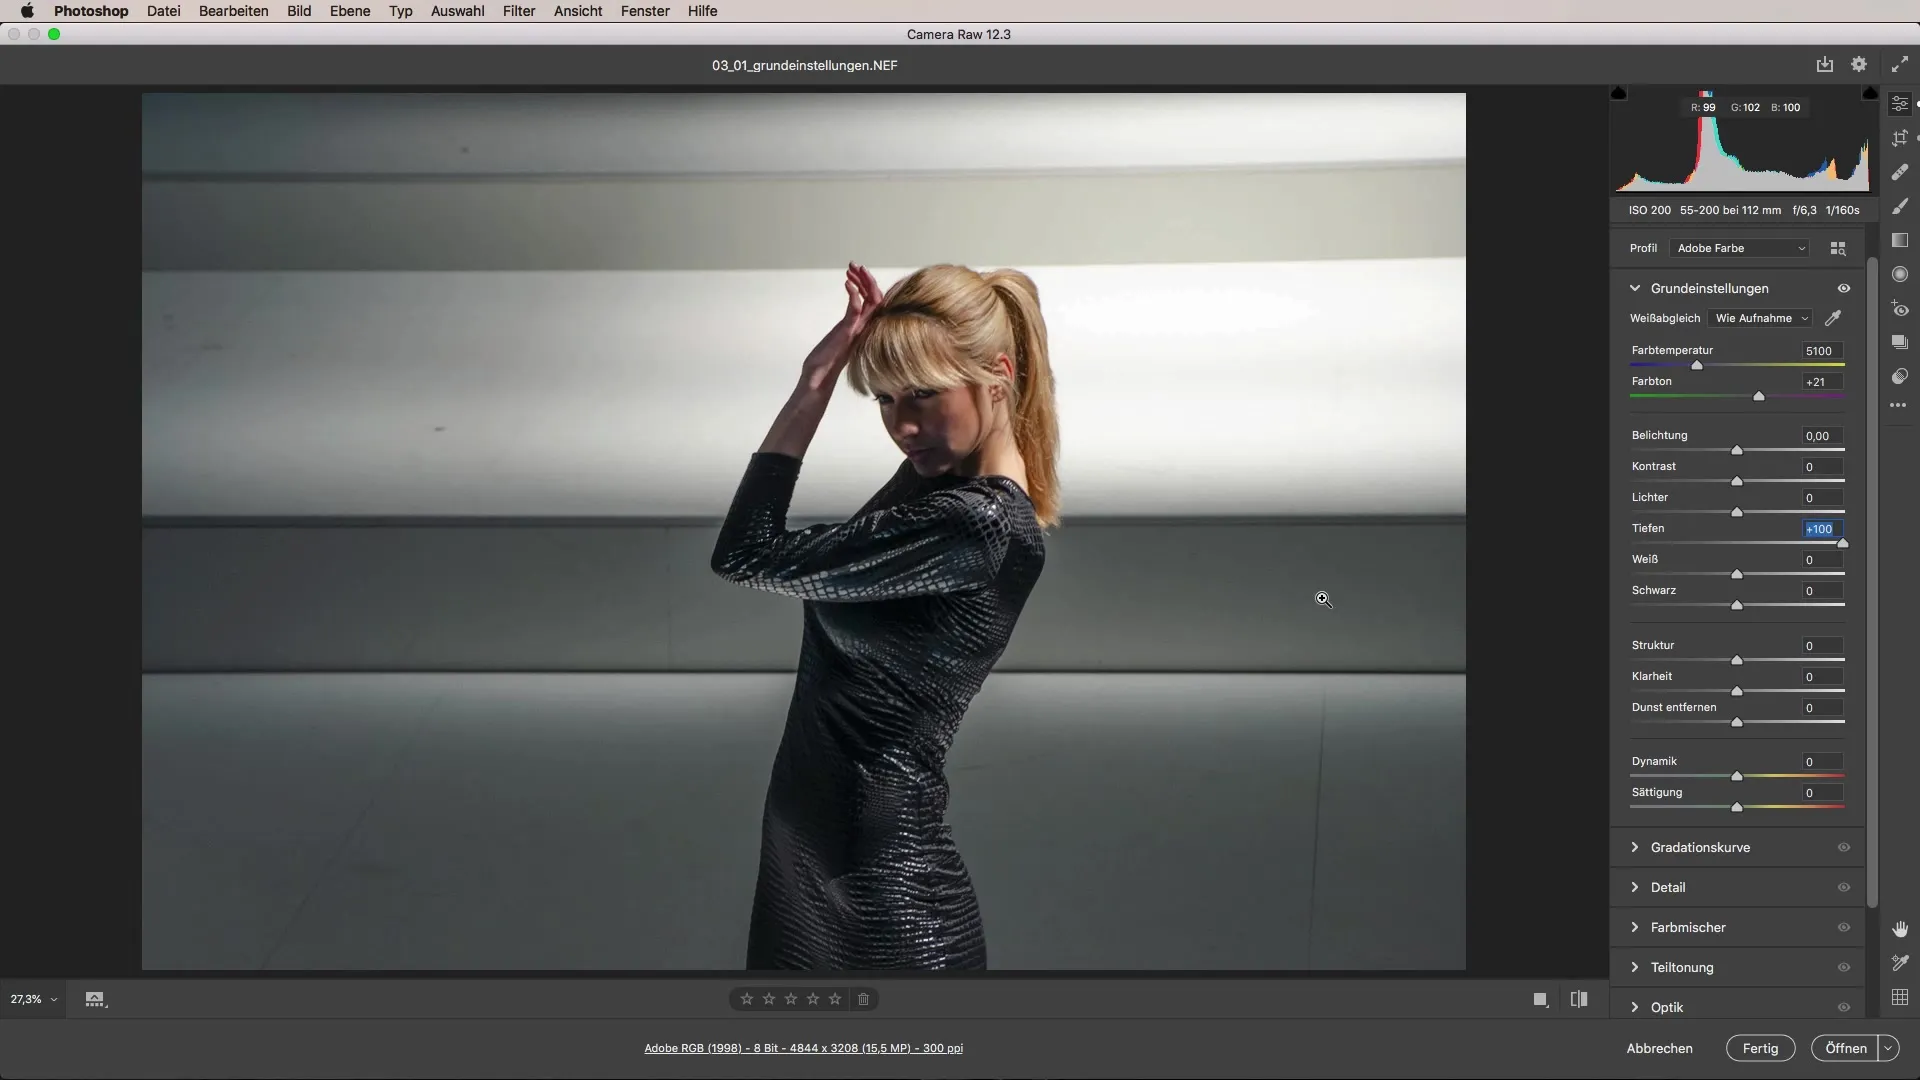
Once you have adjusted the exposure and the lights, it's time to consider the shadows. Shadow sliders help you brighten dark areas without affecting the brightest spots. This is especially useful when important details are hidden in the shadows.
Now that the light is adjusted, we turn our attention to the contrast. This slider has a significant impact on the image's perception. A higher contrast can give an image more depth, while too much contrast can make it look 'flat'. Here, a fine sense is required to find the right balance.
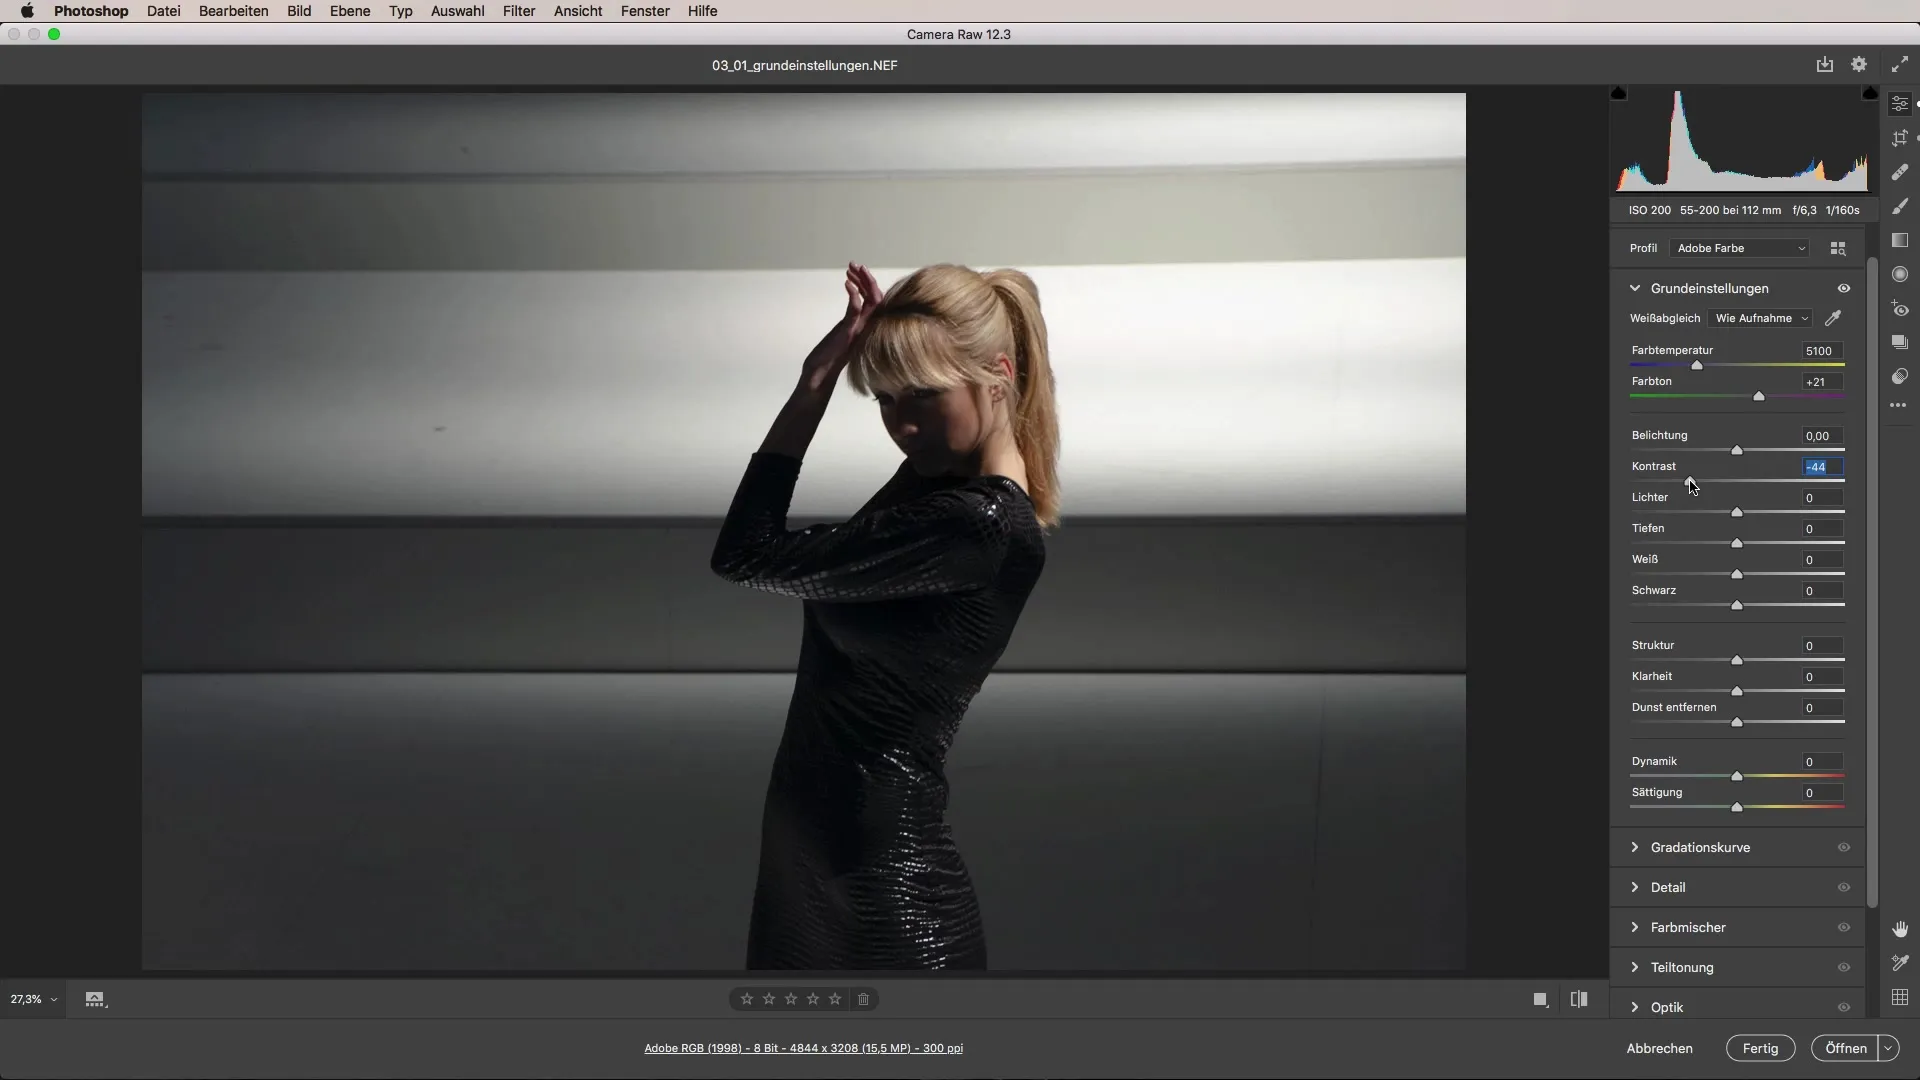
We should also consider the white and black sliders. These affect how the lightest and darkest parts of your image look. For this image, I would recommend working cautiously with these sliders to avoid unwanted effects.
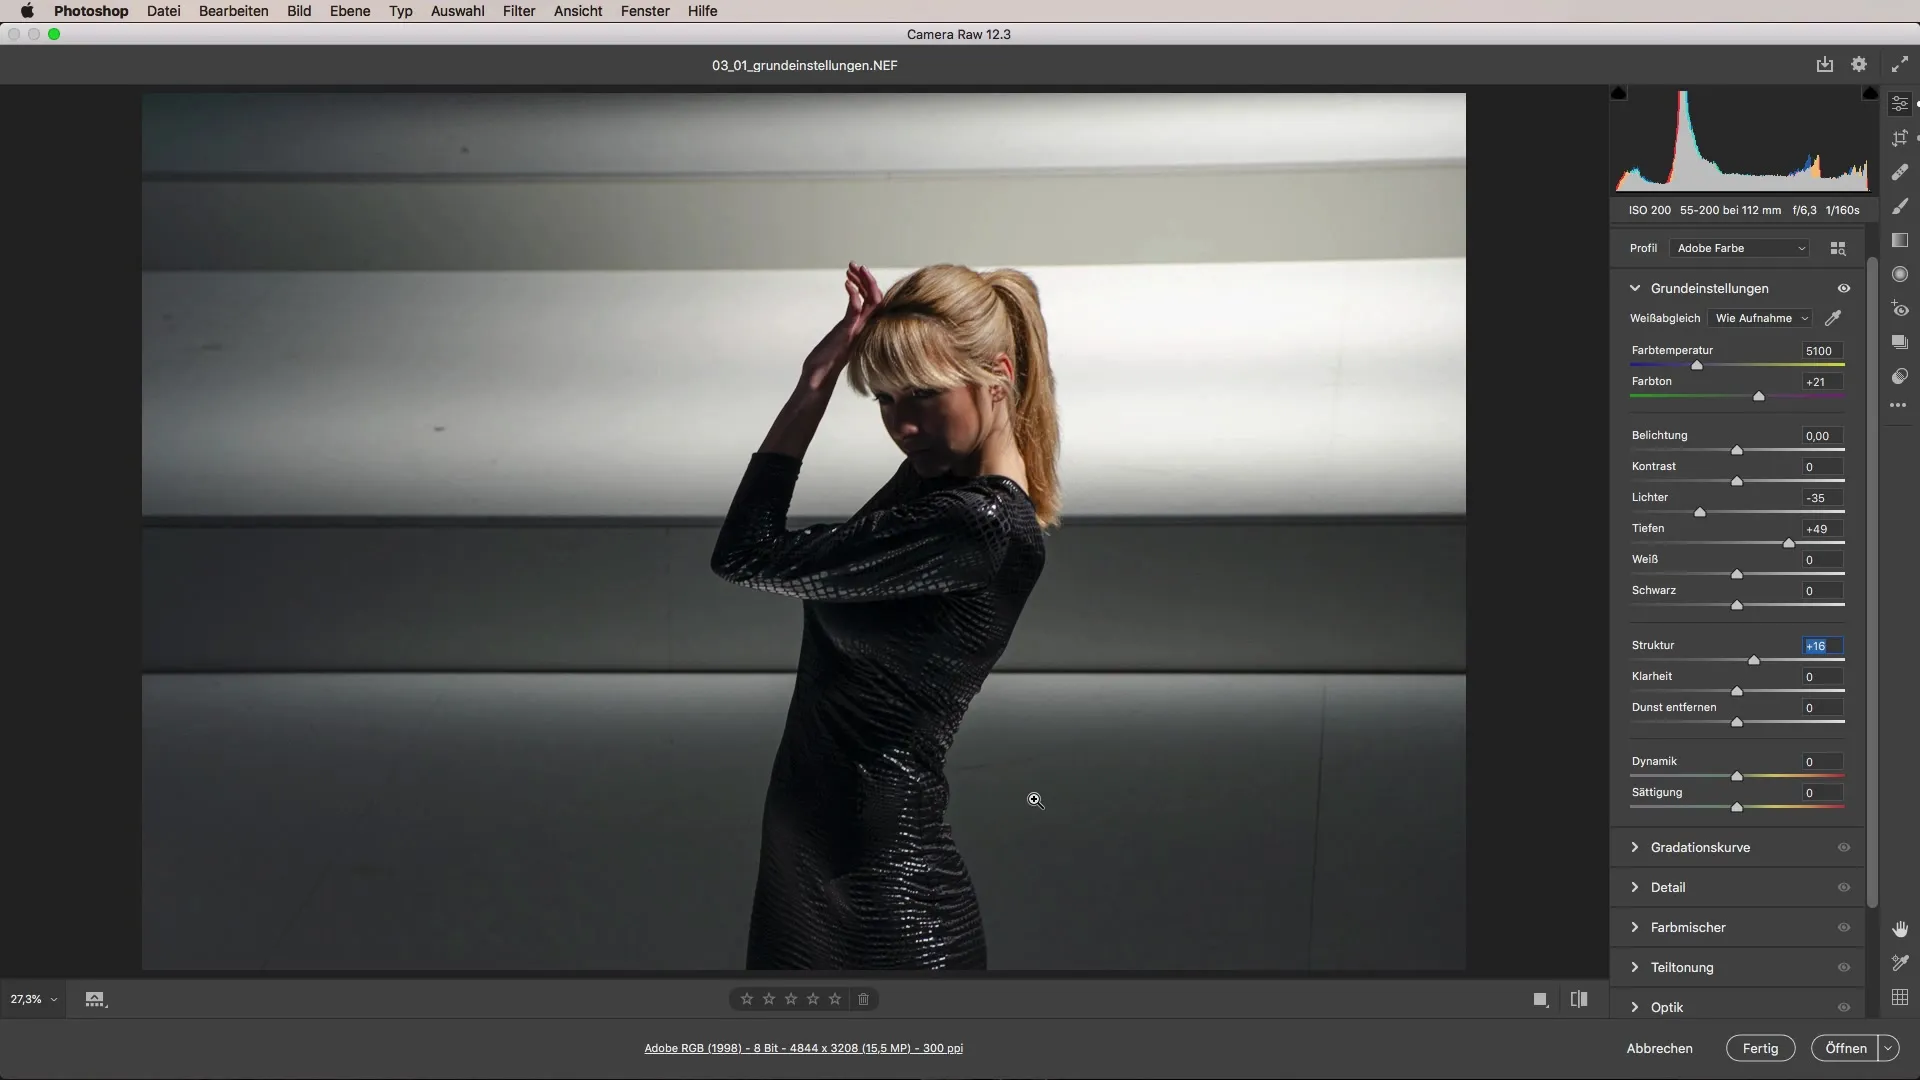
Now let's move on to texture. This slider enhances minor details in the image. Especially in fashion photography, it can be beneficial to increase the texture value to depict fabric details more clearly. Be careful not to increase it too much, as this can lead to unsightly edges.
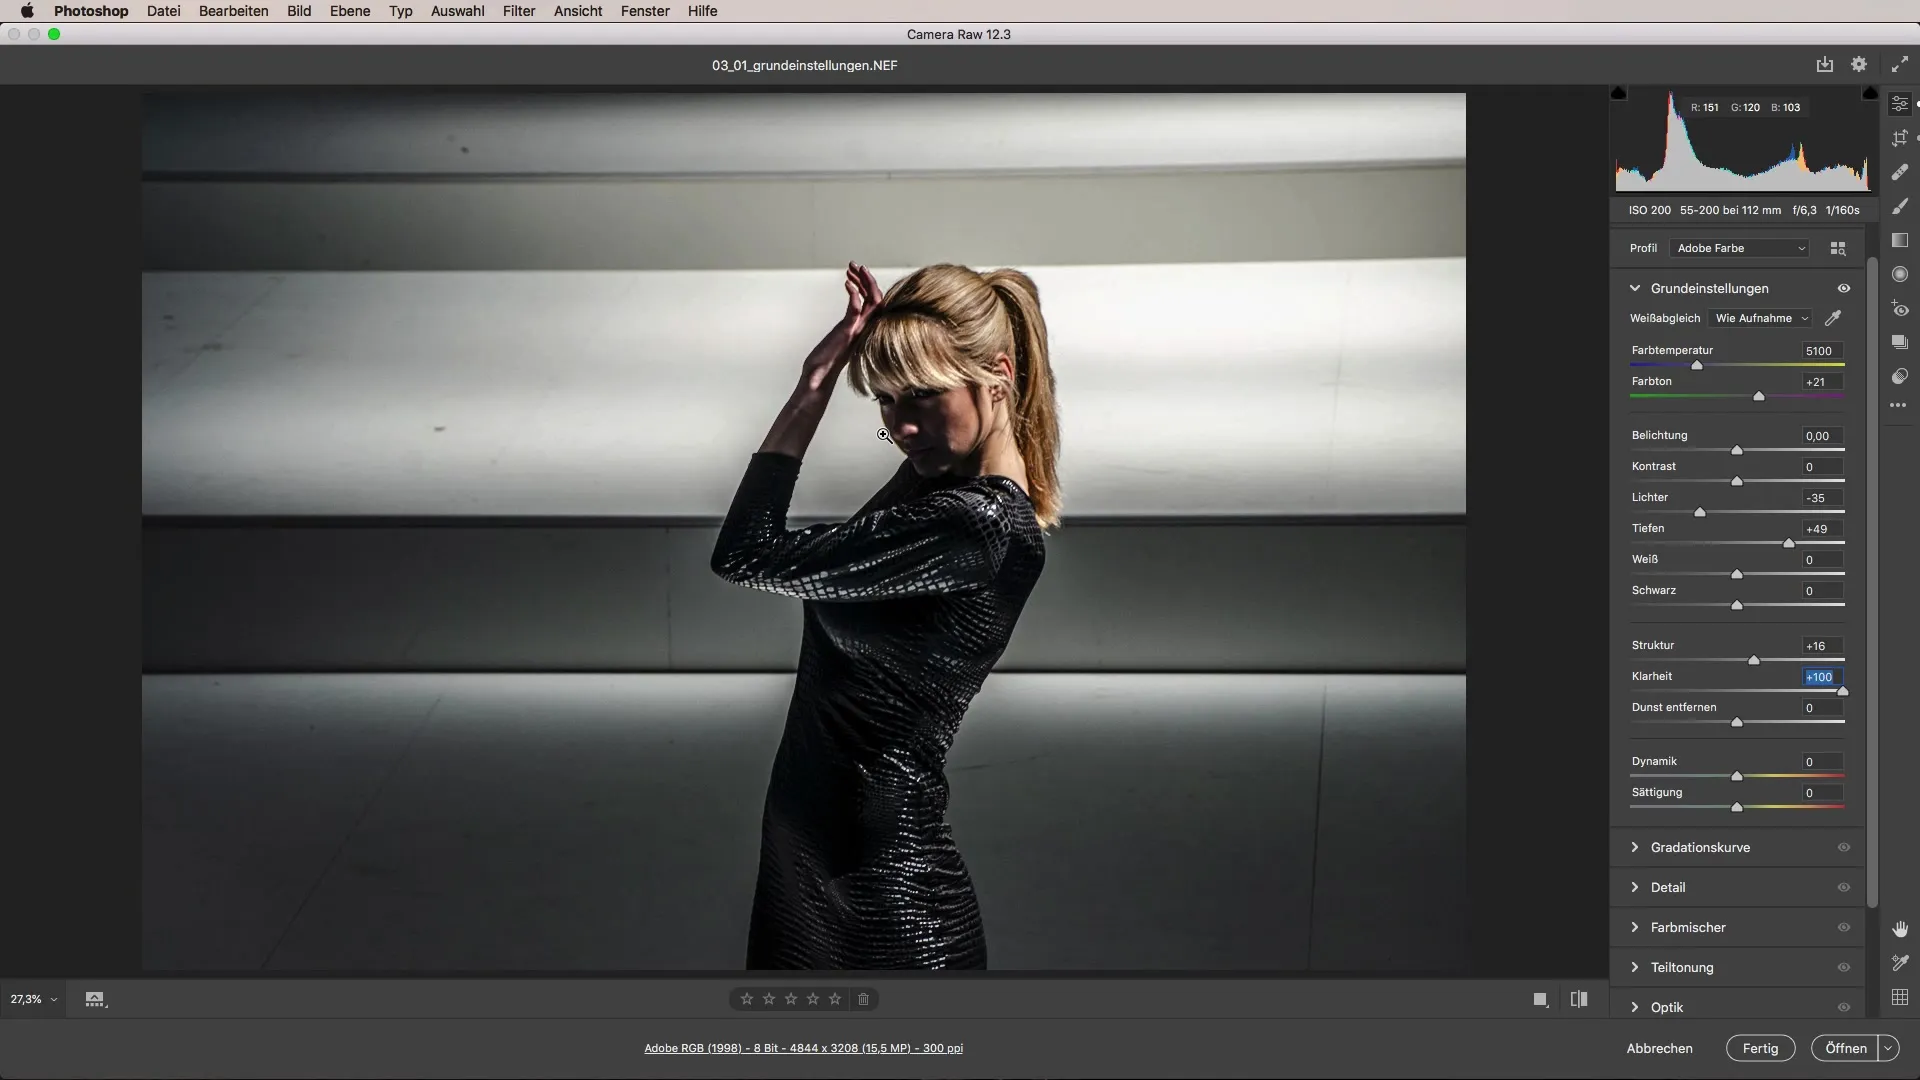
Clarity is the next point. It enhances the contrast in the midtones and brings your images to life. Here, you should proceed with caution, as too much clarity can make skin tones appear restless. A value between 10 and 20% is often ideal for portraits.
Vibrance and saturation are two other important sliders. Vibrance only boosts the less saturated color hues, while saturation elevates all colors evenly. For an organic look, it is usually better to increase vibrance rather than boost saturation.
The crucial point after all these adjustments is the overall consideration. Go through the options and check if you can add or improve something with each slider. Often, it is the small adjustments that make your image look balanced and professional.
Summary – Camera Raw: Optimize Your Photo with Basic Settings
Working with the basic settings in Adobe Camera Raw allows you precise control over the light and color of your images. With the tips and insights from this guide, you can significantly improve your photo editing and give an image the finishing touch.
Frequently Asked Questions
Which sliders are the most important?The sliders for exposure, contrast, lights, and shadows are fundamental for light adjustment.
How does vibrance affect colors in the image?Vibrance increases saturation only in the less saturated colors, allowing for subtle adjustments.
Can I use the basic settings without photo editing knowledge?Yes, the basic settings are designed to be user-friendly and allow even beginners to make simple adjustments.
What should I consider when working with clarity?Be careful with high values, as they can appear unnatural in portraits.
How do I find the right balance when editing?Regularly check your image and test different sliders to get the best result.


