With Adobe Camera Raw you can easily make color changes in your images. In this tutorial, I will show you the different ways you can recolor image elements. Let's go through the individual steps together to bring your images to life.
Key insights
- The HSL settings (hue, saturation, and luminance) are crucial for color changes.
- By making targeted adjustments to hues, you can achieve dramatic effects without over-processing the image.
- The adjustment brush allows you to selectively edit areas of the image and make targeted adjustments.
Step-by-Step Guide
Step 1: Open image and adjust basic settings
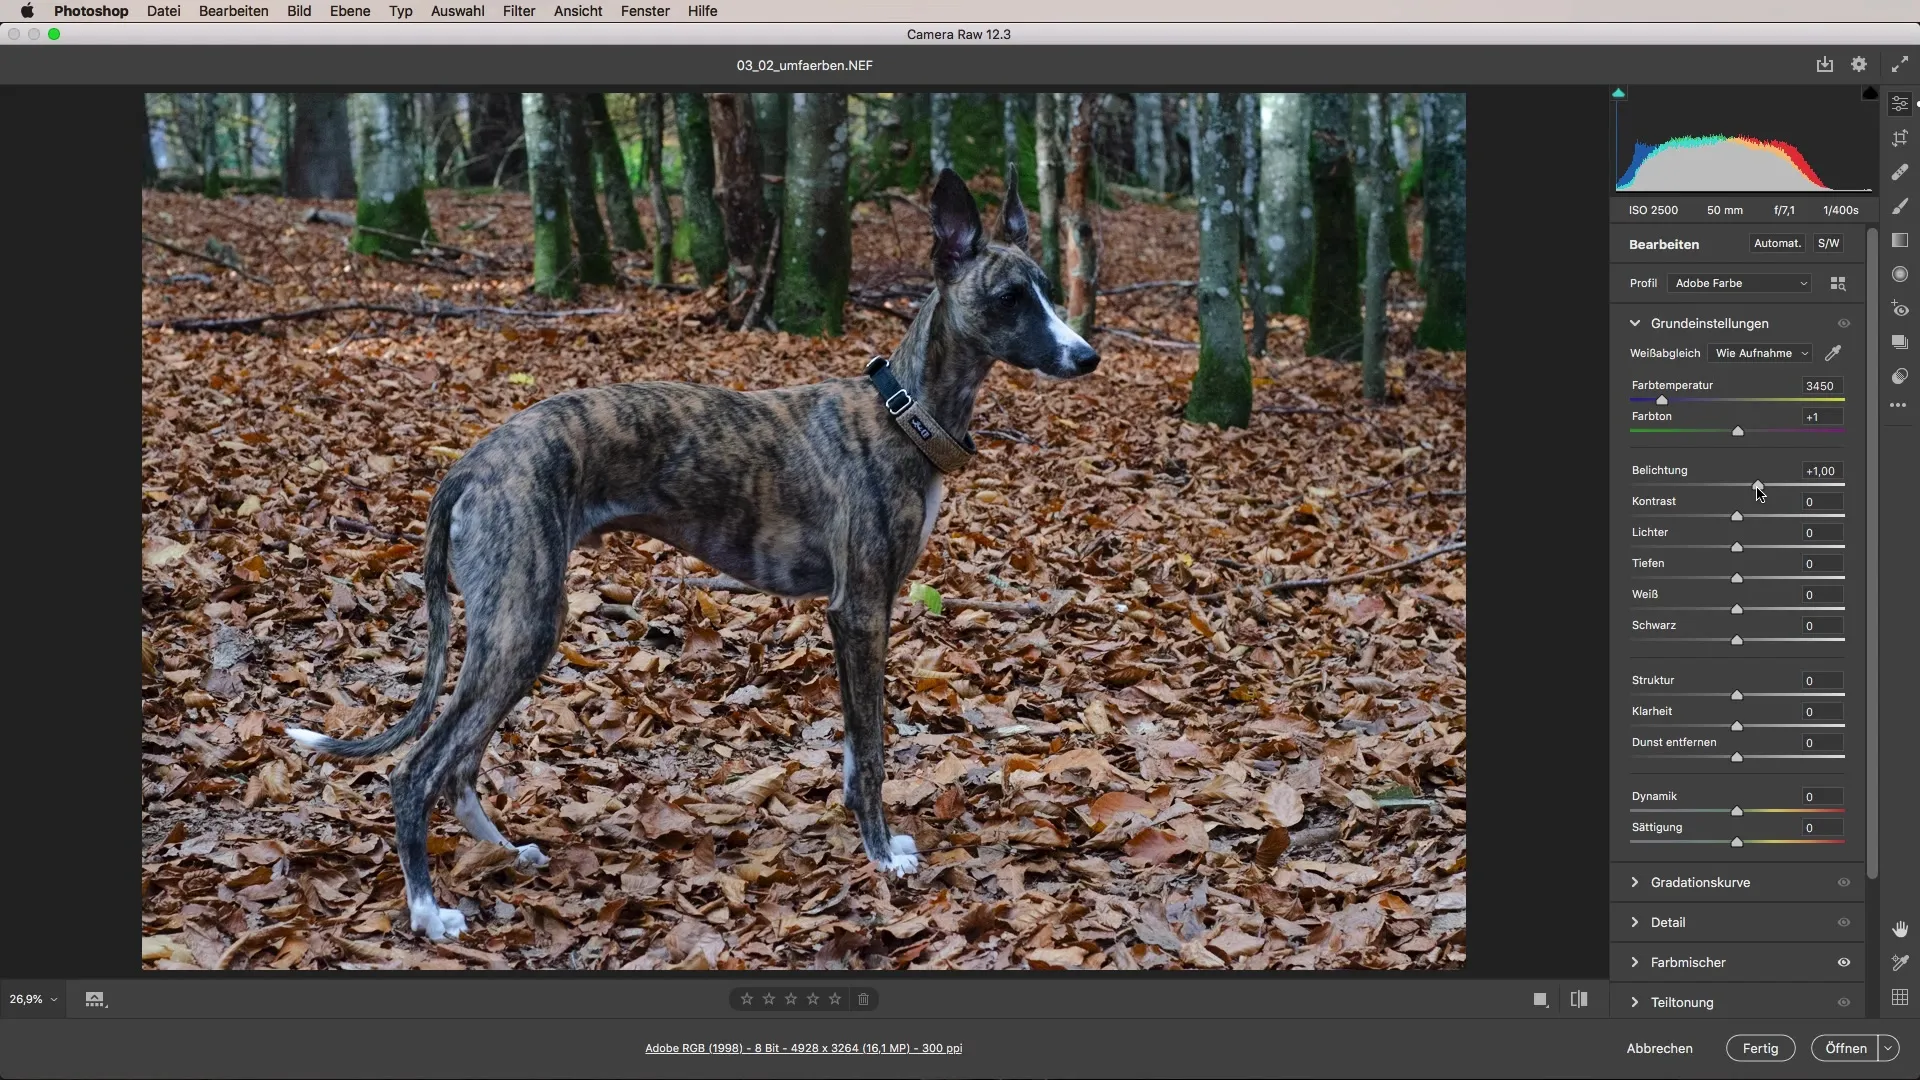
Start by opening your image in Adobe Camera Raw. Make sure to adjust the basic settings like exposure and contrast to create an optimal starting point. For example, you might increase the exposure if your image is too dark.
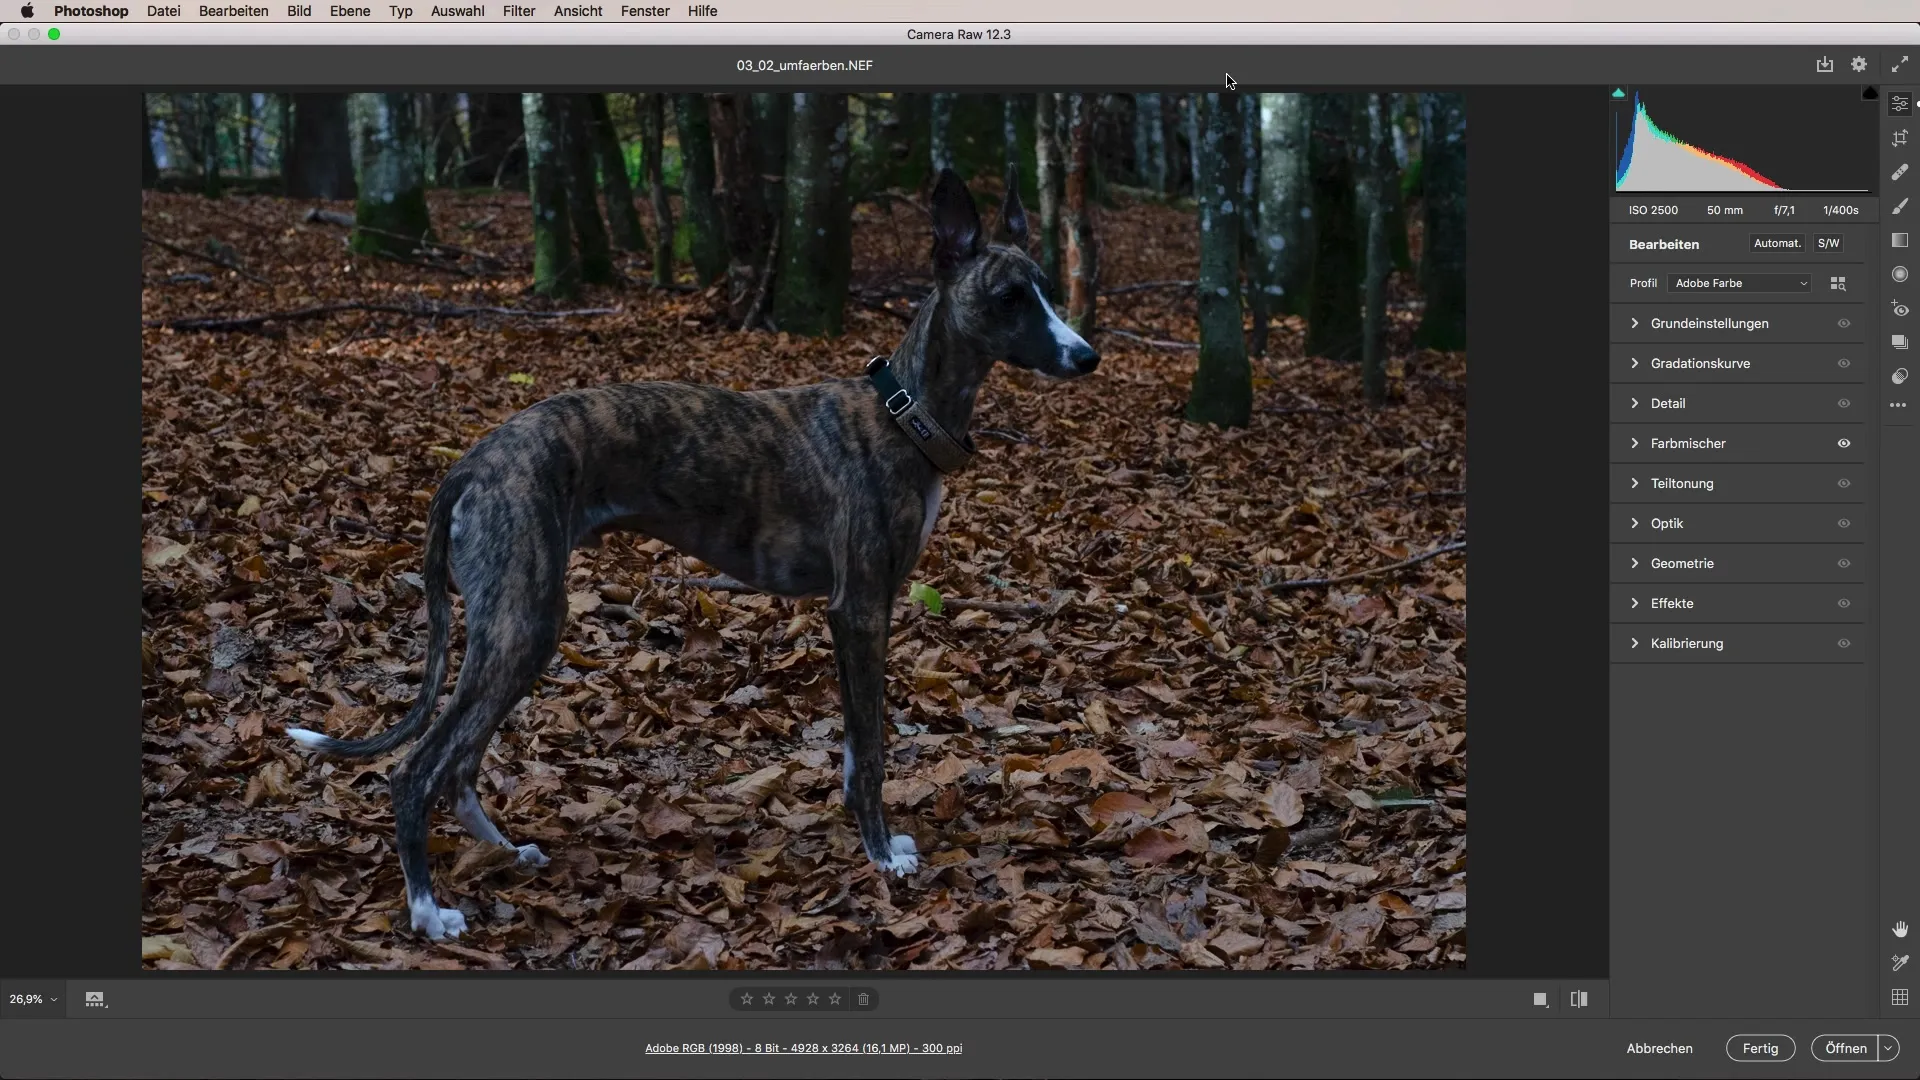
Step 2: Access HSL settings
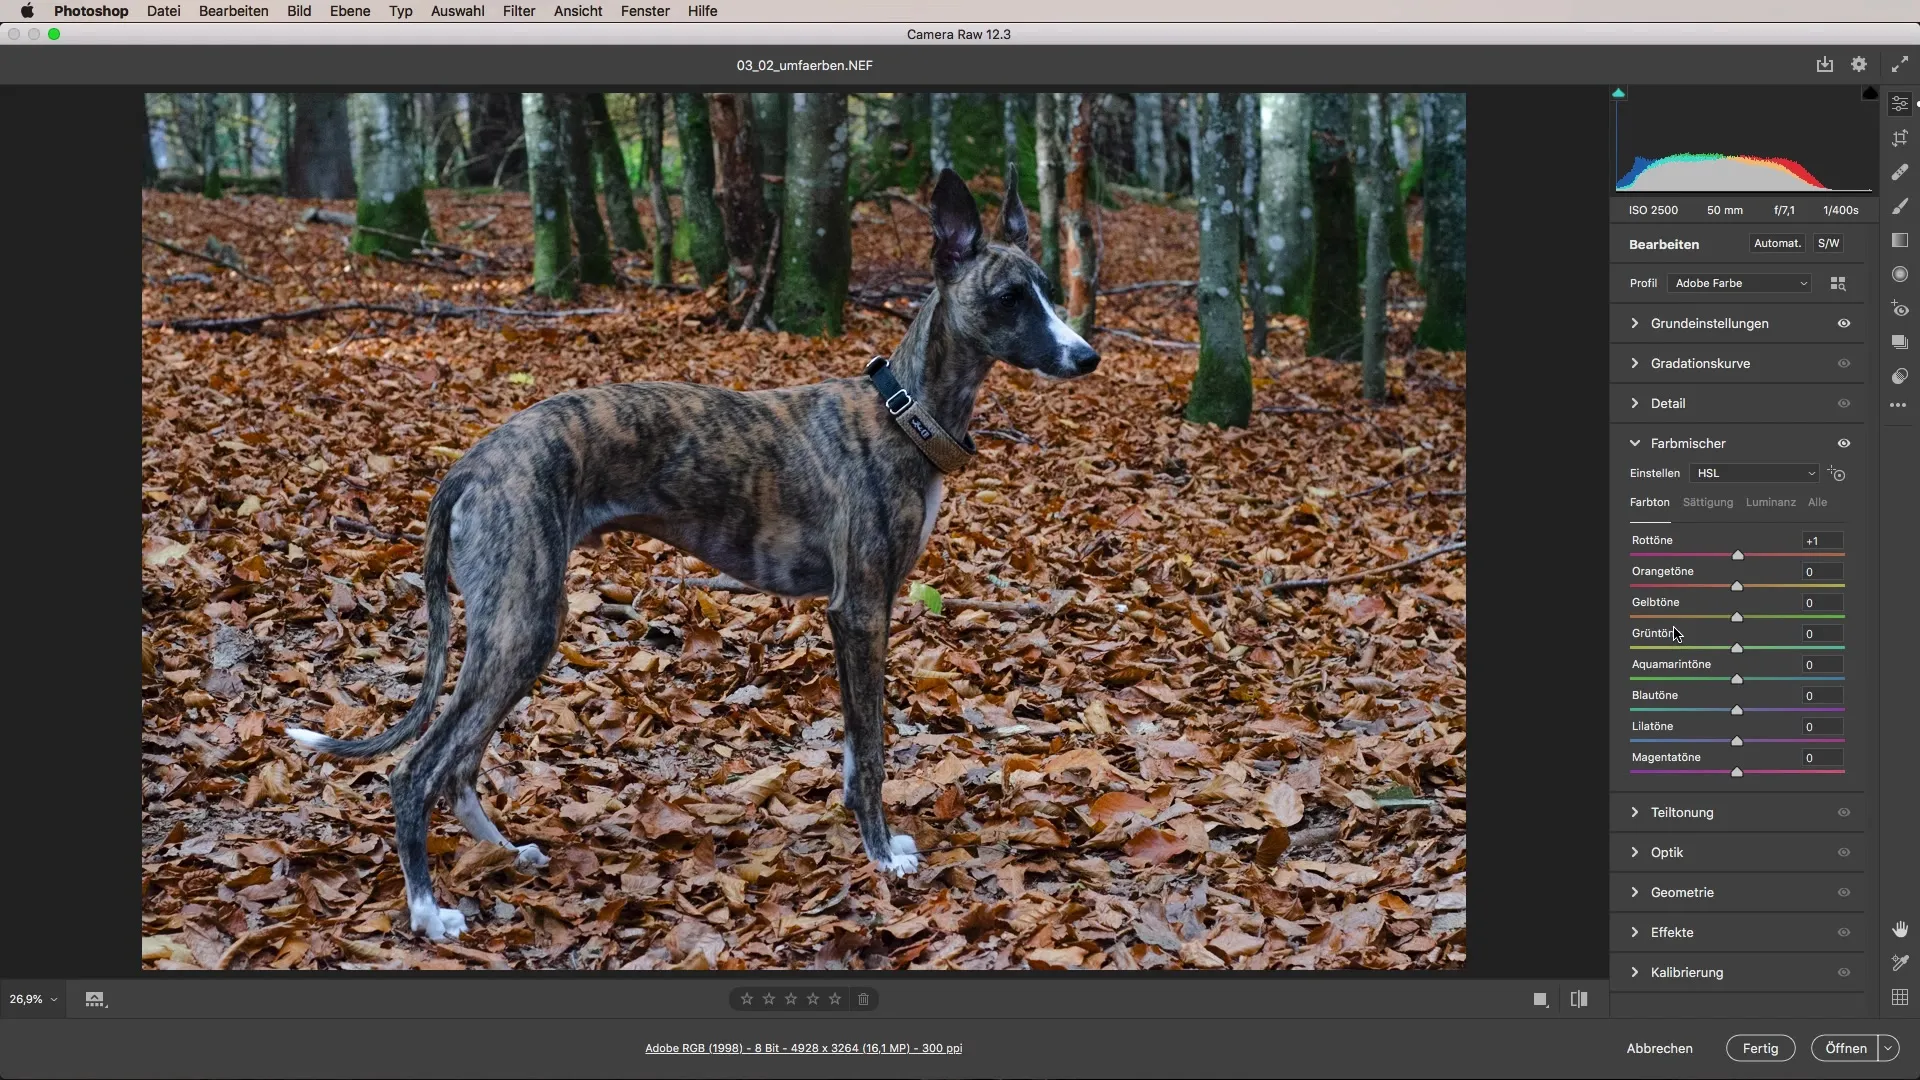
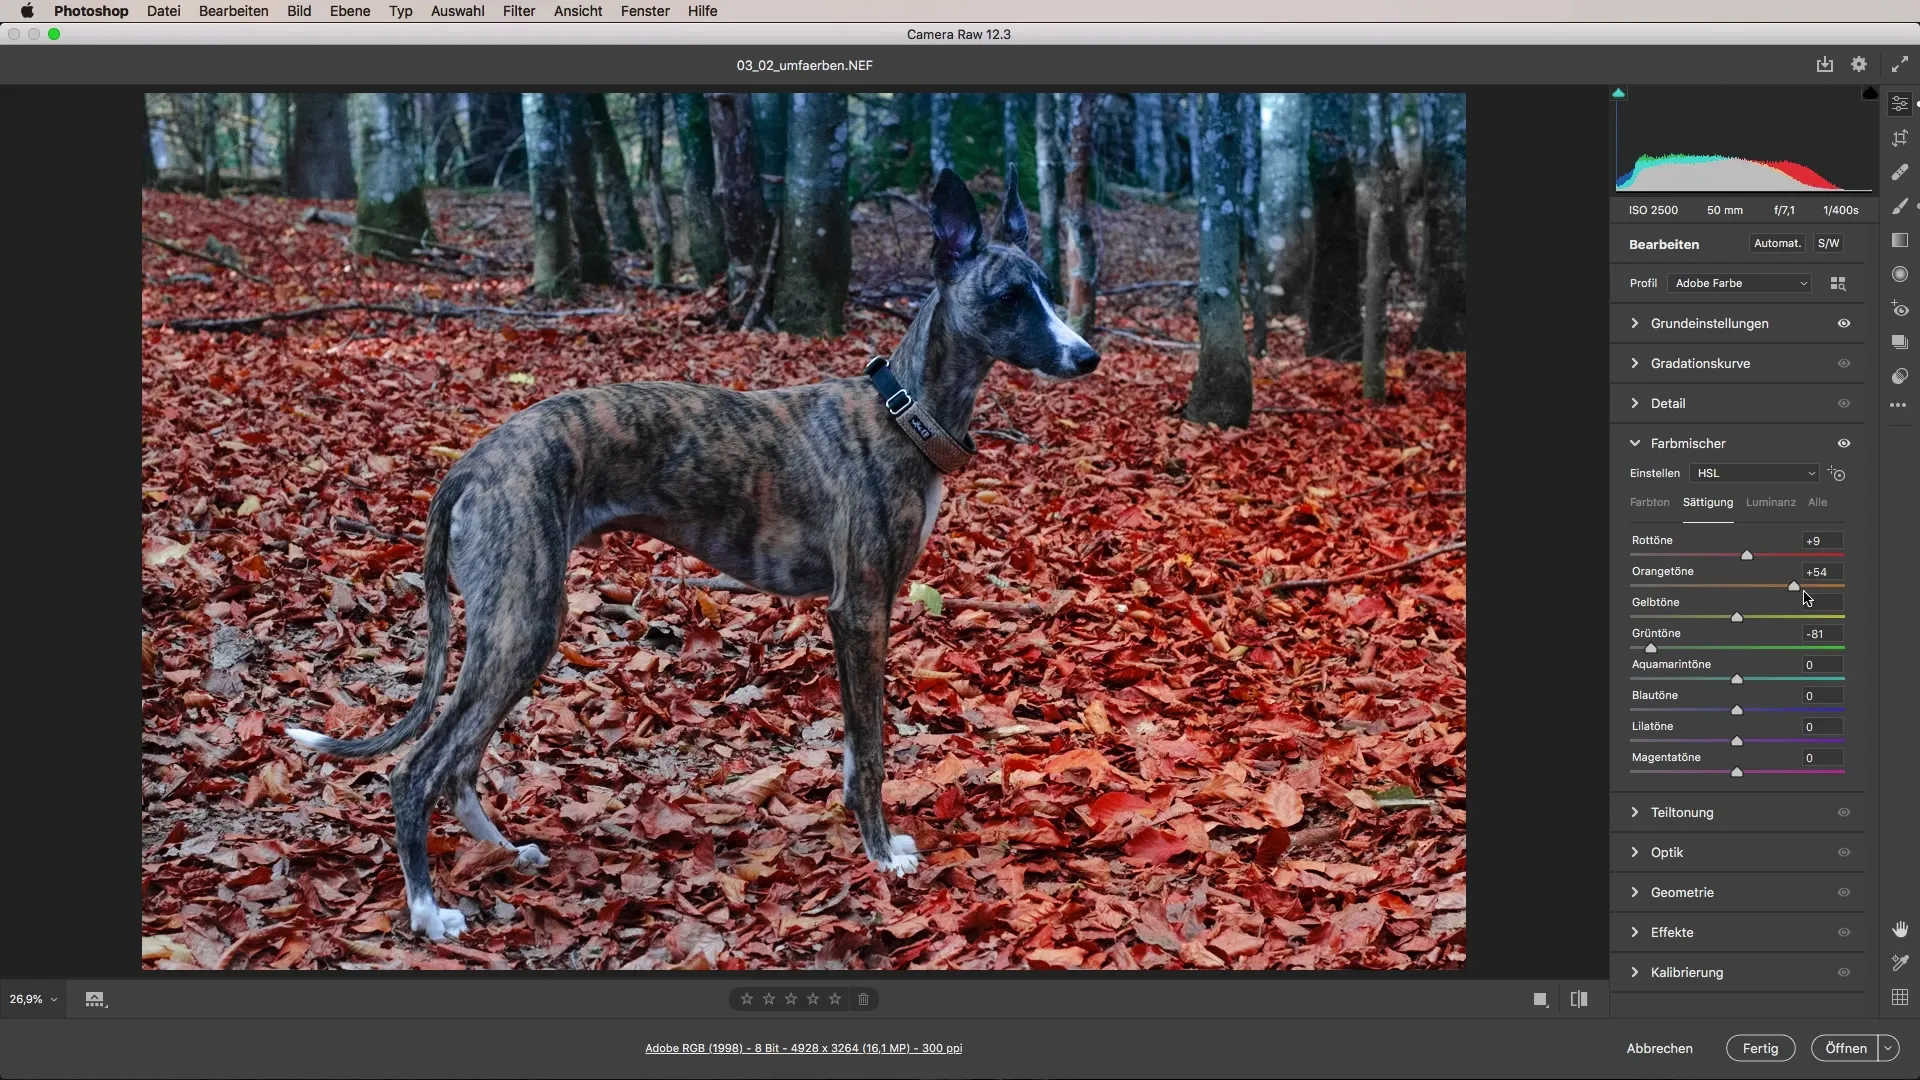
Navigate to the HSL settings. These stand for hue, saturation, and luminance. Here you can select the visible sliders for the three parameters. I recommend toggling the sliders individually to increase clarity.
Step 3: Adjust hues and saturations
Now start adjusting the saturation and hue. For example, if you want to emphasize the orange tones in your image, increase the saturation slider. To change the hue, move the slider towards red or yellow to achieve the desired effect. Be careful not to overdo it, so your image remains realistic.
Step 4: Optimize luminance
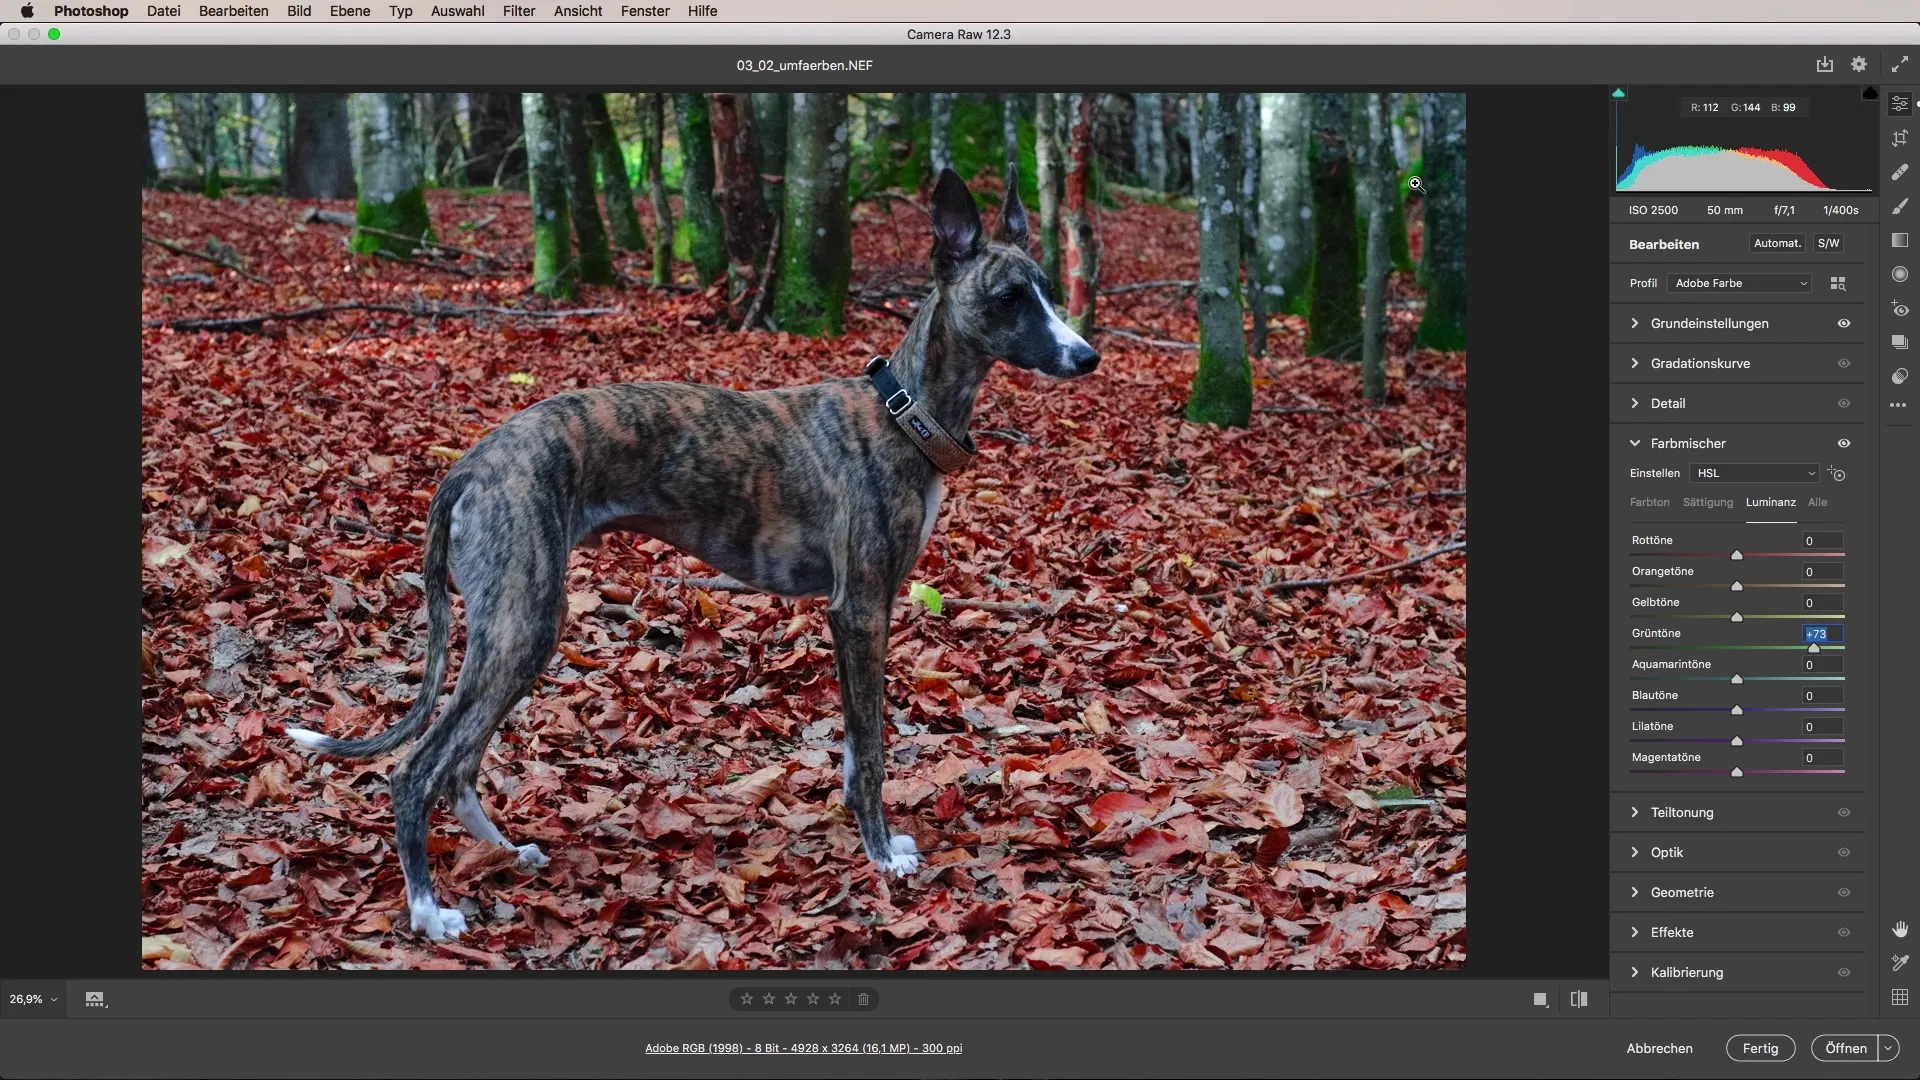
If you want to adjust the brightness of colors, you can also use the luminance sliders for the different hues. For example, you can increase the luminance for the greens to make them appear more vibrant. This can add a new dimension to your images.
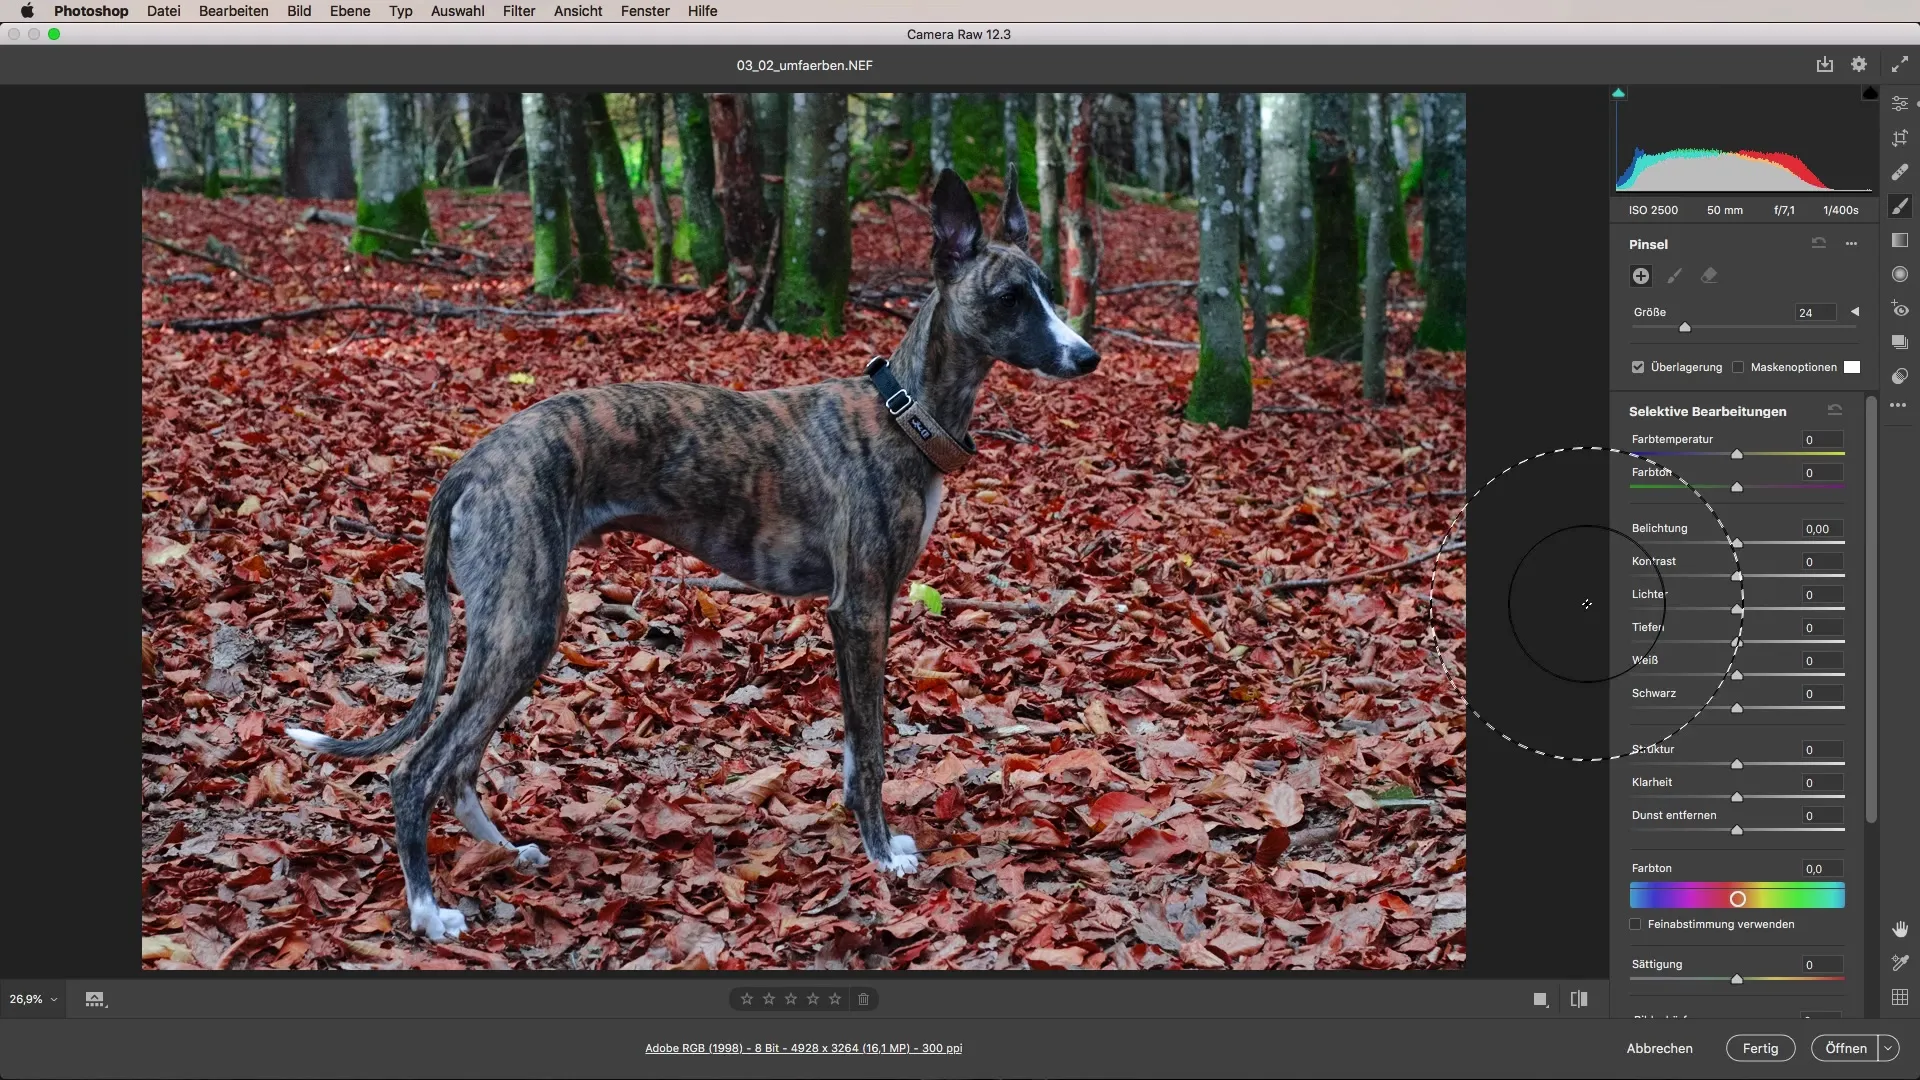
Step 5: Use the adjustment brush
To specifically edit certain areas of the image, use the adjustment brush. With it, you can selectively make saturation changes. For example, if the green in a particular area is too intense, you can reduce the saturation there without affecting the rest of the image.
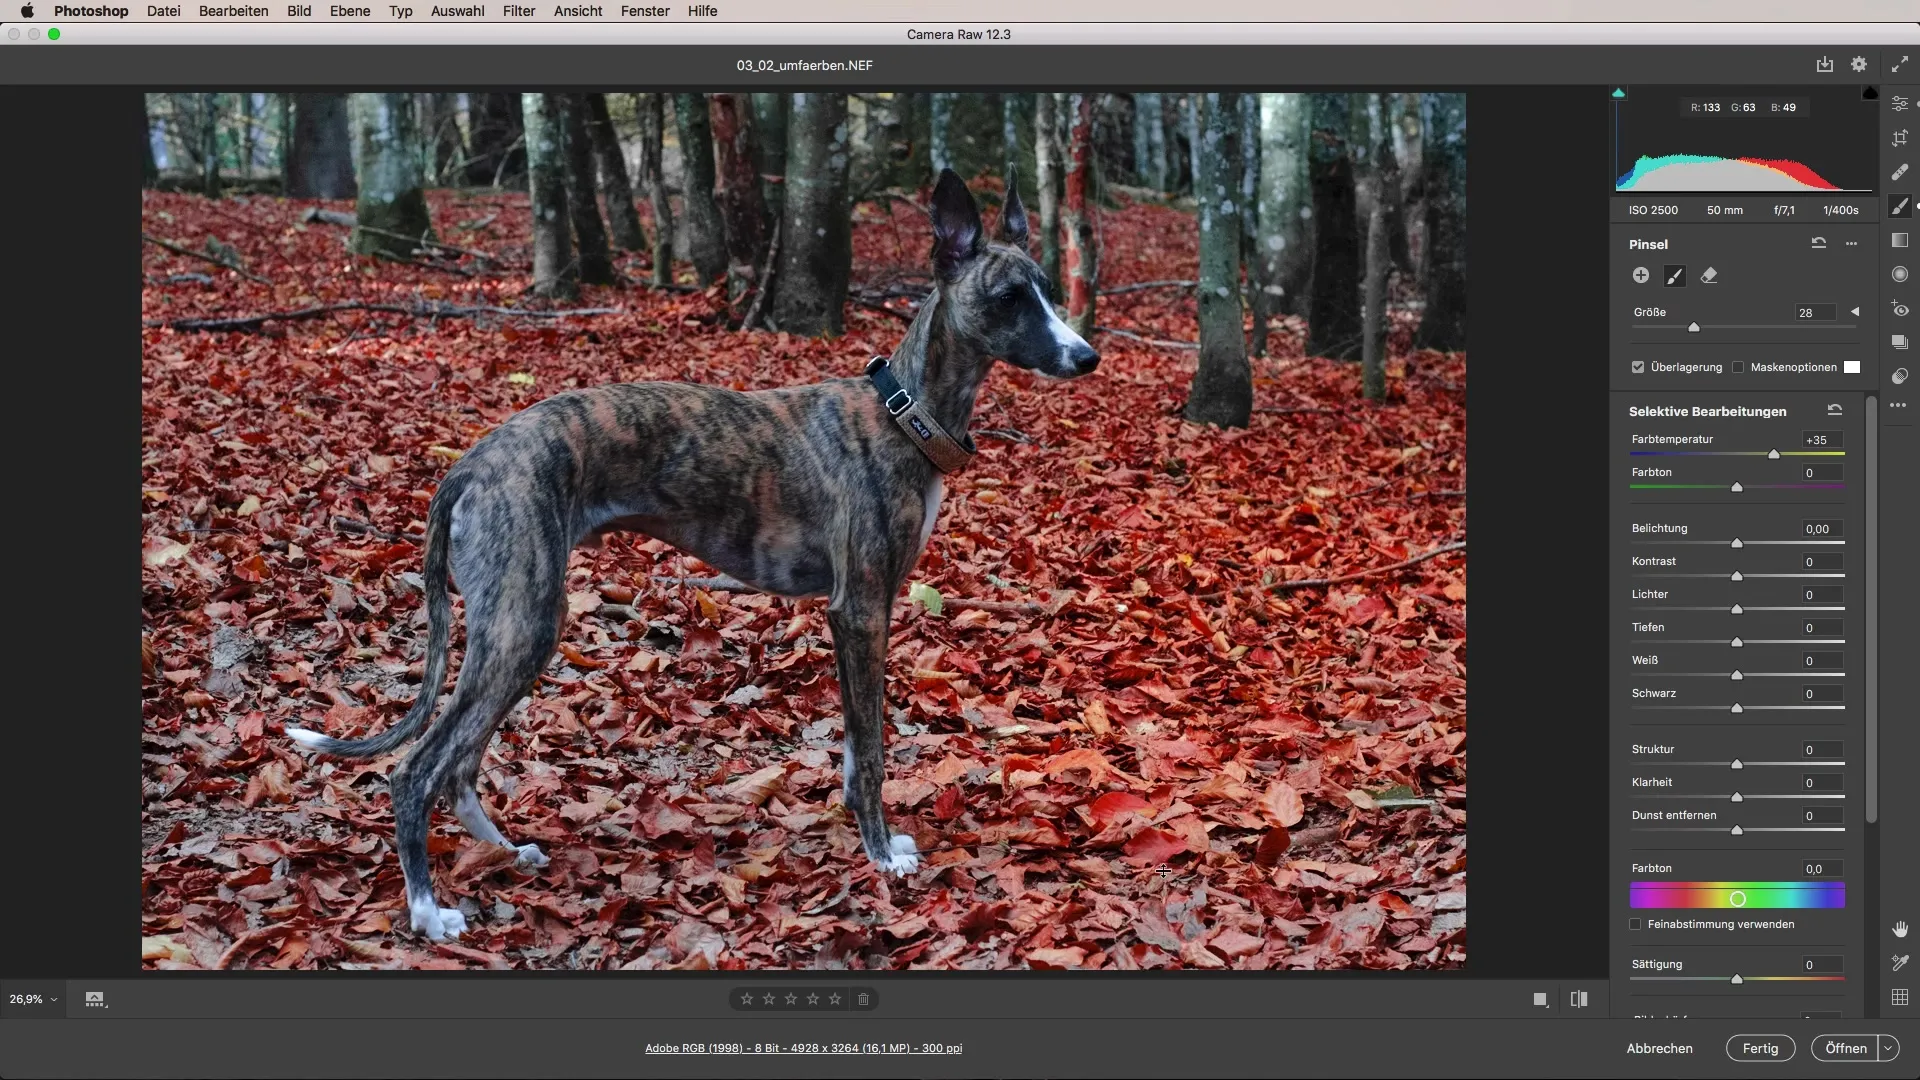
Step 6: Add color moods
If you want to give your image a specific atmosphere, you can do this by adjusting the color temperature. Use the adjustment brush to make certain areas warmer or cooler. Make sure that the changes look harmonious and do not disrupt the overall image.
Step 7: Non-destructive editing
One of the great advantages of Adobe Camera Raw is that all your adjustments are non-destructive. This means you can change or undo your settings at any time. This keeps you in full control of your editing, and you can also make subsequent changes.
Summary – Changing Colors with Adobe Camera Raw: Here's How You Do It!
In this tutorial, you have learned how to specifically recolor image elements in Adobe Camera Raw. From HSL settings to the adjustment brush and non-destructive workflow – you now have the tools to effectively transform your images.
Frequently Asked Questions
What are HSL settings?HSL stands for hue, saturation, and luminance, and these three parameters allow you to specifically adjust colors in your image.
How can I change specific hues in my image?Use the corresponding sliders in Adobe Camera Raw to specifically change saturation and hue to achieve color effects.
Is editing in Adobe Camera Raw non-destructive?Yes, all changes you make in Adobe Camera Raw are non-destructive, meaning you can undo or change adjustments at any time.
Can I apply the adjustments to other images as well?Yes, you can save your settings and apply them to other images, making the editing process more efficient.


