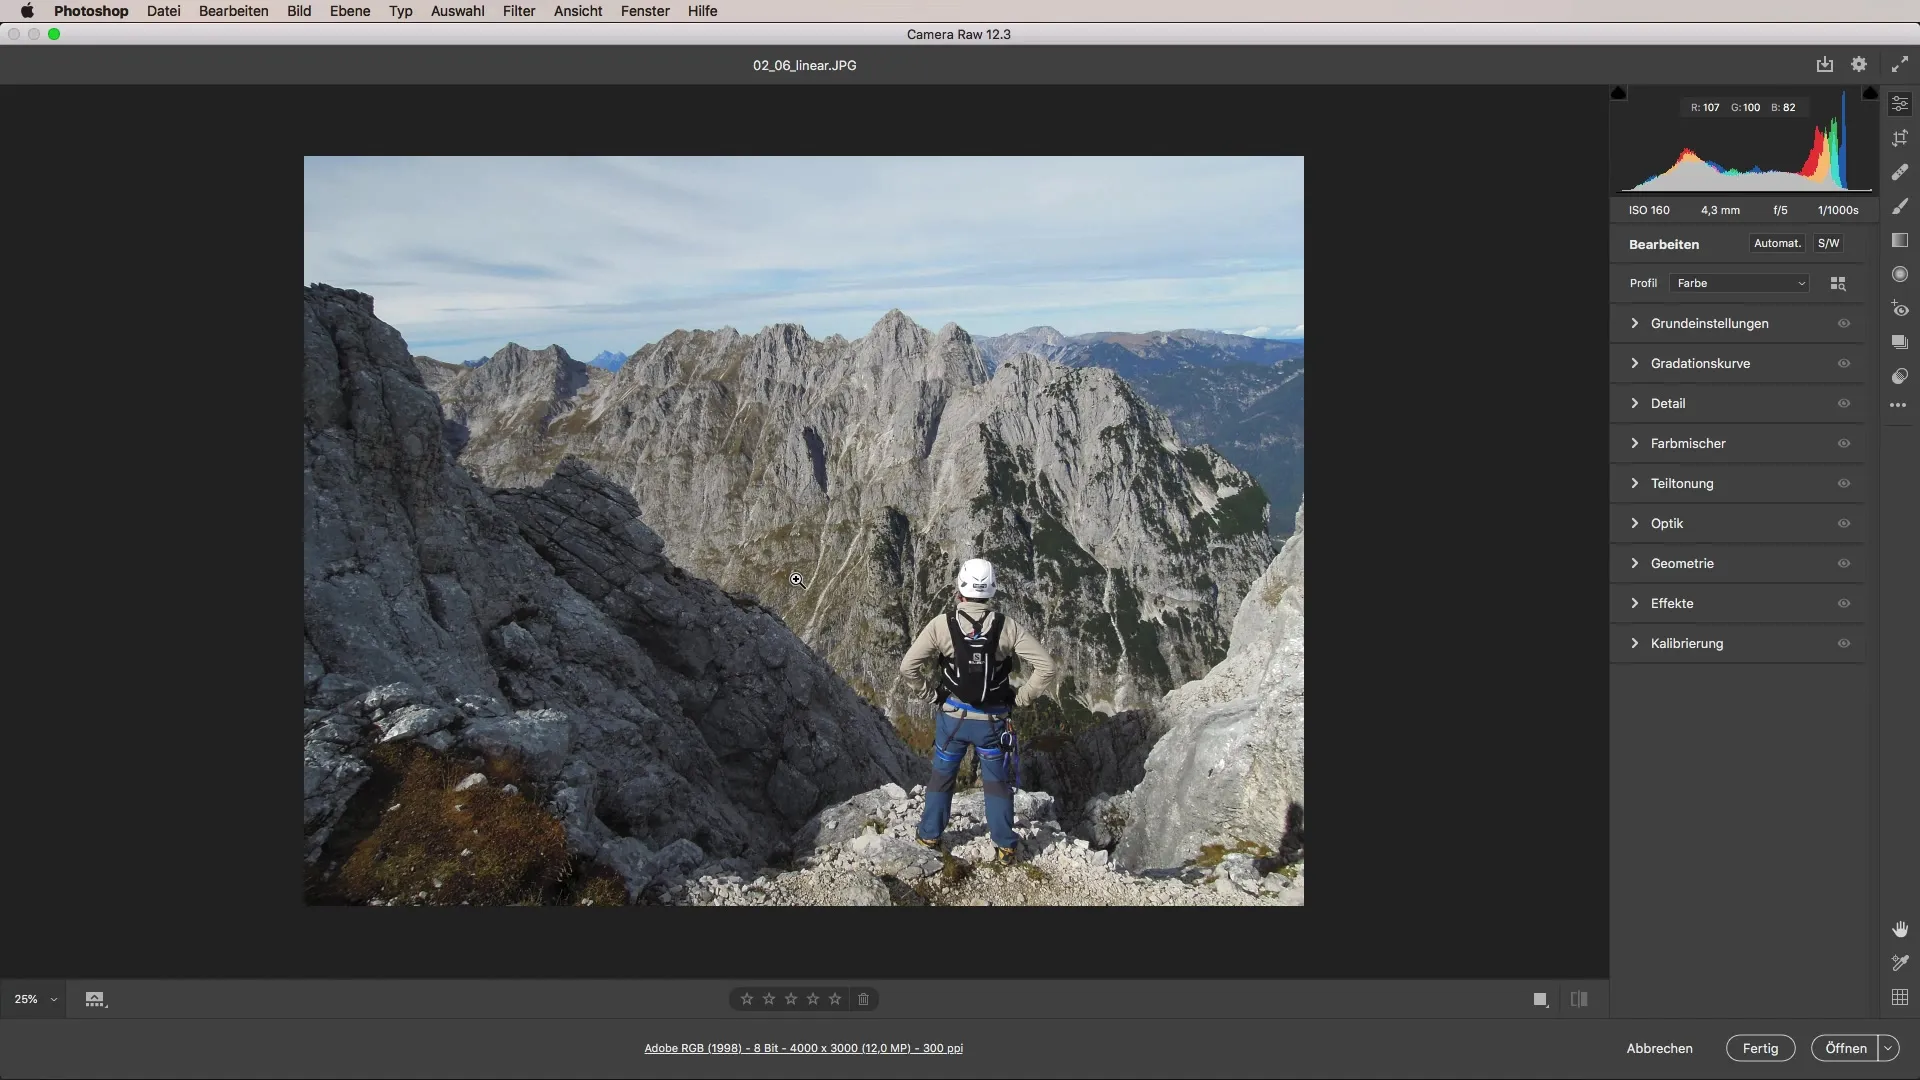
Do you want to improve the quality of your images with Adobe Camera Raw in an easy way? The linear gradient is a powerful tool that helps you make targeted adjustments in selected areas of an image. In this guide, you will learn how to achieve dramatic changes in your images using the gradient filter with just a few clicks.
Key Takeaways
- The linear gradient allows for specific adjustments without the need for complex masking.
- You can emphasize important image elements by adjusting exposure, color temperature, and other settings selectively.
- Iterative adjustments are possible, allowing you to continually optimize your image.
Step-by-Step Guide
Getting Started with the Linear Gradient Filter
To work with the linear gradient, you first need to have the appropriate image opened. Click the gradient filter icon at the top to activate the tool. You will notice that the interface is very similar to the basic settings area.

Darkening the Image
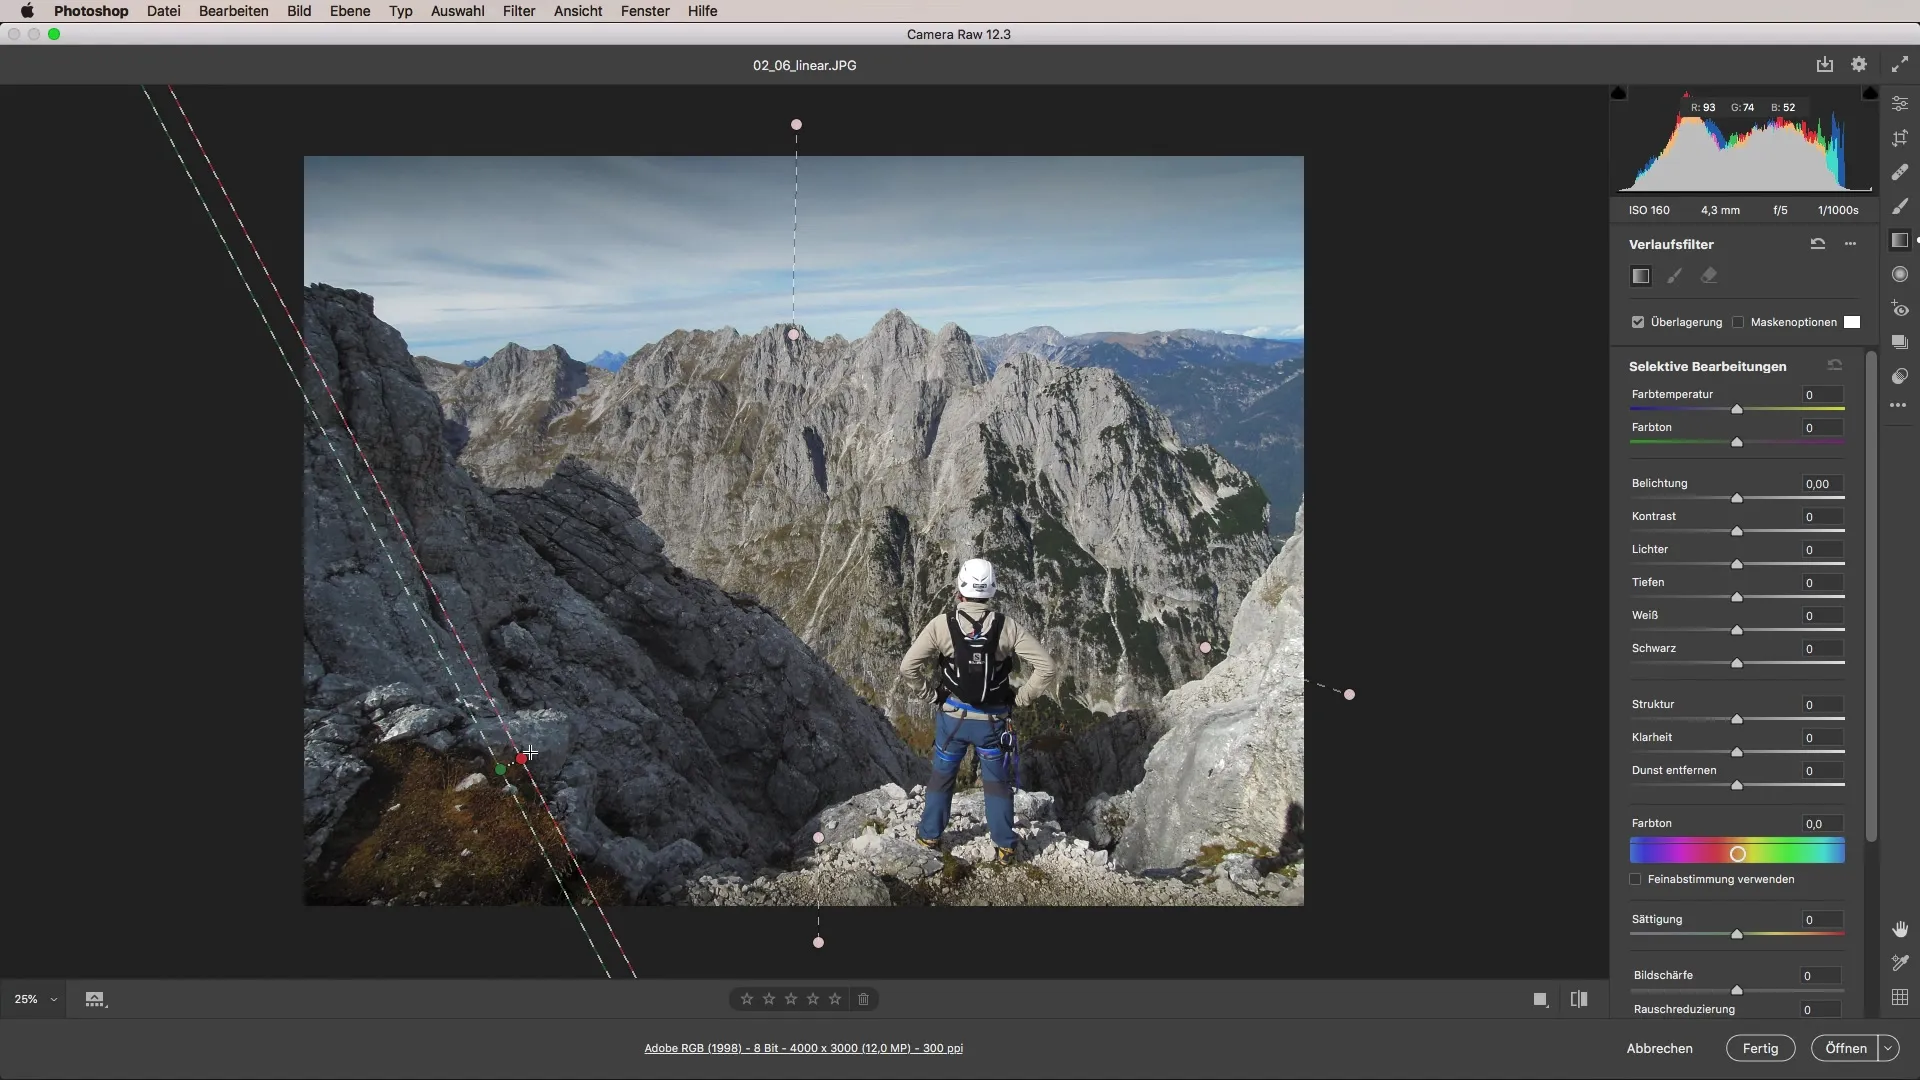
A common use case is darkening the sky. First, pull the exposure slider down to darken the sky. Position yourself at the center of the image and drag from the top down. You will immediately see how the sky darkens. The degree of this darkening is directly proportional to the movement of the slider.
Make Adjustments
If the darkening is not enough for you, you can always make adjustments afterward. This is one of the great strengths of the linear gradient filter. Just pull the slider further down to reach the desired darkness.
Add Further Darkenings
You can also add additional gradient effects from the side. By dragging the gradient to your desired side, you can make the image even more vivid. This method helps you focus on the main subject, making it appear clearer and more presentable.
Adjust Color Temperature
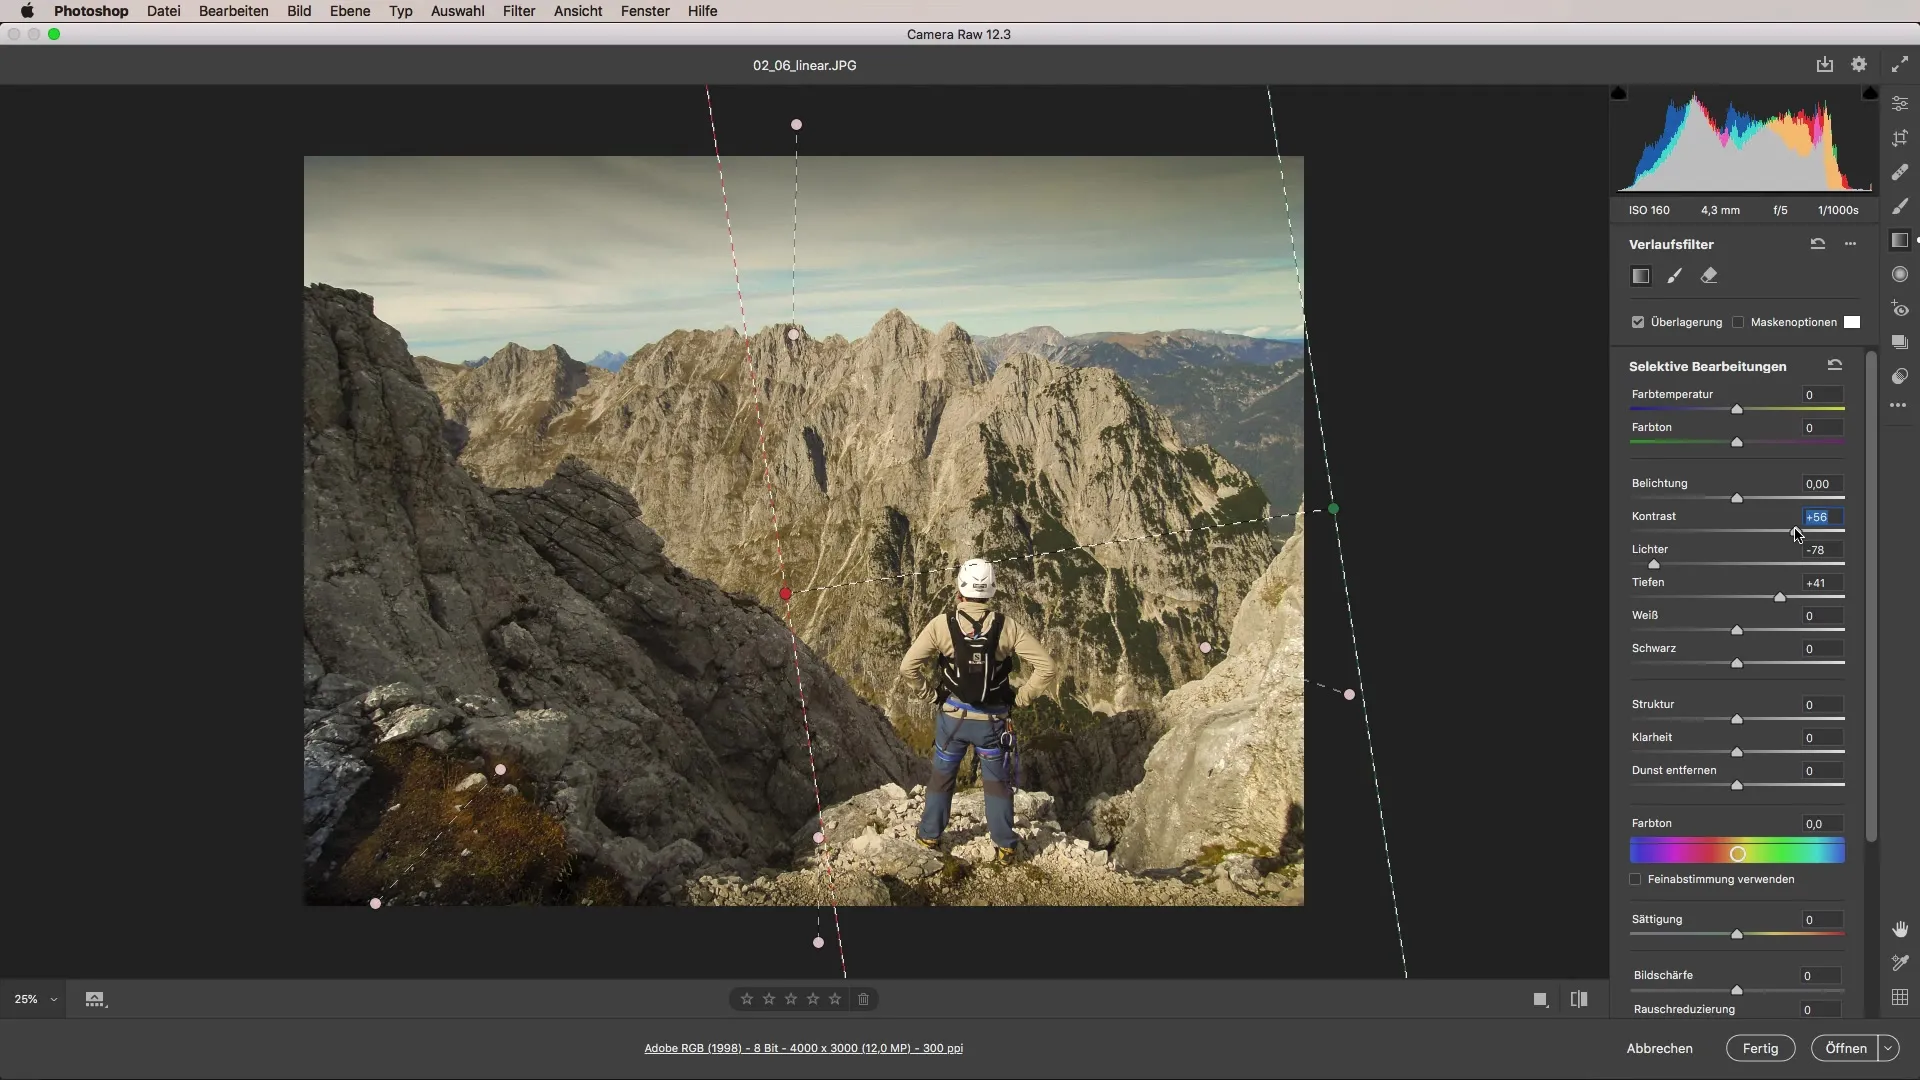
Now that the darkening is right, let's adjust the color temperature. Reset the gradient with a double-click and create a new gradient that runs from the middle of the image downwards. Upload a new color temperature to tint areas outside the gradient. This allows you to control the color impact of the image precisely, without needing to mask in Photoshop.

Control Highlights and Shadows
To create more contrast, it is important to adjust the highlights and shadows. Pull the highlights slider down and increase the contrast while adjusting clarity. This sharpens the area and draws the viewer's attention.

Create a Cool Color Scheme
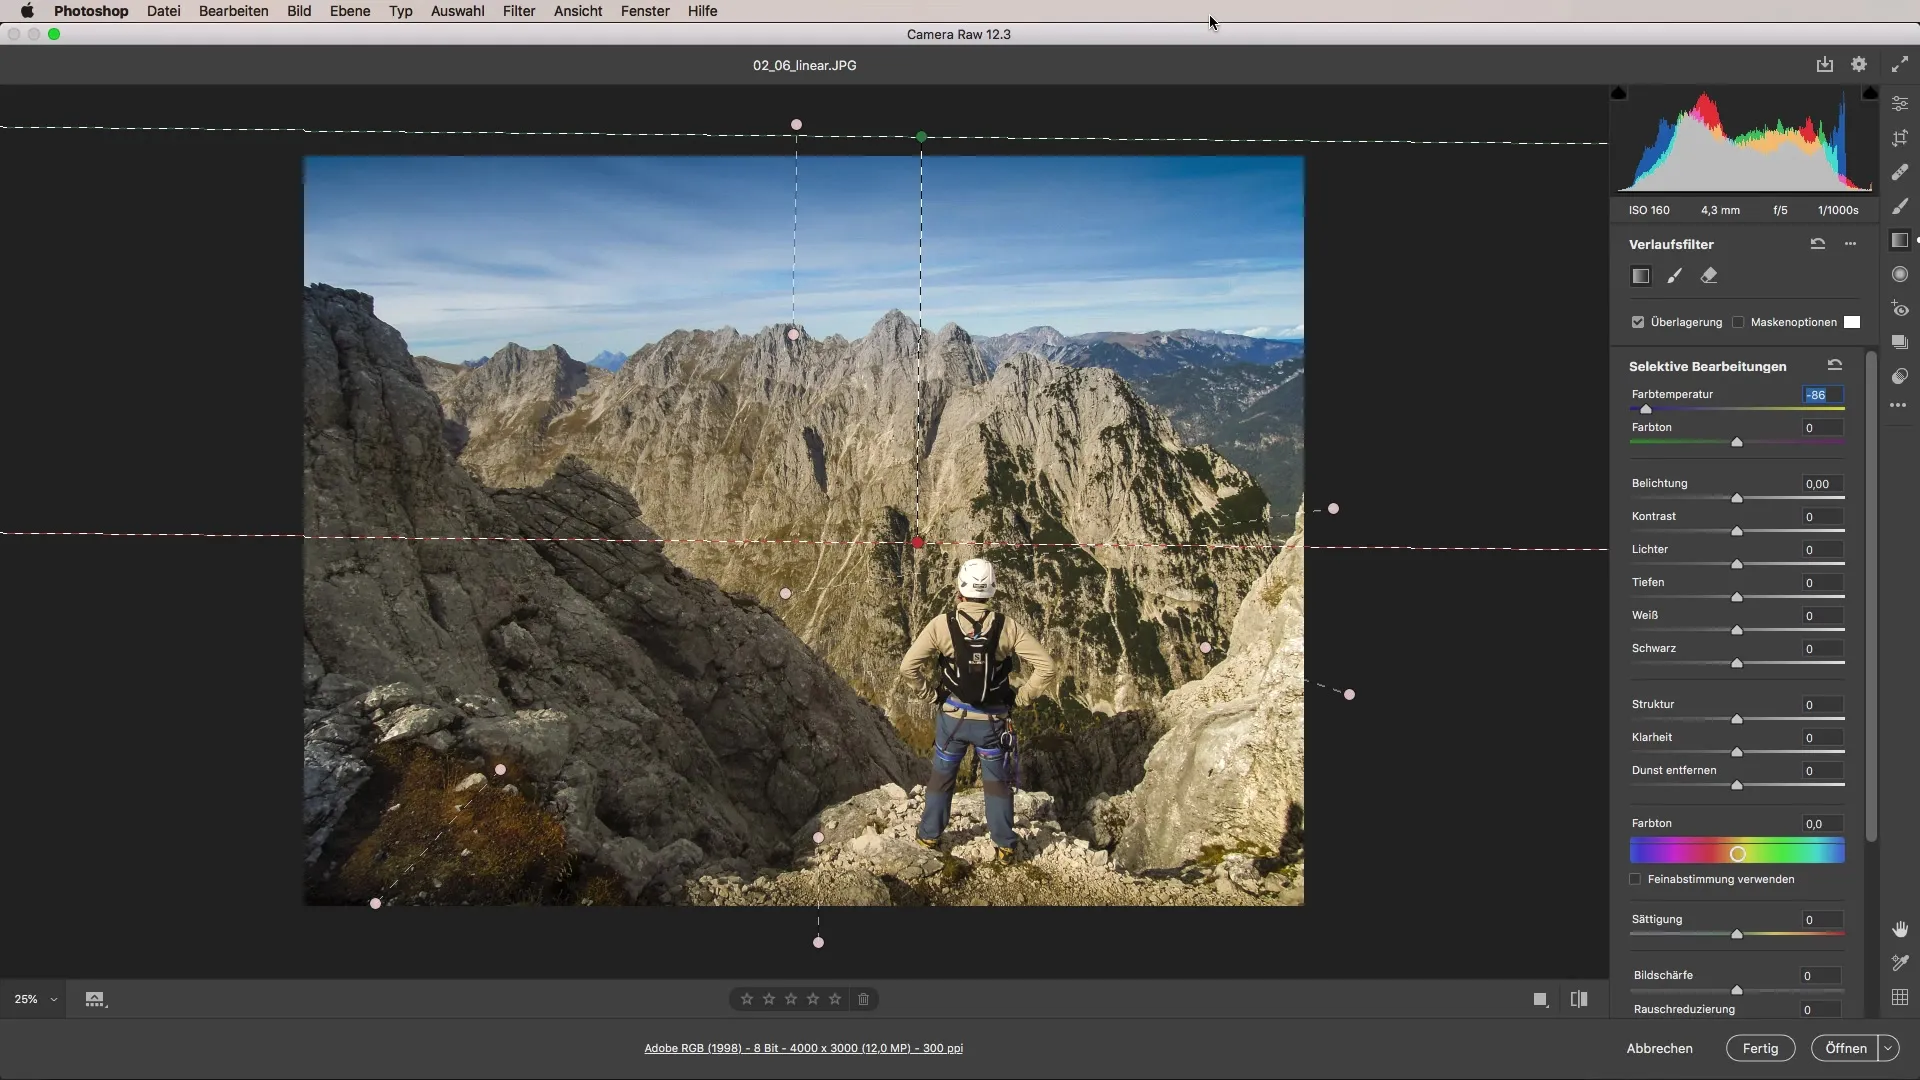
To achieve a cool color mood, you can reset the clarity back to zero and then emphasize the blue tones of the sky. Pull the color temperature slider for the sky and experiment with extreme values.

Before-After Comparison
If you did everything correctly, you will see significant differences between the original and the edited image. A simple color gradient can enhance your entire image in an easy way.
Summary - Guide to Using the Linear Gradient Filter in Camera Raw
The linear gradient in Adobe Camera Raw offers the ability to specifically and effectively enhance images. With the right adjustments, you can not only direct the light mood but also change the color perception of your images. With simple steps, you achieve impressive results.
Frequently Asked Questions
How does the linear gradient work in Camera Raw?The linear gradient allows for targeted adjustments in selected areas of the image, such as exposure or color temperature.
Can I adjust the gradient afterwards?Yes, you can make slider adjustments at any time to further optimize the image.
What can I achieve by changing the color temperature?By adjusting the color temperature, you can dramatically alter the hue of the sky or other areas in the image.
Can I apply the gradient to multiple image areas?Yes, you can layer multiple gradients to achieve more complex effects.


