Editing portraitscan often be the decisive component for an outstanding photo. With Adobe CameraRaw, you have the tools to adjust skin tones, improve exposure, and steer the overall image in an artistic direction. This tutorial will guide you through the essential steps to edit a portrait photo and help you develop both technical skills and find your creative expression.
Key Insights
- Checking and adjusting skin tones is essential.
- White balance affects the overall expression of the image.
- The Dodge and Burn technique allows for targeted lightening and darkening.
- Presets can help quickly create a desired look.
Step-by-Step Guide
First, analyze your portrait to ensure that the skin colors and brightness are correct. Pay attention to whether the face should possibly be brighter than the background so that it stands out.
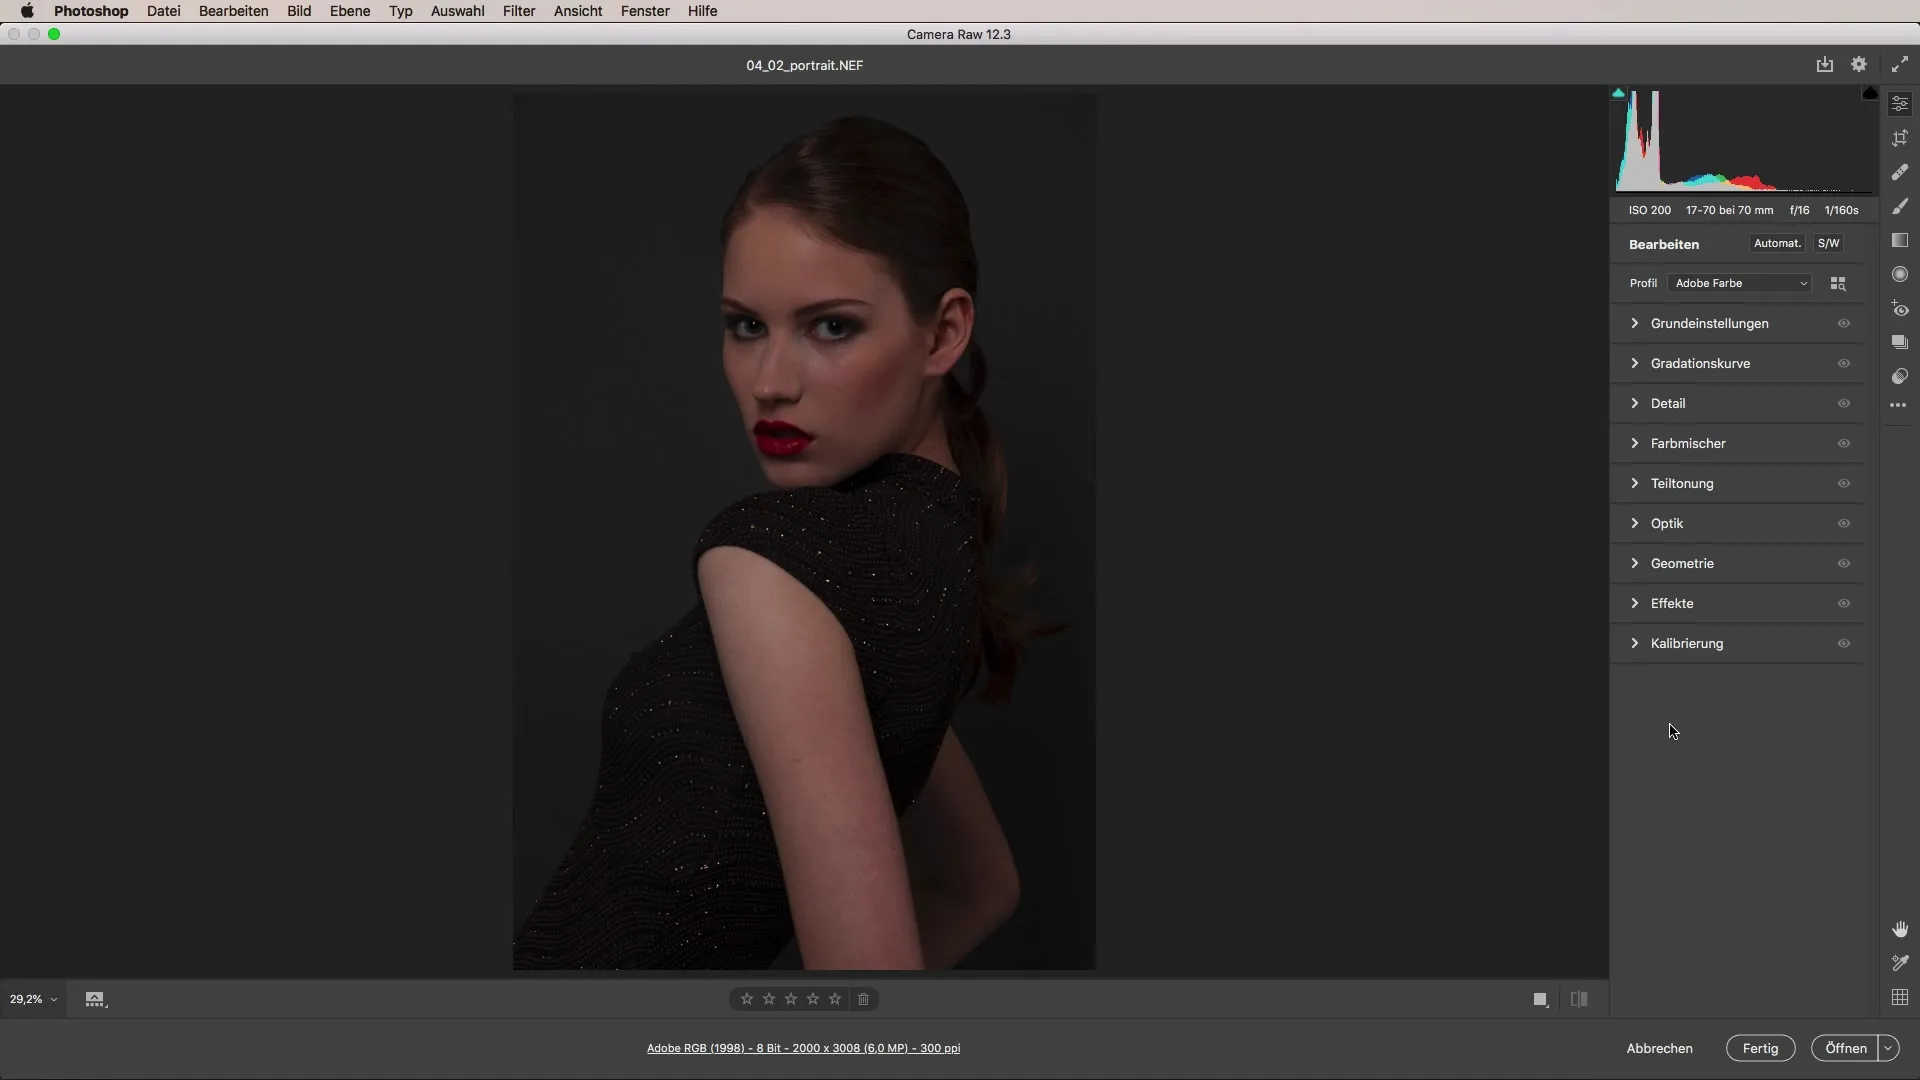
At the beginning, the white balance is very important. Check if the background and skin color appear harmonious. It is advisable to measure the gray in the background to find the correct color temperature.
Once the white balance is set, adjust the brightness of the image. Start bringing the brightness to the desired level so that the face stands out without overexposing other areas of the image.
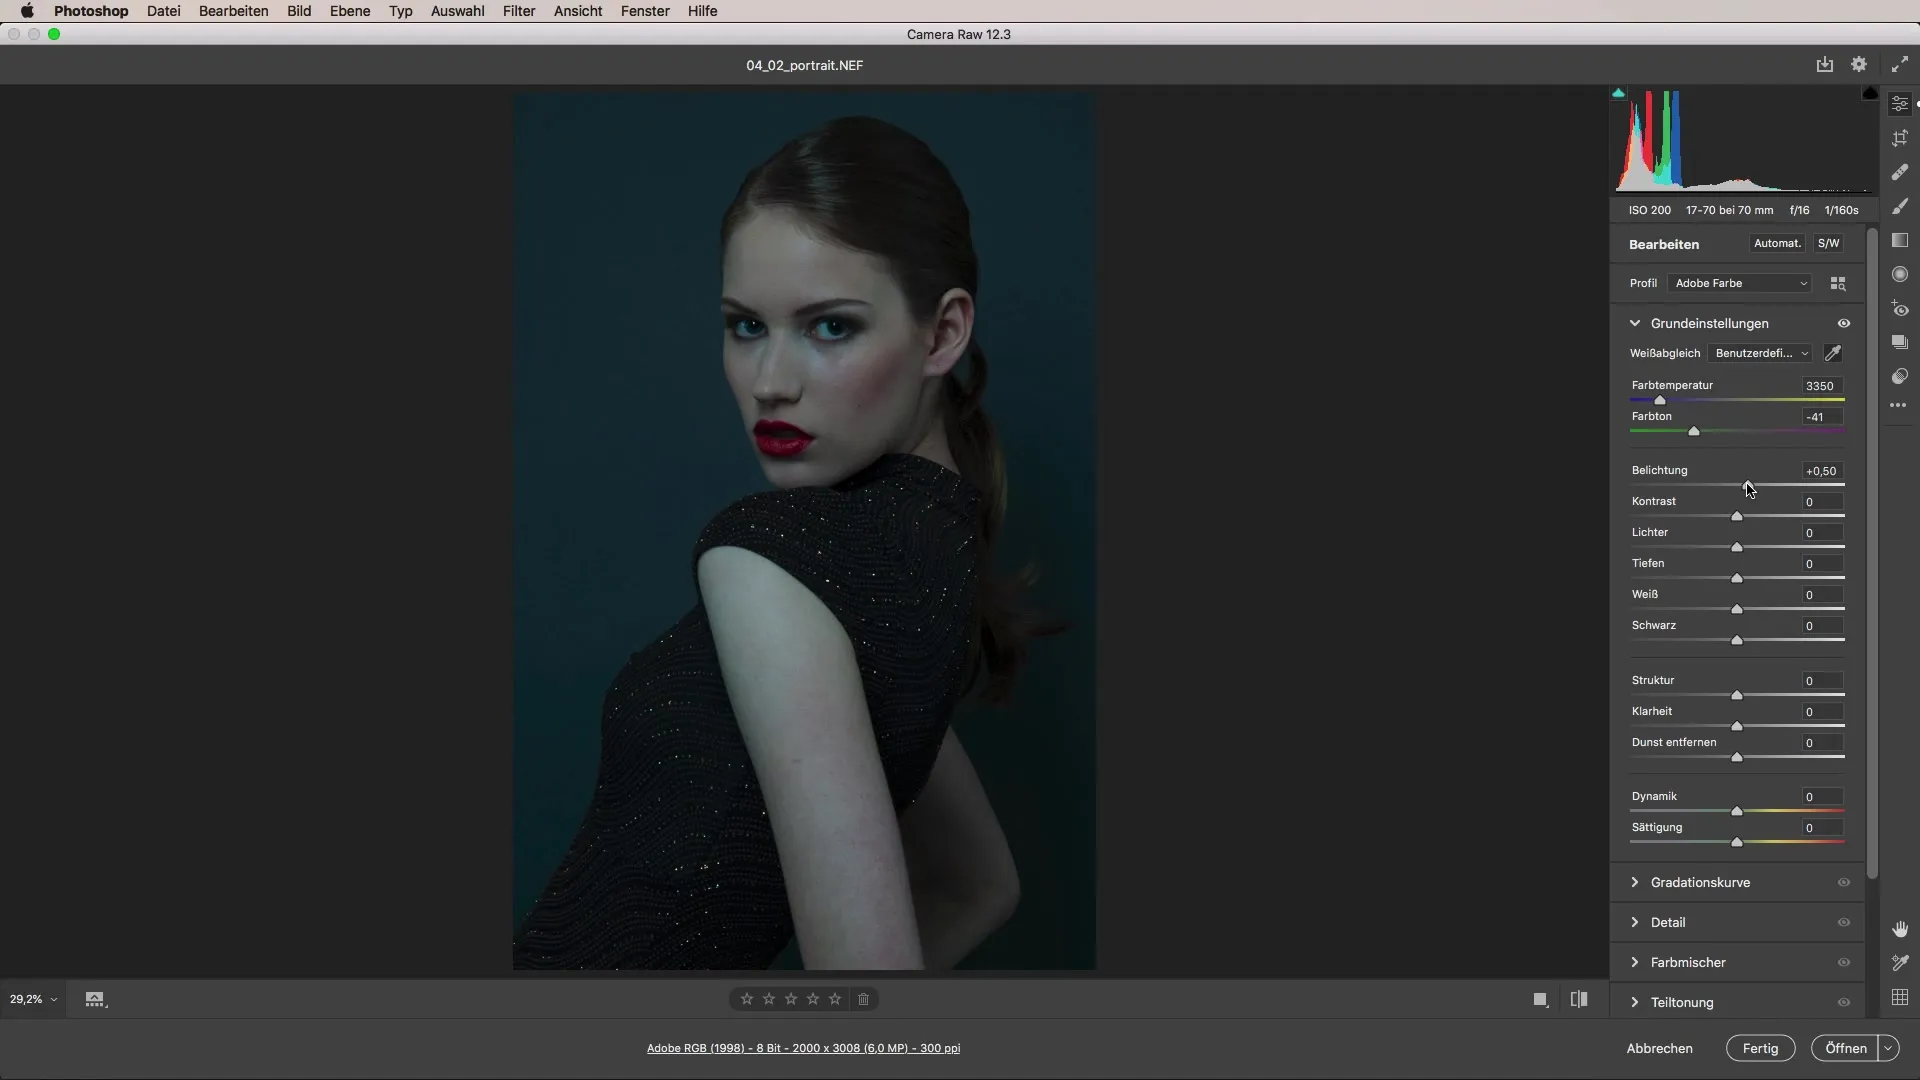
Another step to make the image more interesting is to apply vignettes. This gives the portrait more depth. Select the effects area and gently adjust the vignette so that it doesn't appear intrusive.
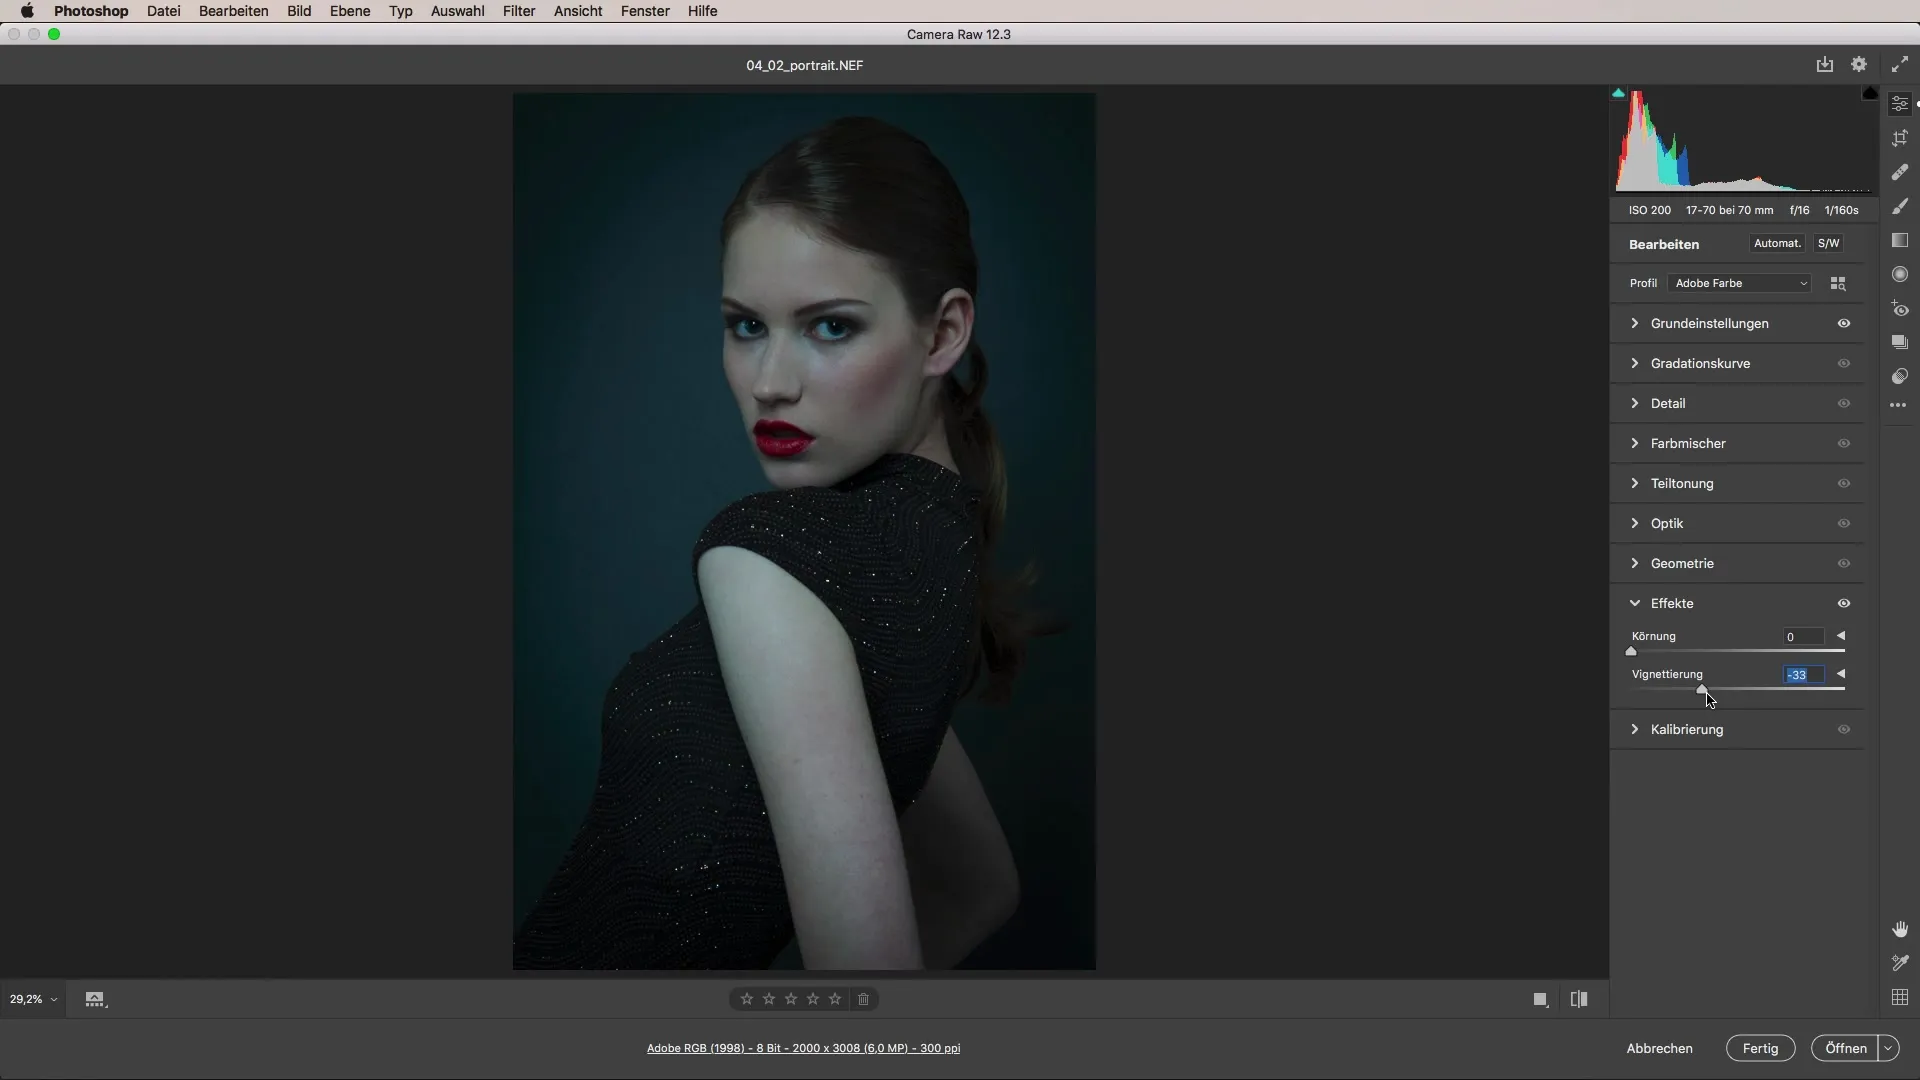
Now it's time to take care of the skin. Zoom in on the skin area to check for small blemishes. You can remove these with the healing brush or the clone tool. Make sure the image remains natural and soft.
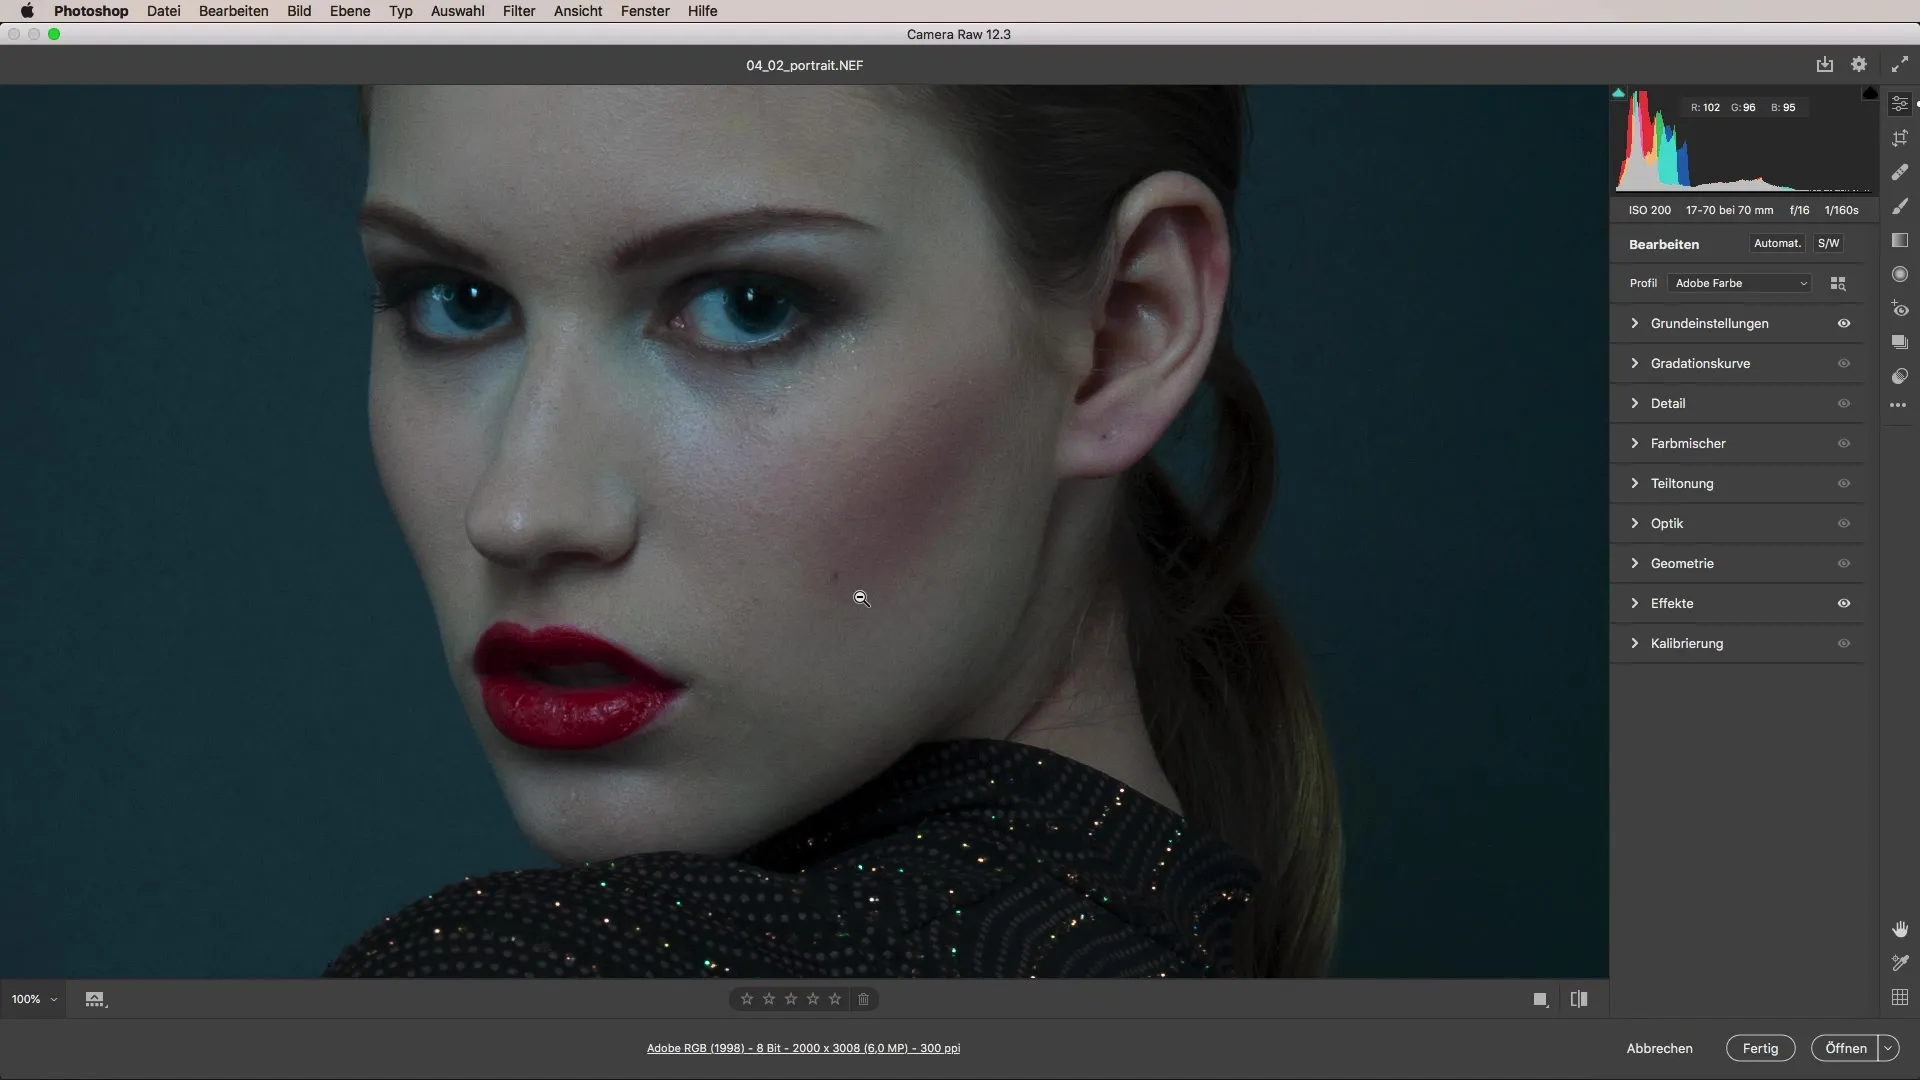
Now focus on the exposure of the face. Use the radial tool to specifically increase the brightness of the face while adjusting the exposure of the body.
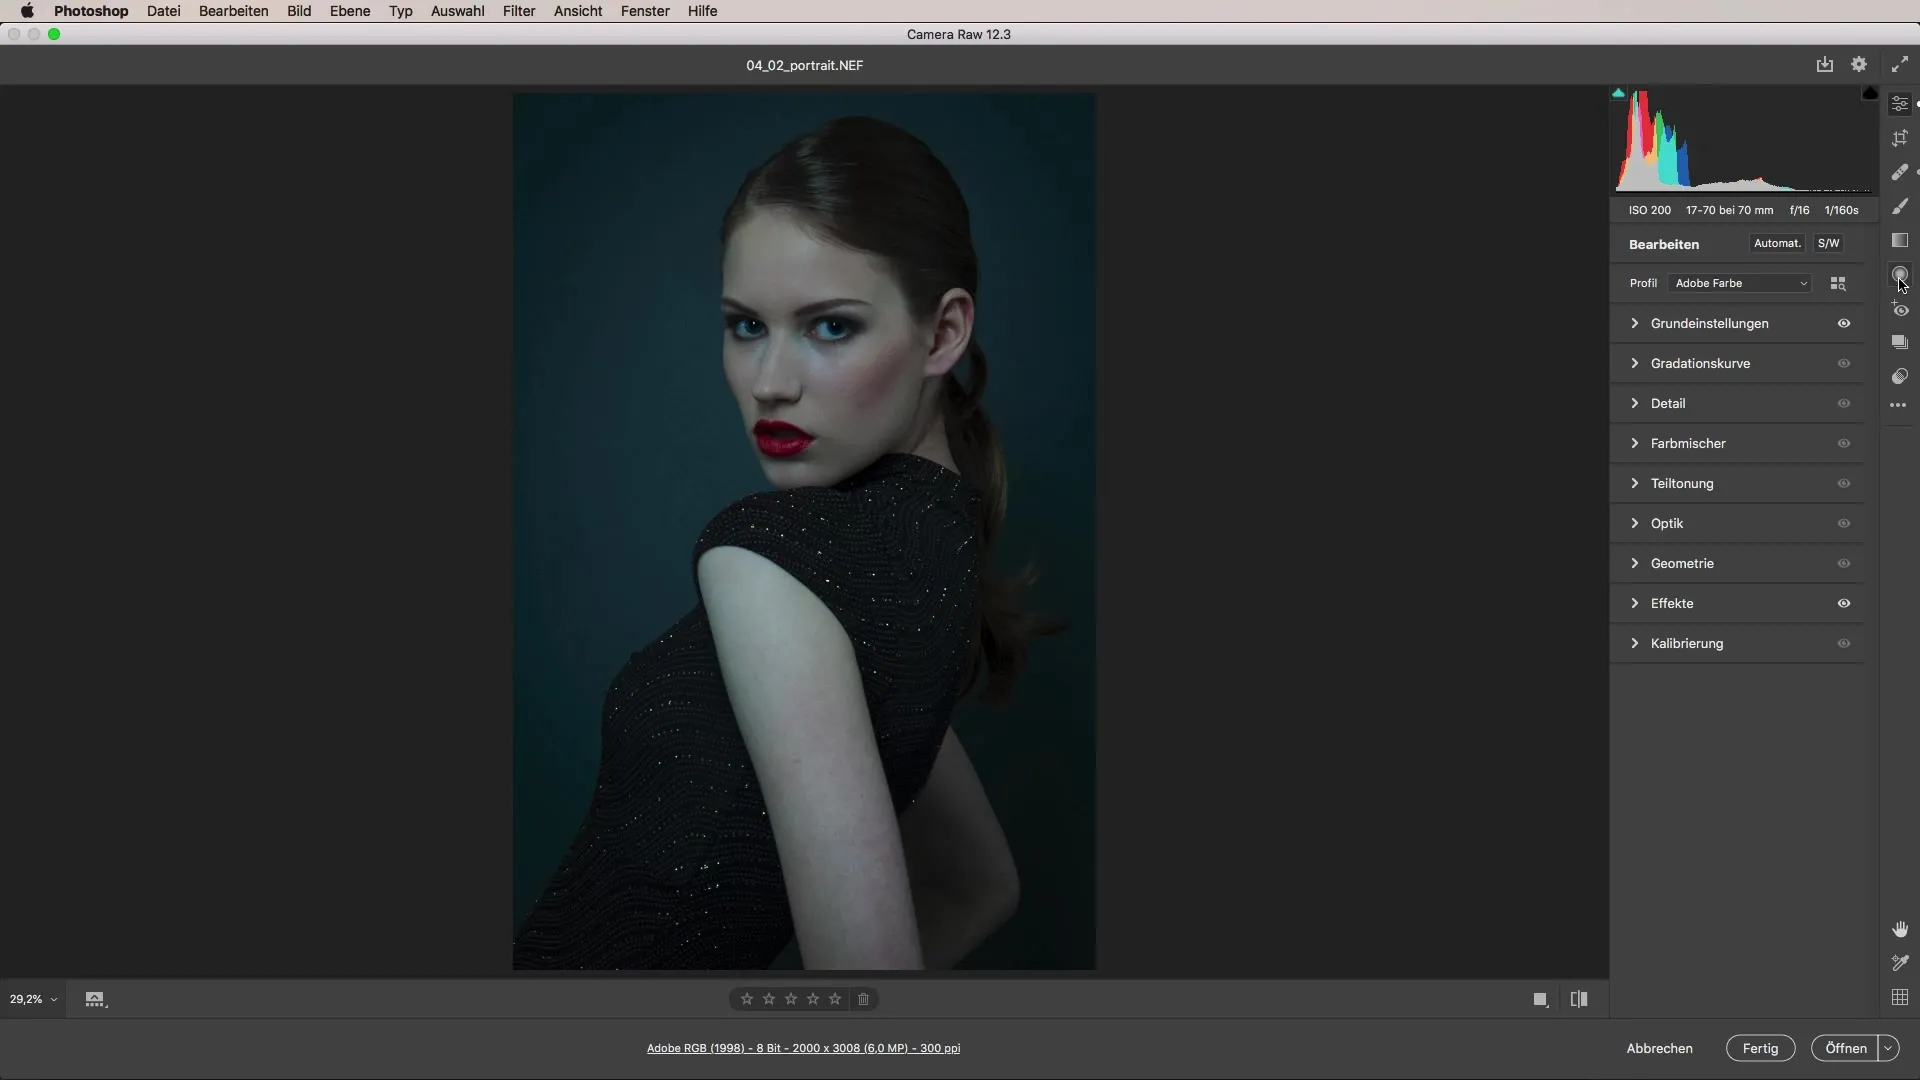
Pay special attention to the eyes and lips; these areas deserve to be highlighted. Use the adjustment brush to emphasize the contours and shine spots specifically.
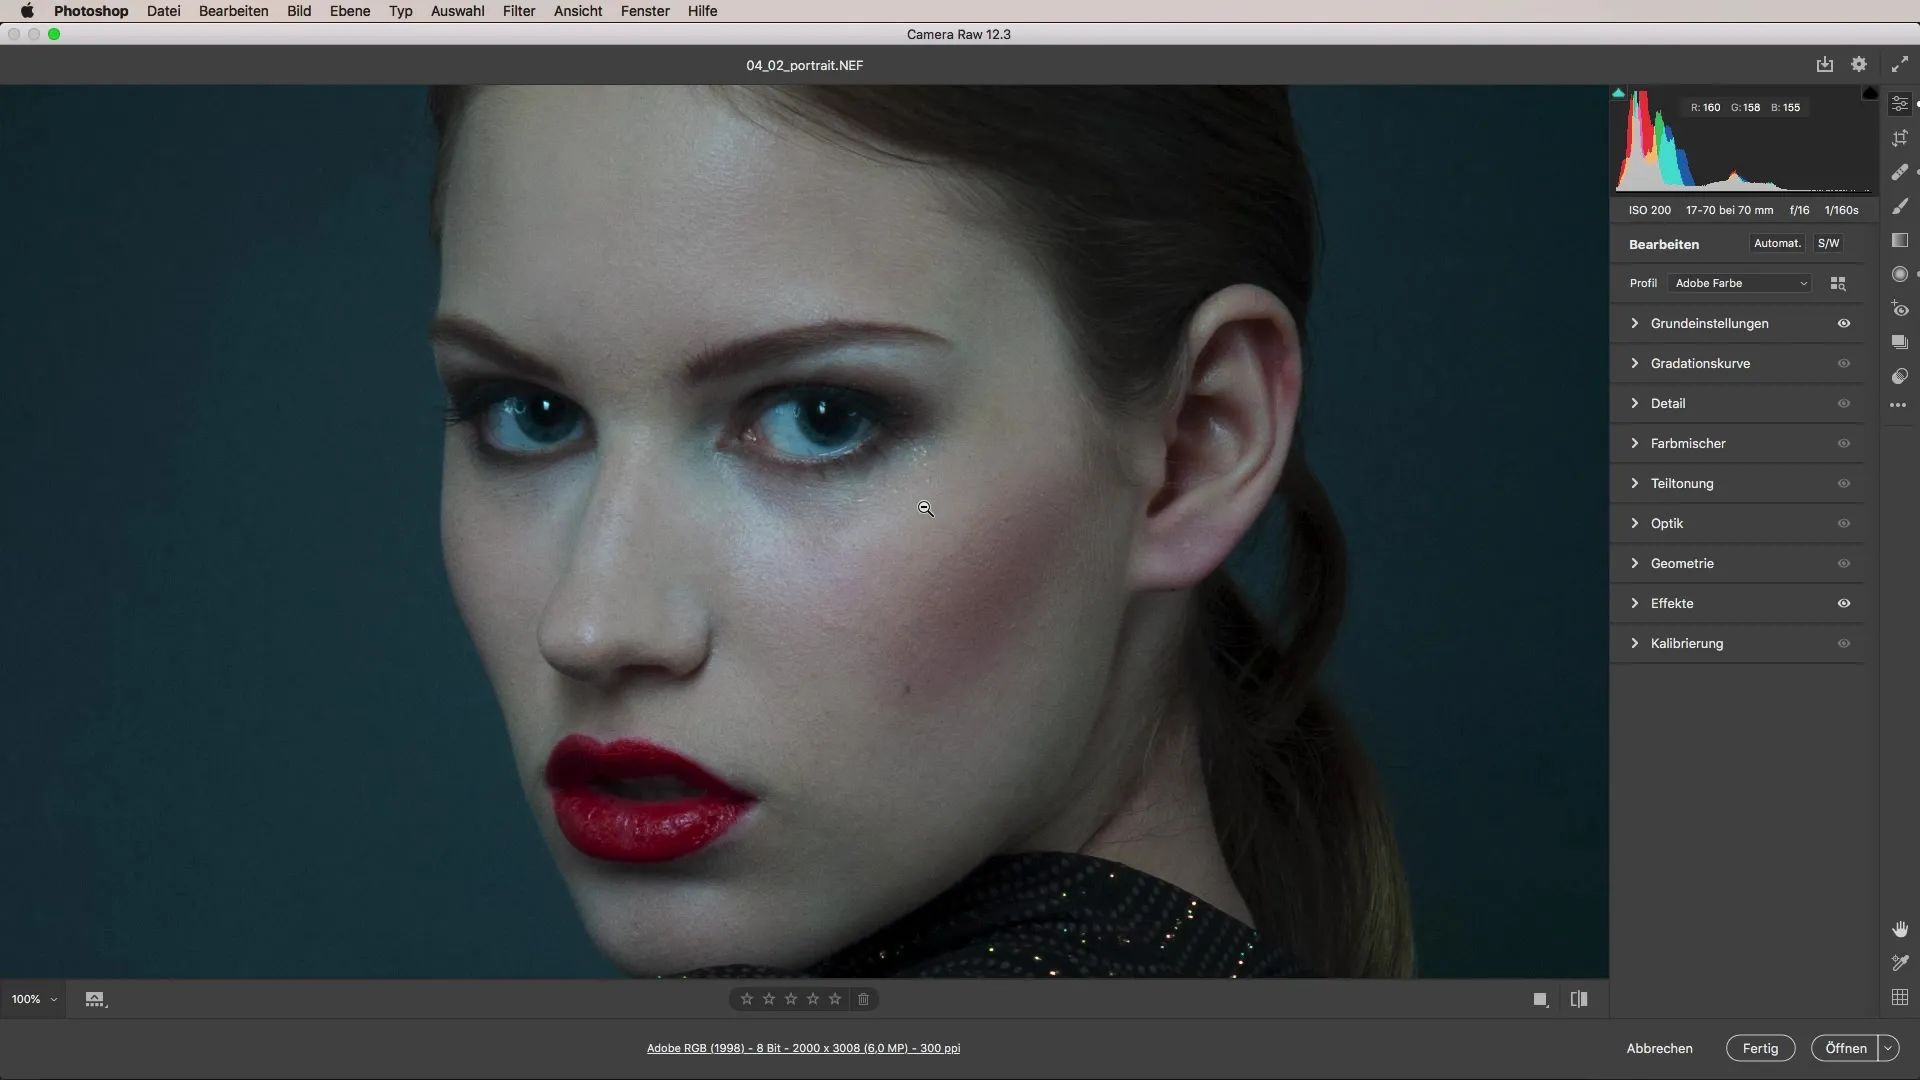
Using Dodge and Burn is another way to control light and shadows in the image. Keep the exposure minimal to achieve natural results while drawing focus to the facial features.
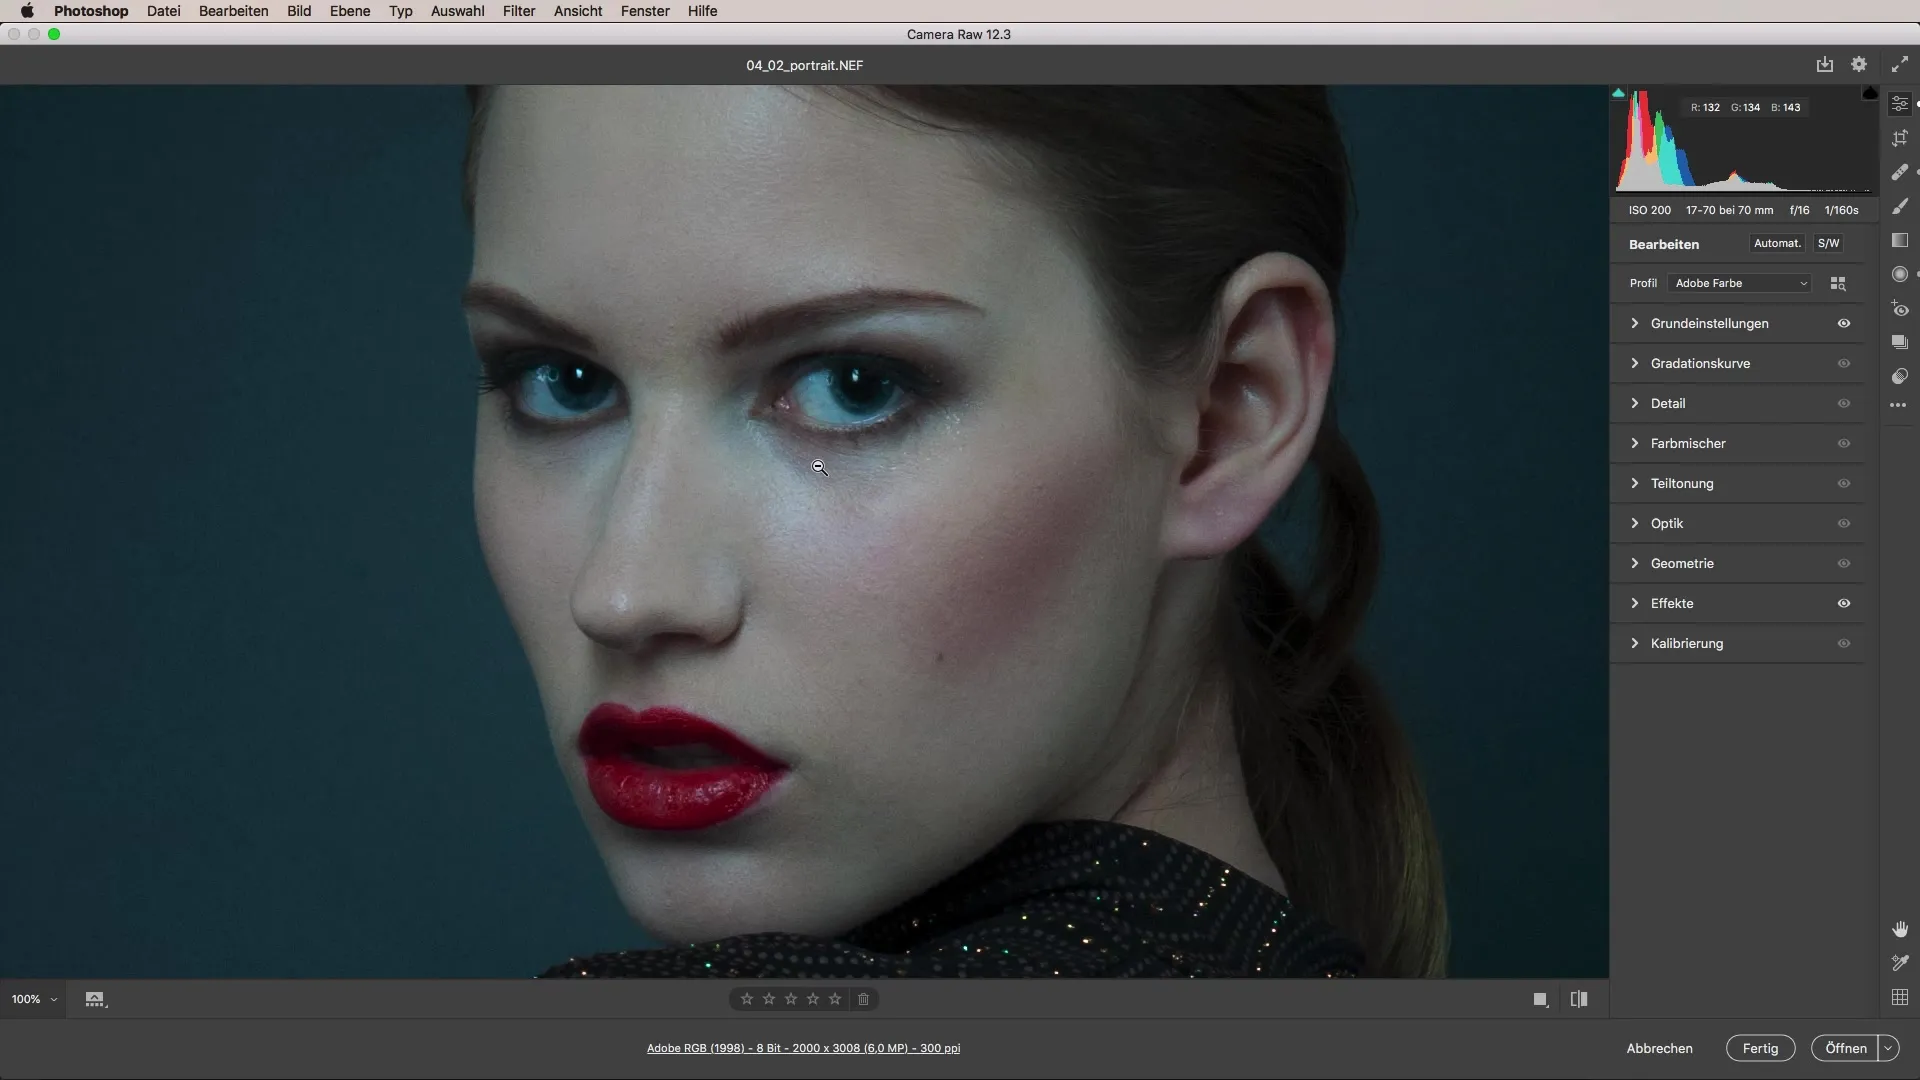
Don’t forget to regularly check the “Before-After” view between changes. This helps you track progress and ensure that the changes align with your creative vision.
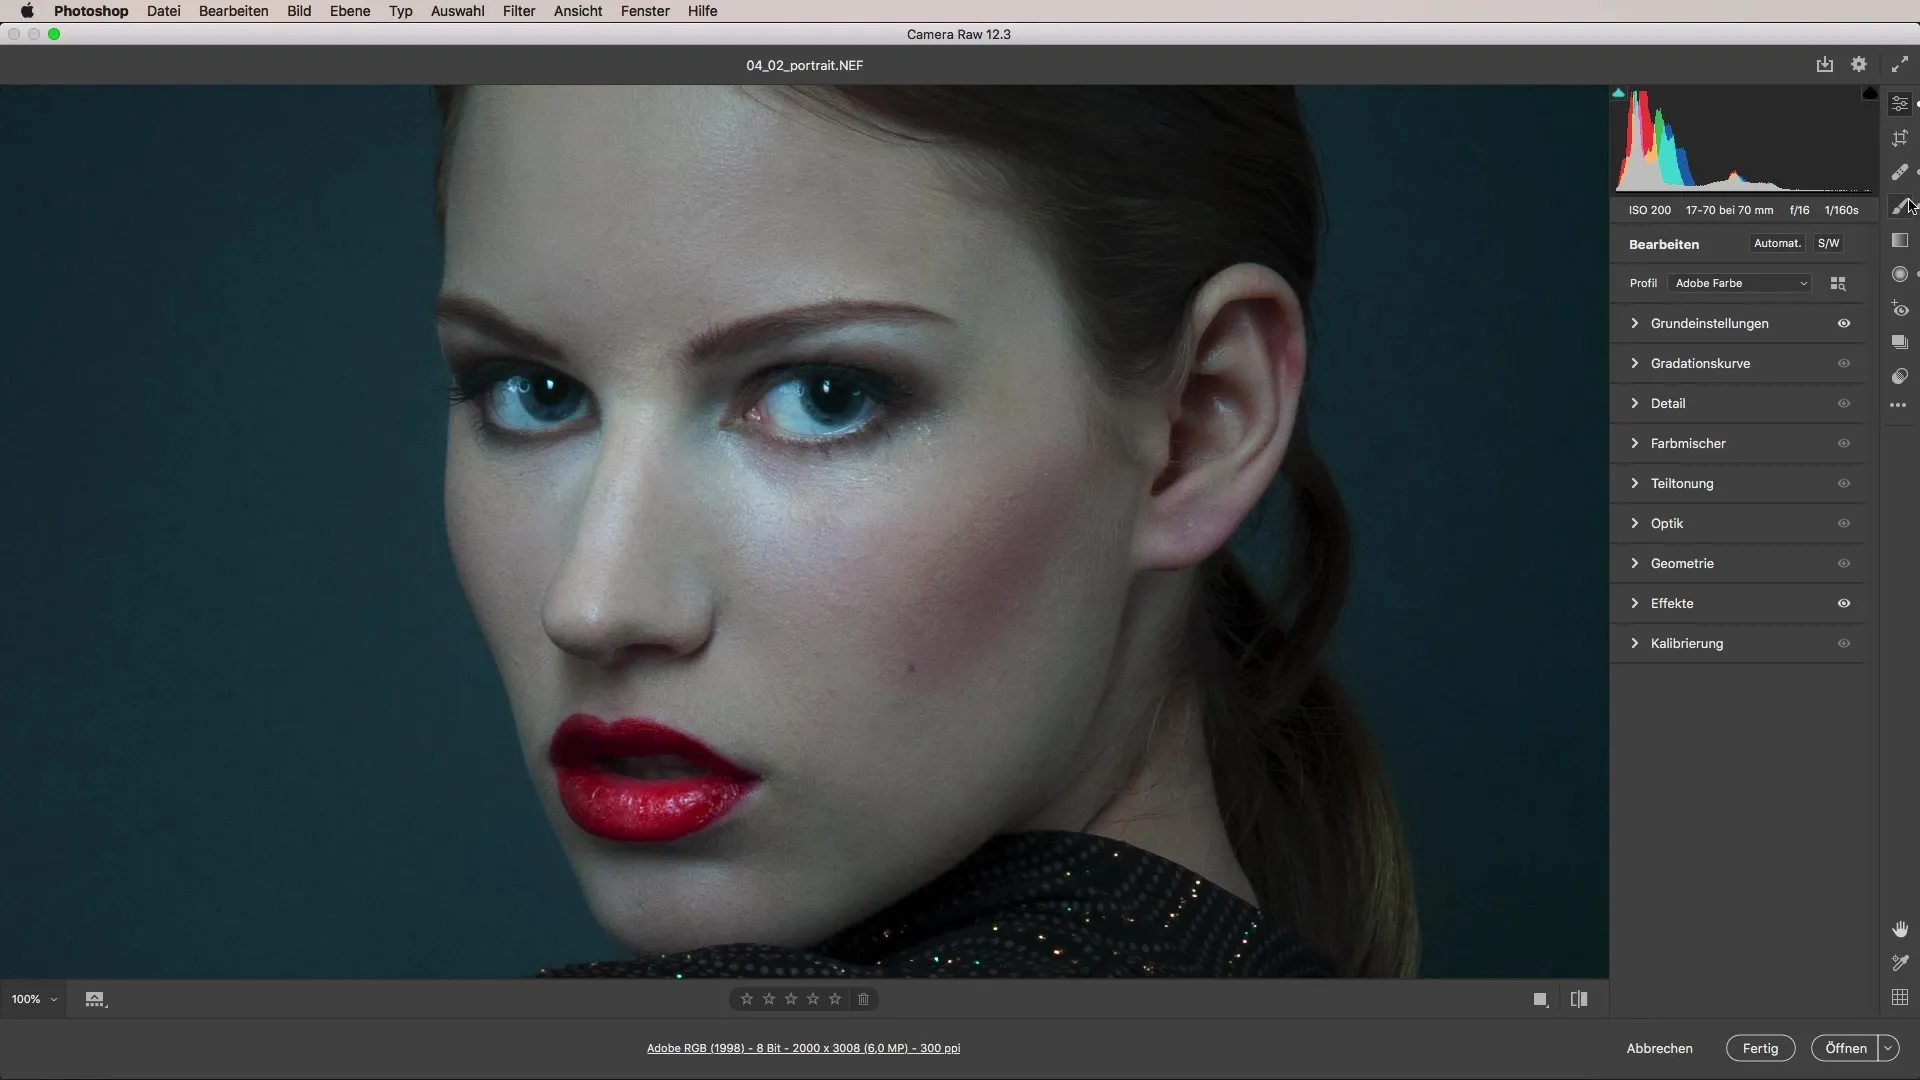
If you are not satisfied with the final look of the portrait, you can work with presets. These offer various color styles and textures that can be applied to your image. This method simplifies the process and gives you more artistic freedom.
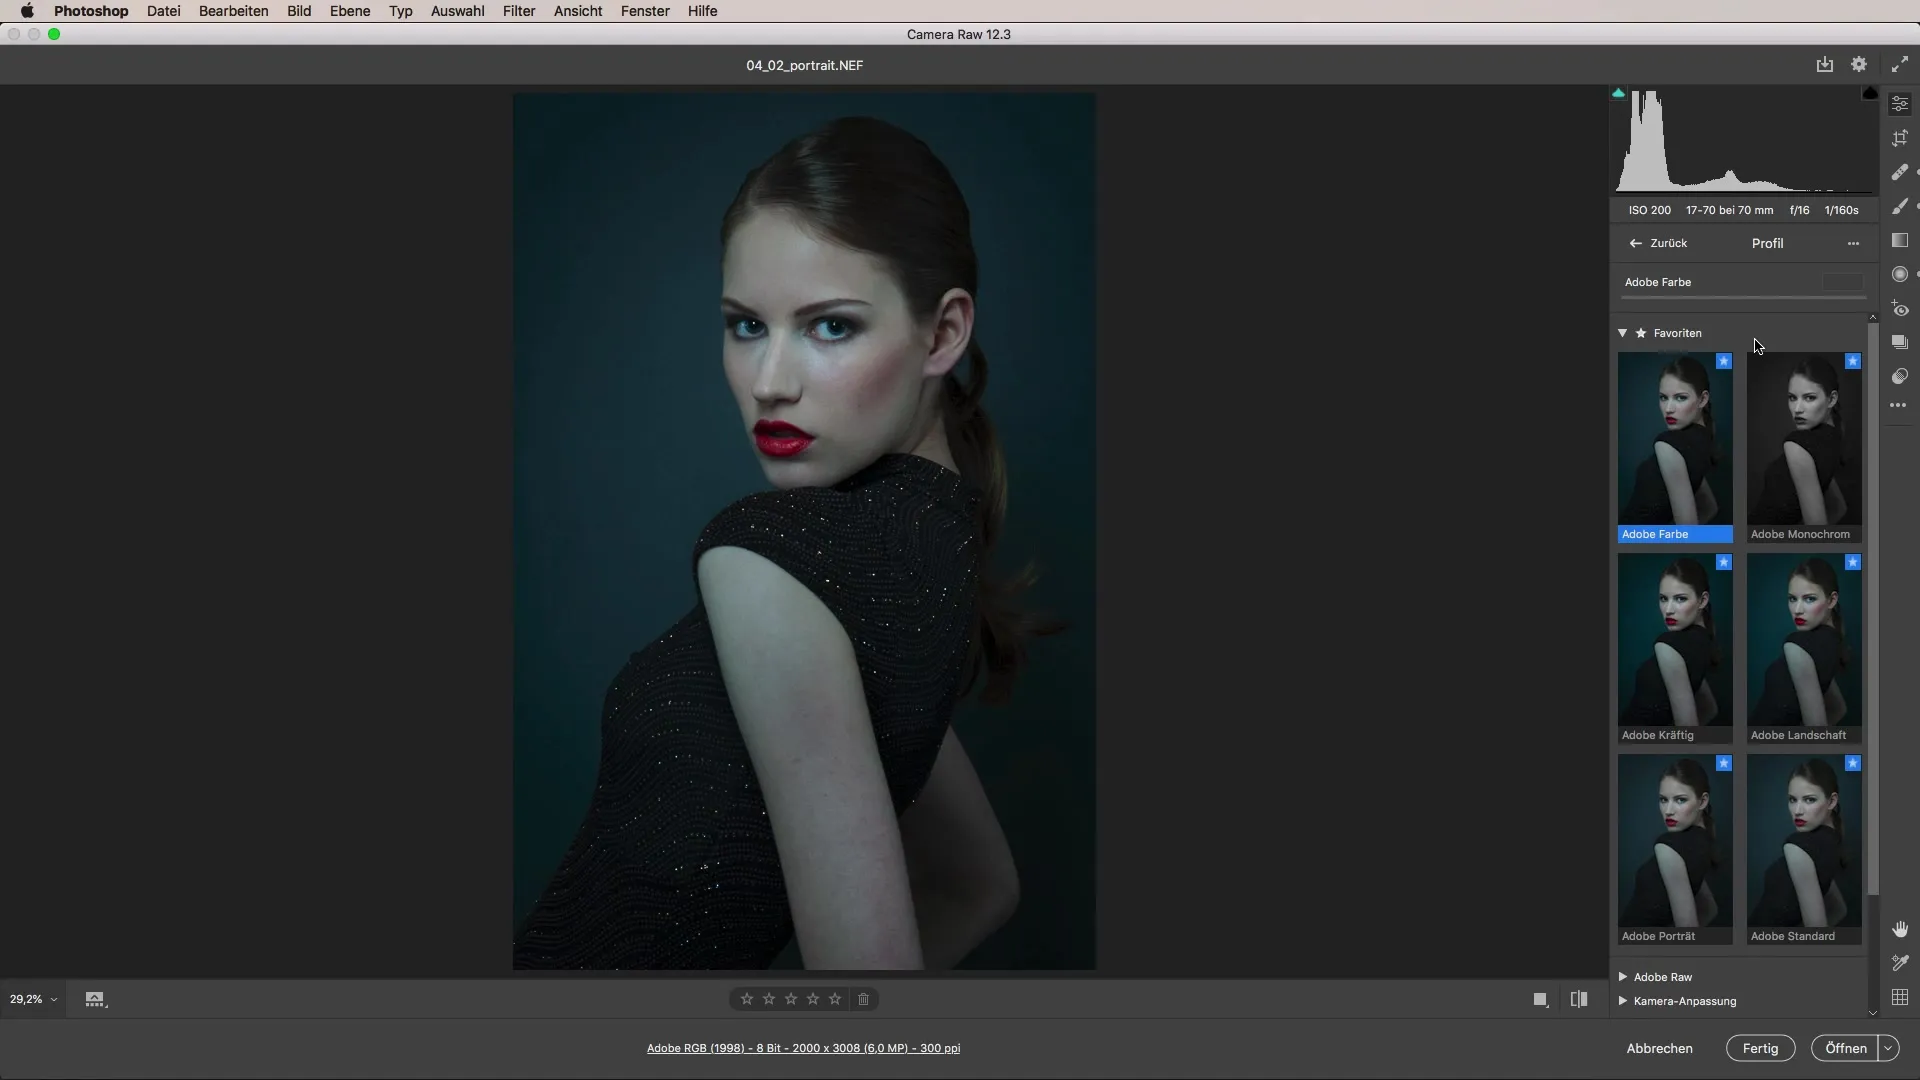
After you have chosen the appropriate preset, you can refine further. Reduce the intensity until you are satisfied with the result.
Summary – Camera Raw Tutorial: Step-by-Step Guide to Portrait Editing
In this guide, you have learned how important it is to check skin tones, exposures, and apply artistic techniques such as Dodge and Burn. You have learned an effective method for portrait editing that can help elevate your photos to the next level.
FAQ
What is white balance?White balance is an adjustment of color temperature to ensure natural color representation in different lighting conditions.
Why is the vignette important?The vignette directs the viewer's gaze to the main subject and gives the image more depth.
How can I remove spots or blemishes in the image?Use the healing brush or clone tool to make targeted adjustments.
What does Dodge and Burn mean?Dodge and Burn are techniques that allow for the targeted lightening (Dodge) and darkening (Burn) of areas in an image to create more depth and dimension.
How do I choose the right preset?Test different presets to find the best result for your image and adjust the settings to achieve the desired look.


