The possibilities for image editing today are diverse and offer you countless tools to enhance your photos. In this tutorial, we will take a closer look at the tools of Camera Raw 12.3. You will not only gain an overview of the available tools but also learn how to use them effectively in your image editing.
Key insights The most important tools in Camera Raw include the crop tool, the adjustment brush, and various gradient tools. Each of these tools has specific applications that will help you shape your images according to your vision.
Step-by-step guide
1. Use the crop tool
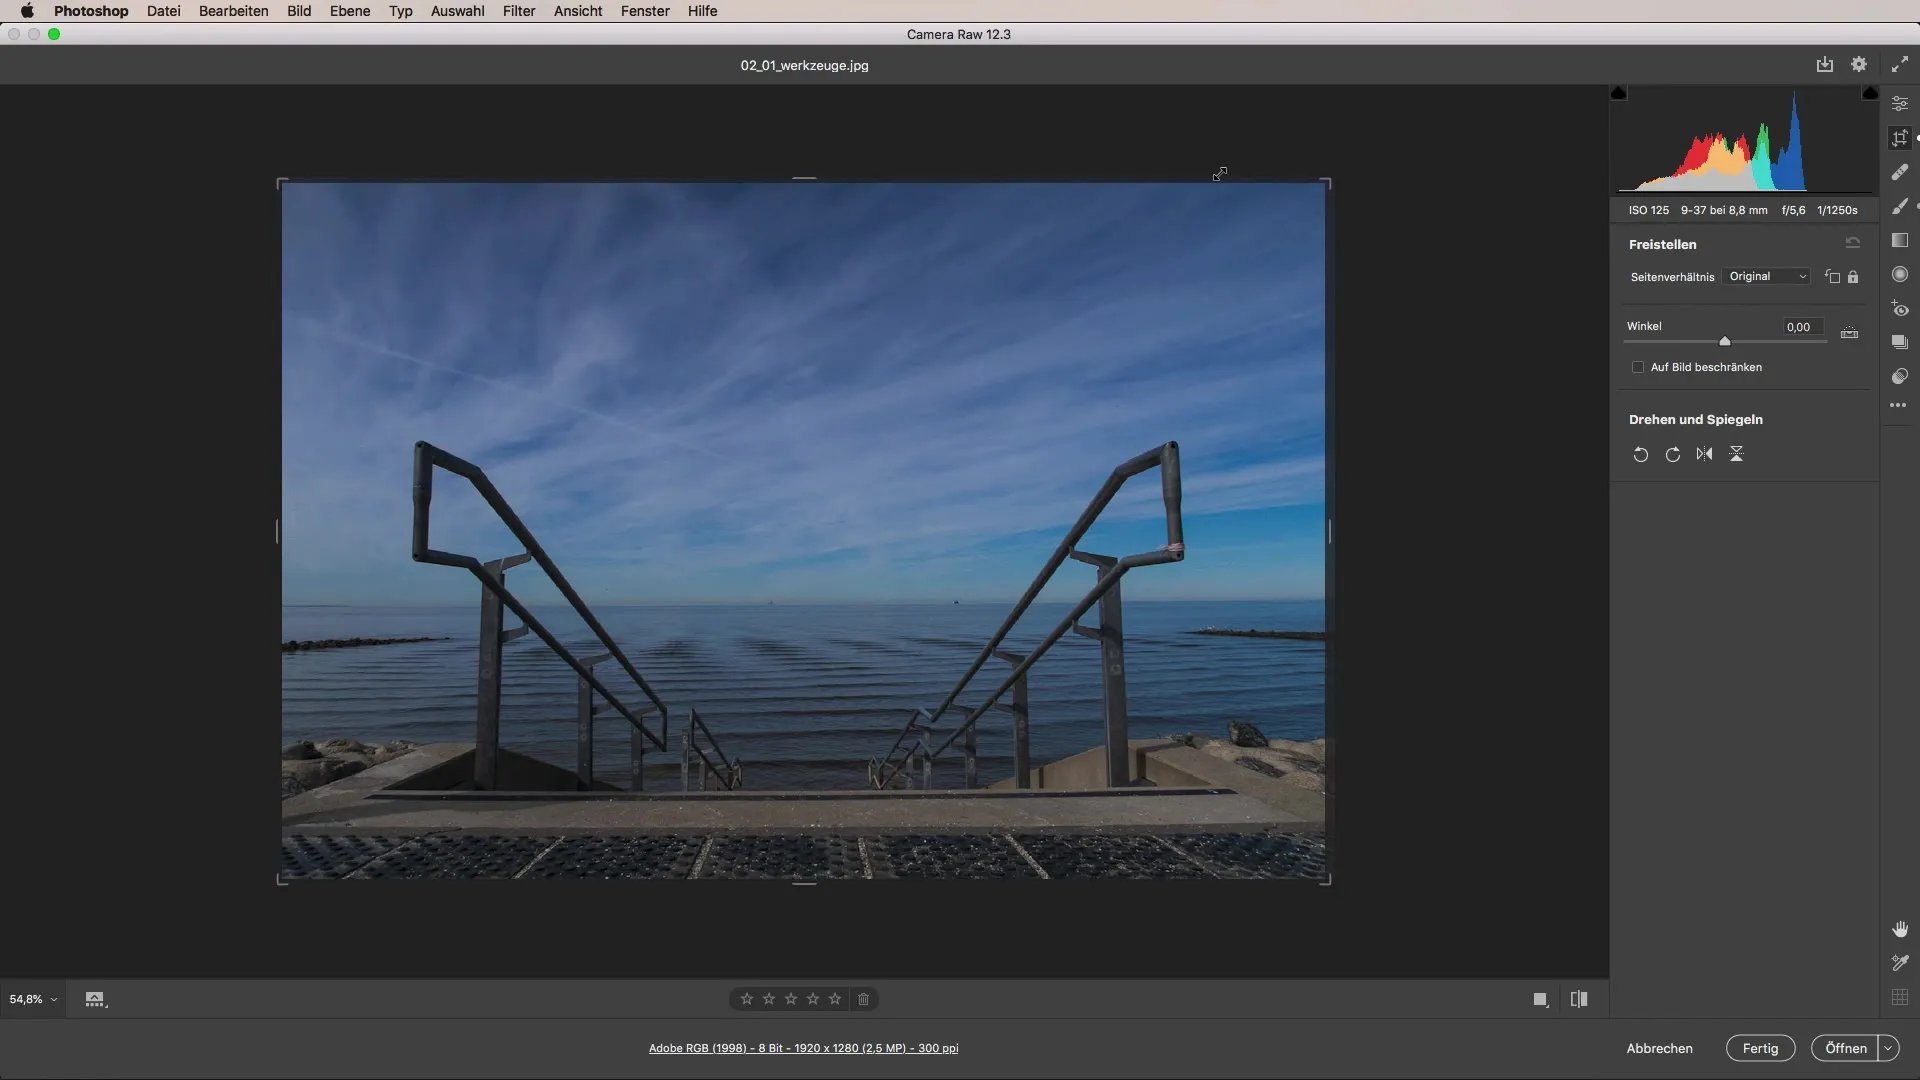
Let's start with cropping. This tool allows you to quickly and easily resize your image. You can find the crop tool at the top of the toolbar. It's important to be creative here, and you can crop the image into different formats based on your ideas. If you don’t like something, you can reset the entire image at any time and start over.

2. Remove distractions
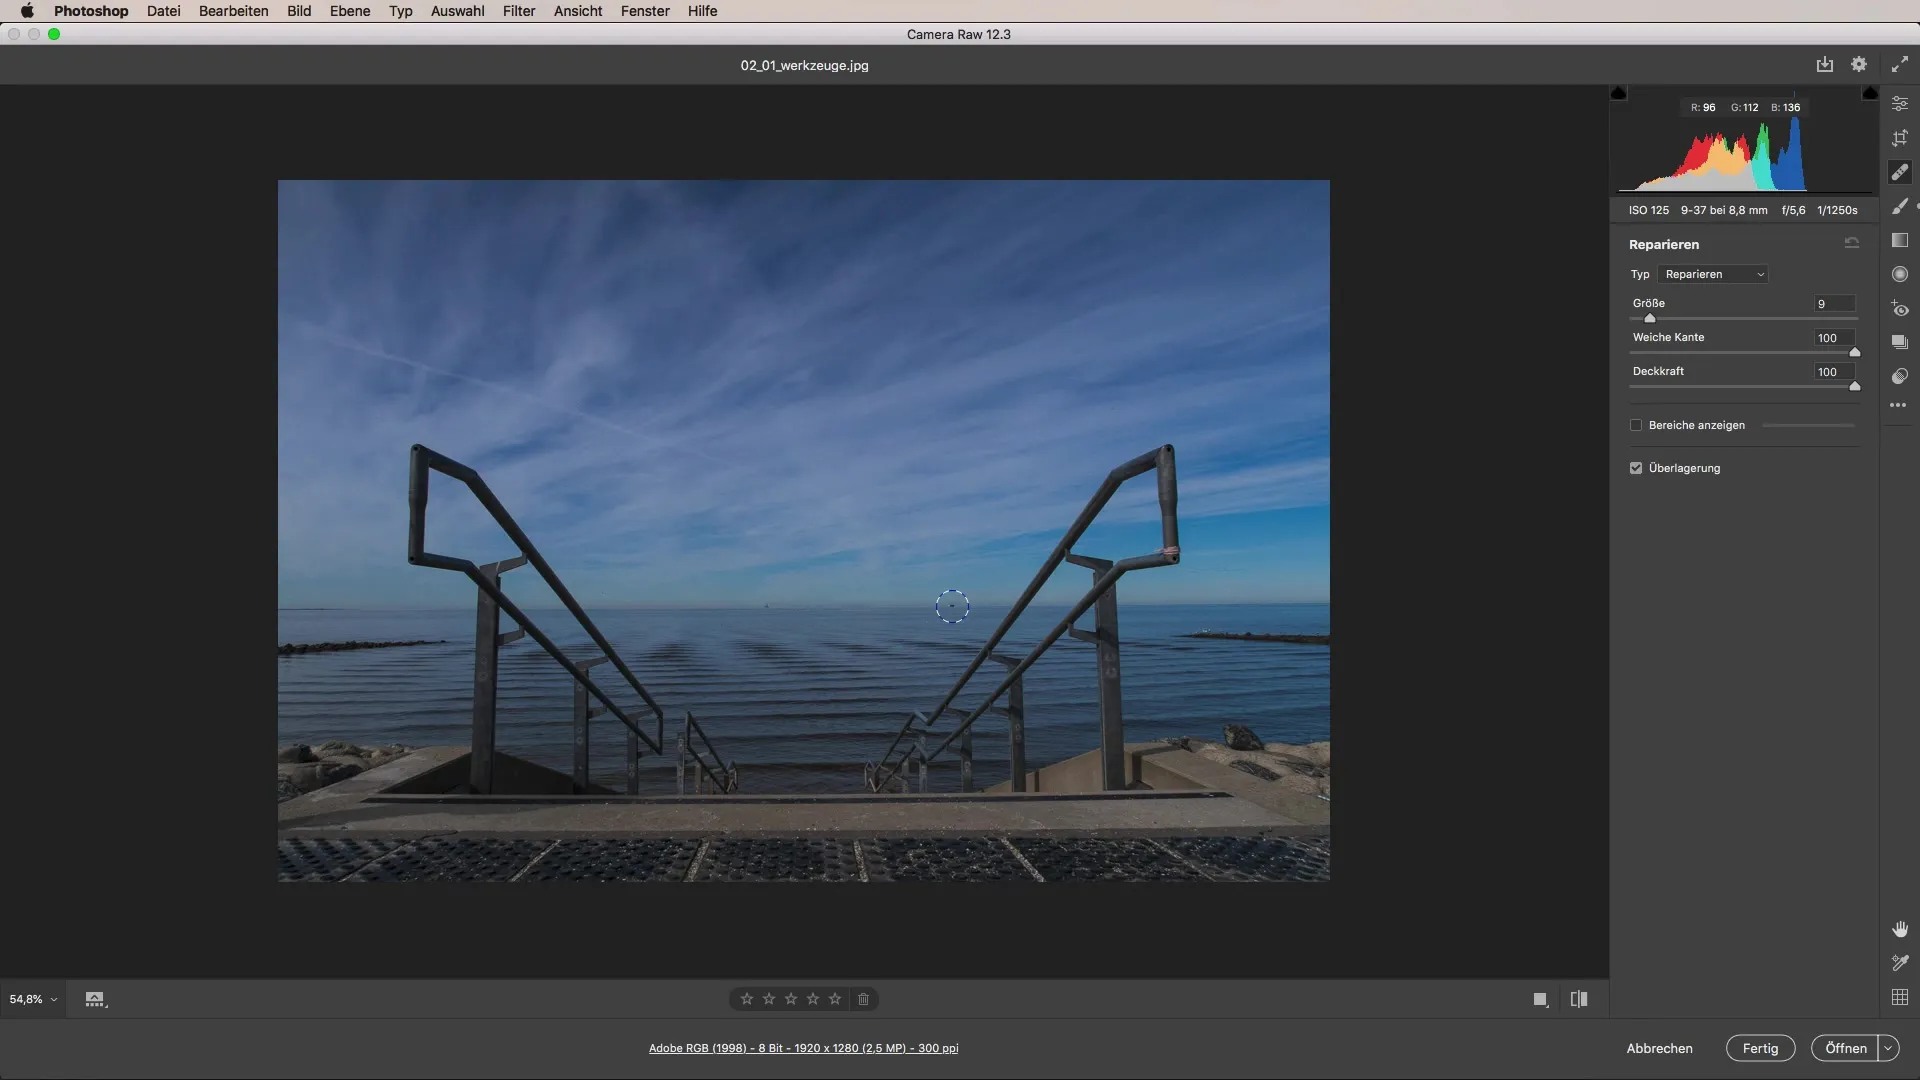
If there are distractions in your image, such as small unwanted objects or spots, you can use the "Remove Spot" tool. This tool is particularly good for quickly and easily eliminating distractions. A simple click is often enough to remove the blemish from your image.

3. Use the adjustment brush
The adjustment brush is one of the most versatile tools in Camera Raw. With this brush, you can make targeted adjustments such as color temperature, exposure, or contrast in specific areas of your image. Make sure to approach the adjustments creatively. You can set the brush to apply the desired effects in certain areas. Experiment with different settings to achieve the best results.
4. Adjust color temperature
You can also intuitively adjust the color temperature simply by clicking with the adjustment brush in the desired area of the image. This allows you to change and adjust the light mood of the photo easily. Whether you decide on a warmer or cooler mood, the possibilities here are virtually limitless.
5. Use gradient tools
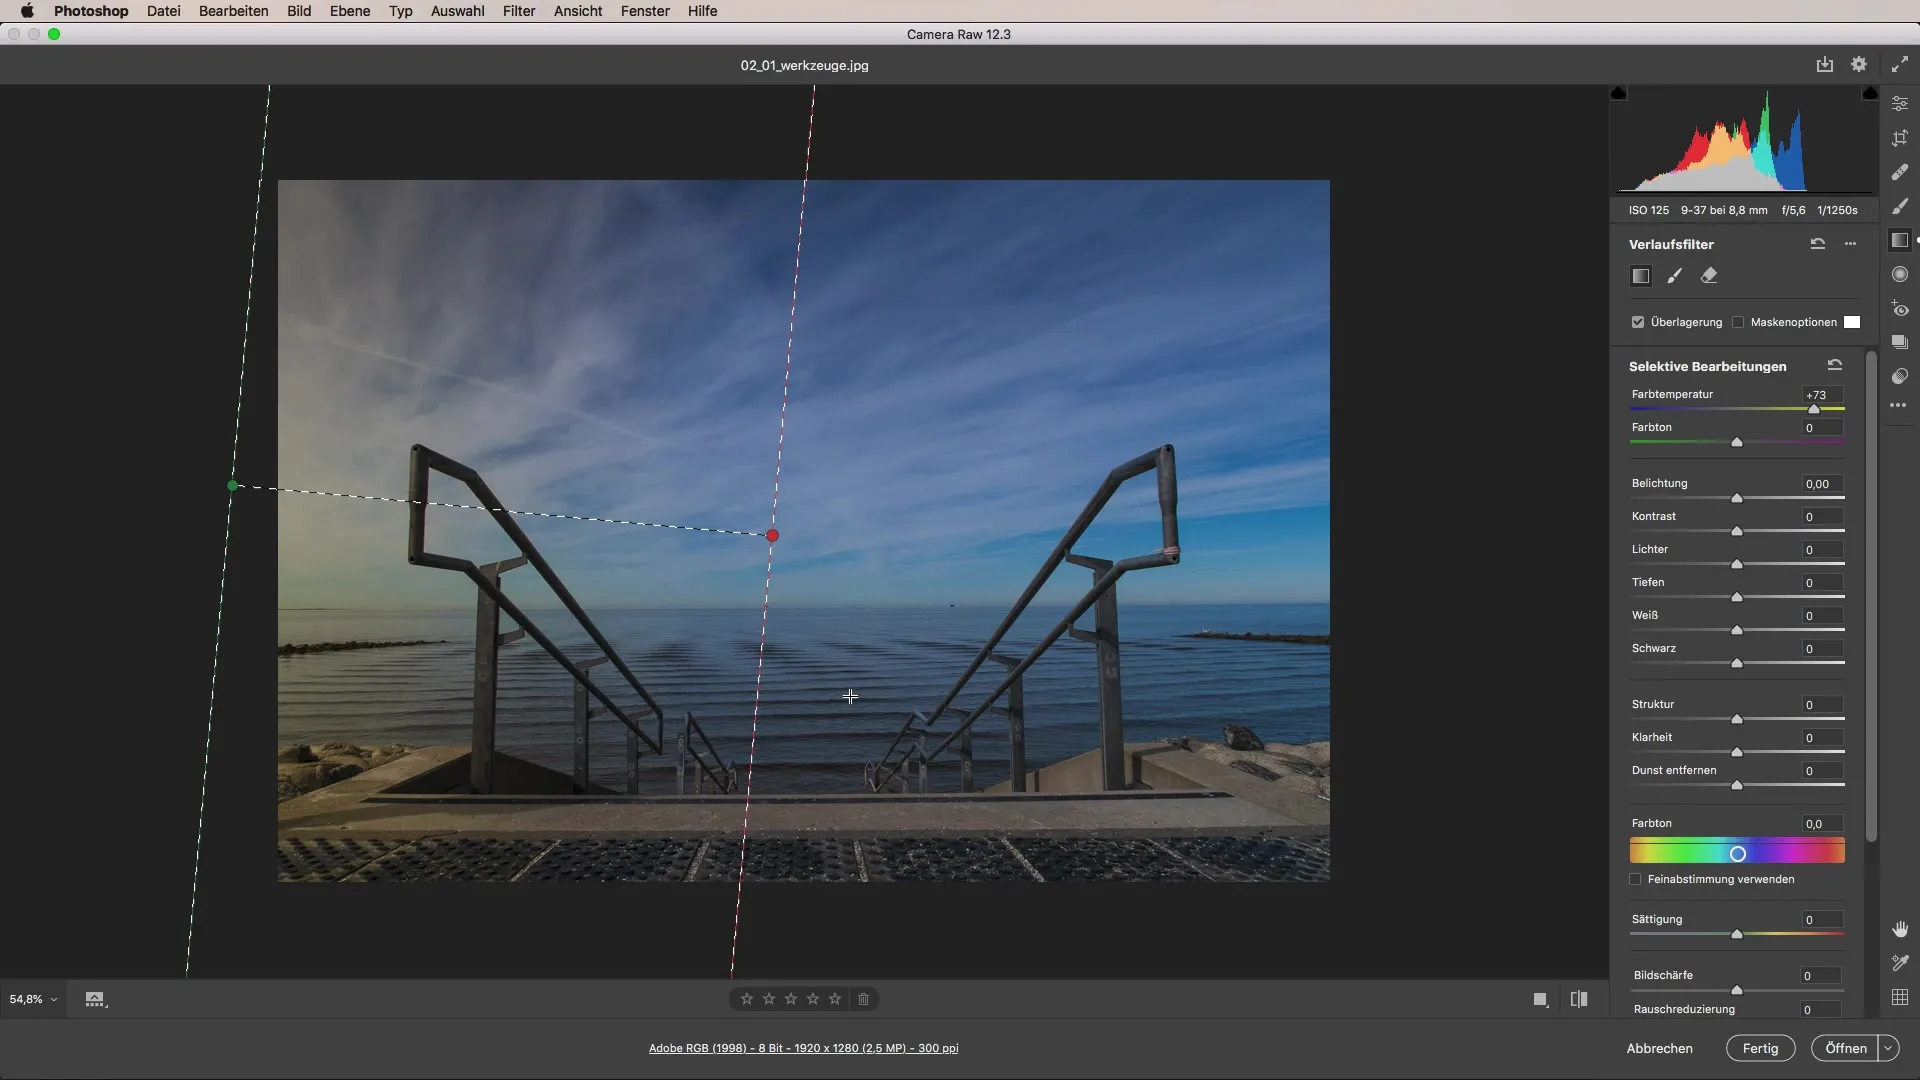
Now we come to the gradient tools, which help you create transitions in your image and make the editing even more visually appealing. You can create gradients in various shapes and colors and adjust them to the specific needs of your image. When you work effectively with the gradient tools, you can give your images a depth that makes them stand out.

6. Make radial adjustments
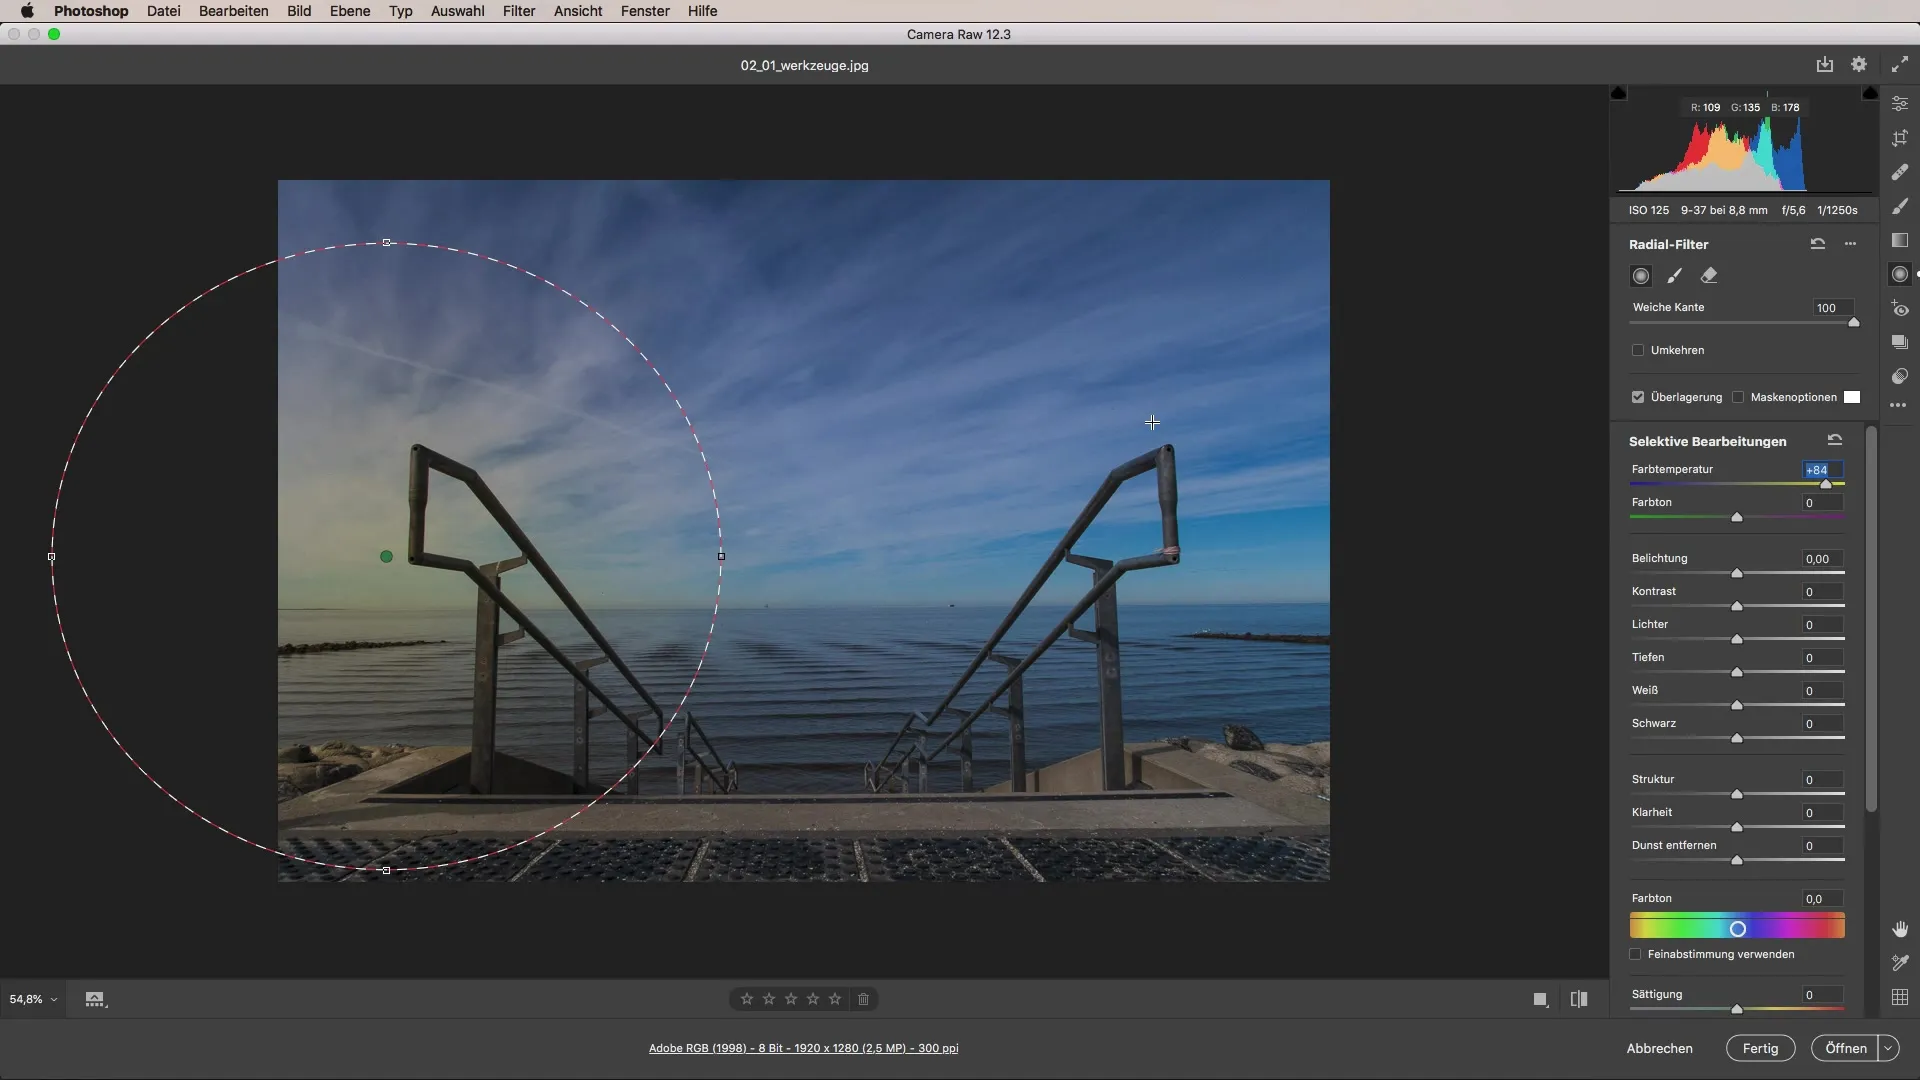
In addition to general adjustments, you can also make radial adjustments. This function helps you affect only specific areas of the image. Make sure to make the right settings to edit only the desired areas of your image. Inverting the effect can be very helpful for making precise adjustments.
7. Combine the tools
The true potential of these tools is unleashed when you combine them. You can skillfully work with the different adjustment tools and radial effects so that you achieve impressive results. A creative application of the tools allows you to further enhance your photos and realize your individual style concepts.

Summary – Camera Raw Tutorial: Using Tools in Detail
In summary, the tools in Camera Raw offer a variety of possibilities to optimize your images. With the right knowledge and a creative approach, you can turn any image editing into a visual success. Use the tools to shape your photos according to your ideas and combine them effectively for the best results.
Frequently asked questions
What is the crop tool in Camera Raw?The crop tool allows you to quickly and easily crop images into different formats.
How does Remove Spot work?With the Remove Spot tool, you can eliminate unwanted objects or distractions in your image with a click.
What can I do with the adjustment brush?The adjustment brush allows you to make targeted adjustments in specific areas of the image, such as color temperature or exposure.
How do I use the gradient tool correctly?The gradient tool helps you create transitions in your image and make visually appealing adjustments.
What are radial adjustments?Radial adjustments allow you to edit only specific areas of the image, enabling you to achieve precise effects.


