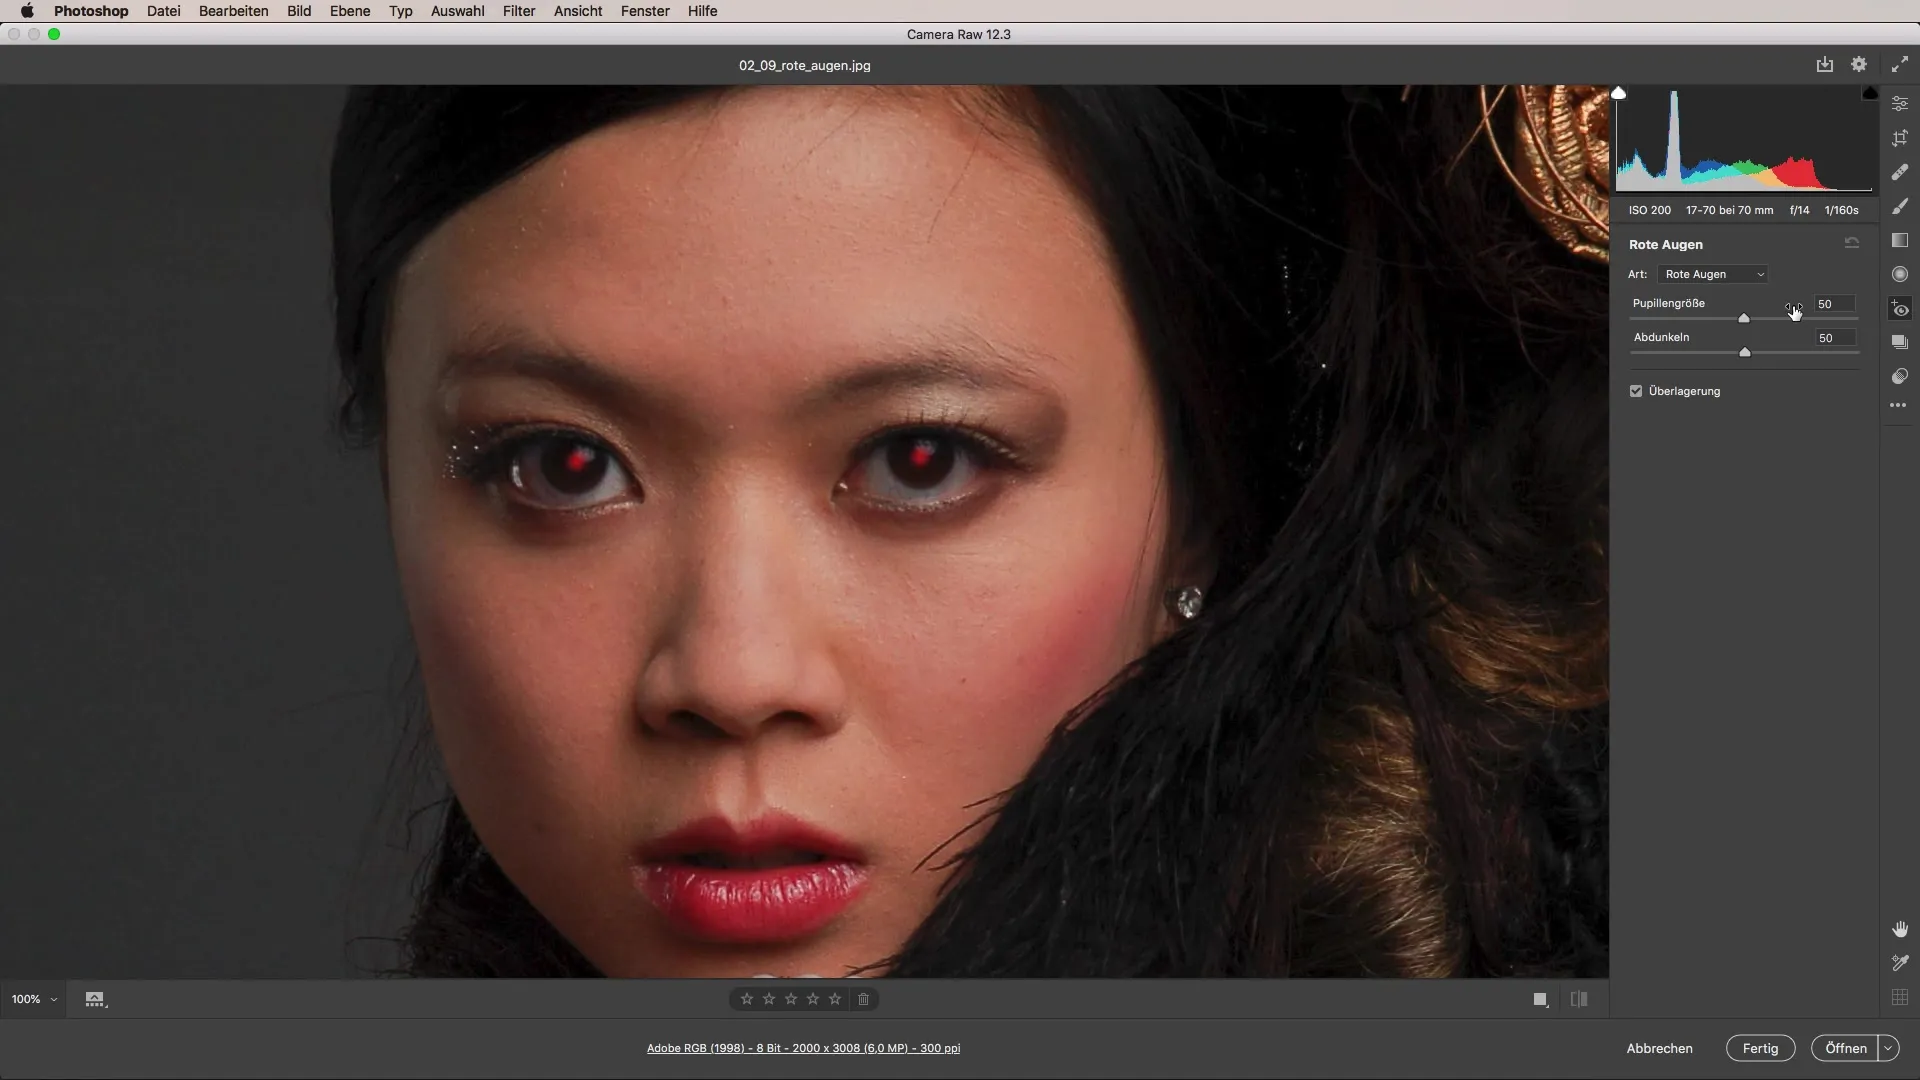
Red eyes in portraits are a common problem caused by direct light reflecting off the retina. However, with the right tools, you can quickly and easily fix this issue. In this tutorial, I will show you how to effectively remove red eyes from your portraits using Camera Raw in just a few steps. Let's get started!
Key insights
- Red eyes occur due to direct light reflection.
- Camera Raw offers a special tool for correction.
- You can adjust the size of the pupil and the darkening.
- Changes to the image are reversible.
Step-by-step guide to correcting red eyes
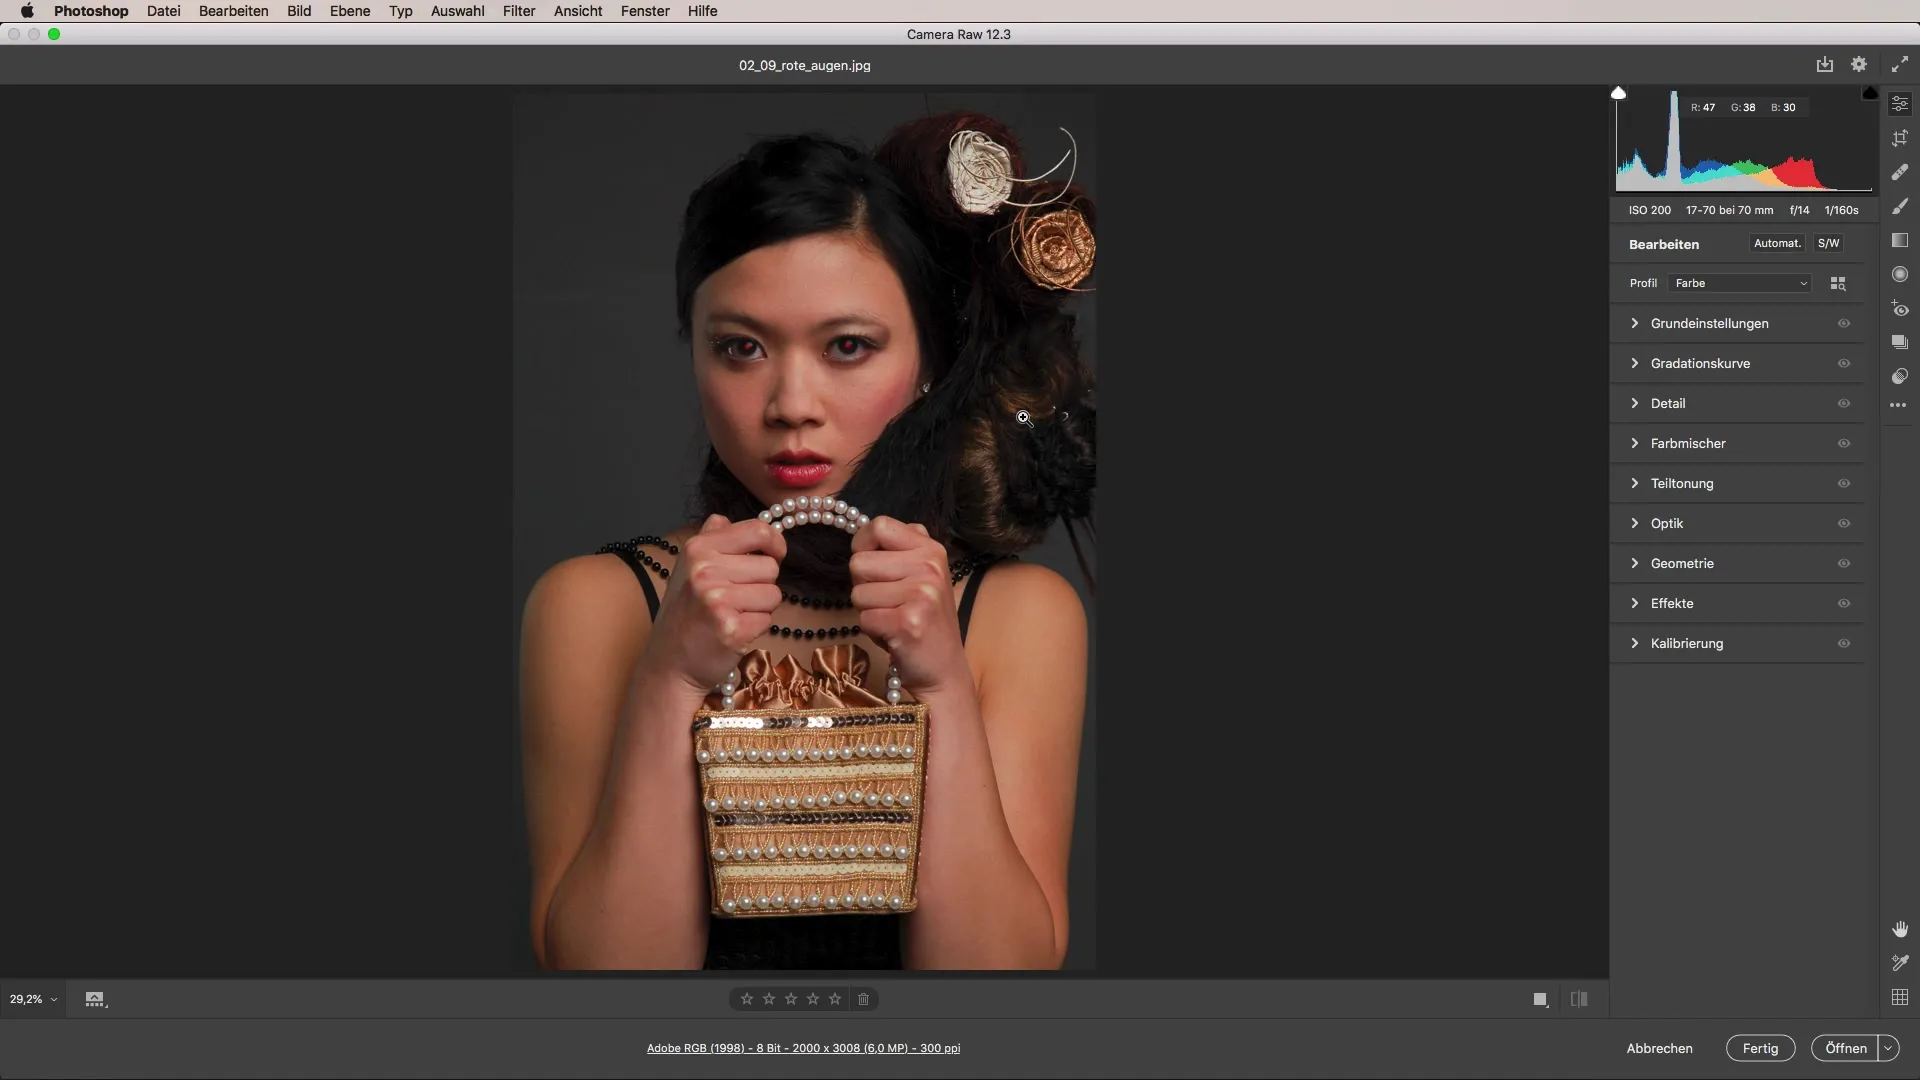
First, it is important to open the image you want to edit. Make sure you are working in Camera Raw. It is advisable to crop and adjust the image to focus on the eye.

The next step is to identify the tool for removing red eyes. Look for the "Remove Red Eyes" icon on the right side. Here, you can make the correction with just one click. Equally important is distinguishing between red eyes and pet eyes if you are working with pet images. This distinction could be interesting if you photograph pets.

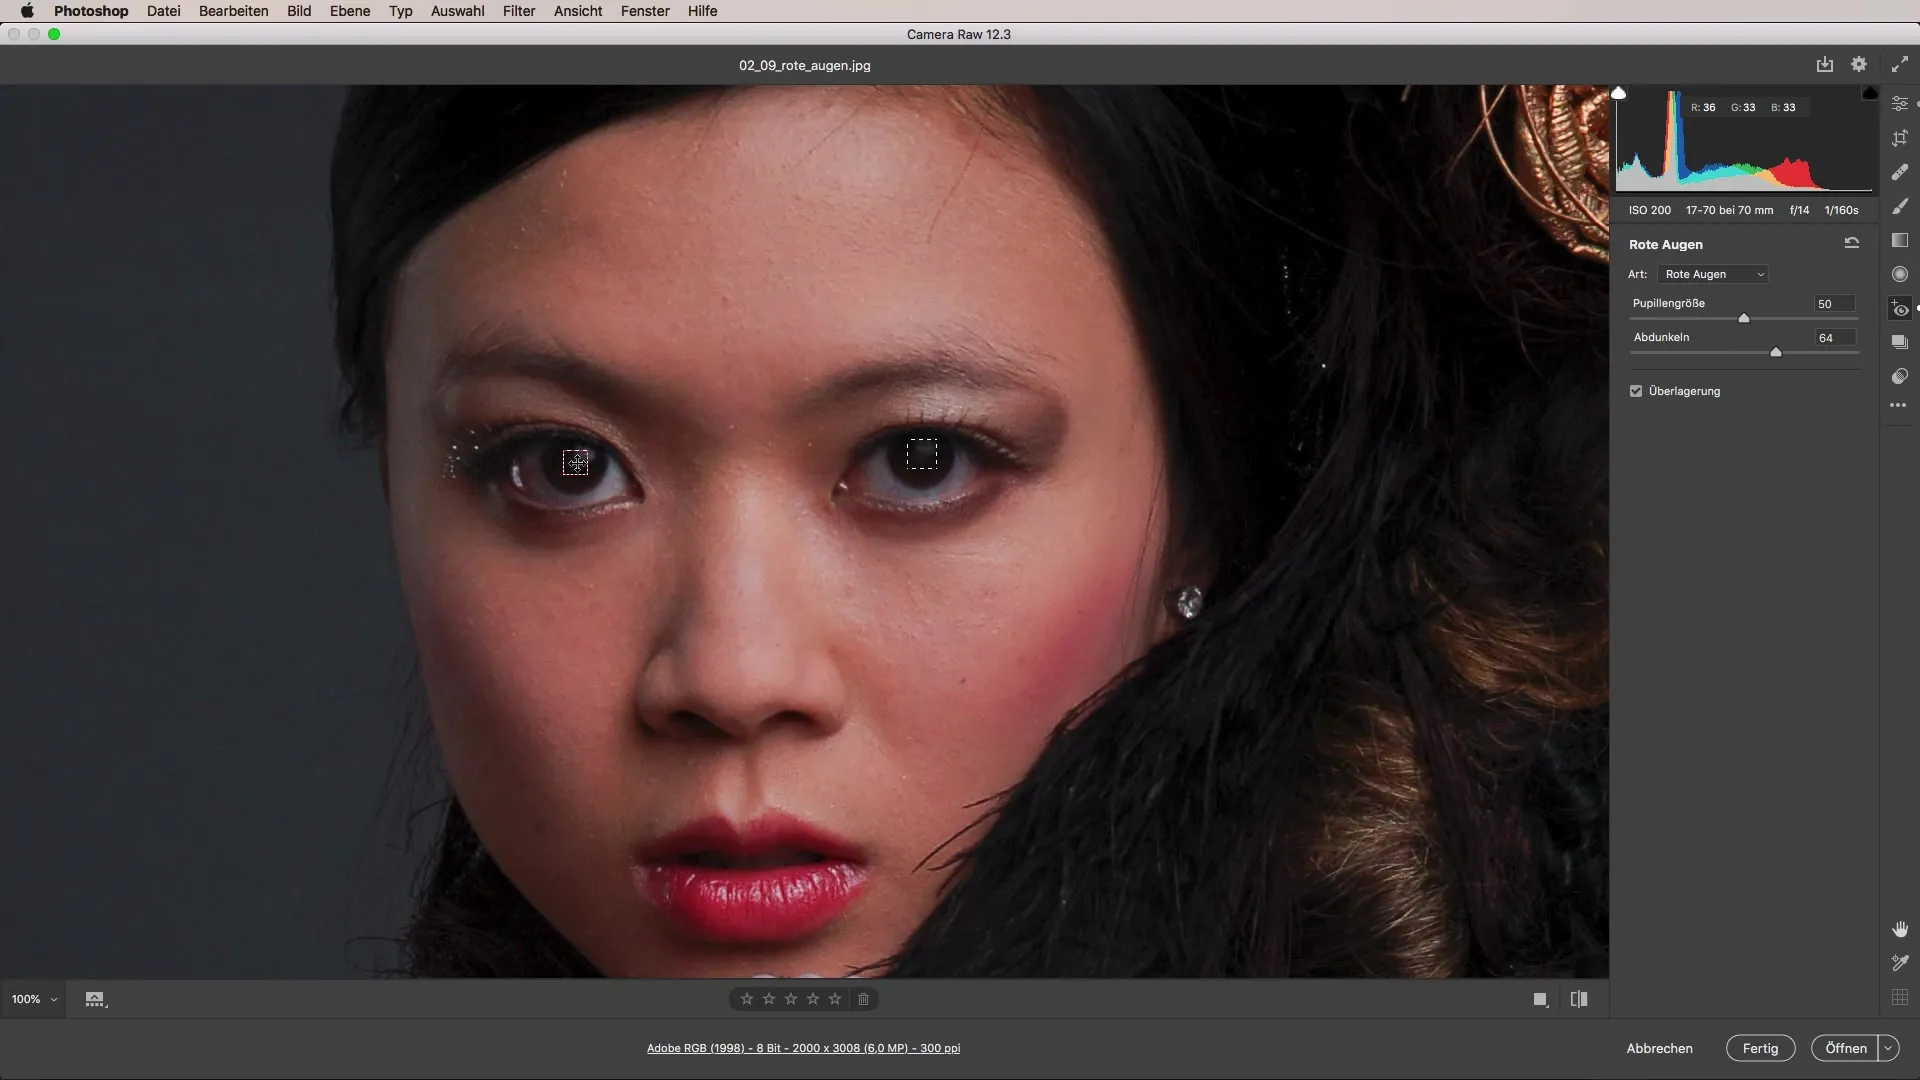
To make the correction, start by drawing a frame around the red eye. You can click on the upper left corner of the eye and then drag down to the right to create a square. Release the mouse button to apply the change.
If the red eye is covered too small, you can easily enlarge or adjust the square frame. By dragging the corners of the frame, you can achieve better darkening around the entire area to create a natural look.
Here you can experiment with the settings for pupil size and darkening. I recommend setting the darkening between 60 and 65. However, these values can vary depending on the image and the desired effect. Make sure the correction looks natural so that it is not obvious that something has been edited.
Camera Raw offers the flexibility to make adjustments even after the first correction. For example, if you change the white balance or contrast later, you can always return to the red eye correction and adjust it.

This capability makes working in Camera Raw particularly versatile. You can experiment with different settings without fear of permanently altering the image. It is an effective method to maintain image quality while removing unwanted elements like red eyes.
Summary – Effectively correct red eyes in portraits
In this tutorial, you learned how to effectively correct red eyes in your portrait images using Camera Raw. You saw that it only takes a few clicks to eliminate red eyes in portraits while preserving the naturalness of the image.
Frequently Asked Questions
How do red eyes occur in photos?Red eyes occur when light directly hits and reflects off the retina.
How do I use the "Remove Red Eyes" tool in Camera Raw?Click on the corresponding icon and draw a frame around the red eye you want to correct.
Can I adjust the red eye correction later?Yes, the correction remains even after other adjustments and can be changed at any time.
How do I adjust the darkening of the pupil?Experiment with values between 60 and 65, depending on your image.
Are there differences when correcting human eyes and pet eyes?Yes, Camera Raw offers different options for human eyes and pet eyes.


