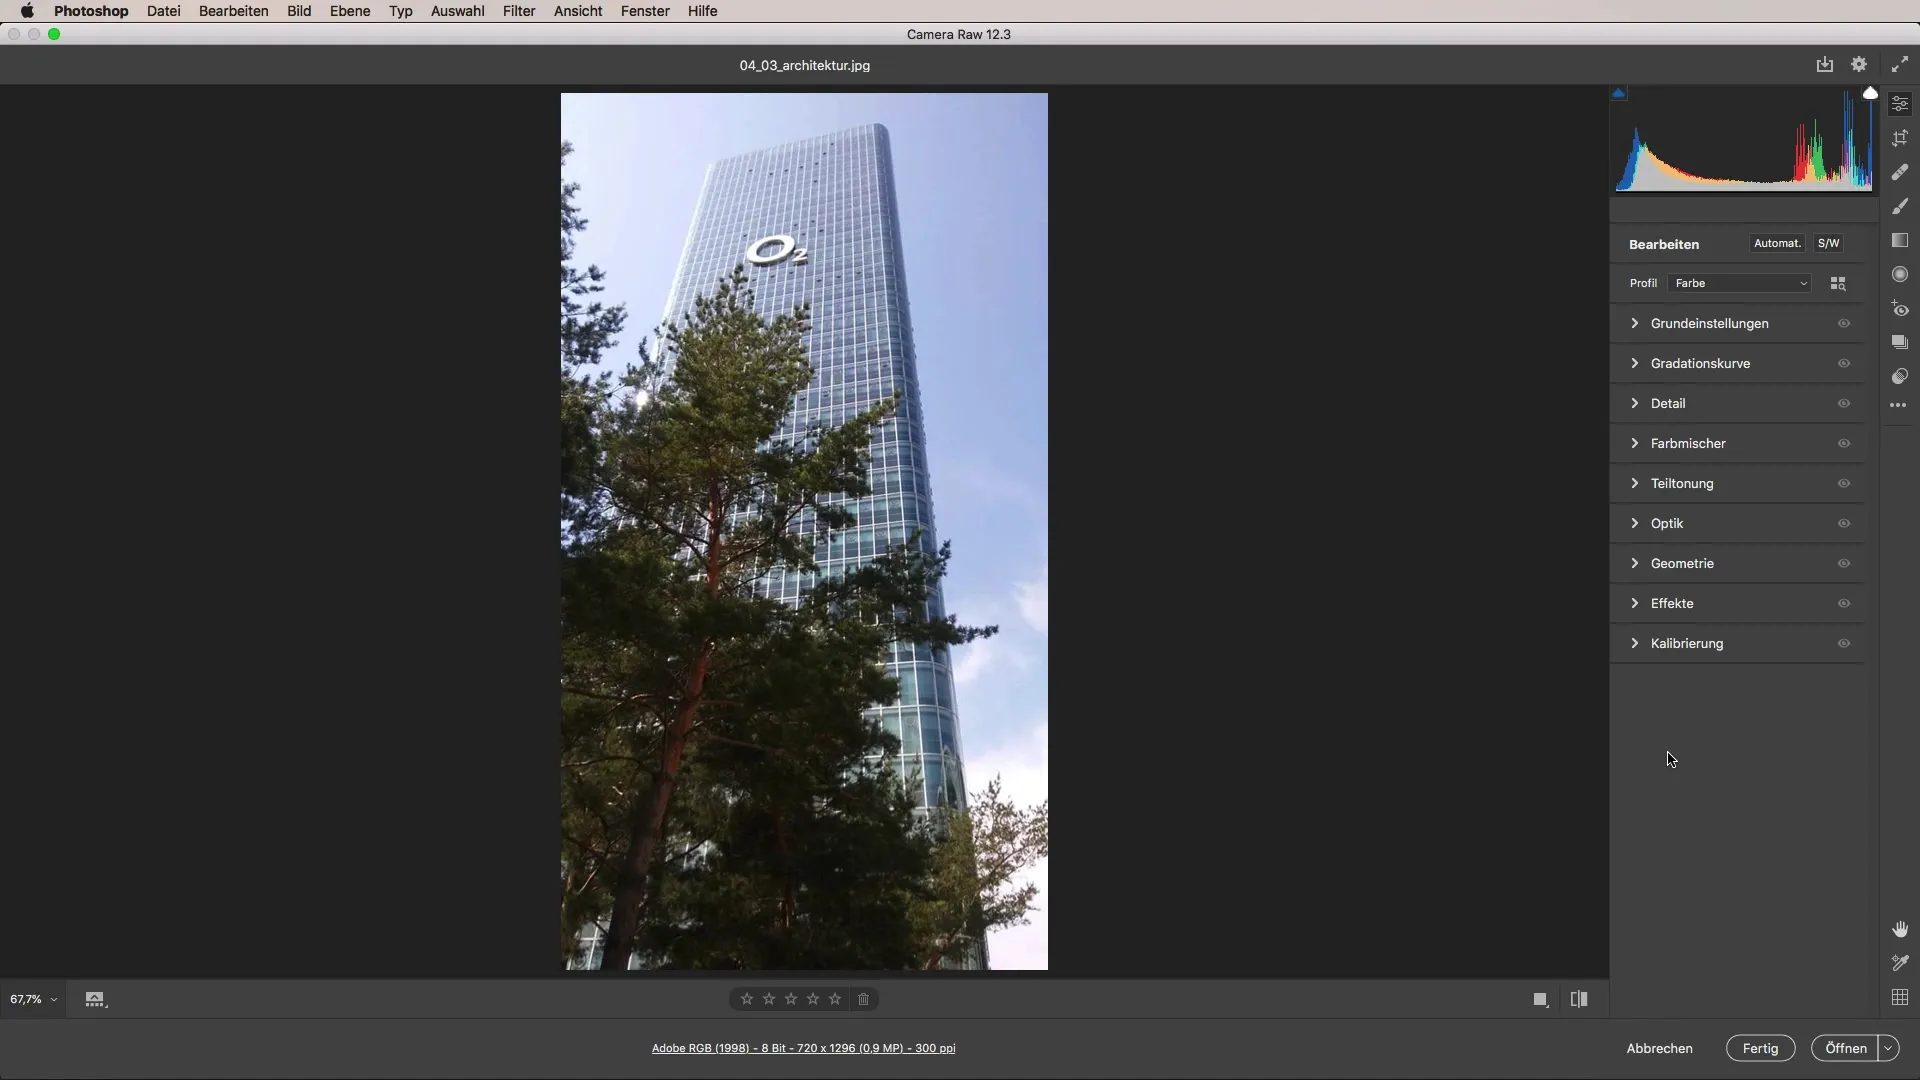
Architectural photographycan be a challenge, especially when it comes to correcting the geometric distortions caused by the lenses used. Adobe CameraRawoffers numerous tools to optimize your image. In this guide, I will show you a complete editing process for an architectural photo taken with a mobile phone. You will learn how to improve the geometry of your images and enhance the overall aesthetics.
Key insights
- The automatic correction in Camera Raw can effectively compensate for distortions.
- Manual adjustments allow for more precise control over the image.
- Color corrections are crucial to enhance the overall aesthetics and focus on the main subject.
Step-by-step guide
First, open your image in Adobe Camera Raw. If you have a photo that is already in RAW format, you can ensure that you have all the necessary information for editing. In our case, however, a mobile phone shot that also provides very good quality is sufficient.

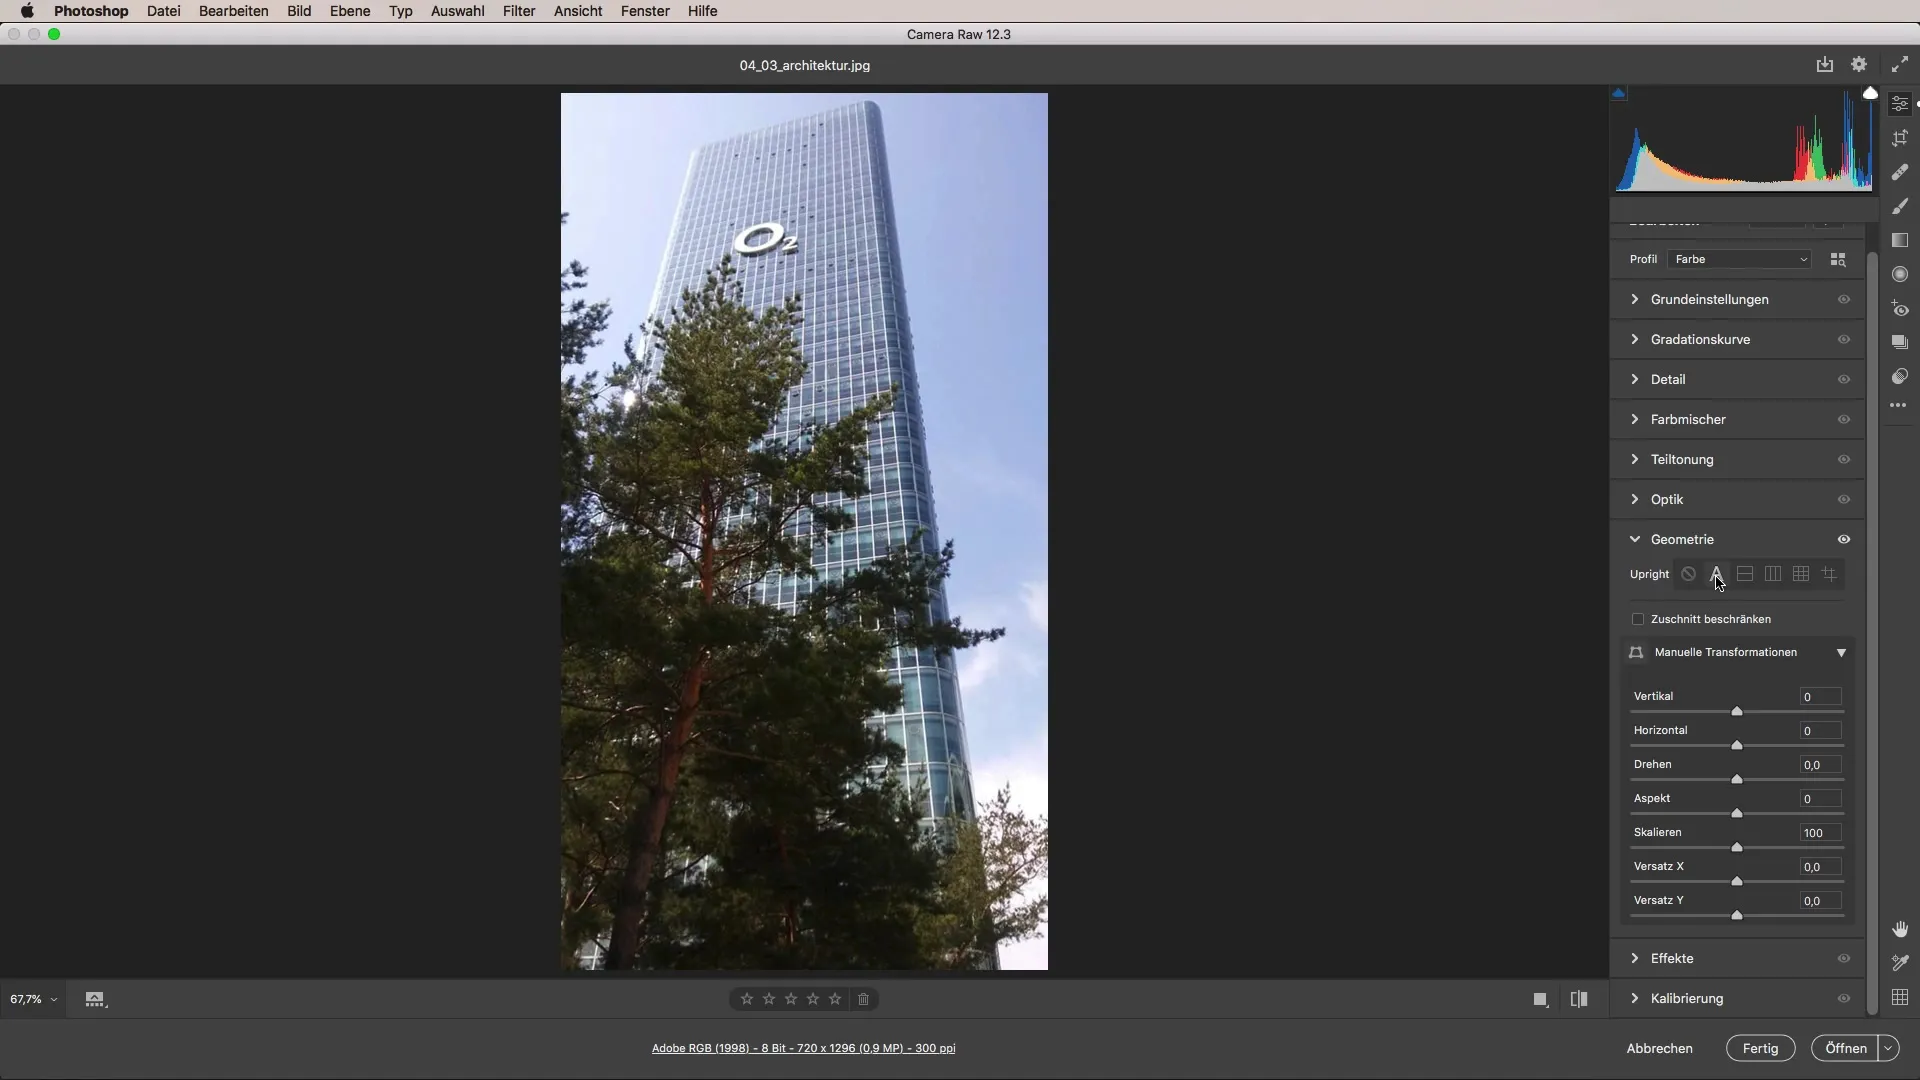
Once the image is loaded, you start editing the geometry. This is particularly important for architectural shots to correct the perspective. Go to the geometry section and use the automatic correction feature of Camera Raw. This feature will help you eliminate basic distortions and make your image straighter.
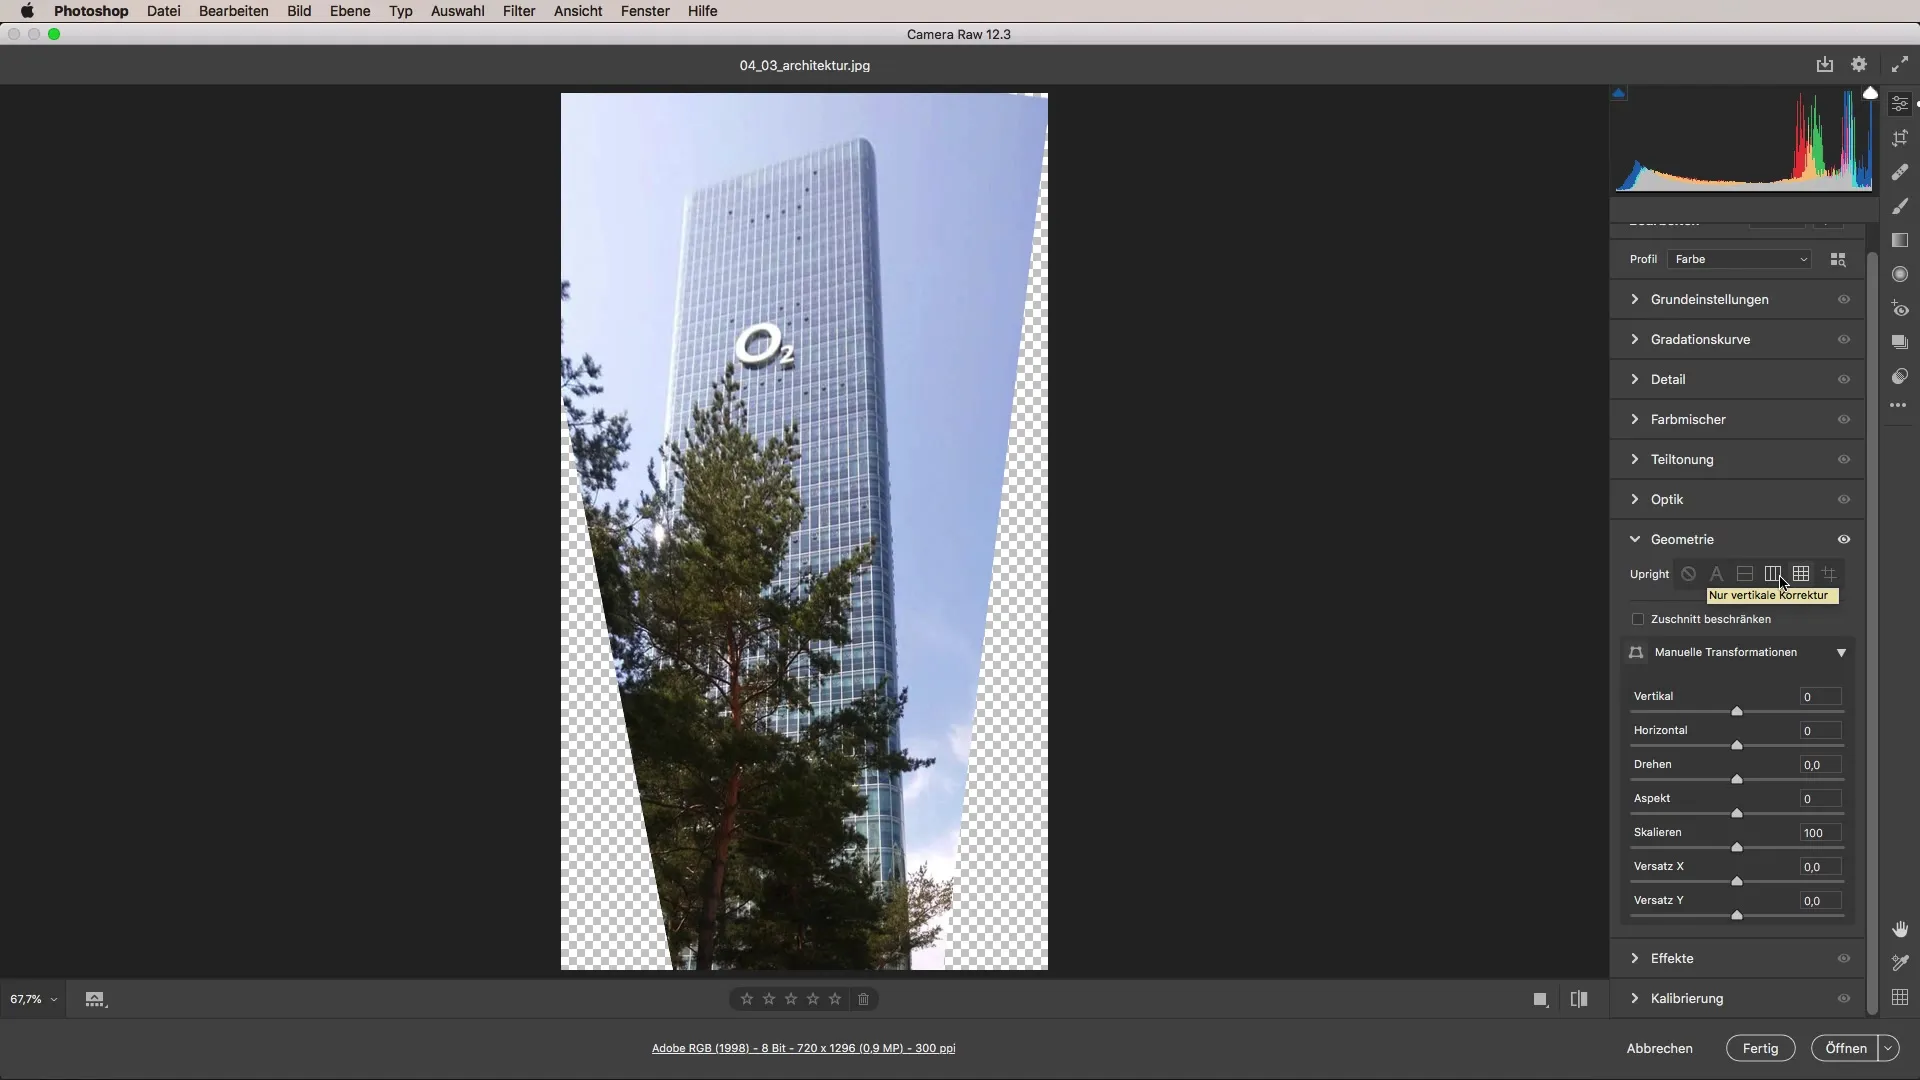
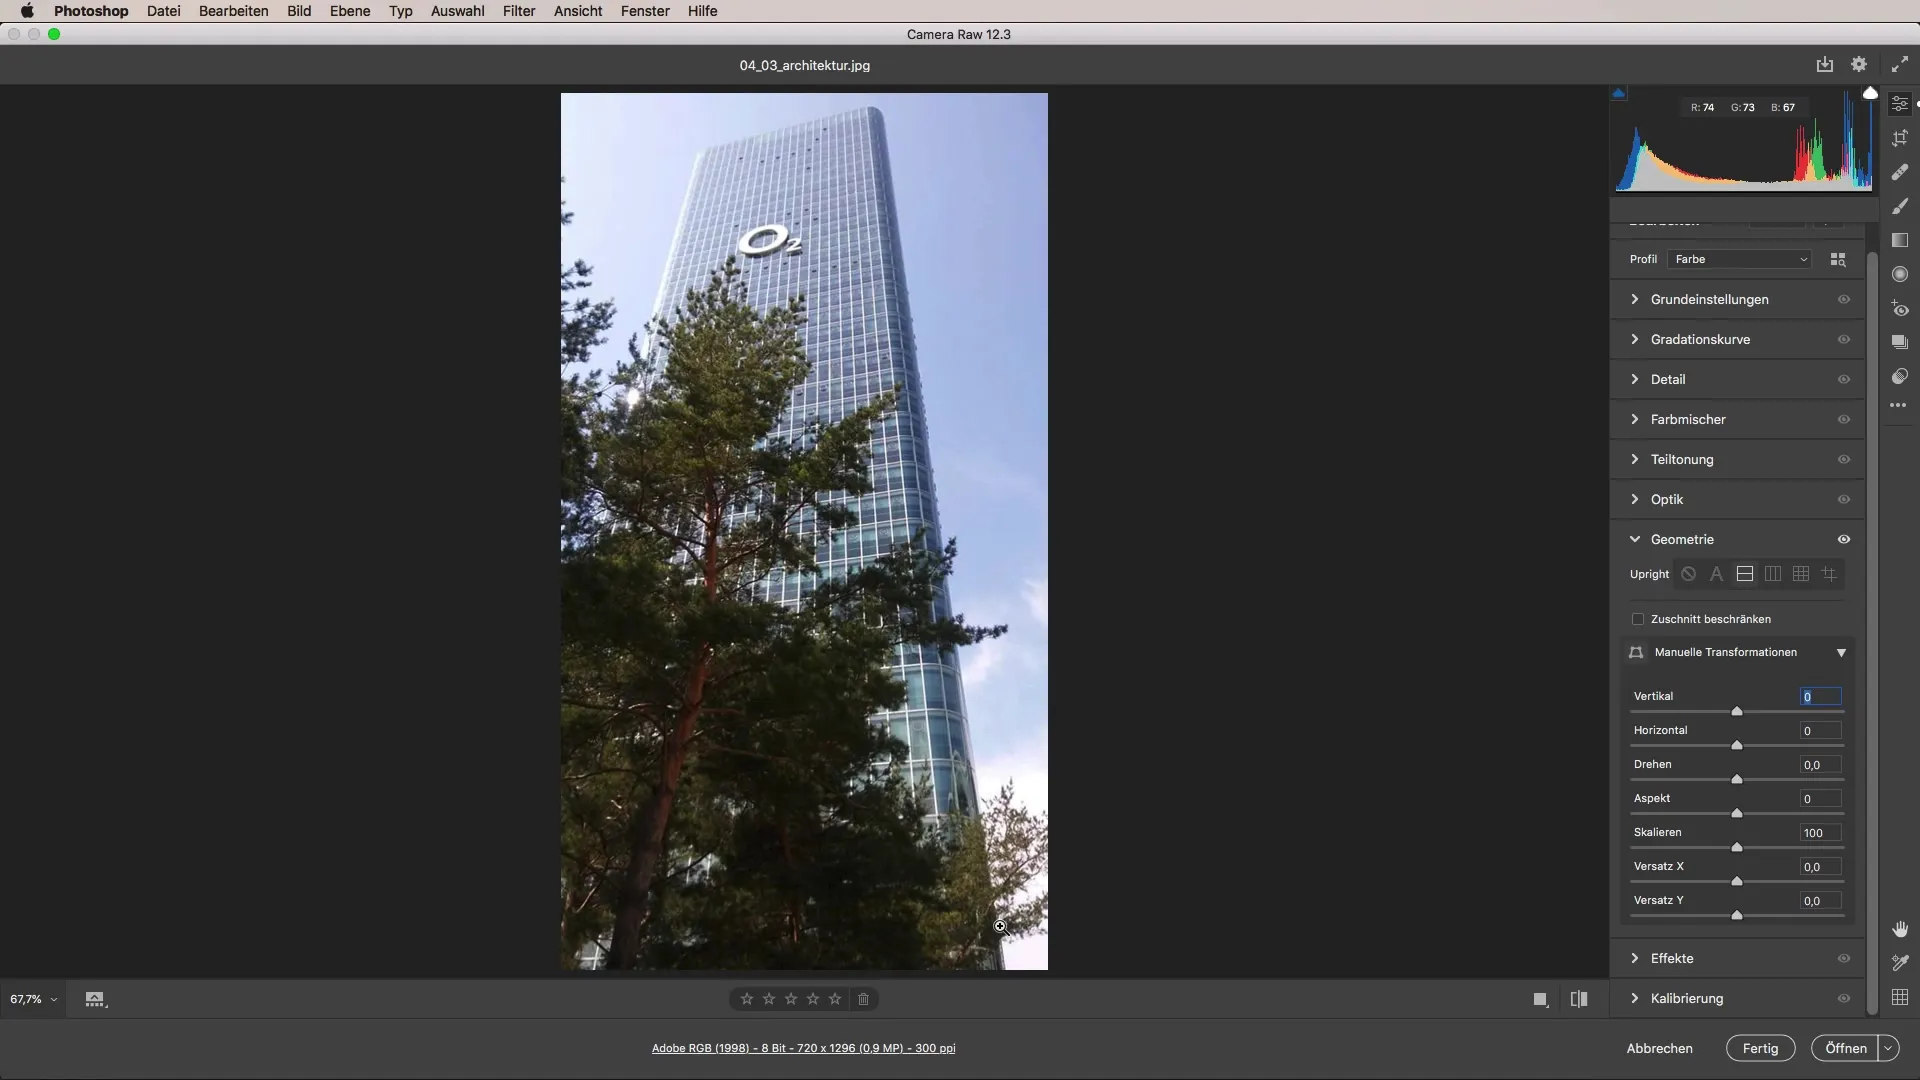
The automatic correction is a valuable starting point. However, the vertical and horizontal corrections can also be made manually if the result is not satisfactory. For horizontal correction, you can usually determine if you are dealing with a skewed horizon. Here you can adjust the lines and achieve the desired alignment.
After making the corrections, it is time to crop the image. This step is important to shape the image according to the desired format. Use the cropping tool in Camera Raw and draw the frame so that all important elements remain in the image and nothing unimportant distracts.
Now go back to the basic settings. These settings include clarity and structure, which you can add to give the image more depth. While playing with clarity, be careful not to over-process the image. The focus should still be on the architecture and not on the editing itself.
Another important aspect is adjusting the lights. Decrease the lights to obtain more detailed clouds. Make sure that this influences the image dynamics while also adjusting the overall aesthetics. A well-exposed sky can significantly enhance the photo.

Contrasts are crucial for the visual impact of the image. Here you should experiment and adjust the contrast so that the architecture stands out well without overemphasizing other elements. It can also be beneficial to play with the saturation, particularly in areas that should not stand out too much.
To focus on the architecture, go to the color mixer and reduce the saturation of greens and oranges. These tones can cause other parts of the image to appear more dominant than the architecture itself. Test the saturation values to achieve the best possible result.

If everything looks good, you can also adjust the luminance. Here you can create darker tones by lowering the luminance, balancing the brightness of the tree and sky areas. Be careful not to lose too much from the image data; this can be critical with mobile images.
After making all the adjustments, take a look at the changes compared to the original. It is incredibly impressive to see how much you can achieve with some creativity and the features of Camera Raw.

Summary - Camera Raw for Architectural Photography: A Step-by-step Guide
This guide has introduced you to different steps on how to harness the potential of Adobe Camera Raw for architectural photography. From geometric correction to color and detail adjustments, you can achieve impressive results that enhance your architectural photos.
FAQ
How does the automatic correction work in Camera Raw?The automatic correction uses algorithms to detect distortions in the image and then compensate for them more effectively.
Can I also use manual settings?Yes, you can manually adjust the vertical and horizontal corrections to fix specific issues in your image.
How can I improve the contrast in my images?Test various contrast values in the basic settings until you find the right balance between emphasized and less dominant areas of the image.
How do I optimize the colors of my image?Use the color mixer to increase or decrease the saturation of individual colors, so that the architecture stands out more clearly and distractions are minimized.


