When you take a photo, you often want the mood of the image to reflect the emotionsand the atmosphere of the moment. In this guide, you will learn how to specifically adjust the mood of your photos using Adobe Camera Raw. The tutorial will guide you step by step through the basic adjustments to make your images look more vibrant and inviting.
Key Insights
- Color temperature and white balance affect the overall mood.
- Exposure and special filters like radial and gradient filters help focus on specific areas of the image.
- Combinations of these tools lead to a harmonious and appealing image composition.
Step-by-Step Guide
Let's start with the image we want to adjust. In this case, it is a heartwarming picture of a dog that contains some atmospheric elements we want to highlight.
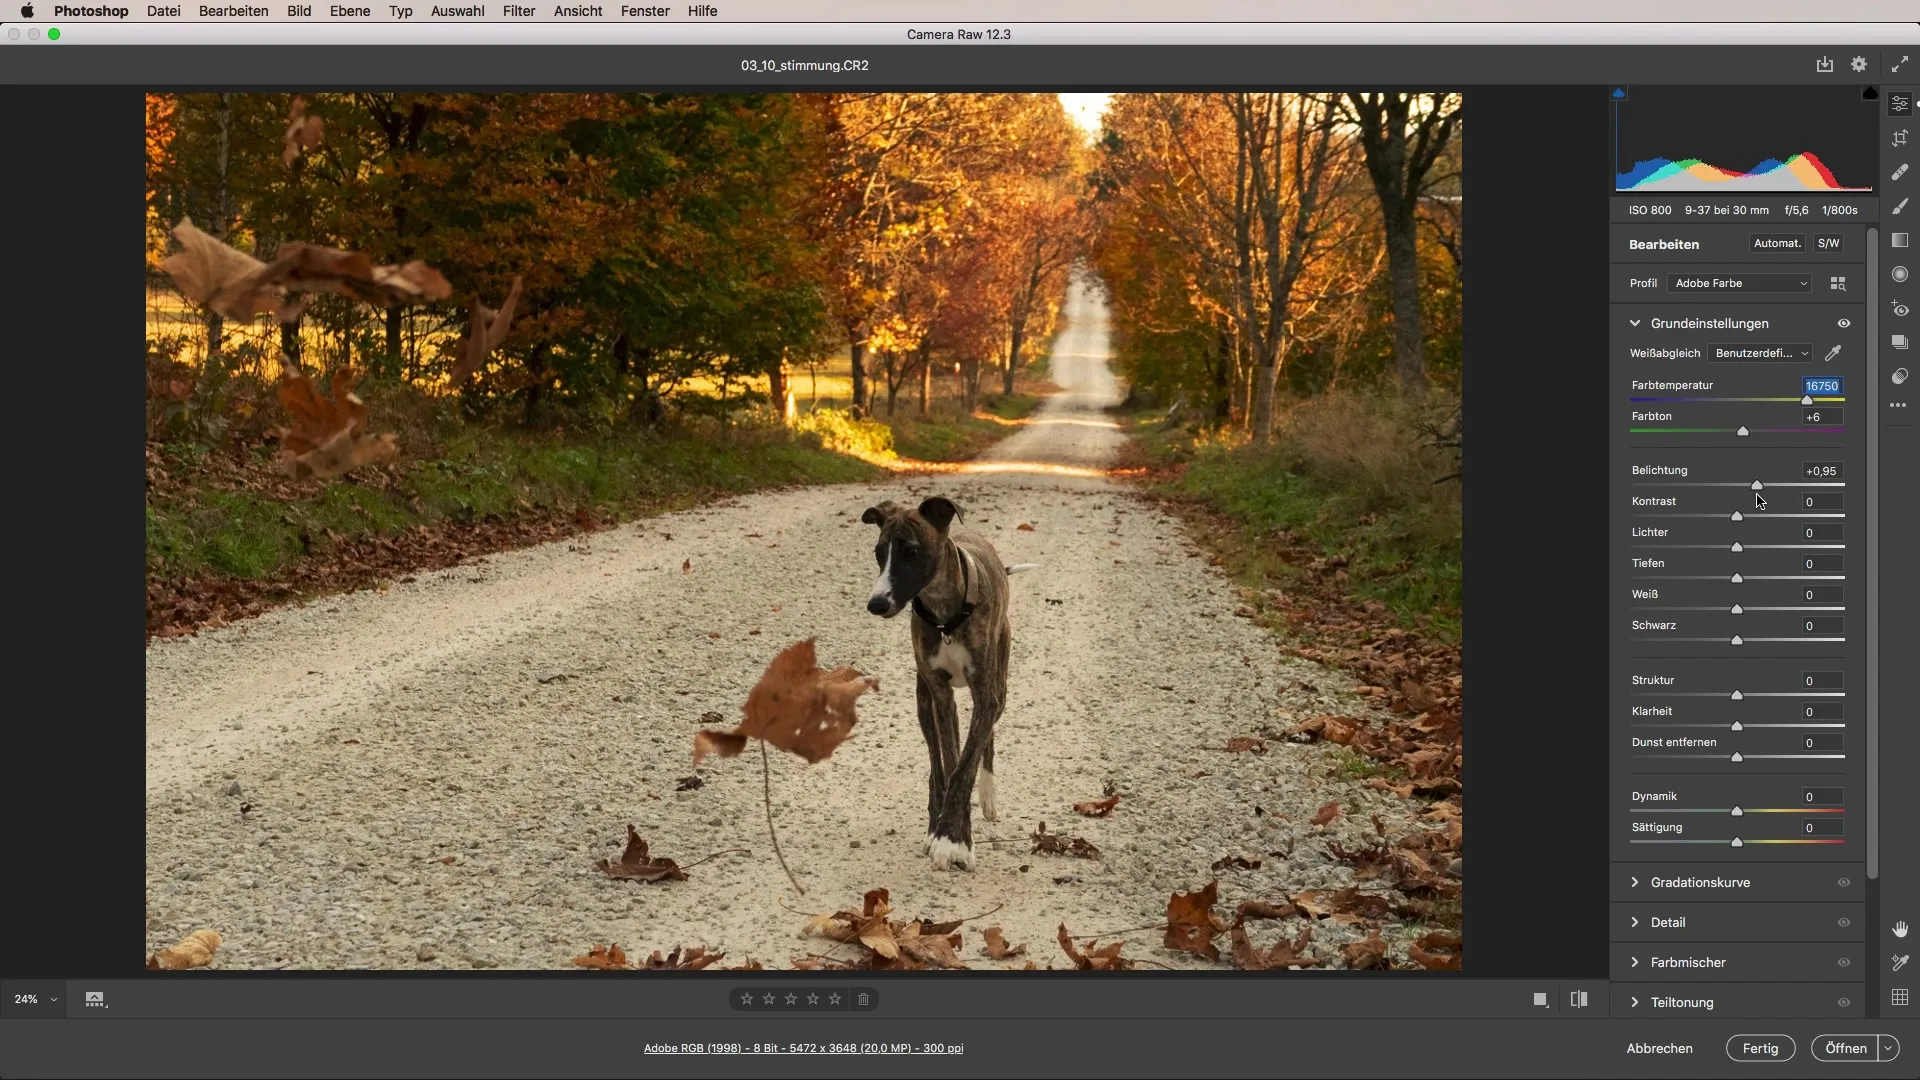
Step 1: Basic Adjustments First, you will make the basic adjustments. Go to the color temperature and white balance options and pull the sliders up to make the image warmer. This gives your image a more pleasant, inviting mood.
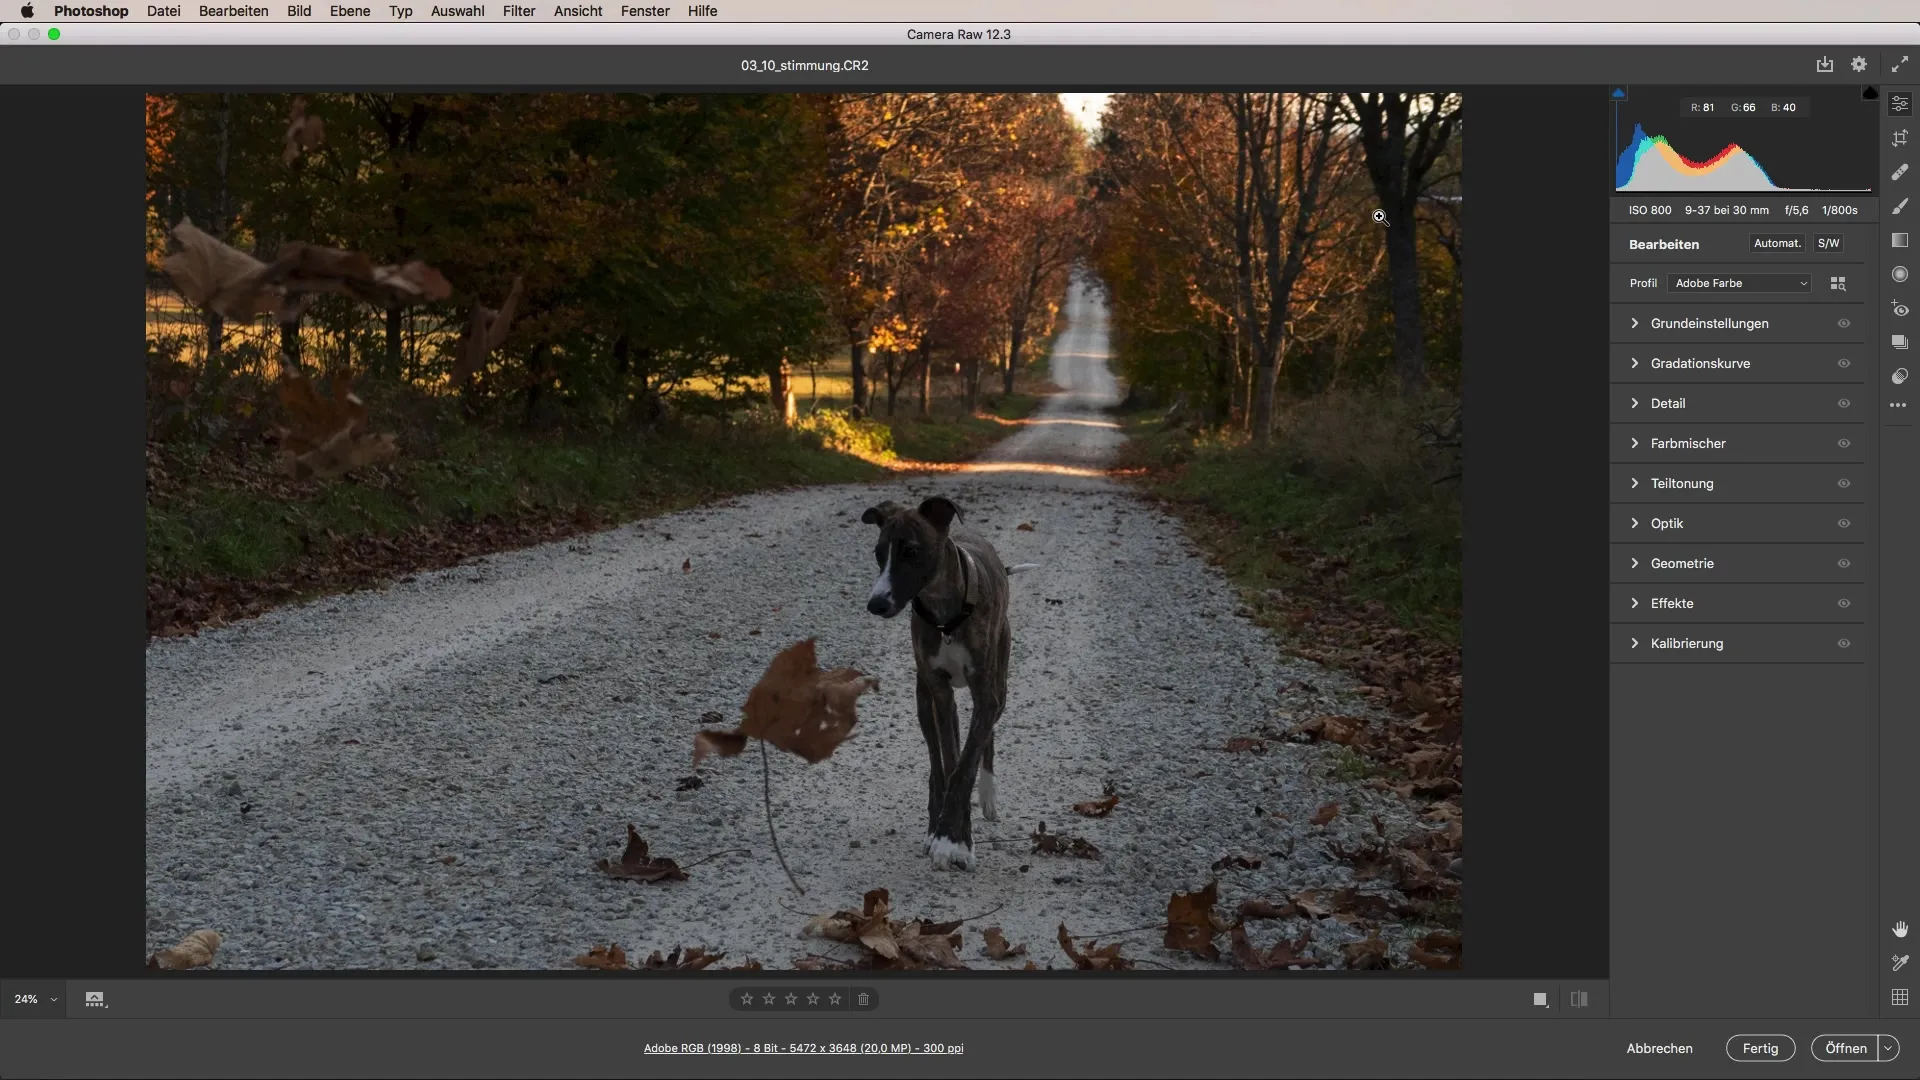
Step 2: Increase Exposure The dog in the foreground may appear a bit too dark. Therefore, it is important to adjust the exposure of the image. Check if the image is overexposed due to too much light. Gradually increase it until the exposure looks ideal for the foreground subjects.
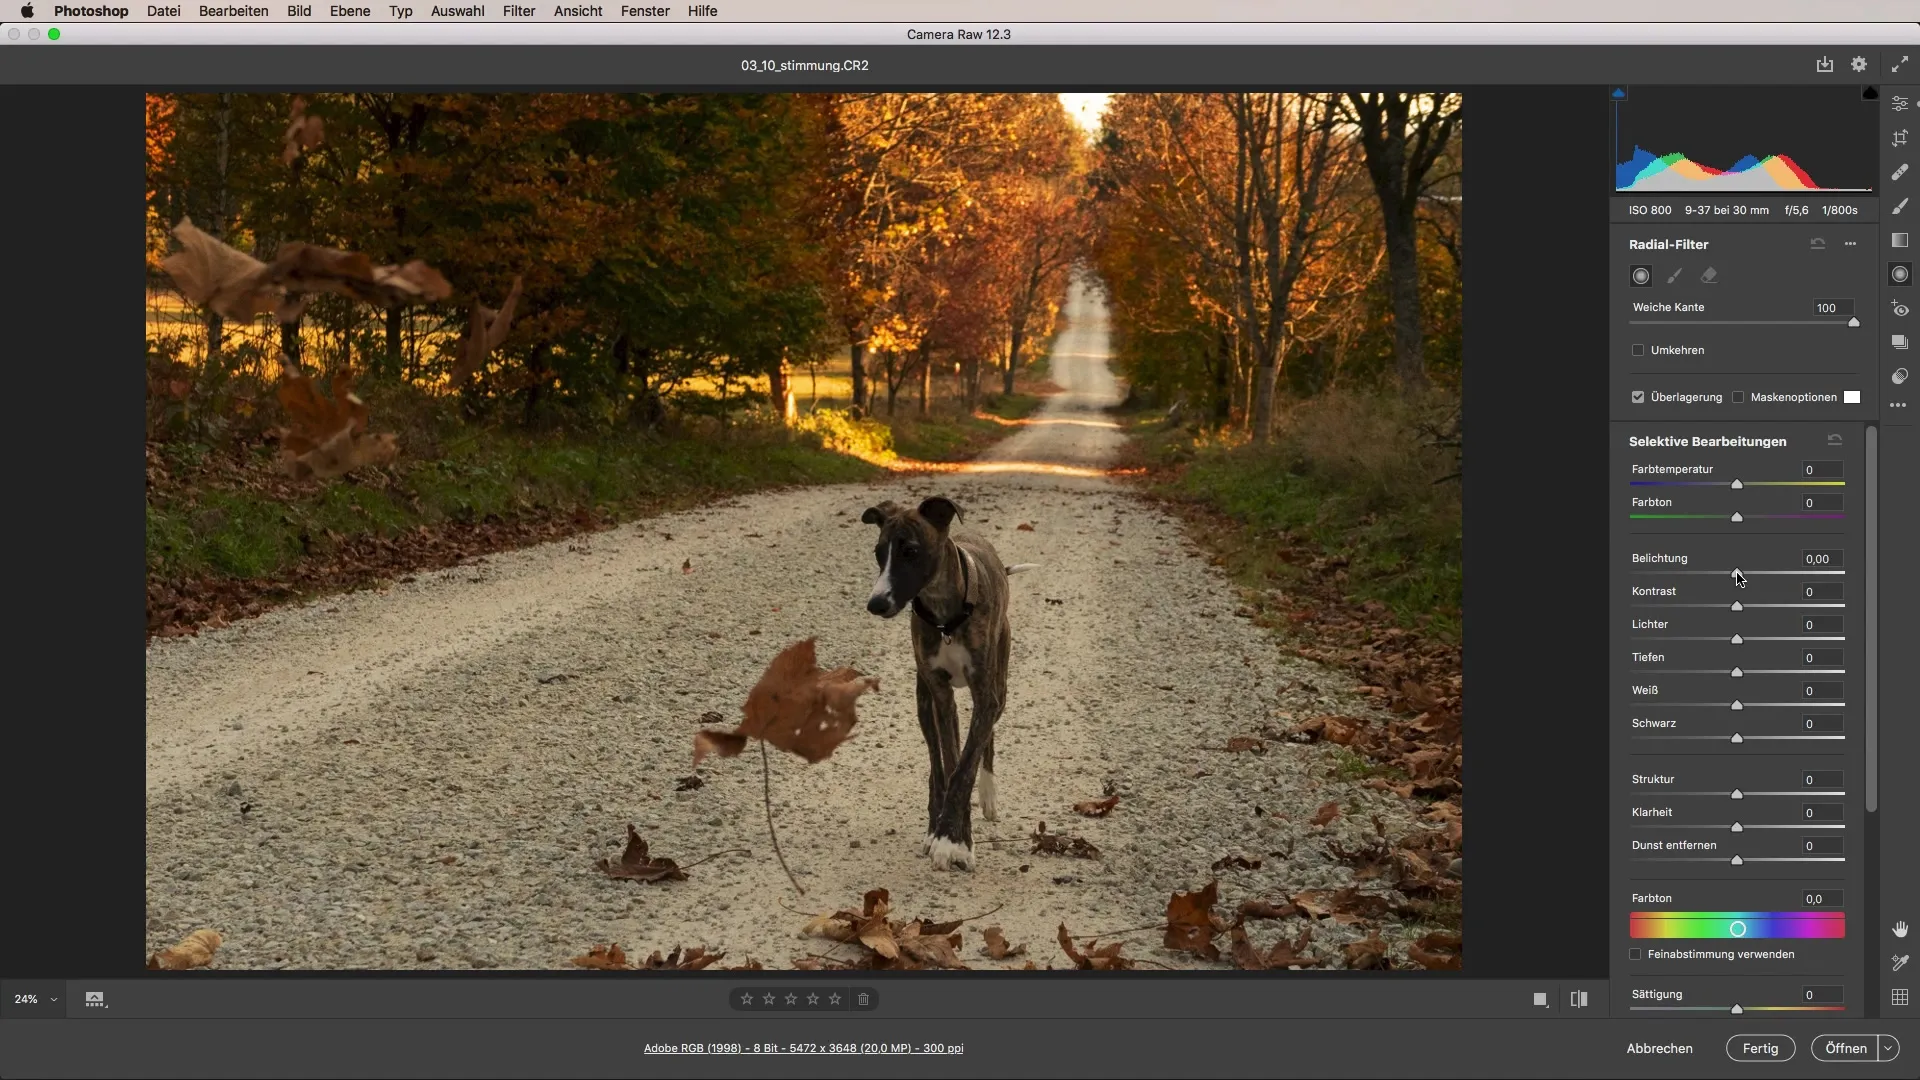
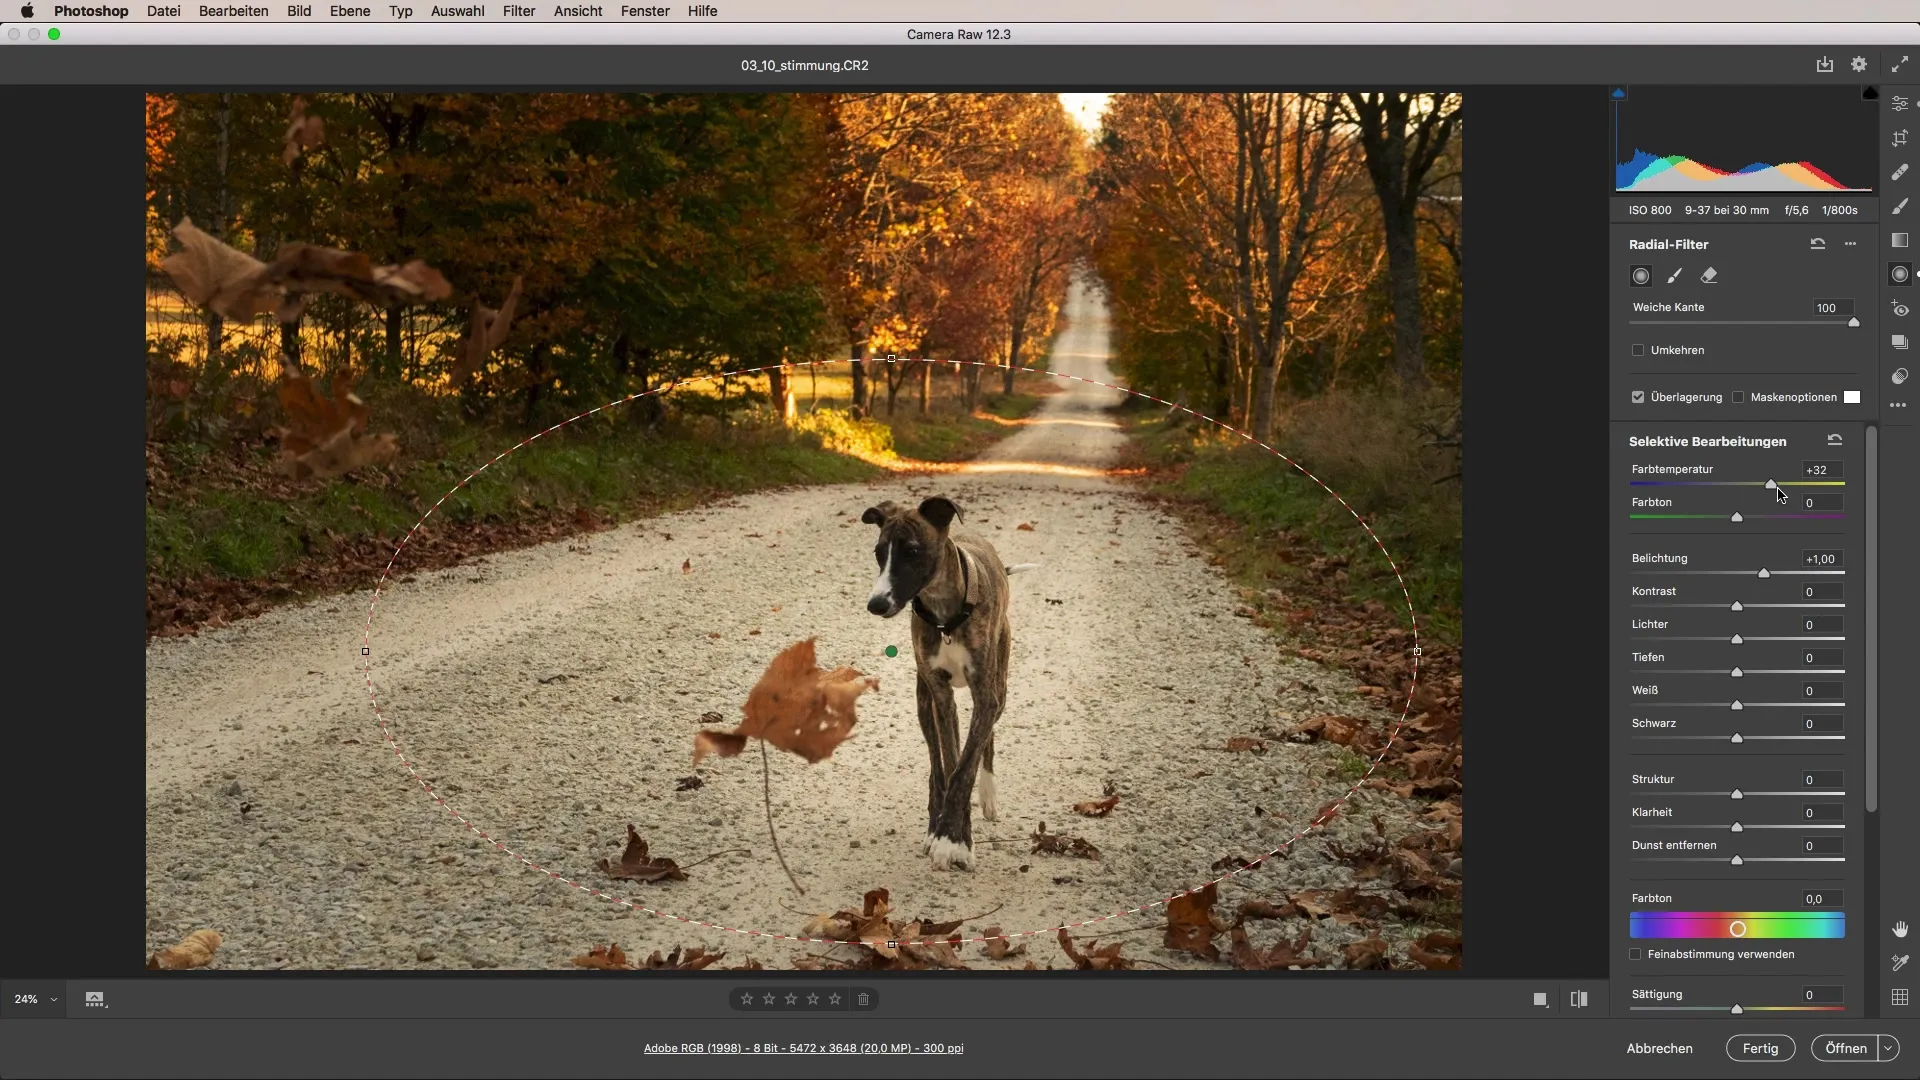
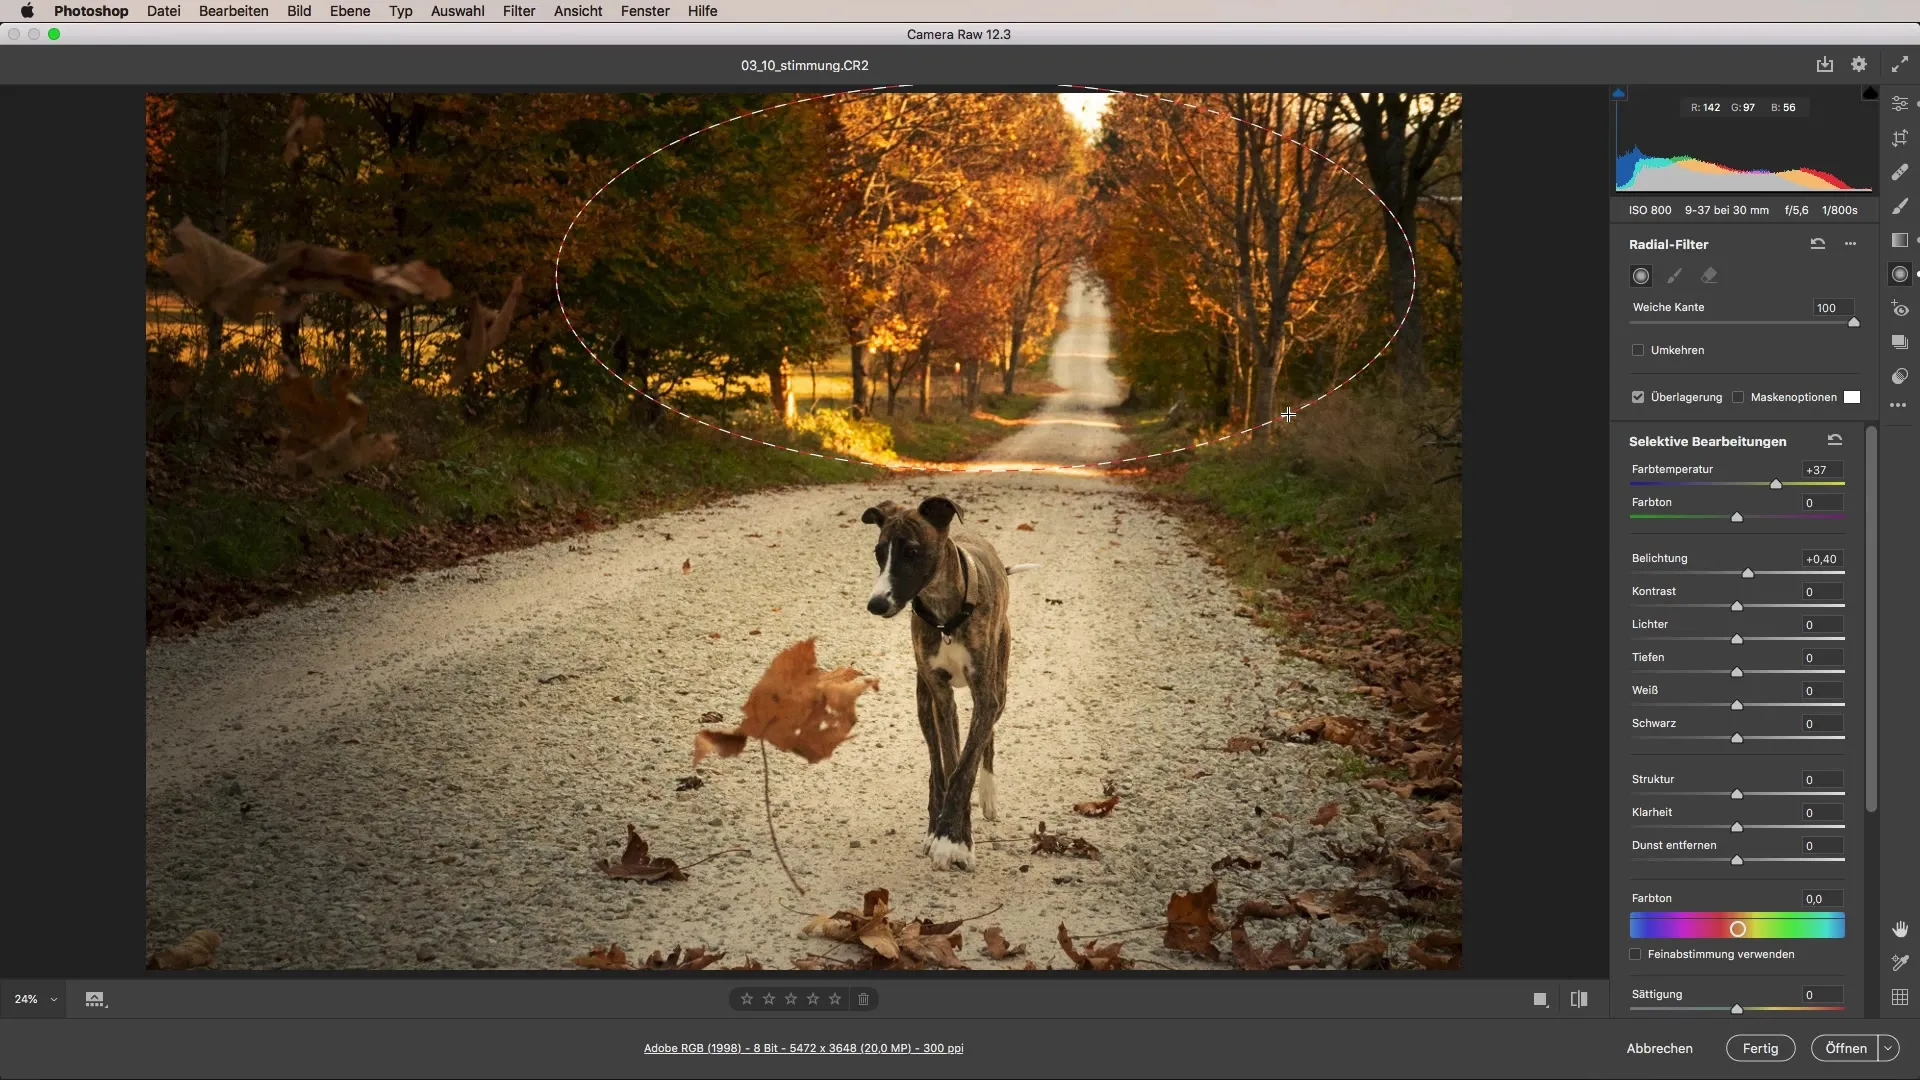
Step 3: Using the Radial Filter To specifically focus on the dog, use the radial filter. Create a large ellipse around the dog and slightly increase the exposure there. This method allows you to adjust brightness and color temperature at a specific point without overexposing the background.
Step 4: Optimize Color Temperature and Lighting After you have set the radial filter, go back and adjust the color temperature. A warmer setting enhances the impression of sunlight and creates a harmonious overall image. This gives the dog more life and makes it appear in a friendlier light.
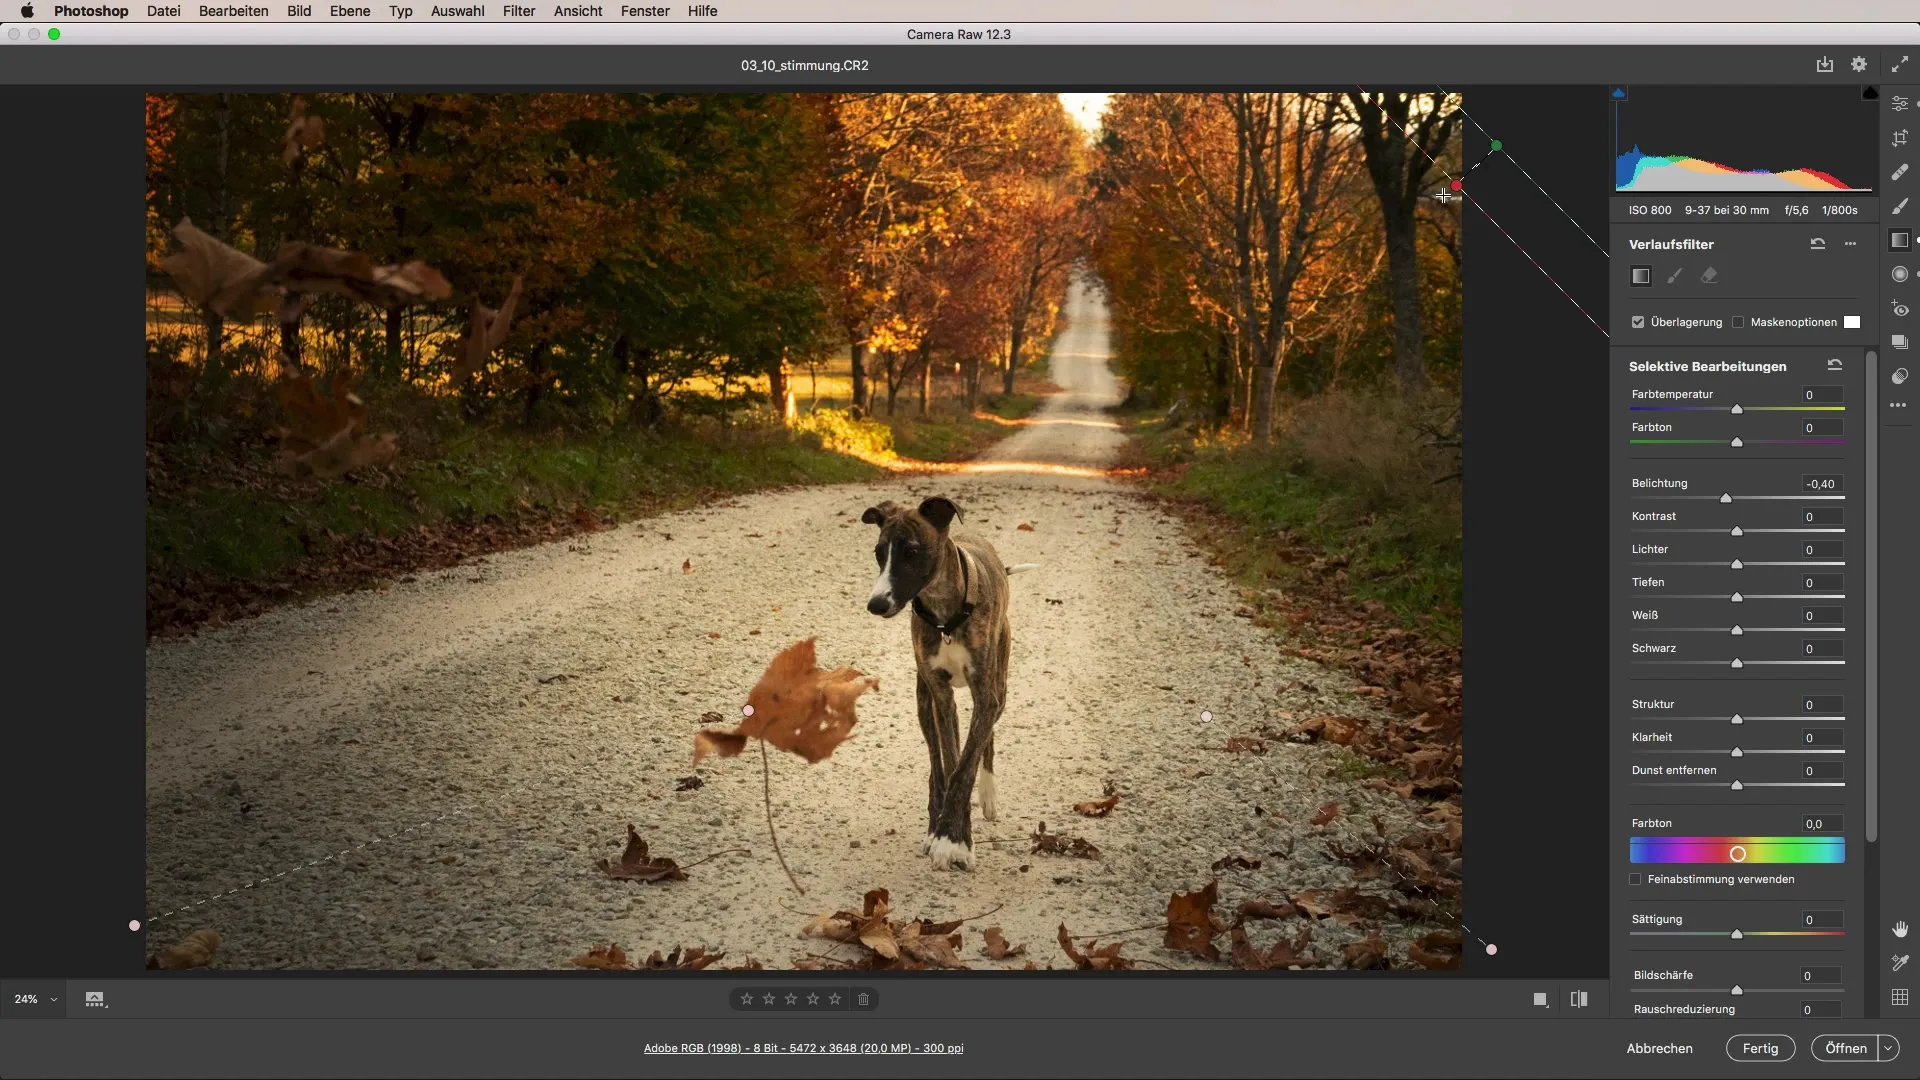
Step 5: Apply Gradient Filter Now the gradient filter comes into play to gently darken the background. This draws the viewer’s attention even more to the dog. Pull the exposure slider down to achieve the desired effect. Ensure that the change looks natural and does not create hard edges.
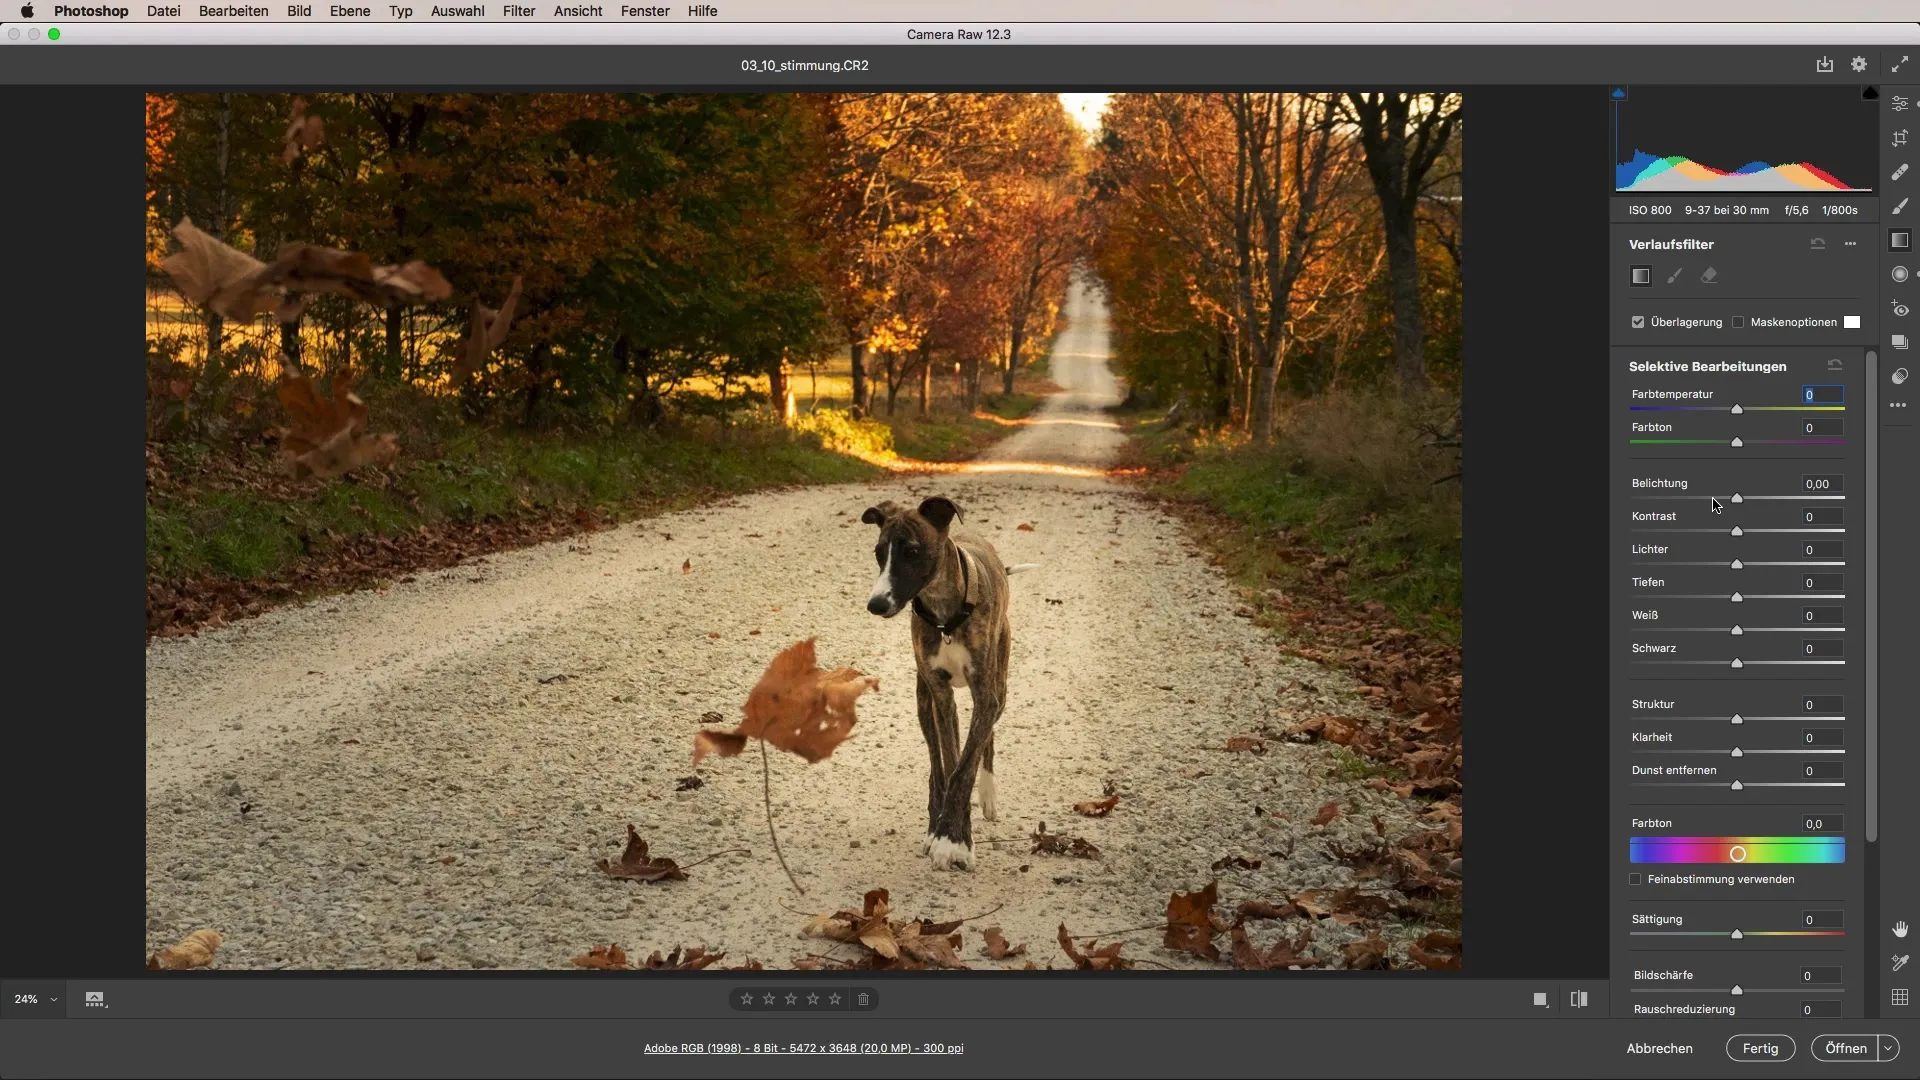
Step 6: Make Fine Adjustments At this point, you could review the image again and make small adjustments. Use the gradient filter again to add darker areas to the edges of the image. This subtle adjustment helps direct the viewer’s gaze to the main subject.
Step 7: Final Improvements Finally, you should boost the light in the background a bit. This ensures that the contrast between the foreground and background becomes more harmonious and makes the image appear more lively. A slight adjustment of the color temperature is also recommended to achieve a cohesive look.
Below you can see the before-and-after result. While the original image was nice, the mood can be significantly improved with the techniques described above. The adjustments make the image feel like a sunny autumn day, full of life and warmth.
Summary - Mood Adjustment in Images: A Comprehensive Camera Raw Tutorial
With the steps mentioned above, you can effectively control the mood of your photos using the tools in Camera Raw. Be creative and do not hesitate to experiment with different combinations to achieve the desired effect.
FAQ
How can I adjust the color temperature in Camera Raw?You can change the color temperature directly in the settings area of Camera Raw by moving the slider left or right.
What exactly does the radial filter do?The radial filter allows you to specifically adjust certain areas in your image without affecting other parts of the image.
How do I apply the gradient filter?The gradient filter is used to create gradual changes in exposure, contrast, or other adjustment parameters across an area of the image.
Which image editing program is best for mood adjustments?Adobe Camera Raw is ideal for such adjustments, as it offers powerful tools for color adjustment and filter management.


