If you want to transform a landscape image into an impressive work of art, Camera Raw offers you the necessary tools to optimize both the mood and the details of your photographs. In this guide, you will have the opportunity to follow the entire editing process of a landscape image to refine your skills in digital image editing.
Key Insights
- Use the lights and haze removal sliders for better depth effect.
- Employ color sliders to specifically reduce color dominance.
- Experiment with effects like light incidence and color adjustments to create emotional peaks.
Step-by-Step Guide
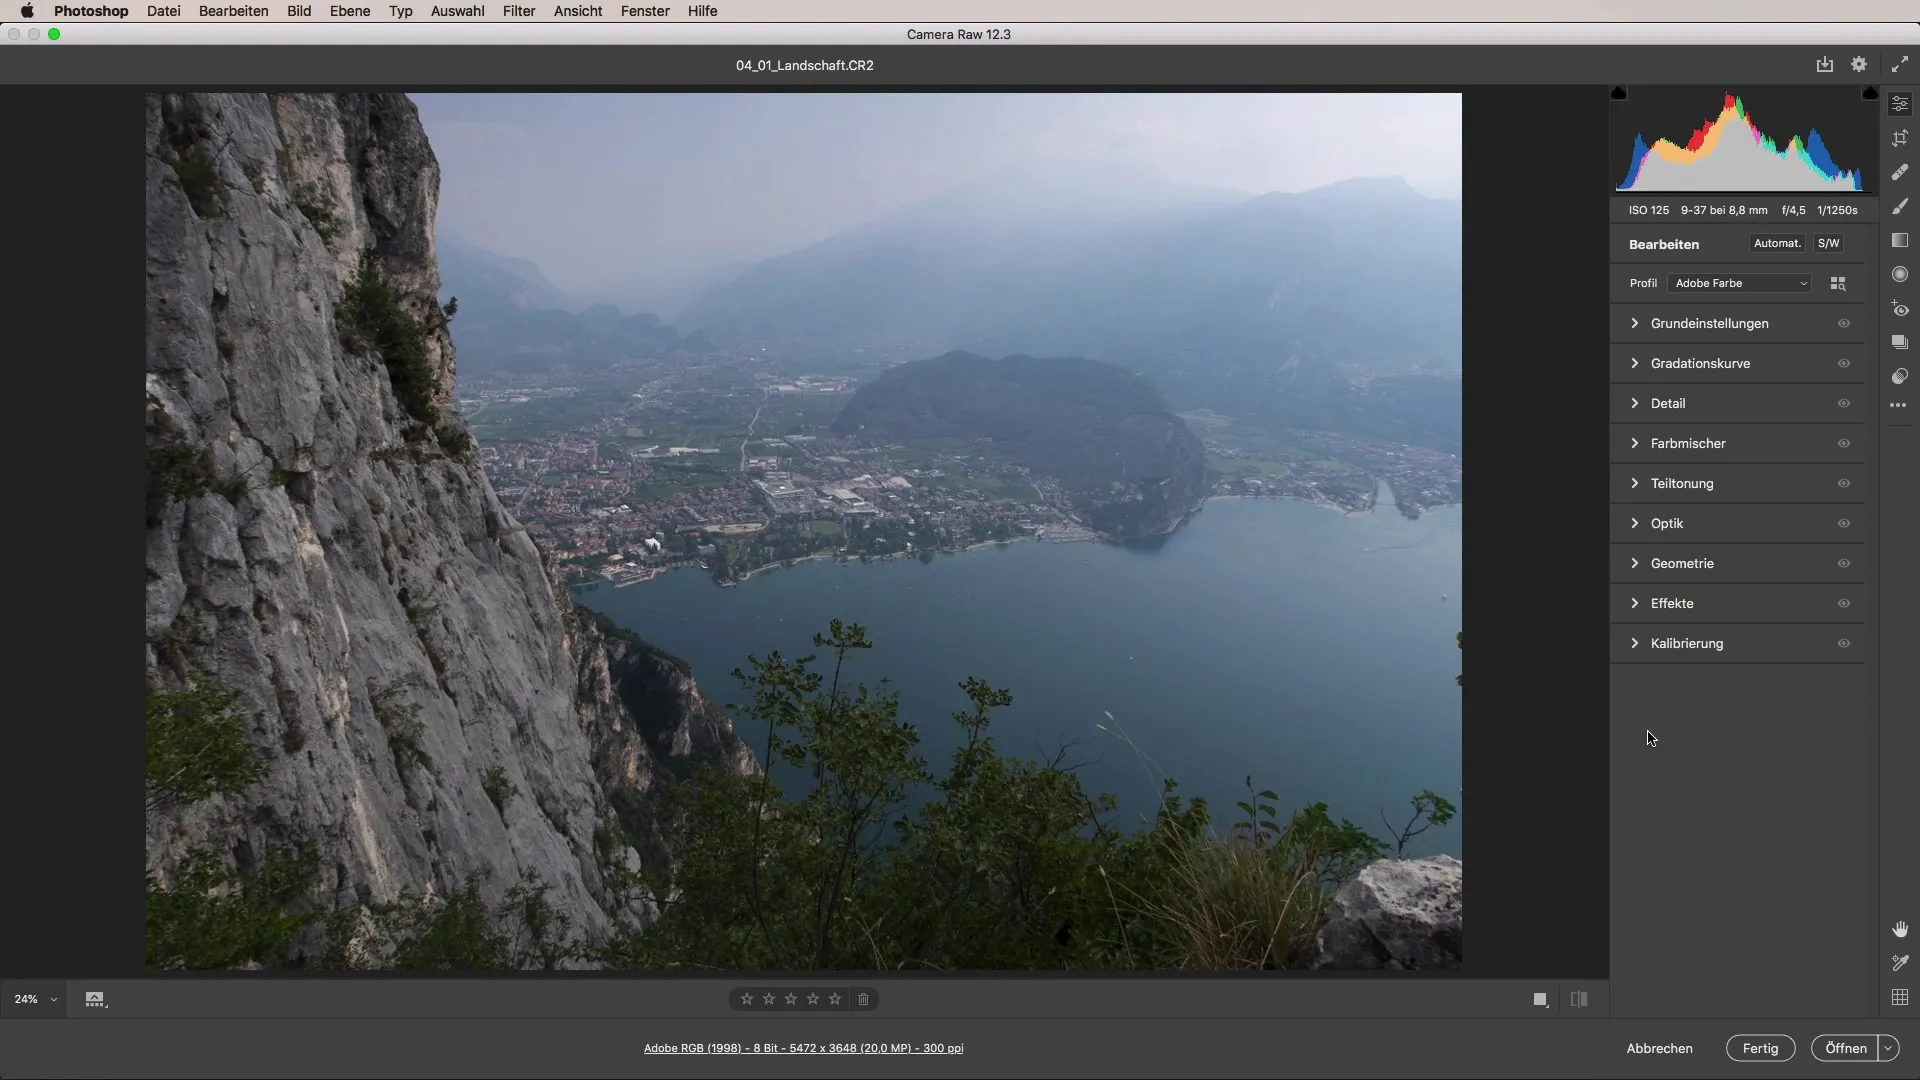
Start by selecting your landscape image in Camera Raw. The first impression of the image is crucial, and often the mood can be significantly improved by the basic settings.
The first thing you'll notice is the possibly hazy tone of the image. To optimize the image, the first step is to edit the lights. Initially, set the lights slider to a negative value to see the effect. At this point, the image may appear somewhat washed out, indicating that further adjustments are necessary.
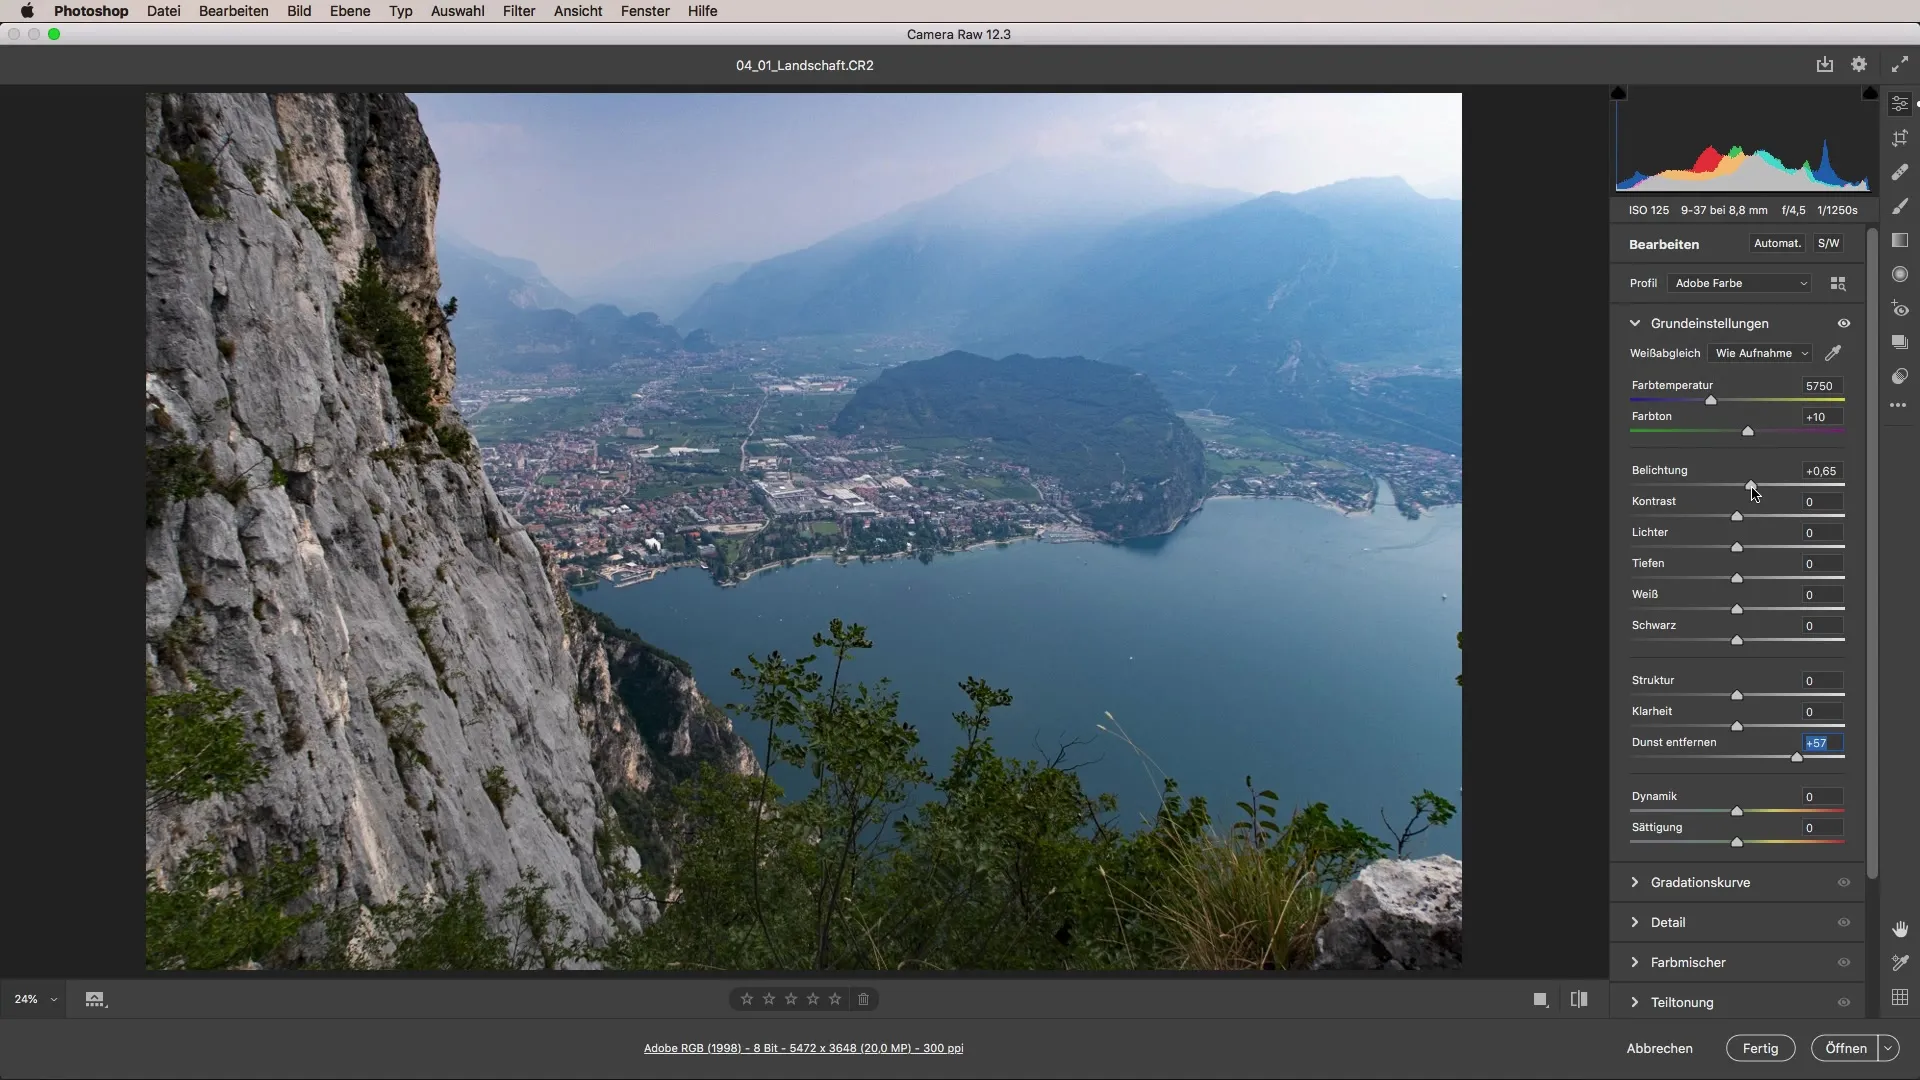
If the lights slider does not yield the desired results, move to the haze removal slider instead. Drag this slider to +100 to see the differences. At this point, the image may appear overexposed, but you will find that resetting to a moderate value brings out the sky and clouds better without losing clarity in the image.
Now, you should focus on adjusting the overall brightness. To capture the pleasant mood of a warm day, it is helpful to bring some clarity into the image. Drag the clarity slider to the right, ensuring that the clouds retain the necessary detail. This balance between detail and softness is key to the perfect harmonizing of the image.
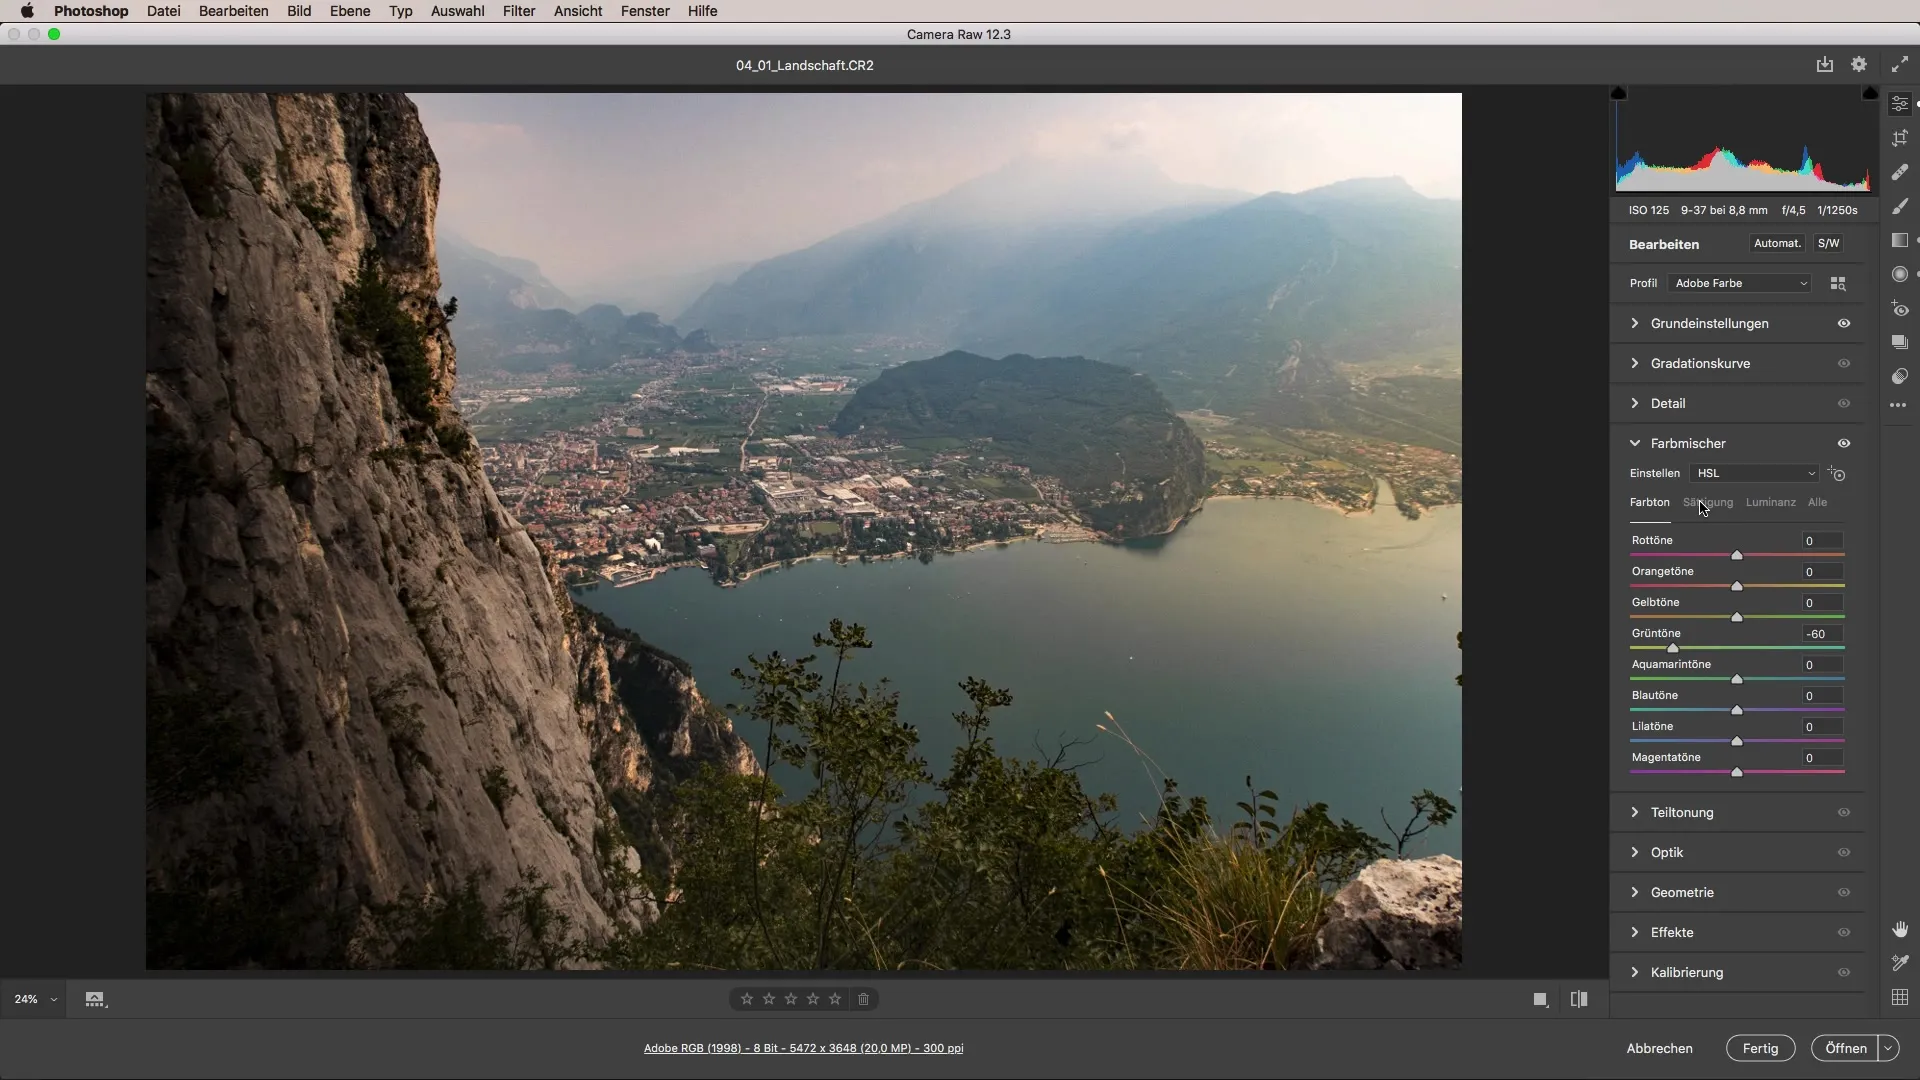
Another aspect you should adjust is the saturation of colors. Often, there are dominant colors in landscape images that can distract from smaller elements. Use the color mixer to reduce green tones in foreground elements. When you reduce the saturation of the green tones, be careful not to discolor the image but to enhance the harmony instead.

Now you can also adjust the hue. Slightly shift the green tones towards yellow to create a more pleasant and less dominant green. The result should be an image that appears overall more harmonious and appealing.
In the next step, you should initially make no changes to the sharpening settings and wait to see how the further adjustments work. Now return to the basic settings and slowly adjust the black and contrast ratio. Find the balance by regulating the contrast-reducing effect to make the image more atmospheric.
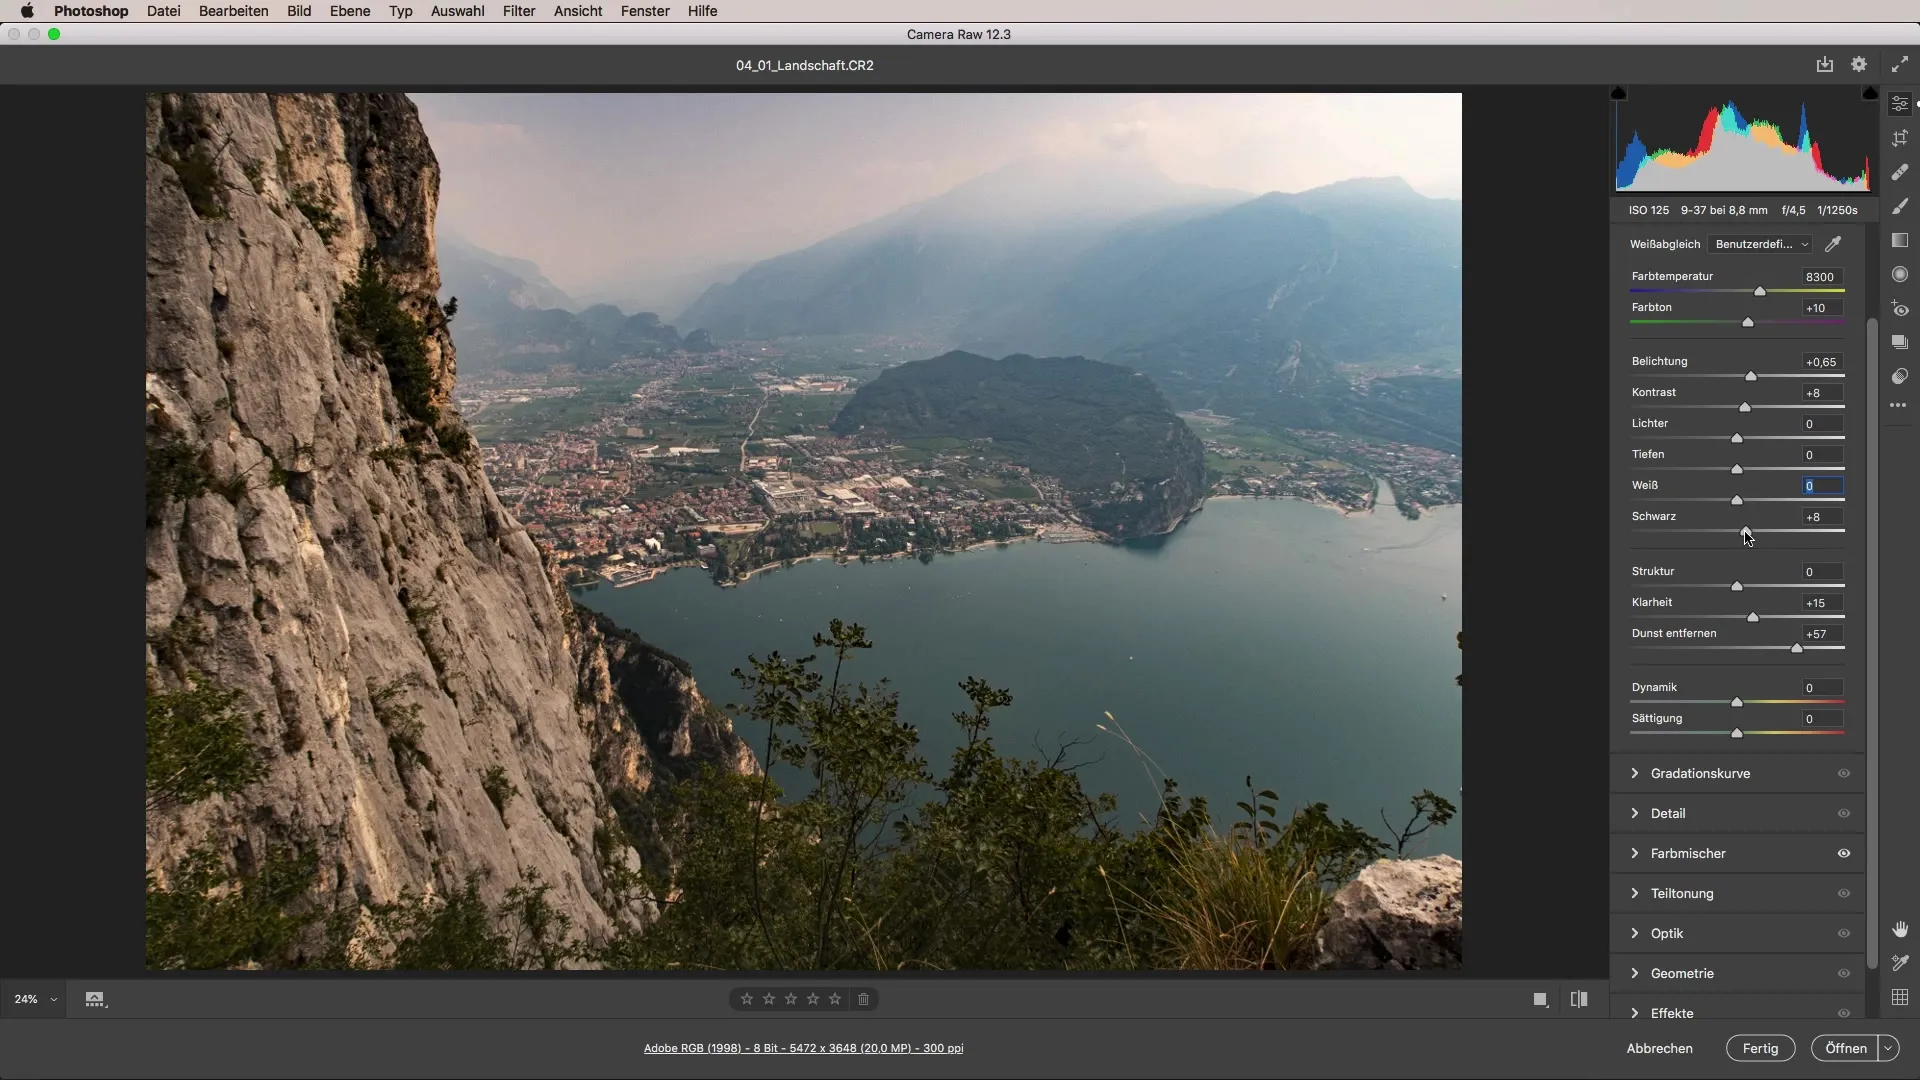
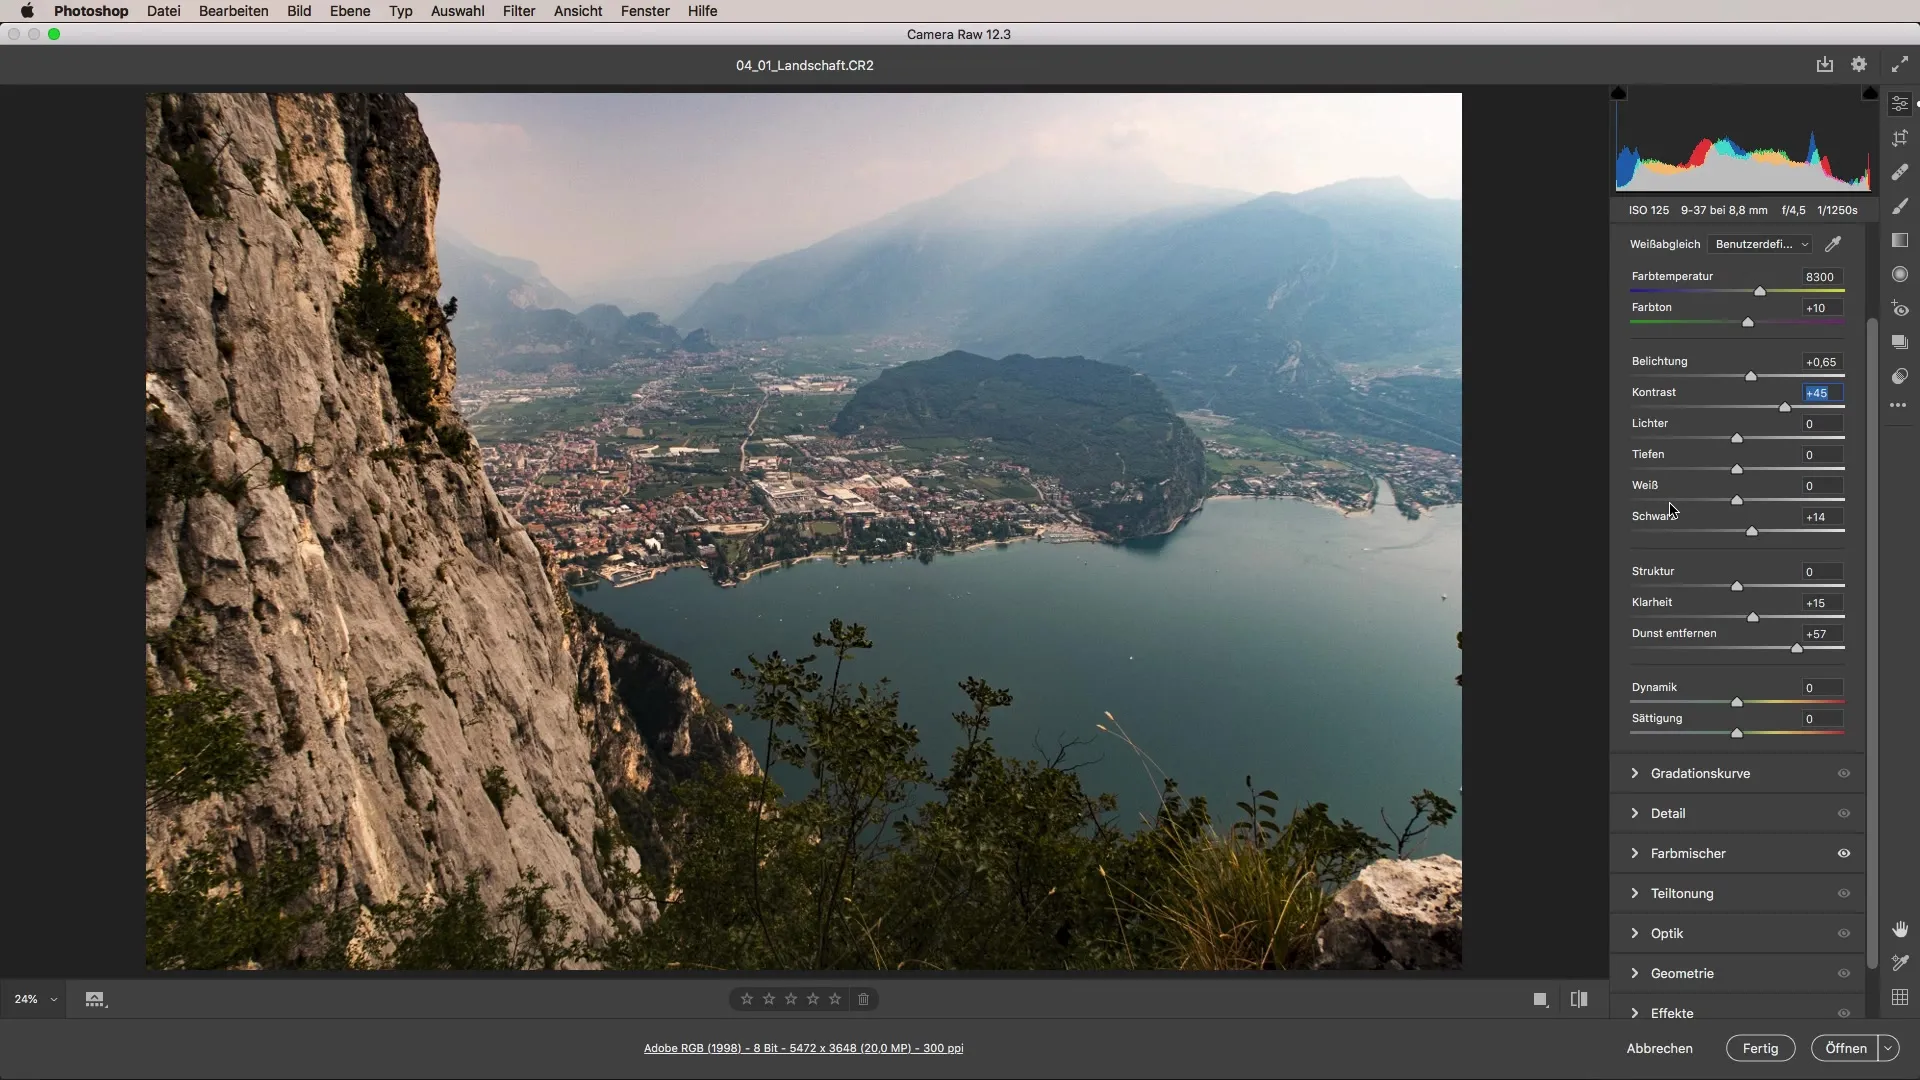
Be careful with contrast adjustment, as excessive use can make the image appear unnatural. A value around 15-16 should suffice, ensuring the image is neither too harsh nor too bright.
To further distort the image, you can simulate light incidence in the right image area. This is done by creating an ellipse and applying it to the area where the light glare is desired. Adjust the shape and direction as needed until you are satisfied with the result. It should convey the impression that a golden light is streaming into the image from the side.
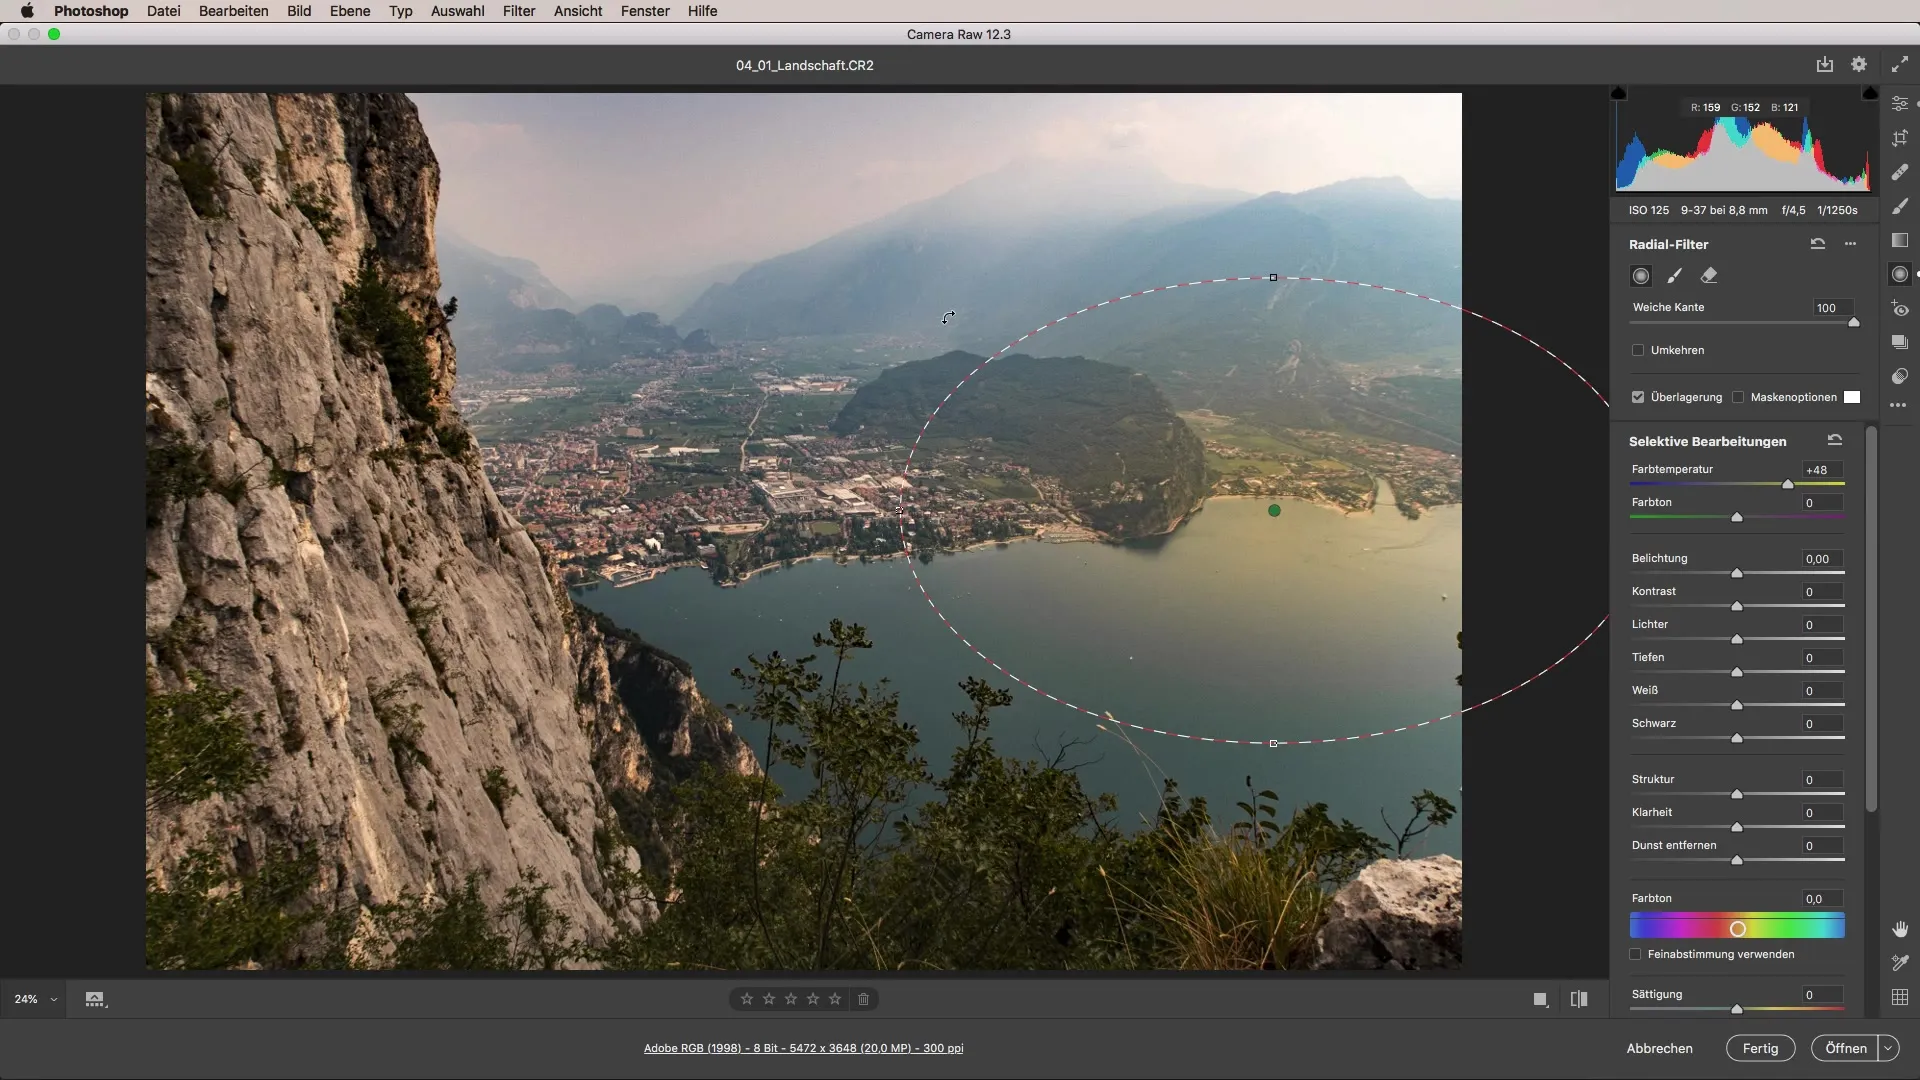
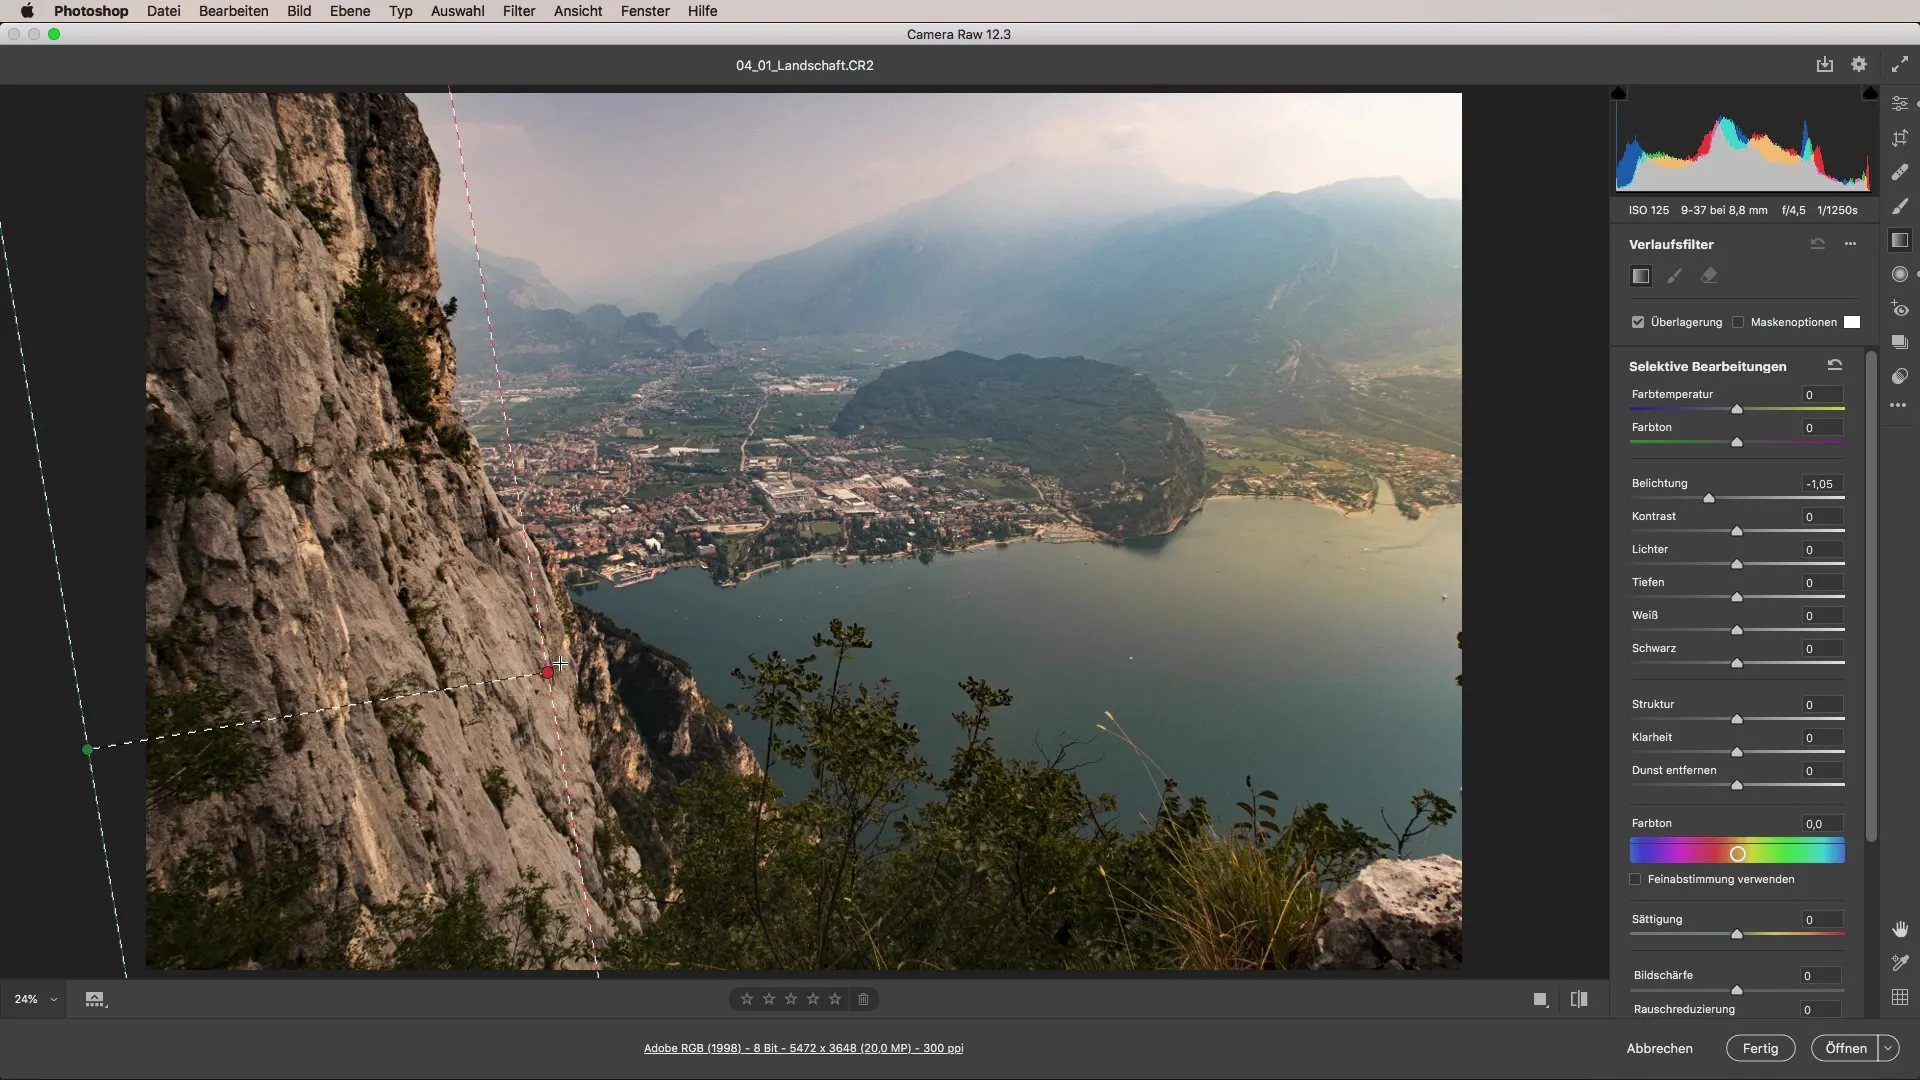
Return to the basic settings and focus more on the center of the image. For this, use a linear gradient that you drag from the side into the image. This can improve the image composition and ensure that the attention is directed to the essential elements.
Don't forget to adjust the blue tones to better highlight the mountains in the distance. Increasing the saturation can have a dramatic effect here; however, the luminance of the blue tones should be set to a lower value to achieve contrast and definition in the image.
The final step is comparing before and after editing. Make a quick before-and-after comparison to illustrate how much time and effort can go into a seemingly simple image.
Summary - Intensifying Landscape Image: A Step-by-Step Guide to Editing with Camera Raw
Editing your landscape images with Camera Raw offers a variety of possibilities for optimization. By using the various sliders to adjust brightness, contrast, hues, and effects, you can give your images an impressive atmosphere. You will be amazed at how much influence each individual step has on the final result.
Frequently Asked Questions
What is Camera Raw?Camera Raw is a plugin for editing images in Adobe Photoshop that offers a variety of tools for adjusting brightness, contrast, and color.
How can I enhance the mood of my landscape images?Use the lights and haze removal sliders to intensify the mood and highlight the details.
How can I reduce dominant colors in my image?Use the hue and saturation sliders in the color mixer to neutralize excessive colors and create a harmonious overall image.
Are the basic settings important?Yes, the basic settings are crucial for developing the overall mood and preparing for further adjustments.
How can I change the focus in the image?Use linear gradients to darken certain areas and direct attention to key points.


