Business-portraits are crucial for making a professional first impression. When editing such images, it is important to find a balance between a natural representation and the desired professionalism. In this tutorial, I will show you how to effectively edit a business portrait with Adobe Camera Raw to get the most out of your image. You will learn which aspects to pay attention to when retouching and which tools are available to you.
Key Insights
- The first impression counts: Pay attention to a positive and inviting portrait.
- The white balance is crucial for color correction.
- Naturally retouching is better than exaggerated beauty corrections.
- Tonal and brightness adjustments are helpful for a uniform skin tone.
Step-by-Step Guide
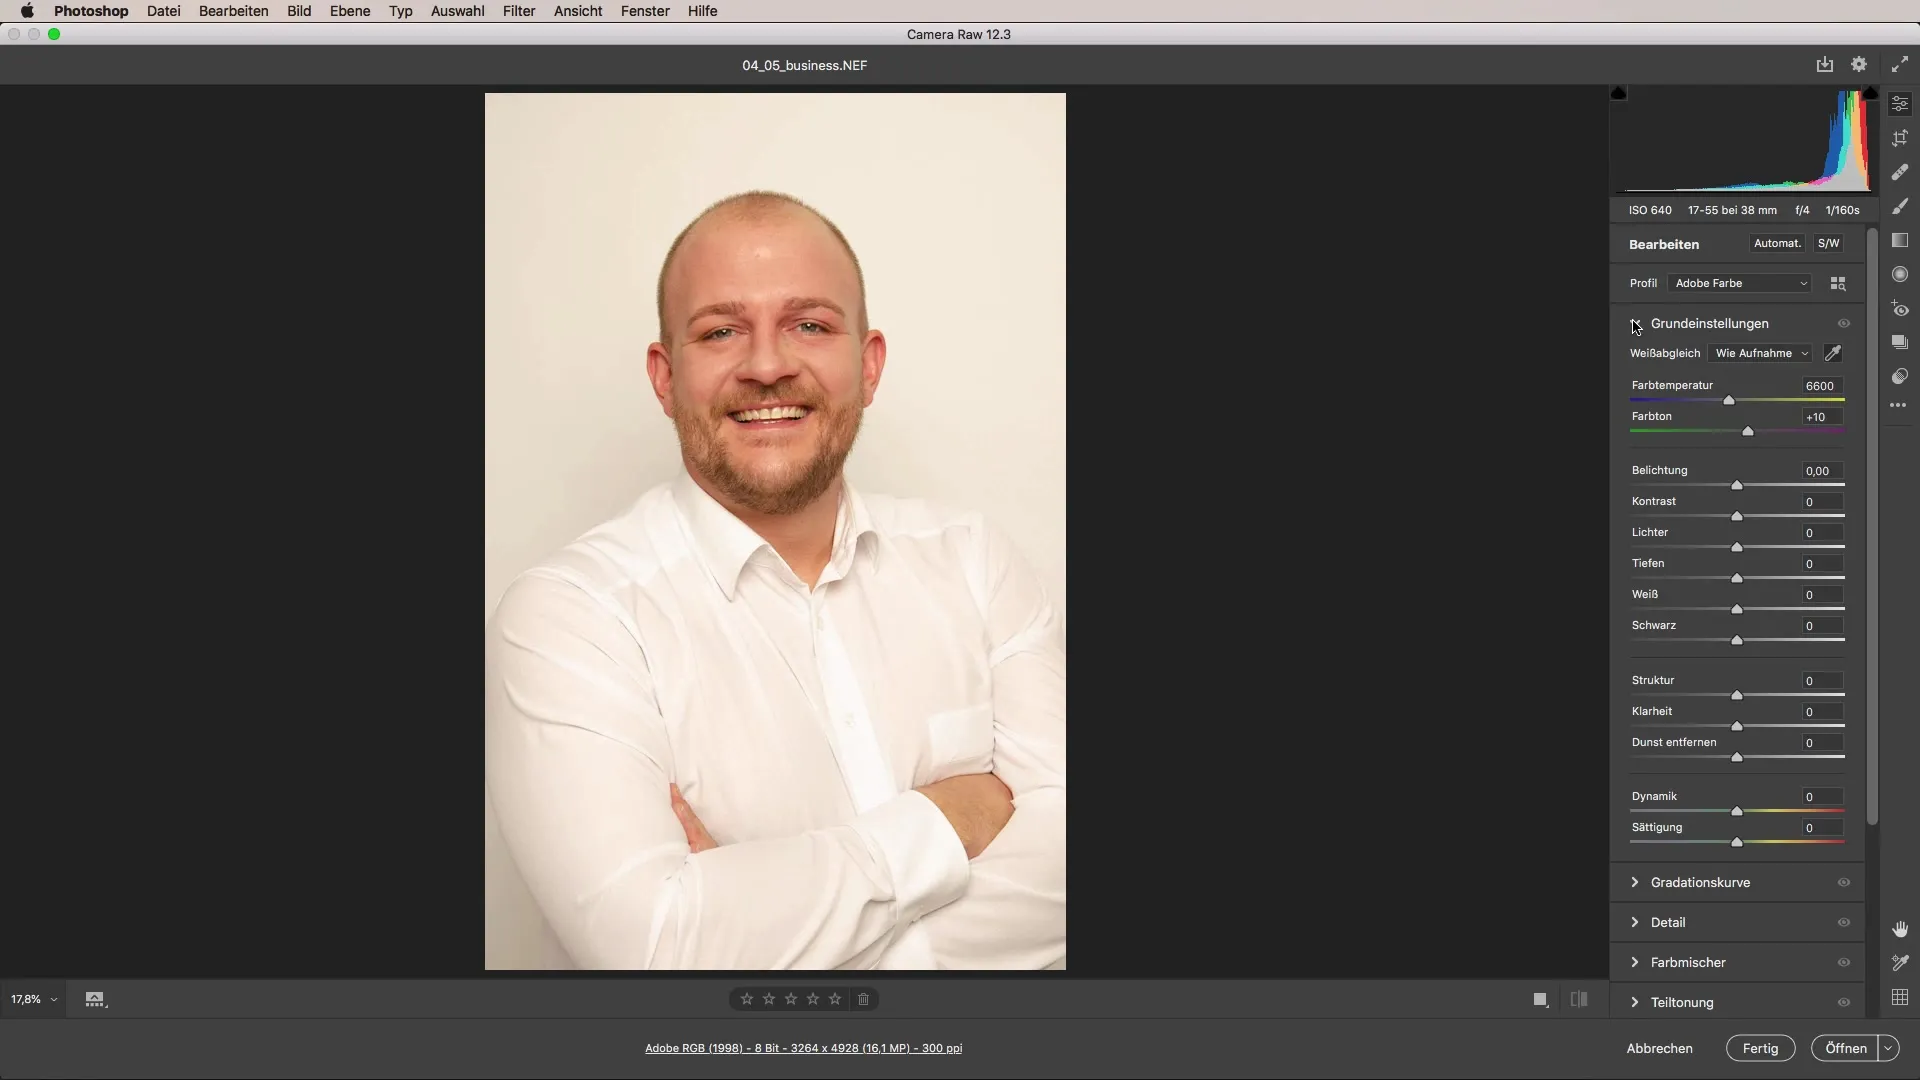
The editing process for business portraits in Camera Raw starts with the correct white balance. The image should look bright and friendly to be positively perceived by the target audience. To set the white balance correctly, use the dropper tool in Camera Raw. Go to the background of the photo to correct the colors.
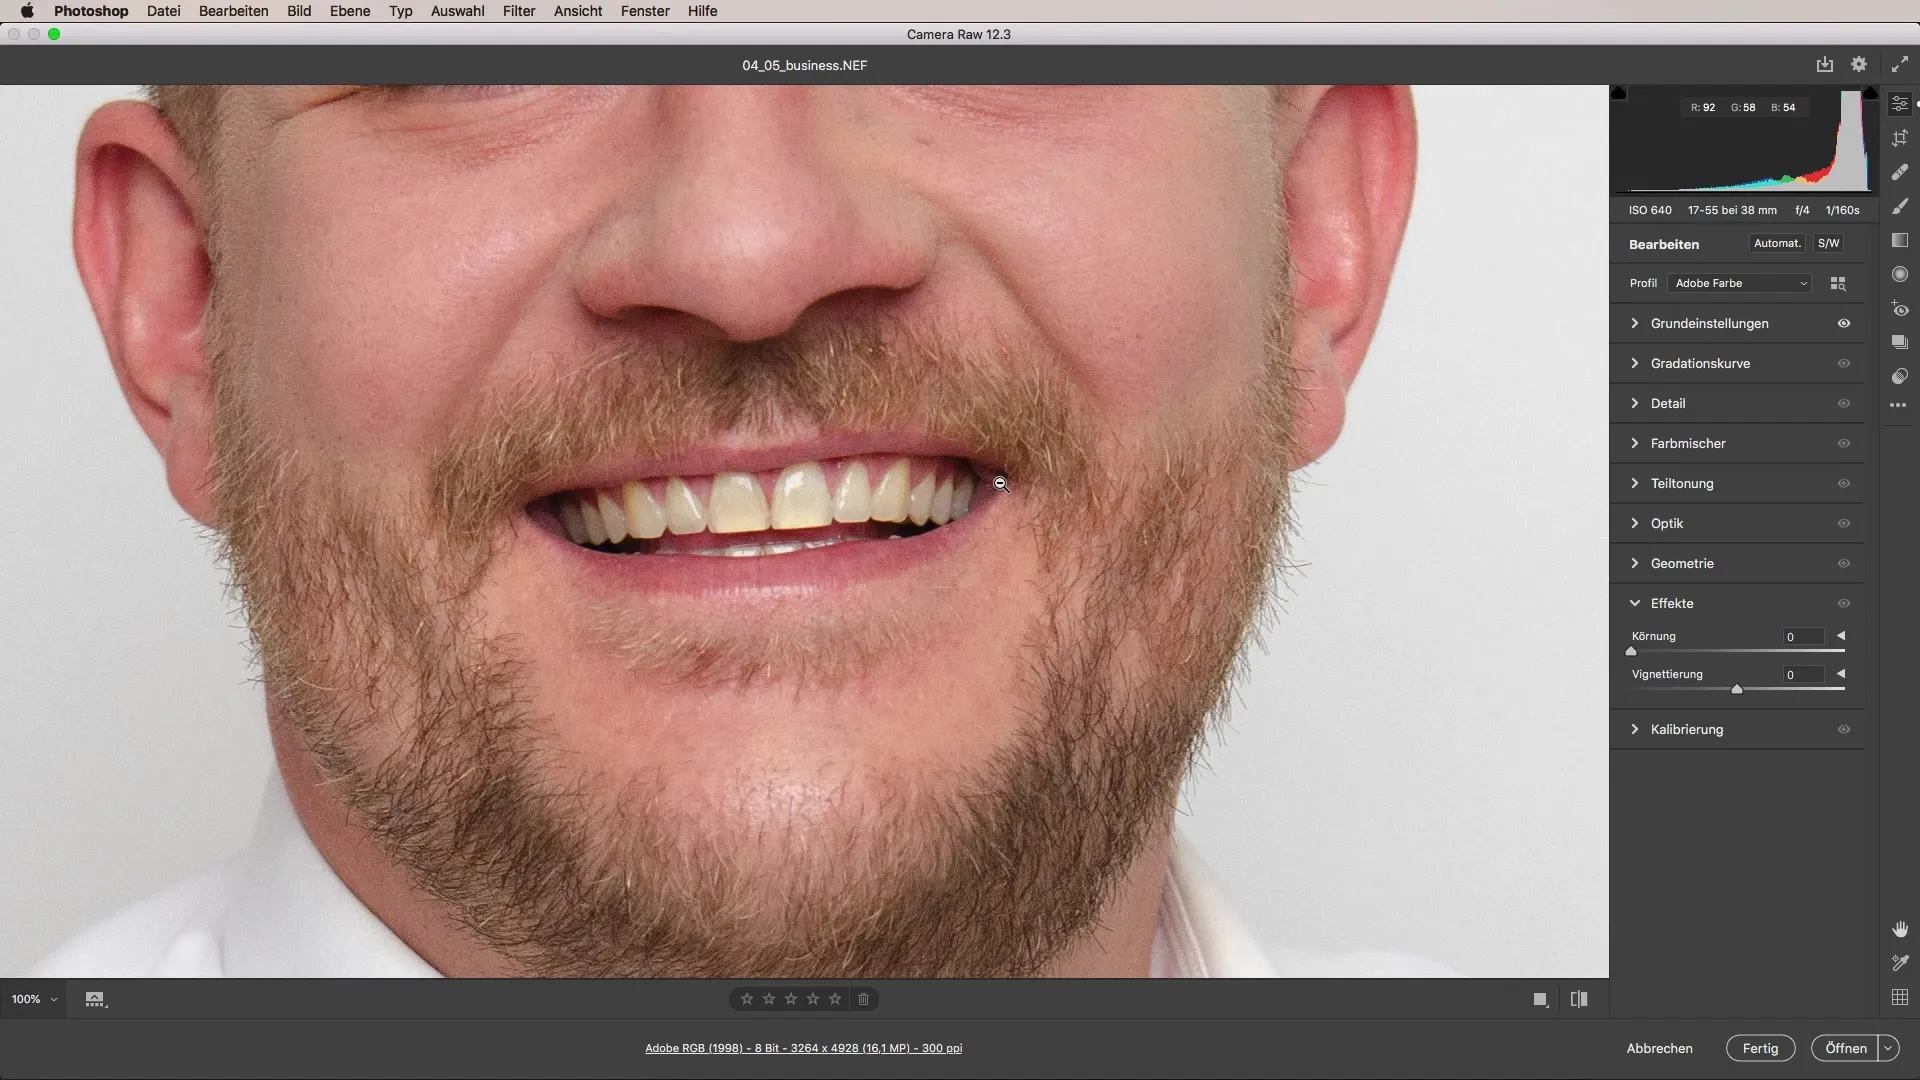
After adjusting the white balance, examine the image closely. It may be necessary to brighten the teeth a bit. Creating a radial gradient over the teeth allows you to retouch them without making the image look unnatural. Make sure that the changes remain subtle.
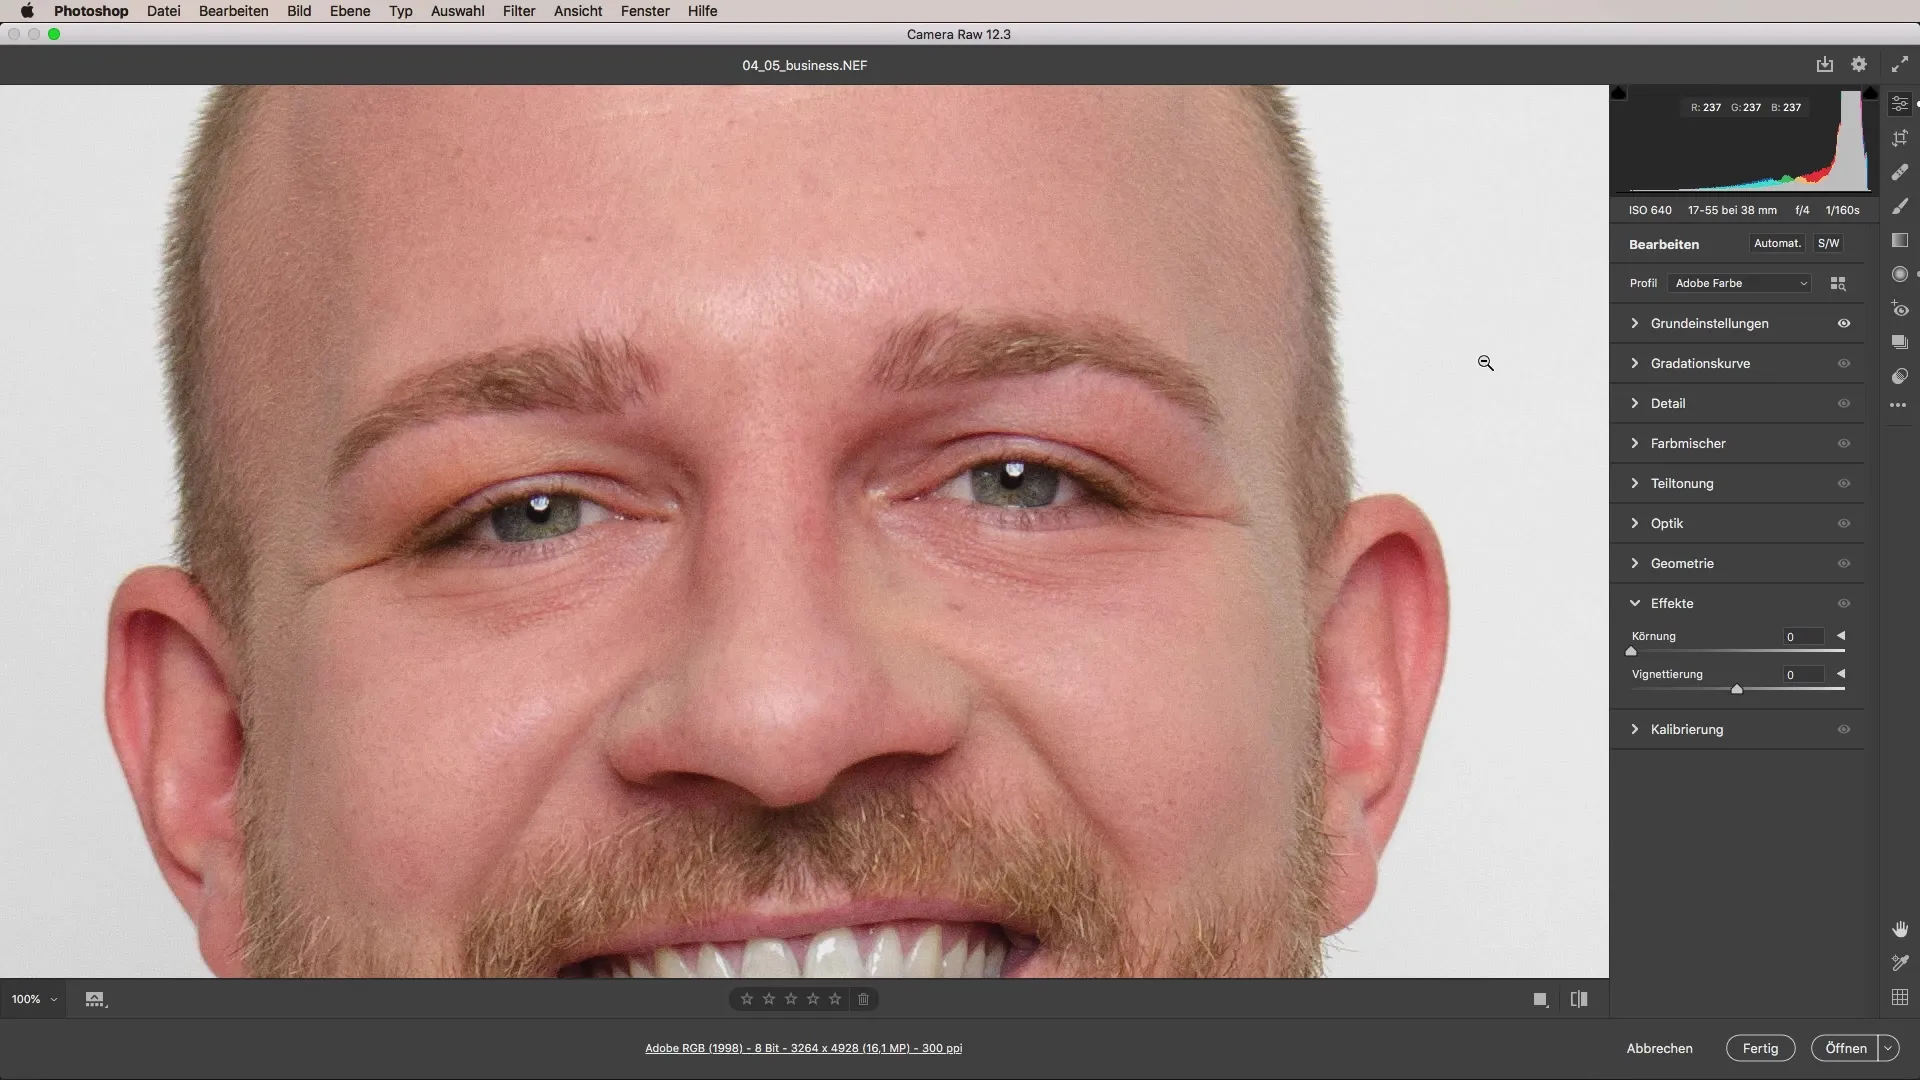
Now focus on the head and facial features. The image may have a yellowish tint in certain areas. You can correct this either through tonal adjustments or targeted color corrections in the color channel. Here it is advisable to slightly reduce the saturation of the colors and move the hue a little towards blue to maintain the natural radiance of the portrait.
Also consider whether you want to adjust the skin tone in the face slightly. With the adjustment brush, you can specifically edit areas to achieve a more harmonious skin tone. Avoid drastic changes, as the goal is to remain realistic and preserve the personality of the portrayed person.
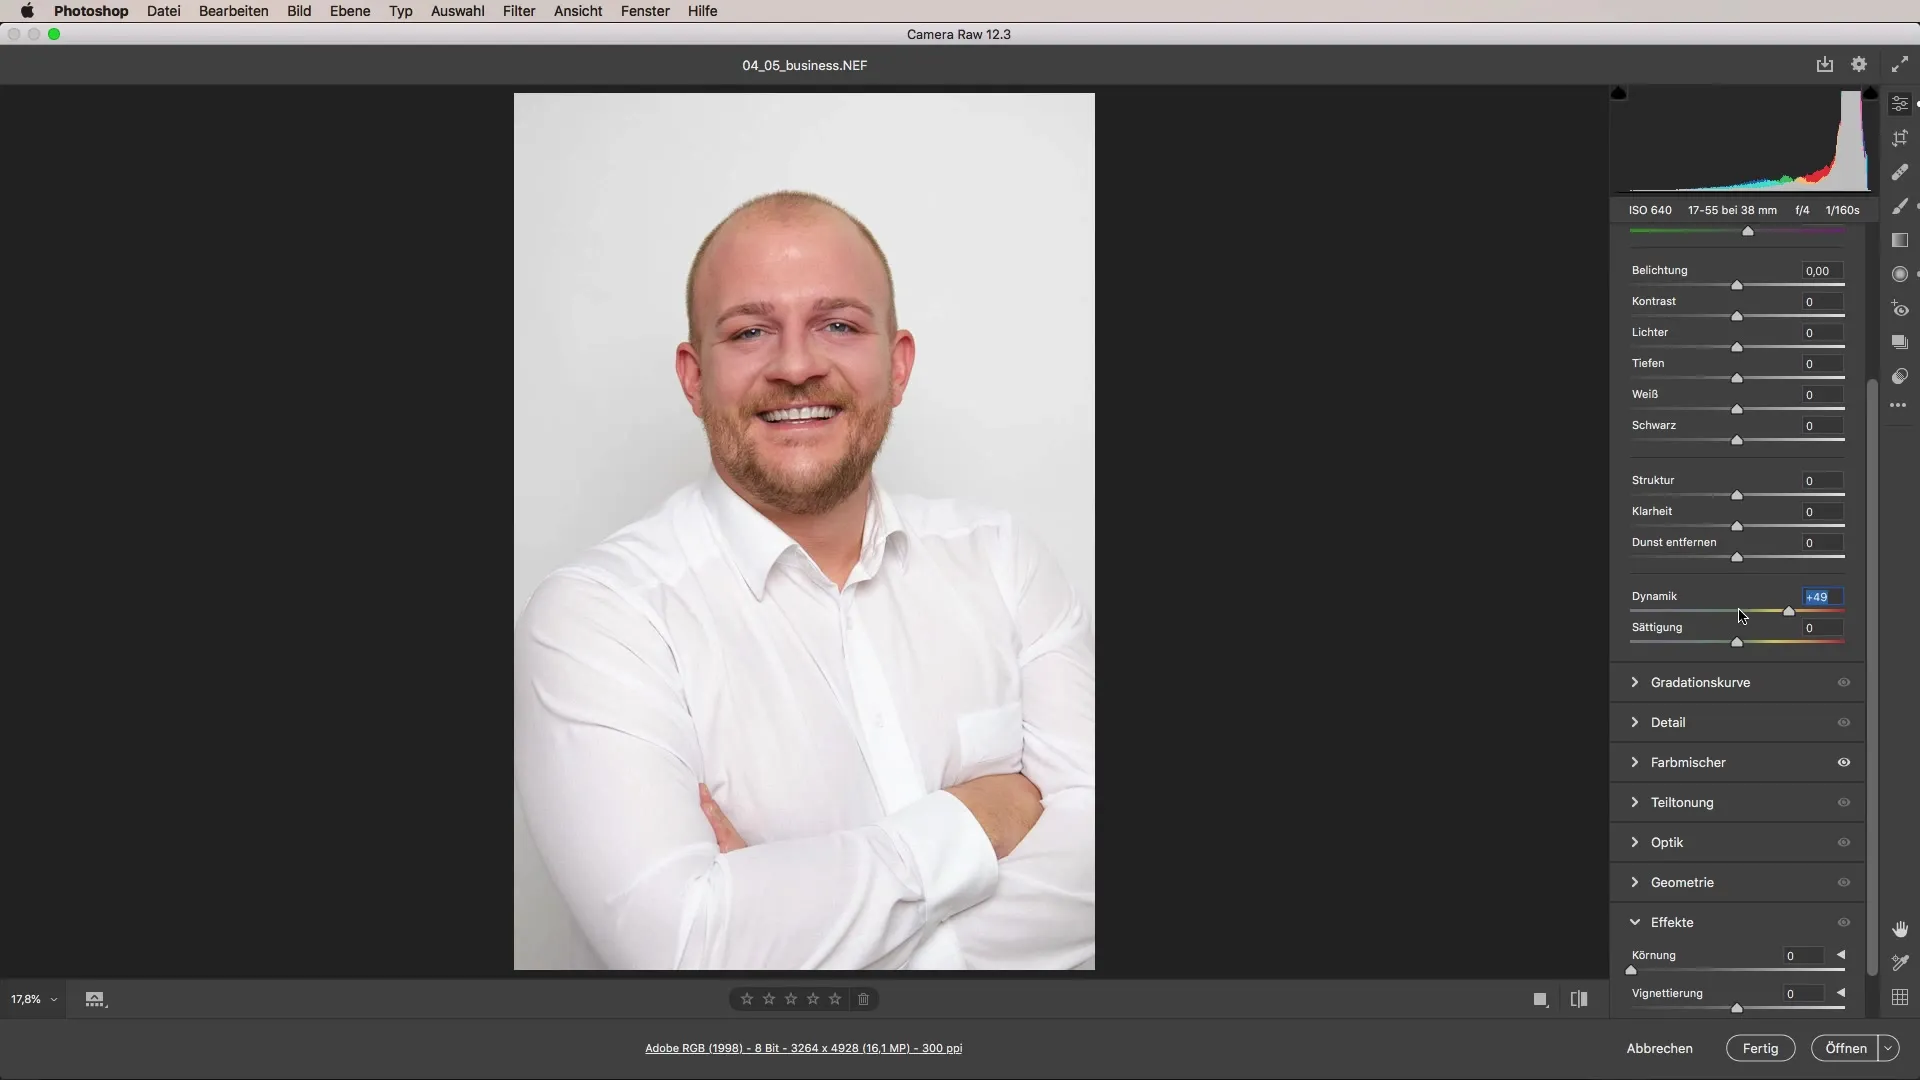
After you have adjusted the skin tones, it makes sense to look at the vibrancy of the image. Increasing the vibrance can help make the colors more vivid, but it can also make the colors appear too strong. Here, it is important to handle the vibrance slider carefully.
Now you can also adjust the clarity and structure of the image. These settings are particularly important for details such as beards and eyes, as they can give the image more depth. But be careful not to over-edit the skin, as this would compromise the naturalness of the portrait.
A final look at the vignette rounds off the image editing. By brightening the edges of the image, you can further draw focus to the main subject. Be sure to apply the vignetting subtly to ensure a professional look.
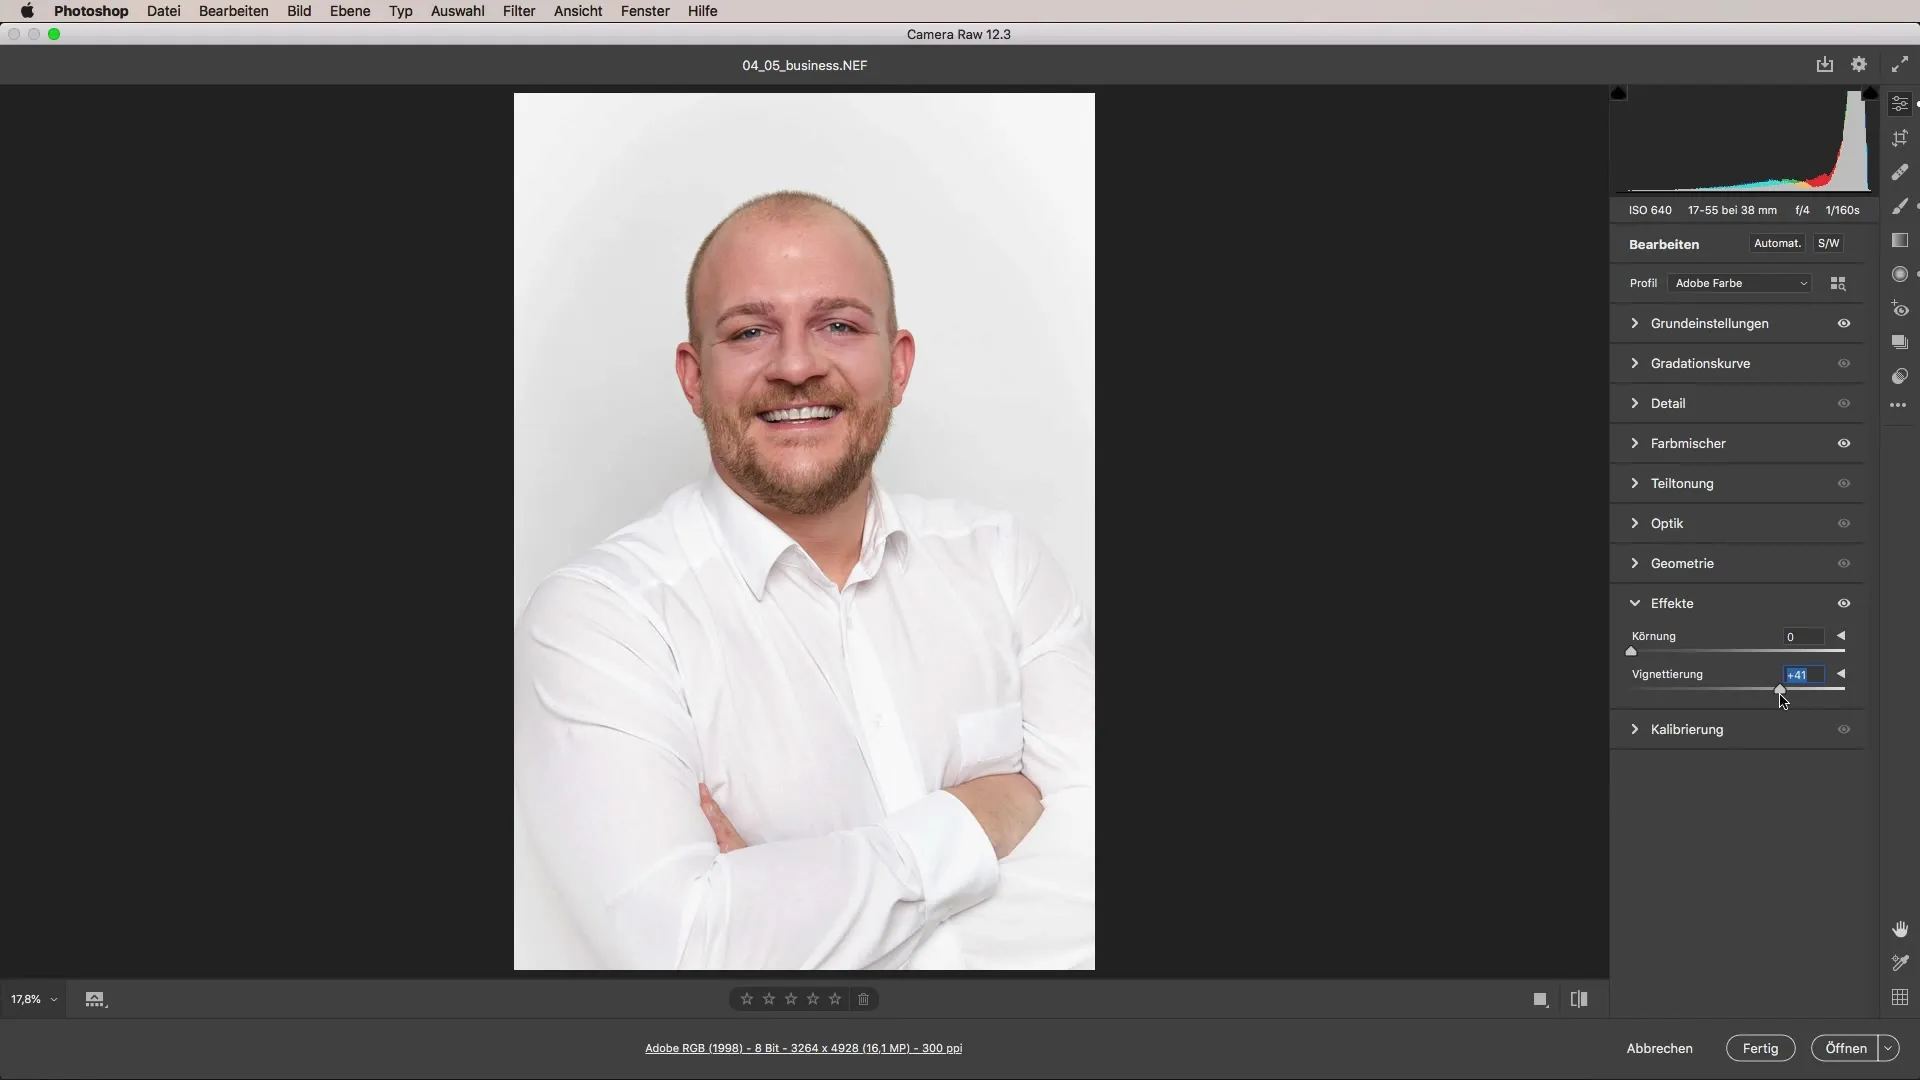
To correct darker corners in the image, using a linear gradient is a simple solution. With this technique, you can specifically add brightness and make the image overall appear more harmonious.
Finally, check the golden ratio and the placement of the eyes in the image. The position of the eyes on a third of the image is crucial for the composition and helps to attract the viewer's interest.
Summary - Optimizing Business Portraits with Camera Raw
When editing your business portrait with Camera Raw, you should primarily pay attention to a natural look. The white balance, color correction, and gentle retouching of teeth and skin are crucial for a successful result.
Frequently Asked Questions
How do I set the optimal white balance?Use the dropper tool and click on a neutral background of the image.
Can I whiten teeth in Camera Raw?Yes, use a radial gradient over the teeth for a subtle change.
What can I do about the yellow tint in the image?Reduce the saturation and slightly shift the hue towards blue.
How do I adjust skin color without looking unnatural?Use the adjustment brush to specifically reduce blue tones in the skin areas.
What is the best method to brighten the edges of the image?Use the vignette function to gently brighten the edges and bring the main subject into focus.


