Editing photos can be a creative and also technically demanding activity. A particularly powerful tool in Adobe Camera Raw is the adjustment brush. With this tool, you can make targeted changes to specific areas of the image without affecting the entire shot. Learn in this guide how to implement the adjustment brush and use it optimally for your photo edits.
Key insights
- The adjustment brush is ideal for precise adjustments in specific image areas.
- By adjusting clarity, exposure, saturation, and other parameters, you achieve creative effects.
- The changes are non-destructive and can be adjusted at any time.
Step-by-step guide
Step 1: Activate the adjustment brush
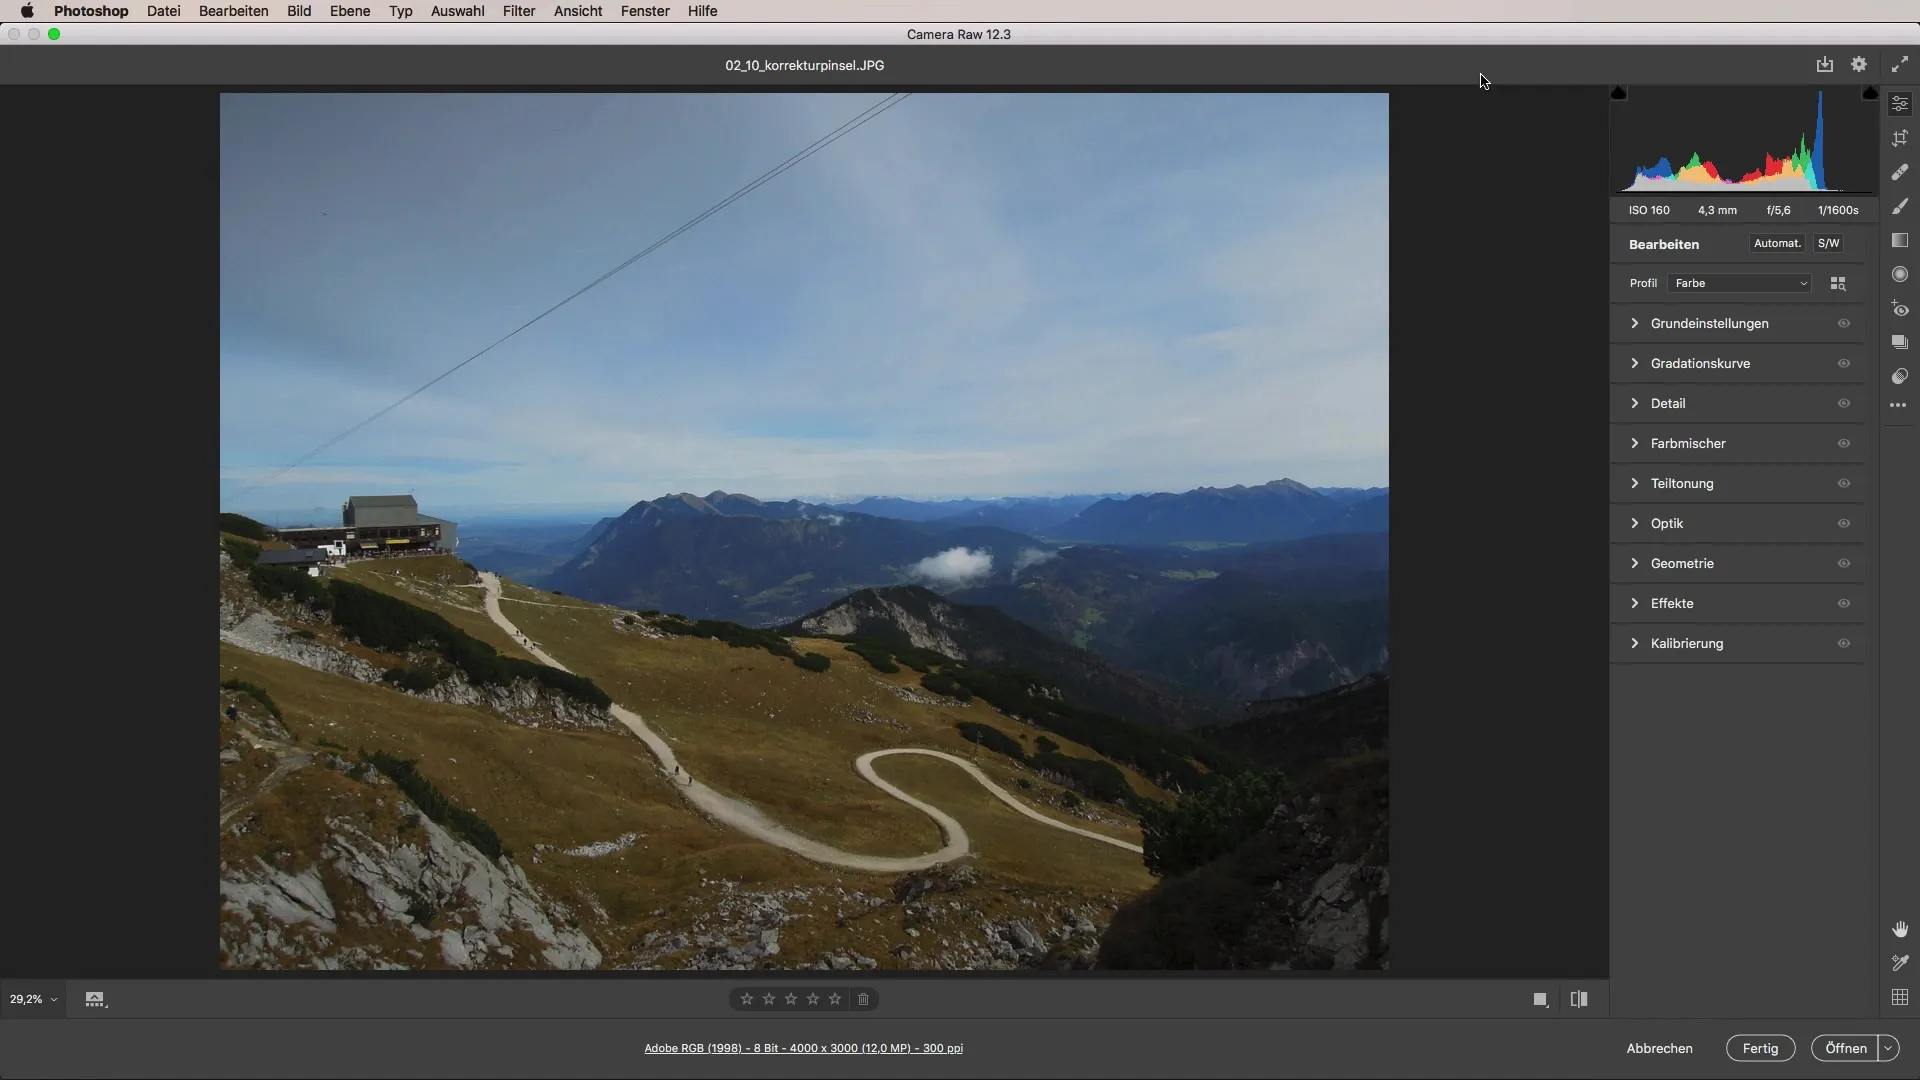
To use the adjustment brush, start Camera Raw and open the image you want to edit. Activate the tool via the toolbar.
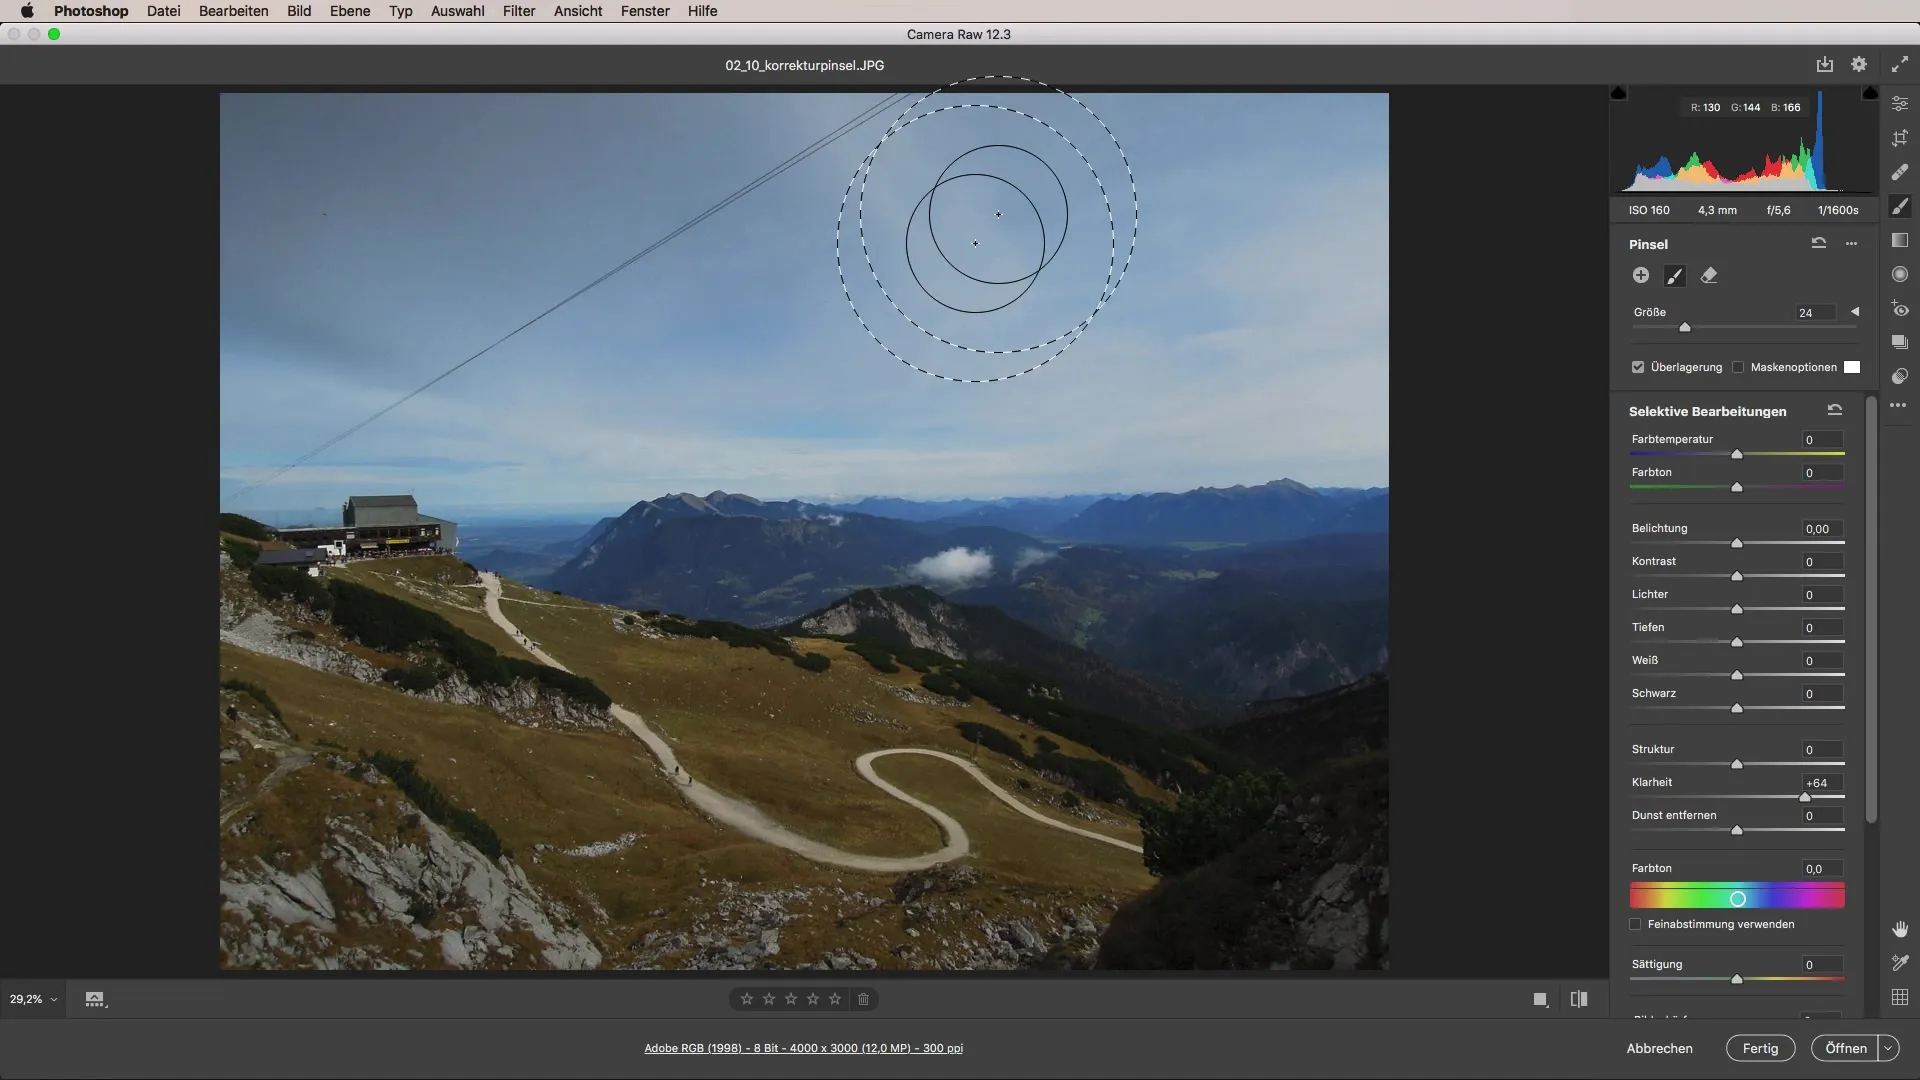
Here you can set the size of the brush, which is crucial for making precise interventions in different image areas. You can easily adjust the brush size by simply playing with the corresponding sliders.
Step 2: Select and adjust areas
Once the adjustment brush is active, it's time to select the areas you want to enhance. For example, you might want to bring out more detail in the sky. Increase the clarity to emphasize the details of the clouds, and then start brushing over those areas.
Brush over the sky and watch how the clouds in your shot become increasingly defined. By playfully adjusting the clarity, you can see the differences immediately and shape the effects according to your vision.
Step 3: Make fine adjustments
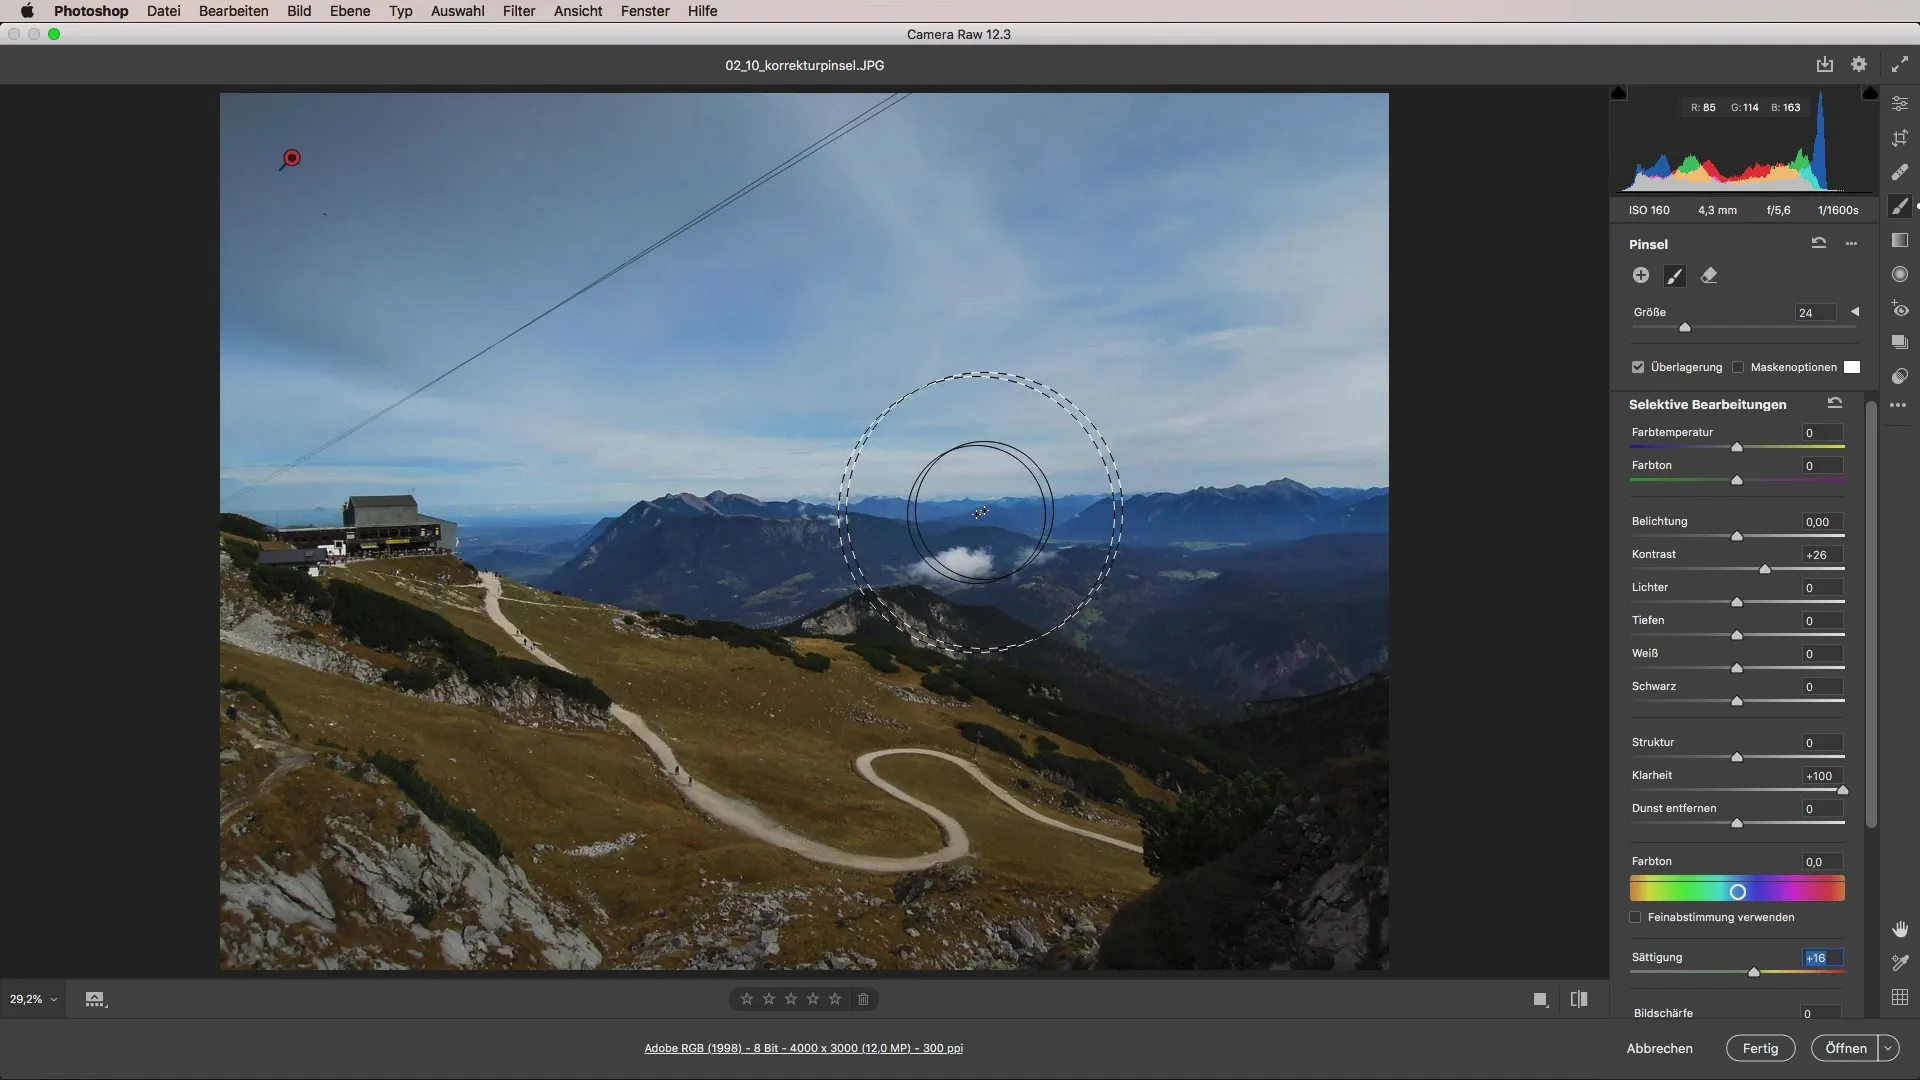
After editing the desired area, you can experiment with additional sliders. For instance, you can increase the contrast or adjust the saturation to make the horizon appear more vibrant.
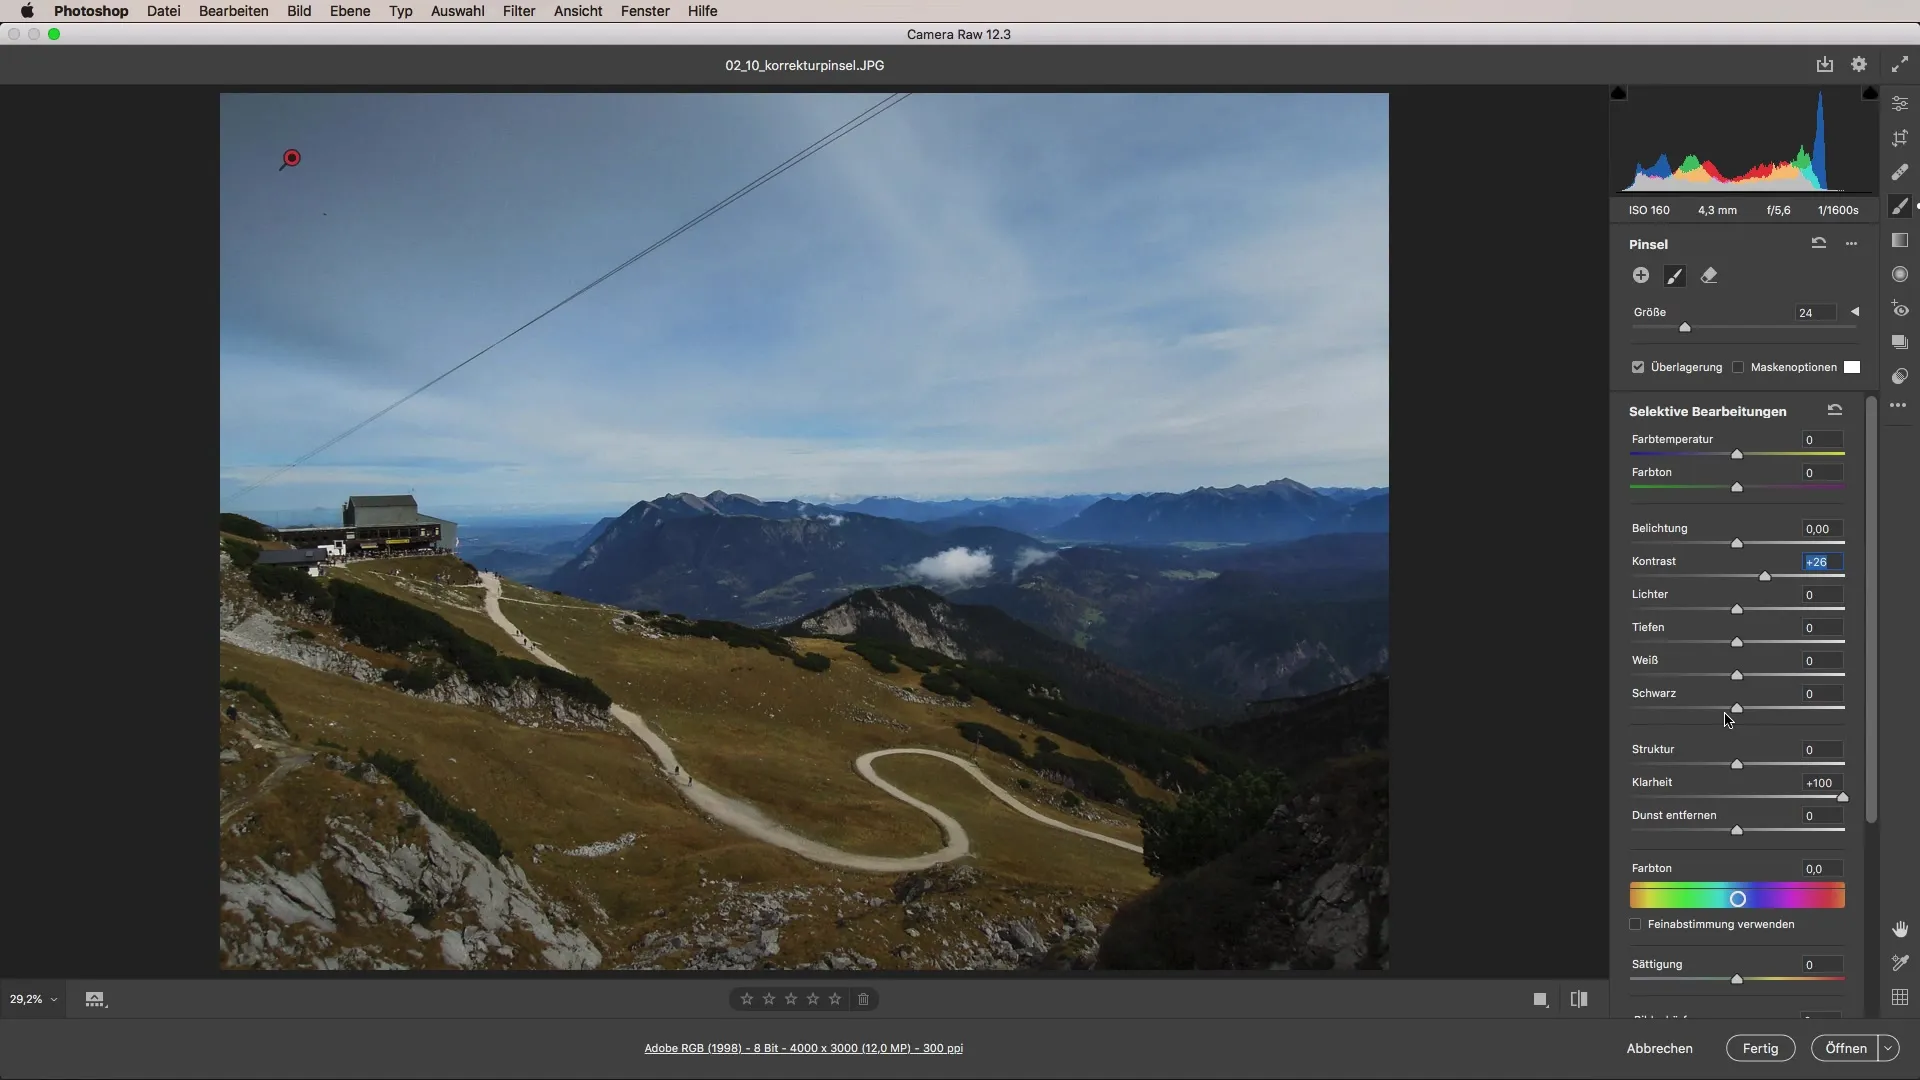
These personal adjustments help you achieve a more harmonious overall image. The effect can occur by balancing clarity, contrast, and saturation. See how the overall image gains brilliance from this.
Step 4: Additional adjustments with new masks
You have already edited some areas but want to make additional changes. For example, to darken the corner of an image, click on the plus symbol to add a new mask.
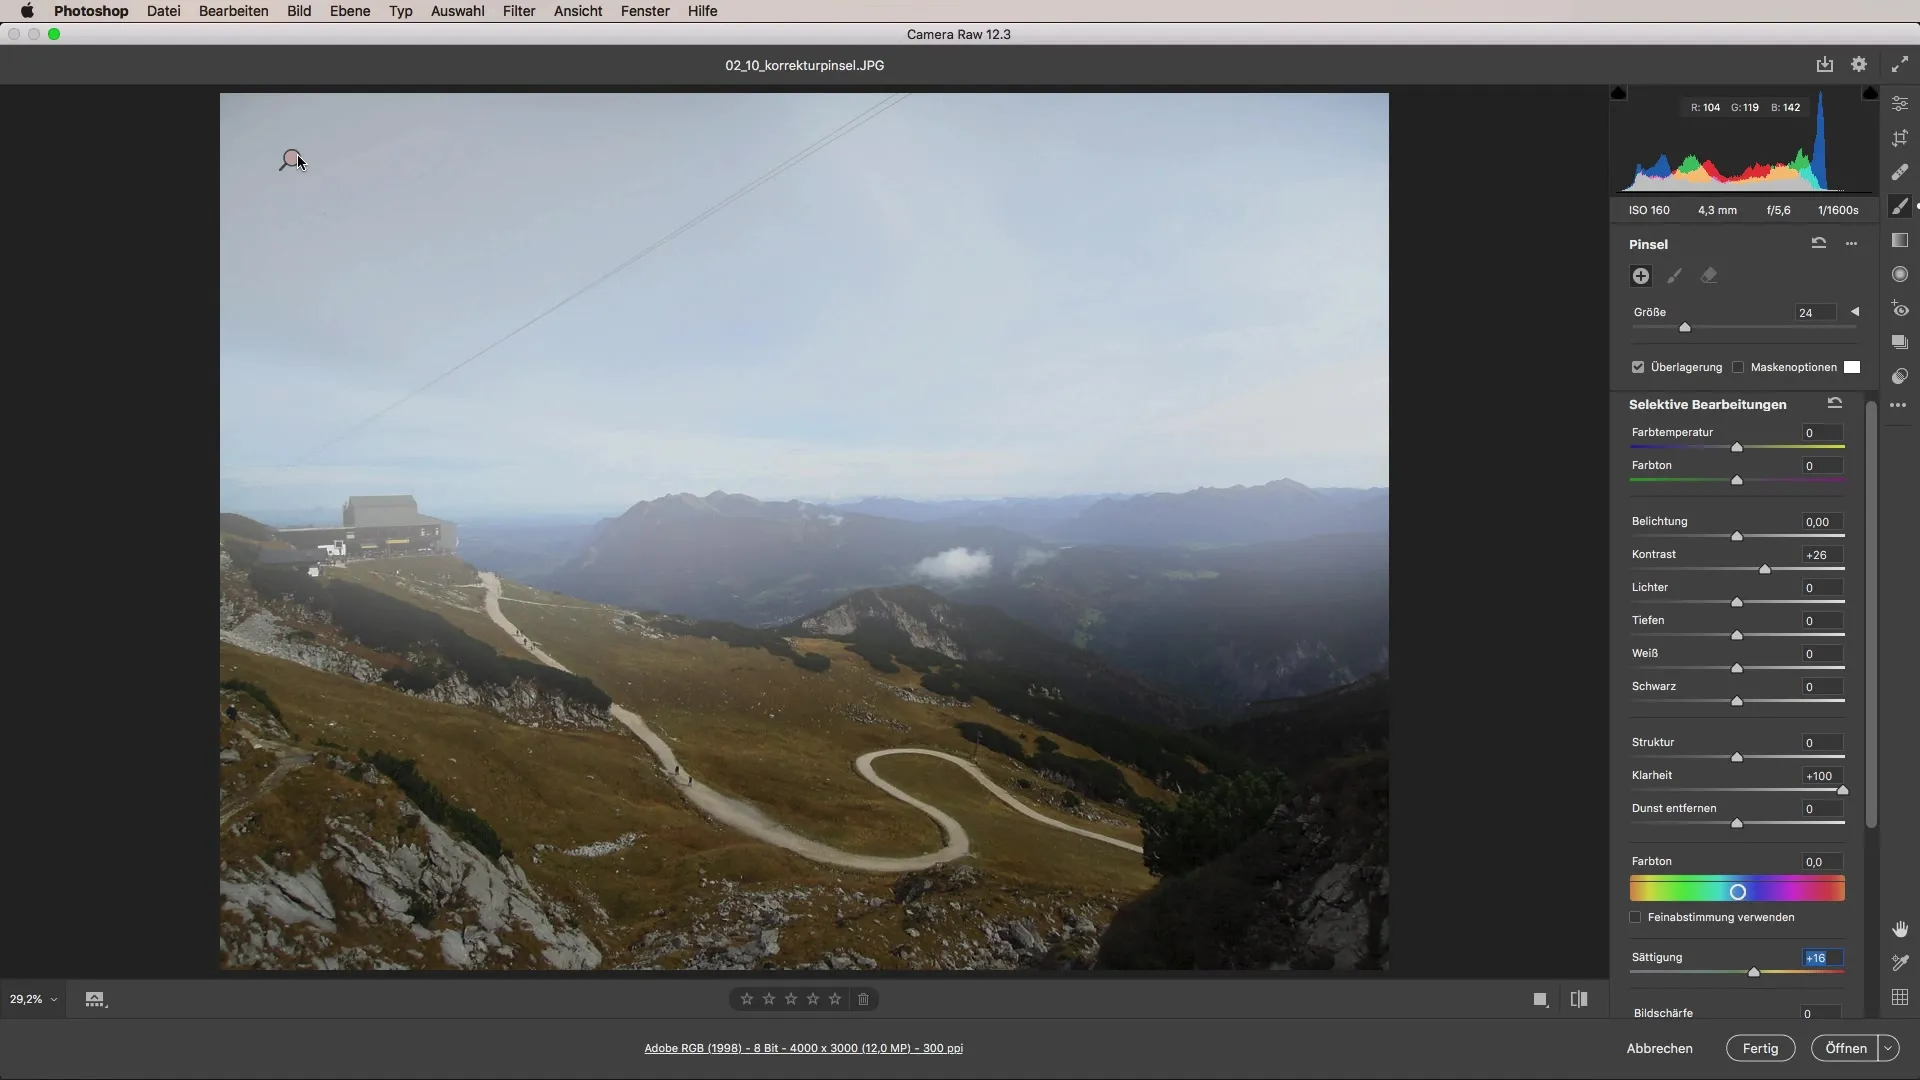
By adjusting the exposure, you can further darken or lighten specific areas of the image, leading to great effects. This function allows you a variety of creative possibilities.
Step 5: Adjust color temperature
Select further adjustments to the color temperature in the mask. By brushing over specific areas, such as grass or the sky, you can optimally fine-tune the color hues. For example, you can create a warmer tone for the center or opt for cooler shades of blue.
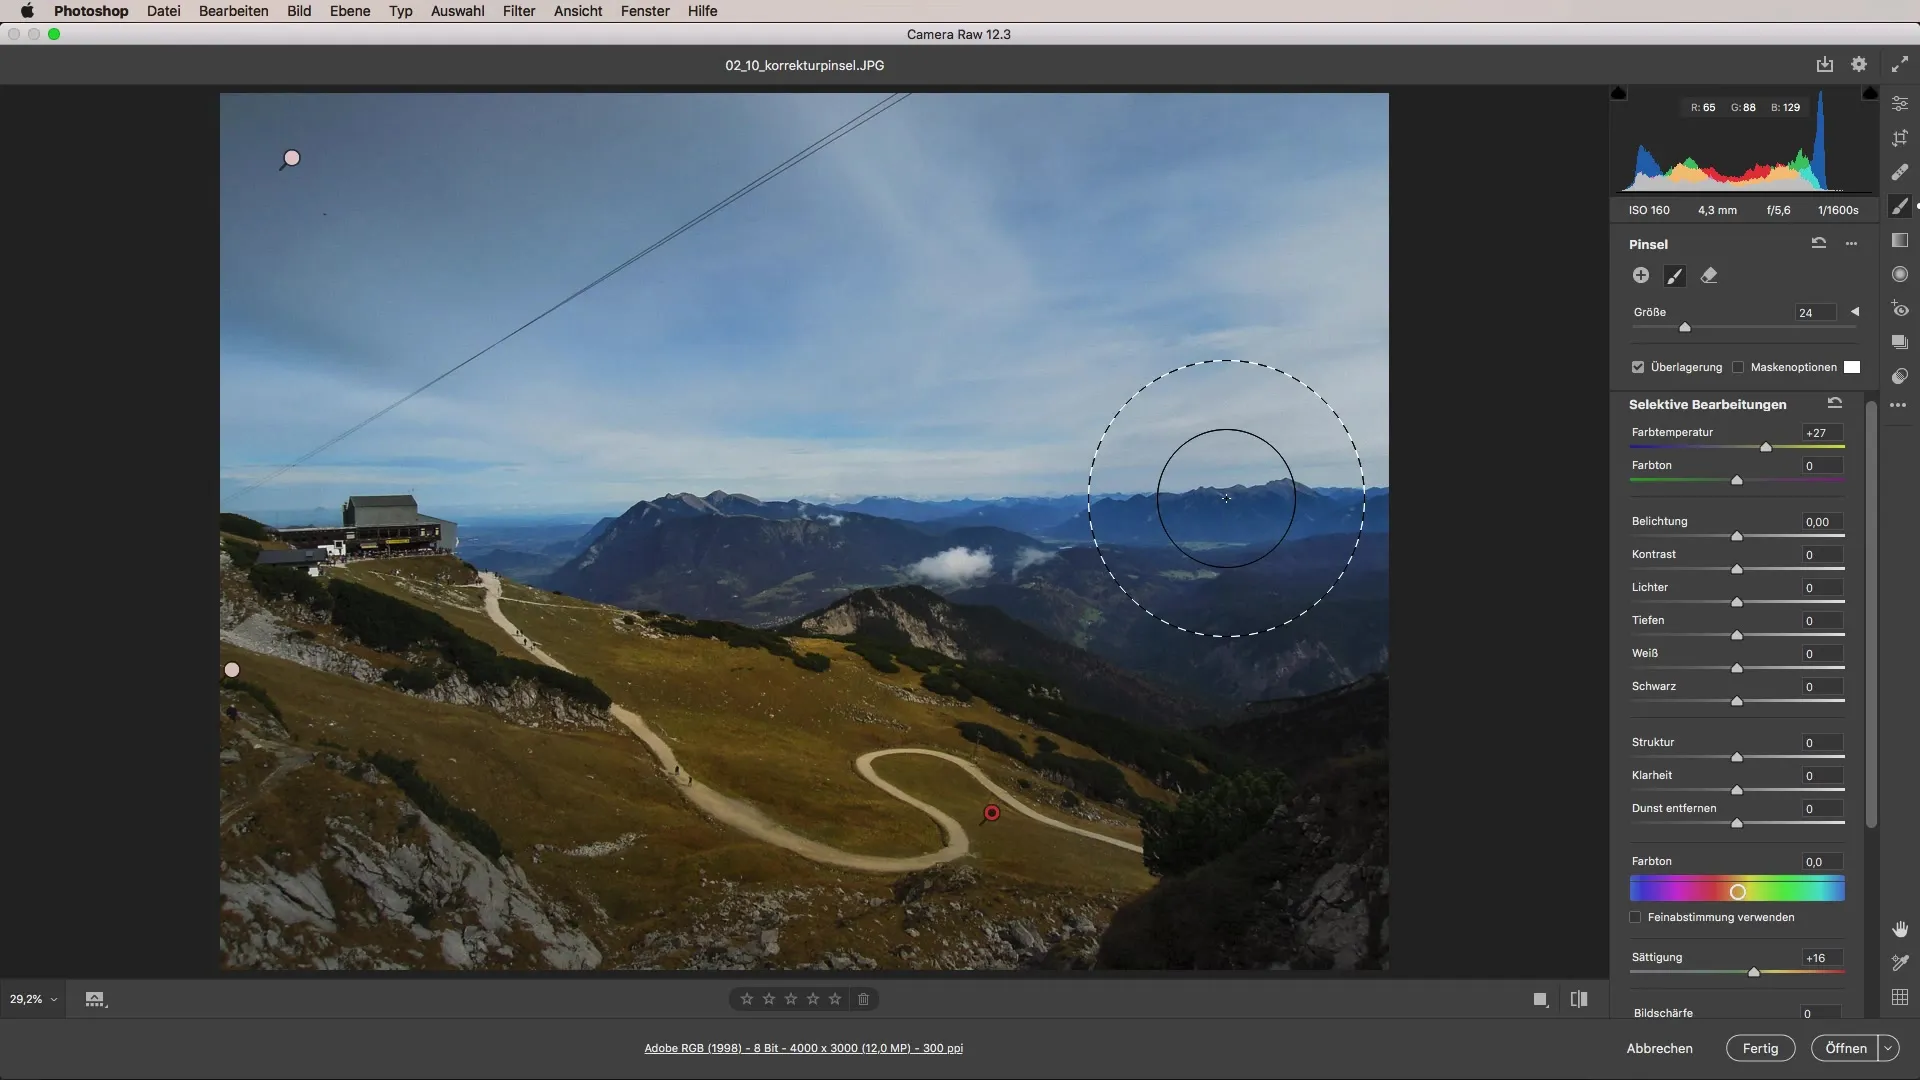
The flexibility of the adjustment brush allows you to realistically implement color accents according to your ideas. By fine-tuning the views, you ensure a more harmonious overall picture.
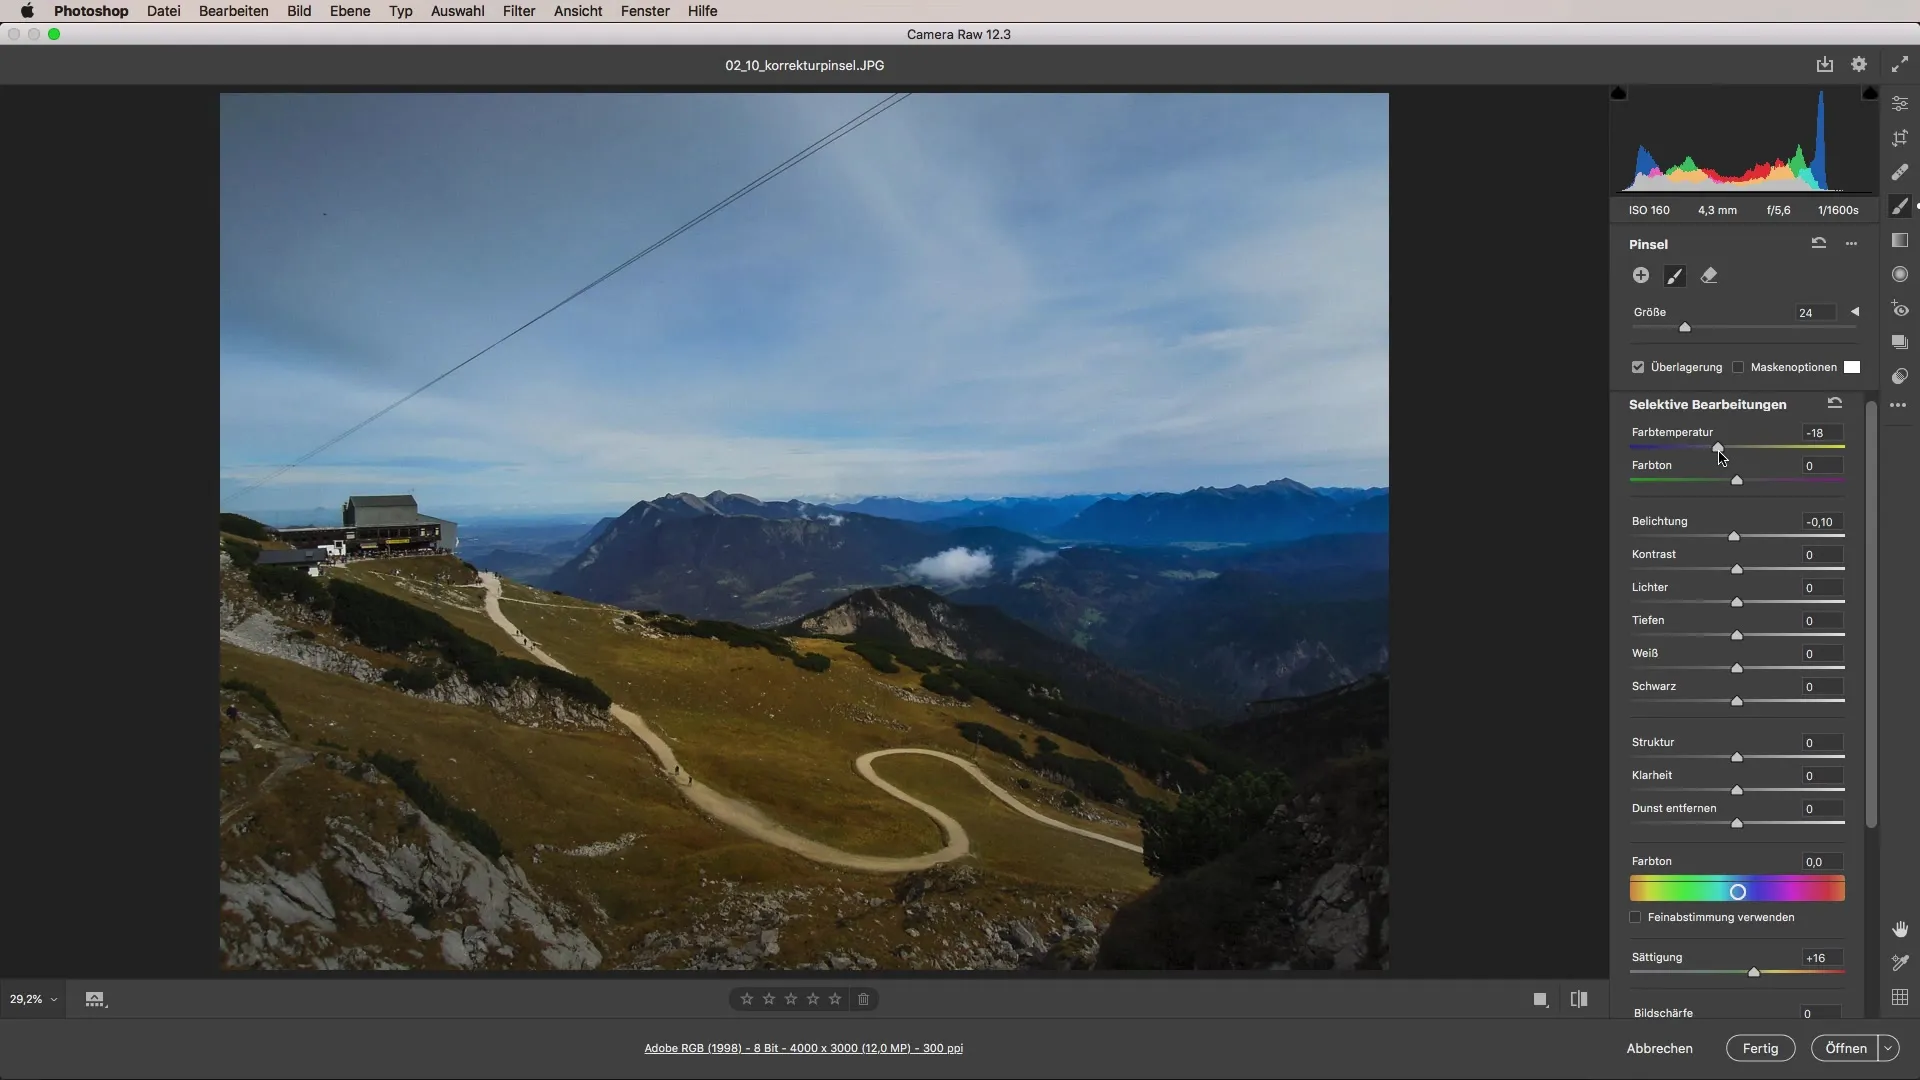
Step 6: Use sliders for precise adjustments
A particularly useful feature of the adjustment brush is the sliders, which give you the ability to modify adjustments afterwards. If you want to modify the vignette, simply drag the slider to the desired position.
This allows you to flexibly change both positions and the degree of adjustments at any time. Every setting remains accessible to you and can be revised at any time by clicking on the respective points.
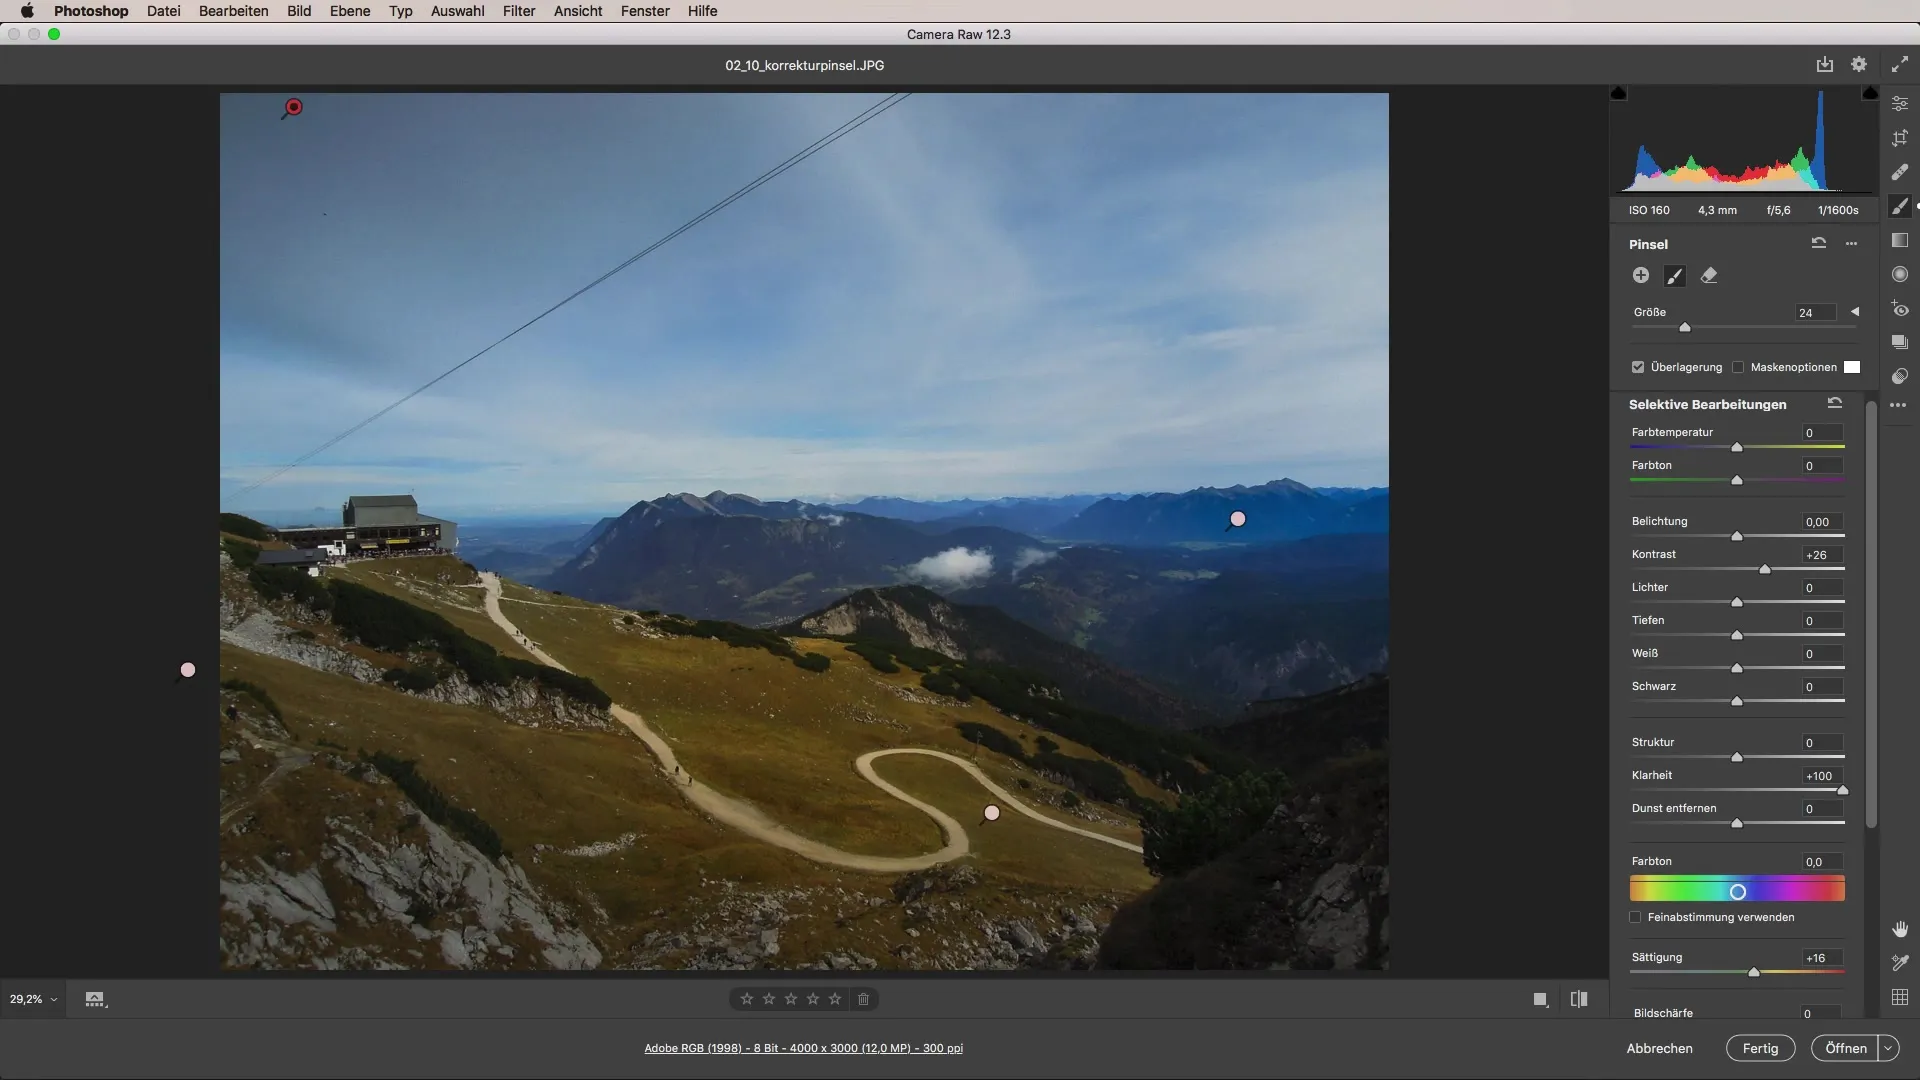
Summary - Adjustment brush in Camera Raw: Step-by-step guide
By effectively learning the adjustment brush and its various options, you gain a valuable skill for your image editing. The clarity of the adjustable settings makes working with Adobe Camera Raw particularly enjoyable and creative.
Frequently Asked Questions
How does the adjustment brush work in Camera Raw?The adjustment brush allows selective adjustments of exposure, color, and clarity in defined image areas.
Can I change the adjustments later?Yes, all settings made are non-destructive and can be adjusted at any time.
How do I set the brush size?The brush size can be set in the toolbar. This allows for precise adjustments in specific image zones.


